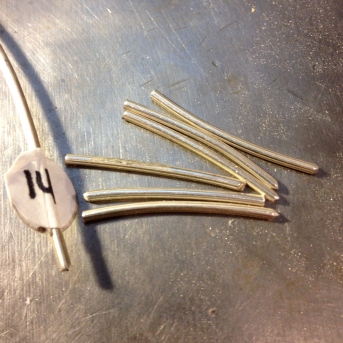
Cut 1″ lengths of 14 gauge sterling silver wire.
This produces a fairly chunky link – you can experiment with different lengths and gauges to suit your taste.
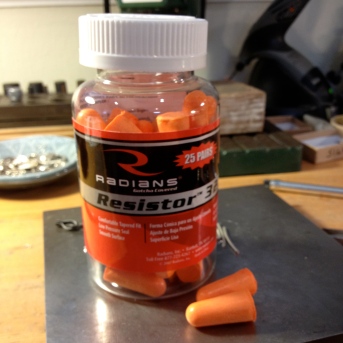
Now put the music on and bring out the christmas present you got from your middle child who thoughtfully wants to protect your hearing from the hammering – that’s if Florence hasn’t got to it yet.
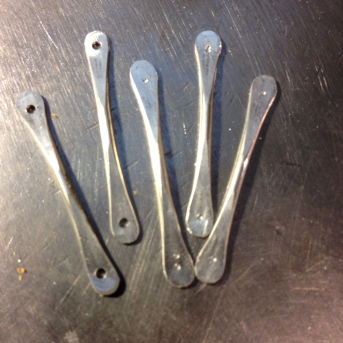
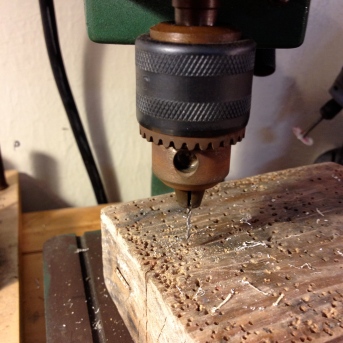
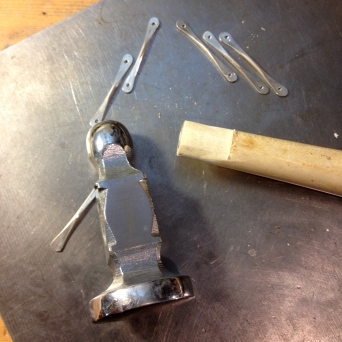
Hammer each end of the wire until flat then take your center punch, punch the silver and drill a hole in each end.
You can use your fordom but I like to use my drill press (so handy).
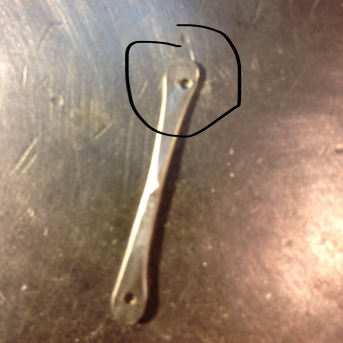
But, don’t do this,
because it will bug the %^#@*!! out of you that you got the hole off-center and, however much you try to ignore it, you know you’ll just have to start all over again and the top of your hammer will come off for the gazillionth time and it will all be very, very, annoying. Probably because the hammer you bought only cost you $12 and you know you should always invest in the best tools you can afford …
Still, you can whack the head back on and it will be fine but you’ll more than likely be experimenting with some interesting super glue scenarios in the near future.
Don’t let this get you down.
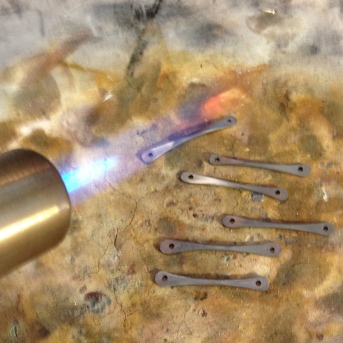
Take a deep breath then anneal the silver.
Because this softens the metal so that you can bend it more easily, and, playing with fire always relieves frustration.
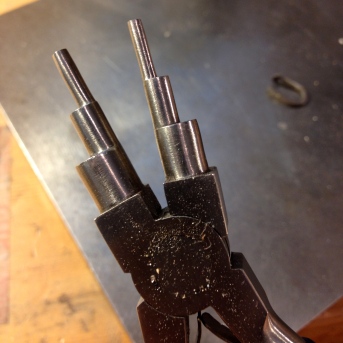
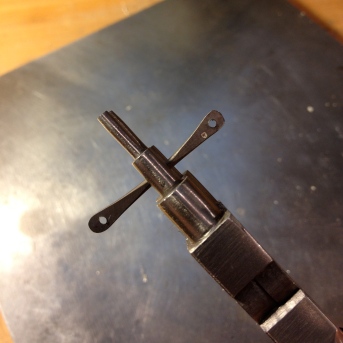
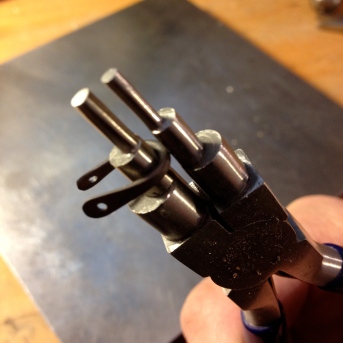
Now get out these really neat pliers.
(If you don’t have these you can use regular round nose pliers. I wont mind).
Center the length of silver across the third or fourth smallest diameter prong,
and bend.
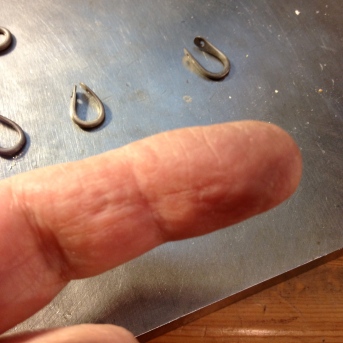
This will hurt your fingers but hopefully you will end up with all those innocent looking little curved silver pieces that are lurking in the background.
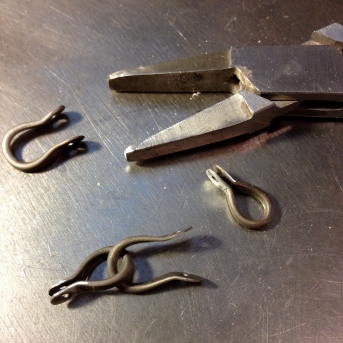
Take your flat nose pliers and bend out the very ends of the silver and then close the loop together.
If you have punched and drilled your holes consistently, i.e., in the same position at the ends of each length of silver, when the two ends of the loop come together the holes should line up. You could drill the holes after you join the two ends together. I find this a little trickier. Experiment to find which technique suits you better. If the holes don’t exactly line up you can fiddle with the loop somewhat. If the worse comes to the worse, however, just abandon the whole thing and try again.
What? It happens.
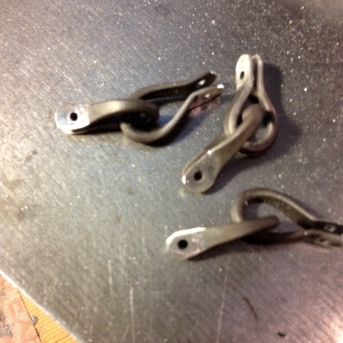
Now, join the loops together as in the pic below.
Voila!
Links.
This is what I did with mine.
And with only the smallest of injuries.
Then, you turn off your torch and go and see, The Bourne legacy.
Which was brilliant.
Enjoy.
–
For more How To’s see – HERE.
Note: The links to the tools used are only examples of the ones I use. There are many different types available of the same tools, some better than others. If you are beginning your jewelry adventure, please don’t just buy the ones in the links here. Research until you feel comfortable that you are purchasing the right tool for you.
Remember the $12 hammer problem?
Disclaimer: I am just a somebody muddling through. This is the way I do things. I am a wing it, try it, do it wrong, try again, sort of person. I do not maintain that I know what I am doing, only that I am trying to do it. Please feel free to enjoy my discoveries but follow your own research for professional advice and to perfect your skills. Above all, enjoy. Life is short.

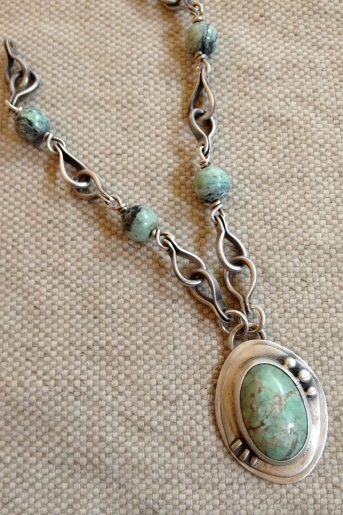

The beautiful necklace is Brilliant!!!! Just lovely.
Interesting to see how the necklace is build. It shows so well how much attention and work is brought into the complete item. Awesome!
🙂
I just love your work! Thank you so much for sharing these great tutorials with us. They are clear and easy to follow, and humorous as well, very nice.
Thank you 🙂