I’ve been off my groove, but now i’m back with a new silver link. So, if you’re in the mood for fiddly, have a go at this. Just remember my disclaimer as I’m not available to tend to any injuries incurred …
First up, and this is very important, put your i pod down the inside of your t-shirt and clip it to one of the belt slots on your jeans. This prevents the ear phones from hanging down front where the dremel and torch like to play as that could get tricky and very painful, and you might have to do the drop and roll thing on the studio floor.
Not cool.
Then turn on your murder mystery, but don’t bother with this one (here) as it was a bit long-winded and boring.
Next up.
Make your jump rings.
I use this.
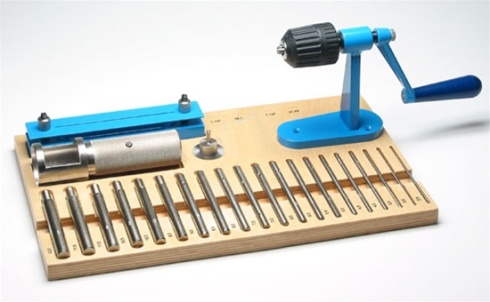
Which is the old version of this
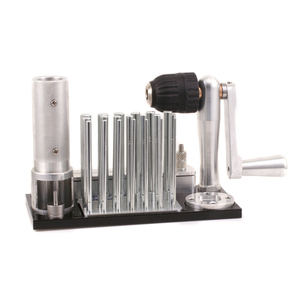
It’s expensive. I don’t know if I would buy it again, but it’s really good at making coils. I’ve never got the hang of using the cutting wheel which might have made the cost more worthwhile, but now the coil cutting holding vise thing has been eaten away by rust so giving it another try is a pretty moot point.
Buy this tool at your own peril …
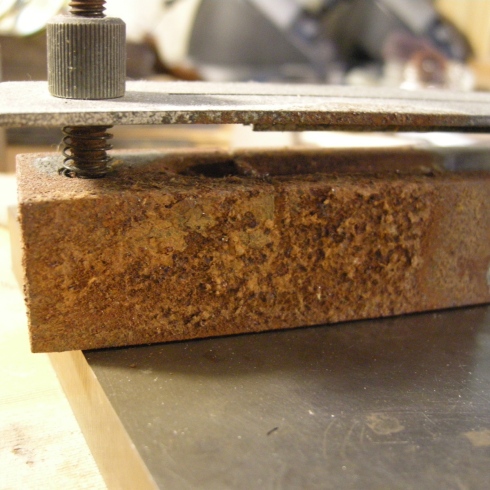
Pretty bad, yes?
Anyway …
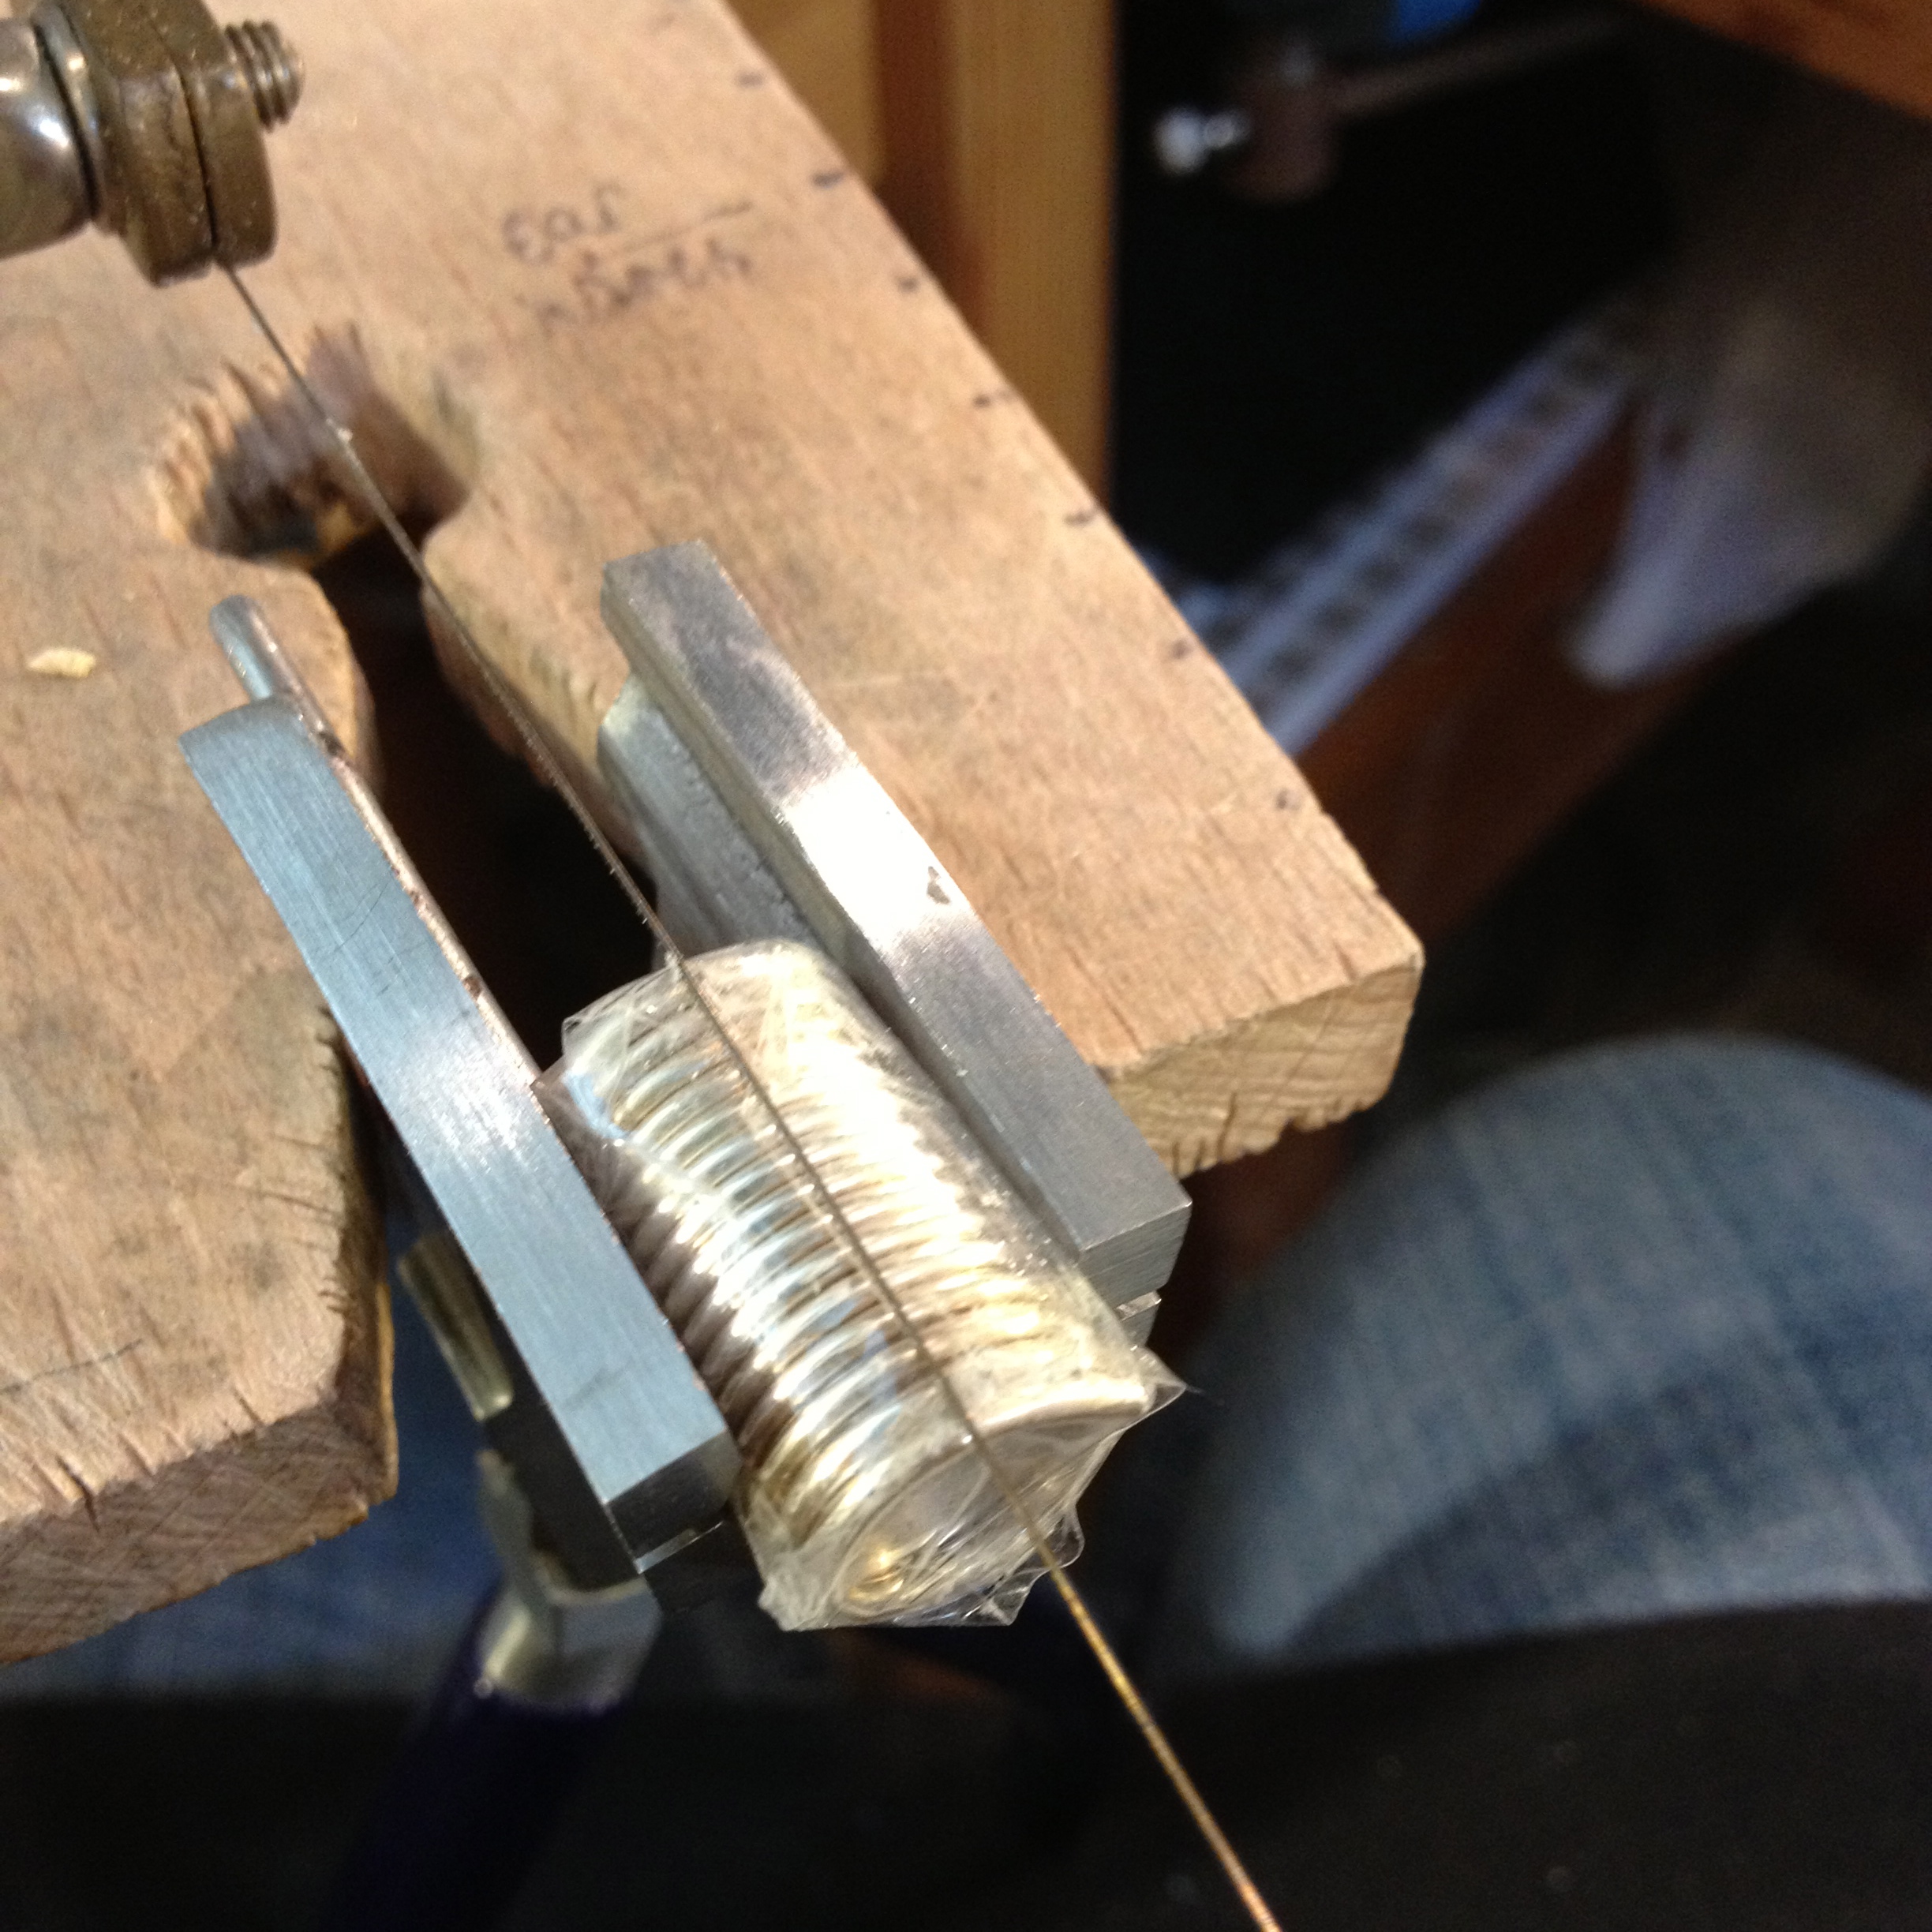
I turned 16 gauge sterling silver wire on the 9.5 mm mandrel to make a coil.
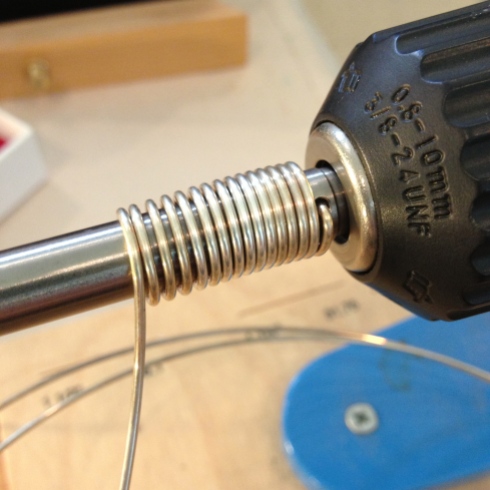
Which I then taped up with scotch tape (to secure the silver from moving), and used my jewelry saw to cut across the top of the coil to make jump rings.
I then straightened the rings so that the ends were flush and soldered them together.
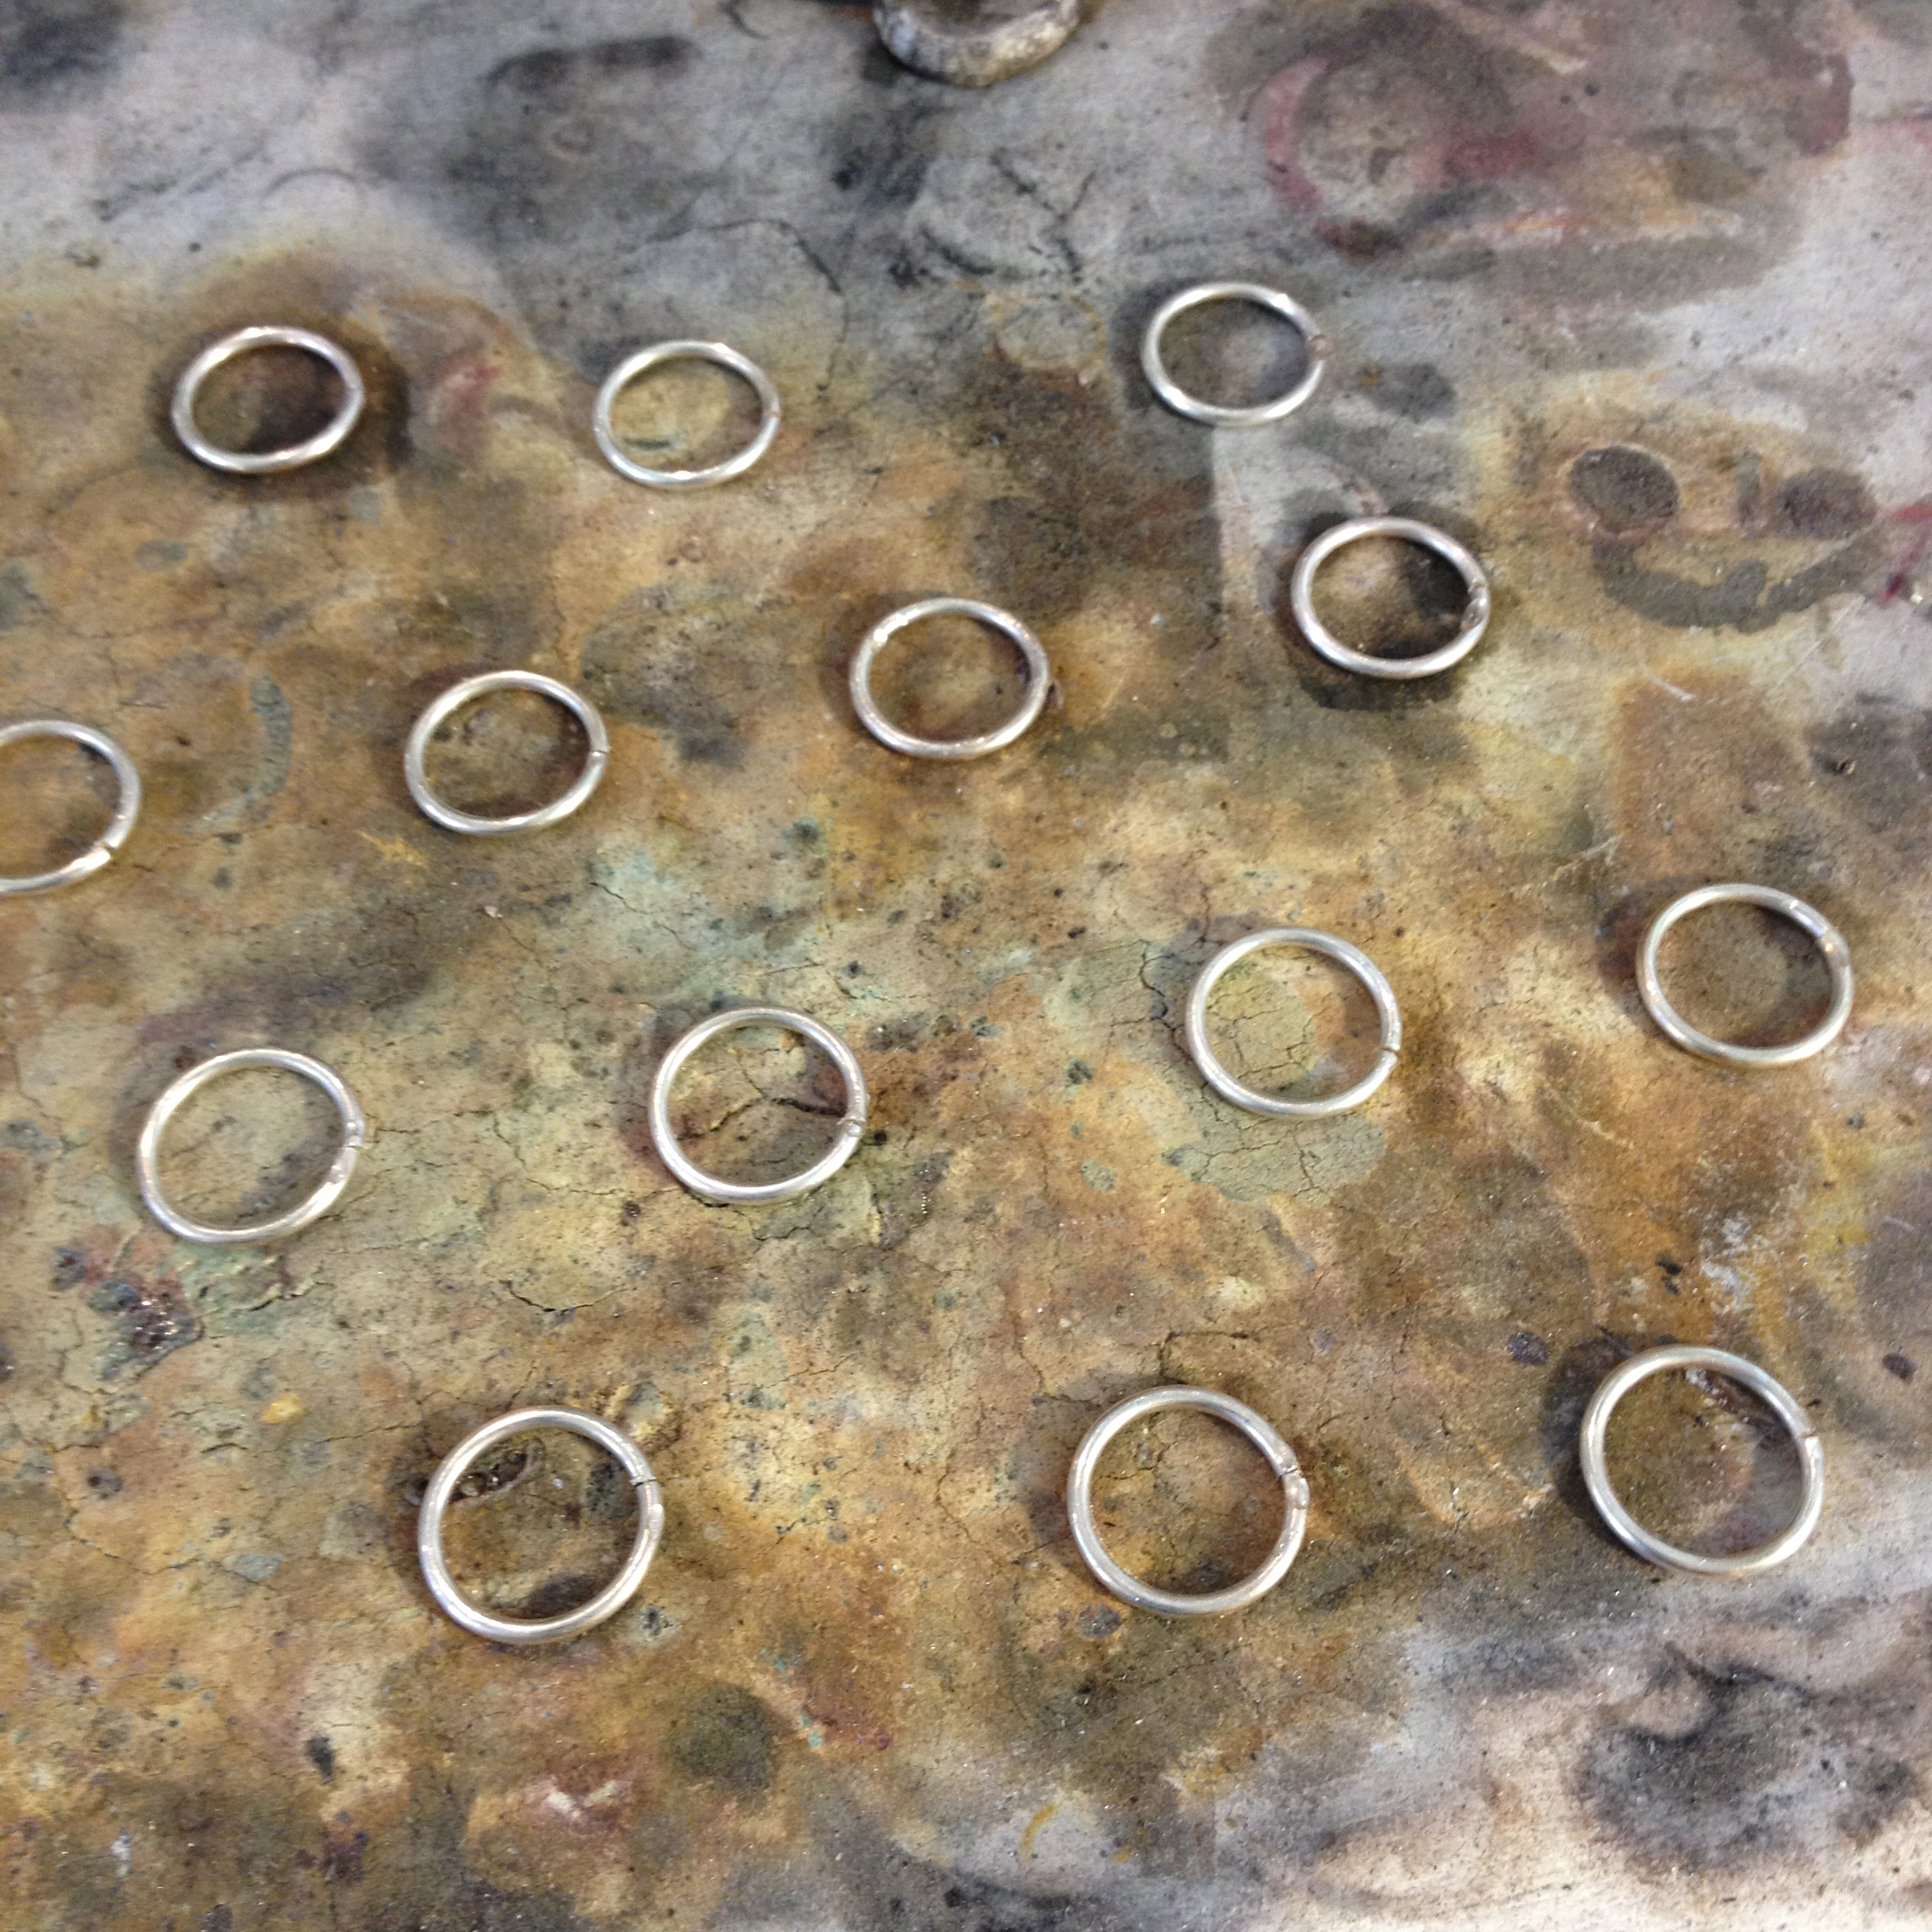
Next time I’m going to just try to fuse the silver together instead of using solder – just to see if I can eliminate the bump.
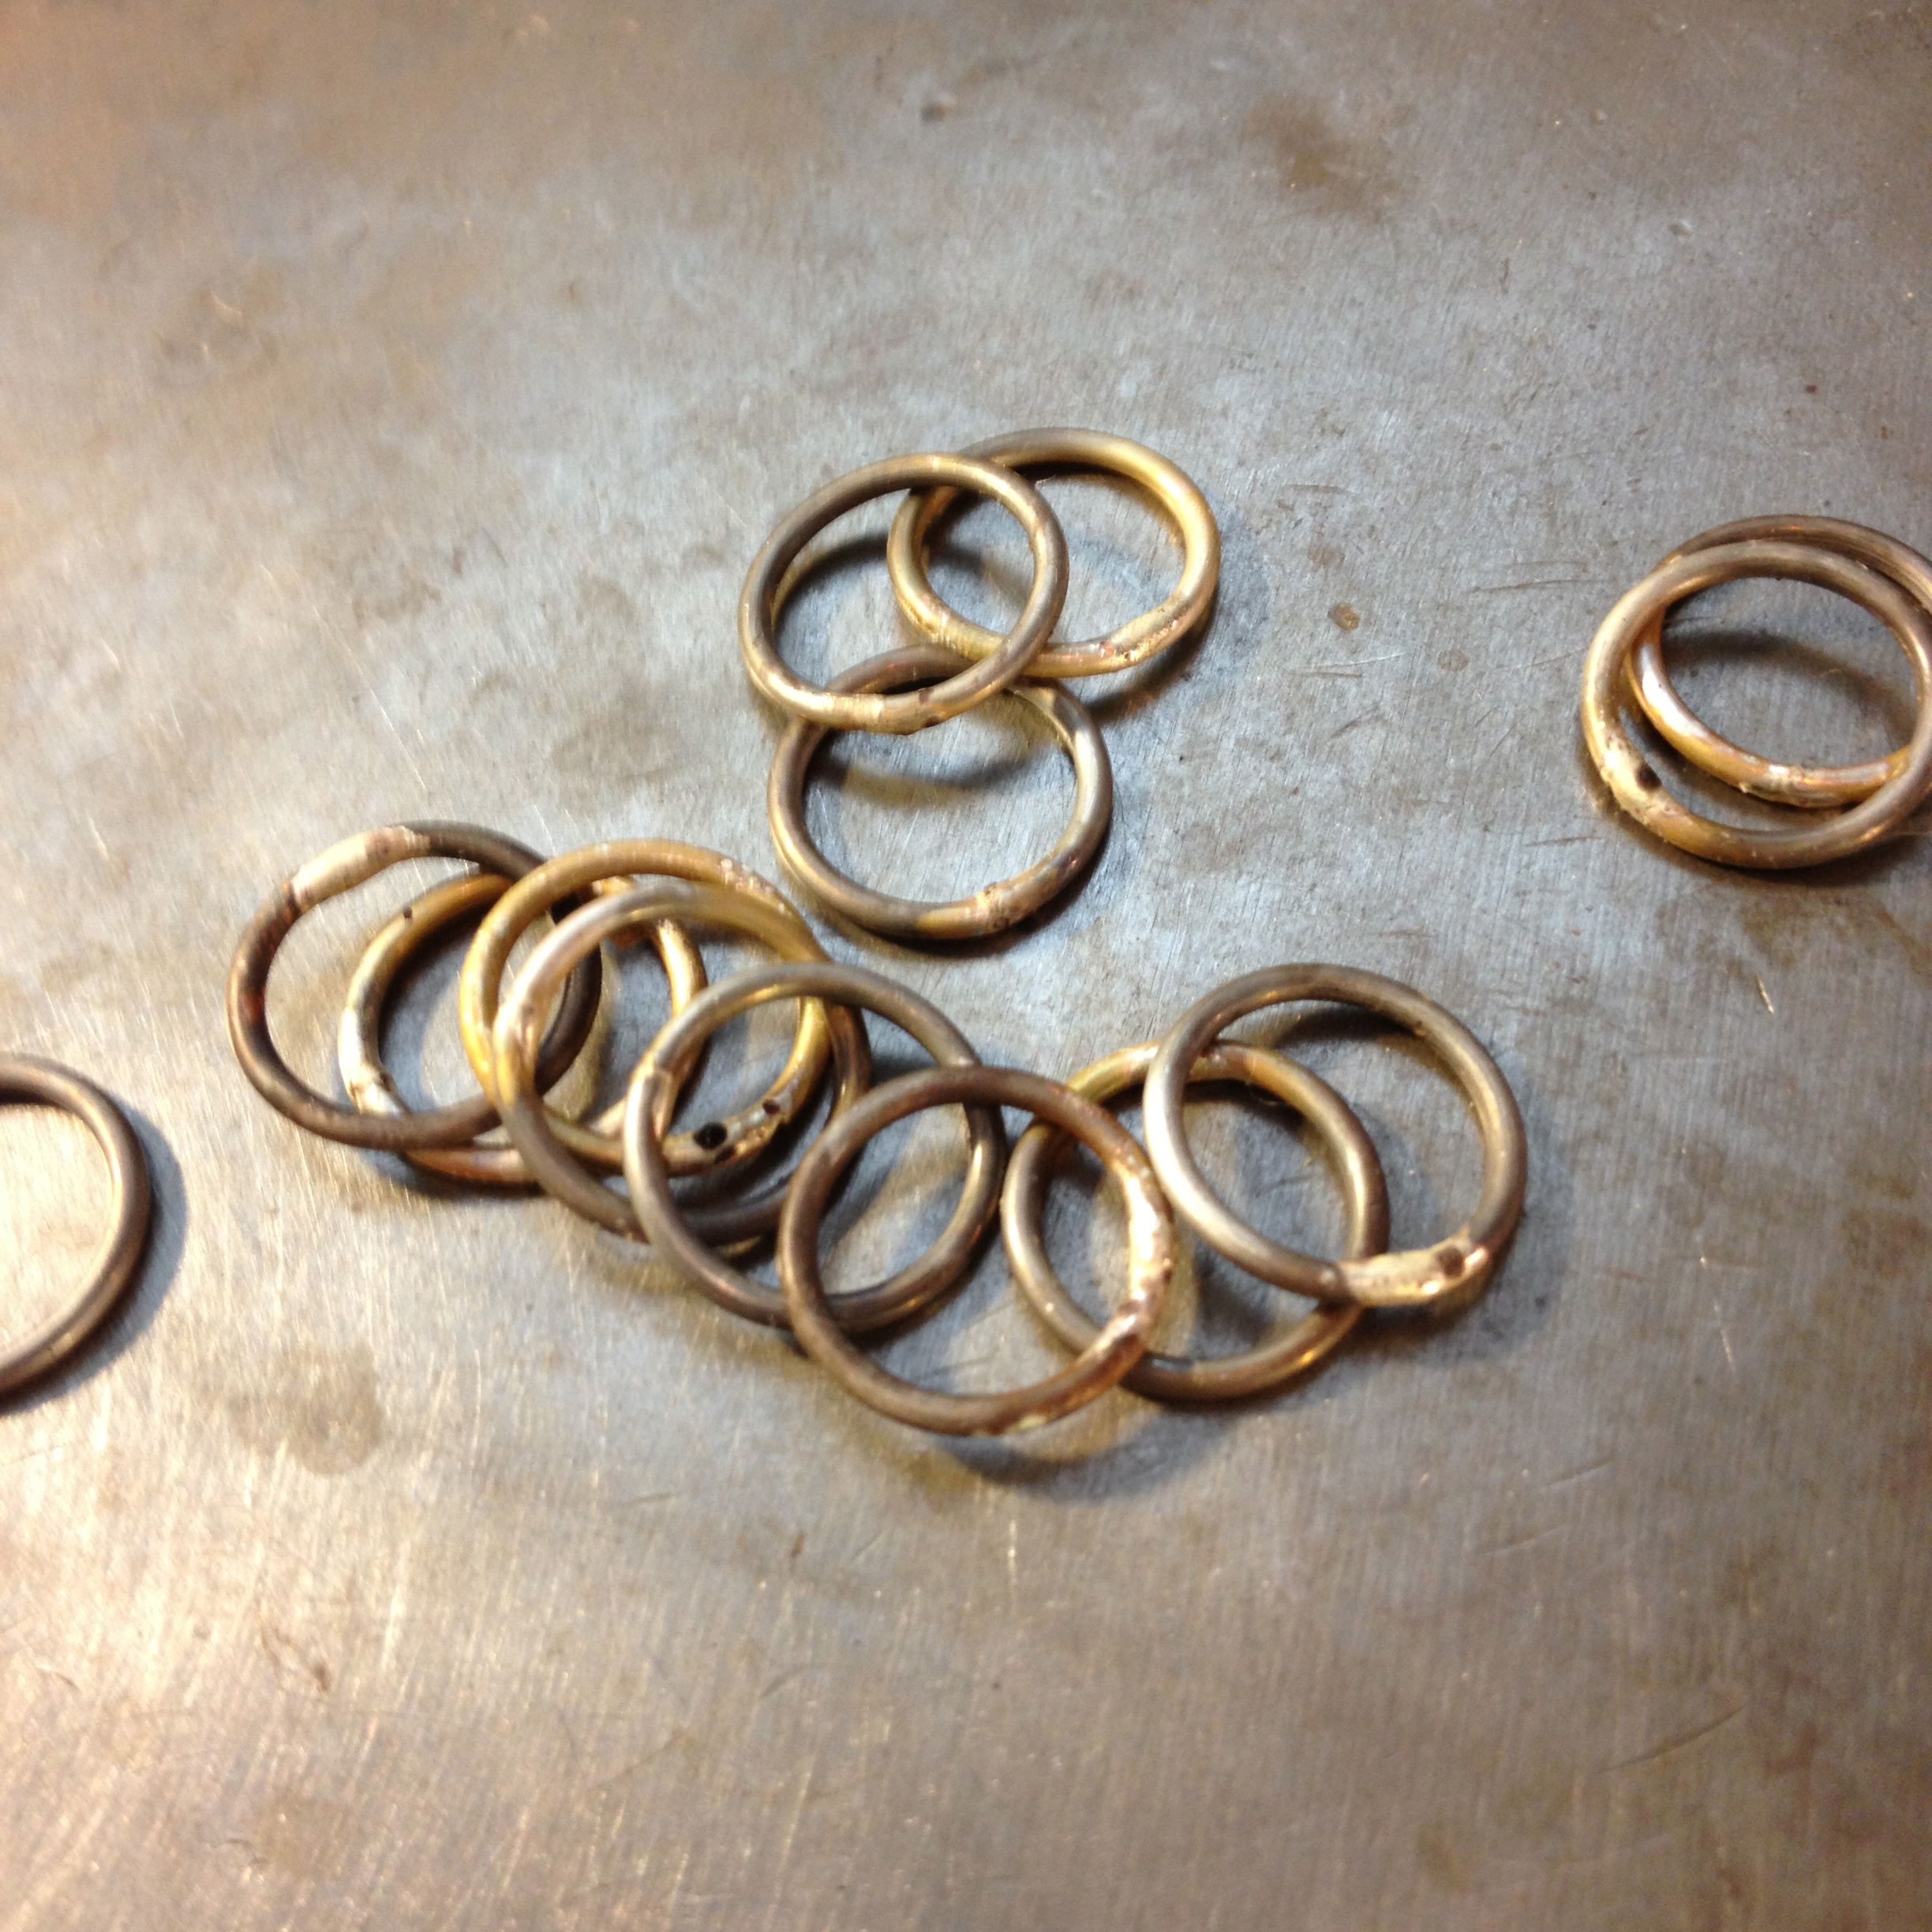
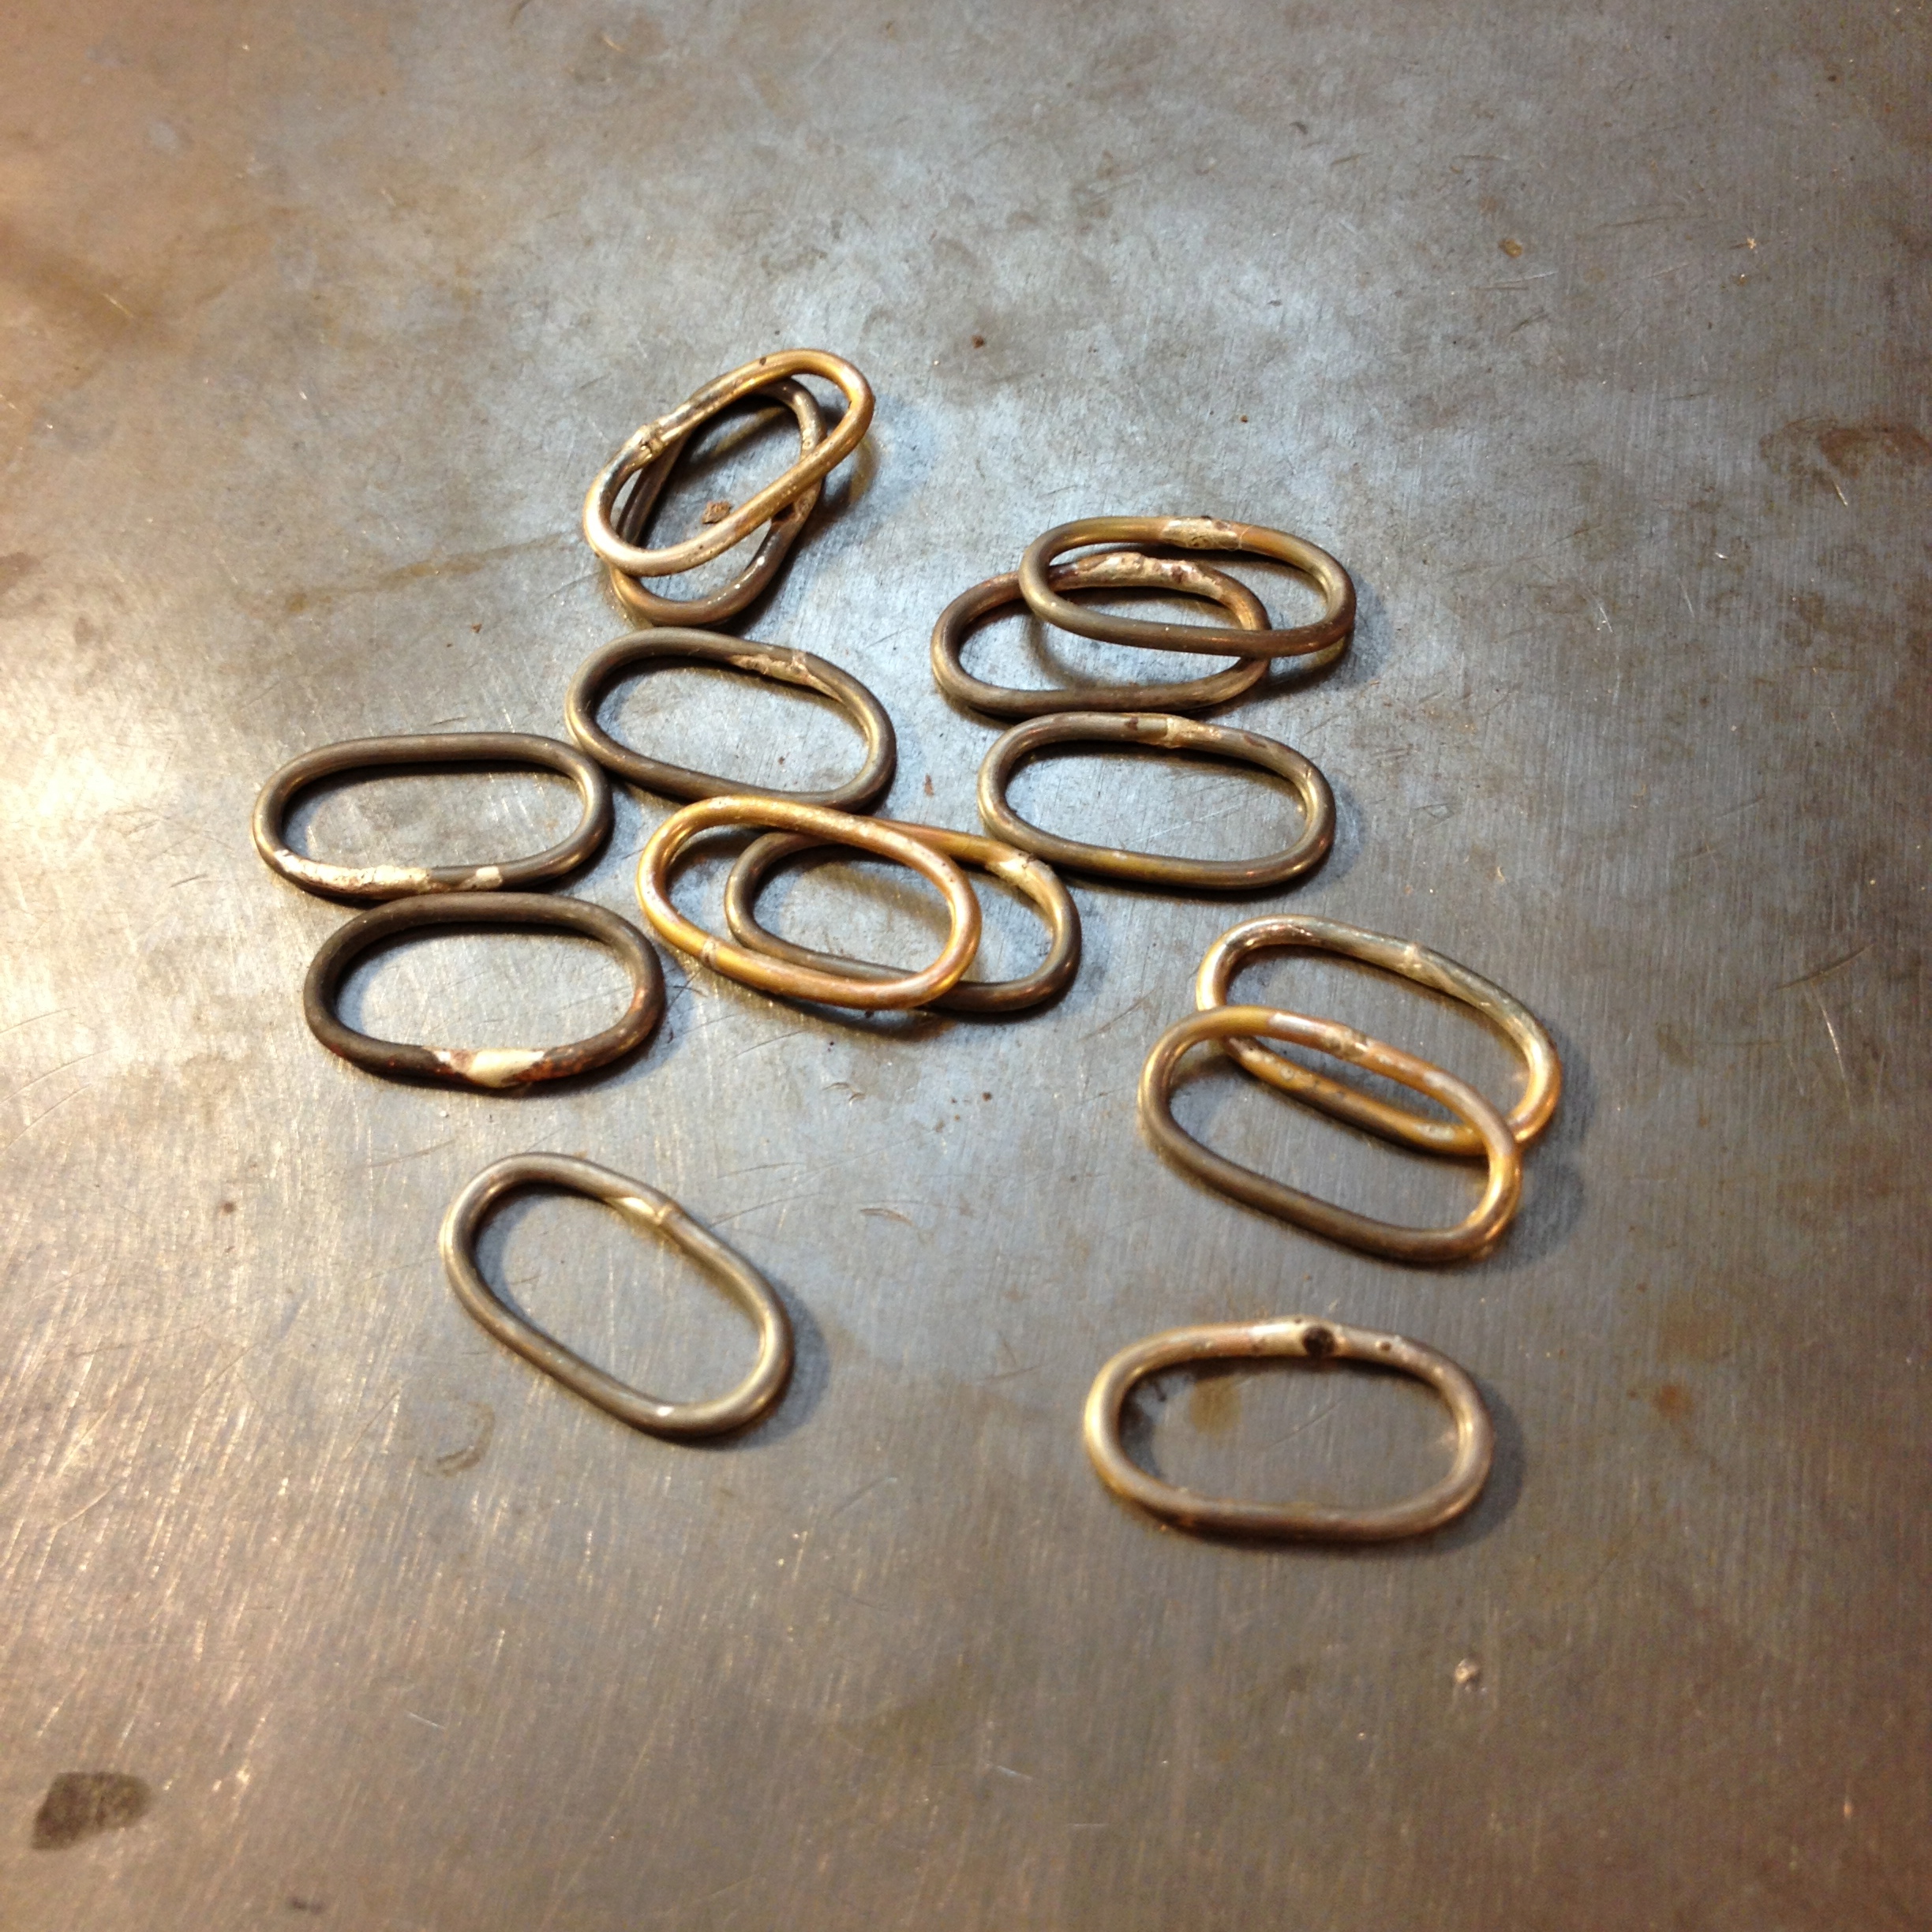
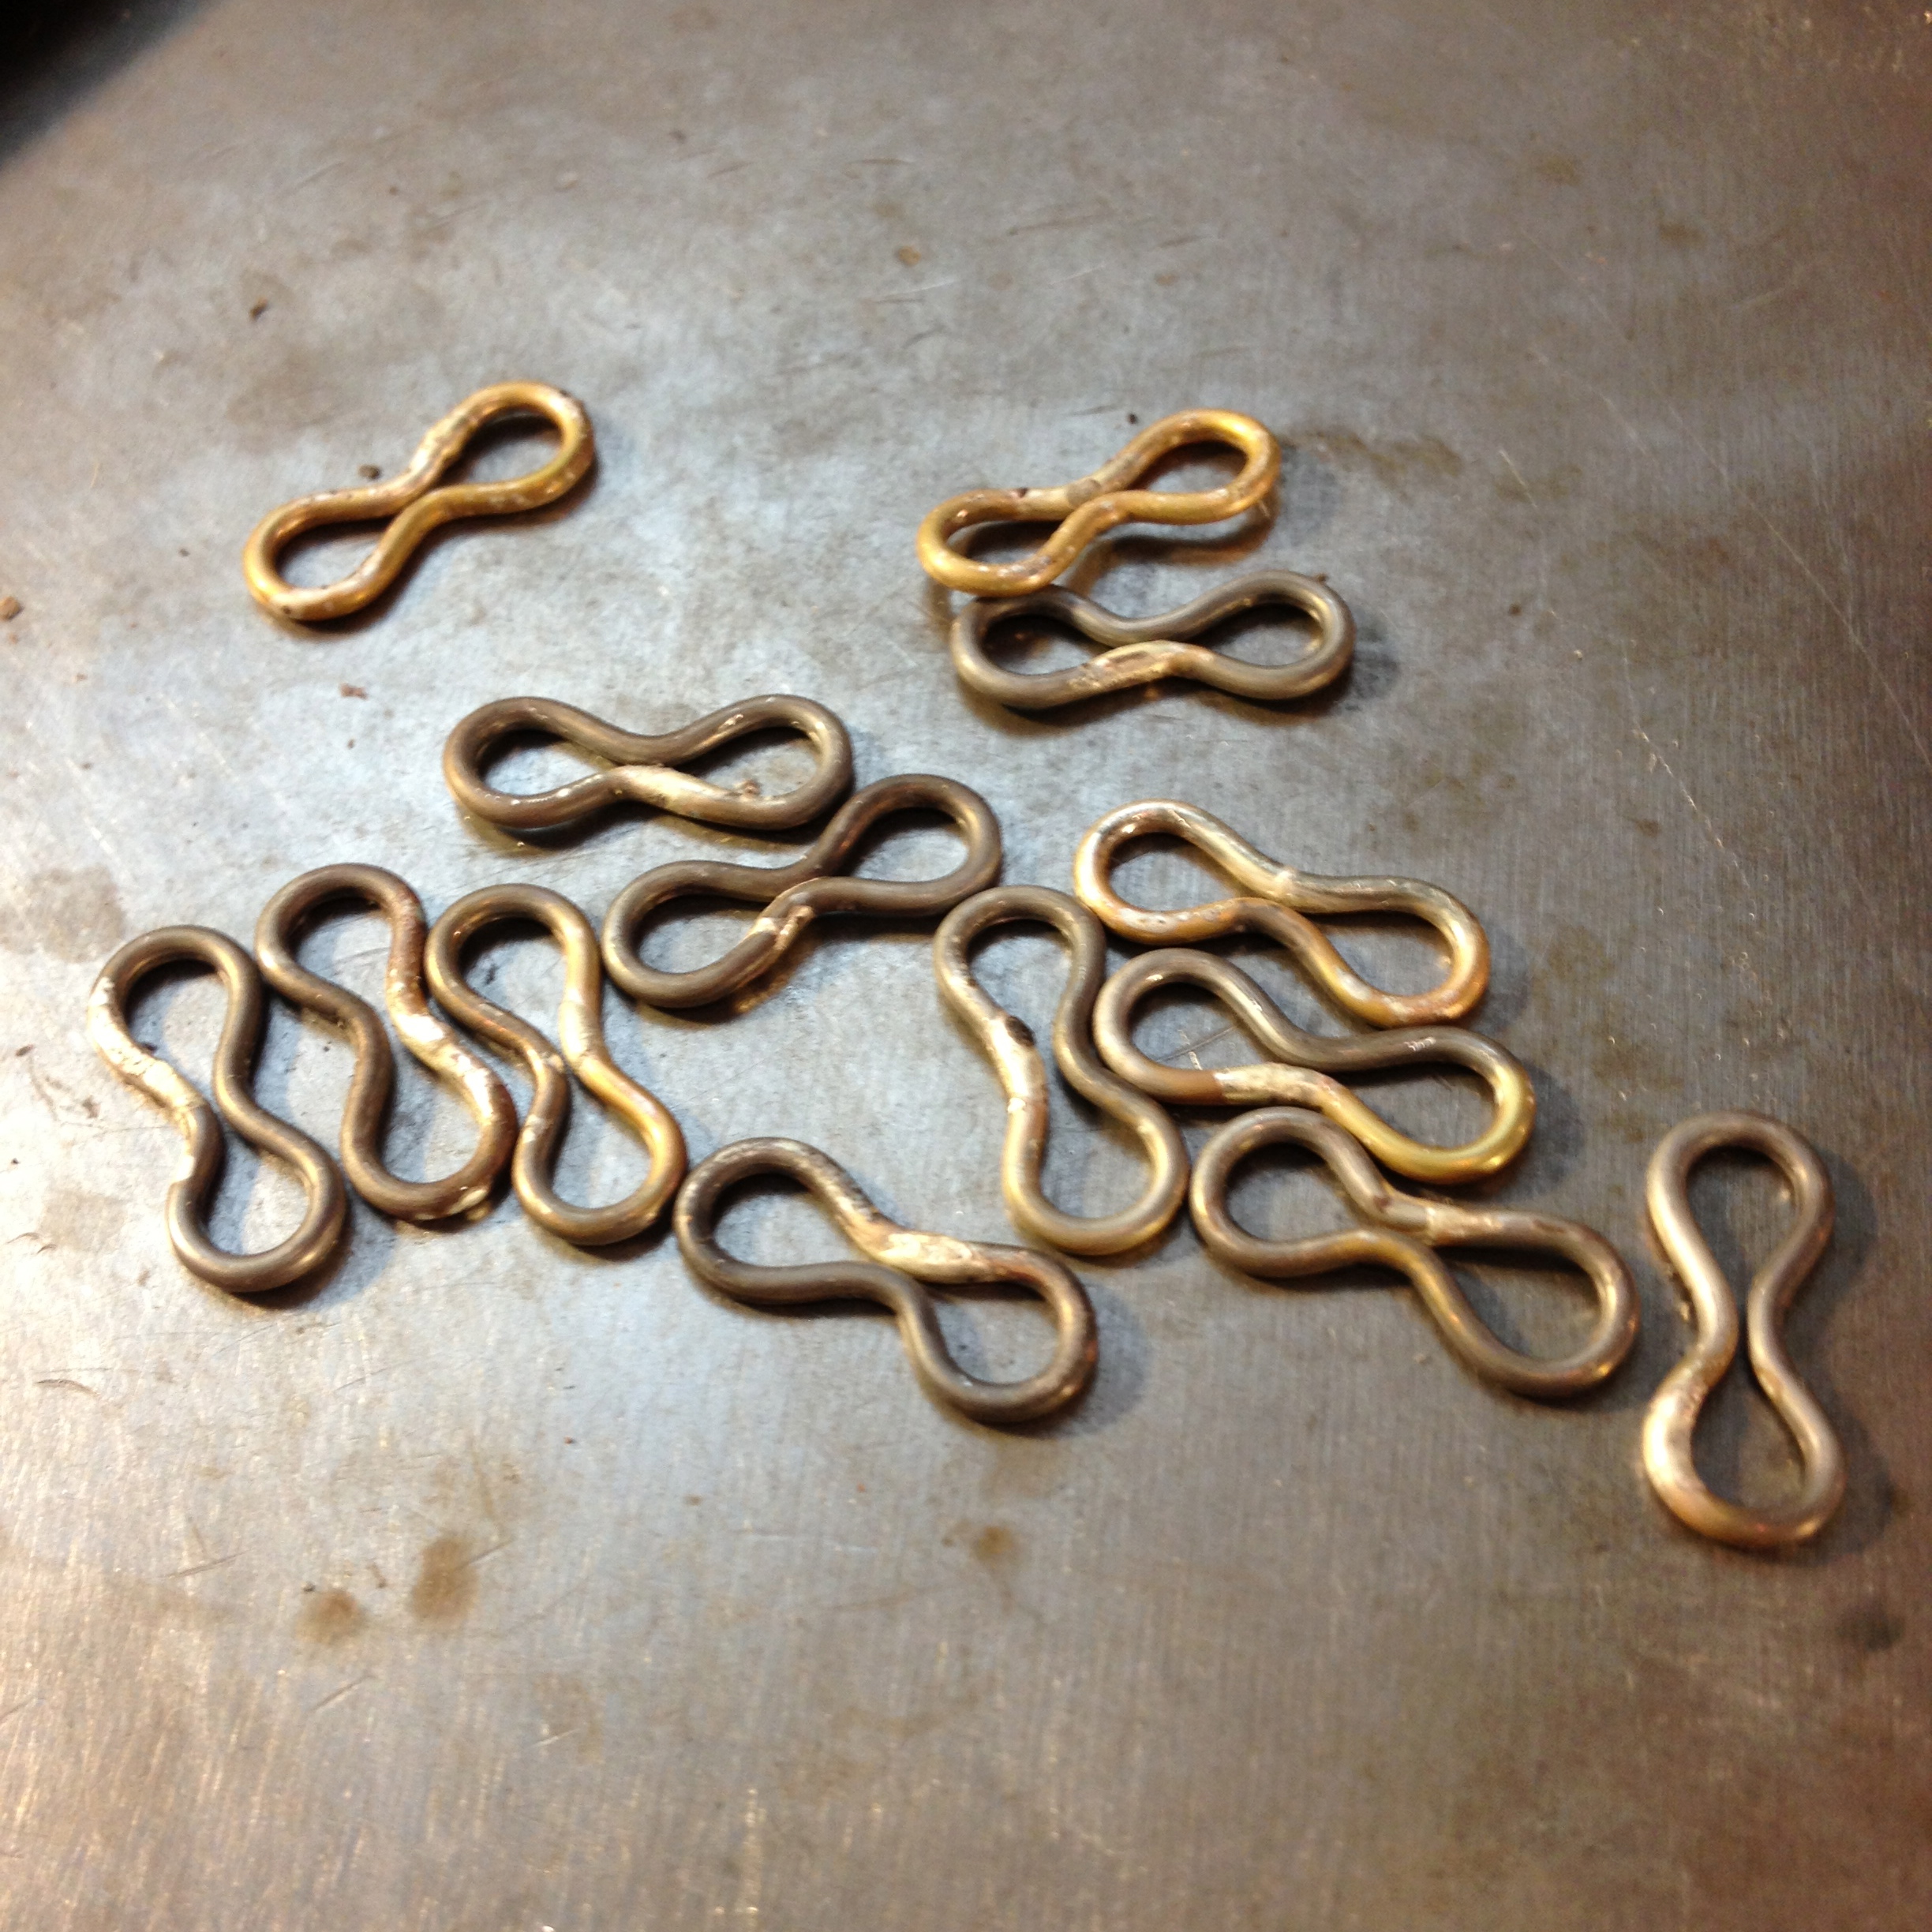
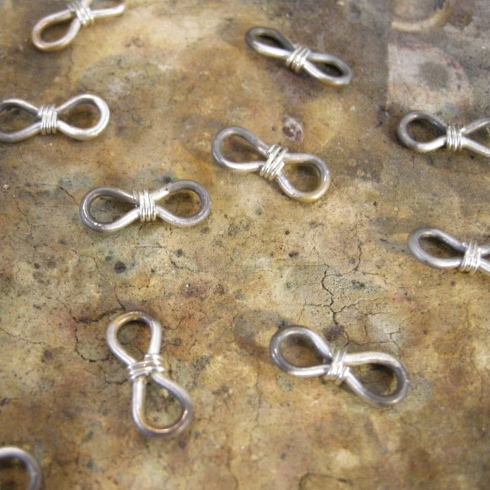
I then used a pair of round nose pliers to pull the links into an oval shape.
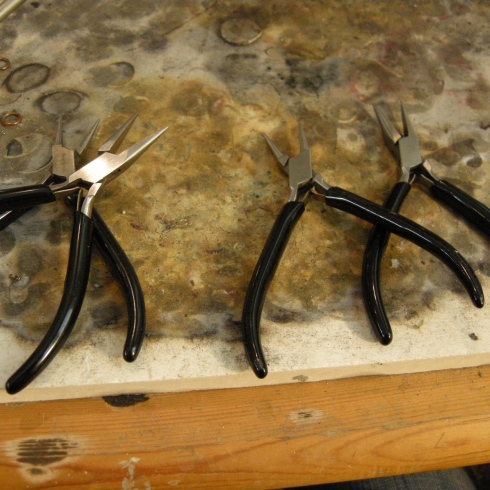
I use these cheap pliers. The expensive pliers are good (obviously), but for me these work just as well and I like how they fit in my hand. I have two each of the flat nosed and the round pliers. One for each hand, because that’s how I like to roll, and at that price, you can knock yourself out with as many as you want …
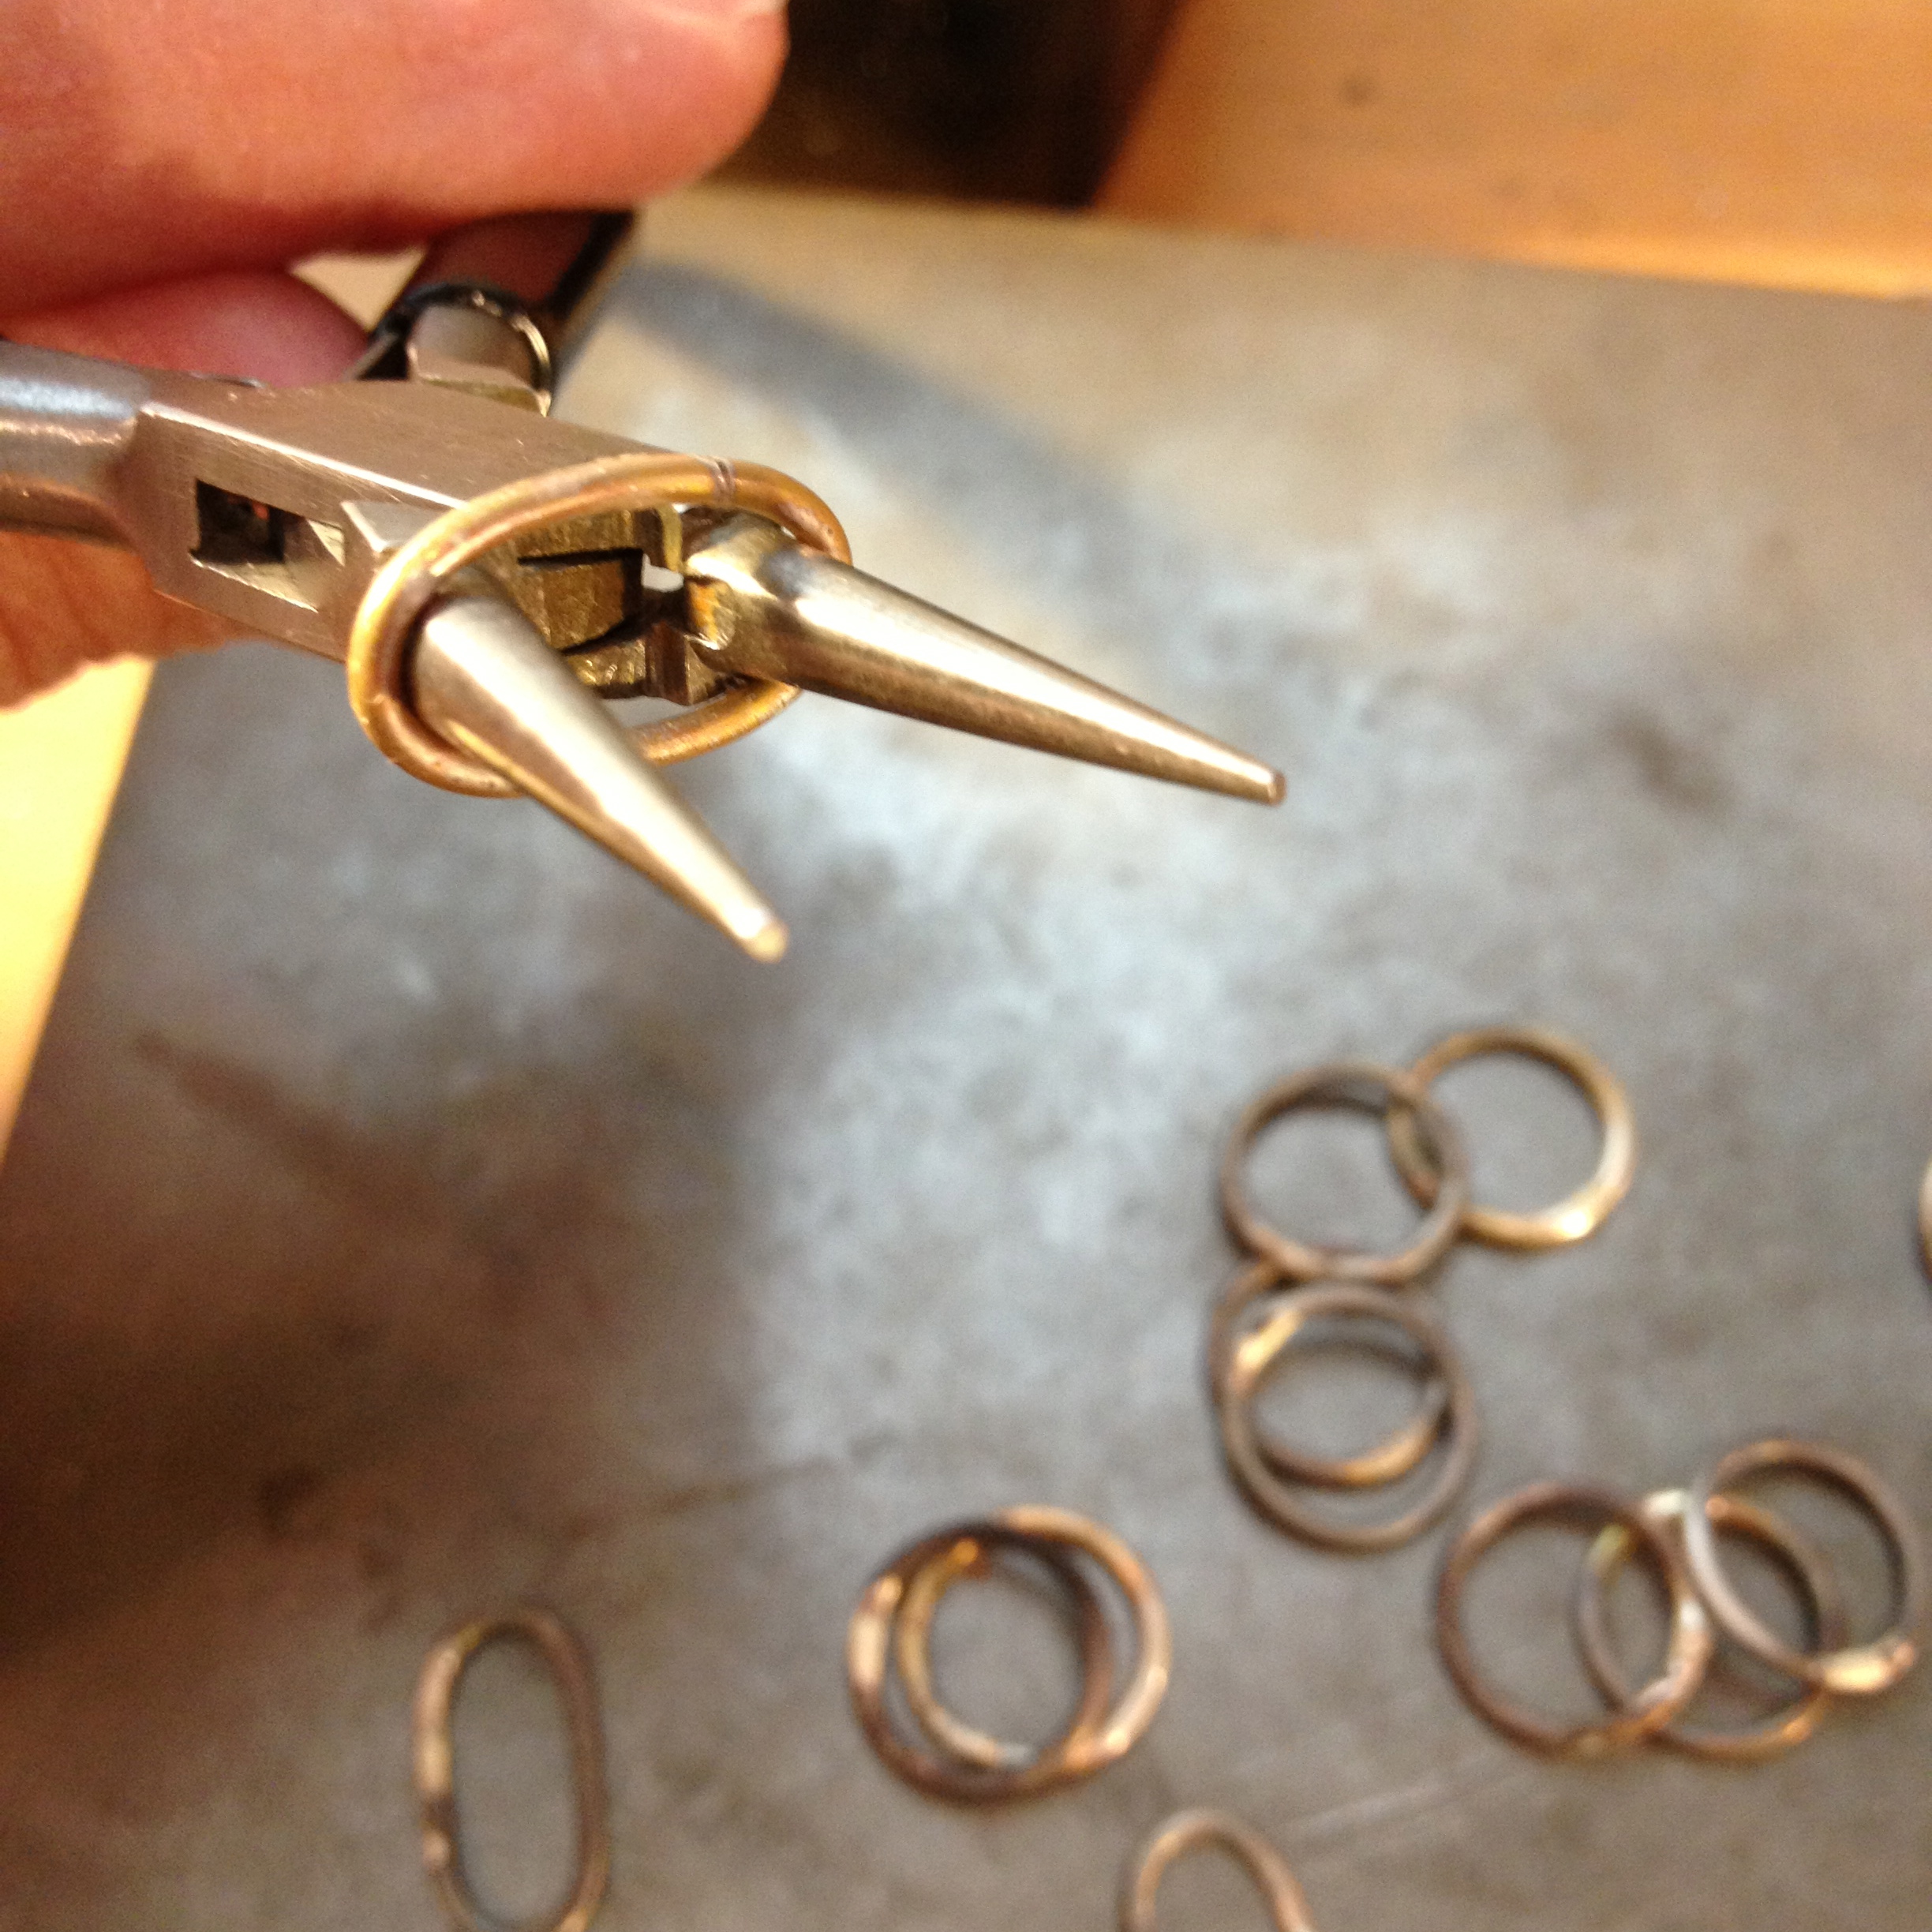
Next, put the link back on the round nose pliers and squeeze the middle together with another pair of pliers.
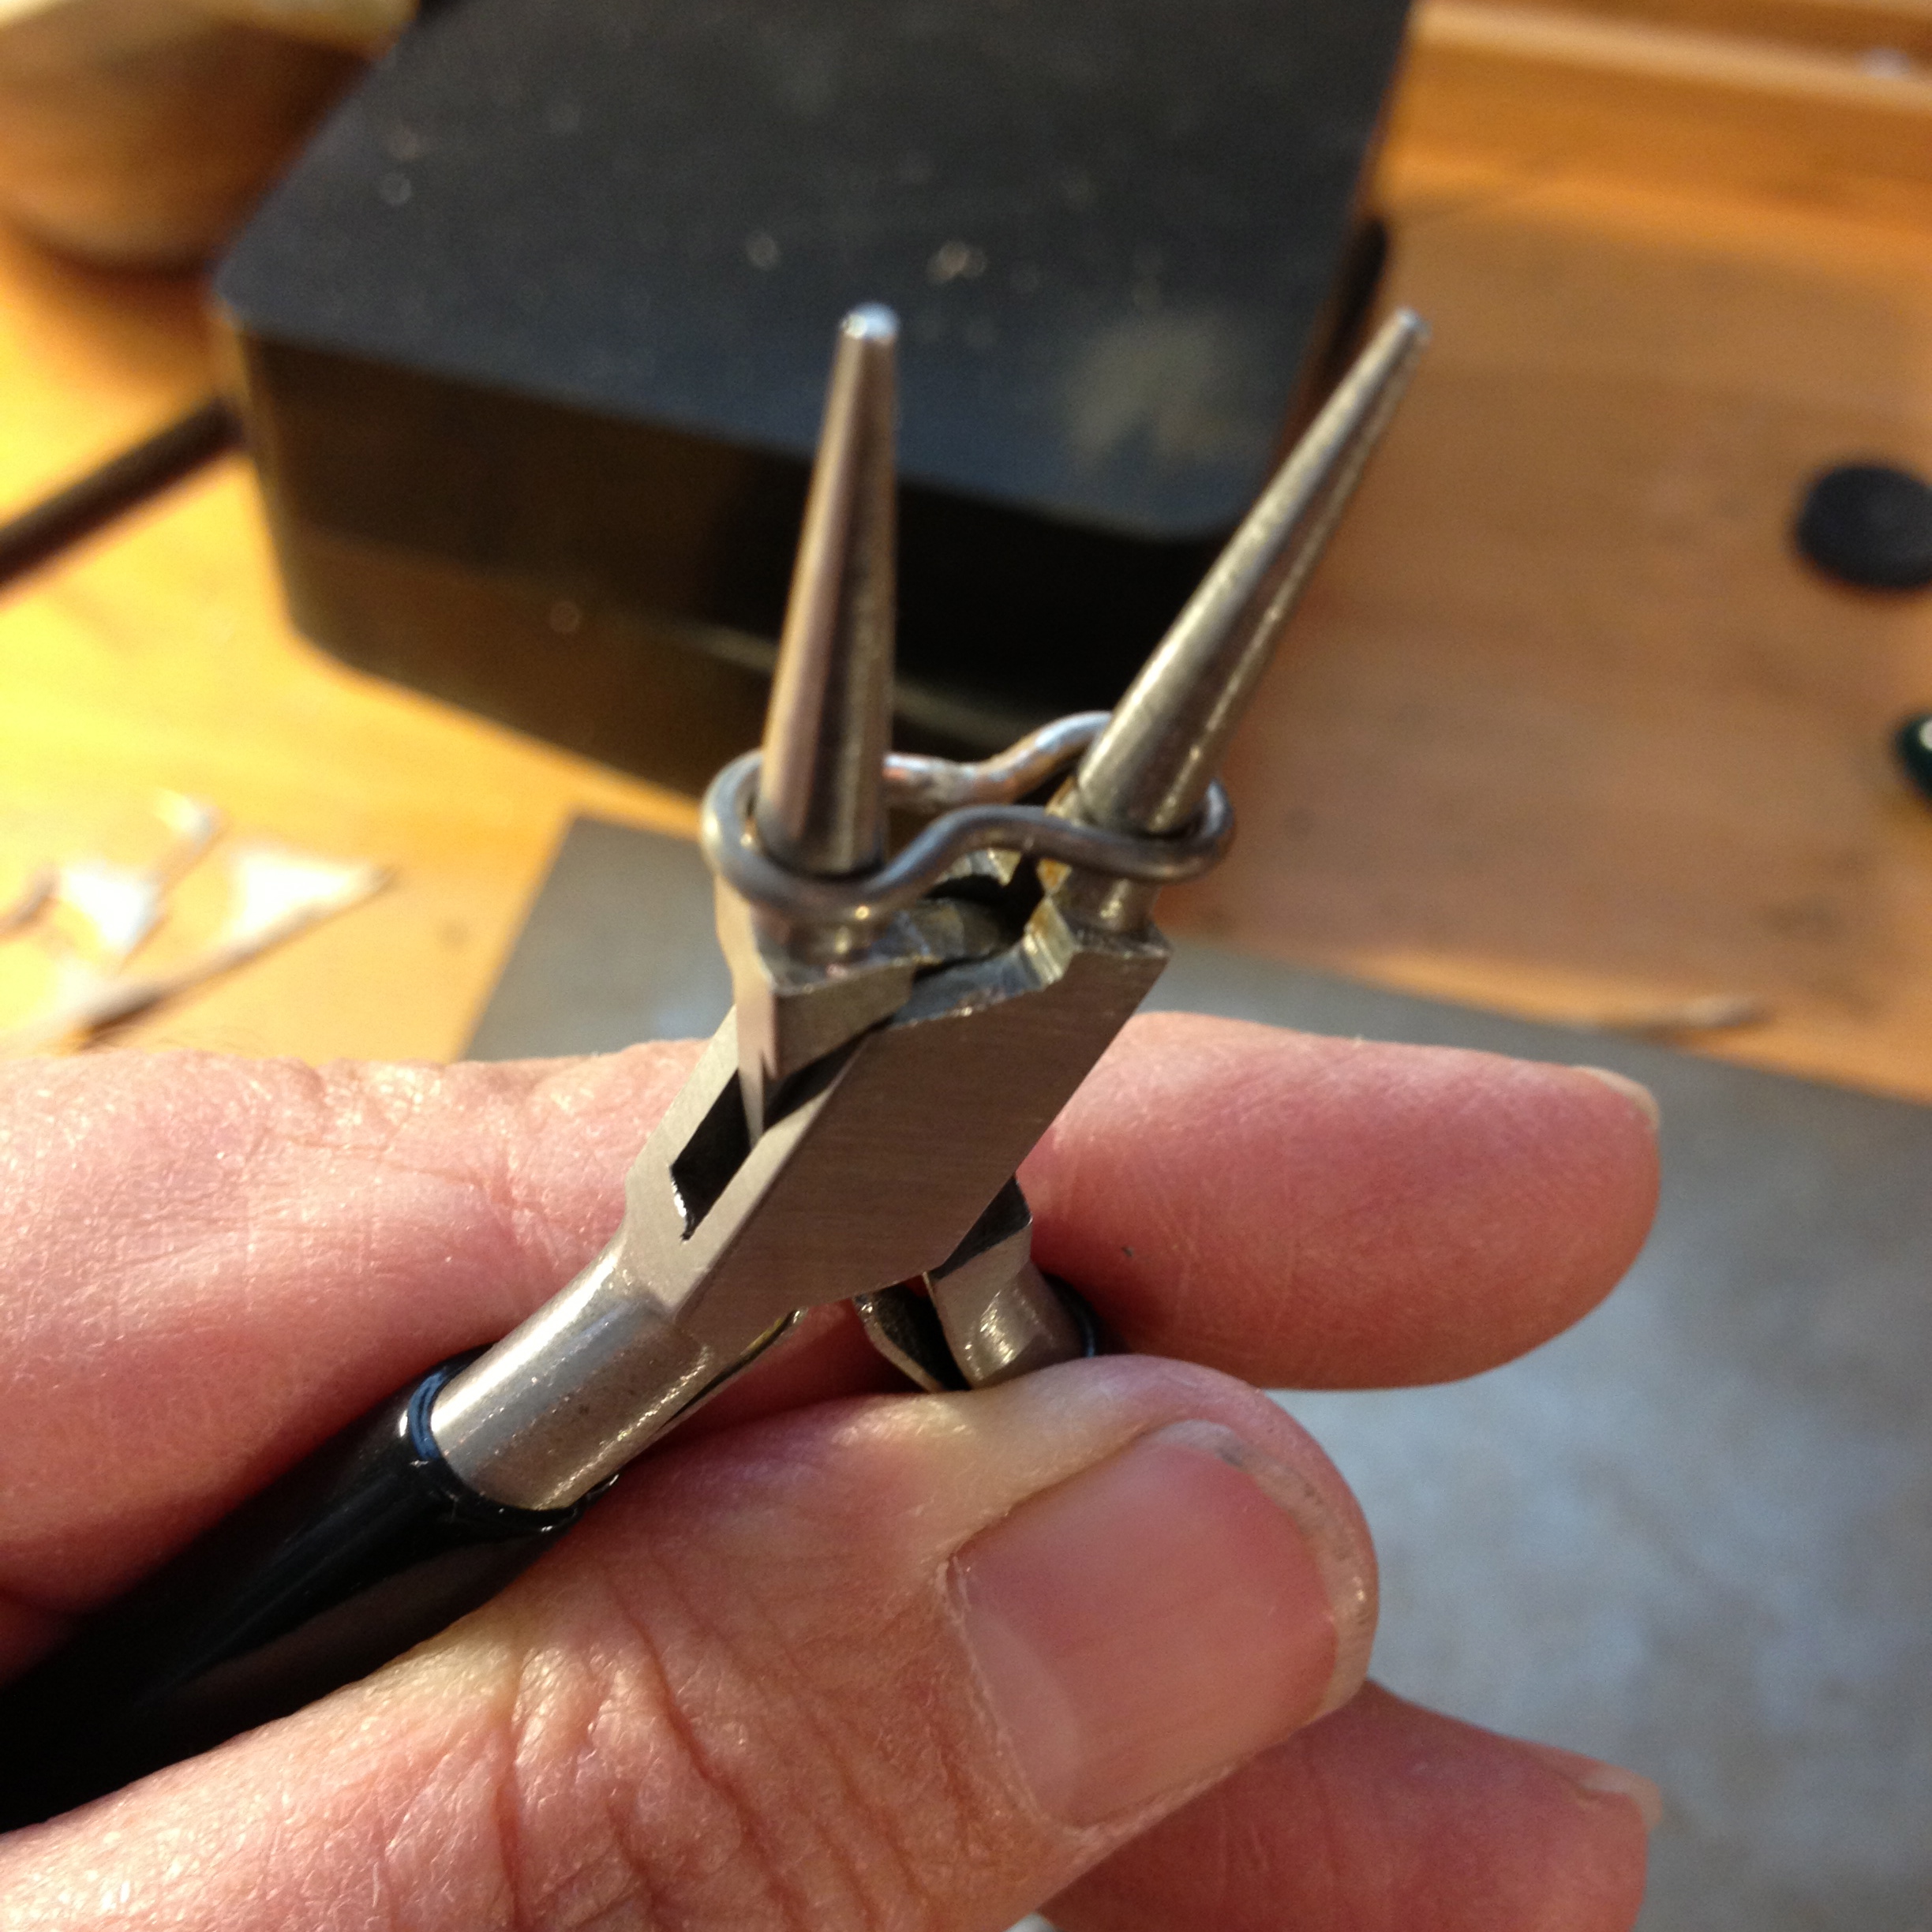
(Excuse my dirty fingernail. Do you think that blows my chance of being a hand model?)
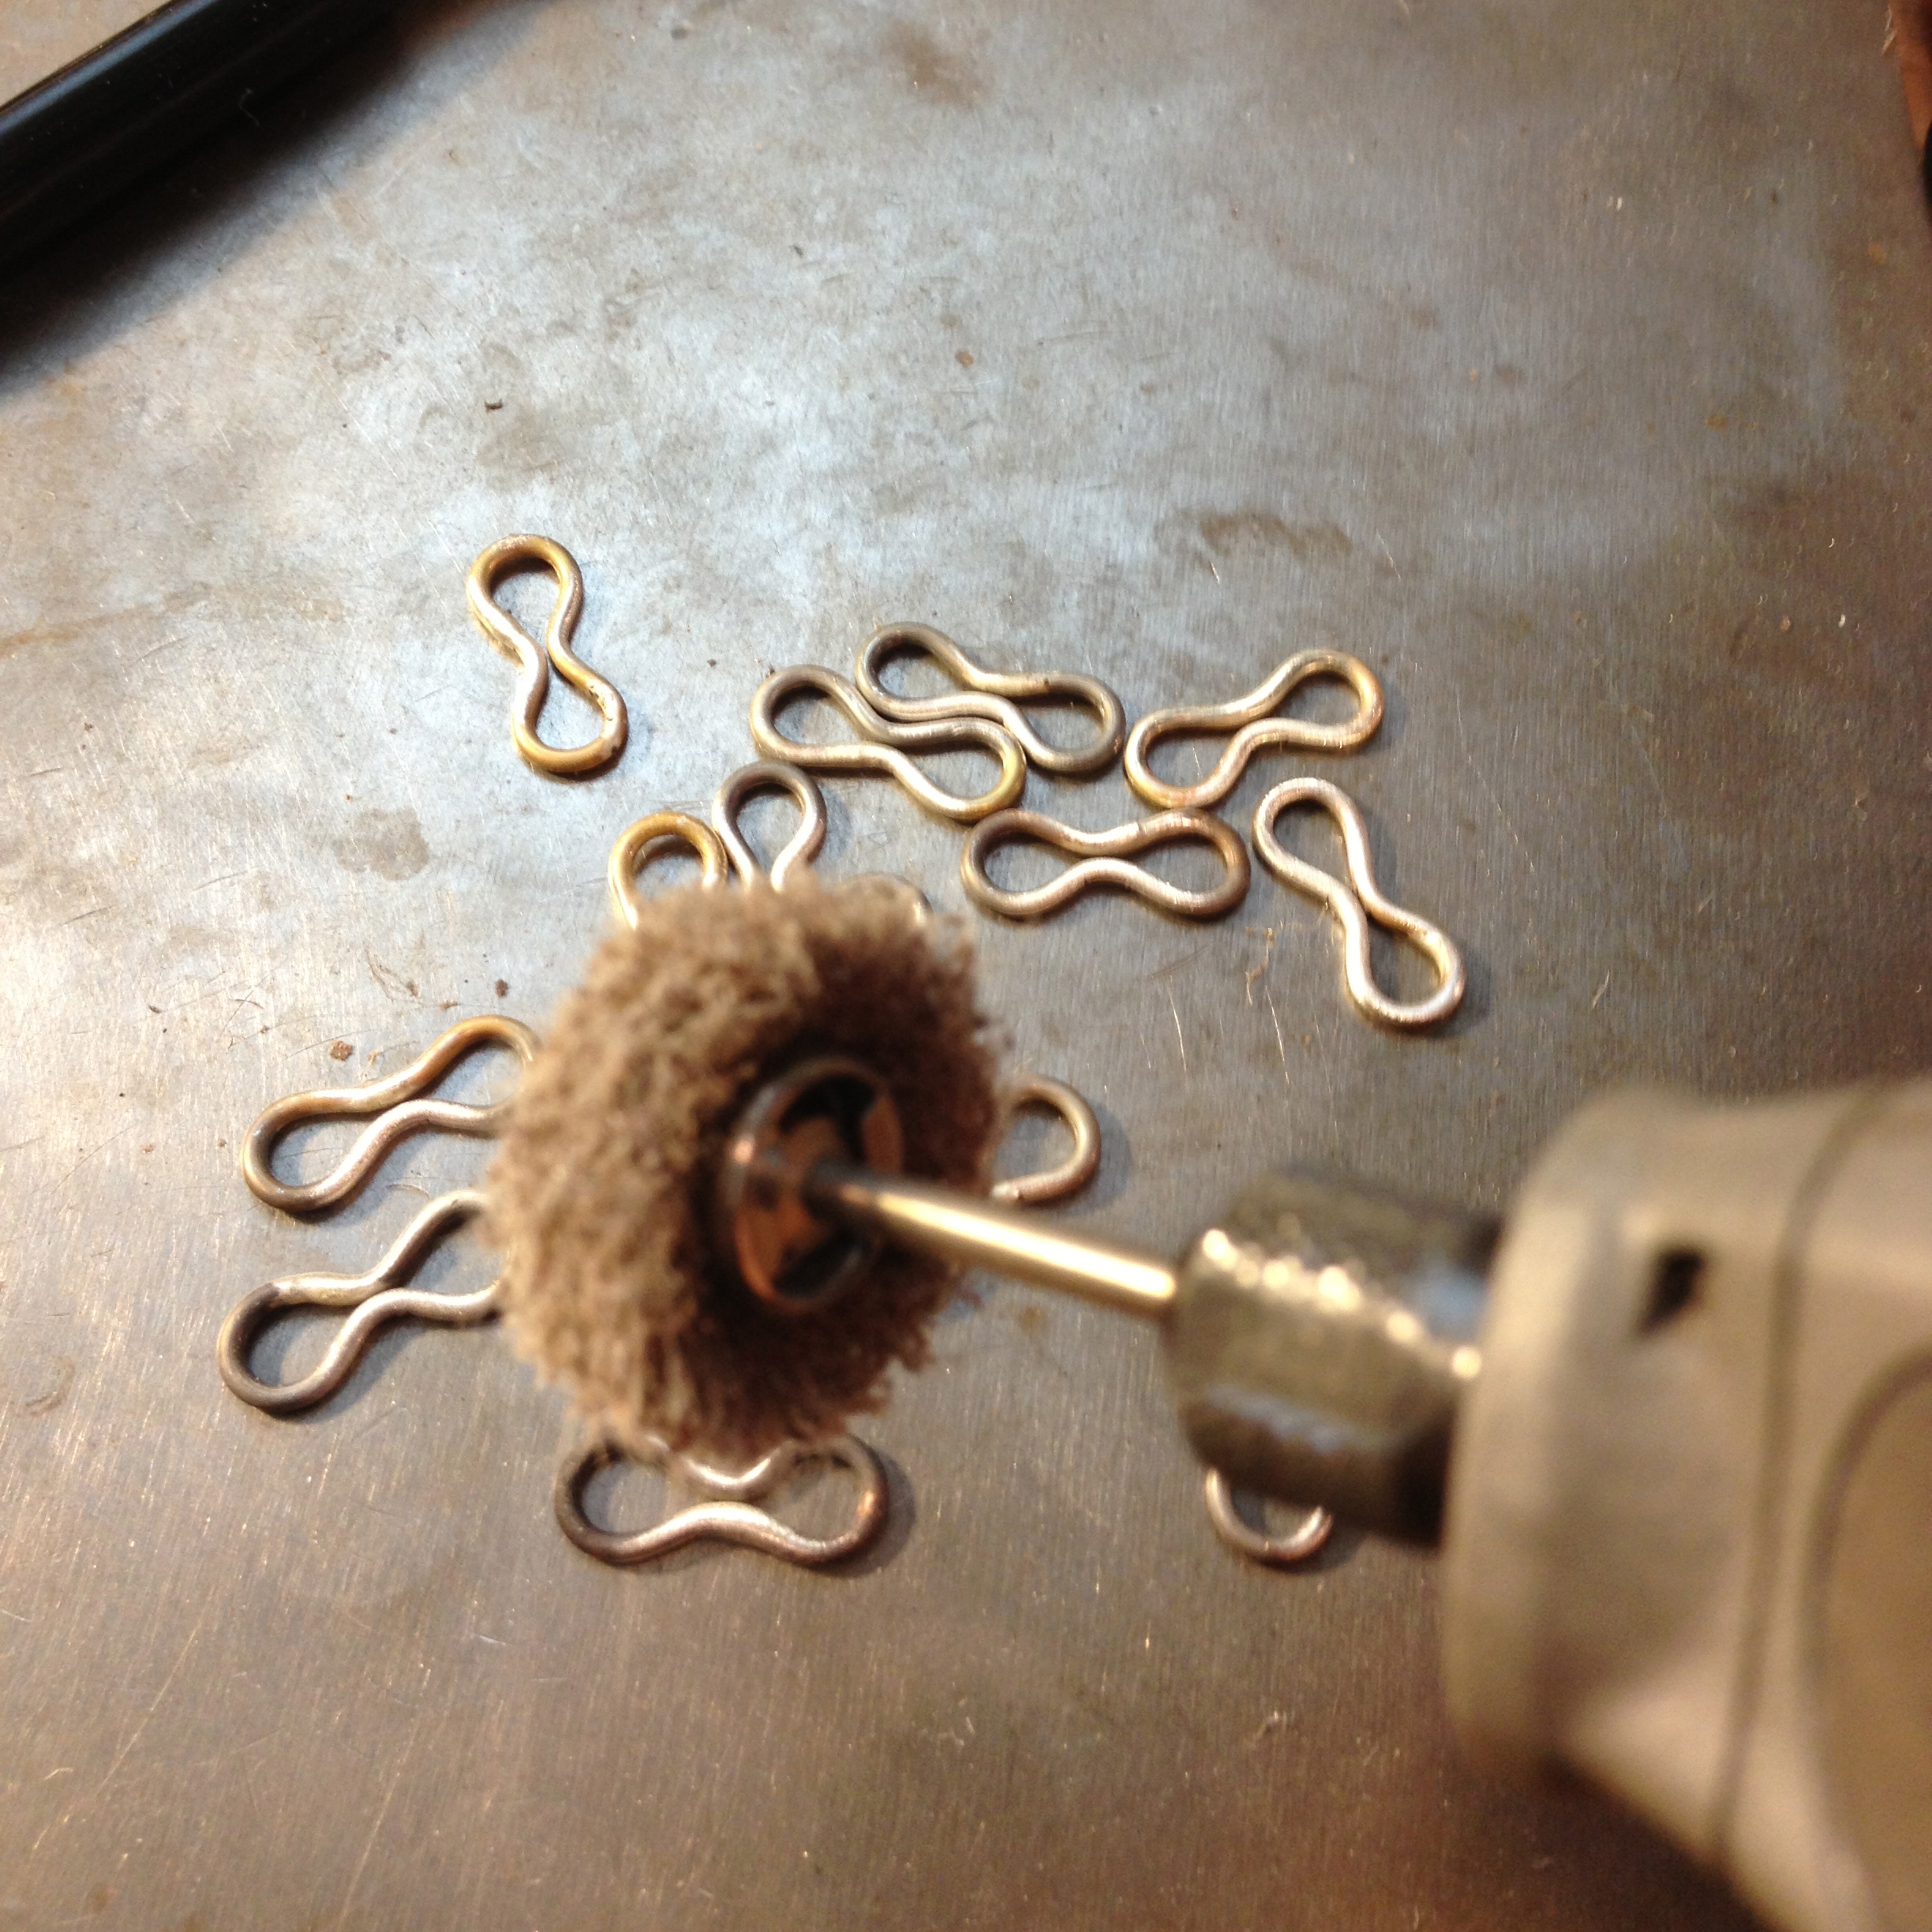
When you have finished them all take your dremel, or buffer of choice, and brush the centers of the links clean as this is where you will do some more soldering.
You could also put them in the pickle, but I can’t be bothered.
I use a coarse buffer.
Take some 22 gauge wire and wrap it three times around the middle of the link.

I bend the wire first to give it a head start otherwise it can get a bit fiddly.
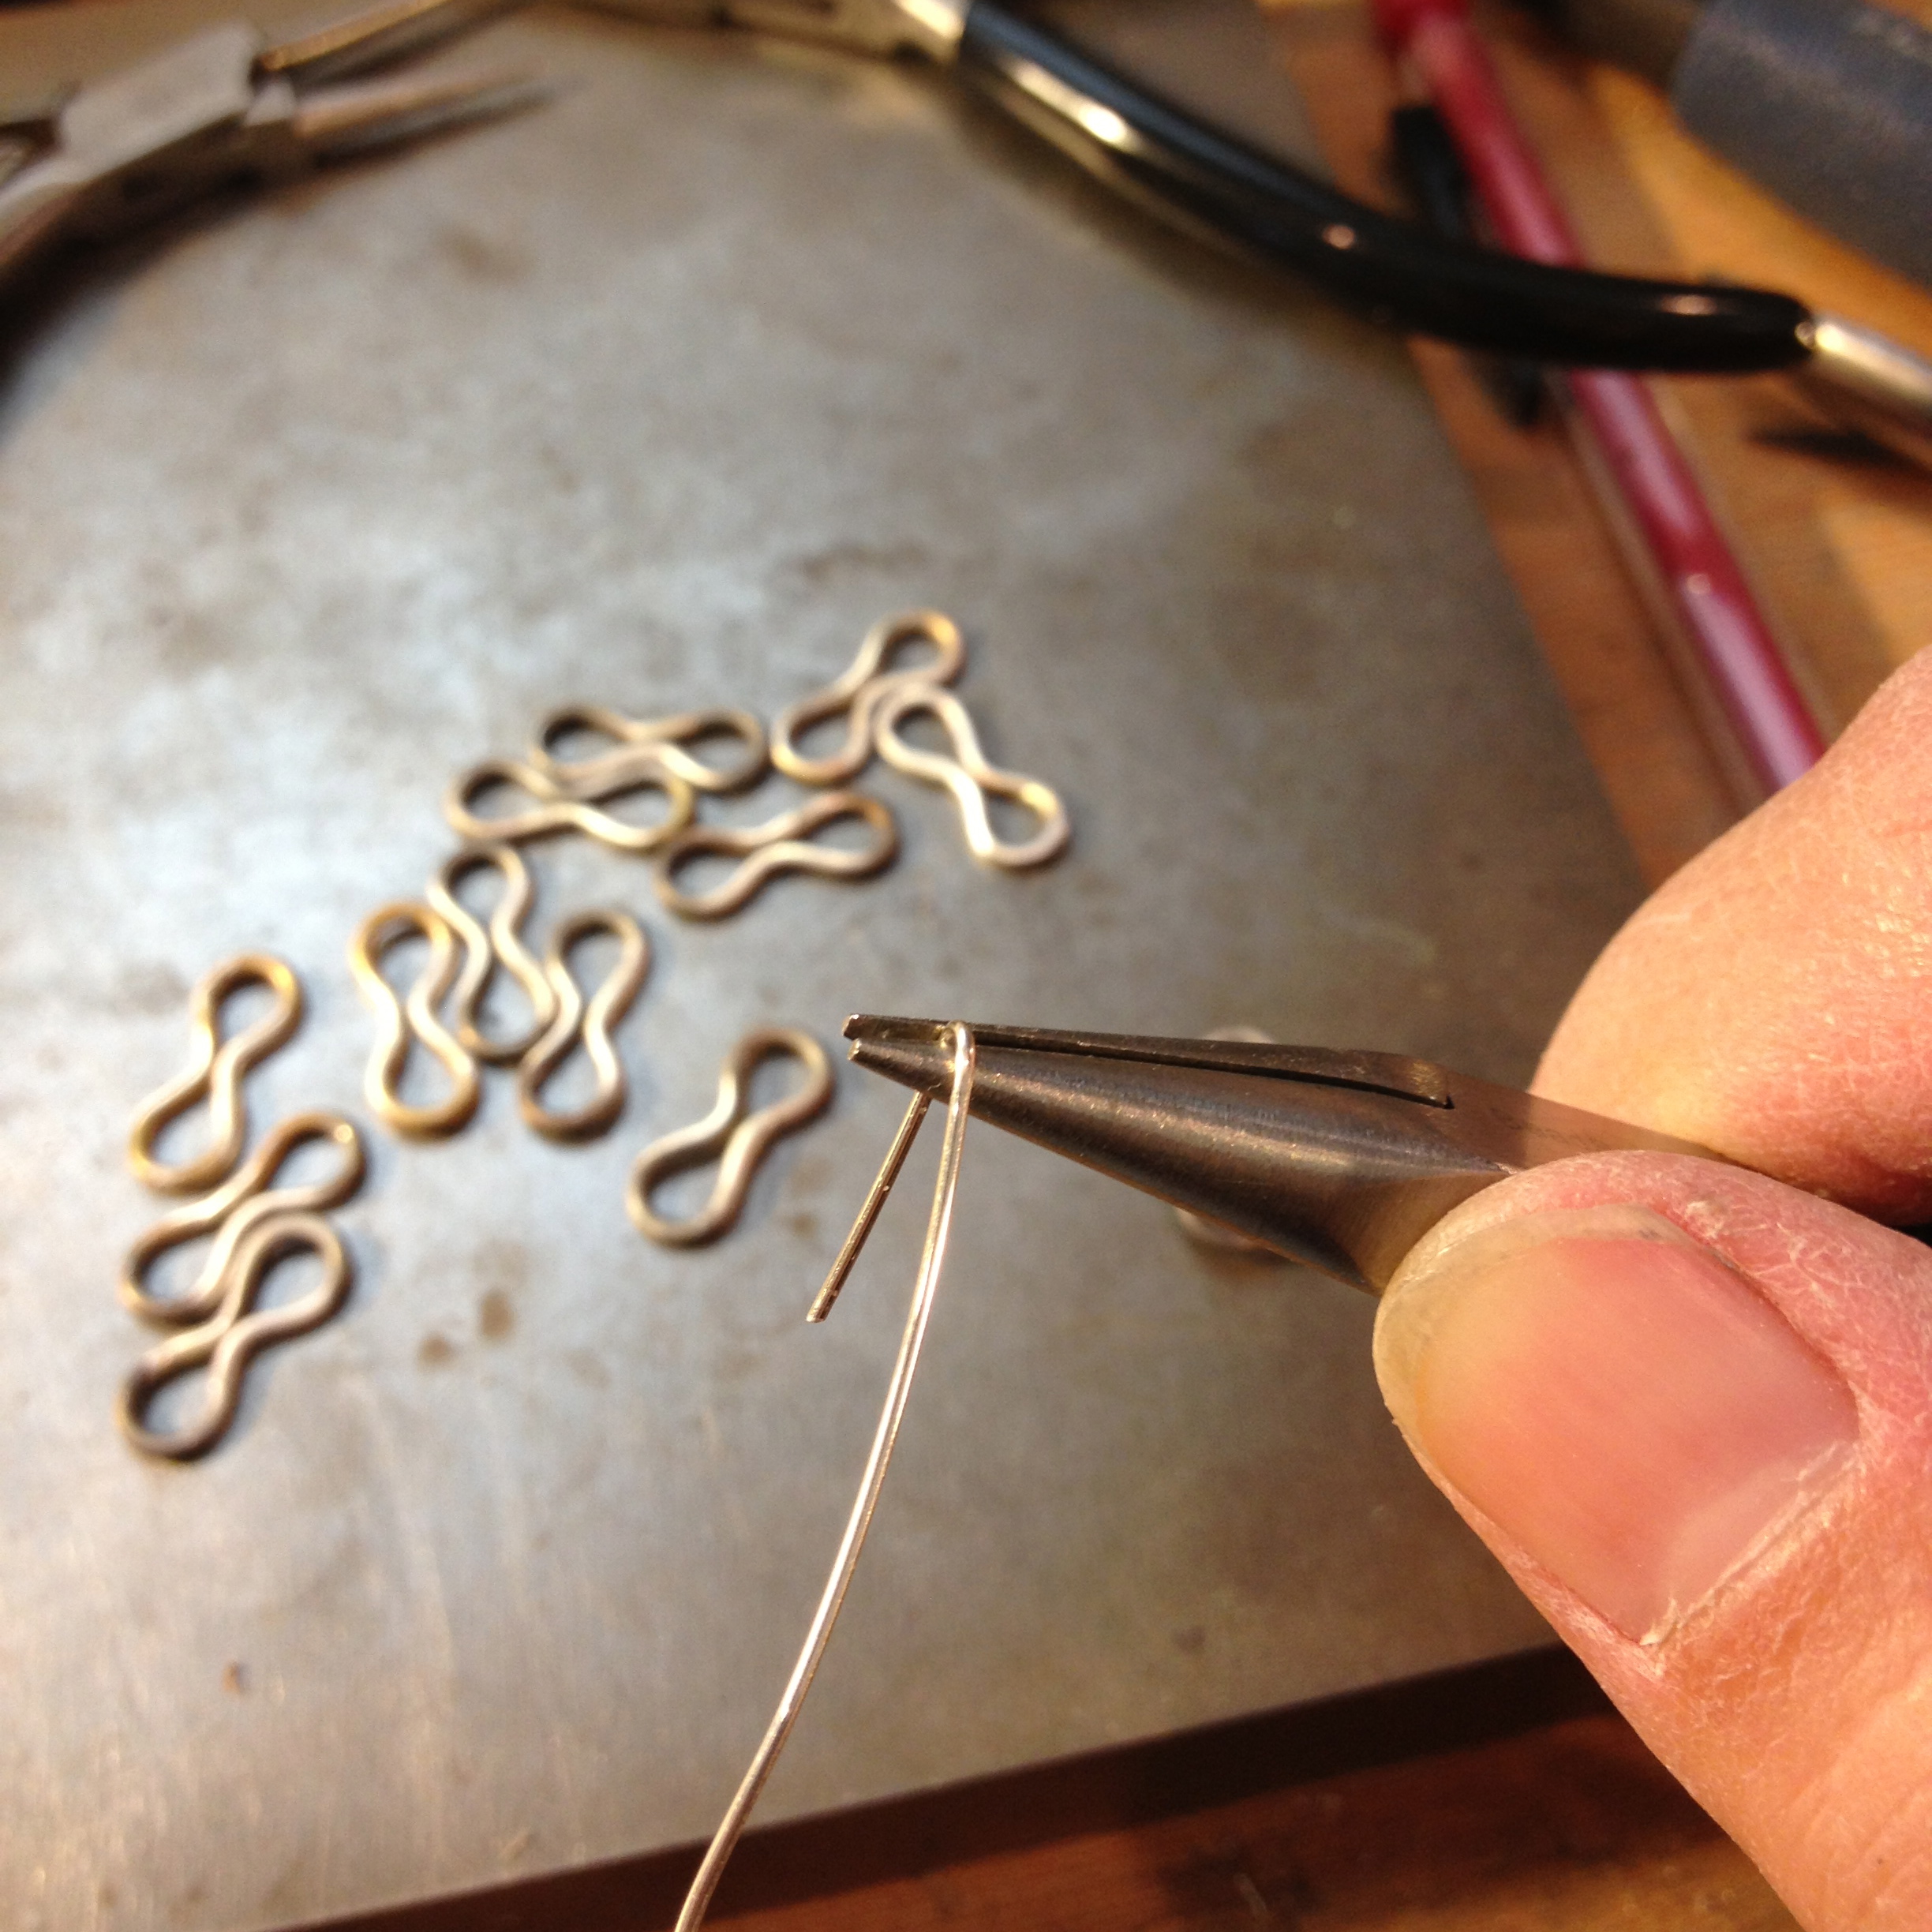
Once you’ve done them all they are ready for soldering again.
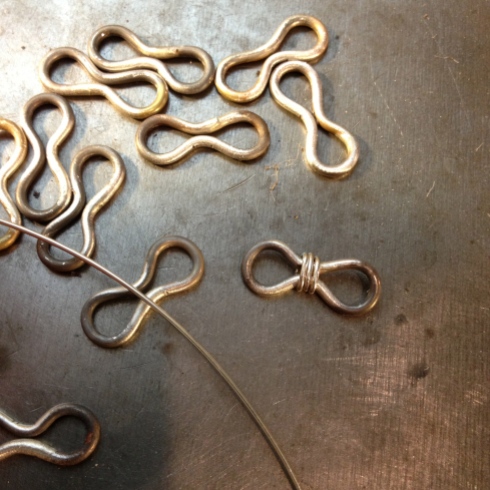
Put a tiny dab of solder on the back of each new coil so that it will fuse to the link.
(Note: I shaped my links so that the middle meets where I soldered the ring together the first time and there was enough solder there to re-melt and attach the thinner wire to the link. That’s probably because I used way too much solder the first time around. (I’ve been working on that). Shaping it this way also stopped the solder bump from being visible at the ends of the link. Remember – always use your mistakes for good – it’s the most useful superhero power you have).
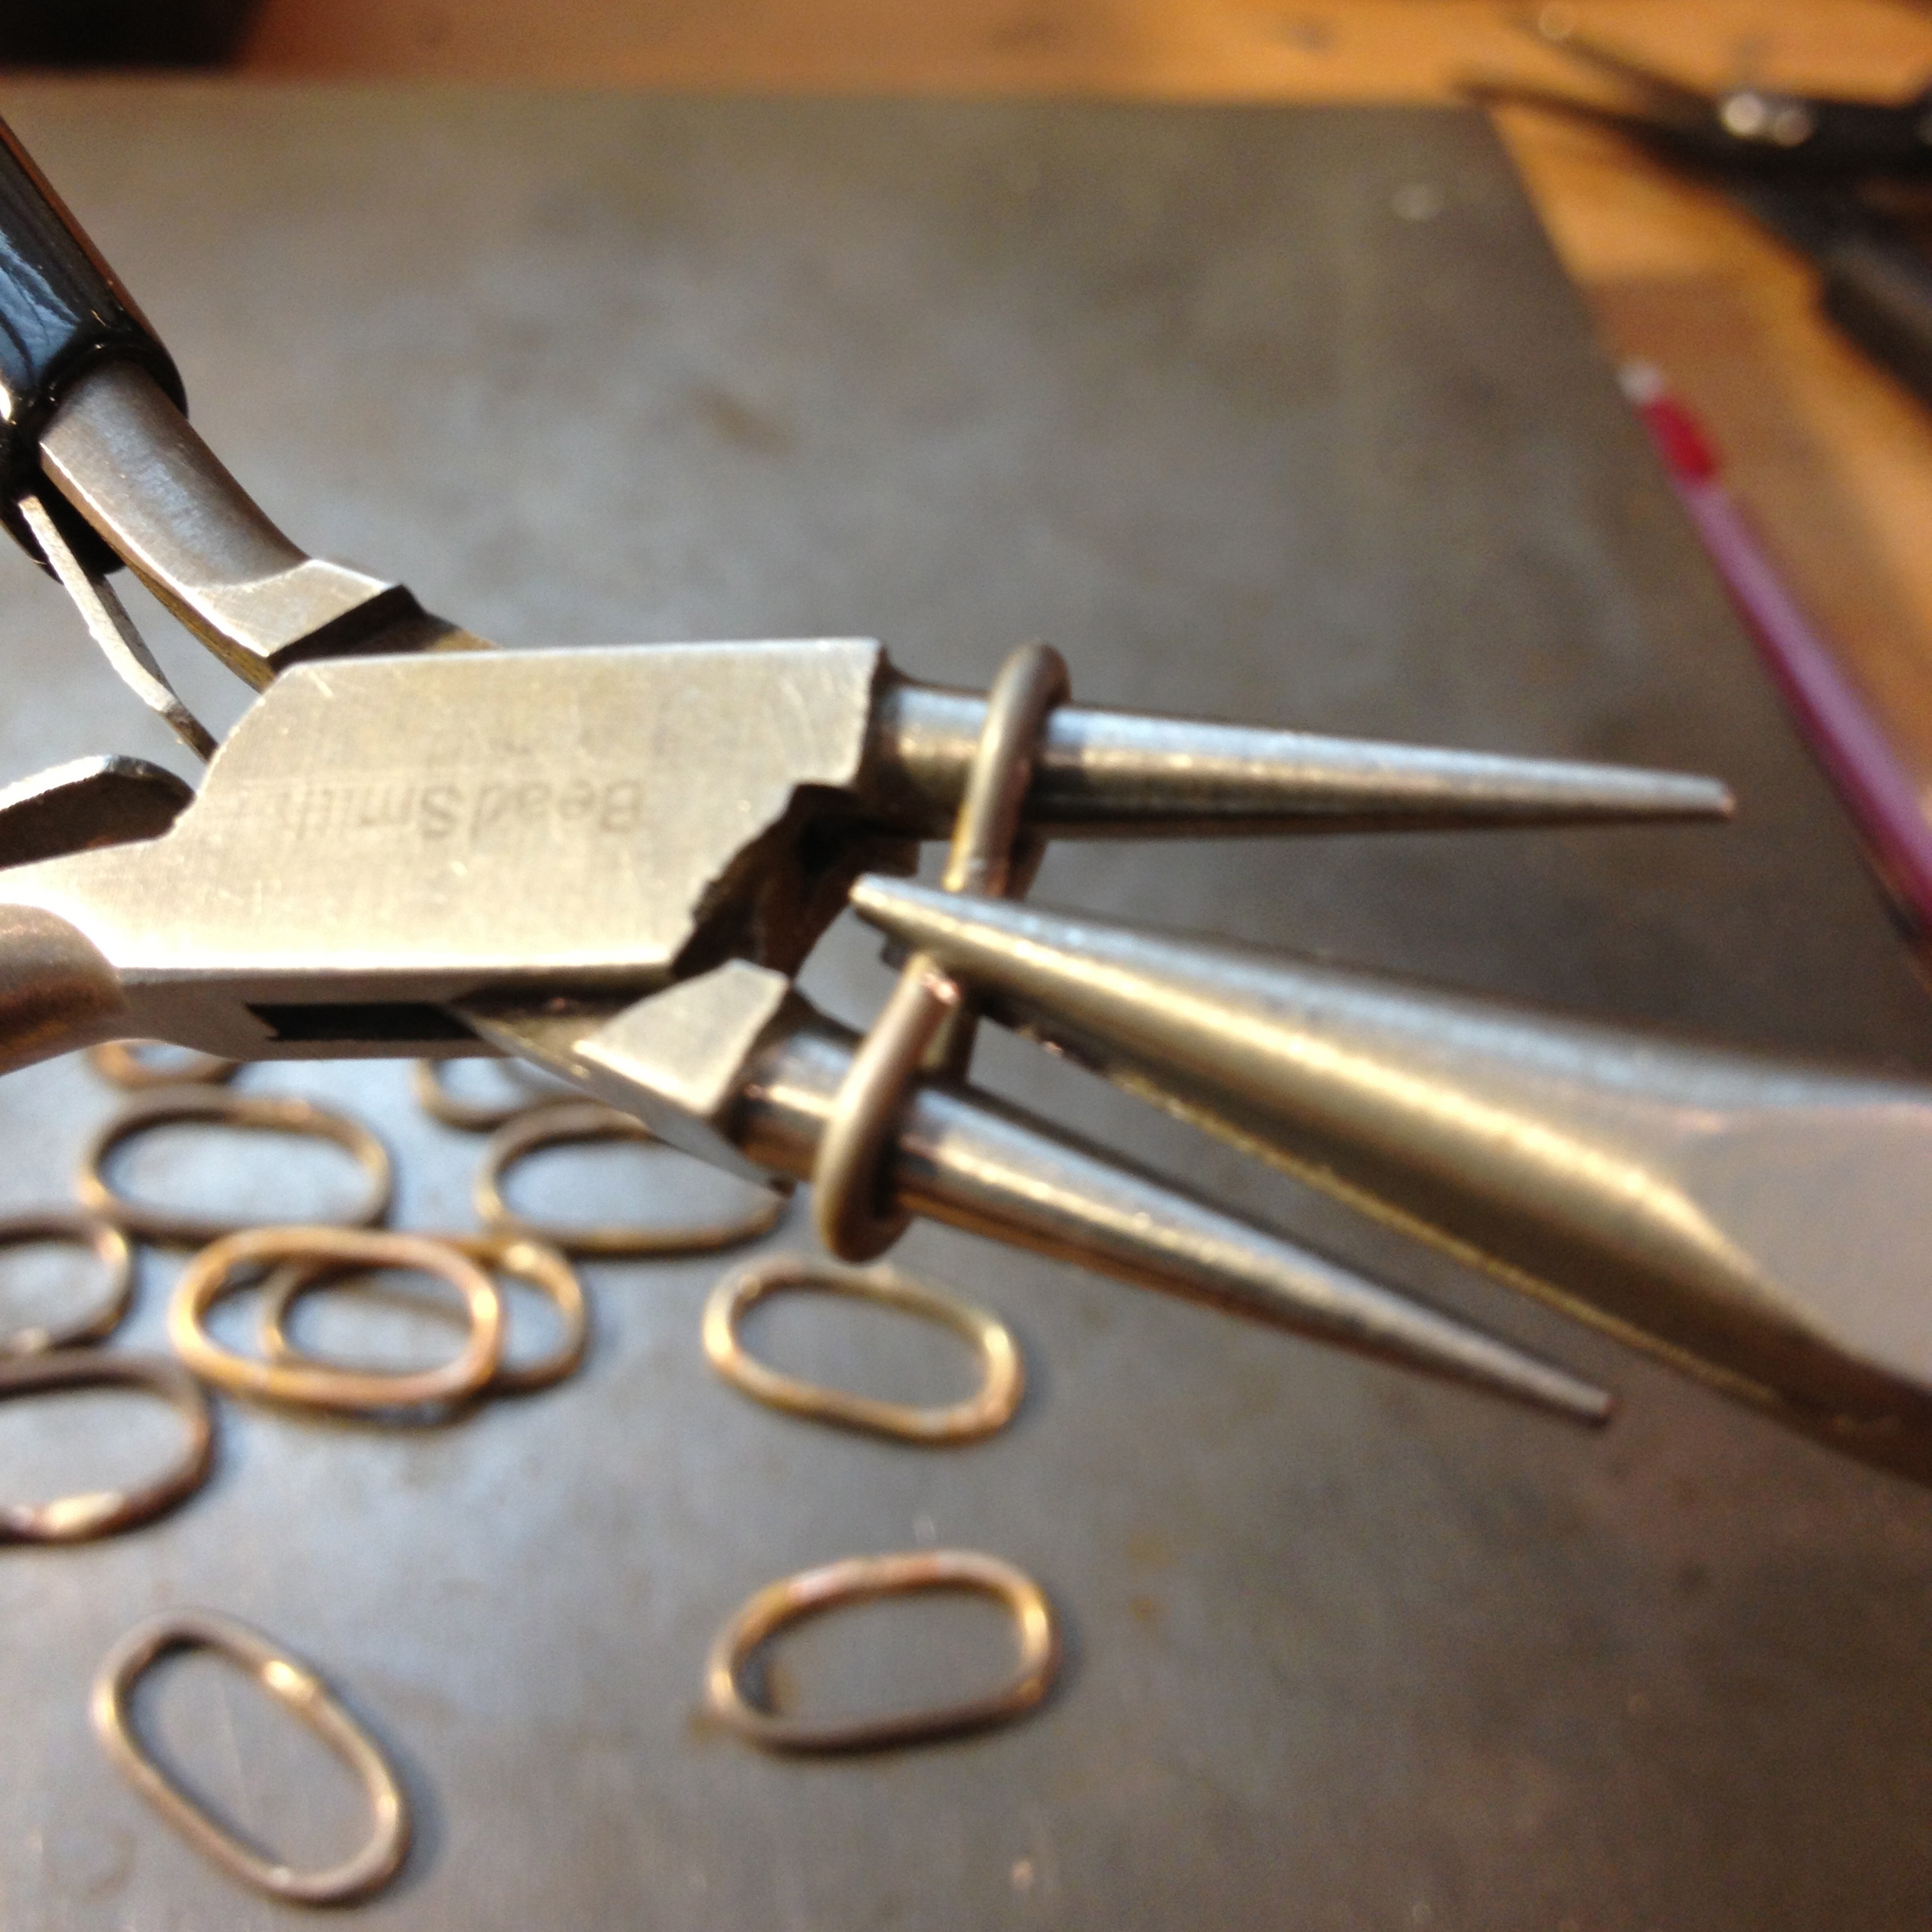
When all of your links are soldered and you have made sure that there are no sharp ends, get the jump ring maker out again and this time use 20 gauge wire on a 4 mm mandrel to make smaller jump rings .
Tape the coil together as before.

Then put it into this handy, weird, plier thing to saw into rings. This makes you remember (again) that the jump ring holding cutting vise thing that came with the jump ring maker is still rusted, but you’re not annoyed about it or anything like that …
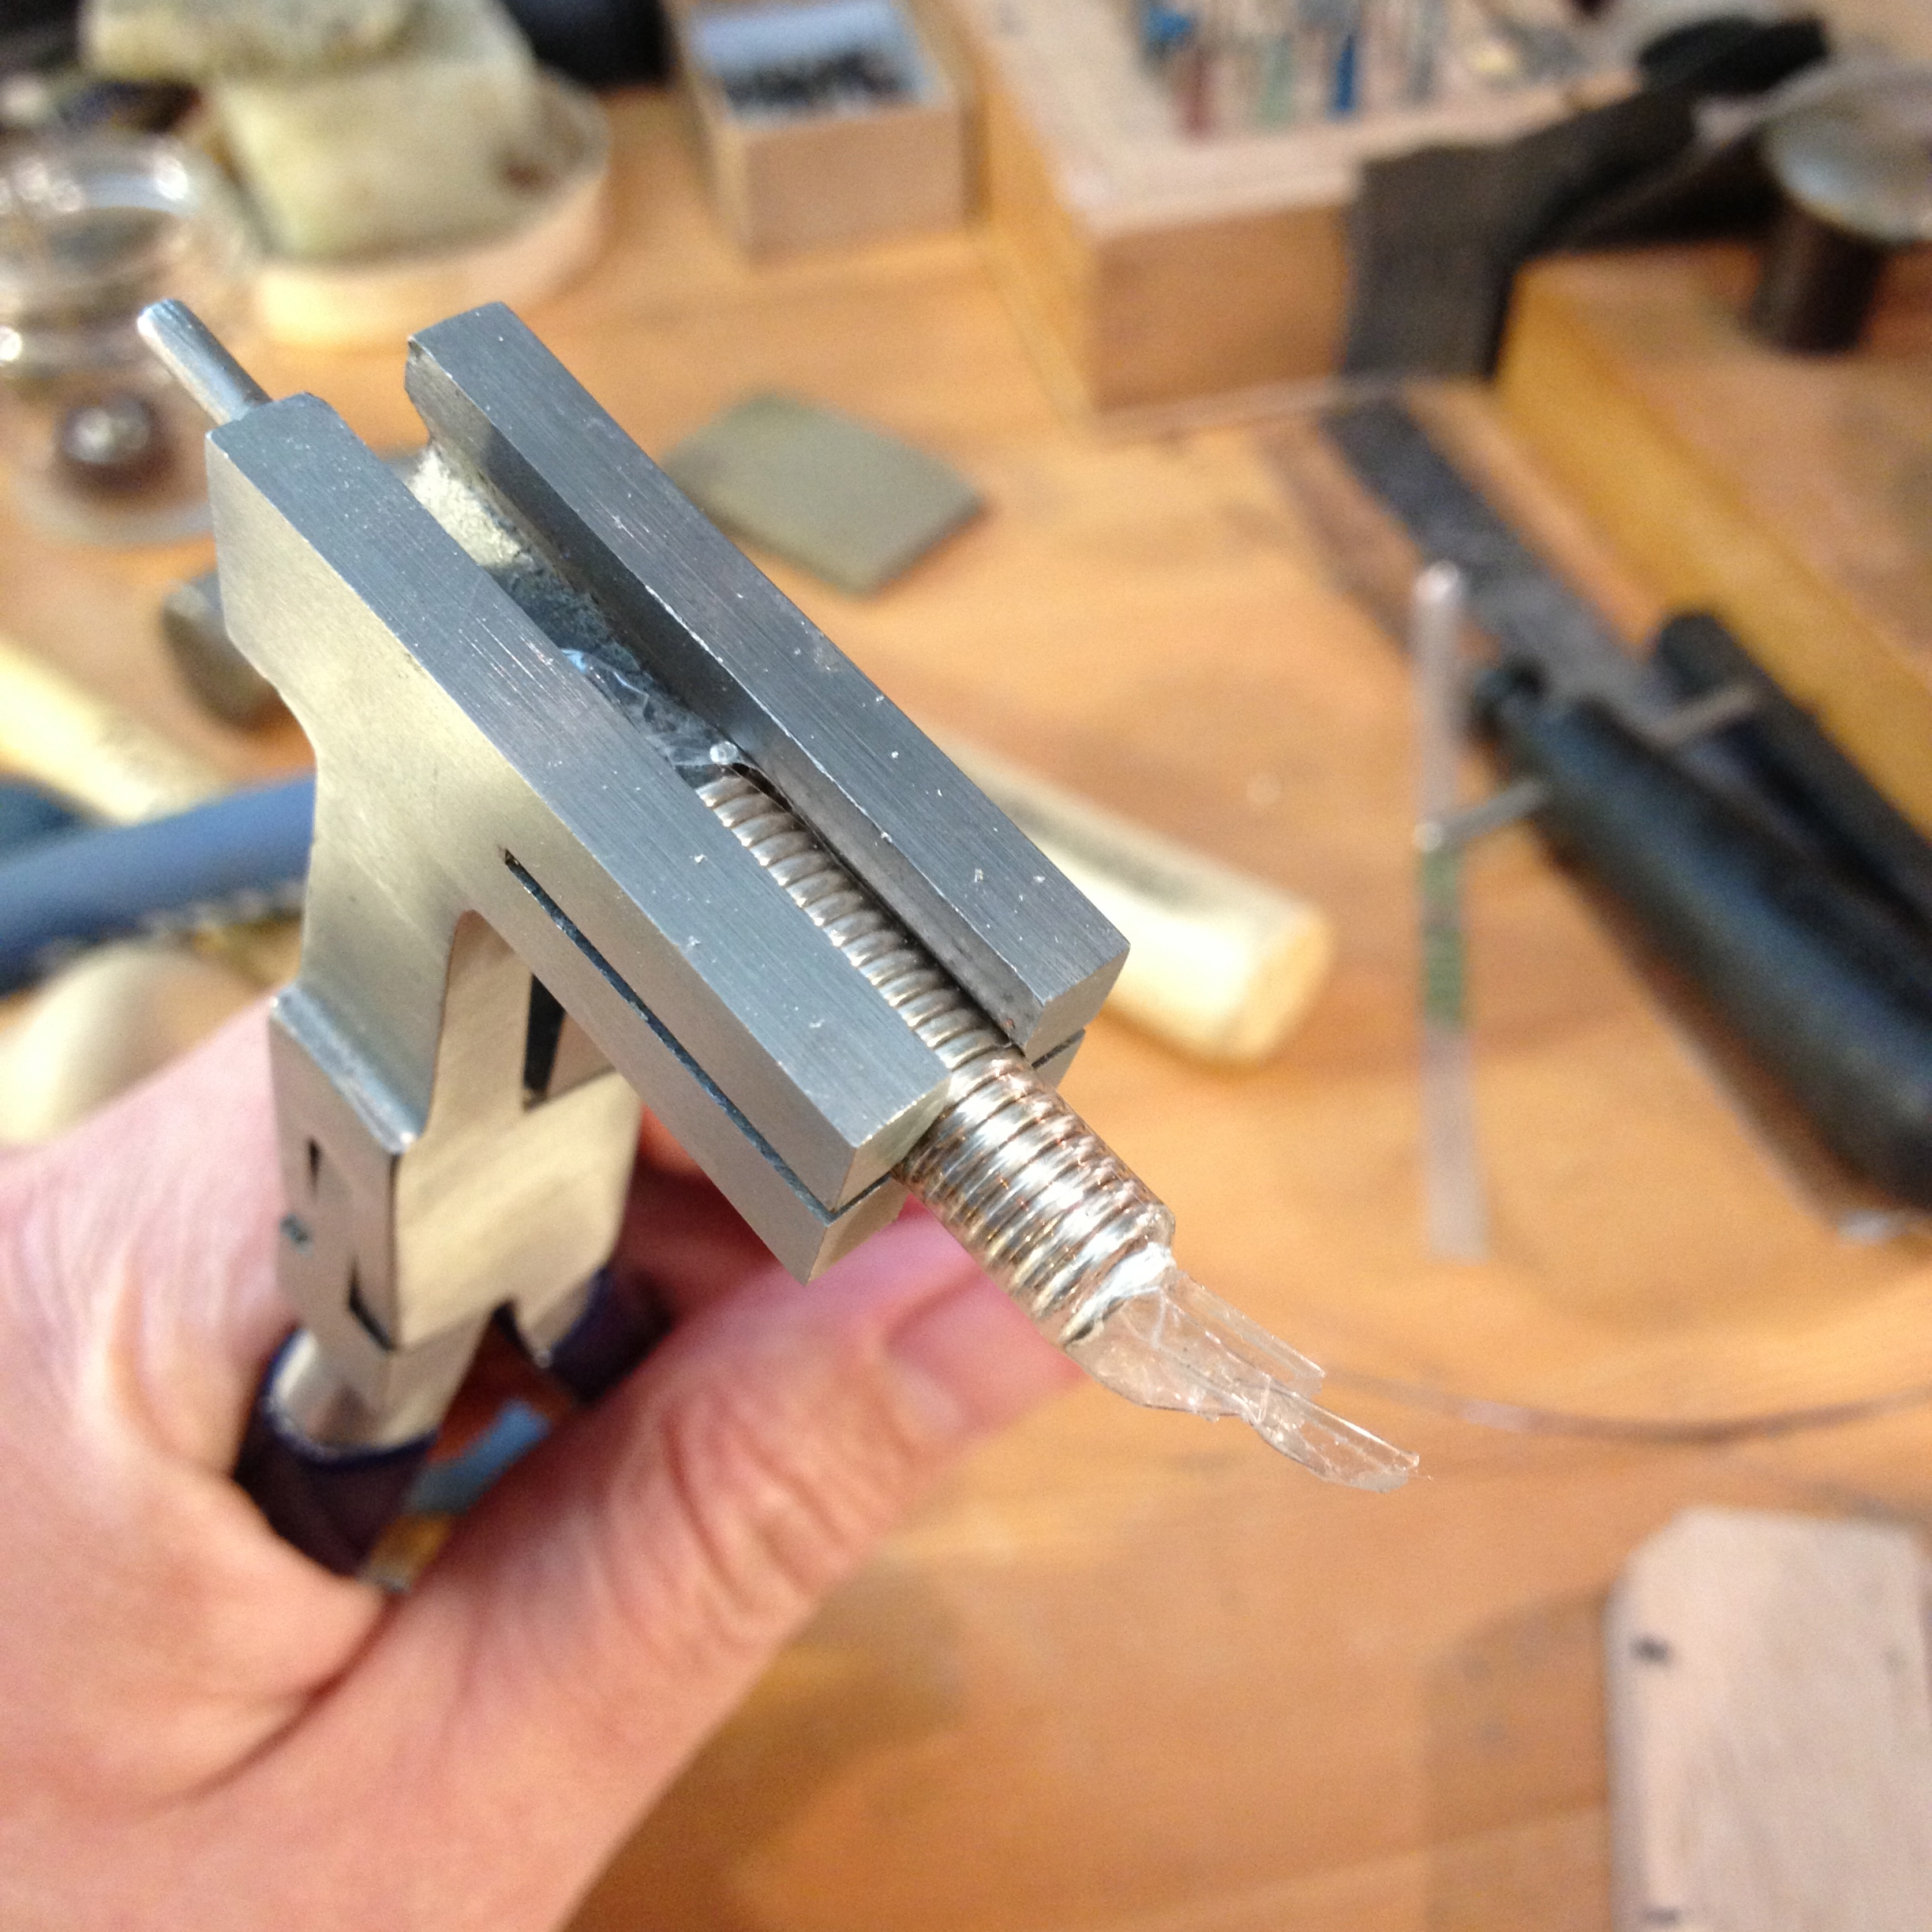
If you don’t have this remarkable contraption, just use a vise or something equally handy.
Next join the links together by soldering two jump rings between them, a little tricky but have some faith, and voilà! you should end up with a complete mess.
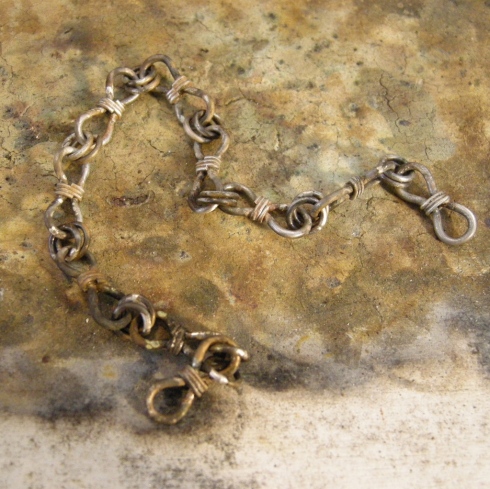
It doesn’t look as bad after pickling, but really? Does everyone’s work look this crusty after they solder?
Here it is pickled.
I wanted to show you what I made with it, but I sold it before I got a chance.
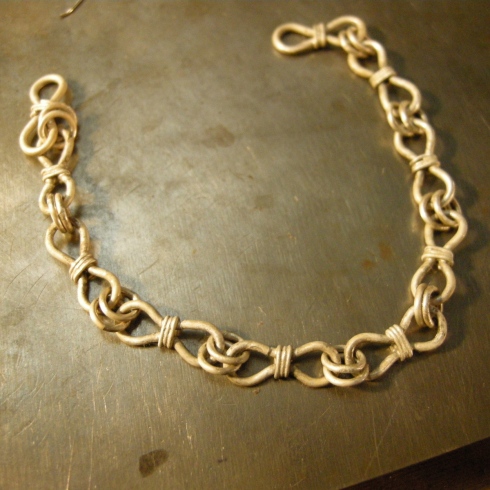
Once I’d buffed it up it was clean and not crusty, and it was made into a bracelet with other beads and such.
Now I’m just going to have to make another so that you can see the end result.
Happy chain making and, if you can decipher my brilliant step by step instructions, let me know what you make with it.
Note that you probably don’t have to solder any of this chain to make it, however, I haven’t tried making it that way. I use solder because I want my chains to hold up to wear and tear. I also think they’re easier to form, but I could be wrong.
–
Good tutorial! But, yikes–that’s a lot of soldering! If you make the first set of rings with fine silver, instead of sterling, you could fuse that set of joints (it won’t work with sterling). It took me some practice to get the fusing down but, once you learn, it will save you a ton of time!
I know! I tried it with sterling and it fused fine, but wasn’t strong enough to hold the joint when I shaped it. I didn’t have enough fine silver, but that’s definitely the way to go.
Thanks for such a fun, clear tutorial. I have not started soldering yet, but you make it look easy enough that even I could do it…You have motivated me!! Thanks so much!
O.K., so this really is a bit fiddly, so don’t give up 🙂 You may want to start with bigger links. Let me know how it goes.
Deborah.
I don’t know how I initially found your blog, but I have been visiting and re-visiting as I can. I love your work and I love how you write – highly entertaining as well as very clear tutorials – really what is not to love here! Thank you for being so generous with your knowledge – it gives me, a real newbie to this whole soldering/fusing thing, a giant heaping helping of hope! (almost made it to 4H)
Thanks Maureen,
sometimes I think I’m driveling lol
I like the peacock chain you made. I’m going to give it a try if you don’t mind.
Deborah.
Please do try it – I found a great video on YouTube that walked me through it – I got very brave after that!
Really enjoyed your tutorial – I found you through pinterest. You are great teacher, and fun to “listen to” and you make tutorials very easy! ‘ve not tried soldering yet, but this might make me! Sure makes me WANT to try it!
Thanks again.
You should try it. It’s not as intimidating as it seems.
Thank you for this step-by-step. I too “enjoy” soldering – not! I want one of those…” handy, weird, plier thing ” I have struggled with making jump rings and see that these pliers will be the bees-knees!
Hi Chris 🙂 I still struggle with the pliers. Turns out in the photographs you see I’m using it wrong. It still works that way for holding the coil. I’ll try to post some photo’s later using the ‘correct’ method lol