I made these yesterday and have decided to keep them for myself as, according to P, they go with my black heart.

I rarely wear jewelry so hey for me!
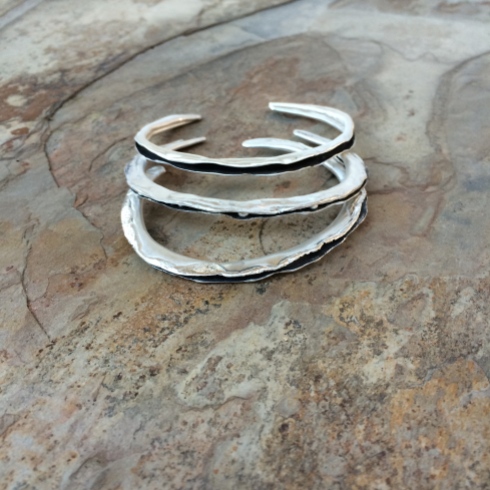
I call the one in the middle, Peas be with You.

So if you want to make one

It’s very simple, and I only got two injuries making three bracelets, so there’s a bonus right there.
Remember those 1 x 6″ sheets of silver I bought by mistake? Well I cut them lengthways so I had two 6 x 0.5″ lengths. (You may need a length longer, or shorter, depending on your wrist size)
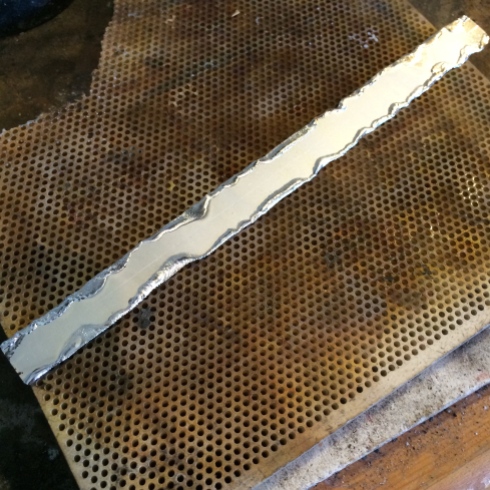
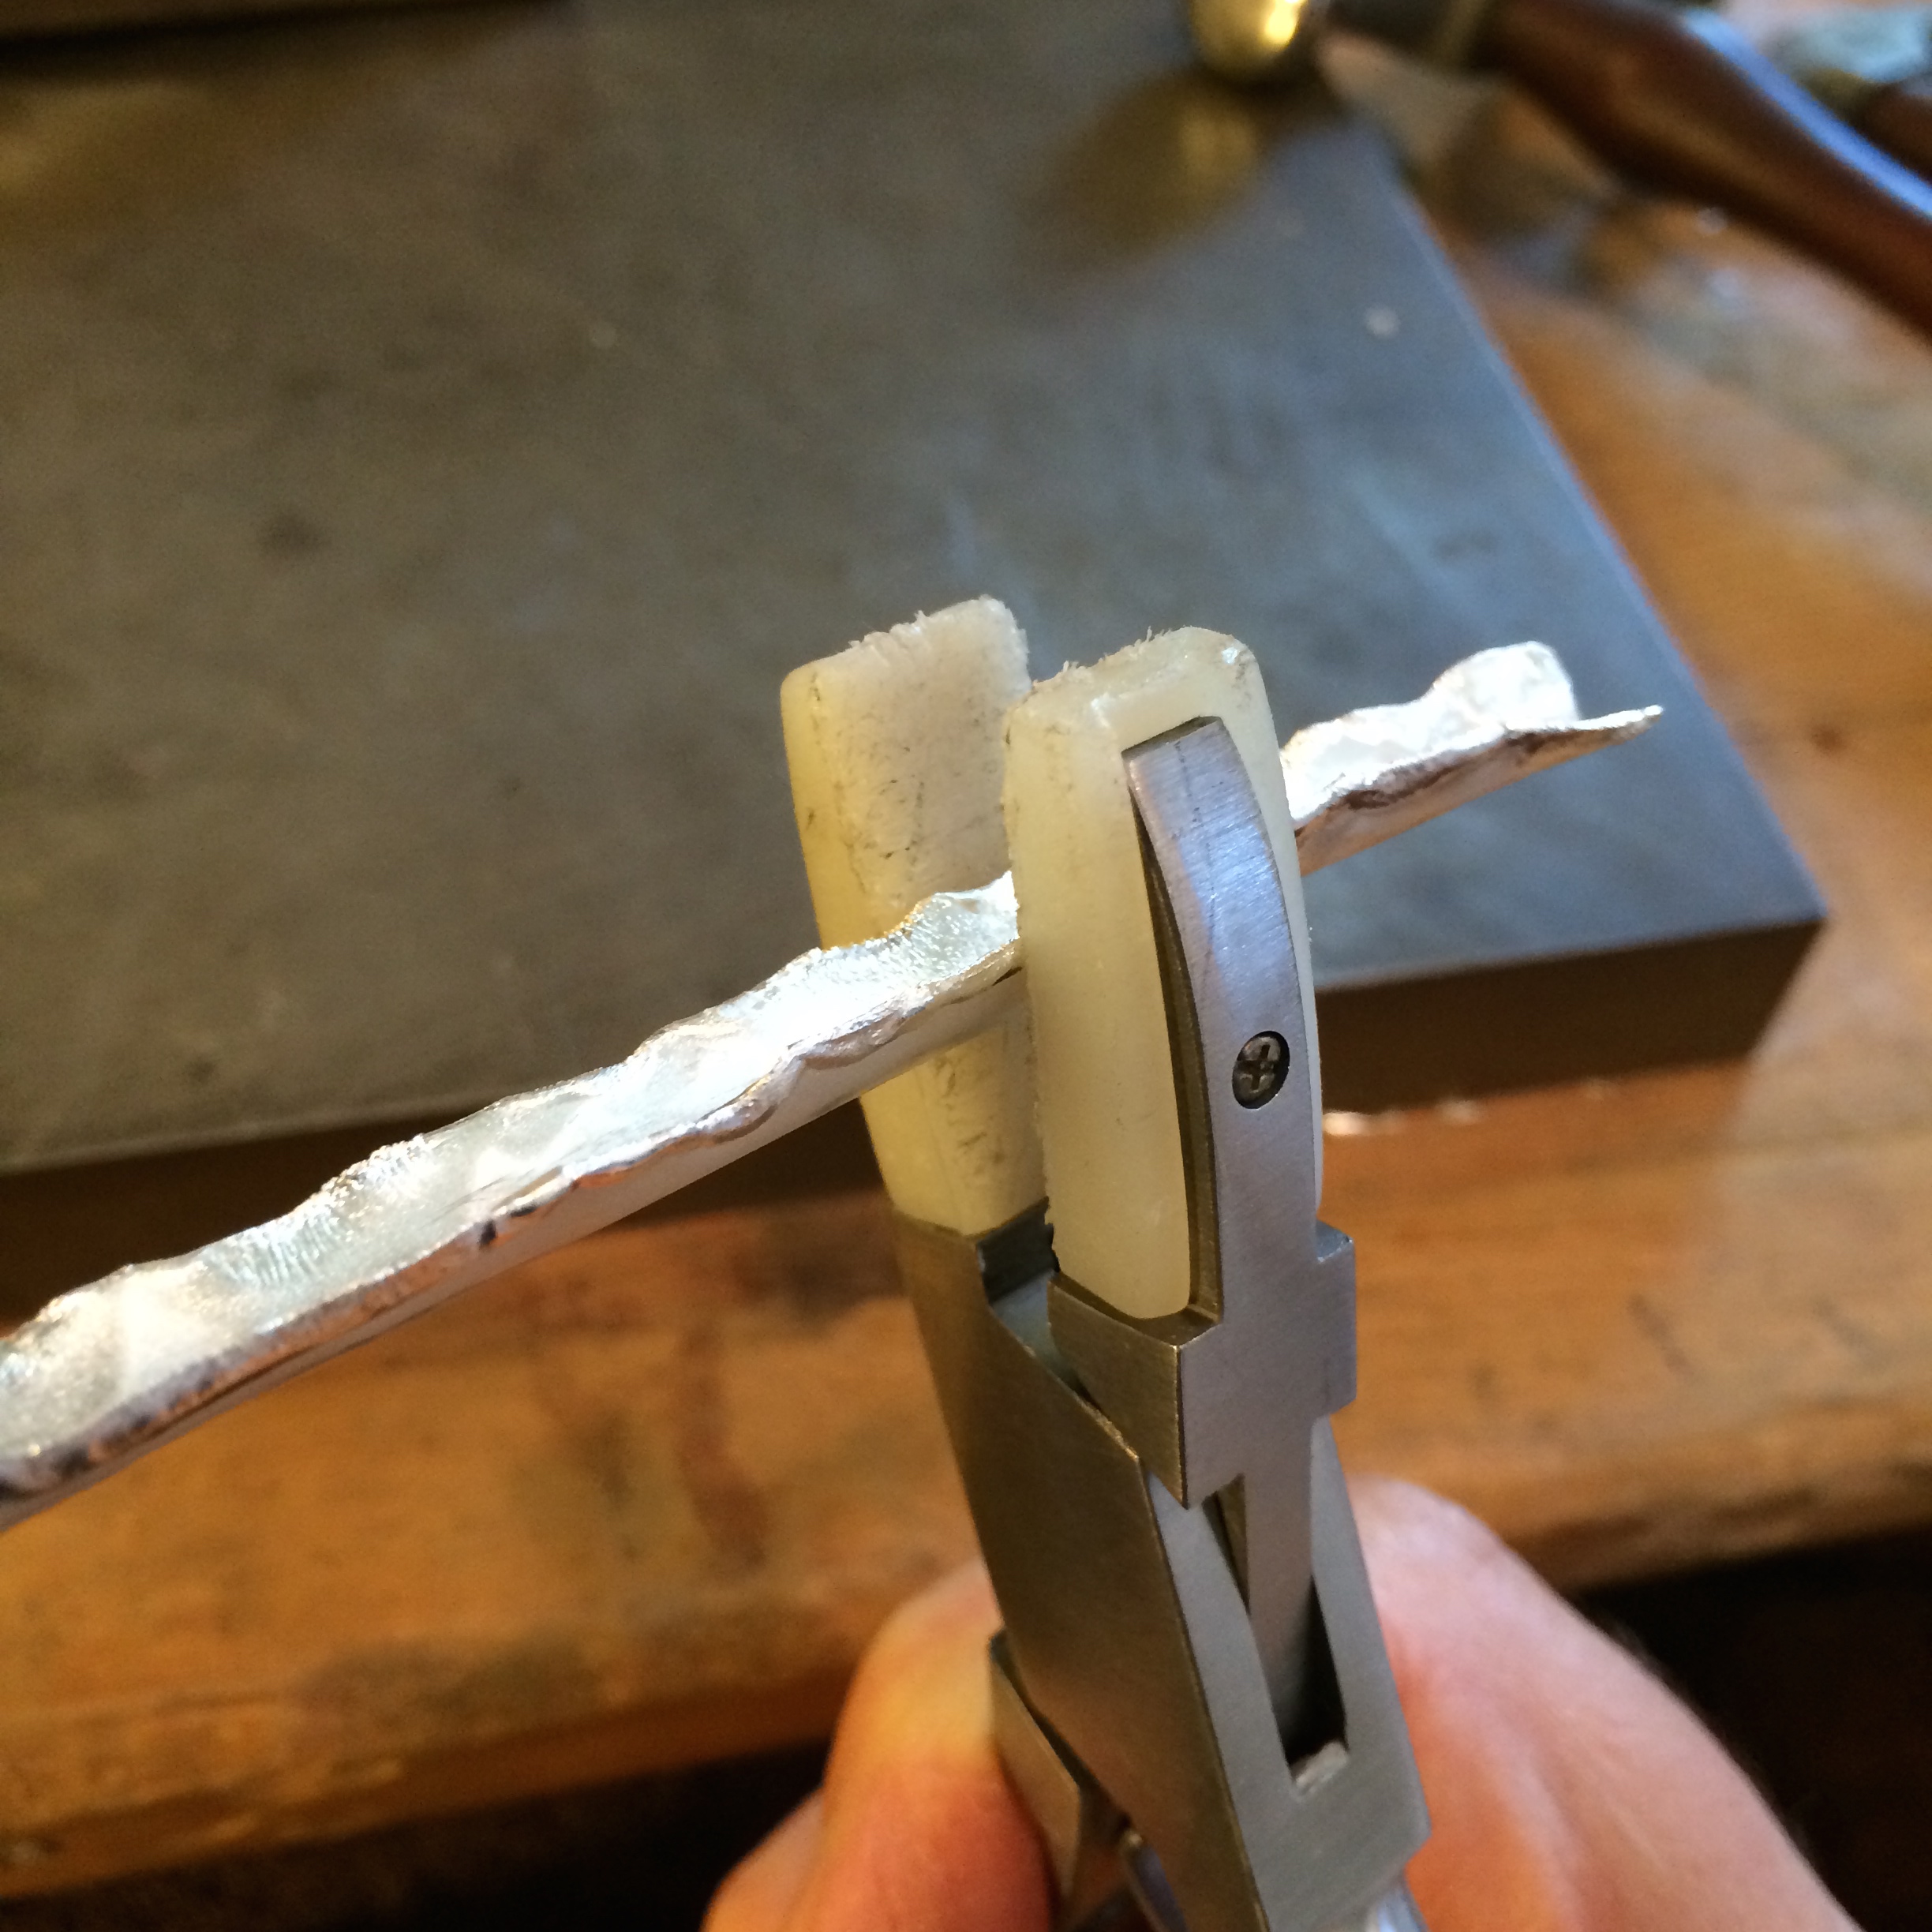
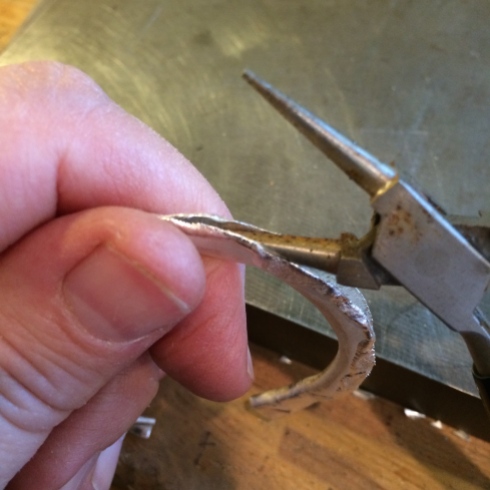
Then I heated the edges until they melted.
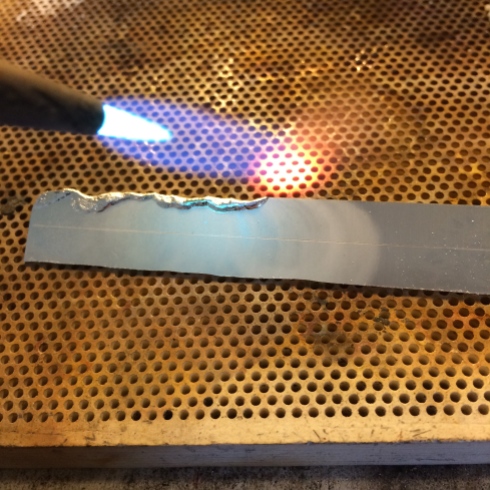
This takes a little time and it seems that the silver likes to melt as the edge is being pushed by the flame rather than heating it face on.
Now bend the piece lengthways over the edge of your block.
Either this way.

Or this way, depending on what works best for you.

And finish bending by gently hammering.
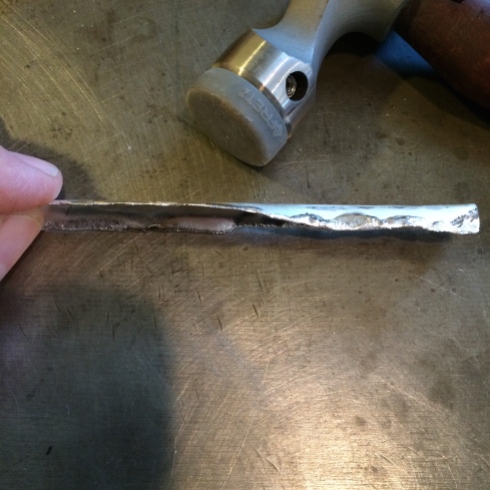
Or squishing.
Until you have a folded bar.
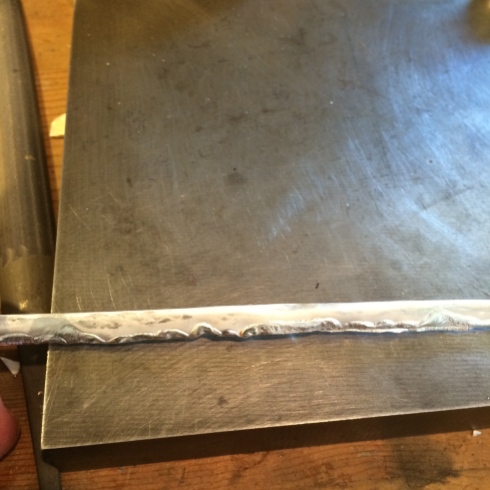
Don’t hammer the fold flat, you’re just bending the edges together.
The trick to making this bracelet is in the annealing.
Each time you work silver it hardens. Heating the silver softens it so that you will find it not only easier to manipulate, but also less likely to split as you bend it.
So now you will gently heat up (anneal) the bar of silver until it turns a dull red colour and you can either leave it to cool on its own, or quench it in water.
For this purpose I’ve found that either works o.k.
Now you can take a bracelet mandrel or anything that you can form your bracelet shape around and, with the rough edges facing upward, gently ease the silver around the mandrel.
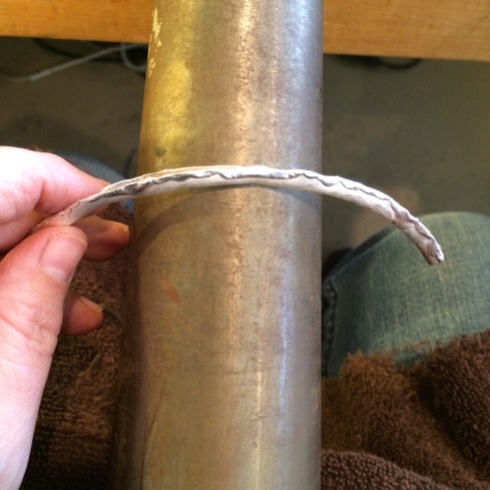
The metal is so soft at this point that you can do this easily with your fingers.
You don’t want to push the metal too much and you will begin to feel when it has started to become hardened again.
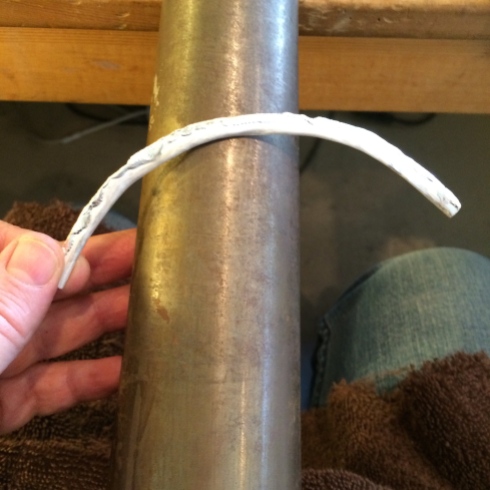
This is when you stop and anneal the metal once more.
Continue doing this until you have formed the bracelet shape you want.

This can take three of four goes.

You may need to use a raw hide hammer toward the end of the forming. Don’t hit the bracelet too hard, but gently tap the ends around the form.
If the silver twists just gently tap it back into shape, and anneal when necessary.

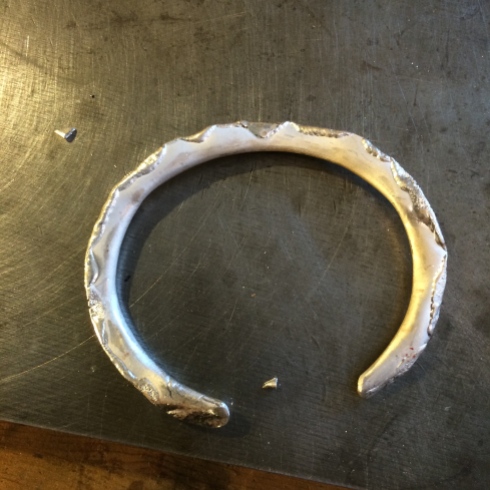
When you have your finished shape anneal the piece once more.
Again the metal will be soft enough for you to now open up the bracelet.

Don’t do this though.
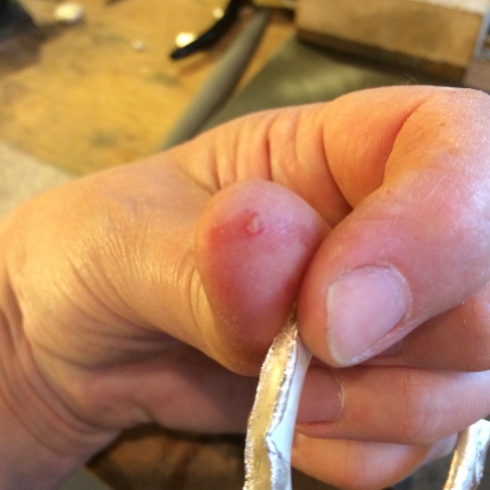
Because it hurts.

Keep about three-quarters of an inch at the two ends closed and snip them into a round which you will sand smooth so that you don’t cut your wrists each time you try it on.

Not that I’ve done that because I’m too impatient or anything.
Now take your raw hide hammer and gently tap the bracelet all over.
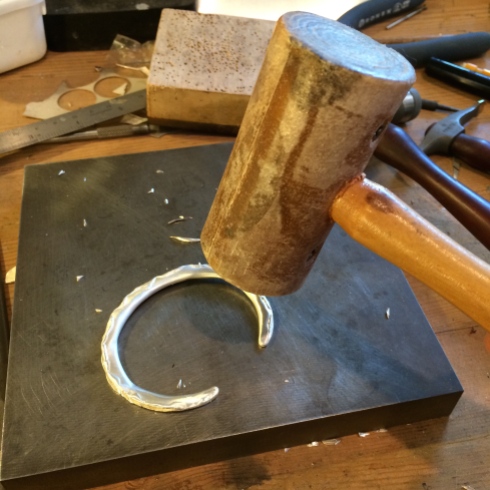
This isn’t shaping the bracelet, but hardening it again so that you can put it on and take it off without the silver bending out of shape each time.
Now fill the inside with silver black.
You can use liver of sulphur for this but I prefer using the most highly toxic chemicals I can find.

Look at that lovely radioactive green liquid. We used to have curry for school lunches on Fridays with a juice that ran out that neon colour. Looks bad but it was my favourite.
Could explain a lot.
So,
Rinse off the bracelet, buff its outsides, and you’re ready to go
🙂

–
–
–
LOVE them!!! Don’t love Silver-Black! Nasty stuff.
I know, but I get lazy and I also love the darkness of it.
These are gorgeous! I have never used Silver Black – only liver of sulfur, which smells bad enough, thank you! But Silver Black is a much prettier color, being that it is neon green!
Sorry about your boo-boo!!!!
I know. But Angie’s right, Silver Black is nasty.
I’m healing well, thank you 😉
Wonderful! I think this is a much more attractive result than fold-forming which was the first thing that sprang to mind when I saw the top pic. Love peas be with you.
I haven’t done much fold forming, just the one or two folds. I’ve got a book though and one day I might venture onto three 🙂
you are AWESOME!!!! thanks for sharing-i love coloring metal-i have jax ‘flemish’ gray and it does a nice job on copper and silver
I haven’t used that. I’m interested in other ways of colouring metal so I might have to check it out. I do have some stains, or something, but haven’t even opened them yet. Perhaps it’s time
WoW! These are great! I’m so glad that you ordered the wrong size sheet! Thank you for showing us how you made them! I am always in desperate need of instruction! I hope that you have a great weekend!
Thanks Lecia, I’m almost wondering whether to order some more wrong size.
These are gorgeous, and thank you for that tutorial/explanation. It looks like something I might be able to do. I must try this.
🙂
how do you add the beads inside?
Hi Sacey,
After I form the bracelet, but before I close it completely, I solder the balls in place. Then I close it and apply the patina.
Your website is great!
Deborah.