So I made a few tube settings and, although it goes against every grain in my body, wouldn’t you know it, slow and sure wins the day.
Almost.

I also wanted to start using up the huge bowl of scrap silver I have sitting beside me.
Taunting me always in the corner of my eye.
So I used that in the earrings also.

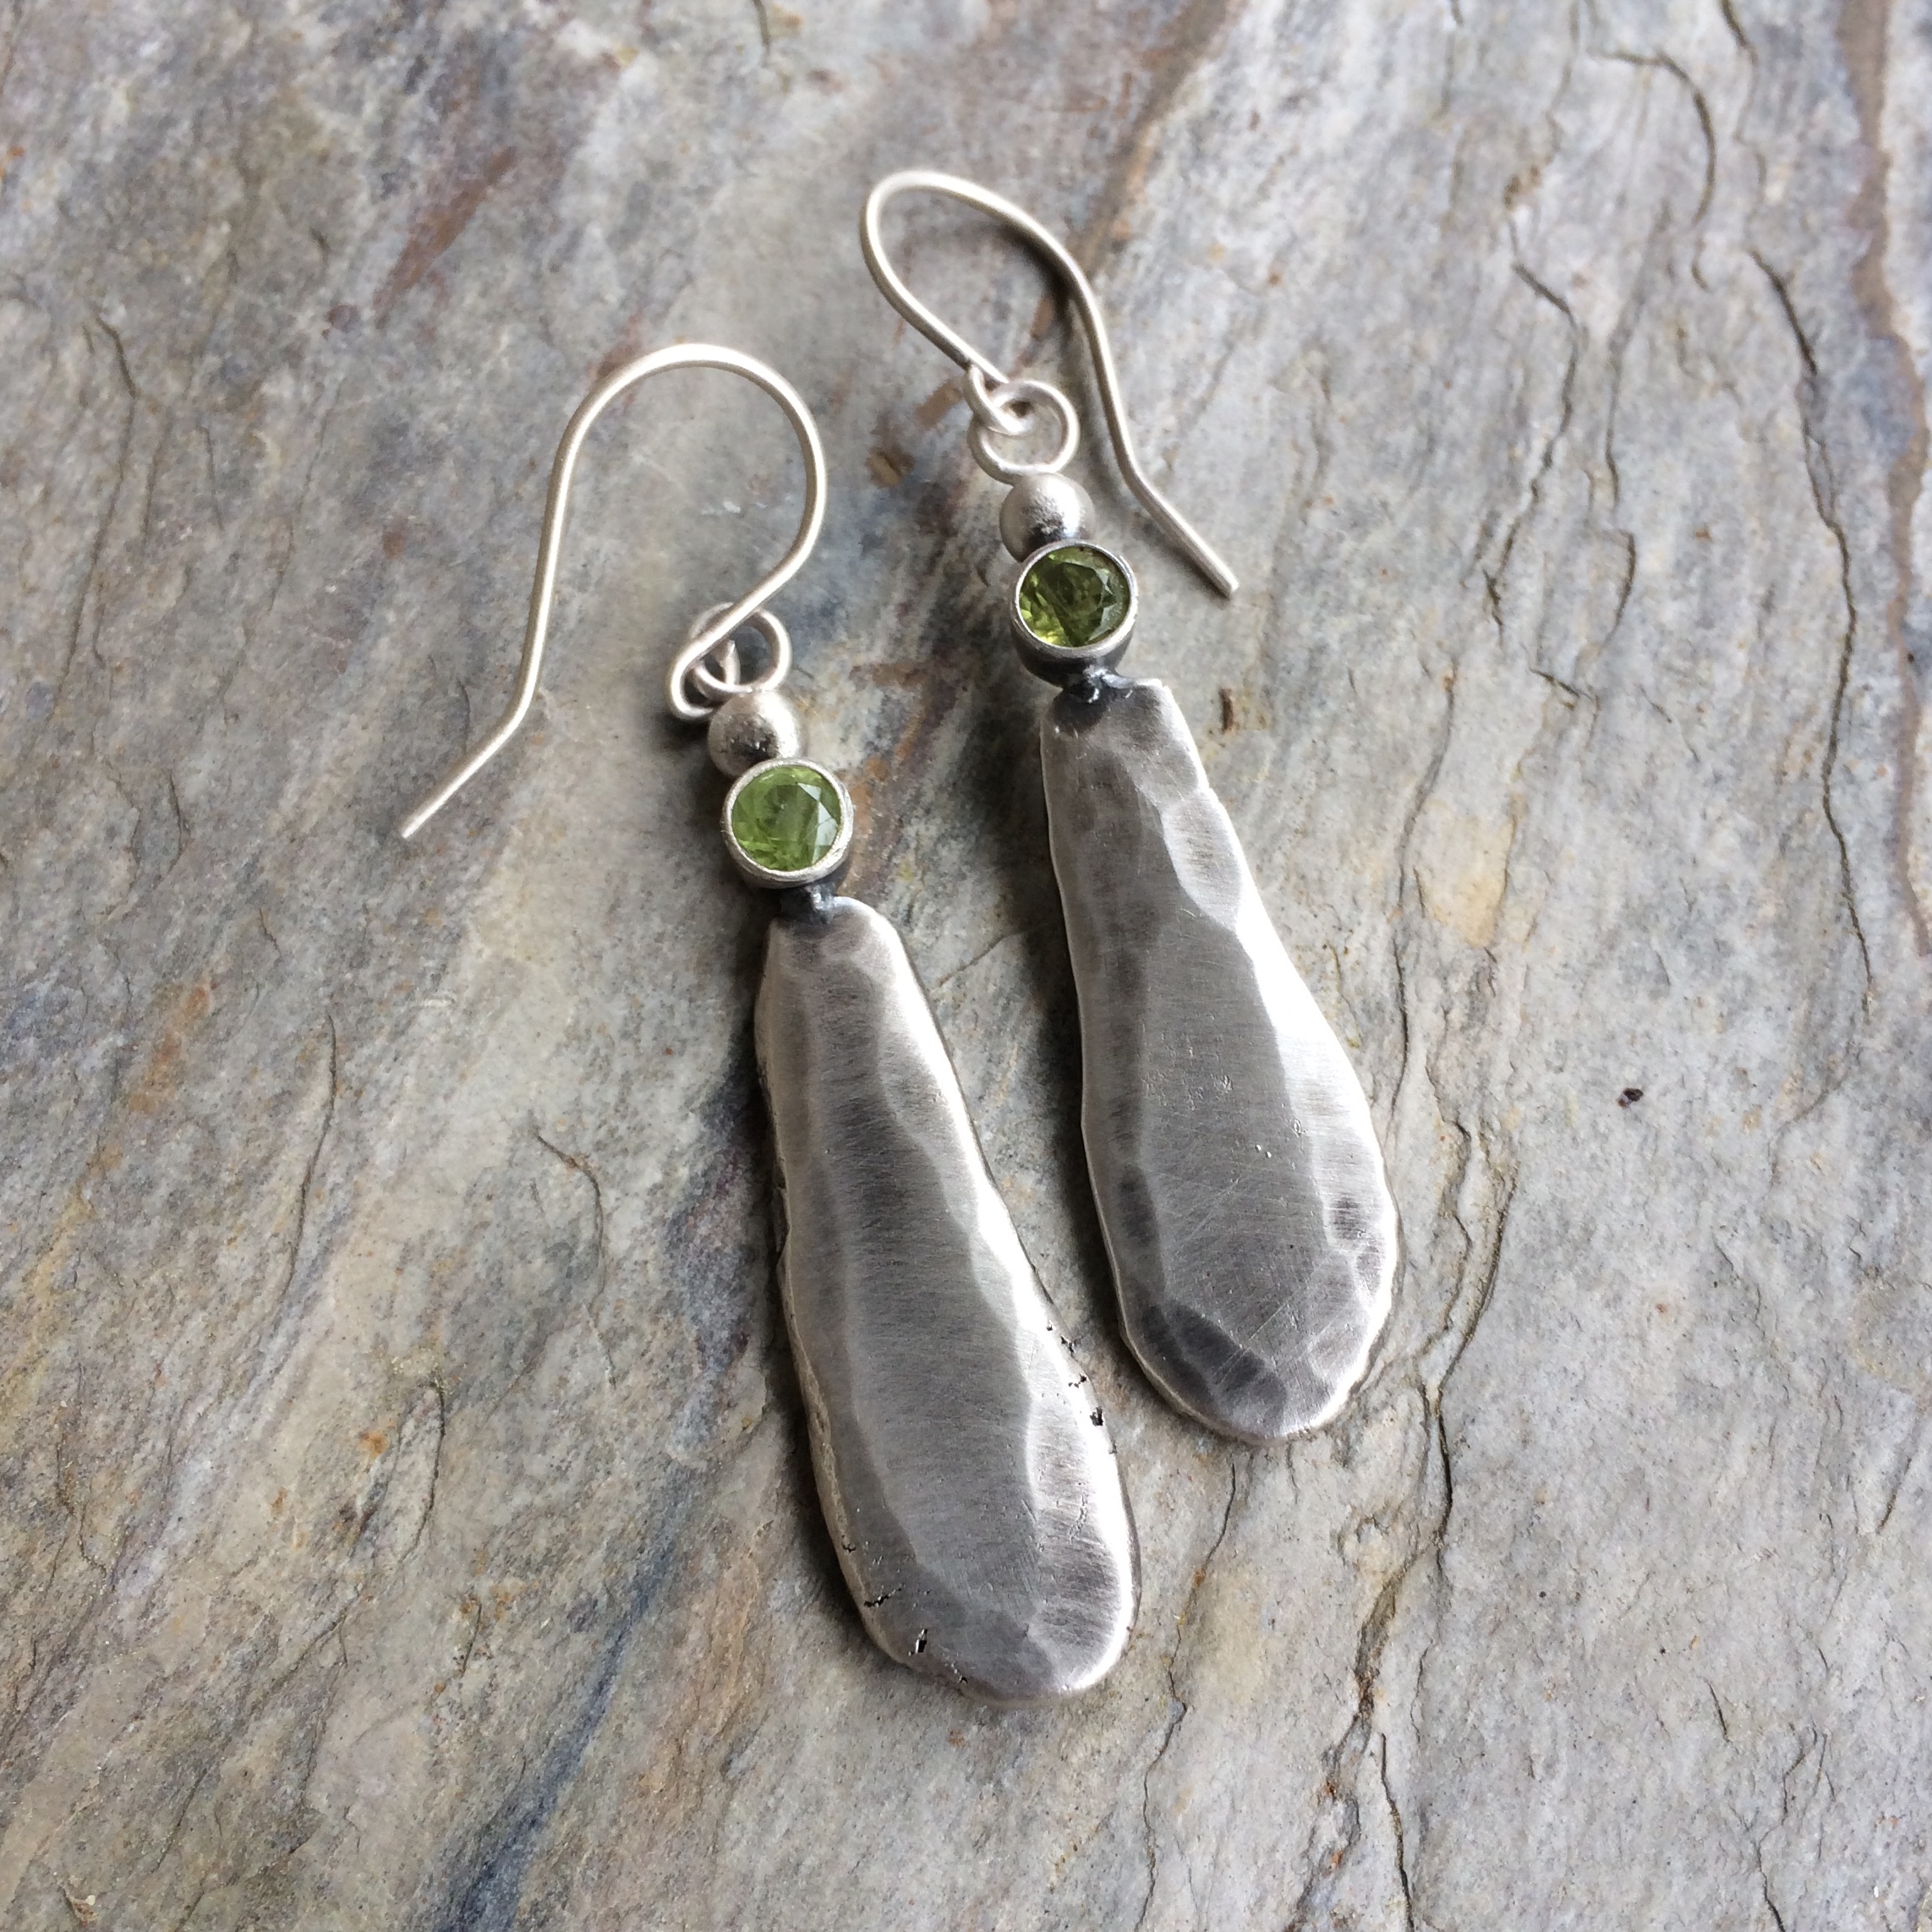
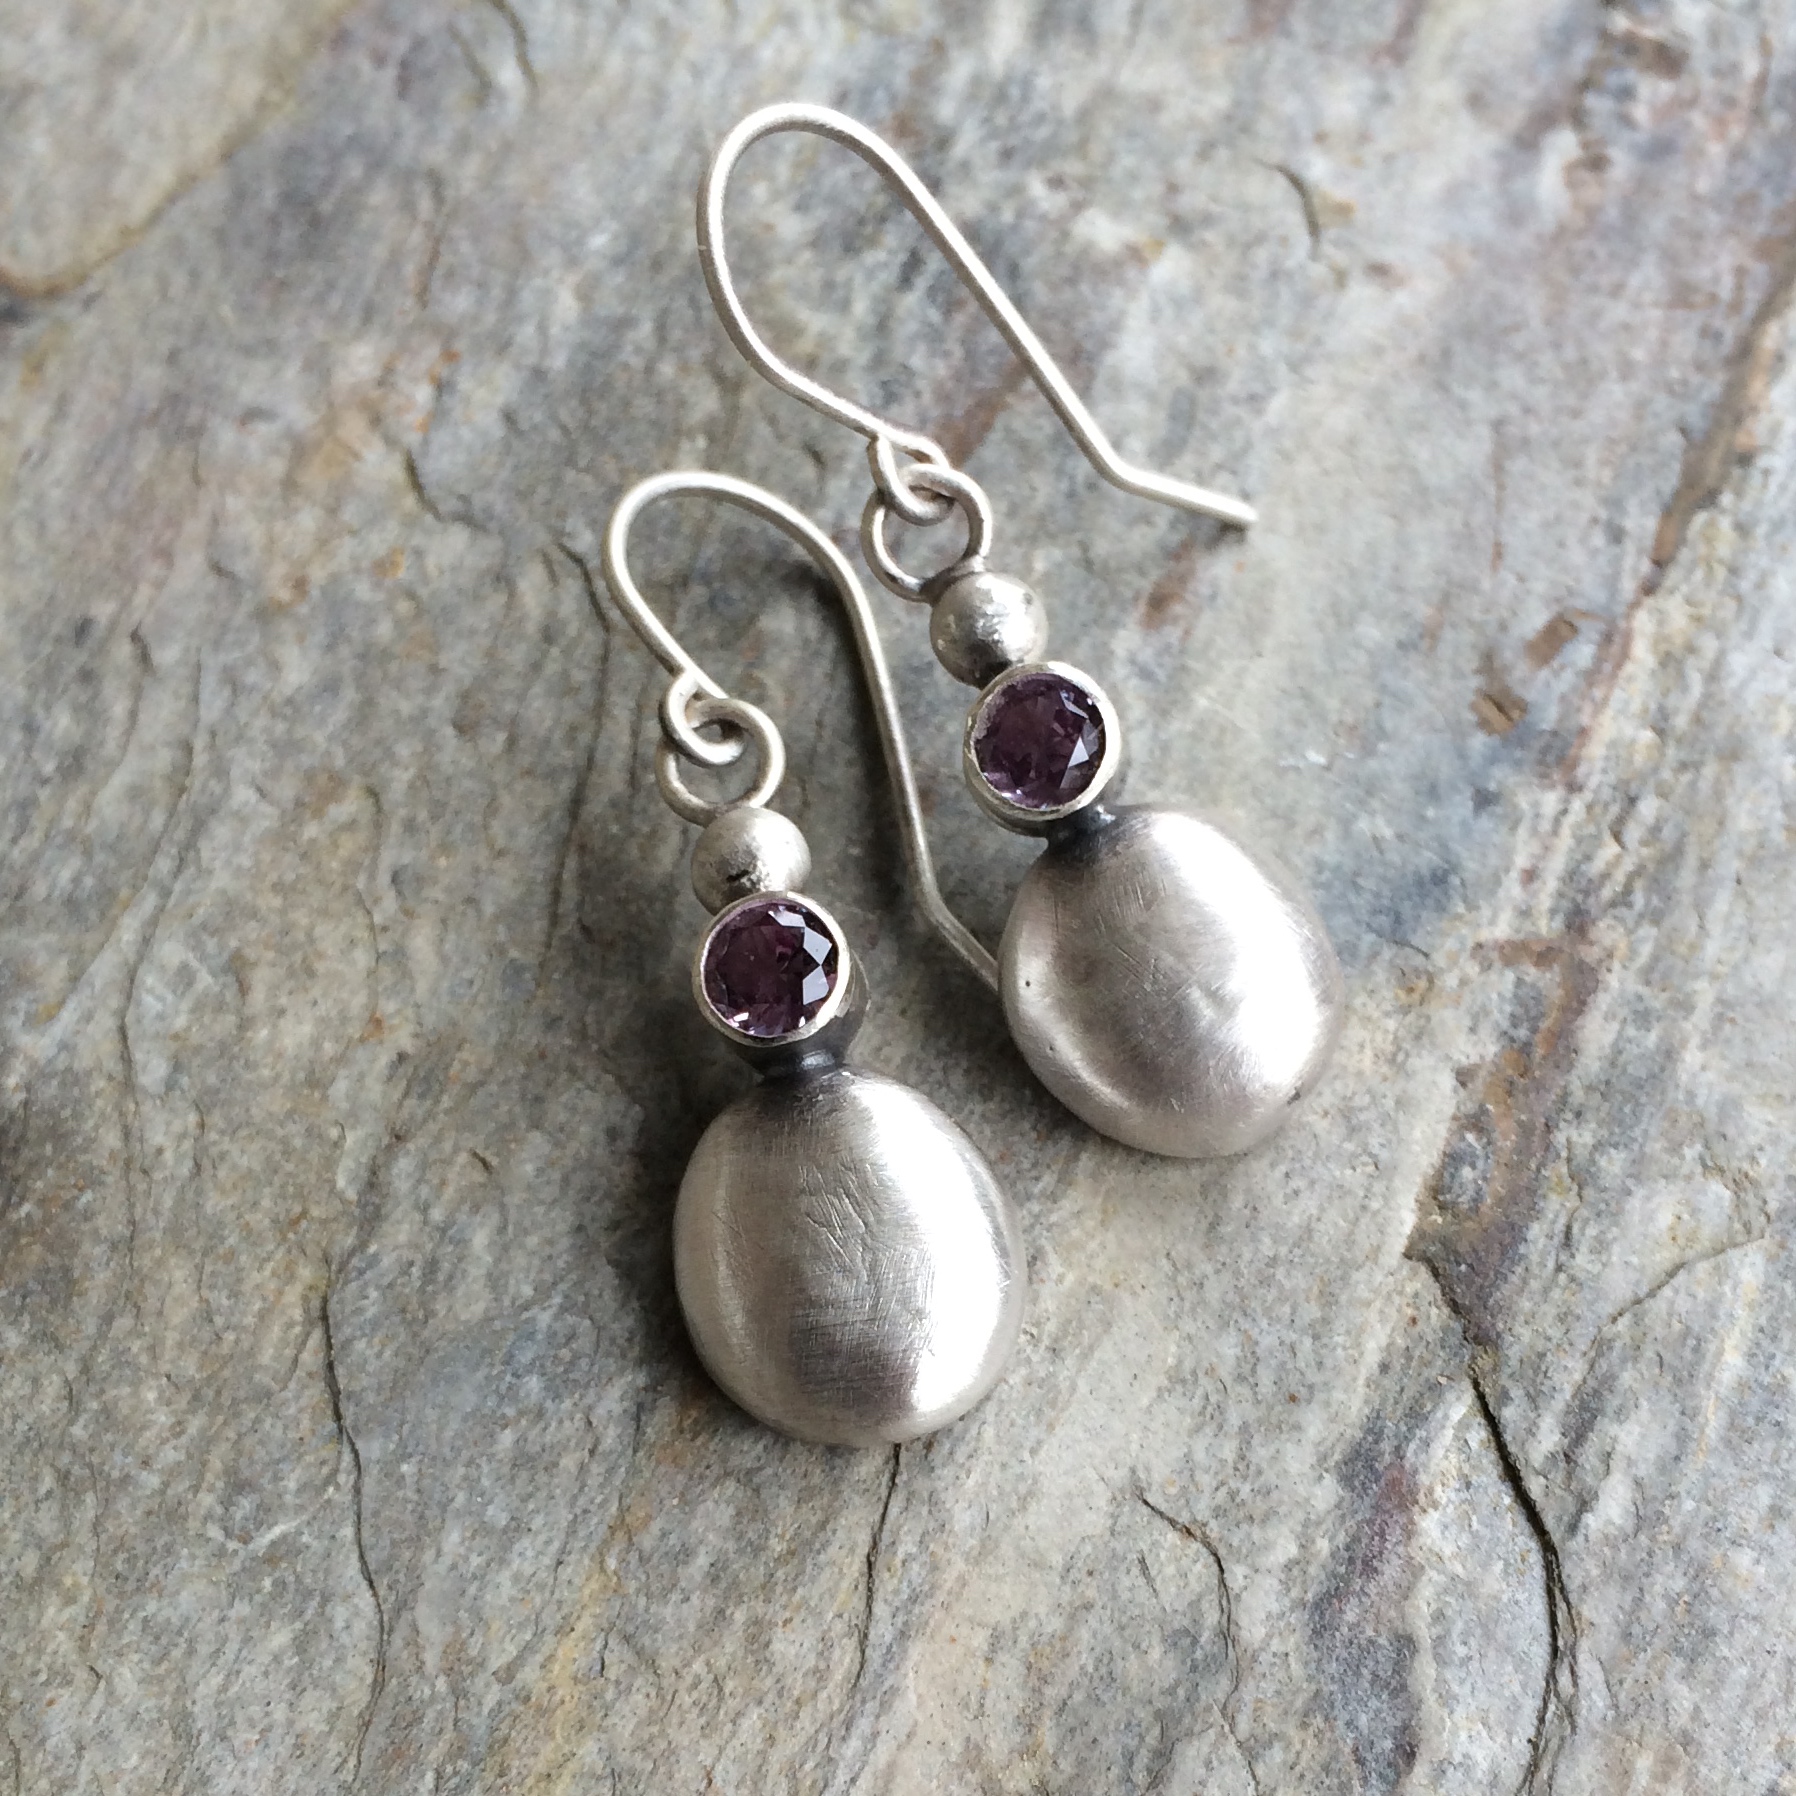
Except for when I used my favourite grey pearls.
Here’s how I made them.
I started by cutting a silver tube which has a slightly larger diameter than the width of the stone, (half millimeter or so), into the lengths I needed to accommodate the depth of the stones.

with this handy, but annoying tube cutting thing.
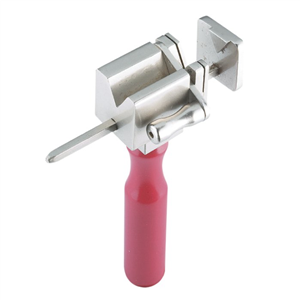
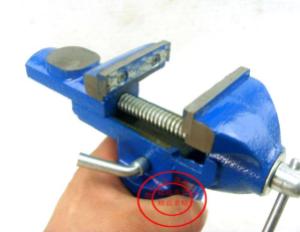
I used to hold it in my hand to cut the tubes, but found that you really need to have hands the size of André the Giant to hold it steady and put your thumb over the lever at the same time, so now I place it upright in my table vise which holds it brilliantly as I saw through the tubes.
I tell you this only to save you from the inevitable agony of carpal tunnel syndrome and the irritation that goes with taking forever to figure these things out…
or is this just me?
So the second annoying thing about the tube cutter thing is that, however hard I try, I cannot get the edges to cut flush and have to spend loads of awkward time fiddling around filing them flat after they’re cut.

See.
So this time, after I cut the tube to the lengths I needed, I put them in this fine little contraption thing.
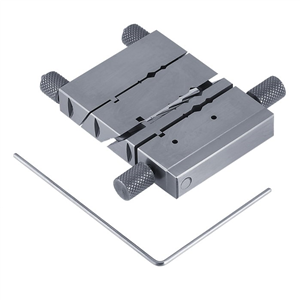
And, once I got the hang of it and figured out that they didn’t just include that nifty little allan key for amusement’s sake, I found I could put the little cut pieces of tube in it and file the edges flush more easily.
So, I know what you’re thinking.
Why, for the love of god didn’t she put the whole darn tube in the fine little contraption thing to begin with and saw the lengths of tubes she needed in that instead of faffing around with the first stupid tube cutter thing?
WELL DON’T ASK ME!
Don’t talk to me about it. Don’t even think to roll your eyes.
I just didn’t is all – because I can’t use that special, I look as though I can do everything easier, fine little contraption thing either.
It’s just too darn fiddly and I can never get the thing tight enough to keep the tube steady even with the nifty allan key thing which keeps eyeing me in that, you don’t really know what you’re doing way.
Guess I haven’t got the touch.
But practice makes perfect and I’m determined to get it down sometime this century.
O.K. so the tubes are cut, and filed, and a little silver disc has been soldered to their bottoms.
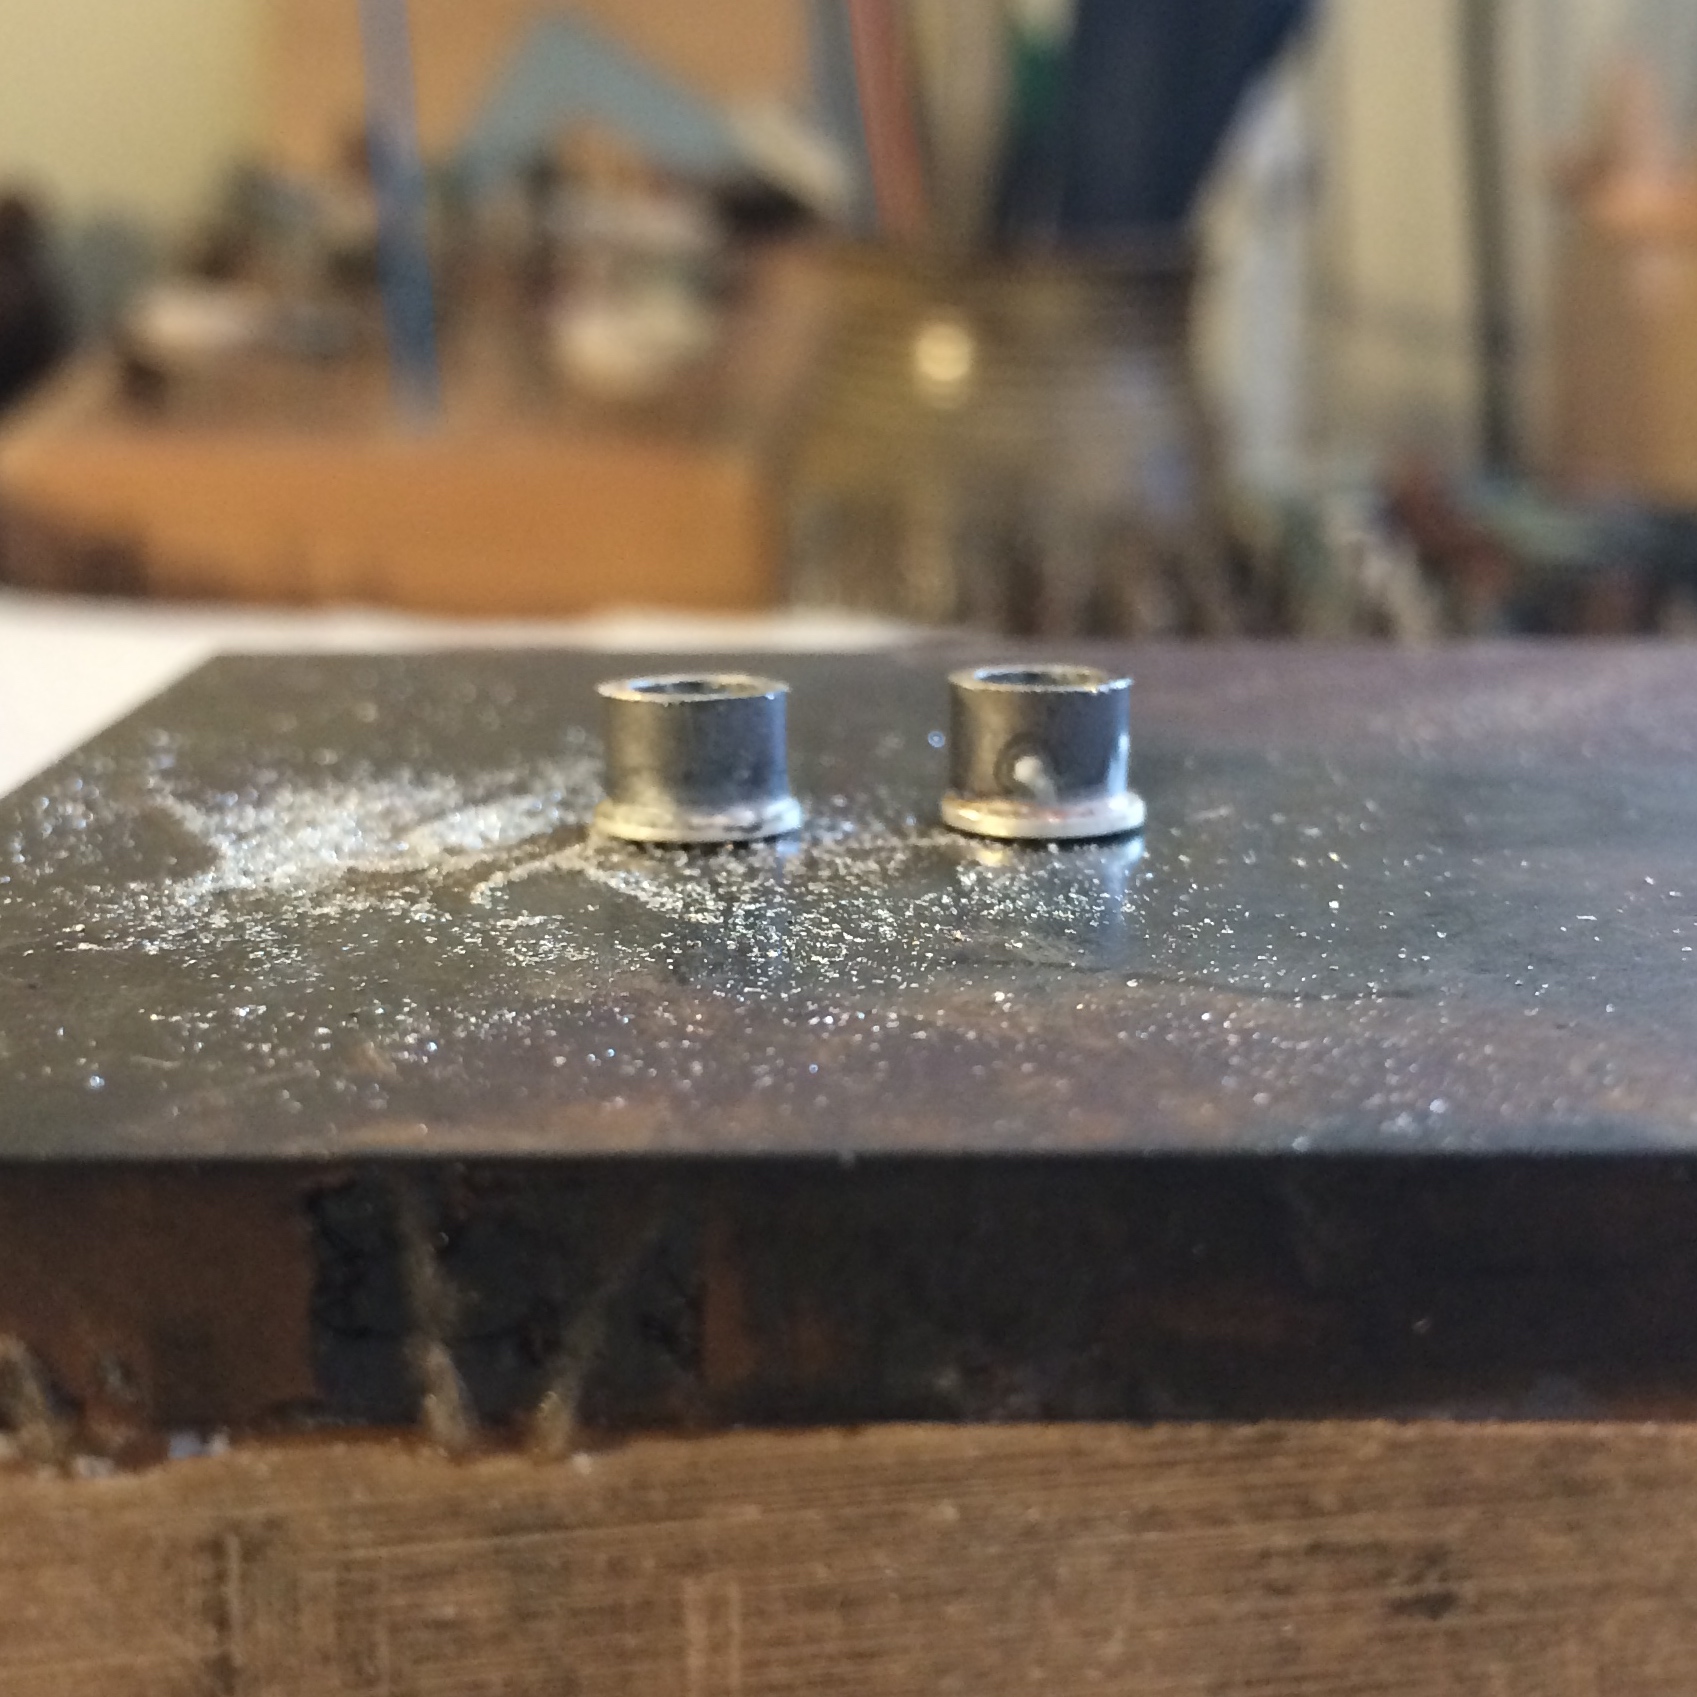
Ready for their next adventure.
And this is the bit that I haven’t quite got down yet.
(Well aside from cutting the tubes…)
(And holding the annoying tube cutting thing…)
(And tightening the nifty contraption…)
I’ve looked at the books and seen the pictures and have a general idea of what I’ve got to do, but I haven’t quite managed to completely figure out how to seat the stone so that it sits absolutely flush when I try to put it in the tube.
I eventually get there, except for the ones above with the pearls hanging from them which annoy me every time I look at them, but I just know that it shouldn’t be as hard as I’m finding it.
I’m determined to figure it out.
One stone setting book said that the method I used above will never work as, however thick the rim of the tube is, it just ain’t gonna happen.
Perhaps I should have believed it.
It says that instead you need a tube for the width of the stone, then another, smaller tube set inside the larger one which will become the seat of the stone.
But I didn’t have a tube small enough in diameter to fit inside the first tube, so I couldn’t do it that way.
I’m going to give it a go as soon as I figure out how I can improvise without having to buy every darn width of tubing that has ever been made.
So up next…
Tube making
Exciting, yes?
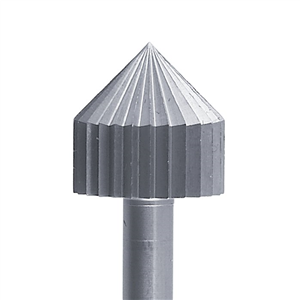
O.K. so then I drilled out the tube with my stone setting bur so that the stone could sit in there nicely even though it didn’t really want to.
And then soldered all the earring components onto the tubes.
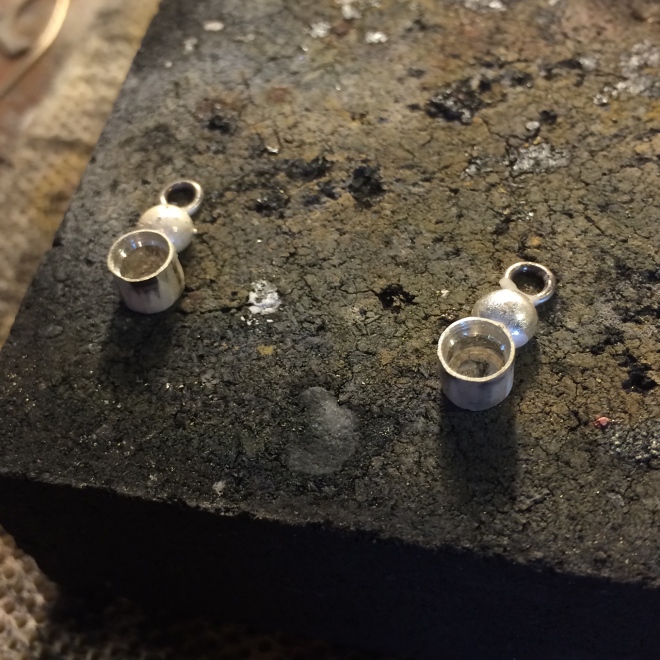
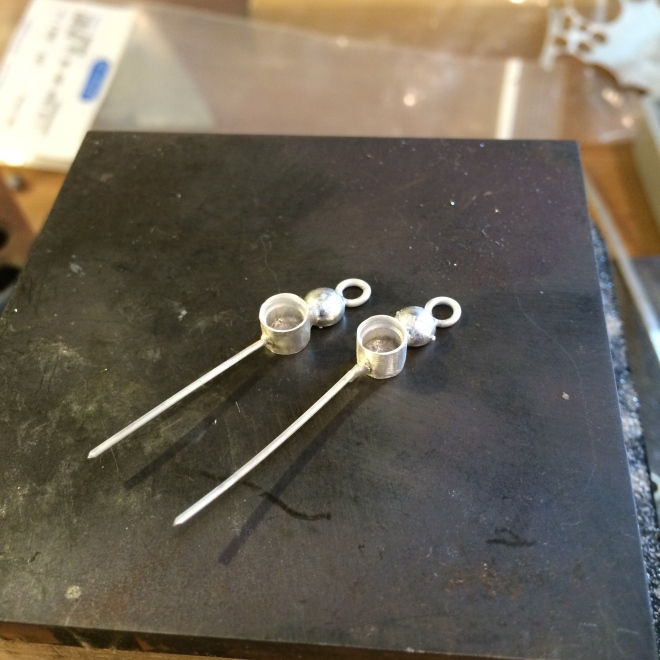
This one is for the last pair. For the top three pairs of earrings I also soldered the silver drops onto them at this stage.
Next I got out my box of special bezel punch things.

Which I really like to look at even when I’m not using them as they look so neat. And I chose the one that fit over the tube I was setting and tapped down on it to push the silver over the stone.
For the first three pairs of earrings it worked fine, but for the fourth I decided to try the old tried and tested way of pushing the sides over with my bezel pusher.

I think I like this way better because I could actually see the rim moving over the stone which gave me more confidence that the stone wouldn’t fall out afterward.
Its a trust thing.

And that’s it.
I’m still not completely happy with them so I’m going to practice some more. I want to eventually be able to make them without having to fiddle around so much, because, as a friend would say,
I ain’t got no time for that!
Happy Sunday
🙂
–
–
–
These are all beautiful! While I have not done any tube setting (yet), I have cut lots of tubing.
I have the same tube cutter…with the red handle. I unscre the handle, and out the top part in my vice. This gives me both hands free…one to hold the tube and the other the saw.
That’s brilliant. I do put the cutter thing in my vise but I didn’t know the handle screwed off. Just did it! Thanks 🙂
I apologize for all those autocorrect IPad typos in my first response…how embarrassing!
Lol at least it’s just the comments. My spell check errors, and bad grammar, are in the actual blog post for everyone to see…
Love your work. I don’t put a backing on a tube setting because I want the light shining through the stones unless they are opaque, of course. Getting the ends of the tubes flat is a real pain so I’m with you on that. And, Patti, thanks for the handle tip – didn’t think about unscrewing the handle. Will be doing that from now on.
Yes, it took me a while to get the handle off as it was on so tight, but I’m well impressed with Patti’s trick.
I’ve not left the back off the tubes because I just didn’t think about it :/ I’ll save that one for next time. Did I mention that I’m very slow on the uptake…
there’s just no way i can do this one i need to see it on video,or live ,jane
Lol Jane. I can barely do it myself 😉
Following…love the trials and tips on tubing setting. Something I’ve wanted to try. Thanks!
You have to try it. By the way, I always think of you when I’m sawing now lol
Very nice! I love your designs. How did you attache the Pearls? I am very curious because I cannot figure out how you did that without burning them, …. or would that be telling 😉 in which case I would understand… if you don’t wish to say….
Eloise, I soldered the wire onto the tube, then when I put the pearl on I just curled the tail underneath the pearl, so no more soldering there. I always found it hard to get a good curl underneath when I’ve done this before, but for some reason, this time, they turned out fine.
BTW I always like to say lol I don’t have all the tricks, and do a lot wrong, but if I can do it, you can do it….;)
Wow, That is really neat. I had to look twice to see it, very well done!
🙂