As usual I started off with the good intention of photographing everything I do to cut a cabochon, but then forgot.
Sorry Linda.
Sometimes I didn’t forget, but didn’t want to lose a hand.
You understand I’m sure.
Talking of hands I was listening to NPR yesterday and it was actually about how they can do hand transplants now,
but even so I didn’t feel like chancing it…
–
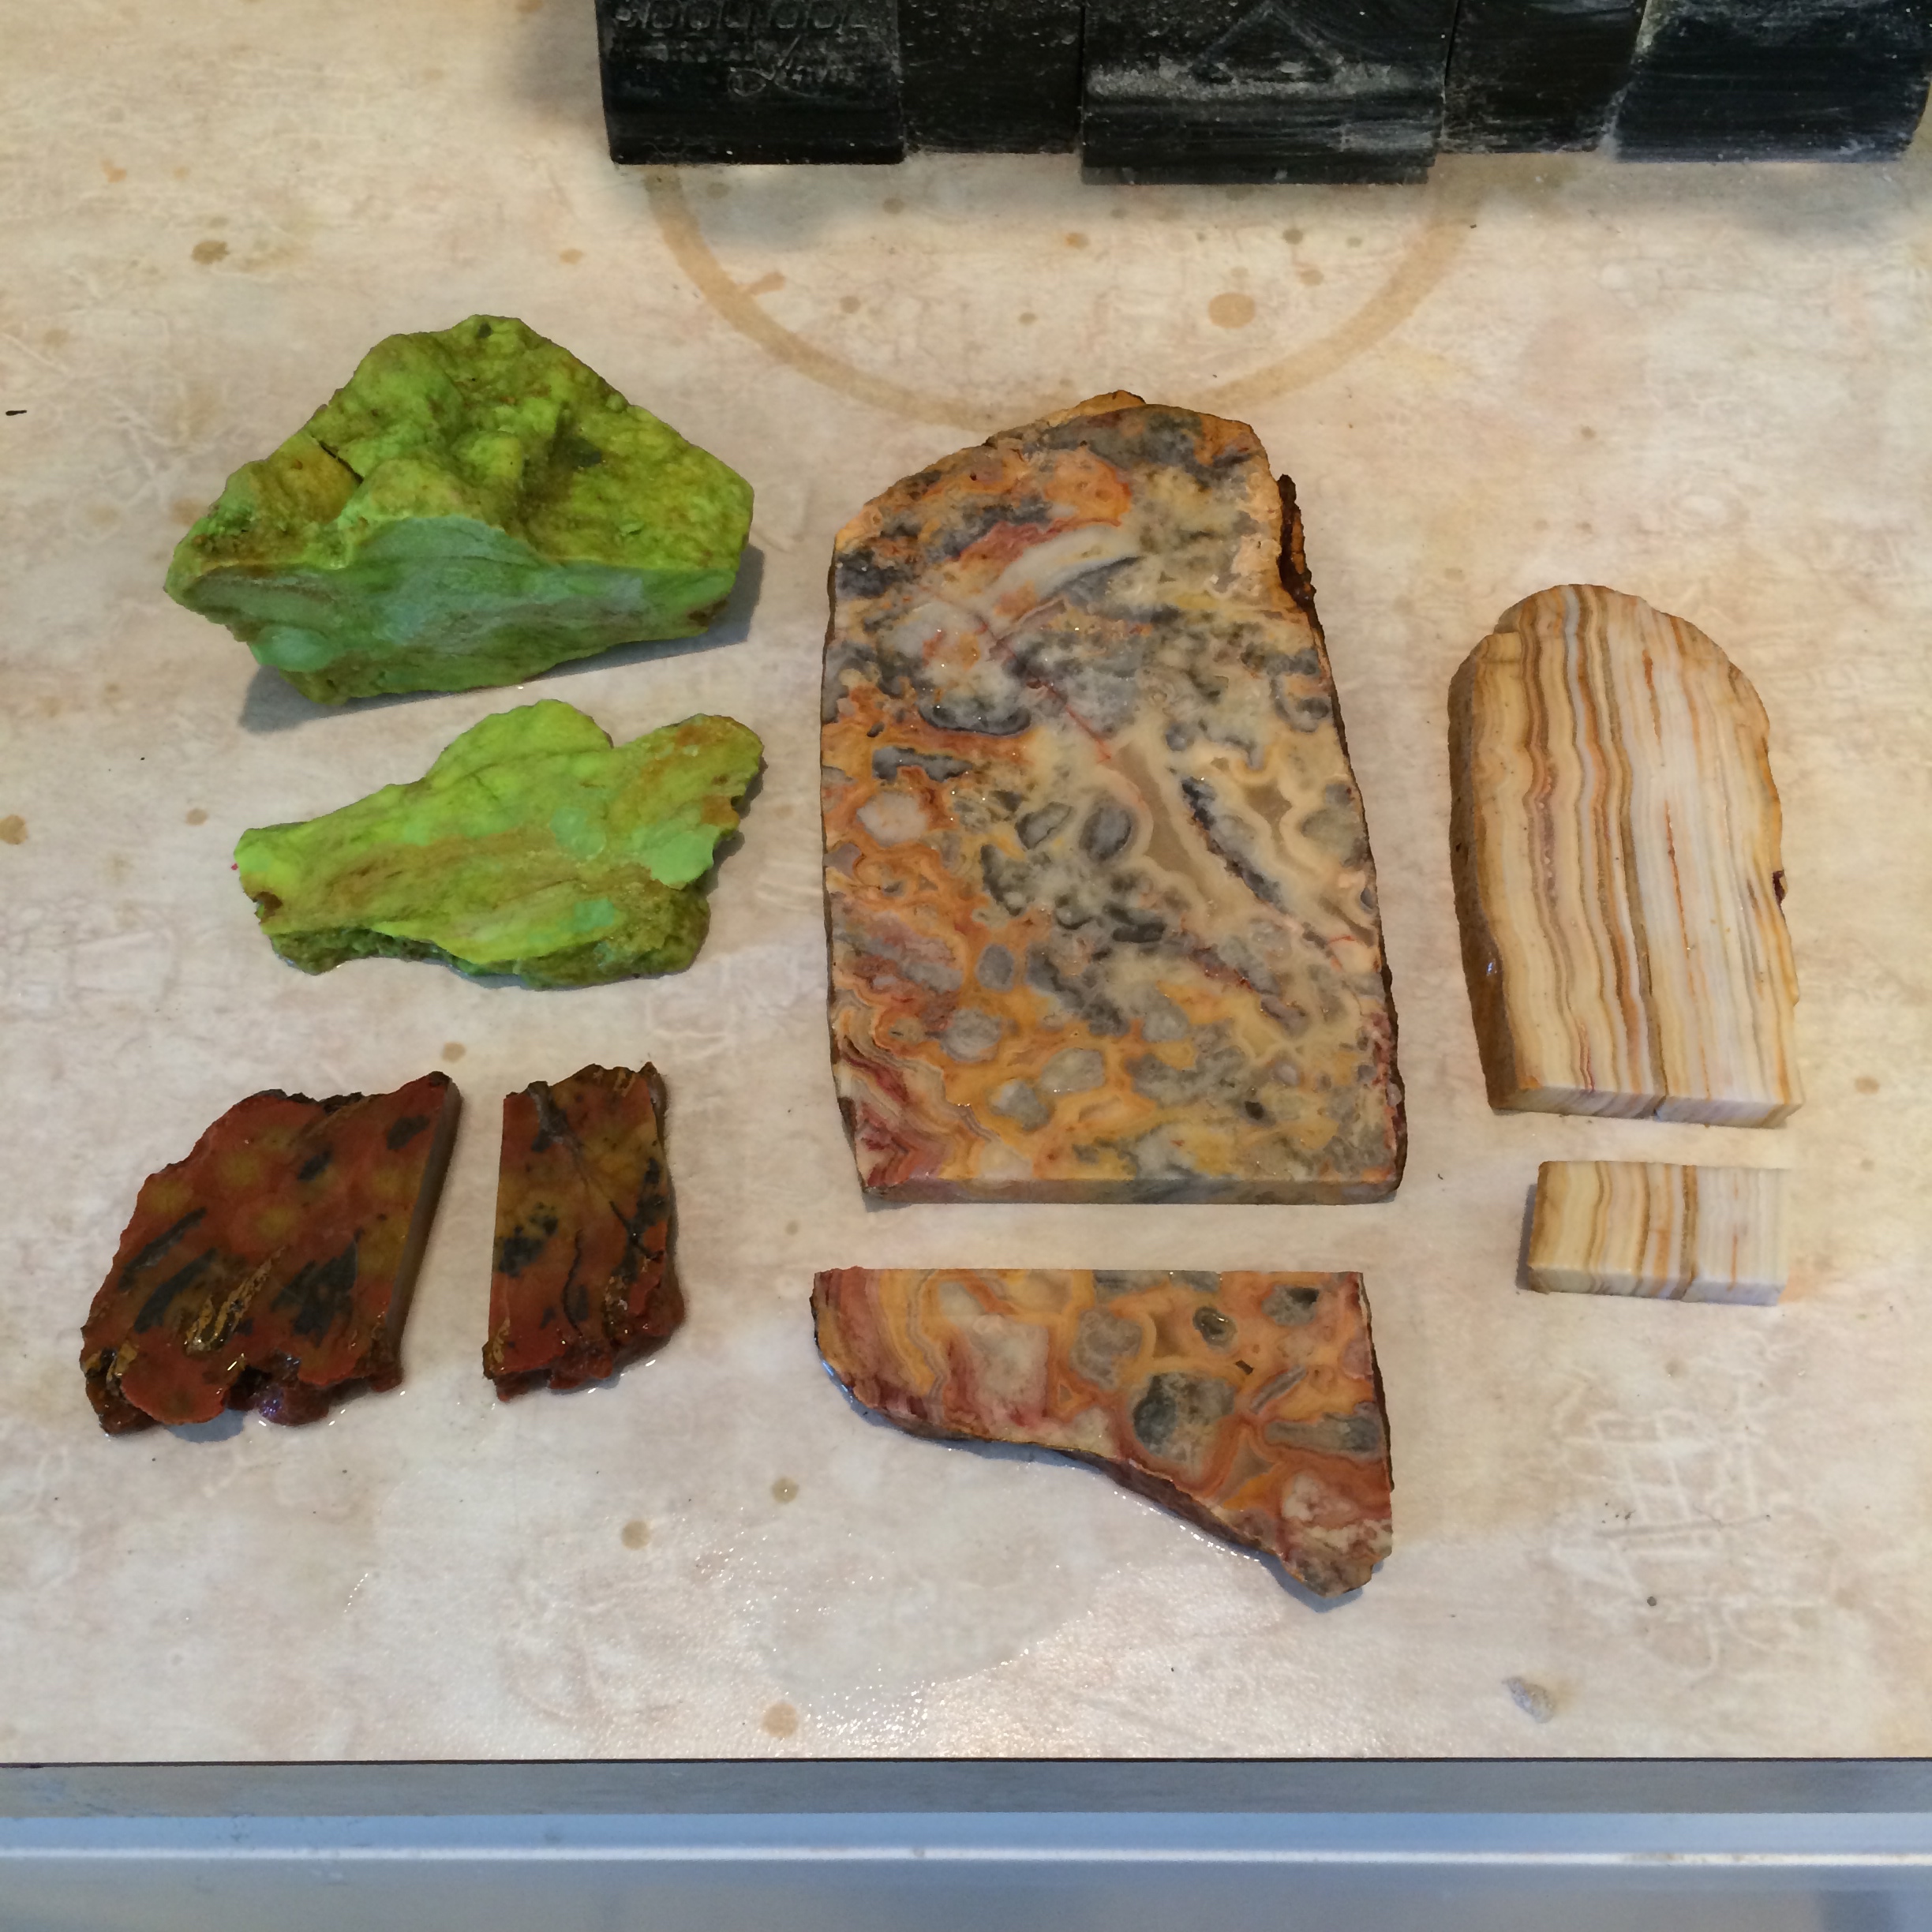
I start out by buying the slabs already cut.
Mainly from Natalie, because she’s got loads of them and her shop is laid out nicely so I don’t have to search around forever and get frustrated because I don’t really know what I want.
Then I take them to my new trim saw which always makes me feel irritated because somewhere in the back of my mind I have a feeling I had one before which I never used and at some time must have thrown away.
This is why you never throw out anything people!
It’s not hoarding. It’s common sense.
Saying that, I did manage to take six boxes of craft books (not that I have a problem with collecting them of course) to the charity shop yesterday.
I had to listen to S moan and groan all the while as he took them to the car. He even showed me his box wounds afterward, but why else would I have had him if not to lug things around for me is what I want to know.
So I got the trim saw from Rio Grande although I’m sure you can get it anywhere.
Armed with a mask, a pair of safety glasses, my old pottery apron and a towel hooked around the front of my neck I proceed to cut the slab into manageable sizes.
Not quite as cute a look as I usually go for, but as the saw spits out water faster than I can put in it it was that or catch pneumonia and I’ve already got a bit of a cough…
Although I’m fairly sure that they can reattach fingers more easily than hands you’ll see I prefer to push the slice through with a slab of wood.
Again a seemingly useless scrap which I was loath to throw away and yet proved itself to be of vital importance.

These are the manageable pieces.
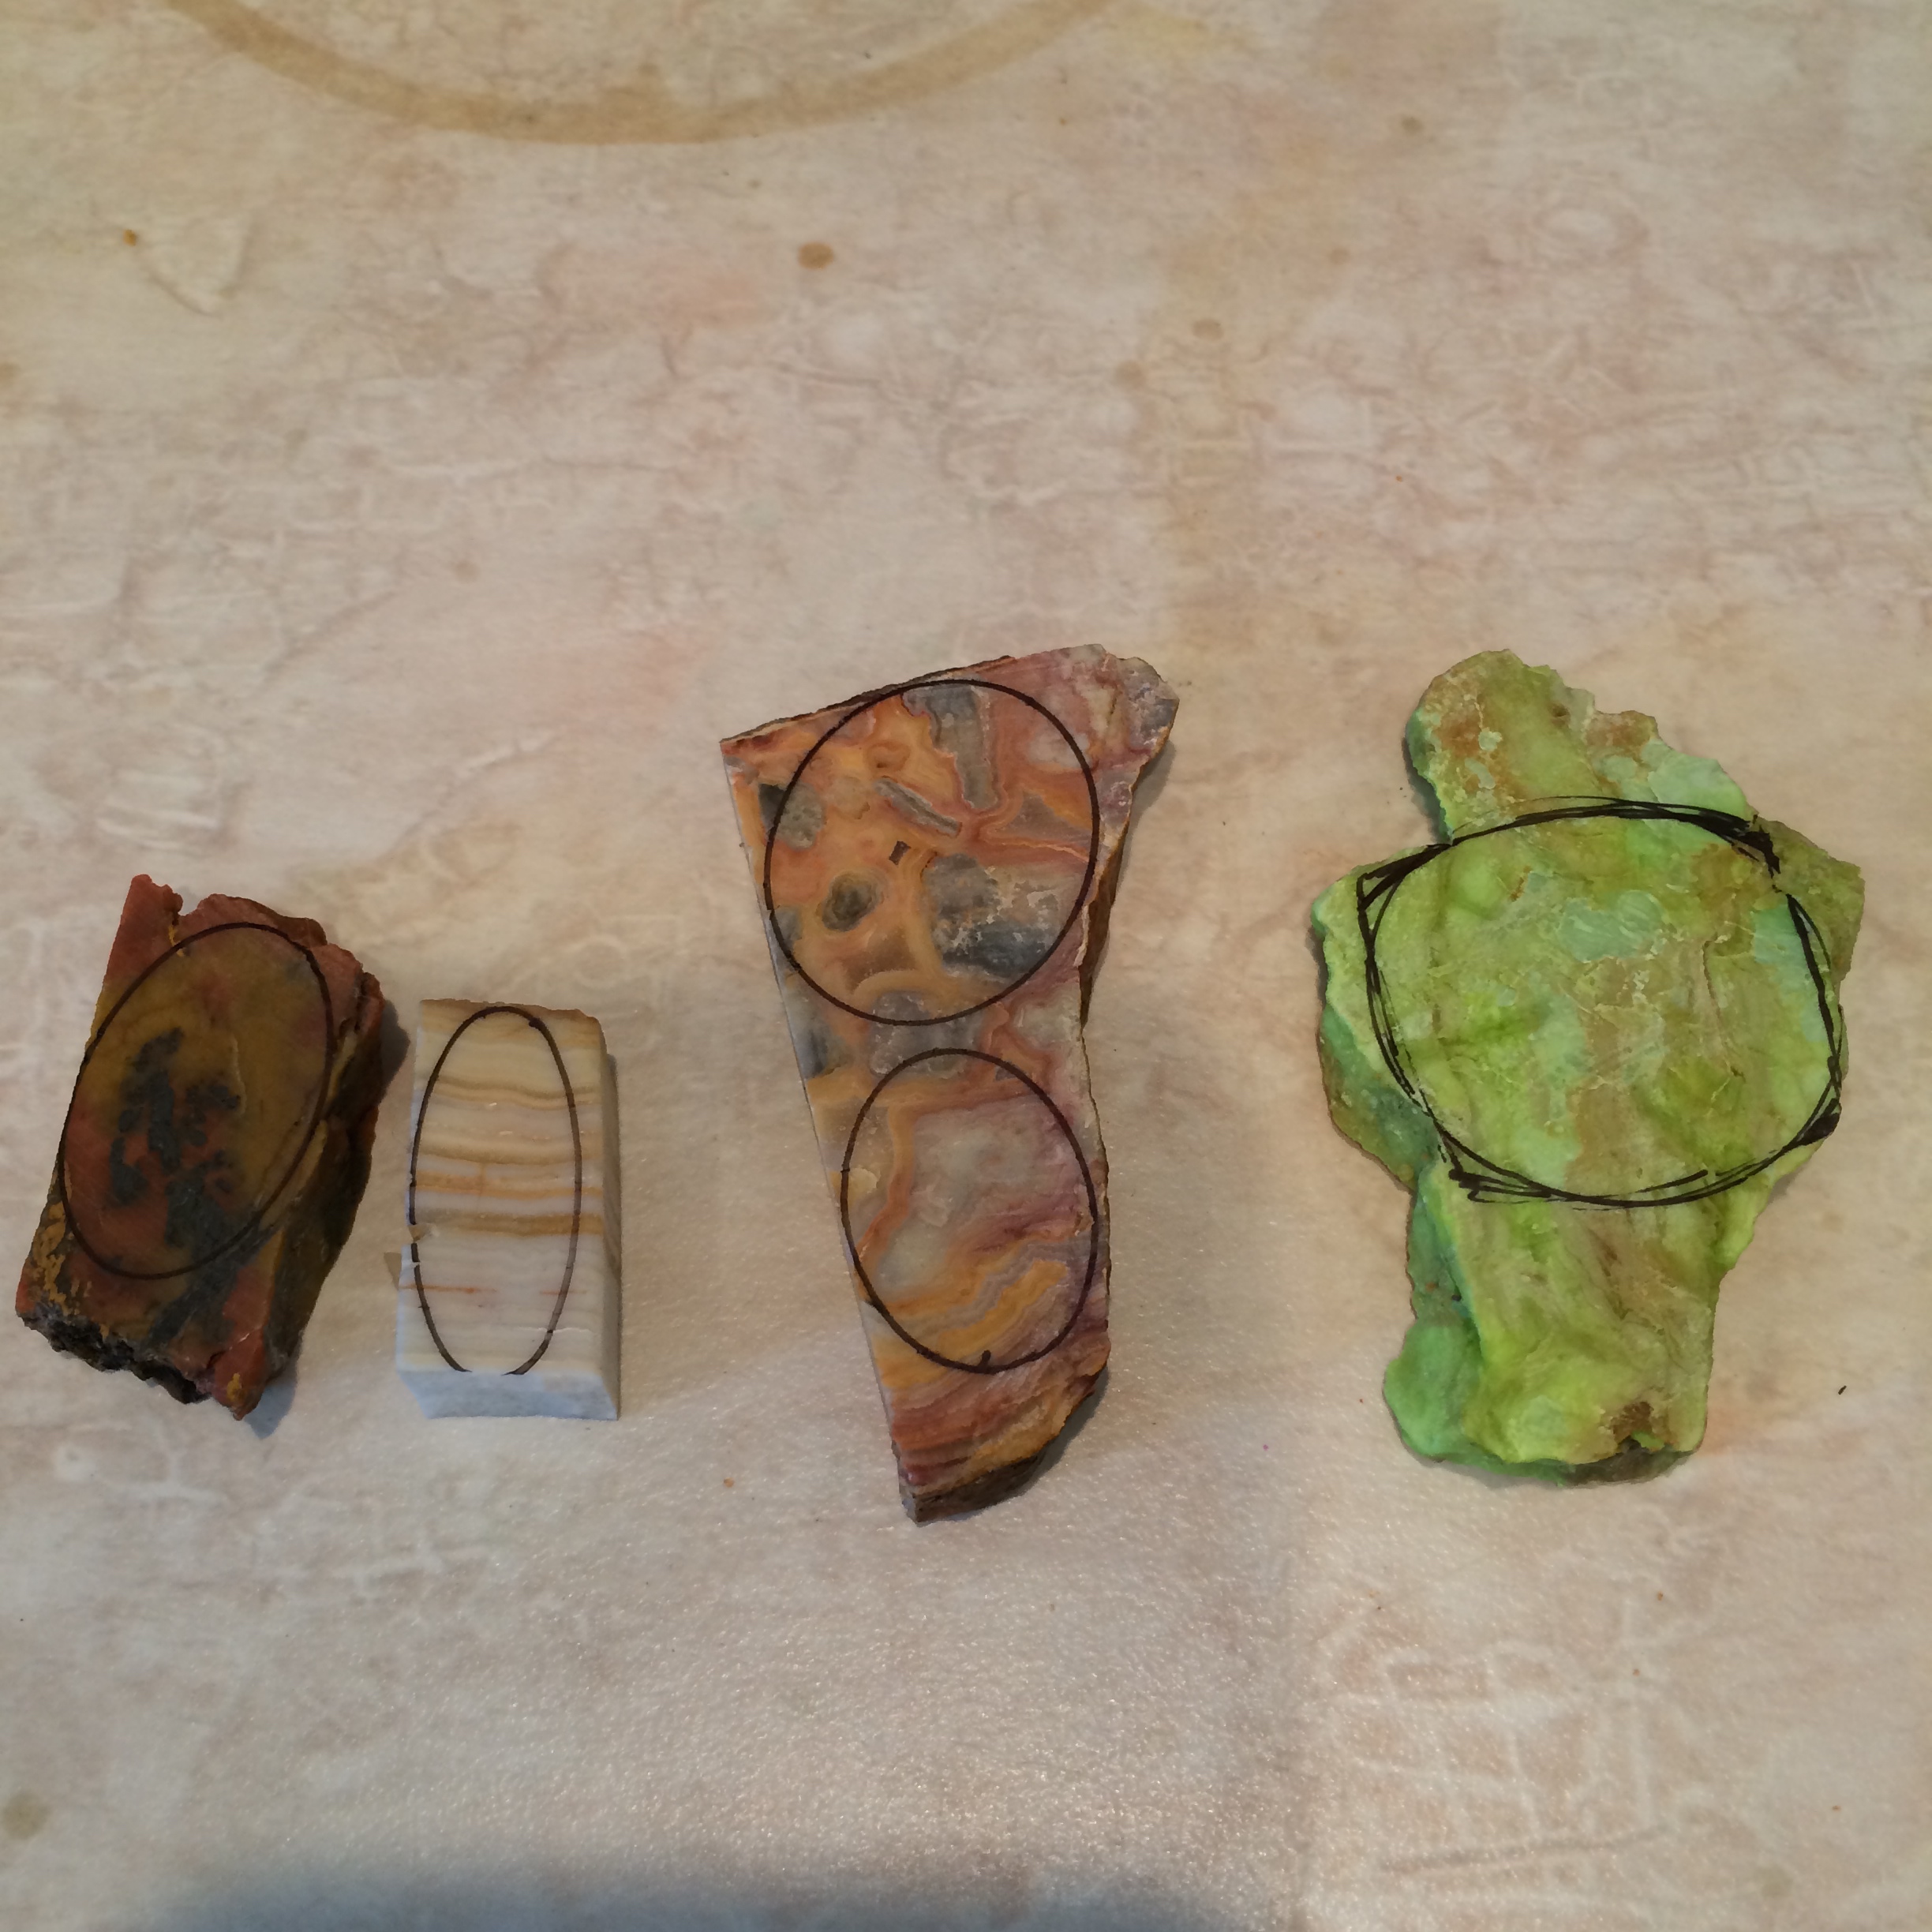
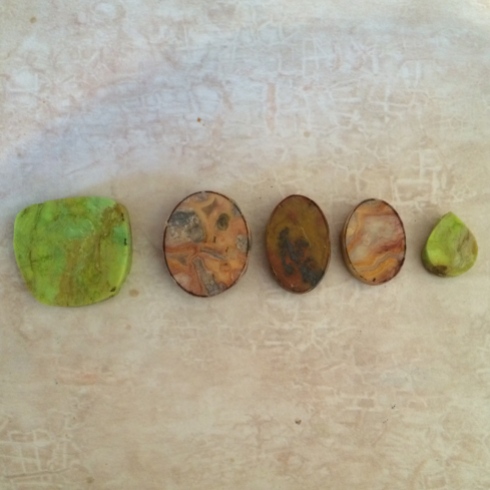
Next I mark out the shapes I want to go for with a sharpie.
I used templates for the first four shapes and winged it for the gaspeite.
You can probably tell.
Then still with the trim saw I try to trim as much rock away as I can because I don’t want to wear out my grinding disc more than I have to.

And so on to the Jool Tool Extraordinaire.
I’m in two minds about the Jool Tool.
I think it’s a great little tool, but I think if you want to make cabs for a living and not just the odd one here and there, you’ll probably want a ‘proper’ lapidary machine thingy.
Like this

Oh hell. I just found this.

Save me now.
So back to the Jool Tool Extraordinaire…
This is the diamond grinding disc which I use first.

It screws onto the spindle on top of the Jool Tool.
You can see I cleaned it for you 🙂 It was either that or the bathroom…
no brainer really.
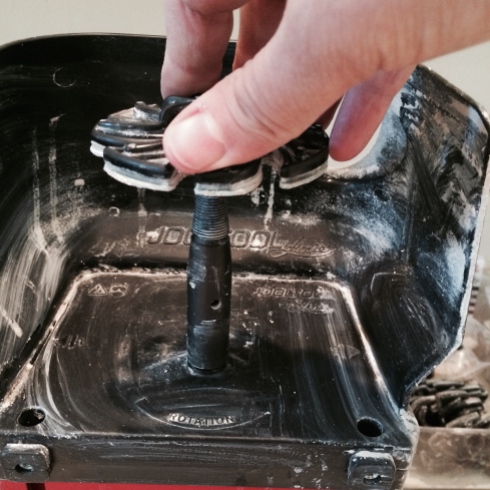
And the idea is that you push the stone onto the disc from underneath.
The neat thing is that the discs are designed so that you can see through them as they are spinning and therefore you have more control over what you’re doing.
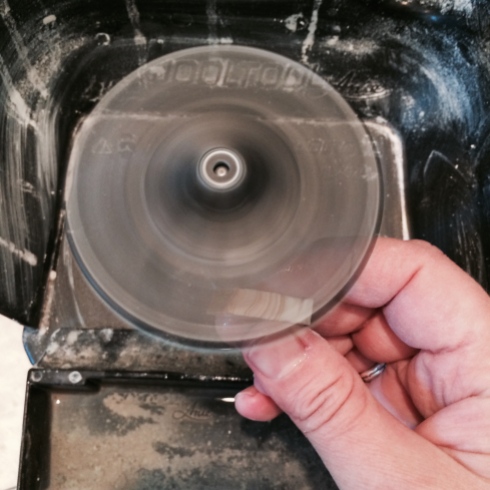
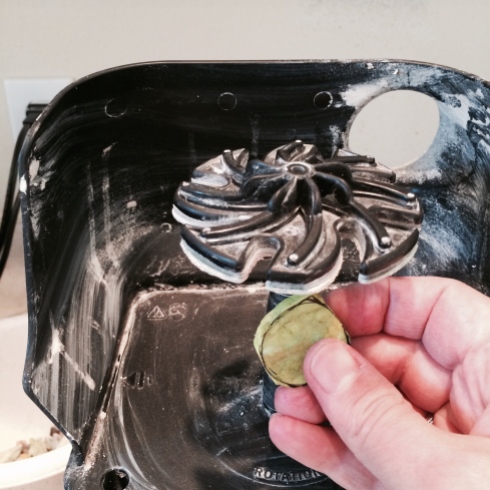
The speed of the disc also keeps the stone cool which is nice.
You keep the stone wet as you grind it. You can just see the little water tray underneath the wheel.
Here they are after their first round with the grinder.
Next I like to mark half way down the side of the stone and on the top for guide lines and then I sand off the edges.
Jool Tool + finger nails means never having to get a manicure again.
Priceless.
O.K. so here’s where I forgot to continue photographing.
🙁
Basically you continue to grind the stones in this manner until you get the shape you want. After that it’s just a matter of sanding the stones through all of the grits available until you get a nice finished shine.
For instance after the diamond wheel you go through the coarse, medium, fine, extra fine, 3,000 microns, 5,000 microns, and 50,000 microns sandpaper wheels. Then you use a fine cerium oxide wheel and finally a felt wheel with a polishing compound on it.
It really doesn’t take that long and it can be quite calming.
I’ve found I like to do it when I’m having a, oh my god I can’t go on, moment as it’s mind numbing yet productive.
But that’s just me.
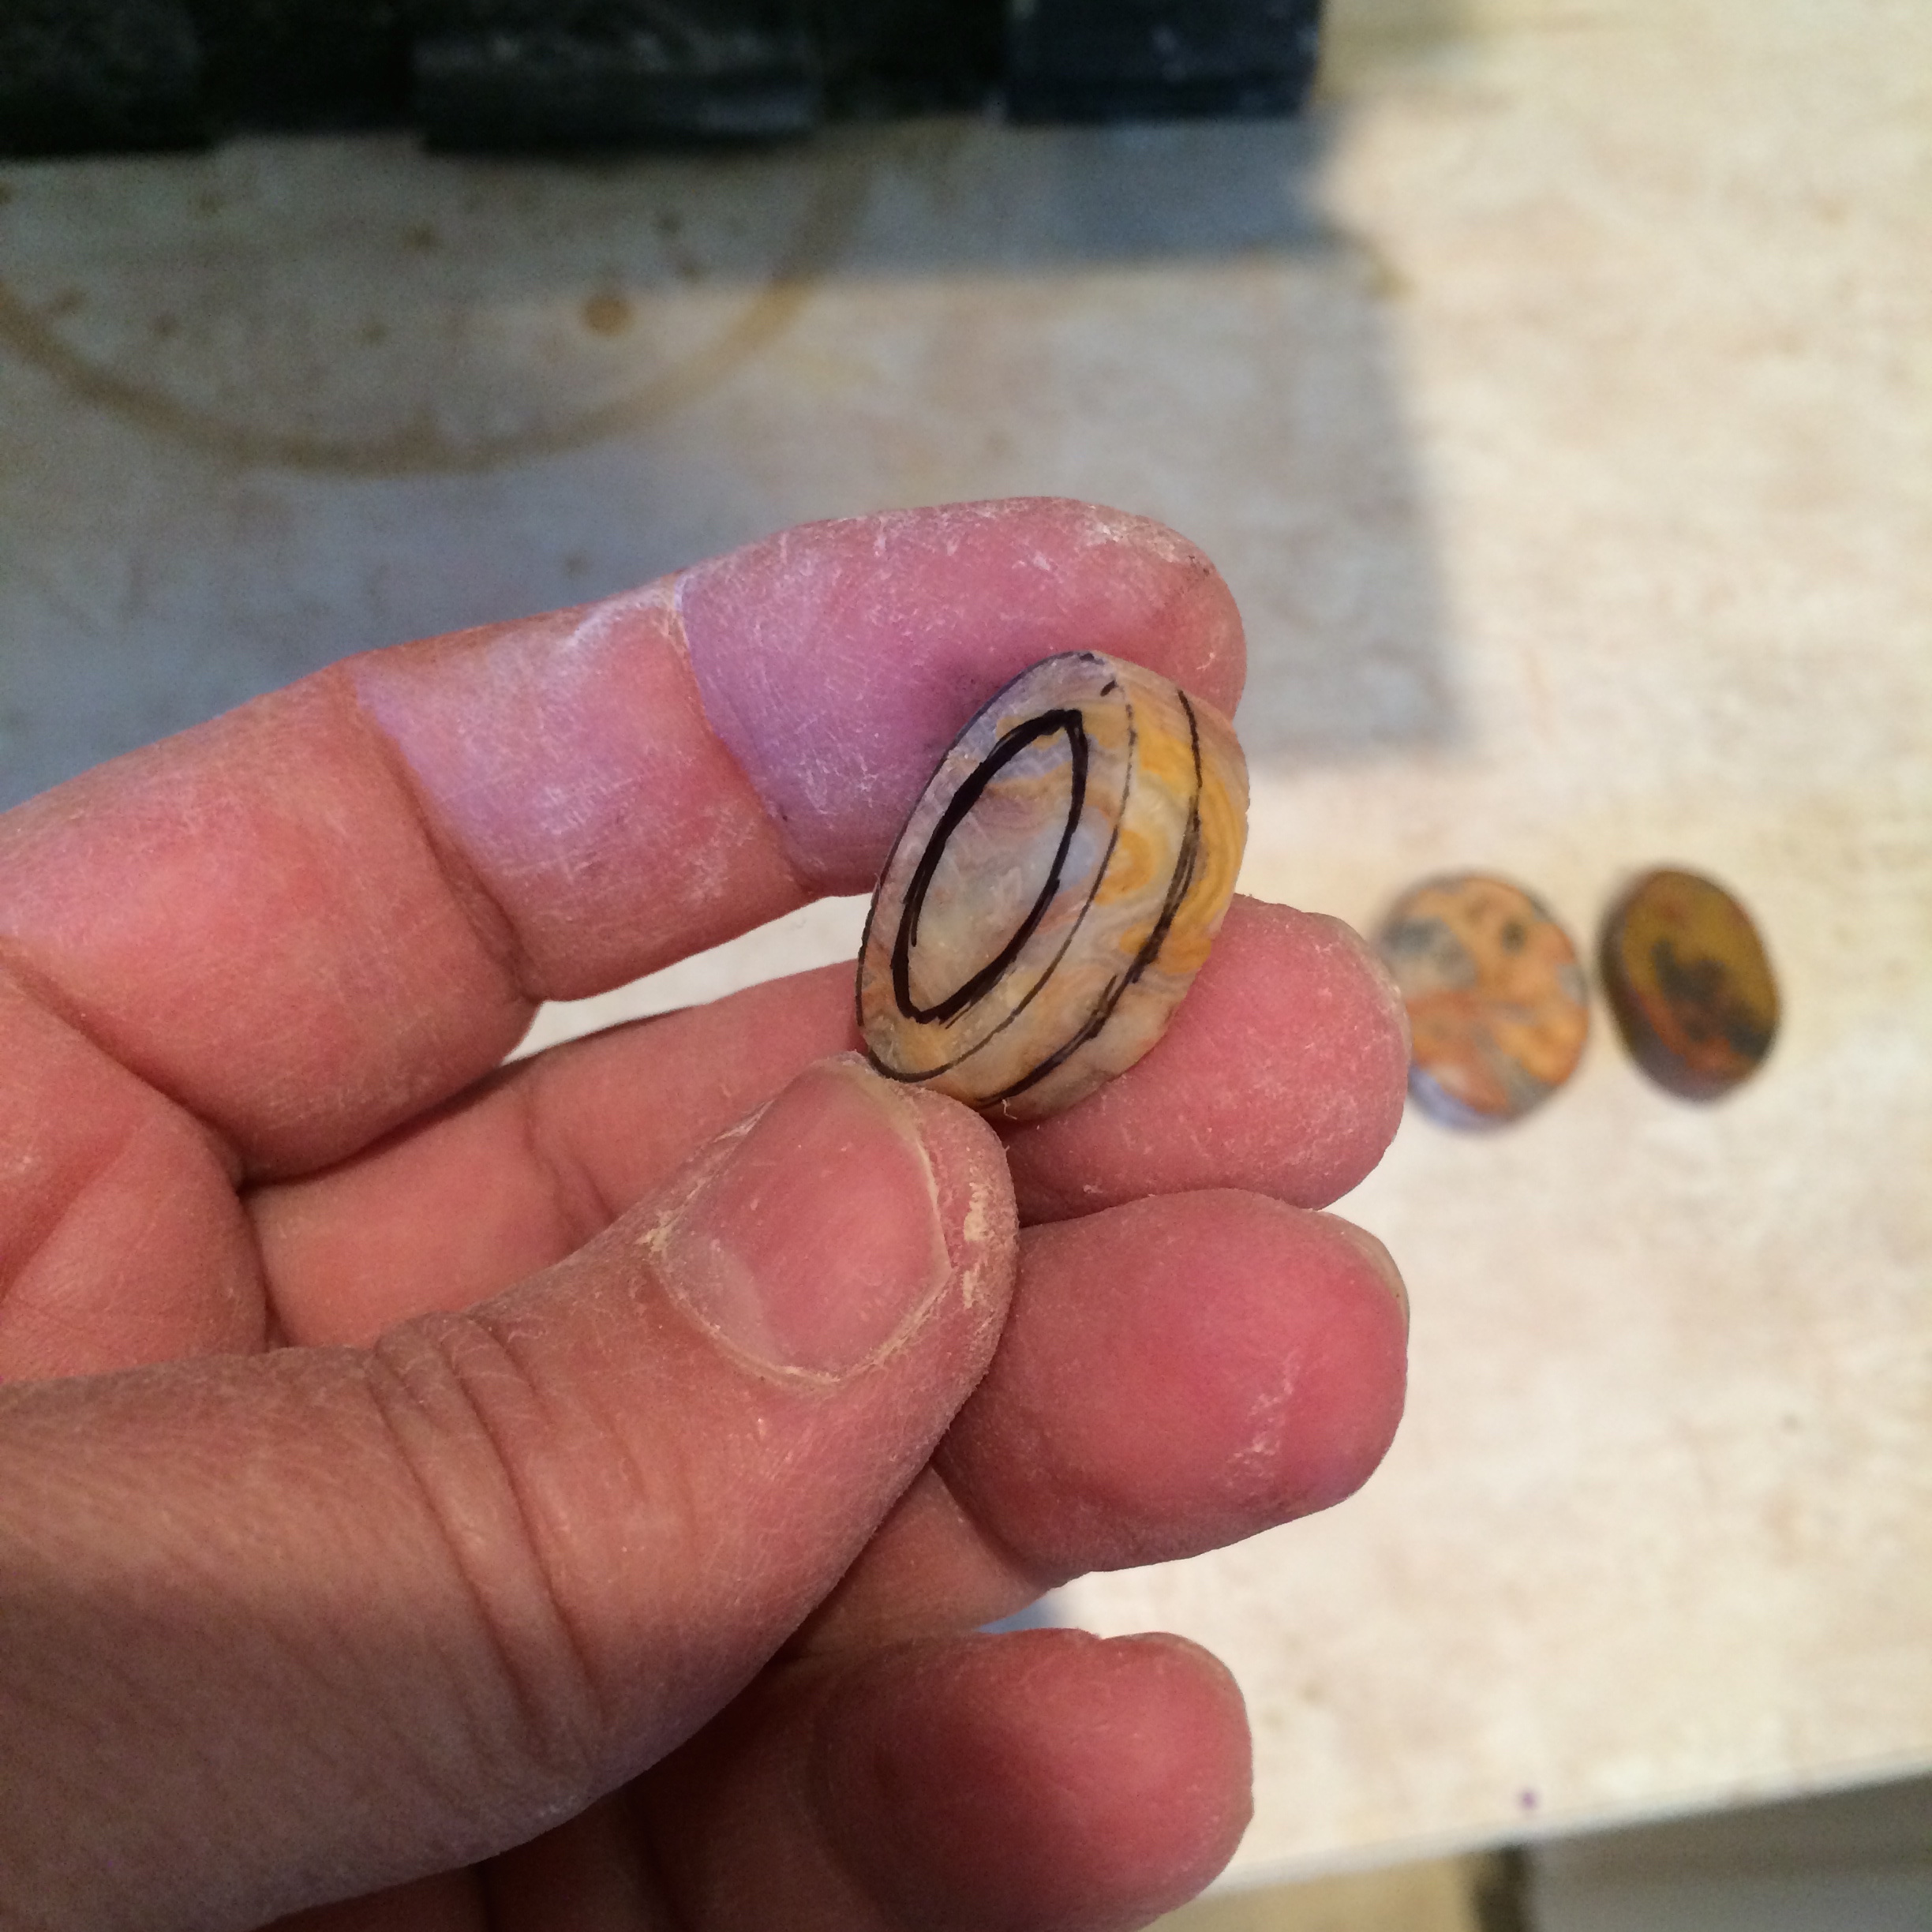
Here’s what I did with the Gaspeite cabs.
I drew the sketch.

Around the cabs.

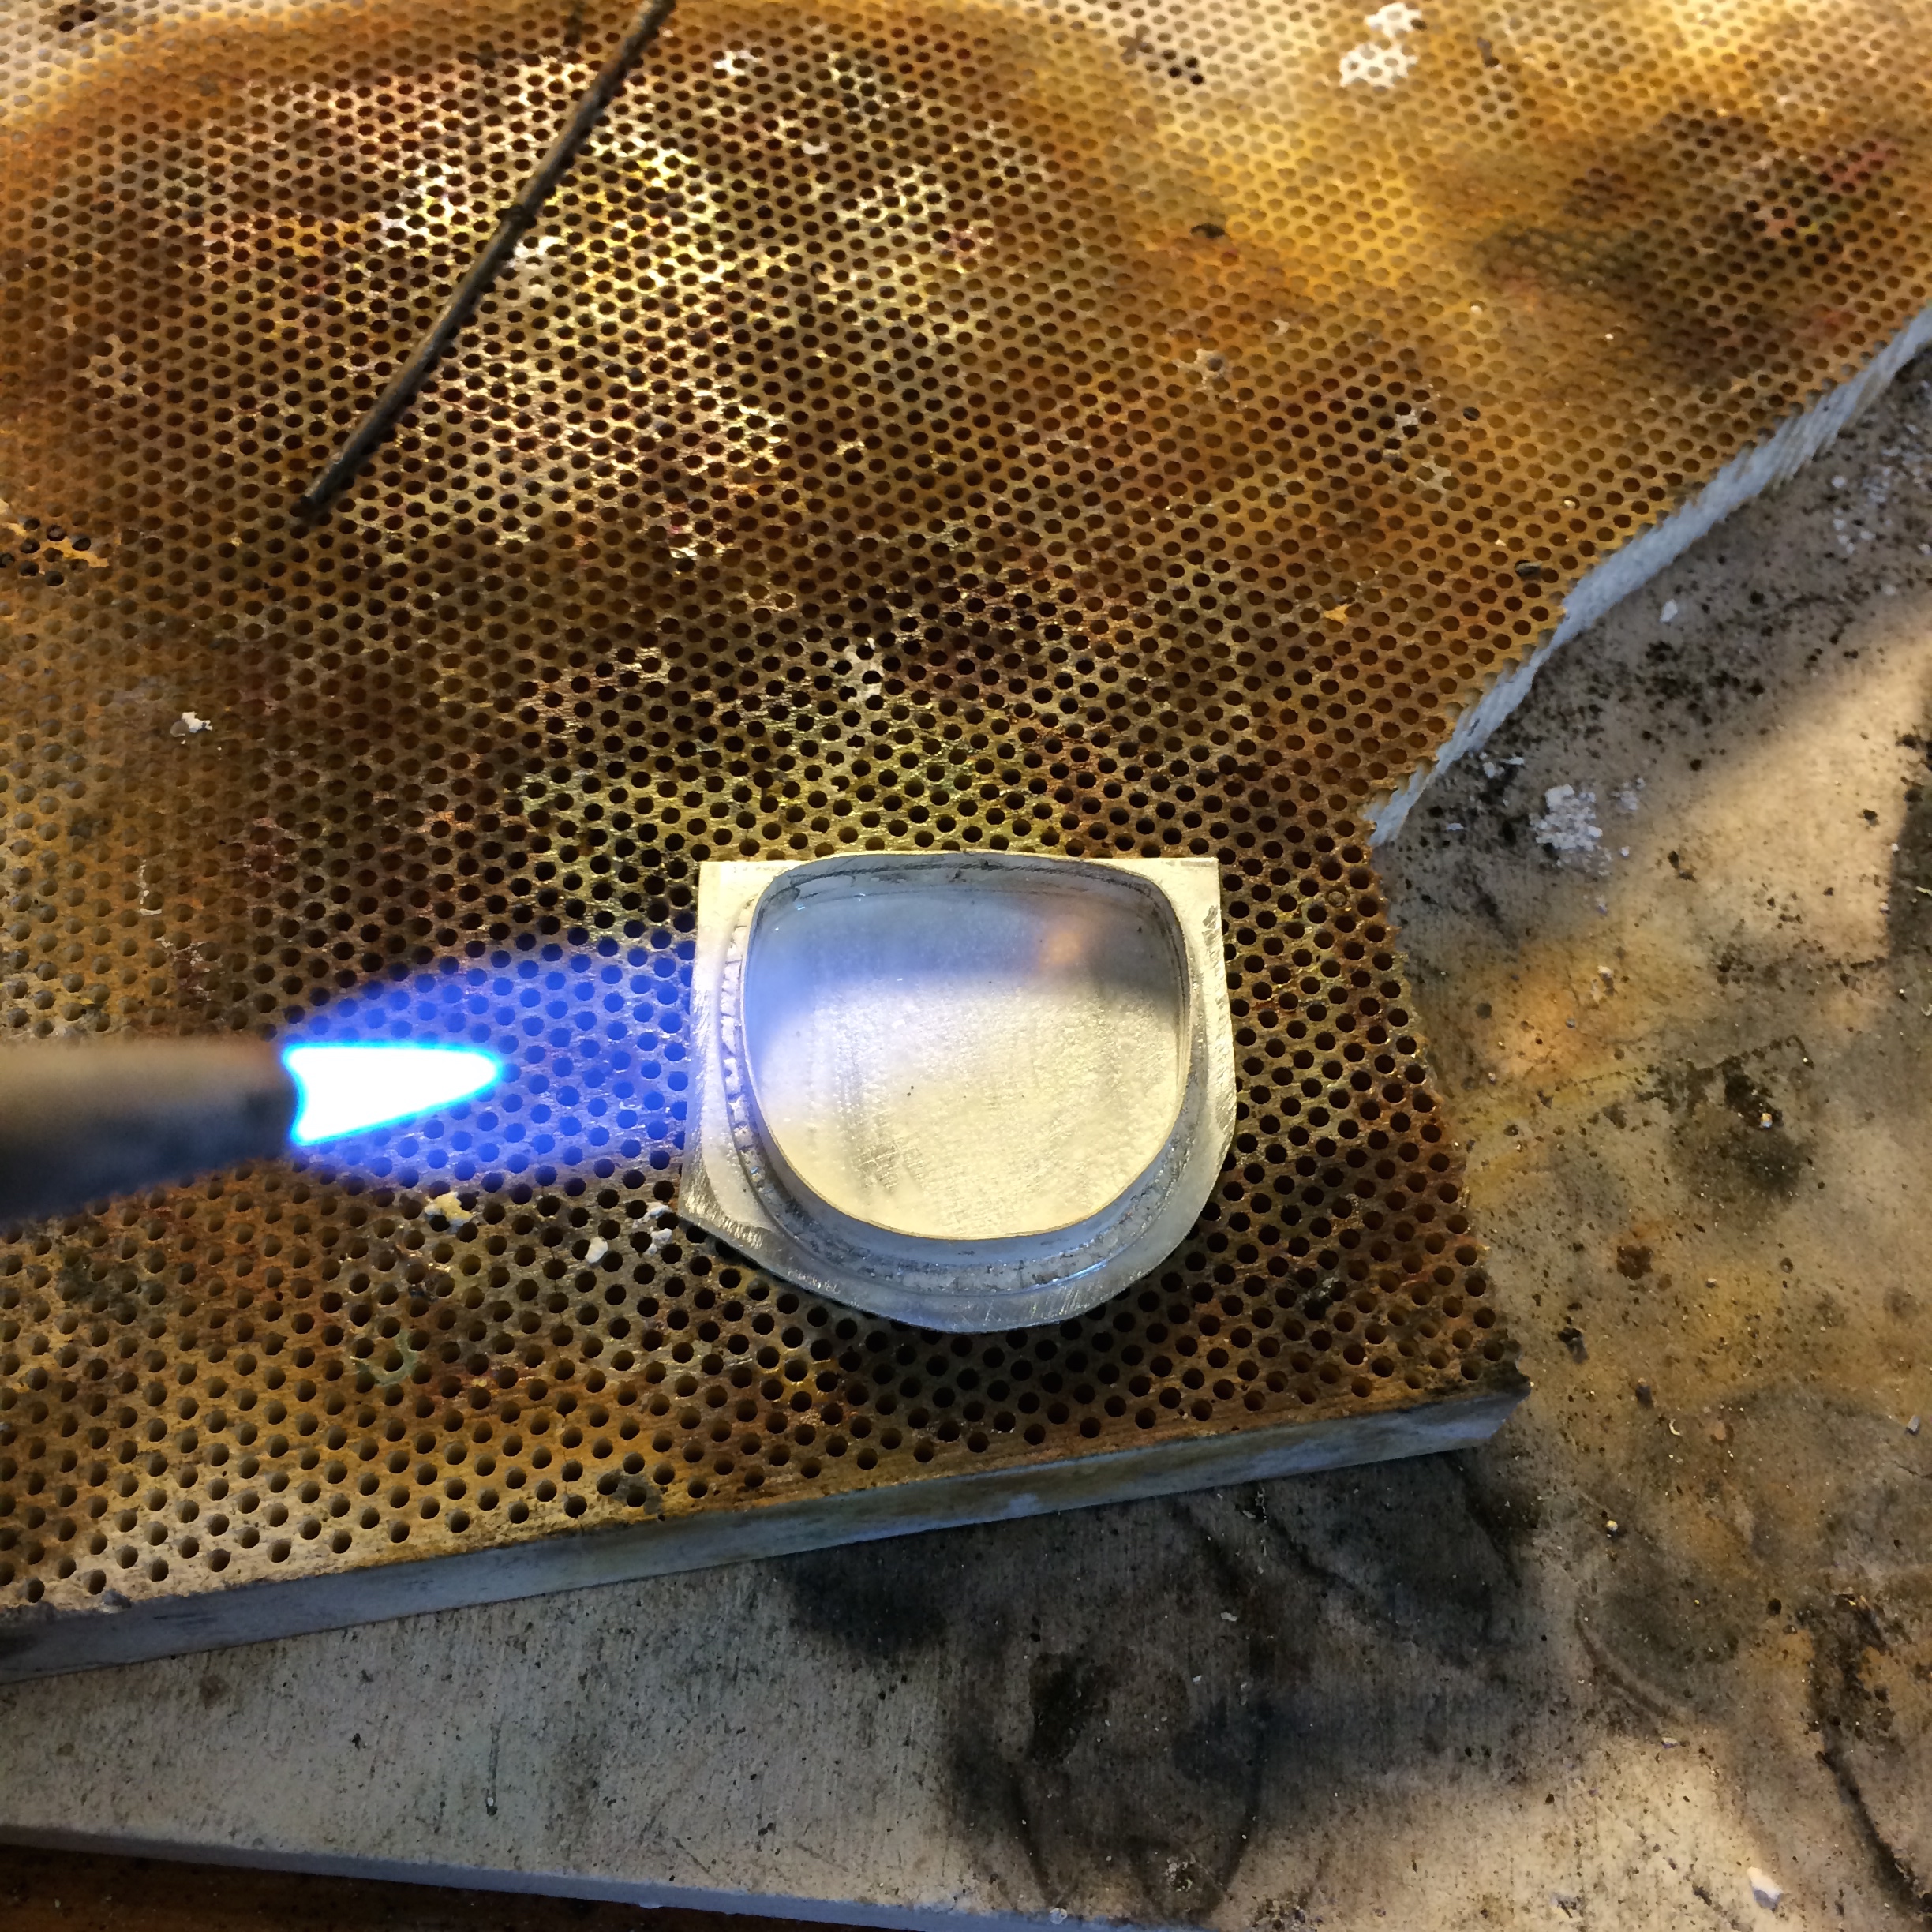
Set the collars.

Cut the back plate away so that the stone sits deeper into the piece for more dimension.

Soldered this onto a new back plate
Made some balls.
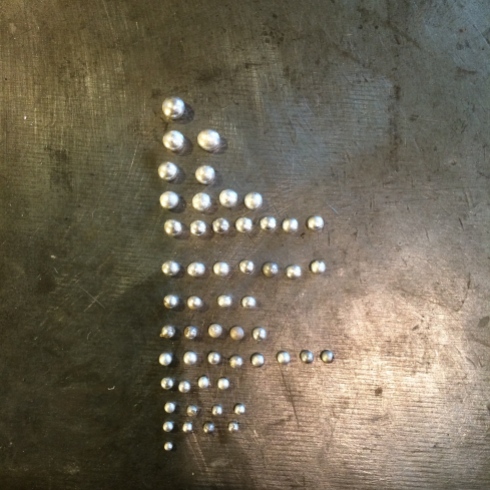
Worked on the bottom vine.

Cut a design out of the back and attached a hoop for the bottom vine to hang from

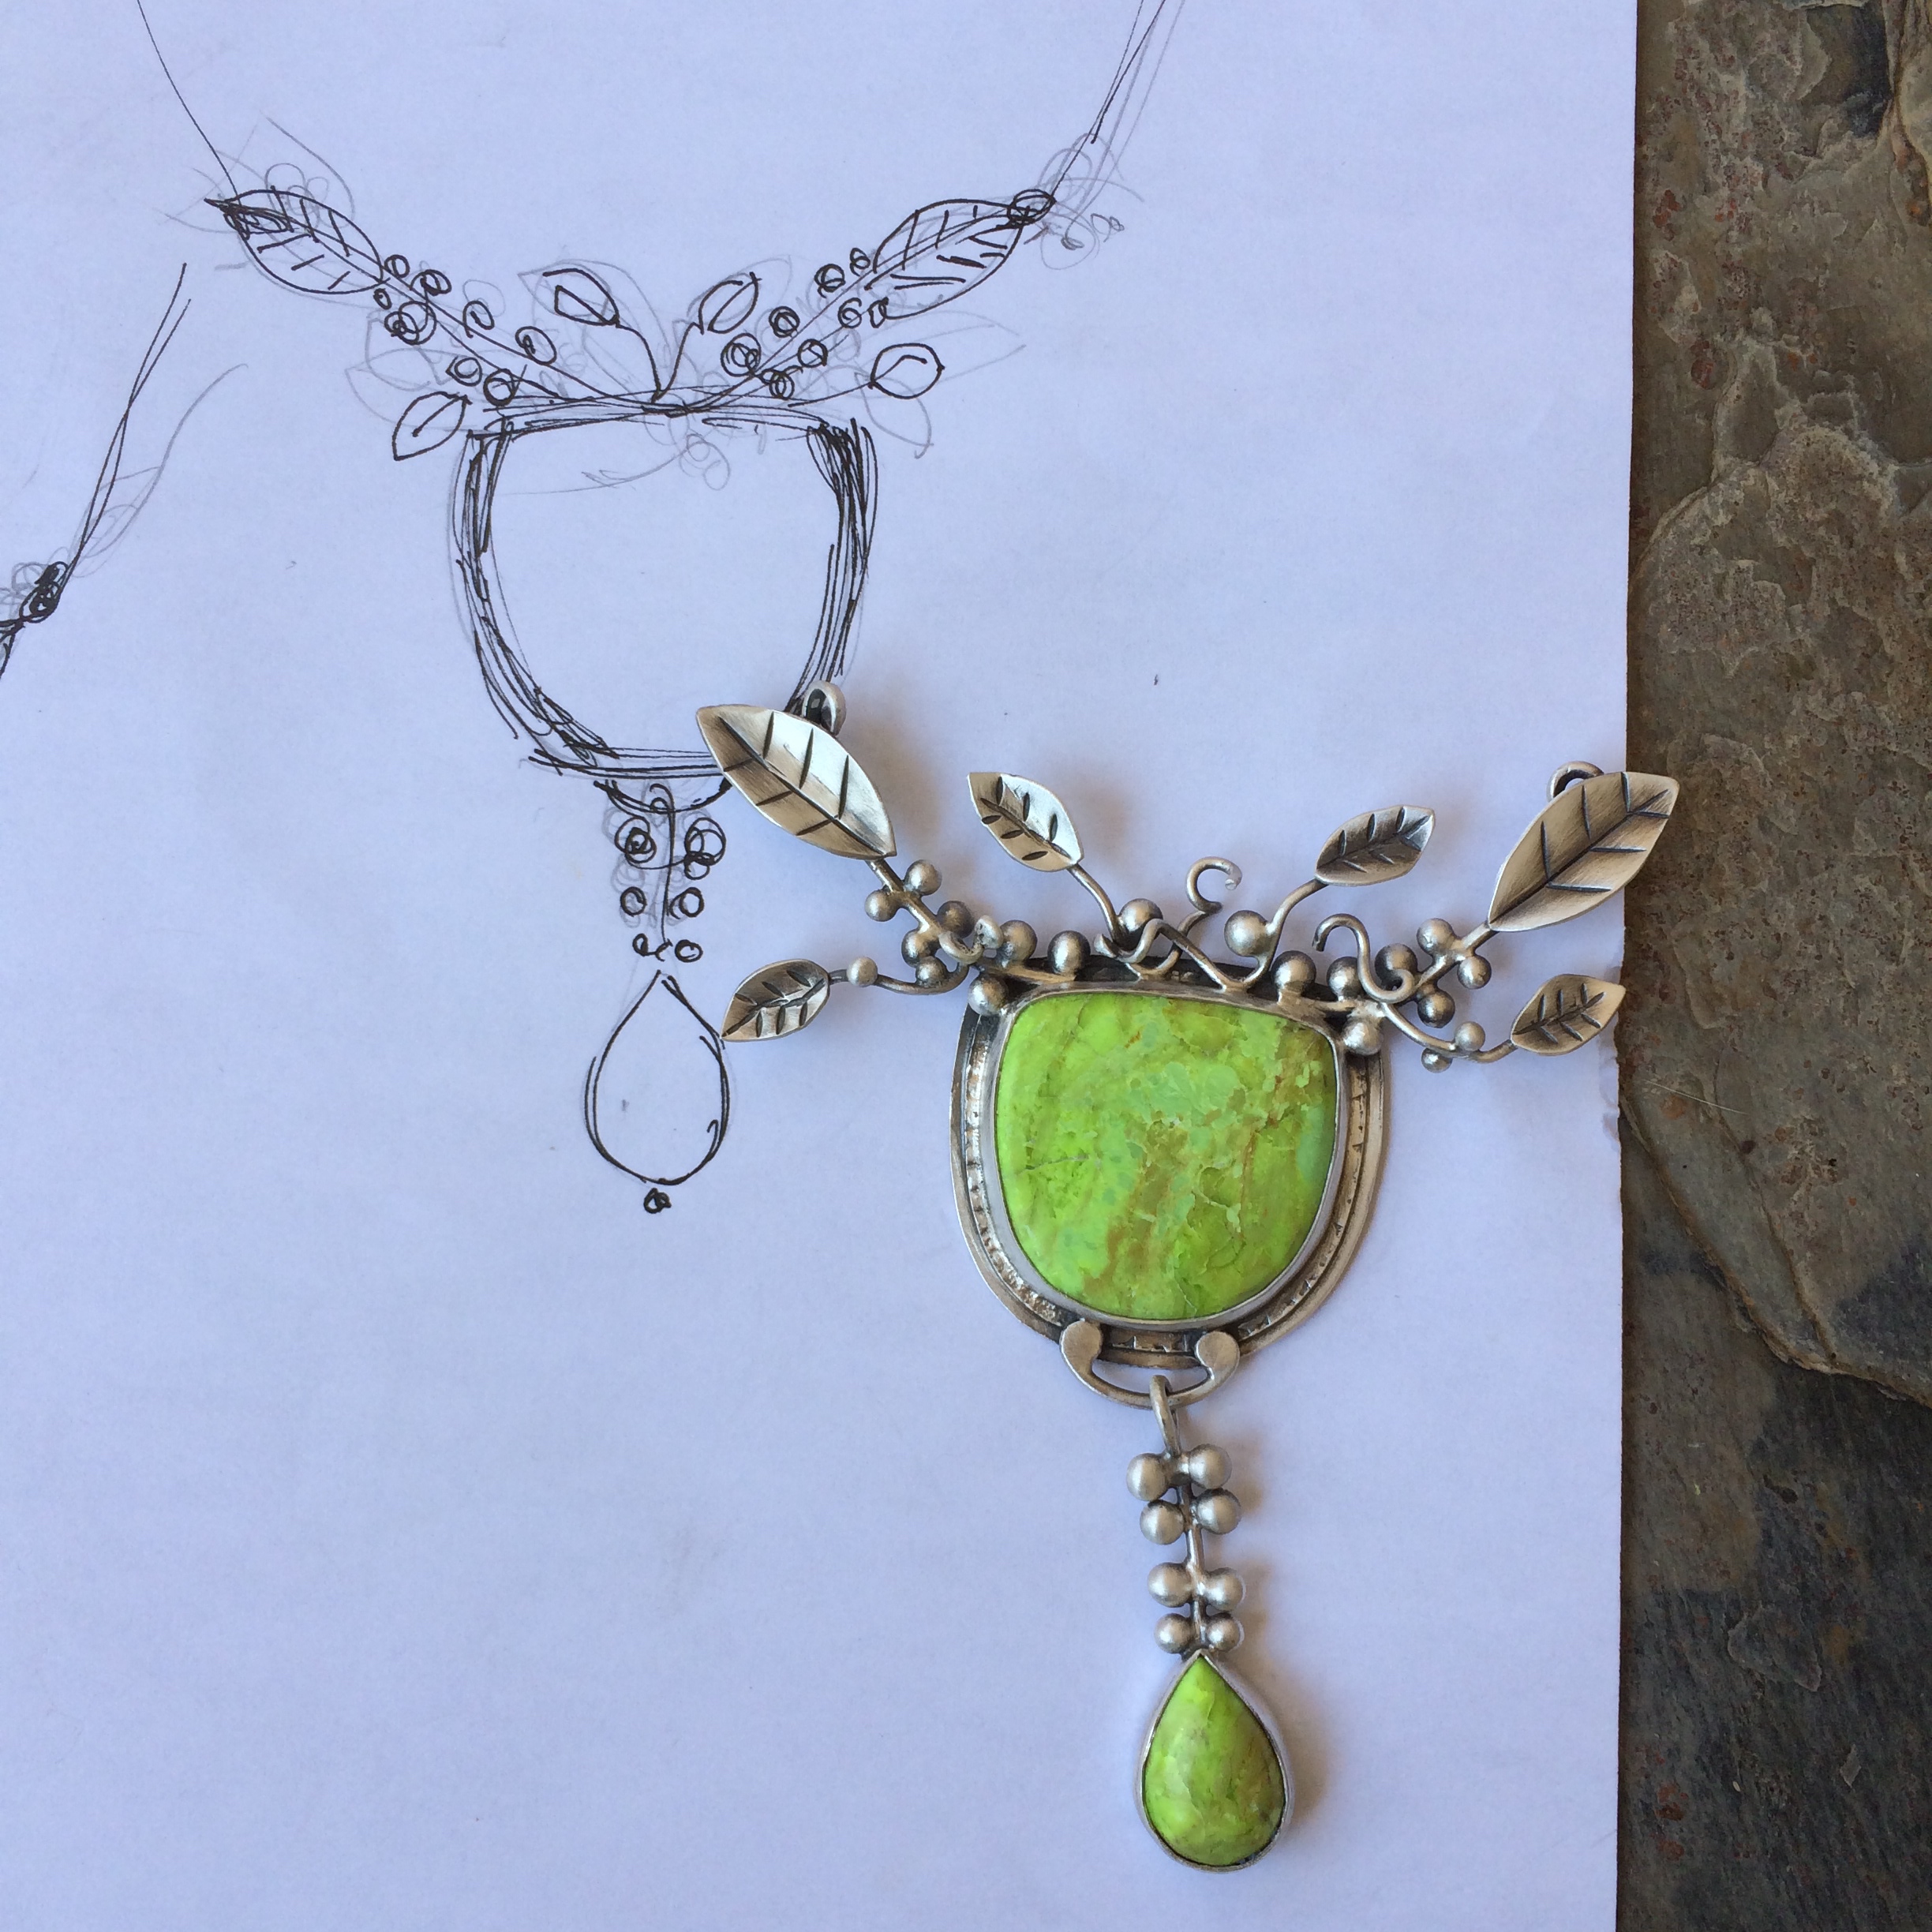
Checked it on the sketch.

Started on the top vine.

Cut some leaves.

And soldered them on to wire.

Soldered the balls onto the larger wire.
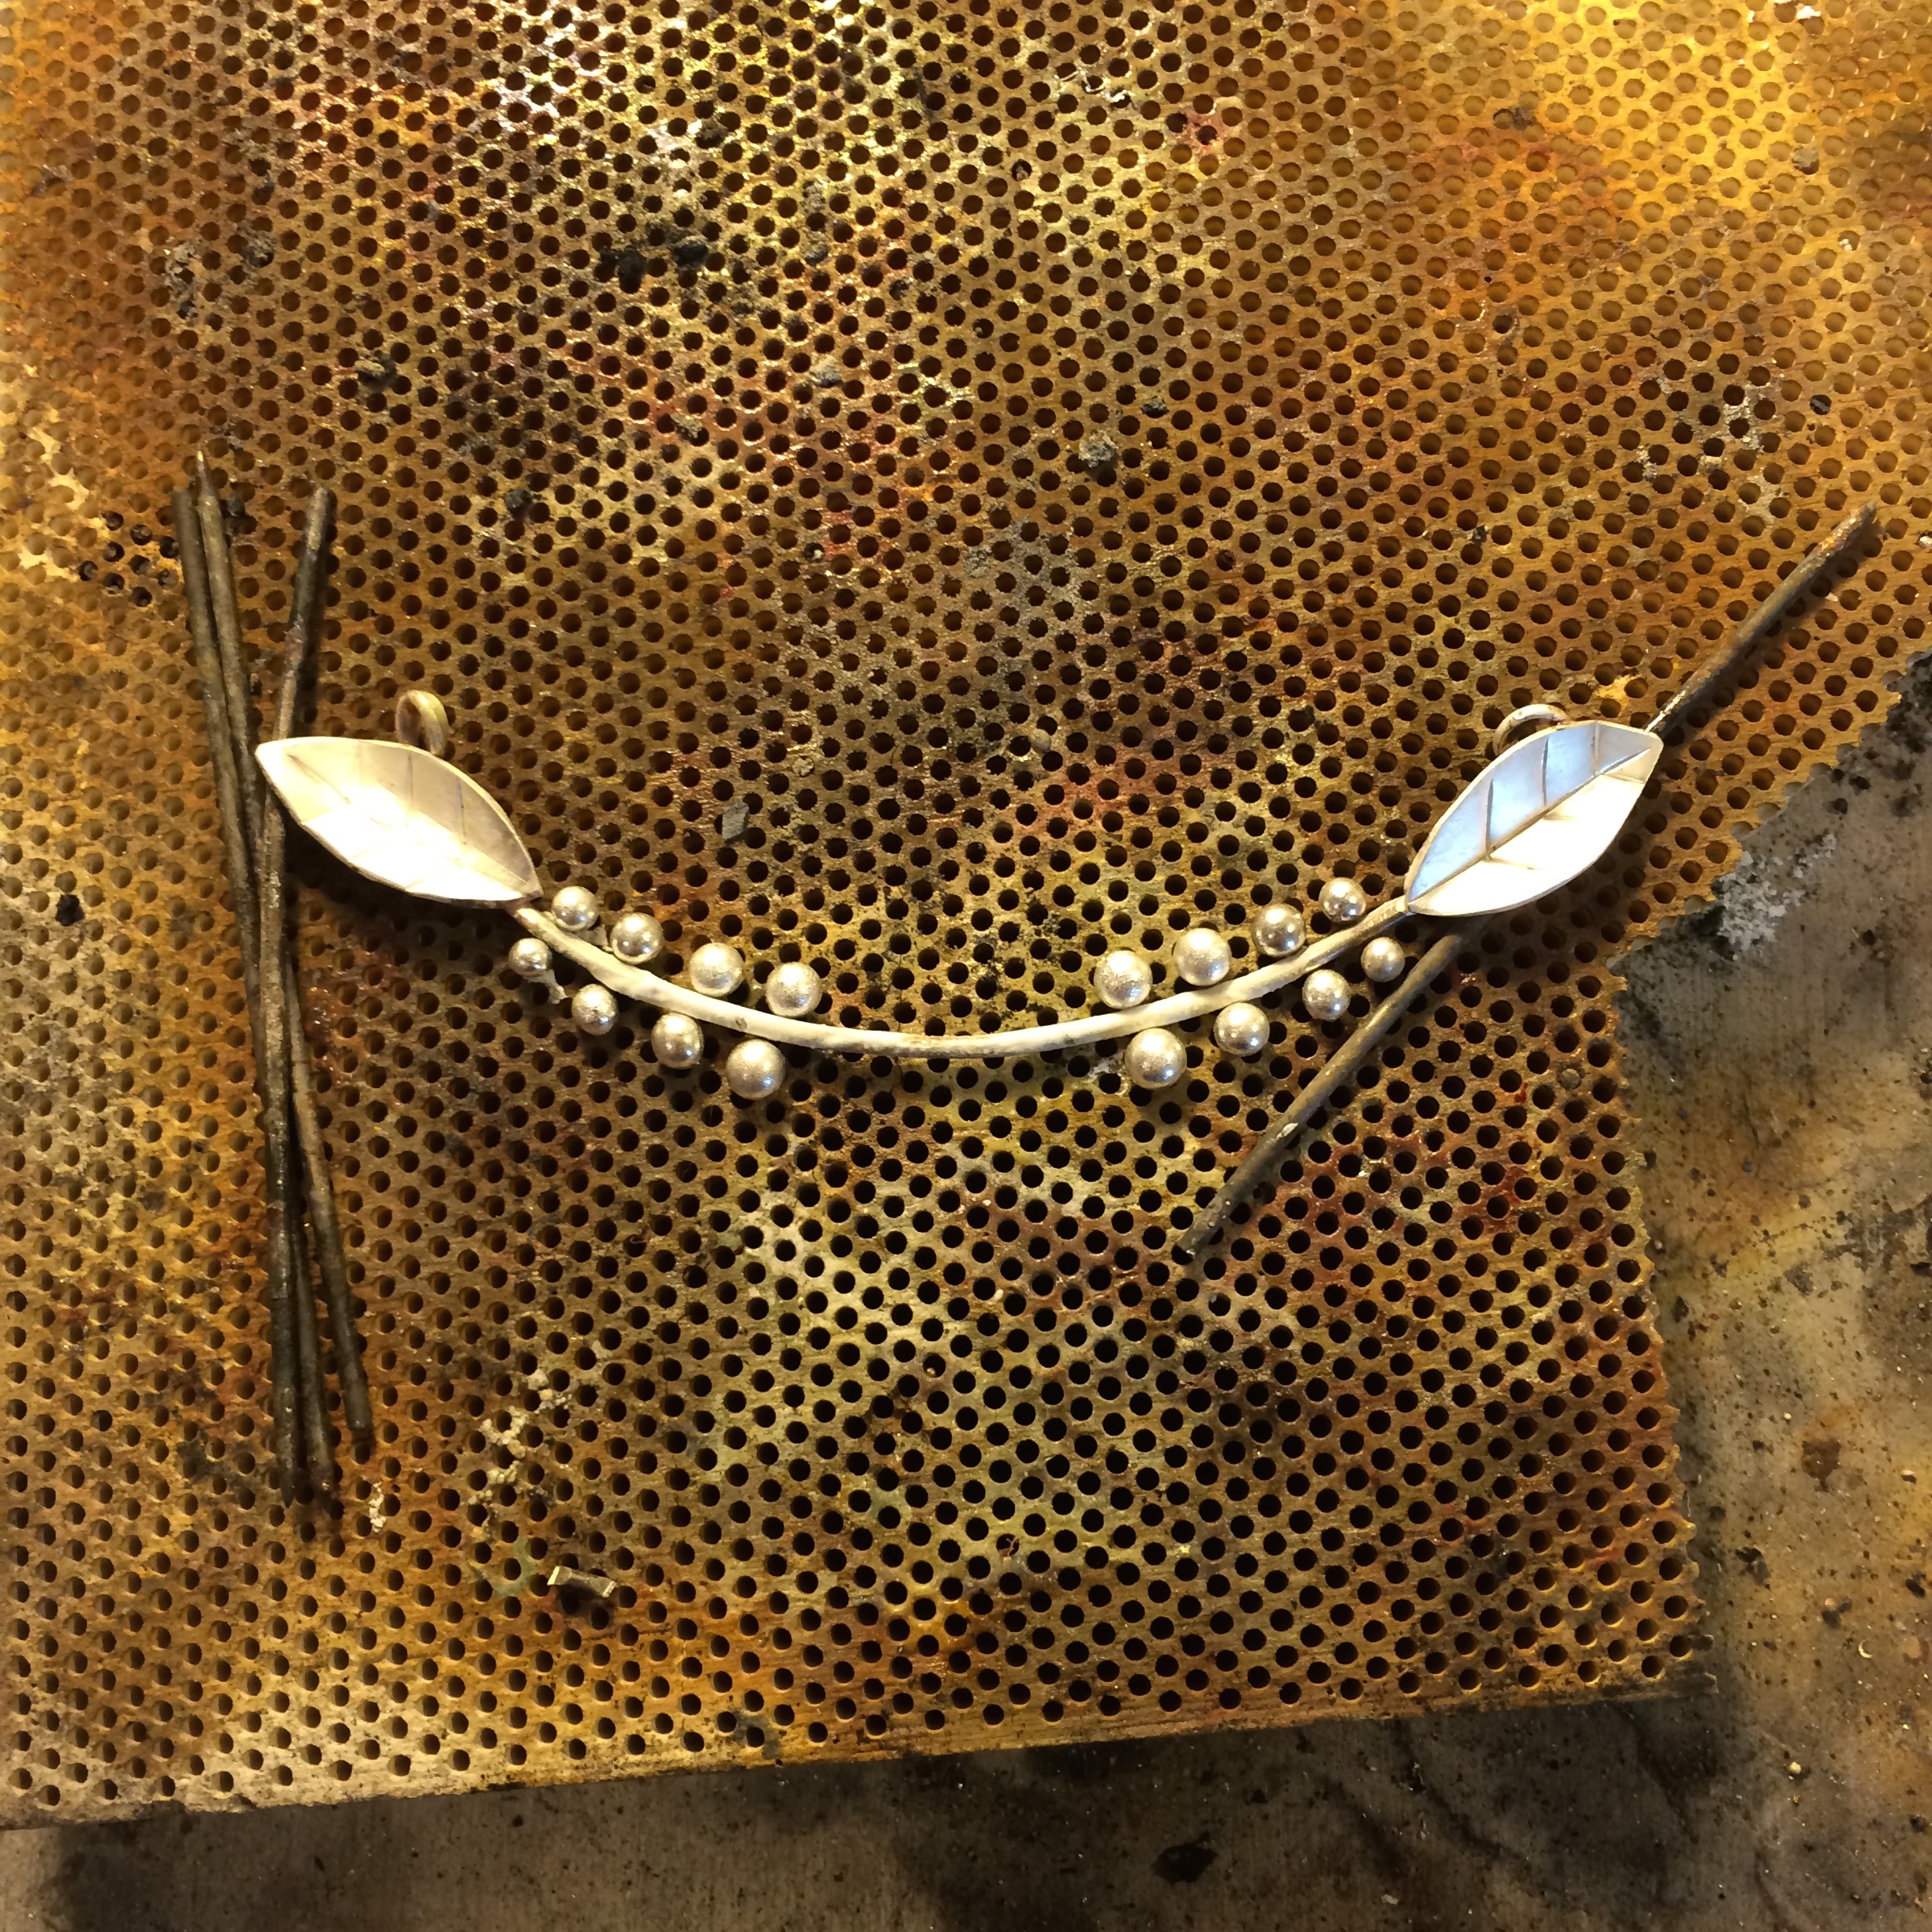
And placed the smaller vines around it.

Rechecked it against the sketch.

Not too bad.
And now it’s off to its forever home.
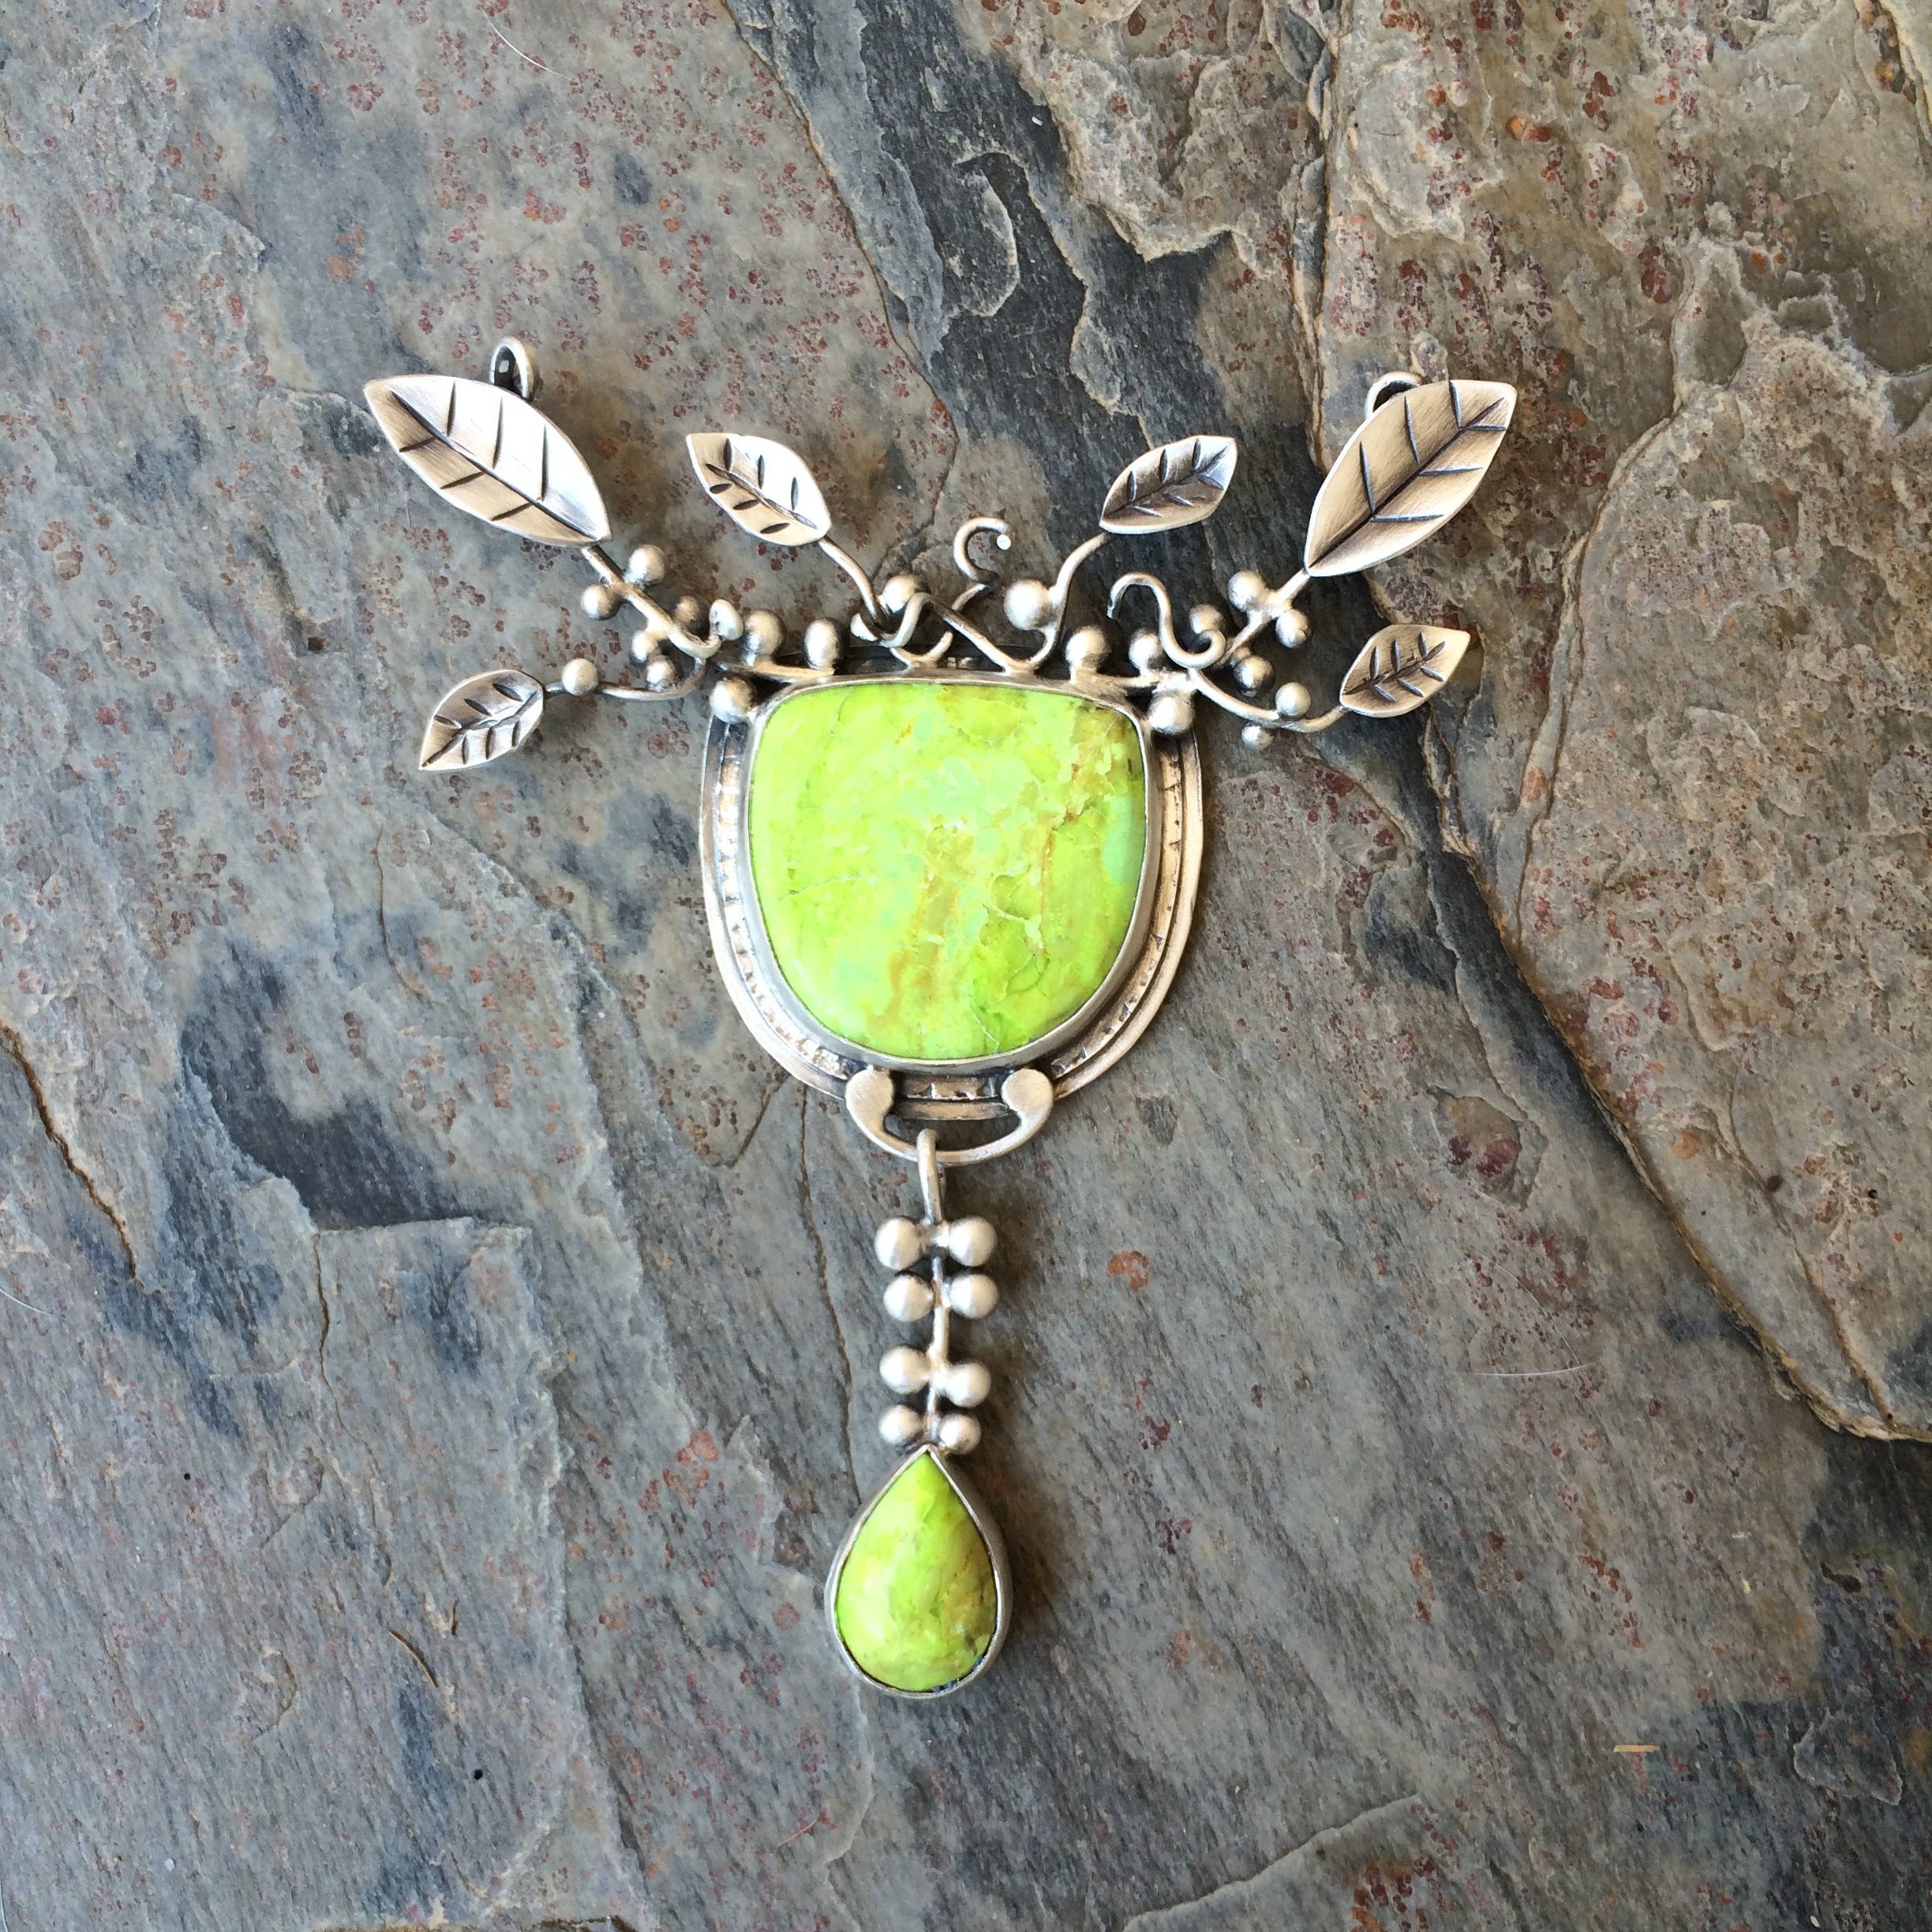
Thank you Deborah.
–
–
–
WOW! Just too beautiful! …hmmmm may have to have that….
Aw Jules. It’s on it’s way to Deborah. I’ma making another one though 😉
very pretty
Thanks Jane 🙂
Your work is just beautiful. Thank you for sharing it, and your process with us. it is greatly appreciated.
🙂
I like the idea of using wood to push the slab into the trim saw–having my fingers anywhere close to a spinning blade is scary! It sounds like a bit of a messy process but I’m dying to try it some day. Beautiful piece too!
You should try it 🙂
I love the shape you chose for the top stone and the definition in the backplate, not to mention how balanced the whole piece is. Not bad, indeed.
🙂
First of all, thank you so much for taking the time and effort to sharing the steps in making the cabs with us…fascinating. Sure it was a pain in the patoot to stop and photograph all this when you just want to get on with the work. Secondly, thankful that there were no digits sacrificed in the process! Gorgeous Gaspeite!
Well don’t hold your breath Linda, I’m nothing if not an accident waiting to happen lol
This may actually be my favorite! I just love it! Thank you for showing the whole cabochon cutting process! I’d love to try my hand with that as well but I’ve got to finish getting all of the tools that are on my ever-growing list for metalsmithing! It seems like I keep adding stuff to it daily! Sometimes hourly!!! Ugh! I’ve got to stay off of Facebook! Anyway, I’m crazy about your designs, maybe one day I’ll be able to afford one!
Or make one Lecia 😉
Absolutely Beautiful! Thank you letting see your works in progress. They are so inspiring! Jan P
🙂
This is such a cool post. Thank you for taking the time (and risk!!) of photographing and describing all these stages. You are really so very inspiring. 🙂