I’m going to share with you my latest adventure into jewelry making where I seemed to have fire scaled the living daylights out of an innocent piece of silver…
I have to tell you the truth, up until now I hadn’t given much thought to fire scale.
I’d heard the word bandied around the jewelry channels often enough and yet, as with many things that cross my path, I didn’t think they were talking to me.
Those colourful papers with school activities and happenings would come home from school in the kid’s backpacks and I would just put them aside thinking they were meant for other mums.
Until I missed the event and wondered why no-one told me.
Yep. That’s the world I live in.
I think it’s called dissociative.
I call it happily going on my way and ignoring the stuff I don’t want to deal with.
Like fire scale.
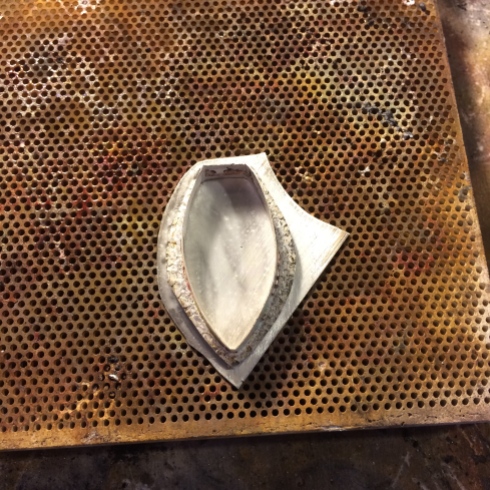
Then, as I was making my latest piece, I was taken by how beautiful a piece of silver was that I had just soldered.

I mean, look at it.
And I was wondering if I could make a piece and somehow protect this finish.
But I believed it was just the flux having a field day with the heat and that it would just come off in the pickle.
Actually, I haven’t pickled that piece yet, so I still don’t really know.
Ah, the wonders of experiment.
Anyhow, somewhere in the back of my head the word ‘fire scale’ started to wake up, and now I think that’s what it might be.
Here’s a good article on fire scale.
–
So onto my latest piece.
Which might bore some of you because it’s pretty much like all of my latest pieces.
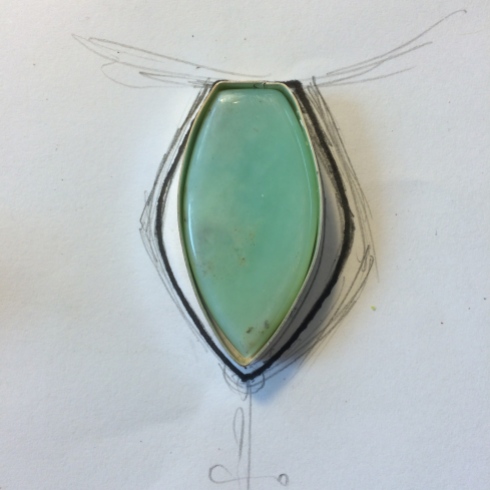
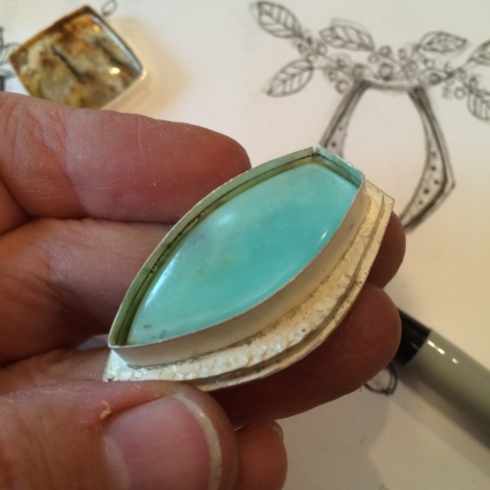
I bought a nice piece of Peruvian Blue Opal from Shirl.
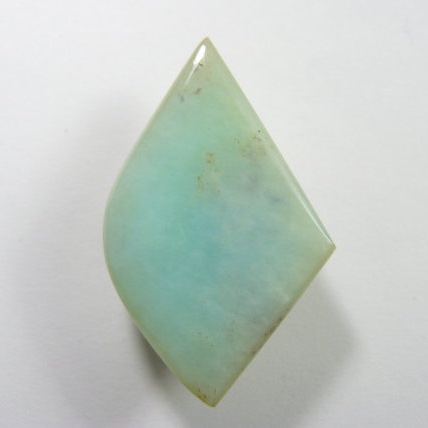
I didn’t like the shape, but I liked the stone.
So I had a few drawings hanging around and decided to make one…
or two…
You know how it is.
First up I re-cut the stone to fit my design and polished it through all of the grits of the Jool Tool.

I do like how I can now adapt stones I’ve already bought, and for that I think the Jool Tool is worth it for me.
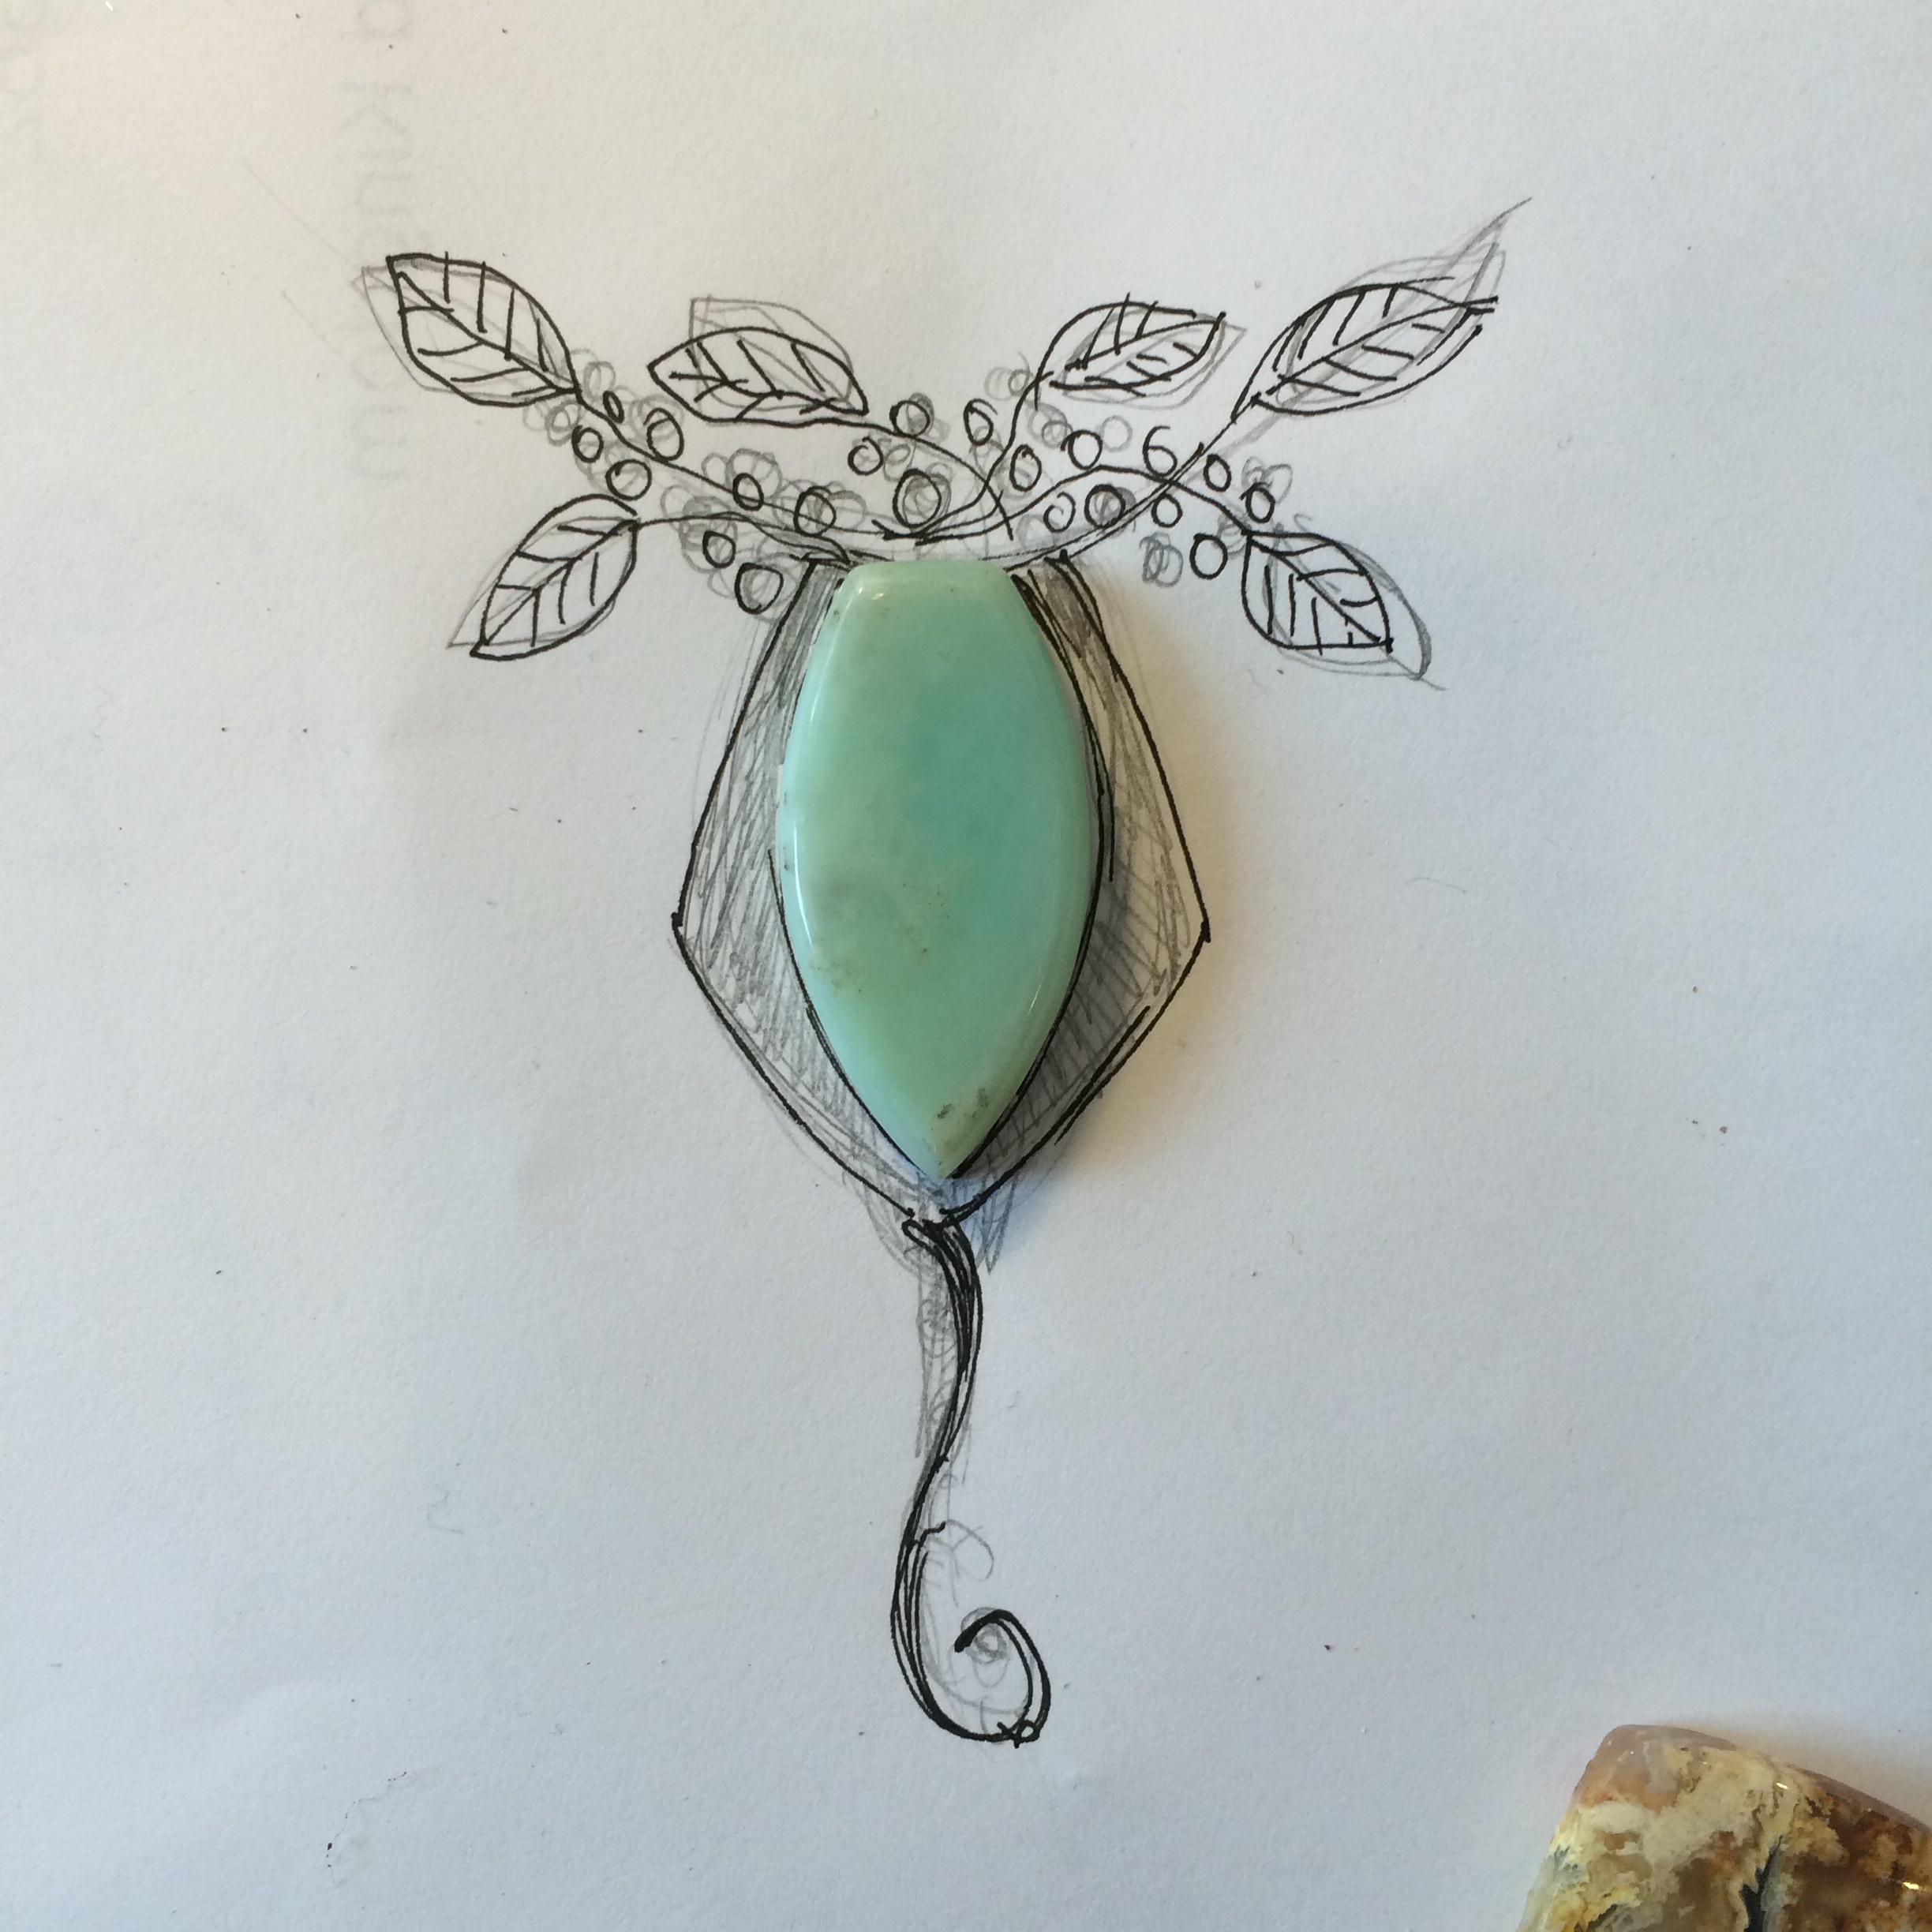
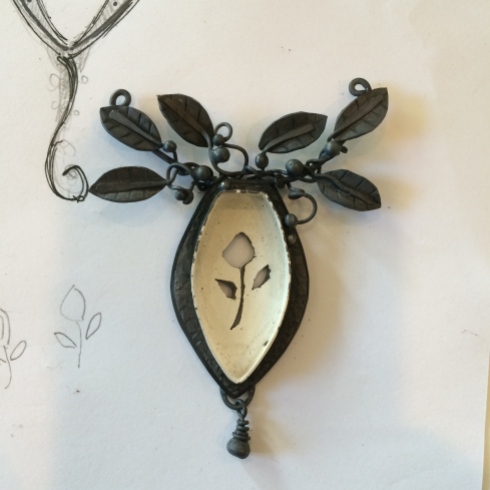
So here it is in its sketch.
I’m kind of over the big leaf design, but for some reason here’s another.
I made the opal, and it’s friend, a collar.

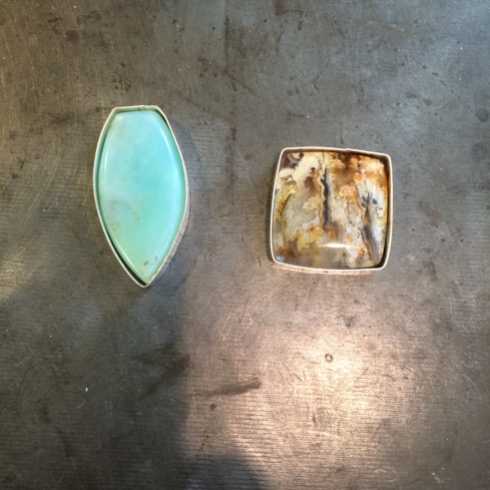
But felt that to just solder this onto a sheet of silver wouldn’t look good as it needed some more substance.
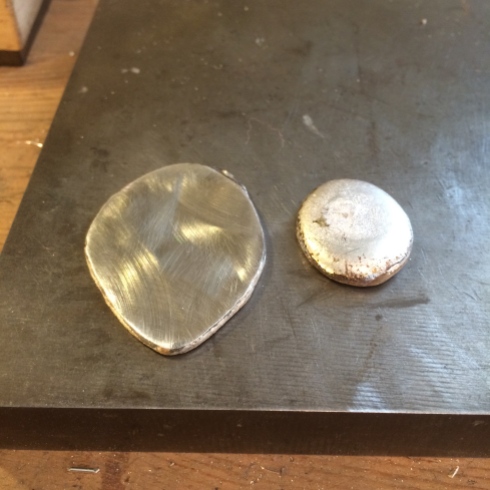
So I rolled out one of my silver pancakes that I’d melted down from my scraps.
Because I wanted chunky.
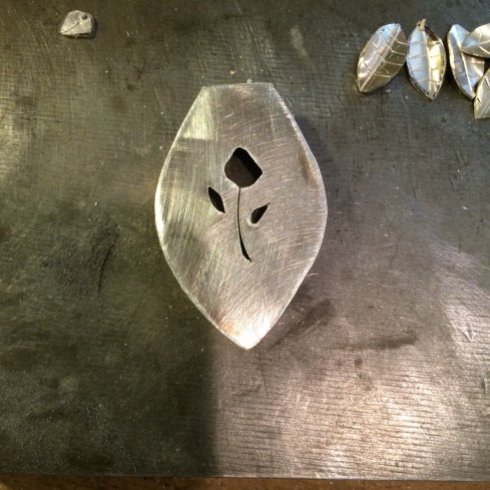
Decided where I wanted the dimension.
Used that sticky film paper
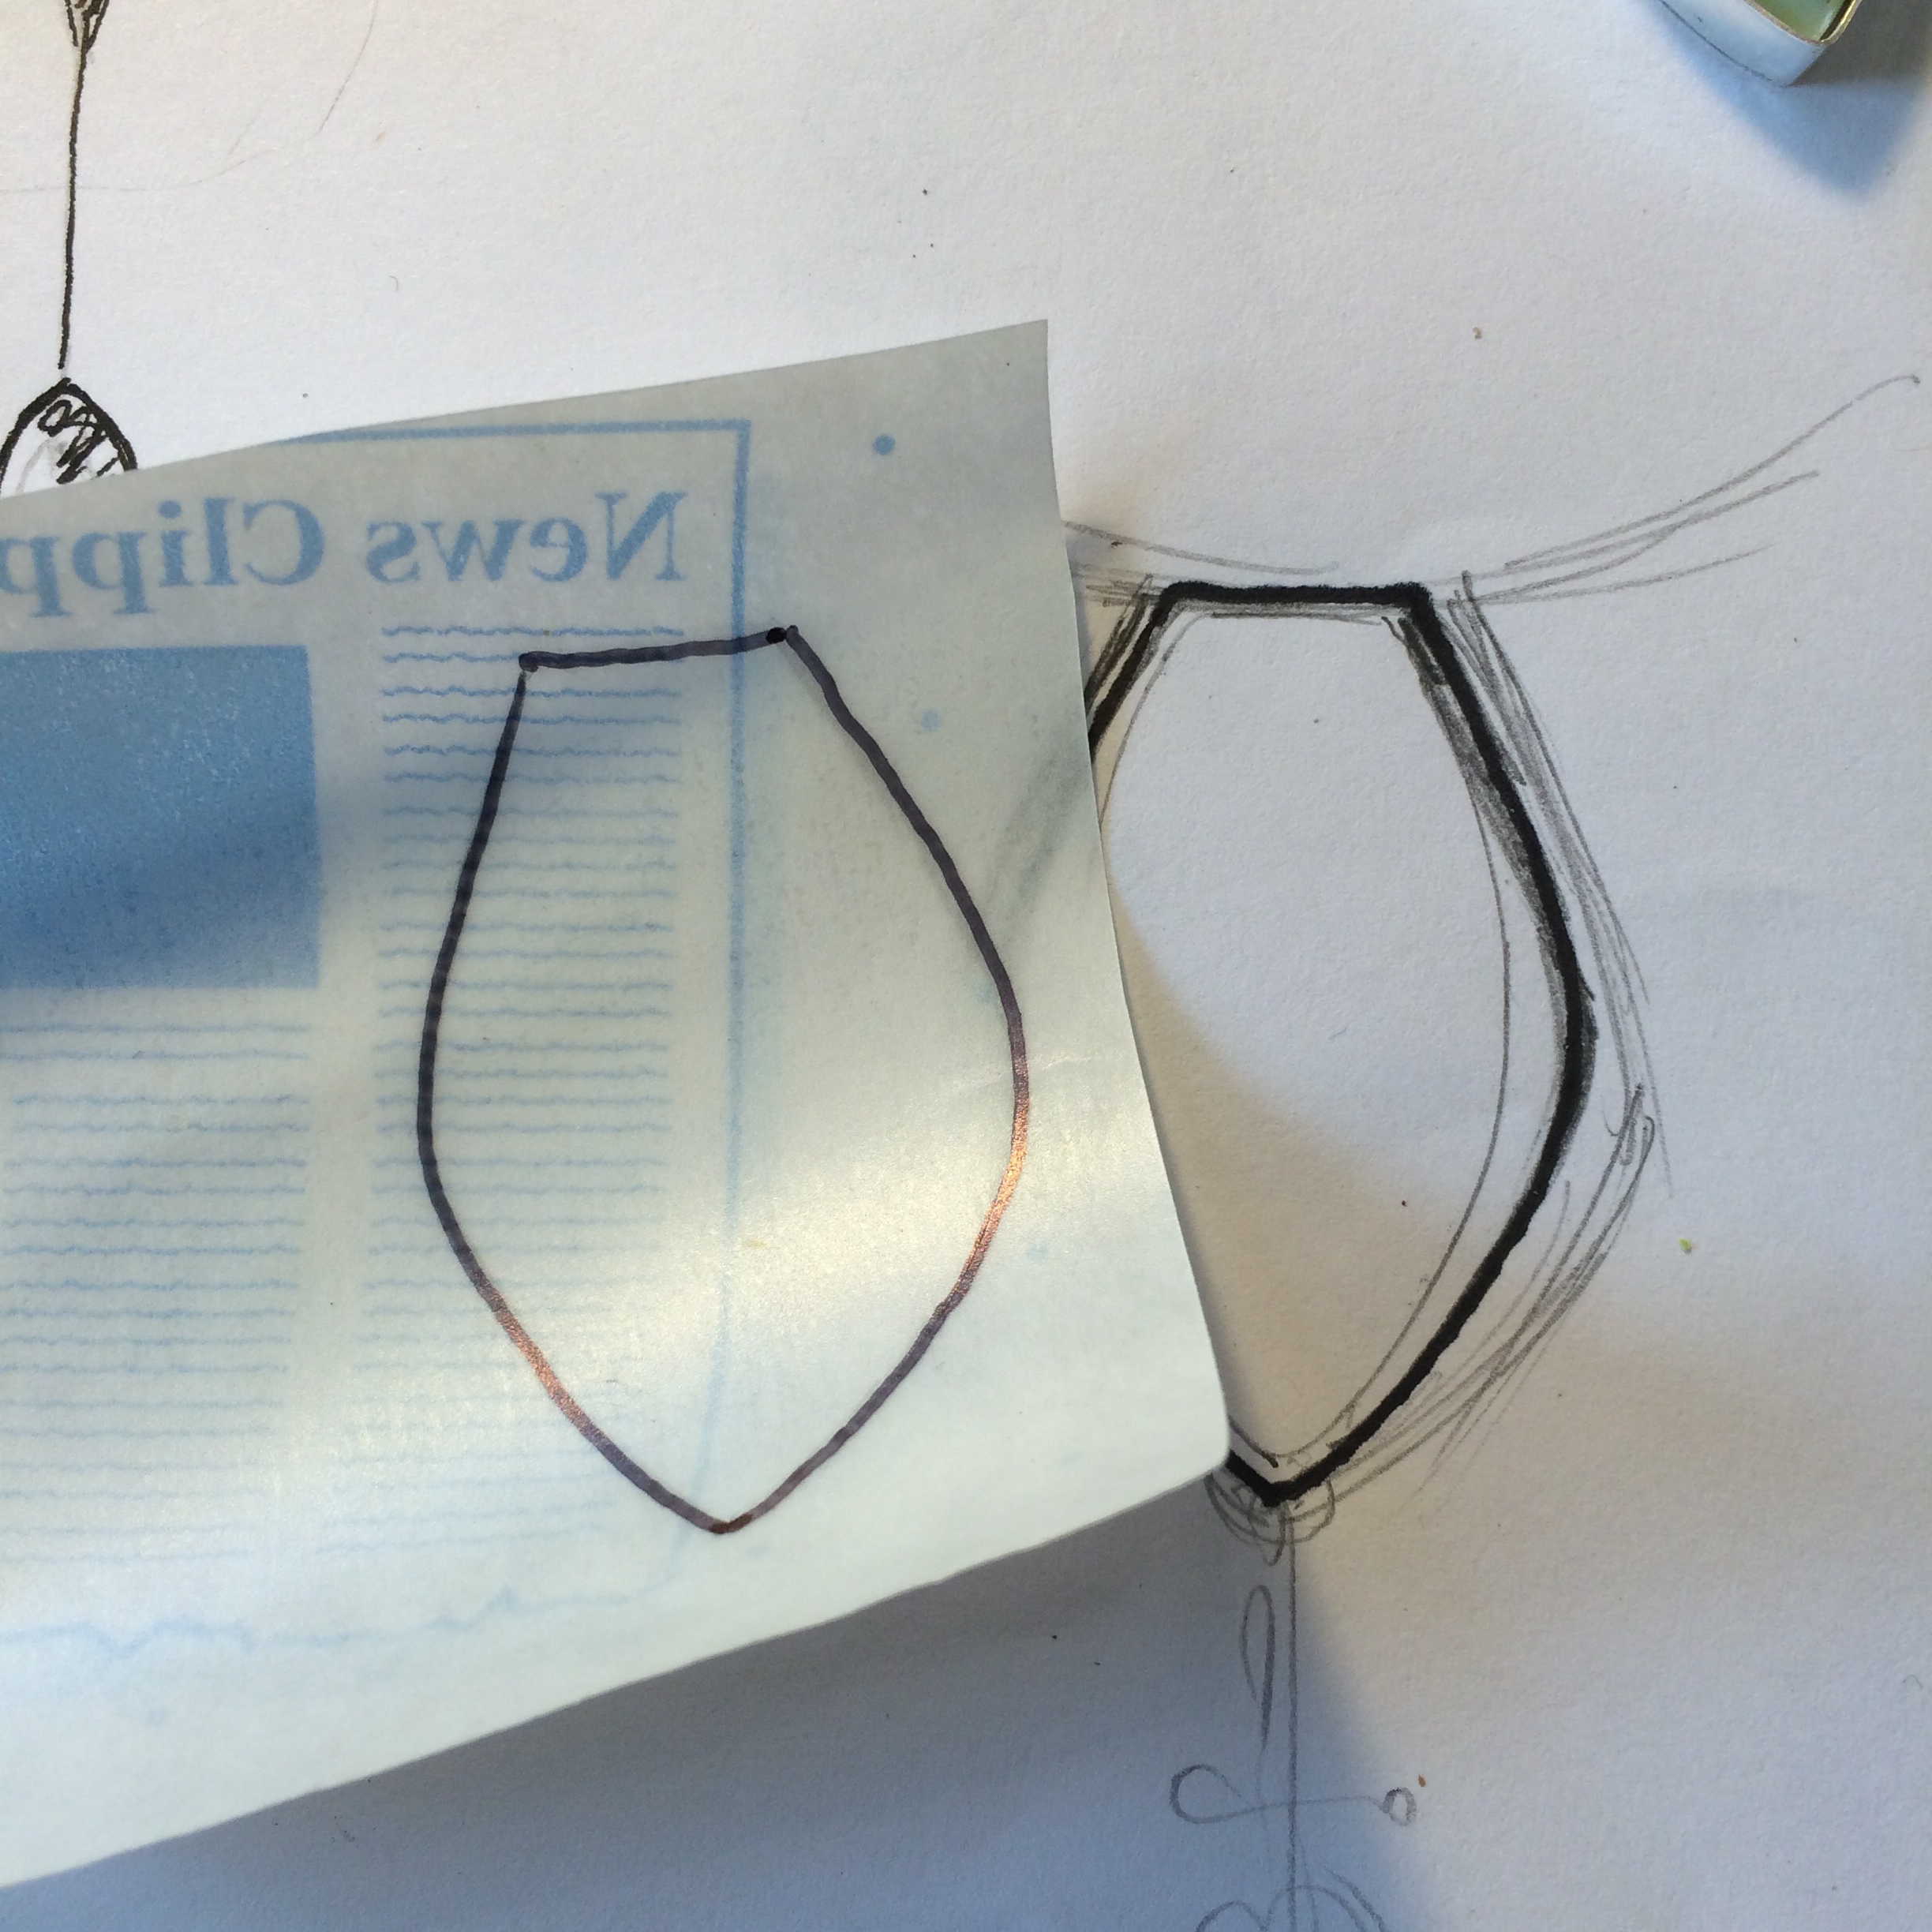
To cut out the shape.

And then decided it needed to be stamped.

I then soldered the collar onto it.

And that’s when that beautiful surface design happened.

The back didn’t look quite as good though.
That must be the copper coming to the surface.
Still kind of interesting though.

Because I wanted the stone to sit down further into the design I then cut the inside out of the bezel.
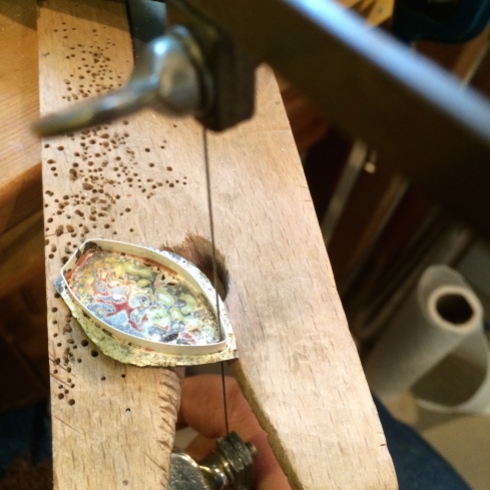
This also reduced the weight of the piece.
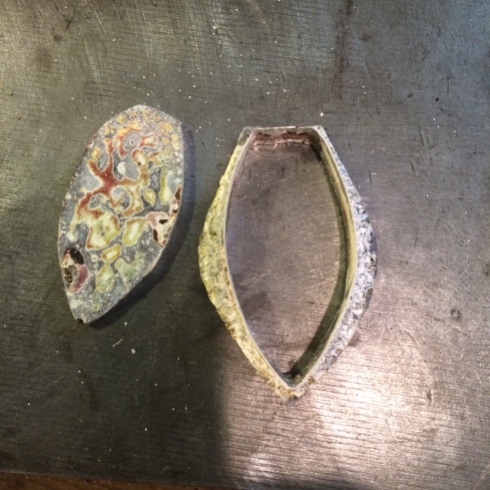
I try to saw as close to the inside edge as I can otherwise I’ll spend a lot of time filing away the excess.

I want the stone to pass easily through to the bottom.

Next I tidy up the edges of the bezel where the stamping may have distorted the shape and see how it looks on the sketch.

Now I solder it onto its new back plate, which is 22 gauge silver sheet, making sure to leave enough room around it to be able to give it a ‘step’.
Here it is trimmed to its final outline.
And now a much needed chip break.
I don’t usually eat them, but S brought me in some.
I think just to make sure I was still on the property.
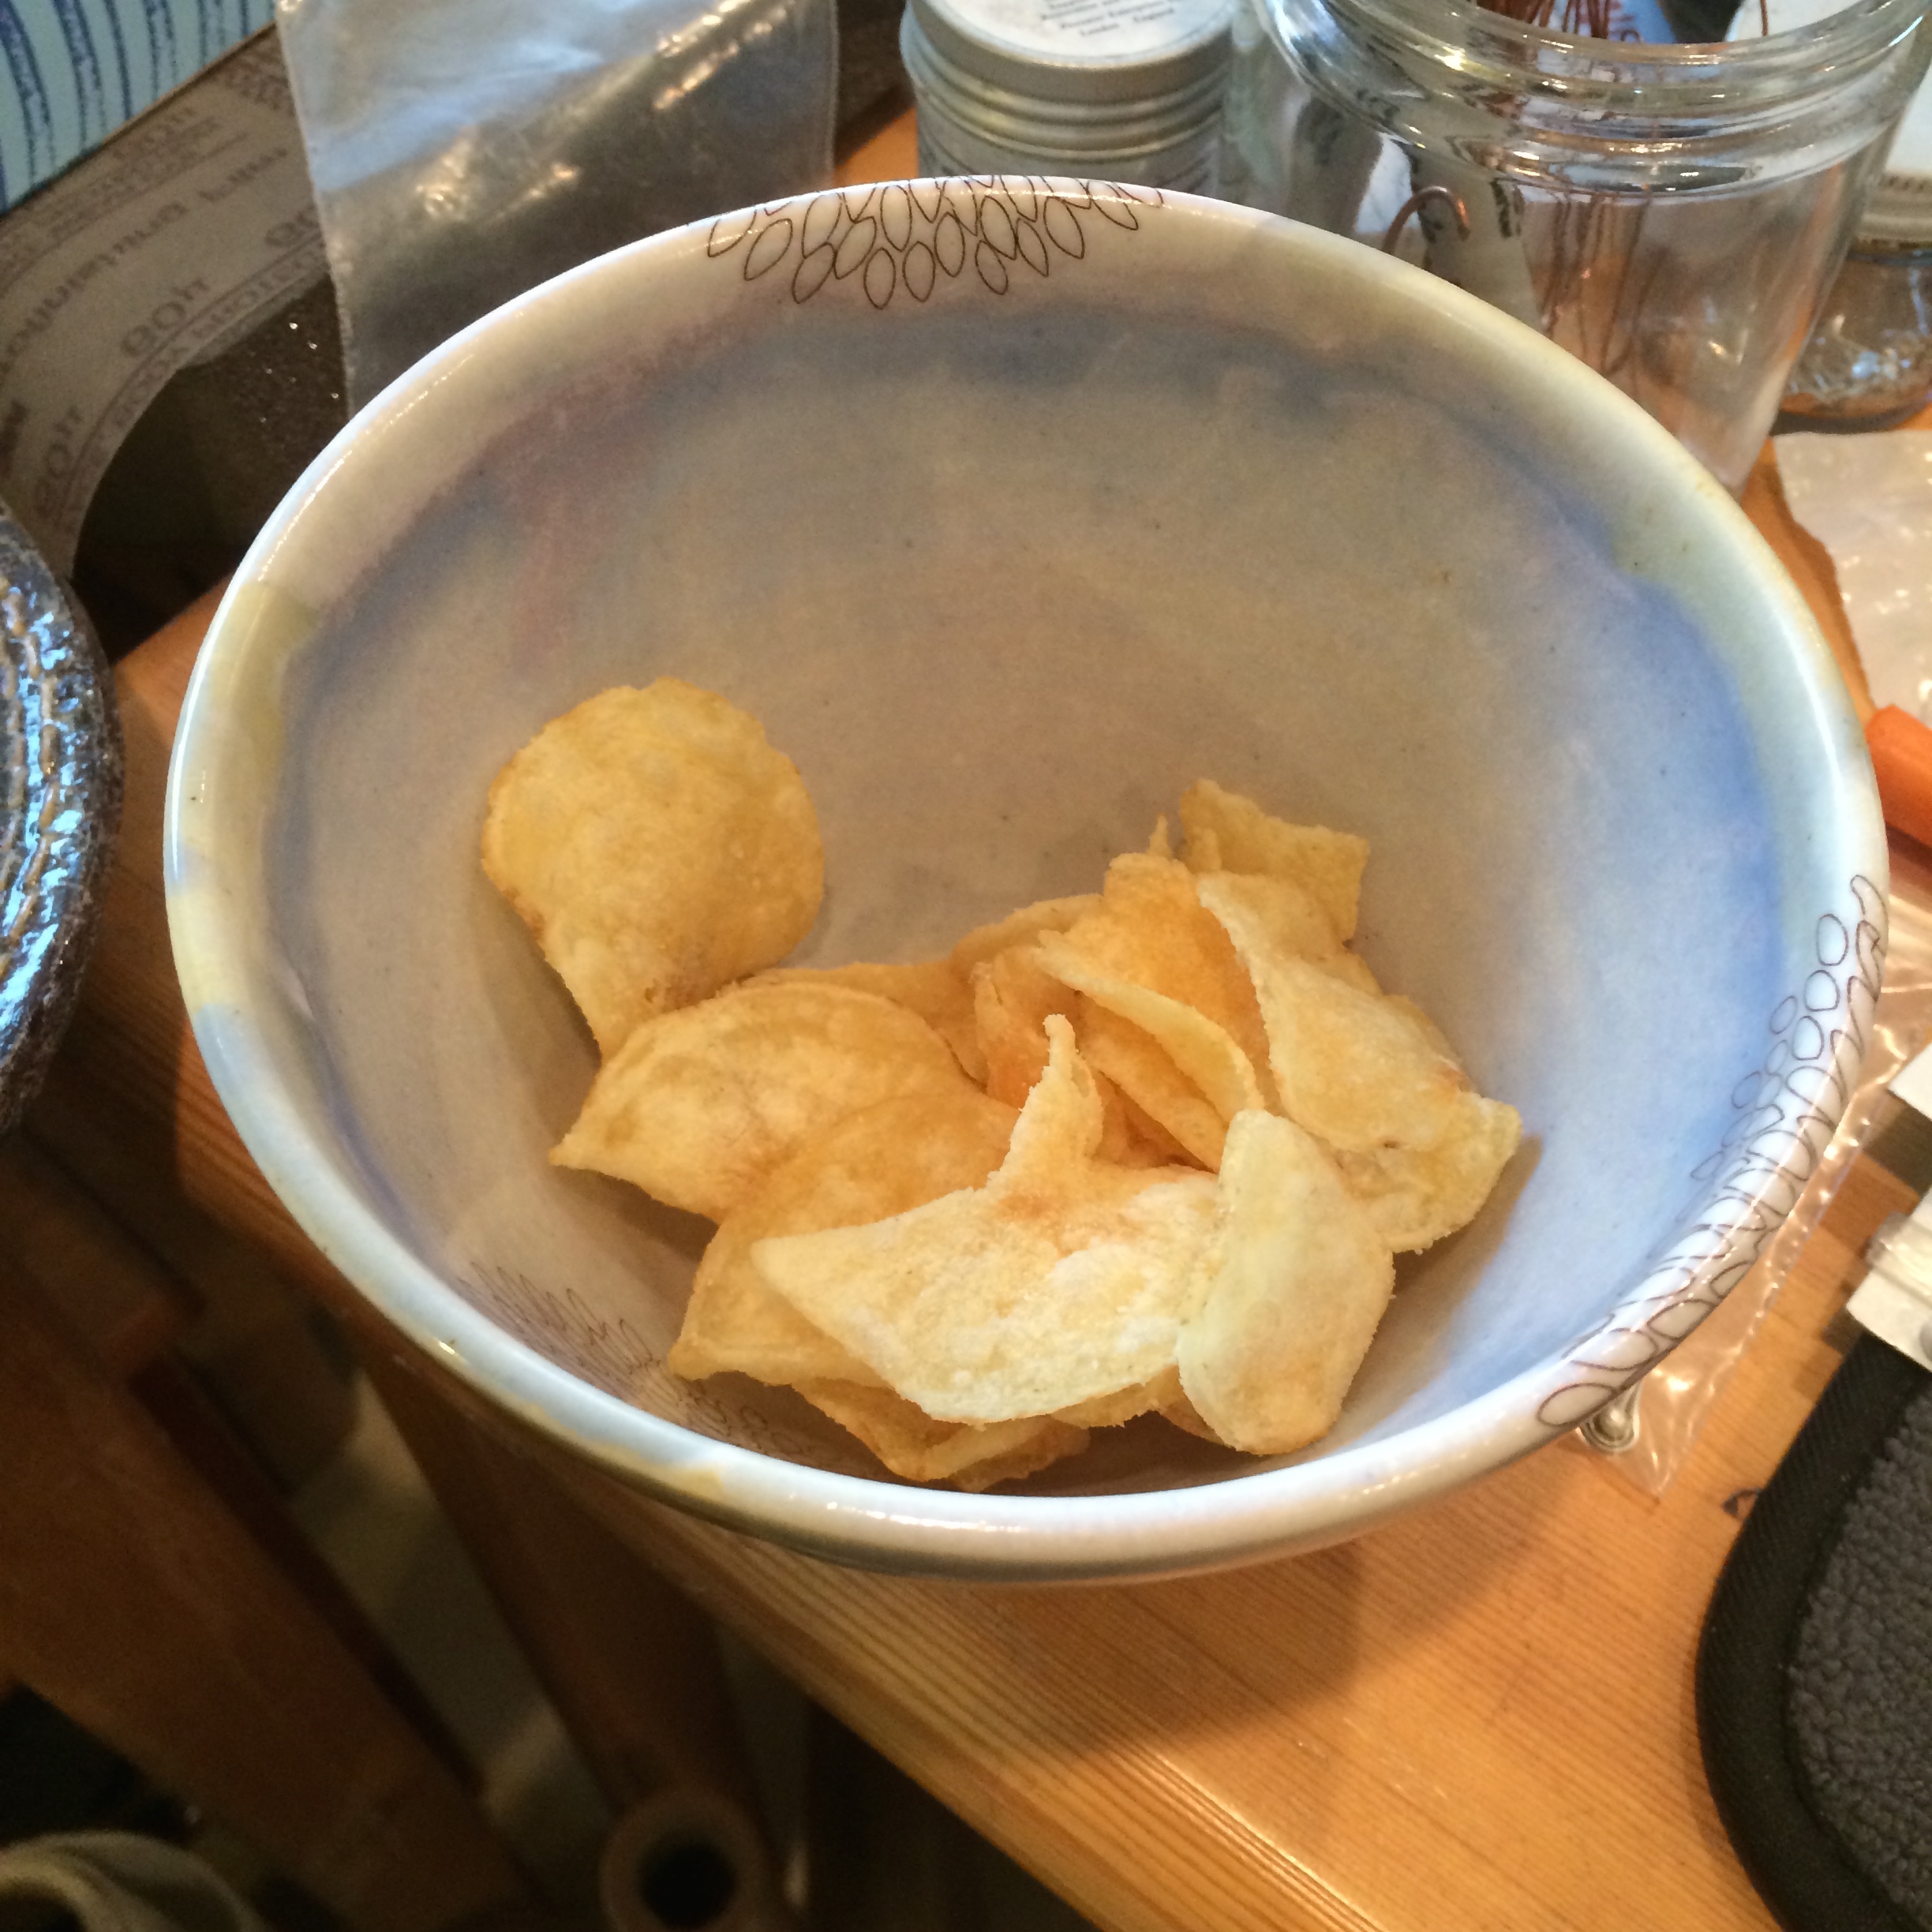
You can see from the last photo (above the crisps) that I have traced a line around the inside of the bezel where I want the collar to fit against the stone.
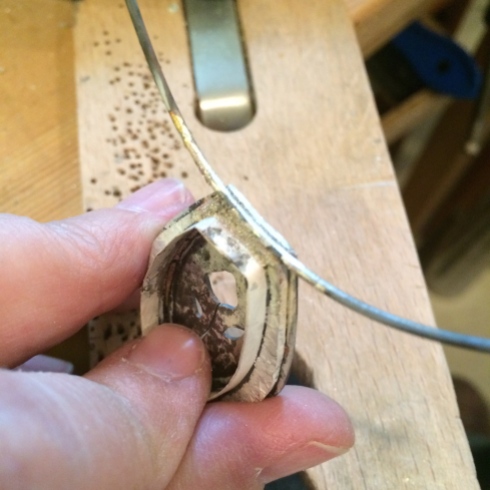
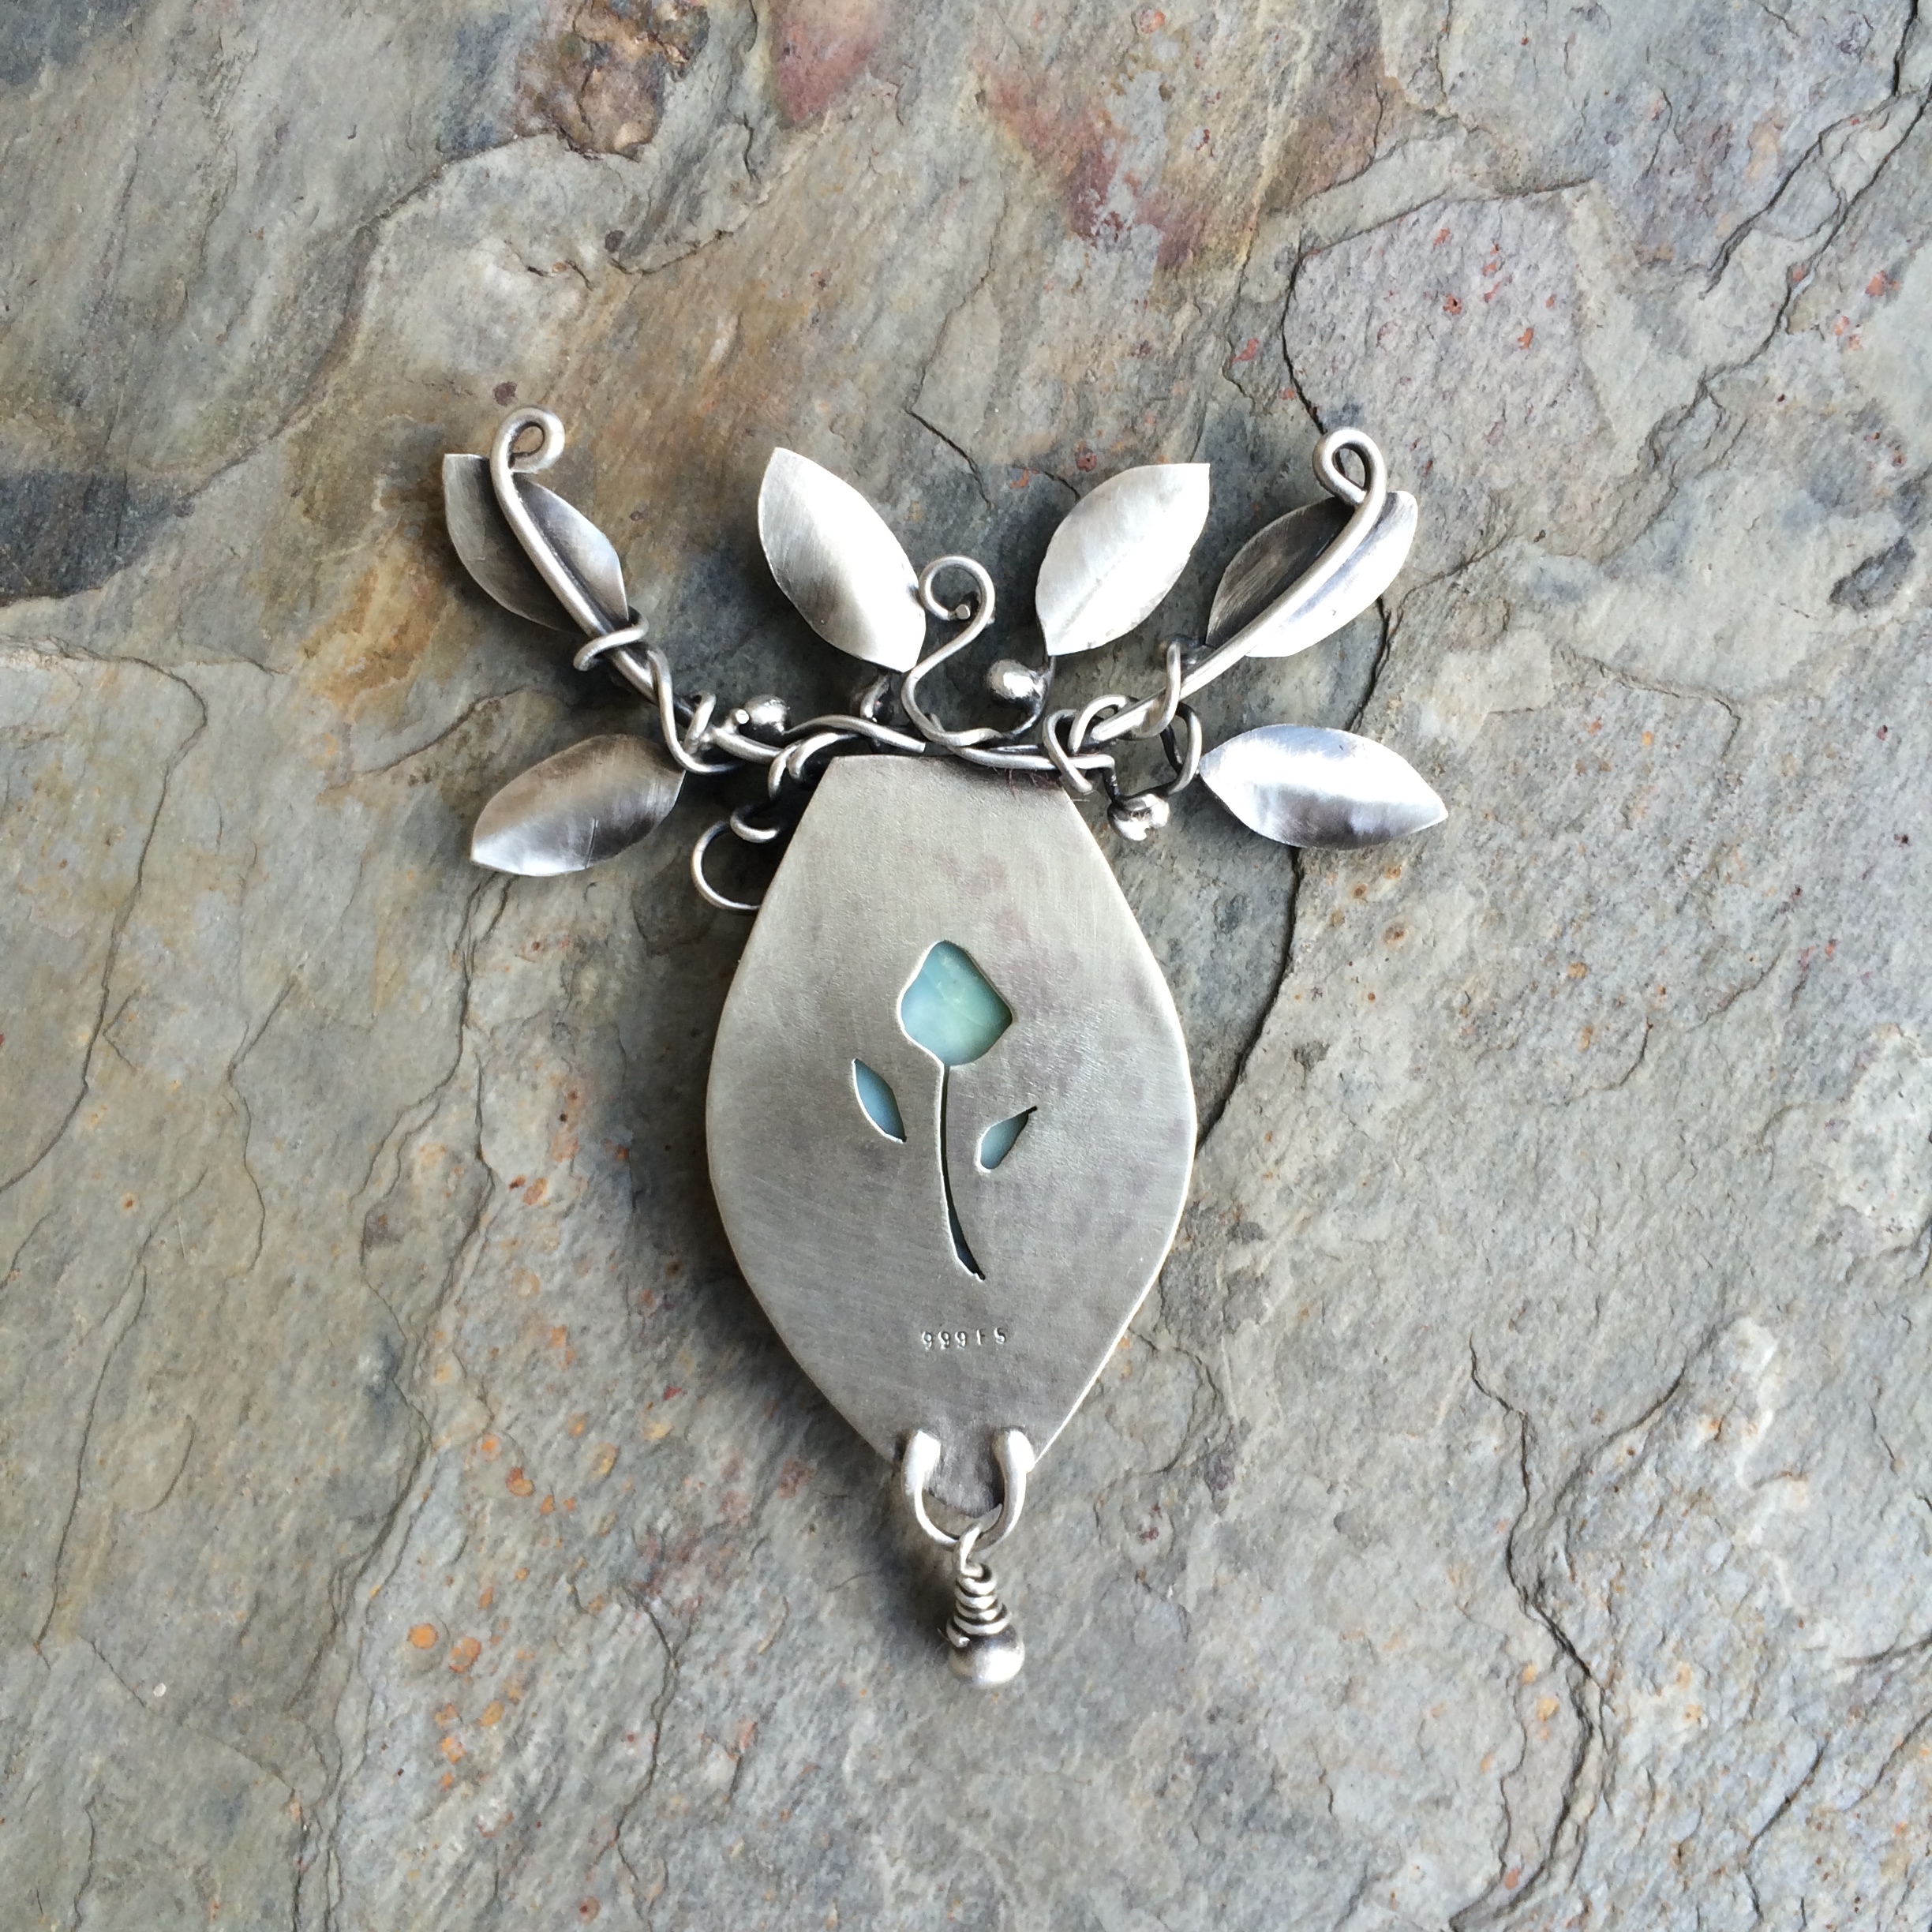
I now also decide on the design I would like to put on the back.

I draw it onto the inside of the bezel because it’s easier to saw it out this way. I also always use a sharpie pen because I find that pencil rubs away as I’m sawing and so I lose the shape.
I don’t cut it out before I solder the first part of the bezel onto it because I want to make sure the design is exactly where I want it to be.
I drill the holes.

And cut it out.
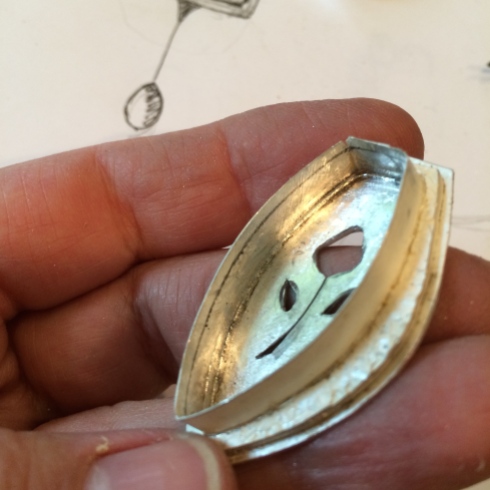
And at the same time cut away and file the extra from the height of the bezel collar.
As you can see above I’ve already cut out the leaf shapes.
You can snip them out of scraps, but here I’ve used my saw as I haven’t got any scraps left.
They’re all repurposed pancakes now.
Oh well, live and learn.

Then I put them onto the sticky tape and use my chasing tool from Larry to make a leaf design.

Which I then solder onto lengths of 20 gauge wire.

I cut a length of 16 gauge wire for the main stem and soldered it onto the top of the bezel.

I then filed down the excess back plate to follow the curve of the stem.
And checked it on the sketch.

I wrapped the leaves around the main stem and soldered them onto it.

I do this very gently.
I move my torch in and out of the piece that I want to solder, all the time watching the surrounding area.
With practice you can see when another part is going to melt and so then I will quickly take my torch away, then bring it back in again slowly.
Depending on how many different solder points I have sometimes I will do this in batches in-between pickling the piece.
This is because often, before I can get to a different solder point, the flux has become grubby and the solder won’t flow so I can just manage three or four points at a time.
I just have to be patient (not easy for me) and go into my zen place.
If you are going to try this know that it is possible and just takes practice.
I only use easy solder for all of my joins from the beginning to the end of the whole piece and I am able to do it so keep at it.
🙂
I added some balls then pickled and sanded it, bringing it to its pre-finished state. Trying to get all of the excess solder and my new friend, fire scale, off and then I smothered it in Black Max.
Because I like to live dangerously.
Oh, and I decided on that little ball thing hanging from the bottom.
I buffed it a little bit and then set the stone.
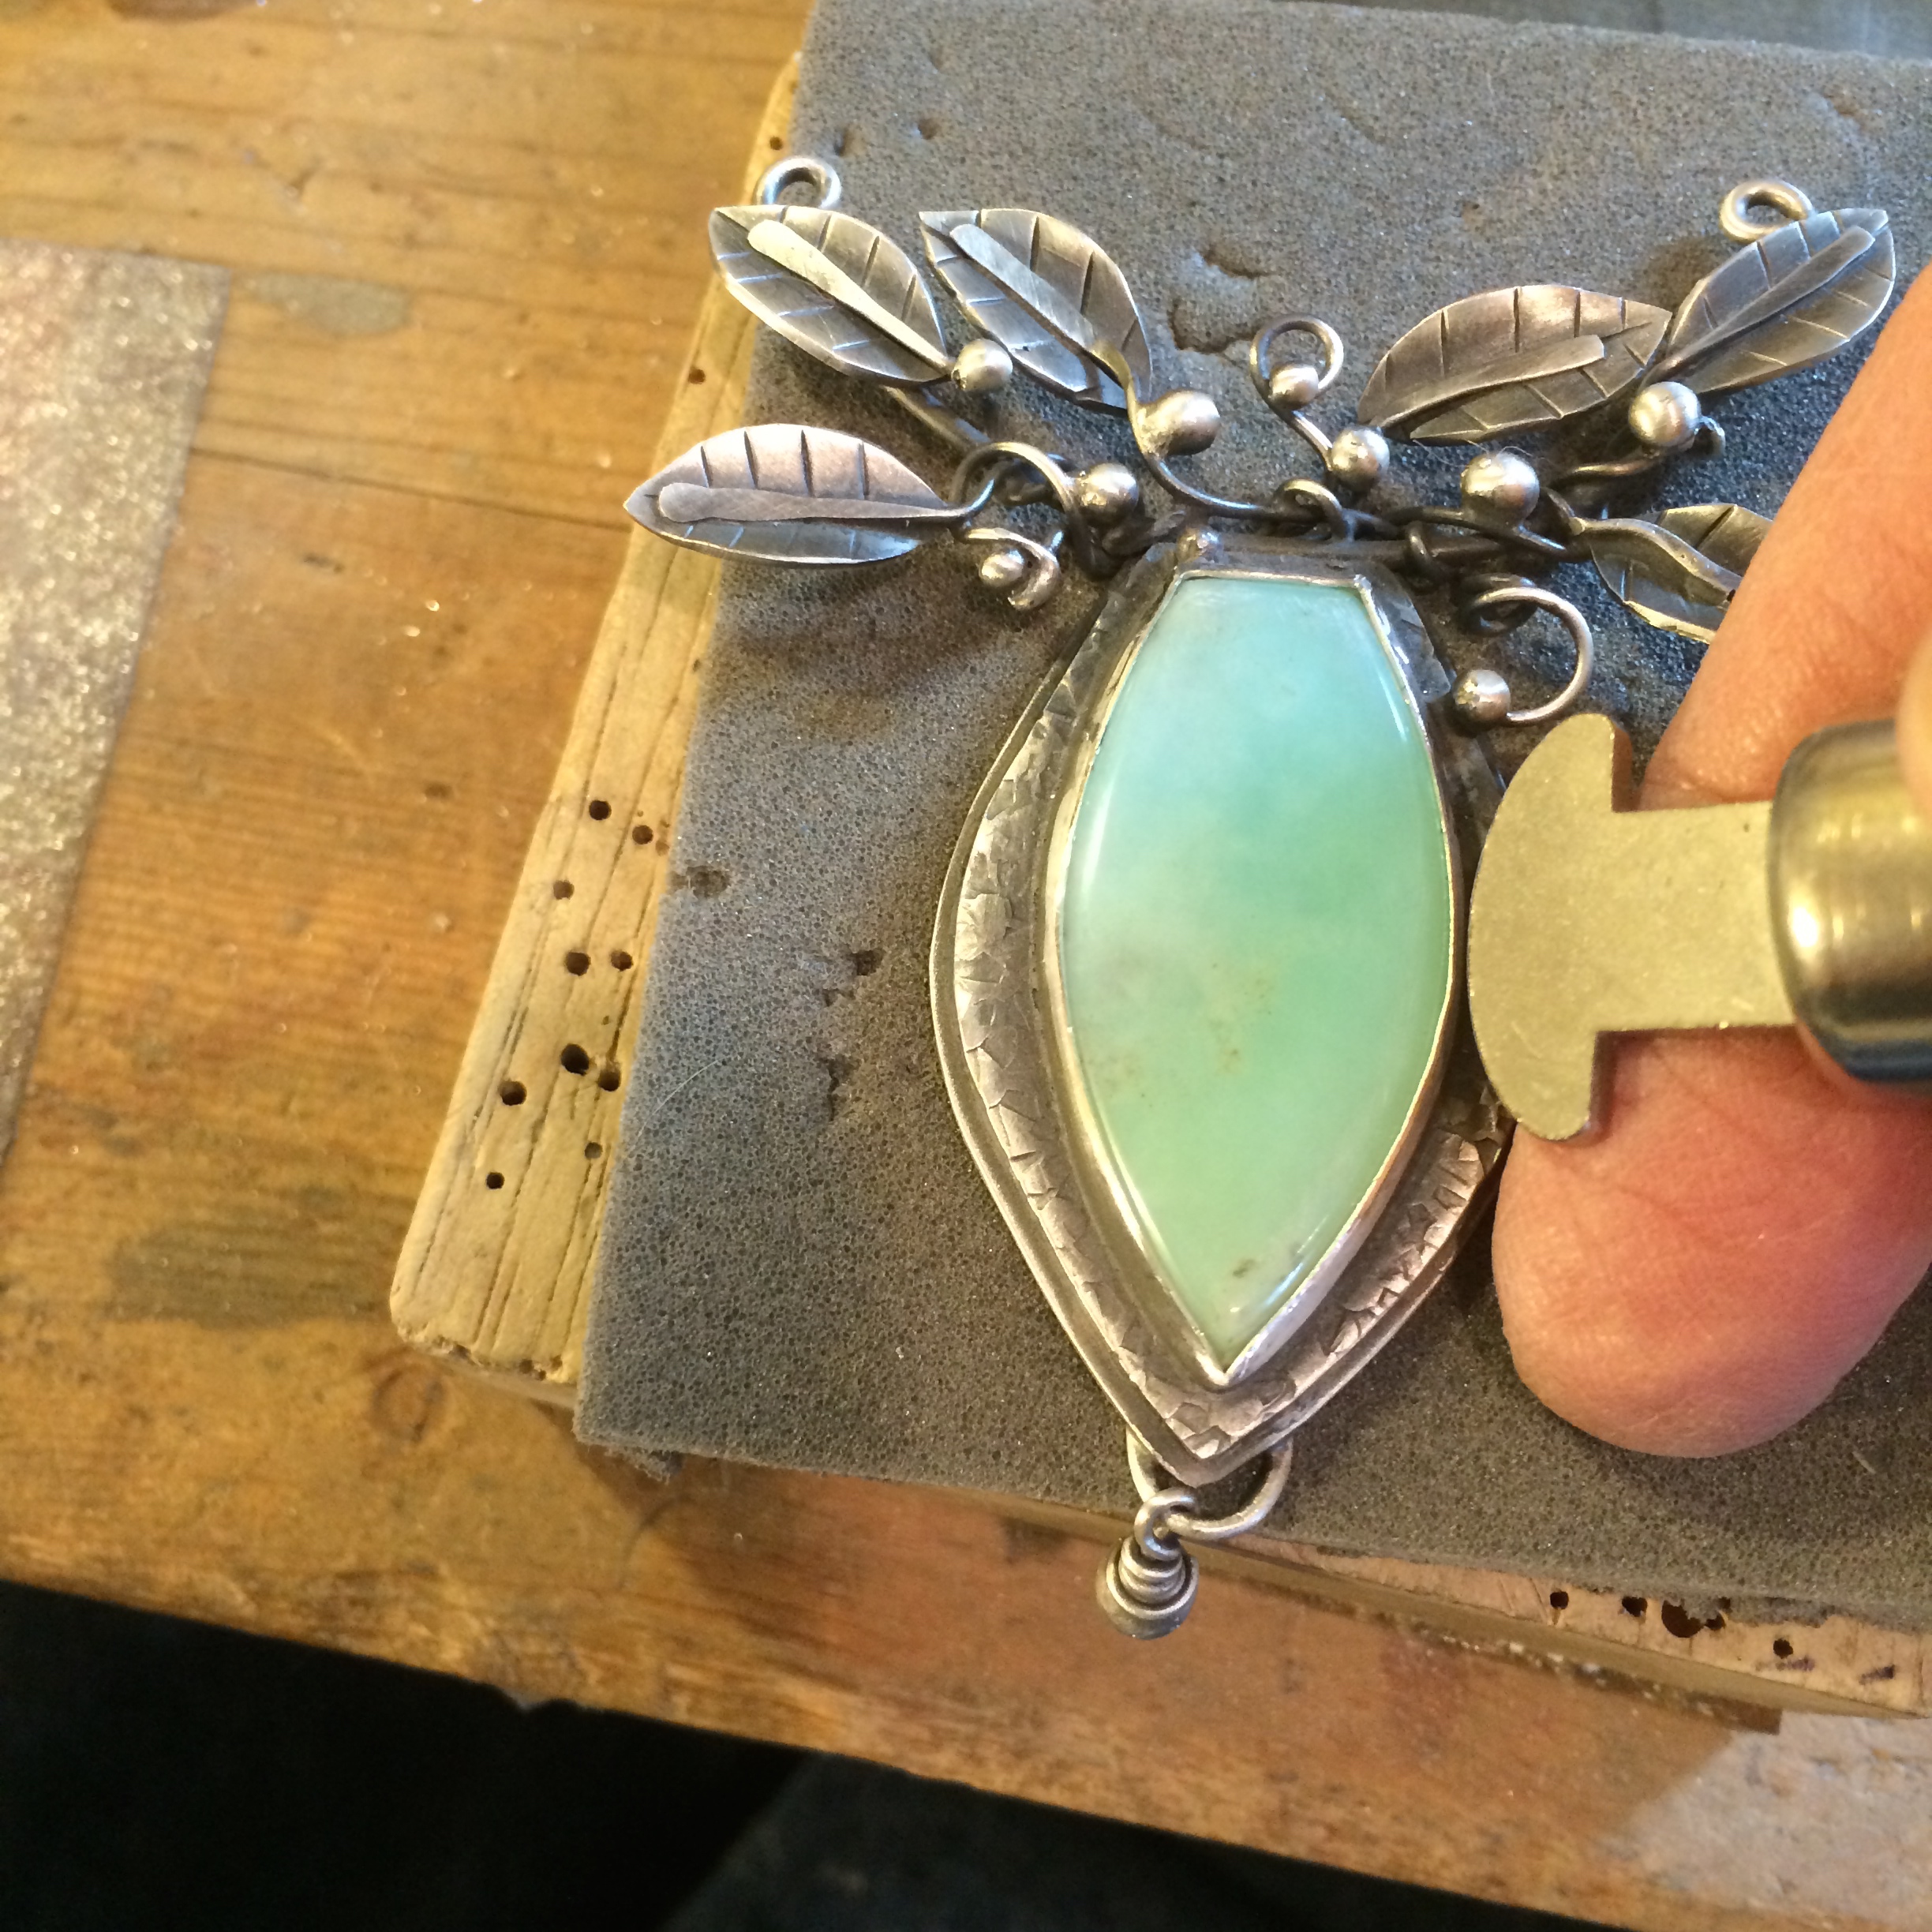
I prefer to use the bezel roller.
I started with the square pusher thing, and did find that easier at first, but I like the smoothness of the roller.
It’s worth practicing with if you can take the pain of constantly pushing it into your fingers when you begin.
And voilà.

Yet another viney, leafy piece.
I really need to get some new designs going.
–
BTW
If you read the Ganoksin article on fire scale (linked above) you will have read this line.
“Traditional polishing apprenticeships lasted from three to five years”
No wonder I find the polishing part the hardest.
Aint got no time for five years though so I’m just going to have to keep on winging it…
–
–
–
Thank you for taking the time to do such a detailed post on how you create these pieces. A real labor of love! (I love the layered back you did, with the chunky frame portion and the lighter backing.)
🙂
Deborah, your piece is sooo gorgeous! I mean gorgeous! I love it! You may be tired of your leaves but I’m not! As a matter of fact I’ve been struggling trying to figure out what my style is and I think that you’ve helped me figure it out! It’s your style! You don’t mind do you? lol I have been struggling in the area of creativity lately. I think its because my ideas are bigger than my skill set! And that’s just because I want to go too fast! Anyway I am in Iove with all of your creations and I definitely aspire to be like you when I grow up! Thanks for taking all of those photos – seeing your process is very helpful! Usually my fire scale is not as colorful as yours was! Its usually just black! I’m wondering what flux do you use? I’m trying to figure that out still! Oh well, I’m blabbering on now! Thanks for sharing!
Lecia, You’re more than welcome to my style. There’s enough world for everyone 🙂
The flux I use is Wolverine Ultra Flux Silver Brazing Flux, you can find it at Amazon. I’ve tried quite a few and I think I like this one the best.
Thanks for commenting. I always wonder if I’m boring everyone lol
Me again from up above–I found your post about making a lovely silver blob (so glad you have a “search” bar on your blog)–even easier than I expected. Can’t wait to try!
I replied to your other comment. I think I got the question wrong lol
Happy, happy to find today’s post with even more details about your creative process. And appreciating the info on fire scale…I actually thought that your fire scale was an ocean agate stone at first…kind of beautiful. You encourage me to seriously practice more with a jewelry saw.
As I wrote it I thought I was just repeating myself, over and over, and that it’s getting old now, but I like sharing and think it’s great if other people want to have a go. The fire scaled (if that’s what it really is. I know the back was) piece of silver was definitely beautiful.
Gorgeous piece! I love the step idea! Am I missing a step? Where did you put the bail?
Thanks for sharing!
Nancy
Yes, I didn’t forget I was just thinking it was all too much toward the end. I just twisted the 16 gauge wire into an end loop. You can see it in the photo where the piece is blackened. I’ll attach the chain there.
Hi there! I just found your blog and love it! I’ve been making jewelry for a relatively short while and always appreciate an insight into someone else’s design process. As Leica stated above, my skill set needs to catch up with my ideas! Love your writing style as well, because that is how I look at things:) Keep up the great work you’re doing! I’ve been looking for captivating jewelry blogs, but most post too infrequently for me to want to follow, but I can see catching up with yours will keep me quite busy for a while!
I think your skill sets are pretty darn fine 🙂 and you can’t contradict me because I checked out your site. I’m tricky that way 😉
I hope you don’t get too bored with all the drivel that comes out when I write my posts. Or the bad grammar. Sometimes my brain gets carried away with itself and loses all self control.
I’ve also been known for “forgetting” about those papers that come home with the kids — as a consequence they have become very responsible, always reminding me of important dates… poor things.
That thing about firescale — I believe that’s what I’m talking about in my reply (to your reply) in the previous post. I read this post, and that post in the Ganoksin Project after replying, and it all started to sound familiar and make sense! There are apparently different levels of firescale: that thick gunk you get above, and the deeper stuff that can appear when you try to polish something to a really high shine throughout. You usually don’t do that in your designs (see, I’ve read back a couple of years…), and anyway you add the black patina, which pretty much covers it up, I guess. That text about firescale was really good, thanks for that, ever so much, and for the rest of the ramblings also, never bored, keeps me awake reading at night when I should be sleeping….
Still, I was left with the feeling (after reading that firescale text) that firescale is immensely complicated, and someone is probably doing a PhD about it somewhere, so you are definitely excused for ignoring it as long as possible! 😉
That’s what I’m saying 😉
I do adore and enjoy reading your blog. You inspired my work.
Thank you!!!!!Beijo
Andrea
Thank you Andrea 🙂
more fabbo tips. Thanks. (and now I’m going to use that link to learn about firescale)