This past week I gave myself a Pulling Teeth Challenge because that’s just what making jewelry, or anything else really, felt like.
I think I’ve been a bit down for a good while just recently and then, all of a sudden, the sister of one of my good friends died. Just like that. She was one year older than me. I thought I was o.k., but going to the funeral did me in completely, you know the whole death and family stuff, and I still can’t comprehend how my friend or her family feels especially losing someone so young.
I mean they’re just there, and then they’re not.
It was a bit touch and go for a while there and, let me tell you, I was almost on the brink, but you’ll be pleased to know that I think I’ve finally pulled myself out of it.
Hearing about everyone else’s ‘dry’ spells on fb and Instagram, due to depression or anything else really, helped out a lot also.
Put things into perspective.
I knew I was in trouble when I was sitting at my bench and it was all I could do not to just lay my head down on my steel block. Giving myself the challenge of going into the studio every day and making myself start and finish something and then post it on Instagram even though I didn’t feel that I even had the energy to close a jump ring together let alone solder it, started to bring me out of it and on the day after Thanksgiving I thought I’d have another go at making a video.
Just for jollies.
Well for jollies and for the fact that the act of committing to something seems to have been the key to snapping myself out of it. Although it must seem as though I’m always vague and slightly confused I was definitely dragging at the beginning, but by the end I simply couldn’t take myself that seriously especially when I listened back to how awkward I am.
And my god the words! Why can’t I remember the words.
I think when my brain is on the go the words just aren’t always that relevant.
Sorry words. And sorry to those of you watching that might have liked some words that could have actually shed light on what I was trying to explain.
So that said, this new ‘How To’ video series is a bit rough and ready although you can thank your lucky stars there aren’t near as many to get through.
See. Bonus right there.
I do want to say that I will be the first to agree with any jewelry maker who’s been properly trained and who gets upset with someone, like me, who tries to ‘teach’ other people how to make jewelry.
I haven’t been trained. I just get through.
Think of this blog as just a thinking out loud platform for me to share with you how I do things. Not for me to tell you how you should do things. Some things I do quite well, some things not so well, but all of it is meant well and in good faith and for you just to have a go yourselves.
That said here’s my disclaimer.
Please remember that I am just a somebody muddling through. This is the way I do things. I am a wing it, try it, do it wrong, try again, sort of person. I do not maintain that I know what I am doing, only that I am trying to do it. Please feel free to enjoy my discoveries but follow your own research for professional advice and to perfect your skills. Above all, enjoy. Life is short.
Also.
The links to the tools used are only examples of the ones I use. There are many different types available of the same tools, some better than others. If you are beginning your jewelry adventure, please don’t just buy the ones in the links here. Research until you feel comfortable that you are purchasing the right tool for you.
-.
And so without further ado…

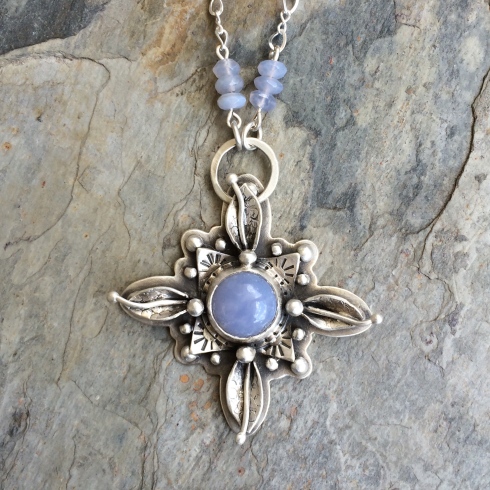
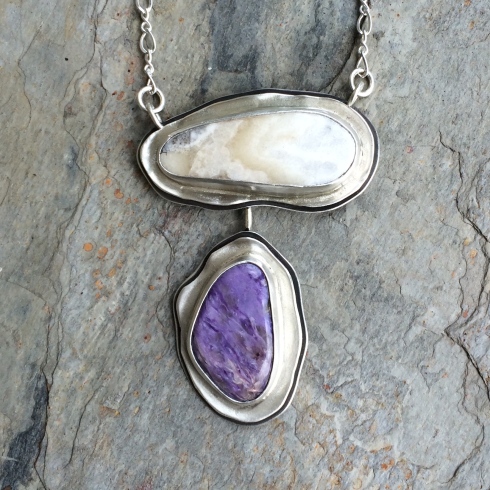
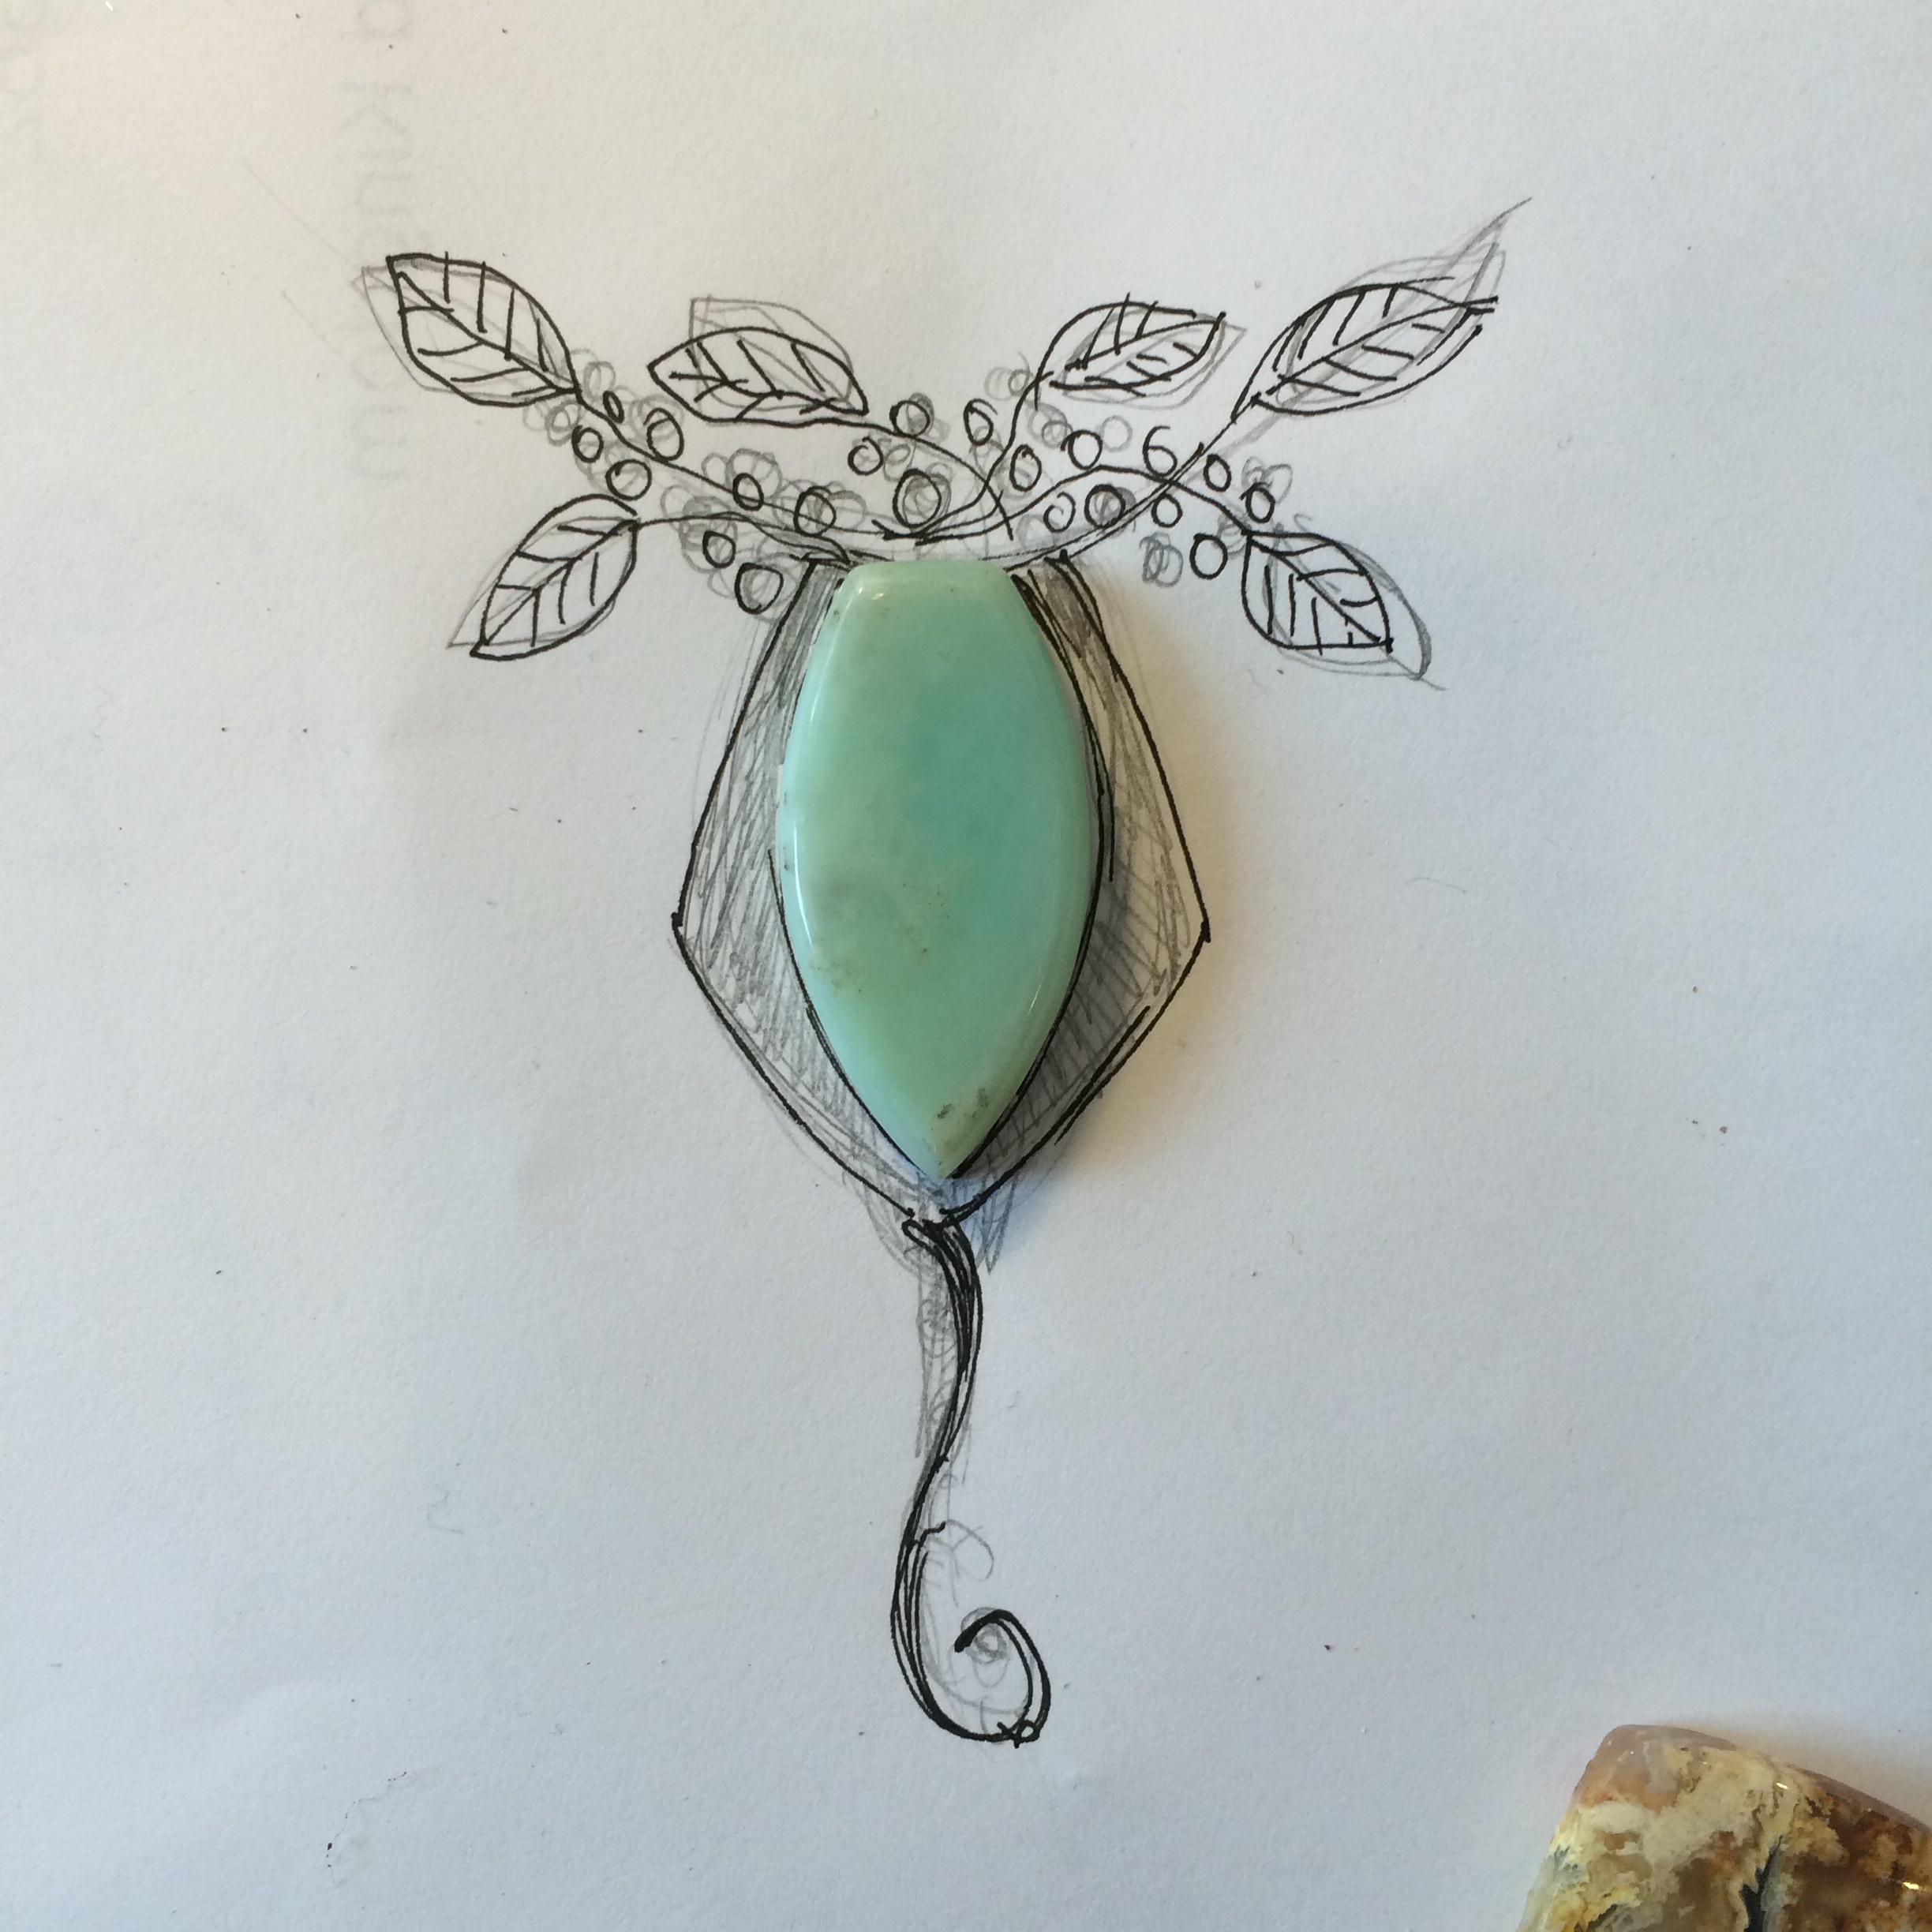
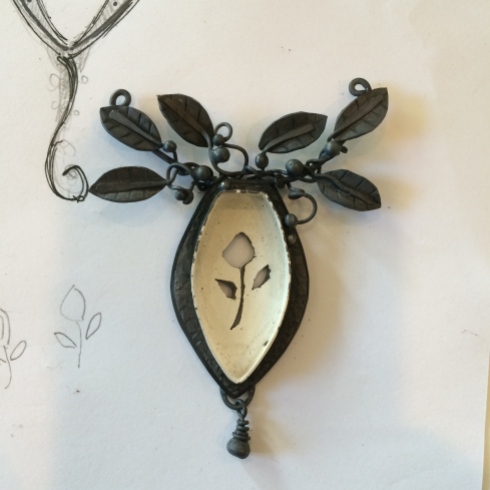
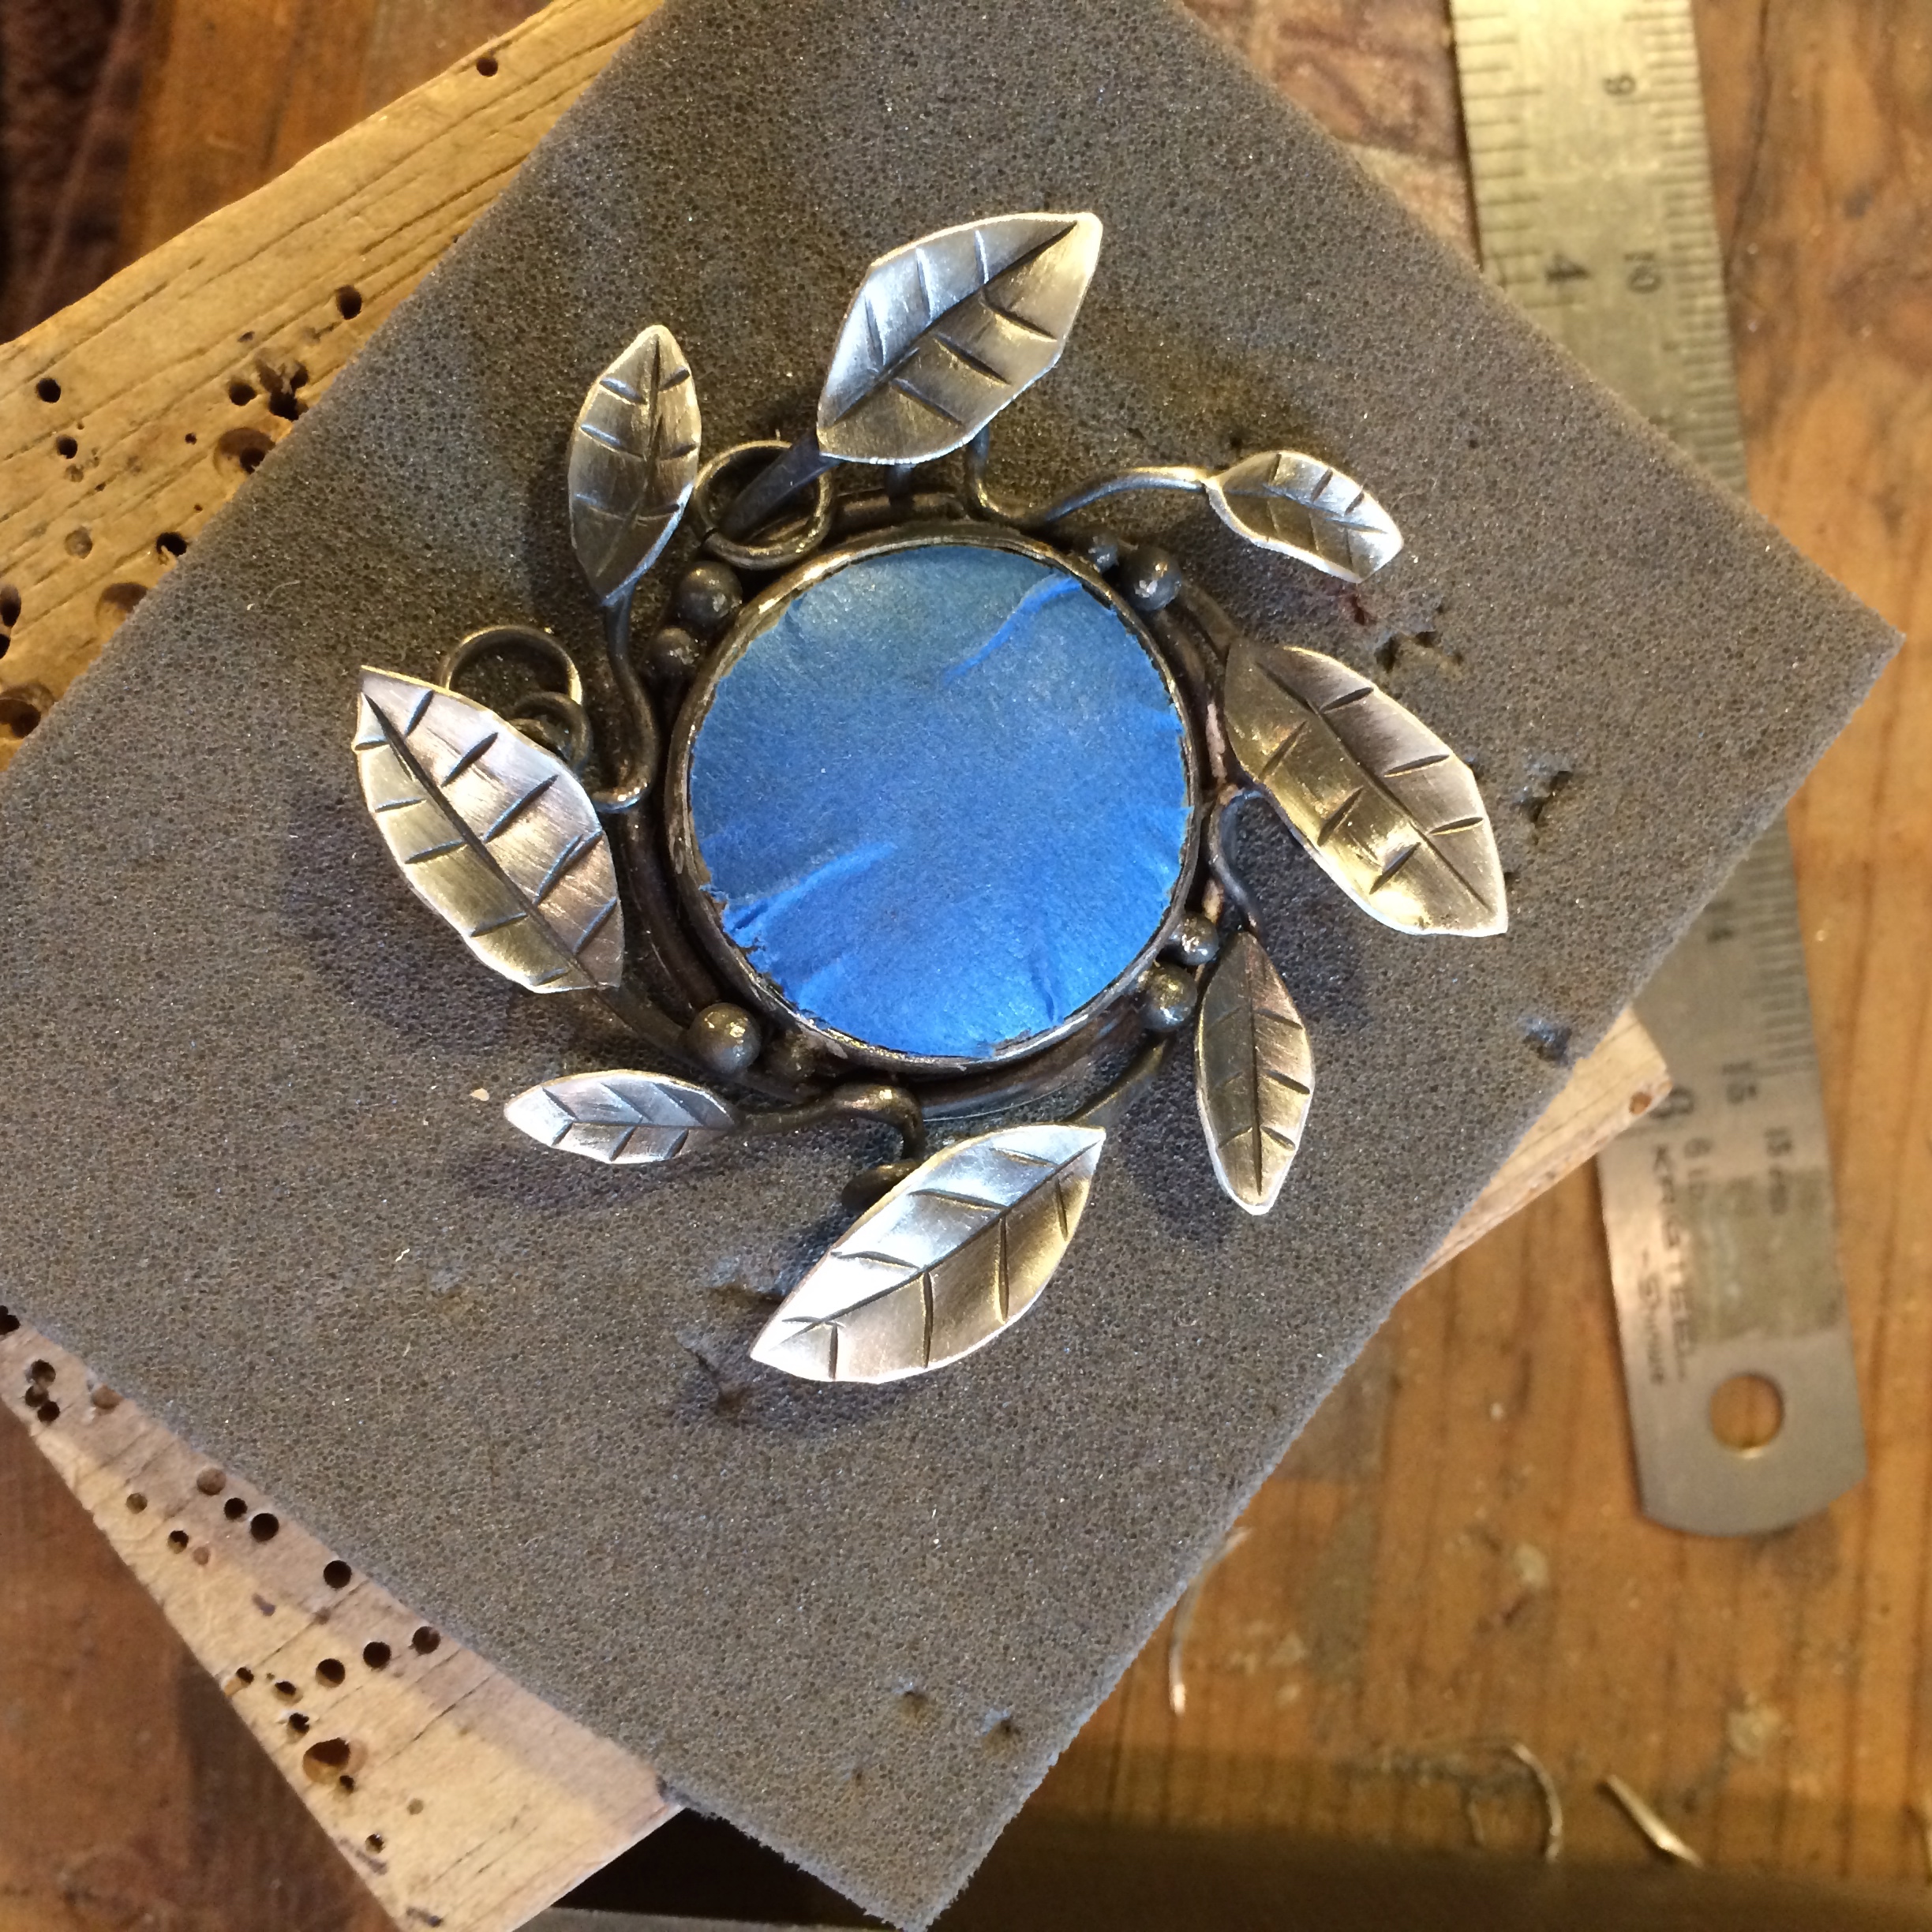
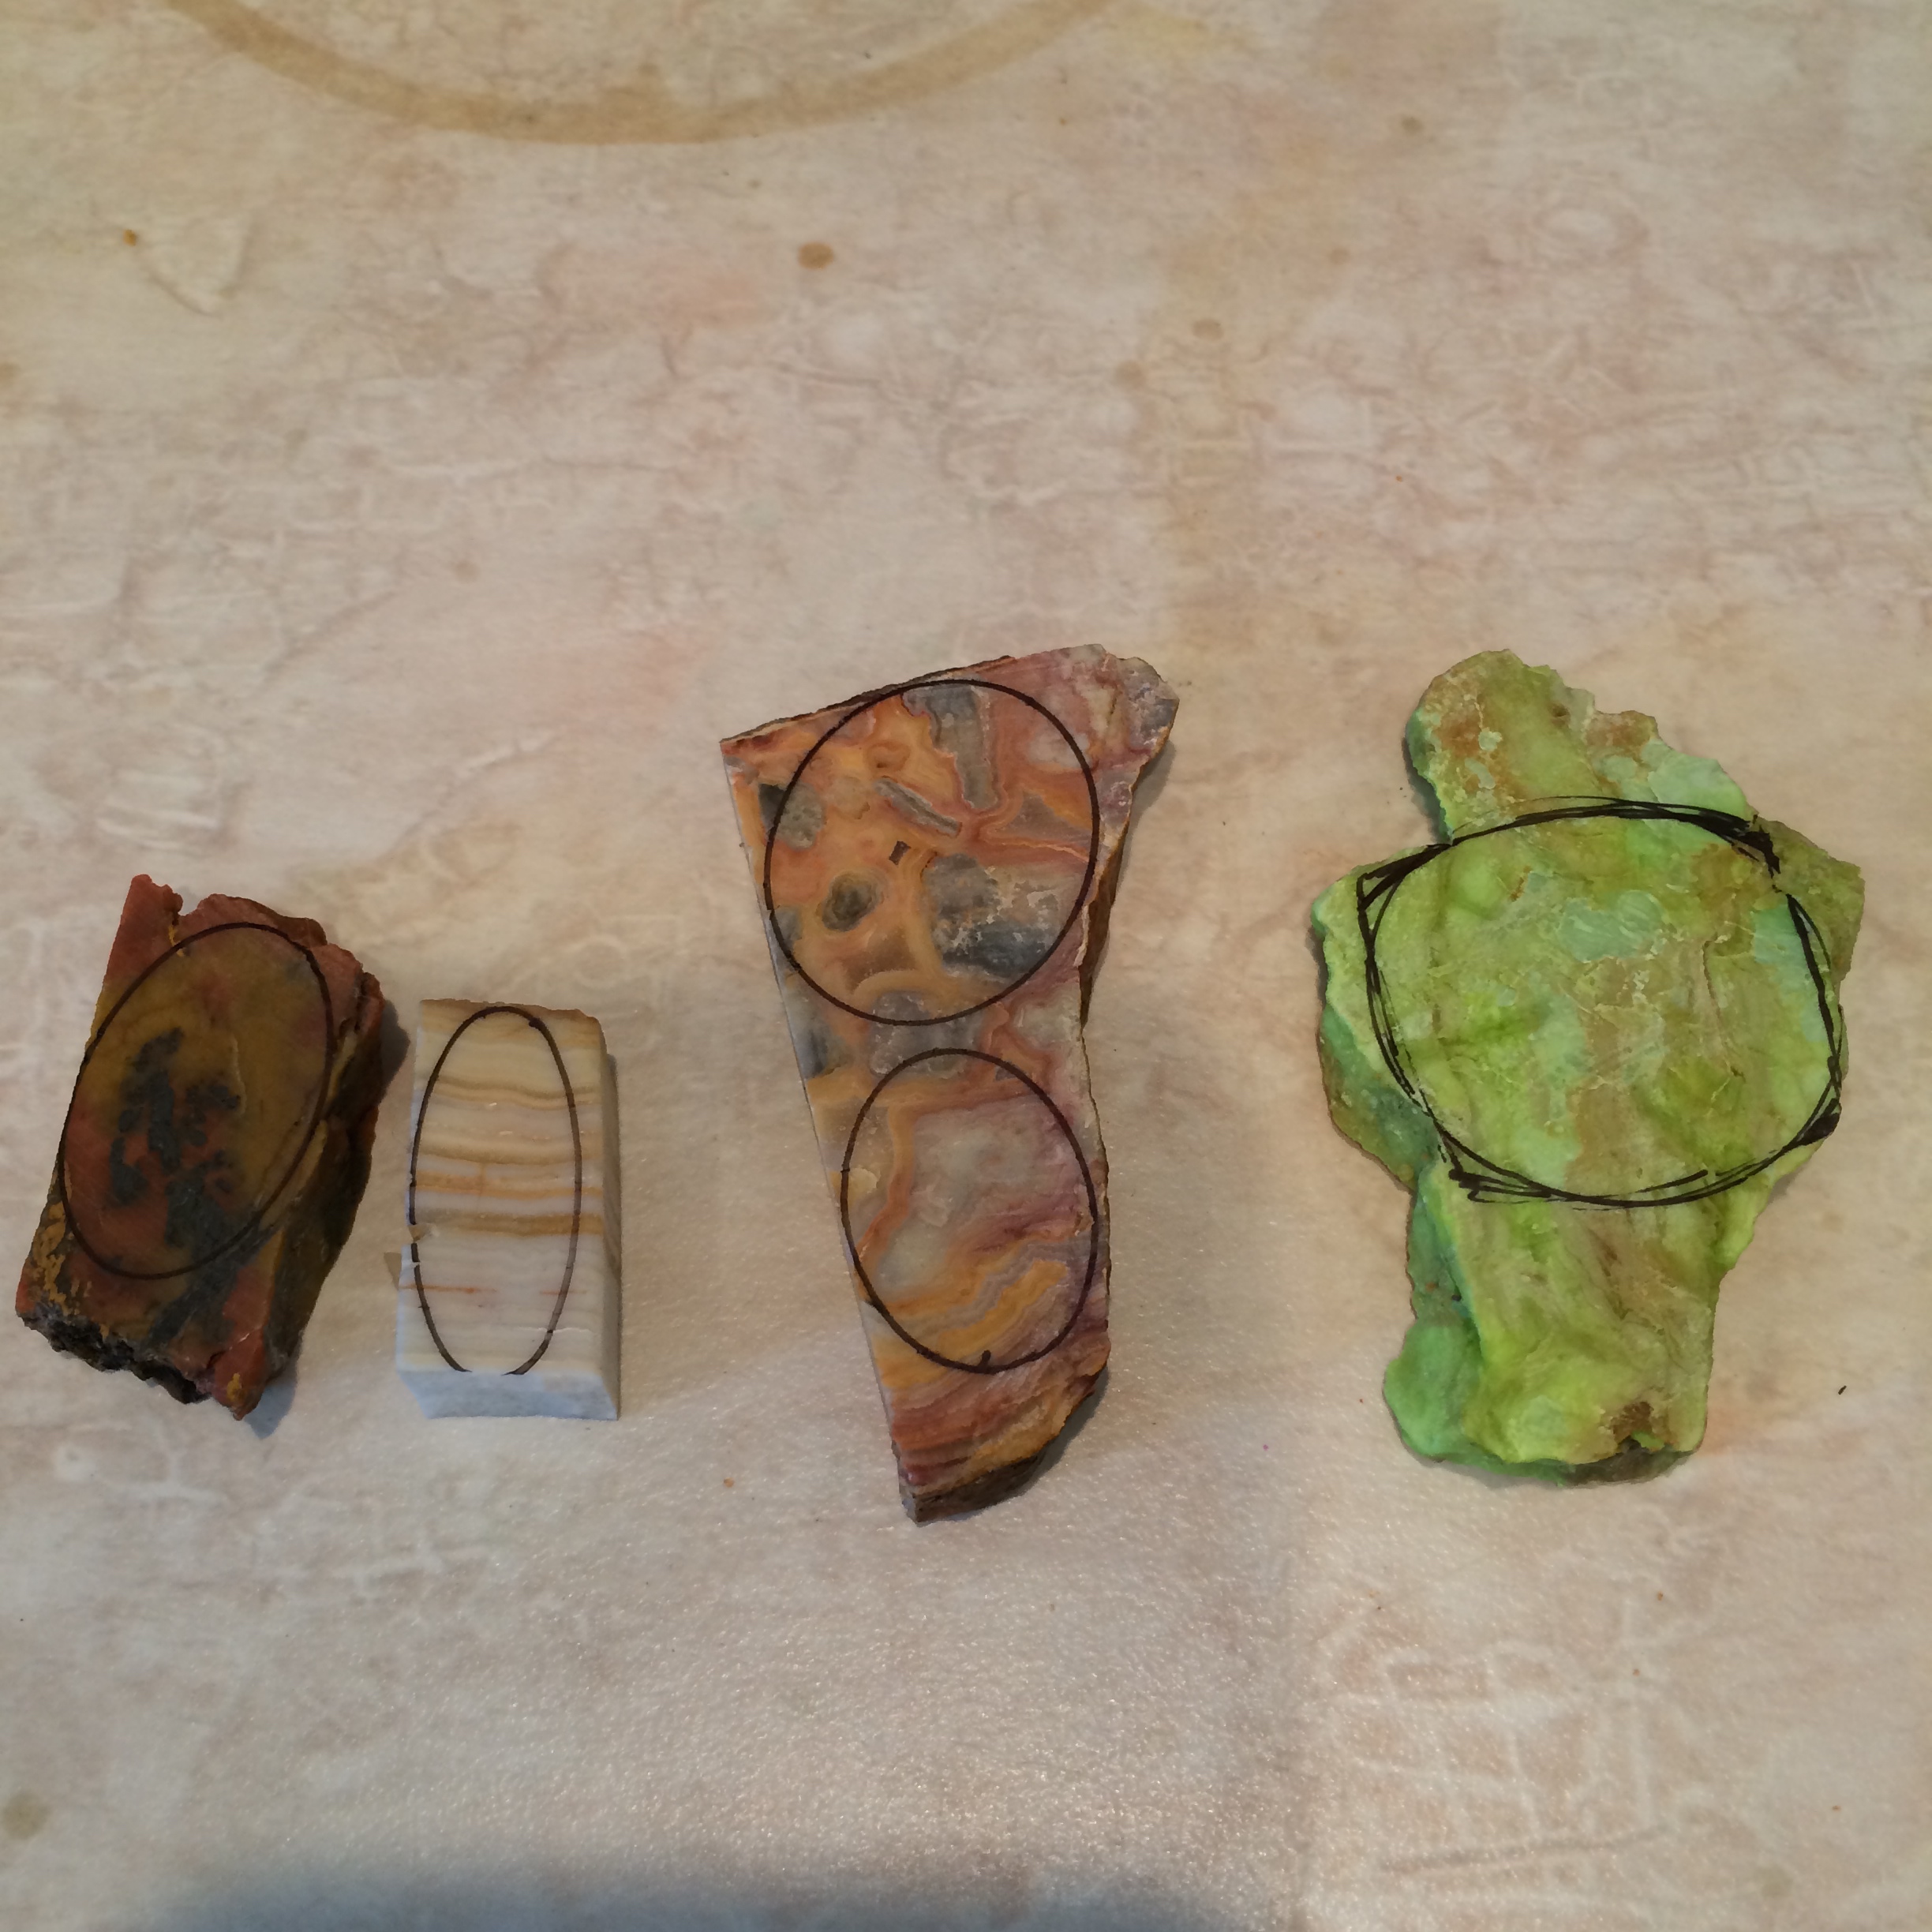
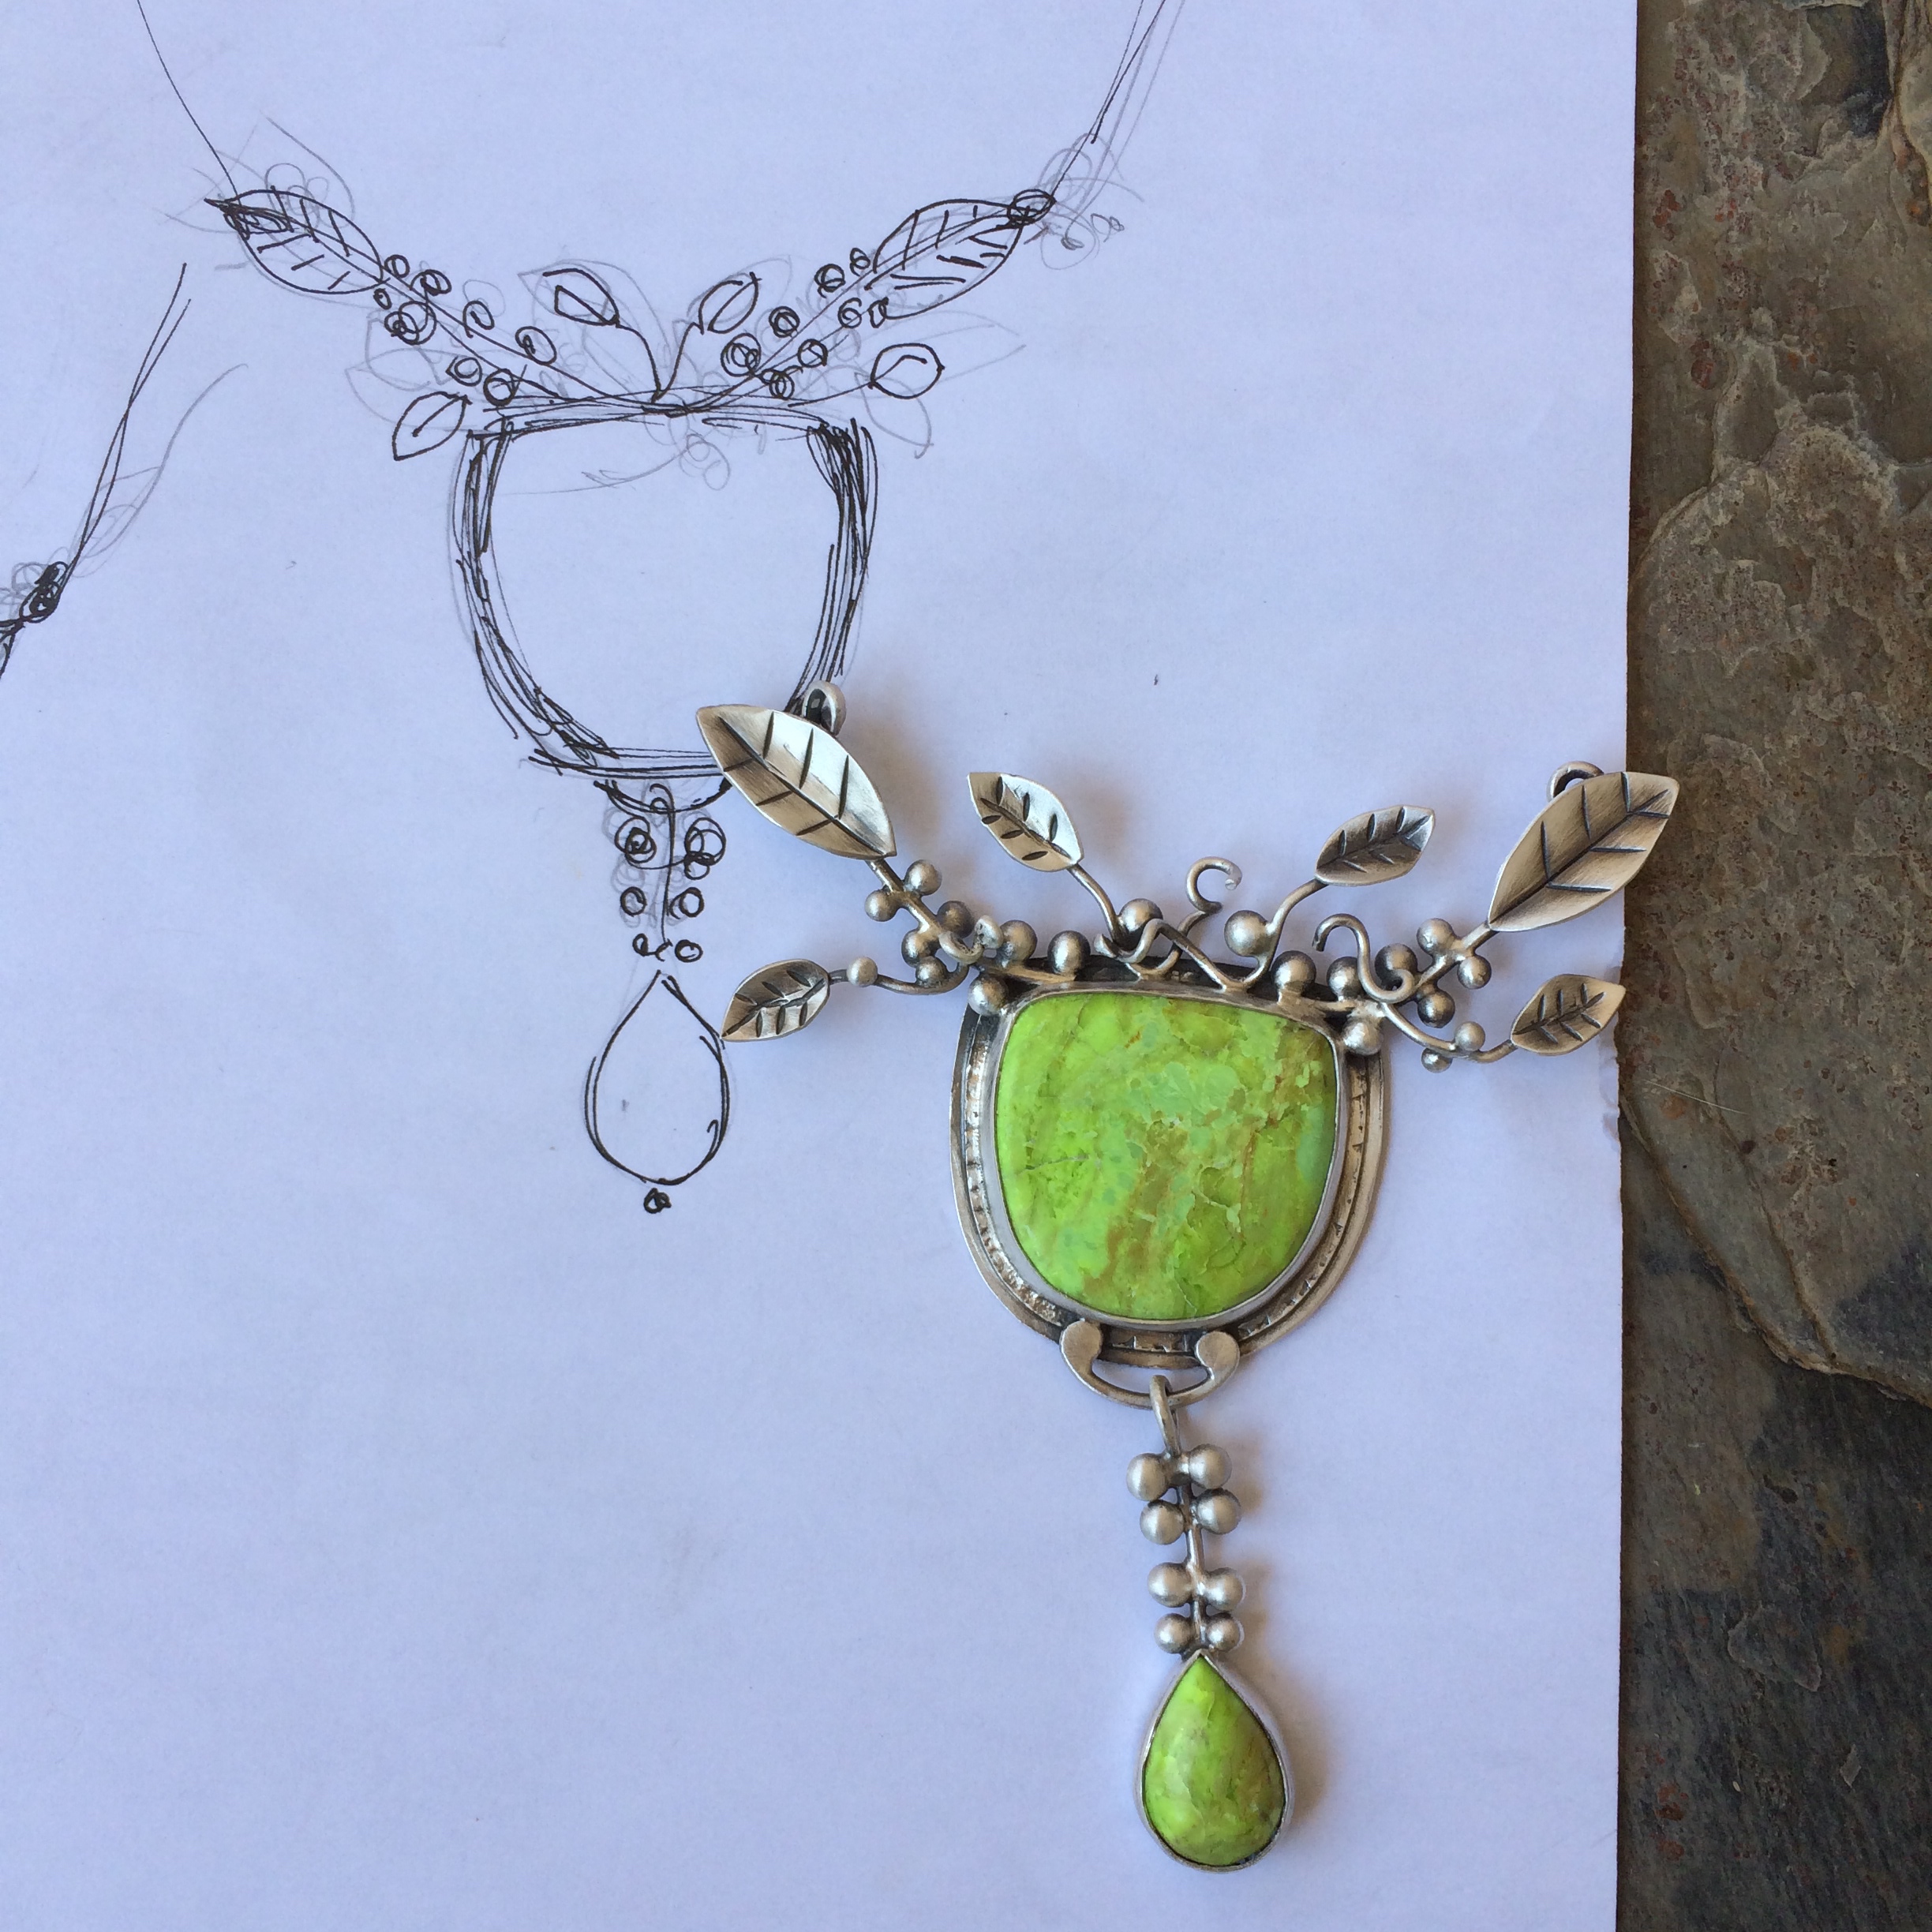
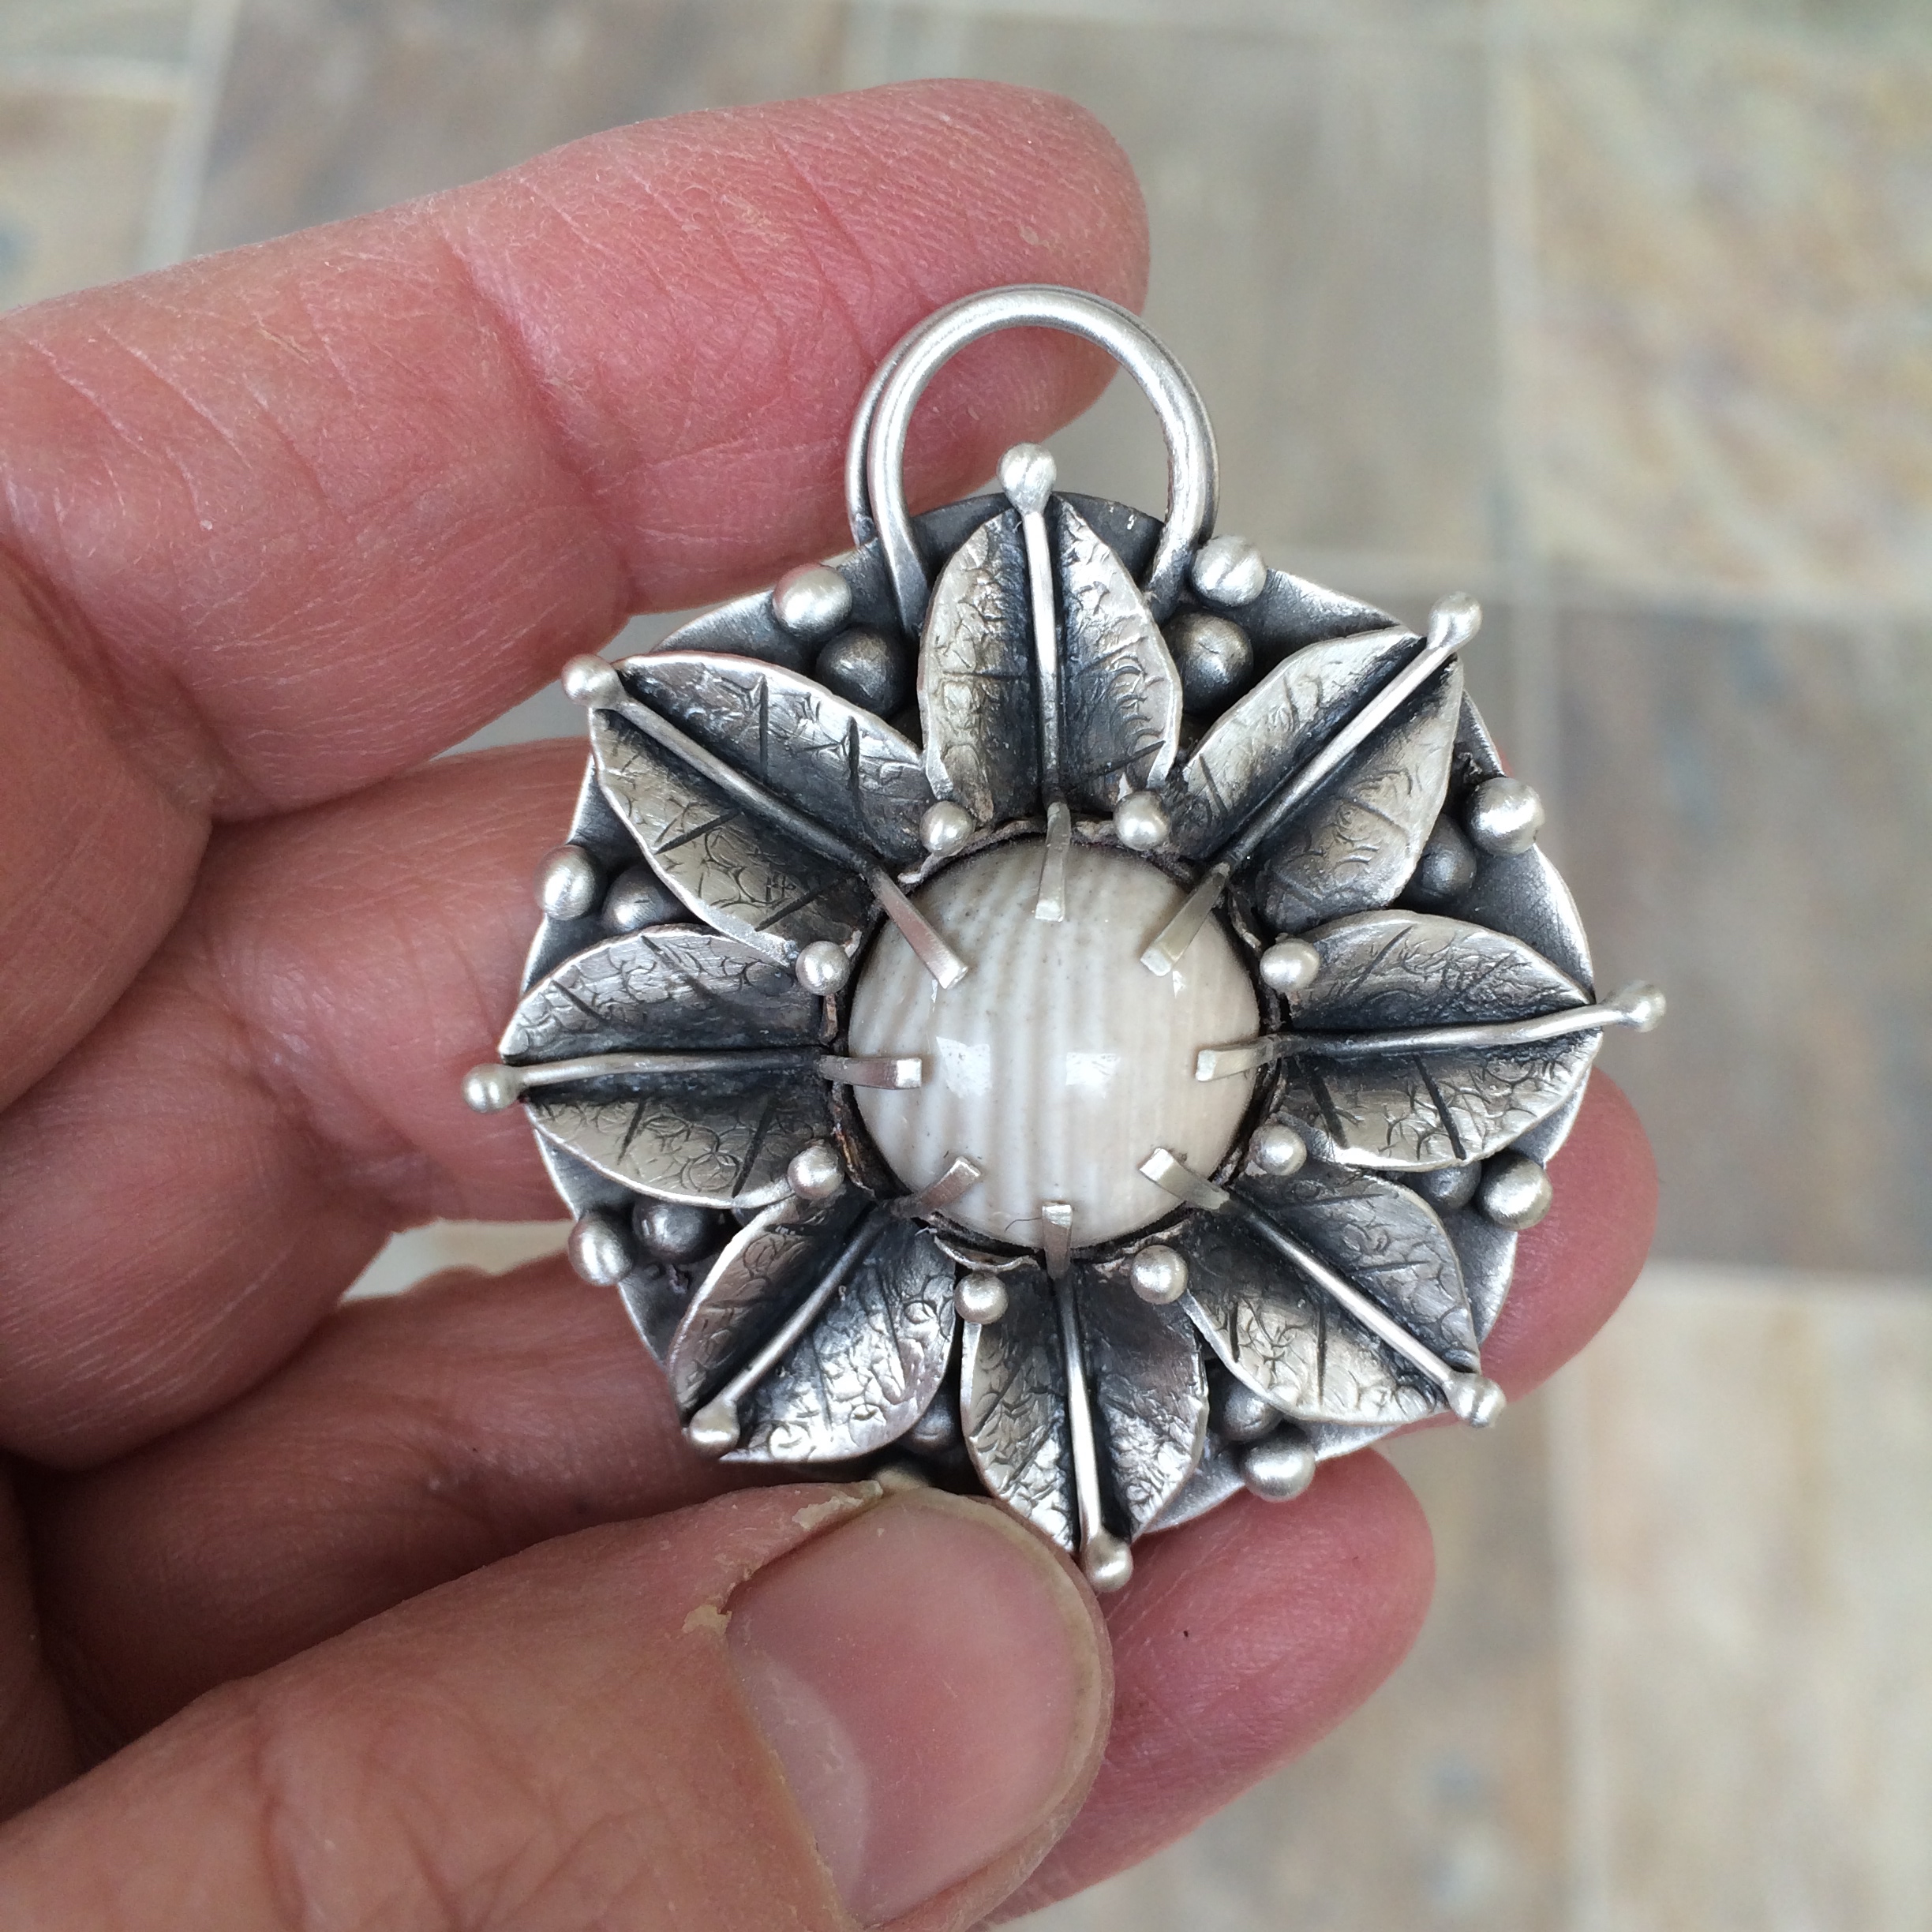
For the Chrysoprase Necklace you will need.
–
Materials:
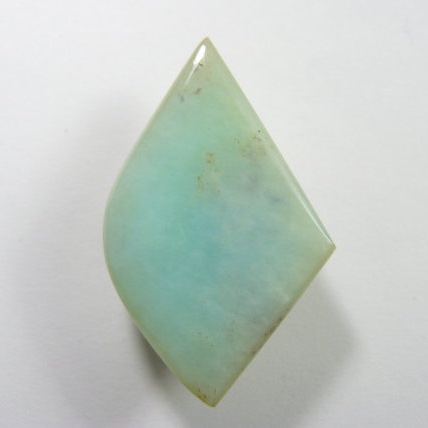
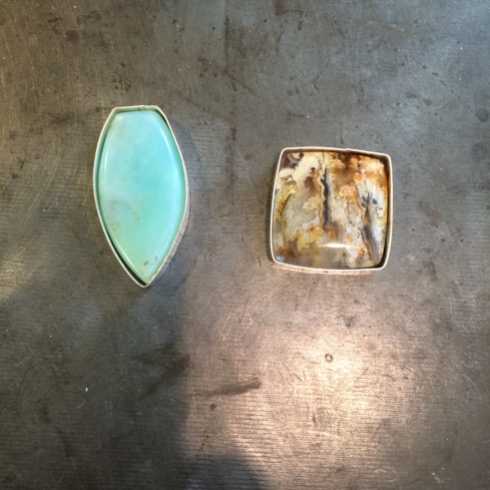
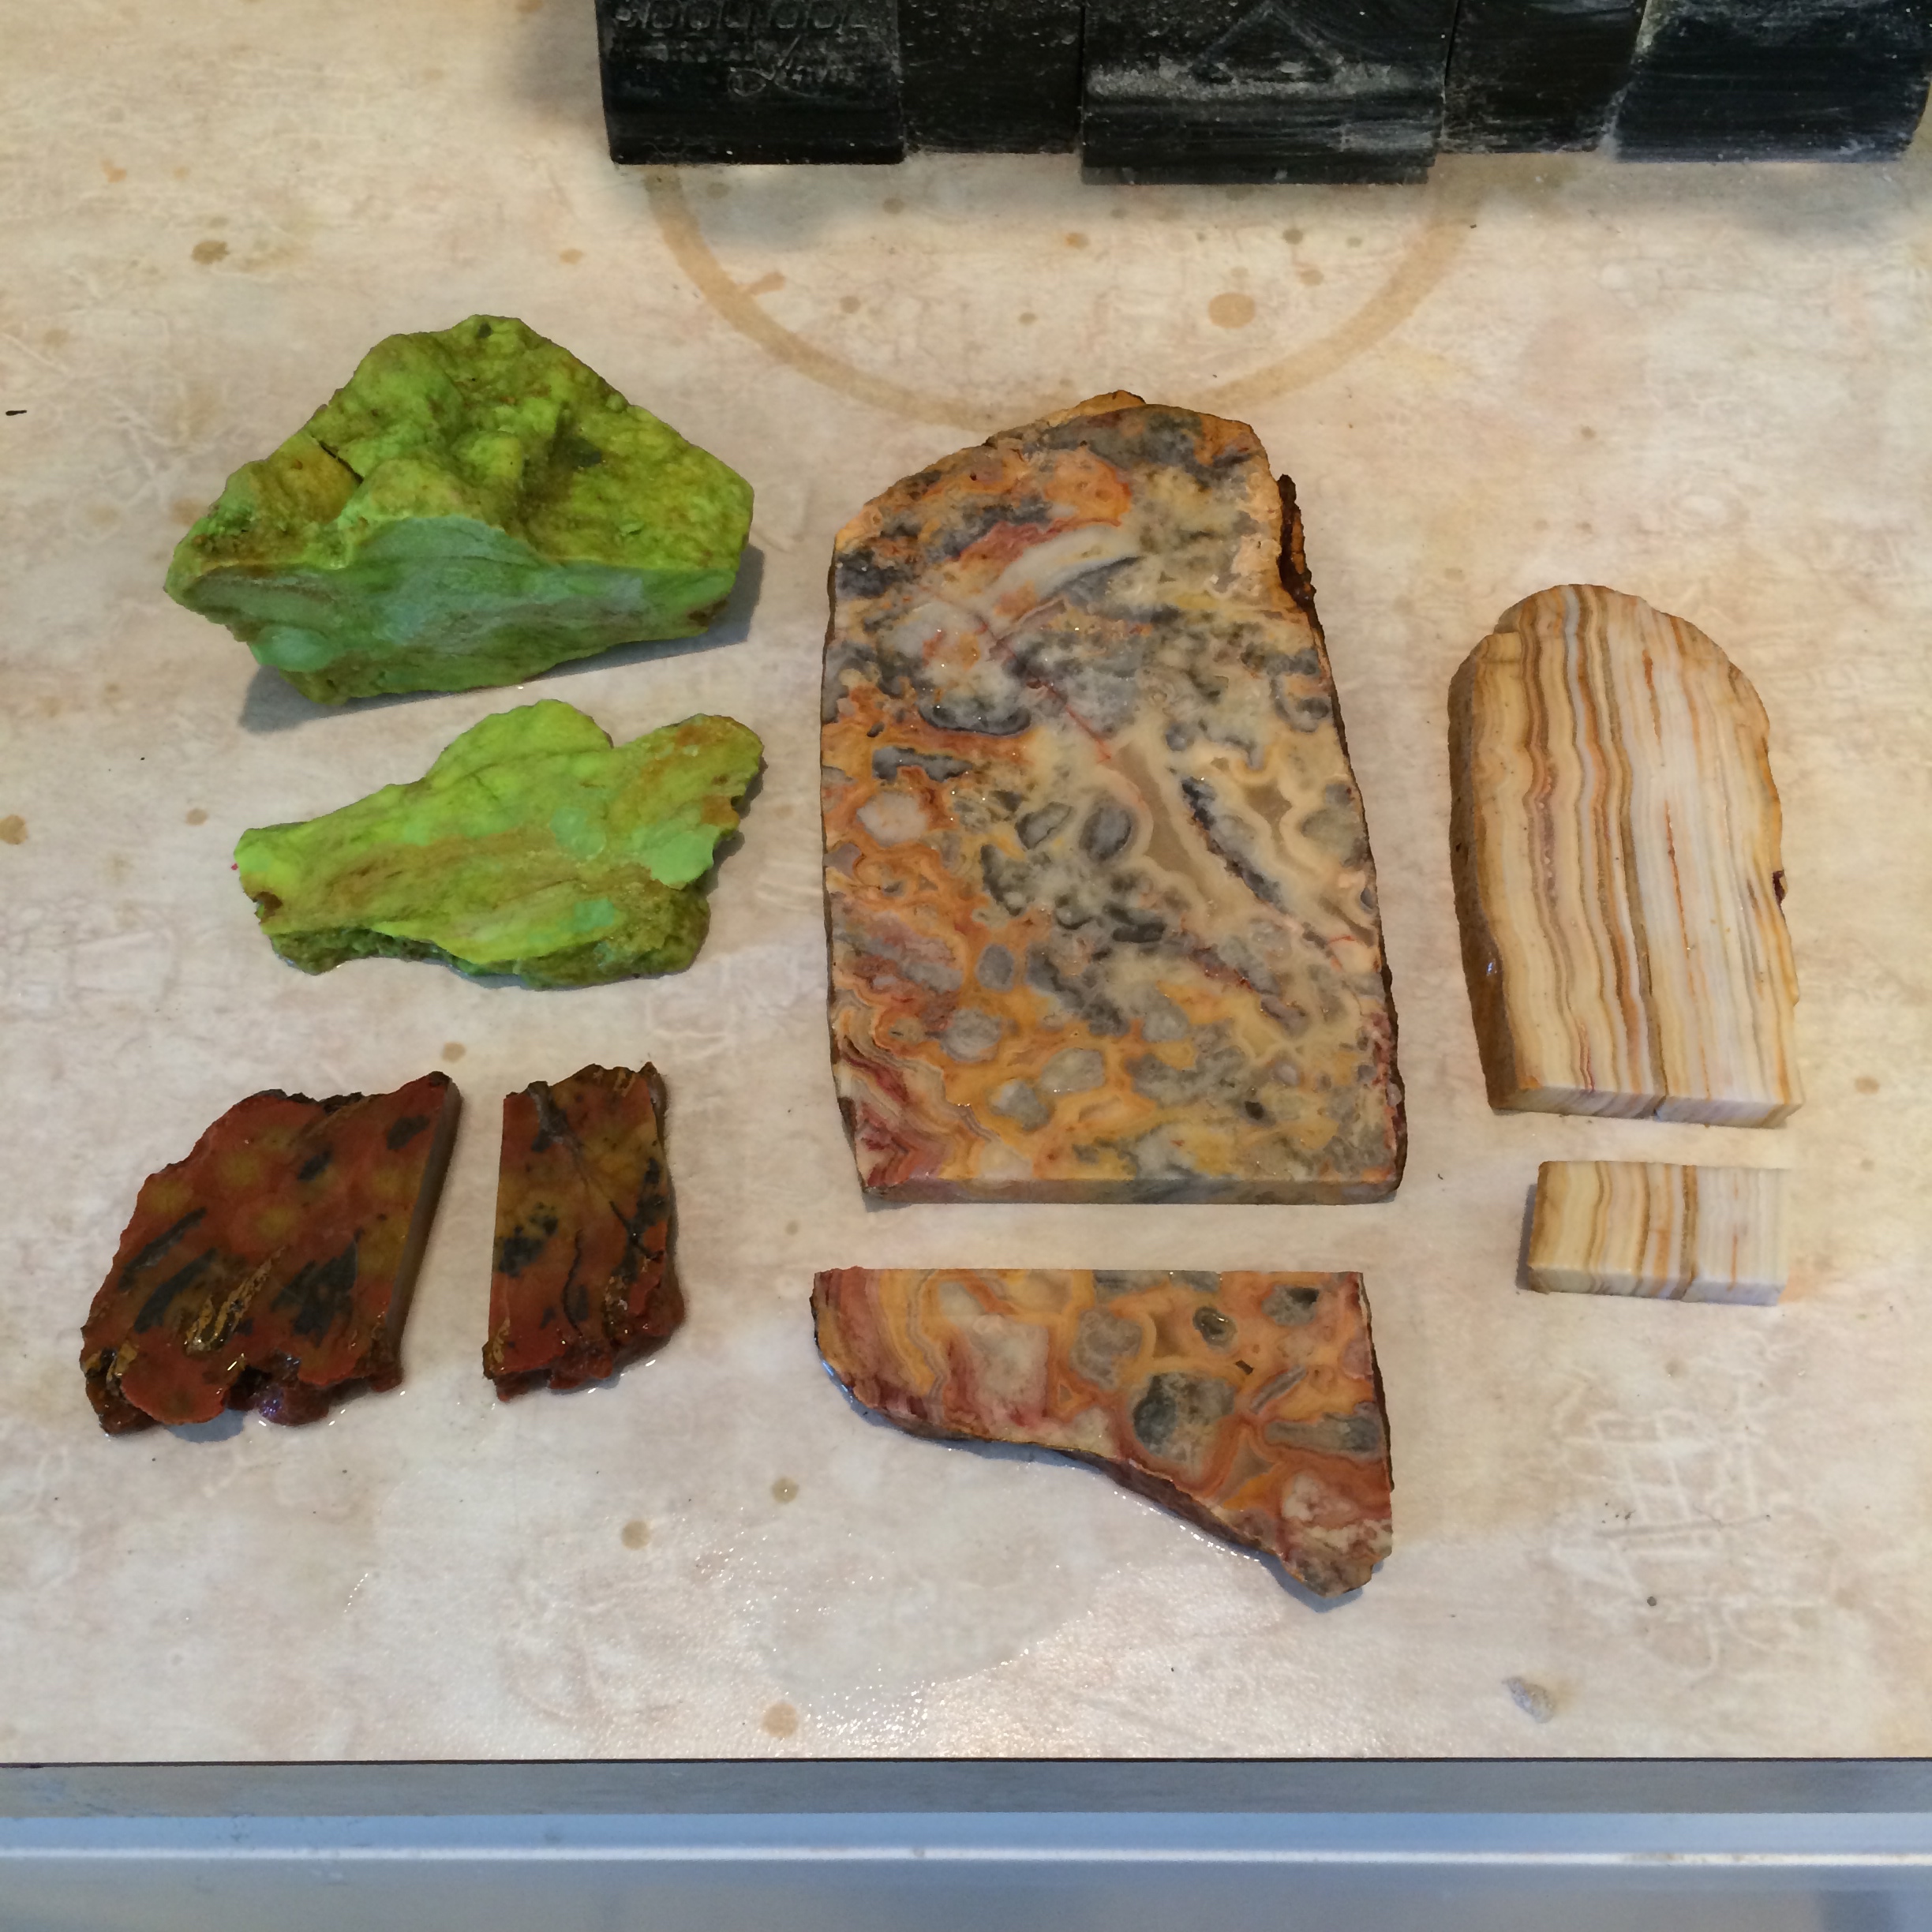
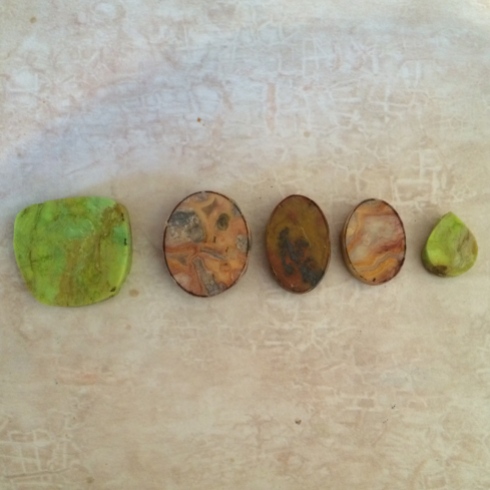
A stone
🙂
(I used a 23 mm x 16 mm chrysoprase)
Silver sheet.
(I used 23 gauge fine silver)
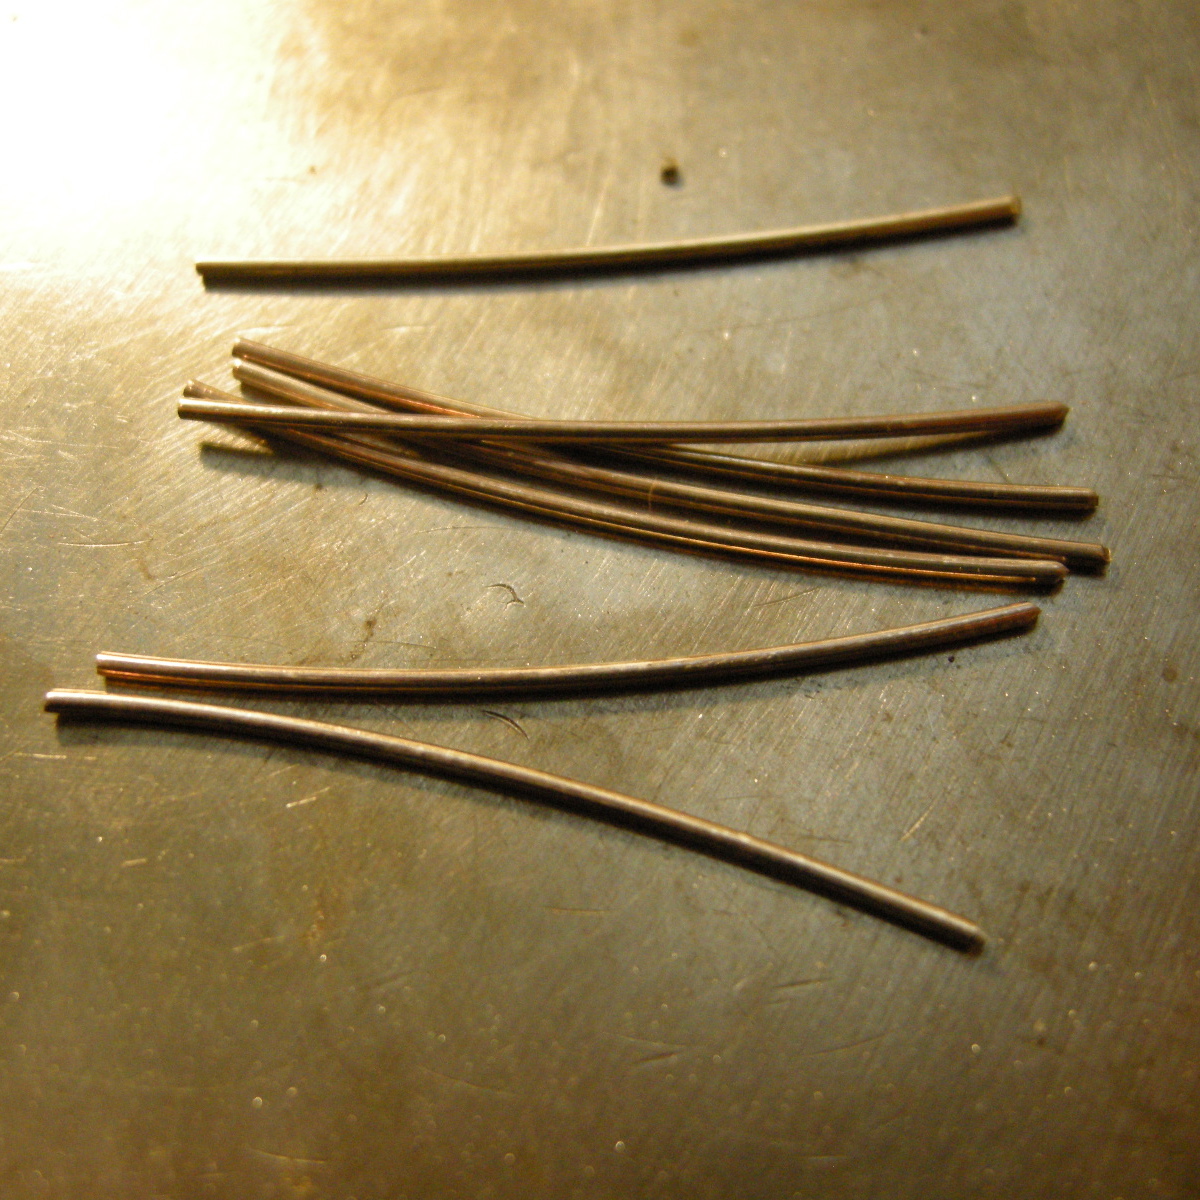
A 3 to 4 “ piece of silver wire.
(I used 18 gauge fine silver wire)
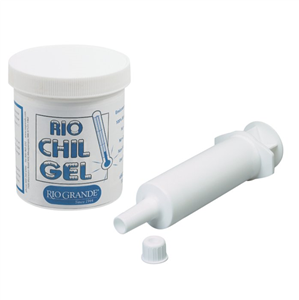
black max or liver of sulfur etc.
–
Tools:
pliers
saw
torch and solder
contact paper or rubber cement etc.
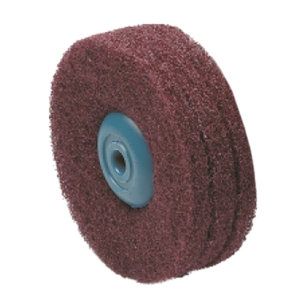
buffing tools
straight line chasing or stamping tool to make the leaves.
sanding tools or file
–
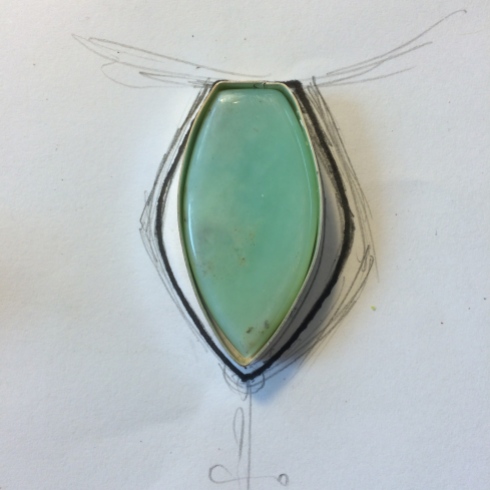
Video 1
Where I think I’m just going to show you the necklace I’m going to make, but then decide to explain how I’m going to make it differently than I normally do even though that’s not what I intended to do in the first place and so it’s not really very clear what’s going on until you get further into the videos.
And even then it’s touch and go…
SPECIAL NOTE: It’s ChrysoPRase, not ChrysoPHRase as I’ve pronounced it here. The word was very long. Forgive me.
–
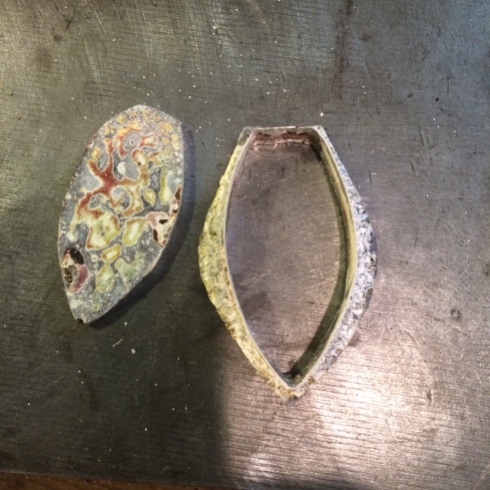
Video 2
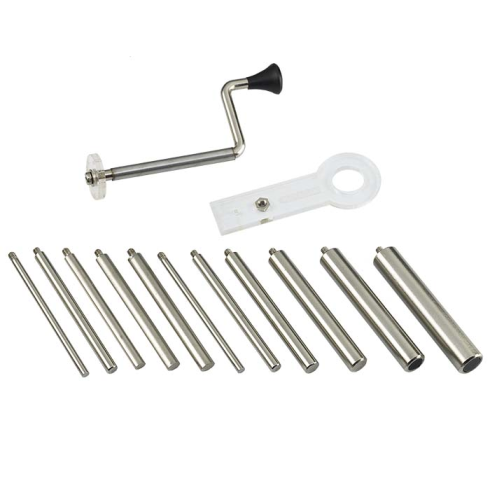
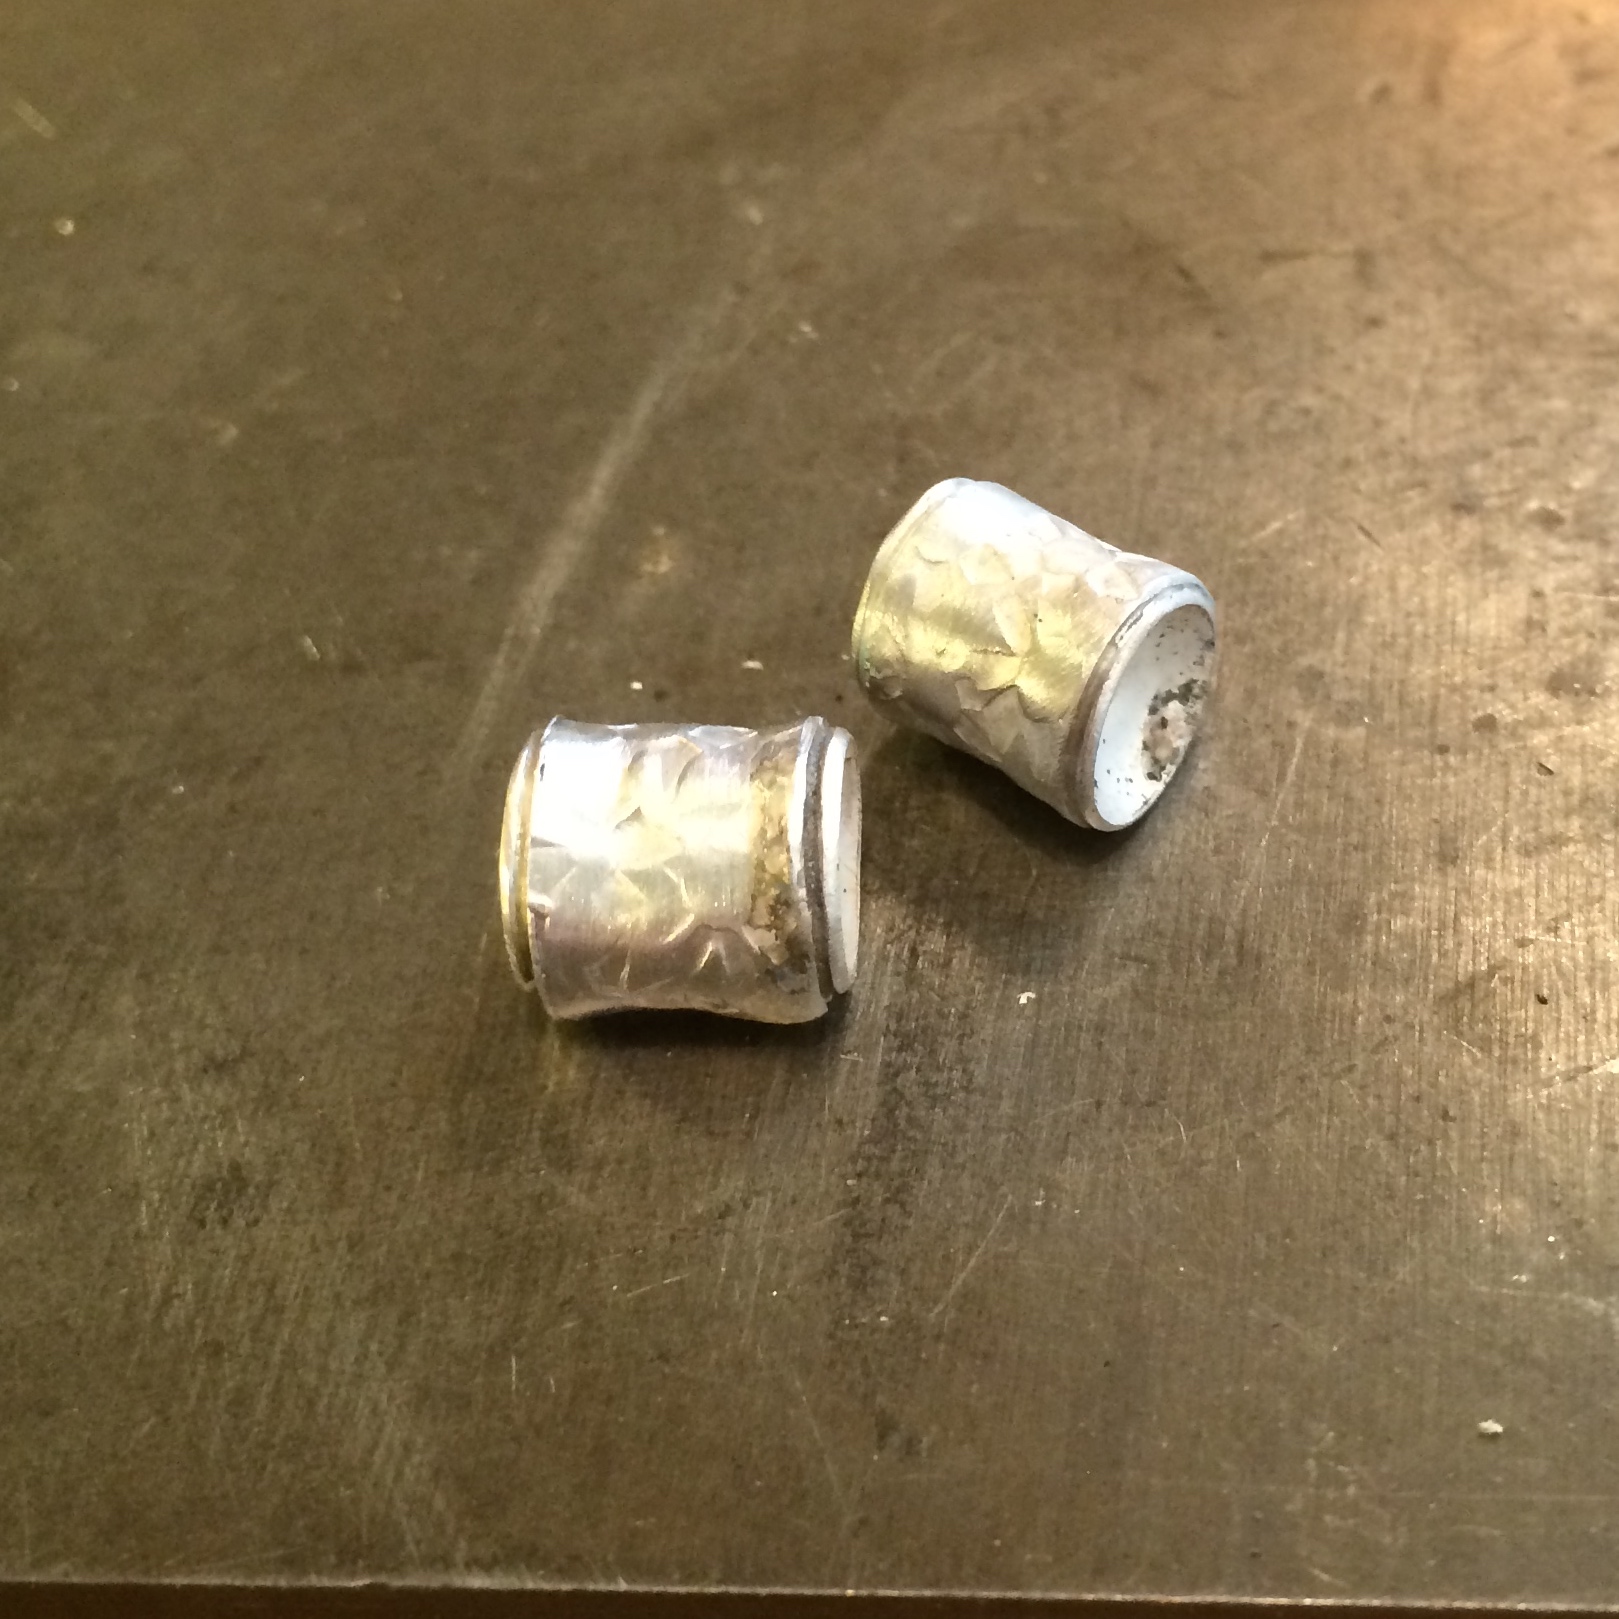
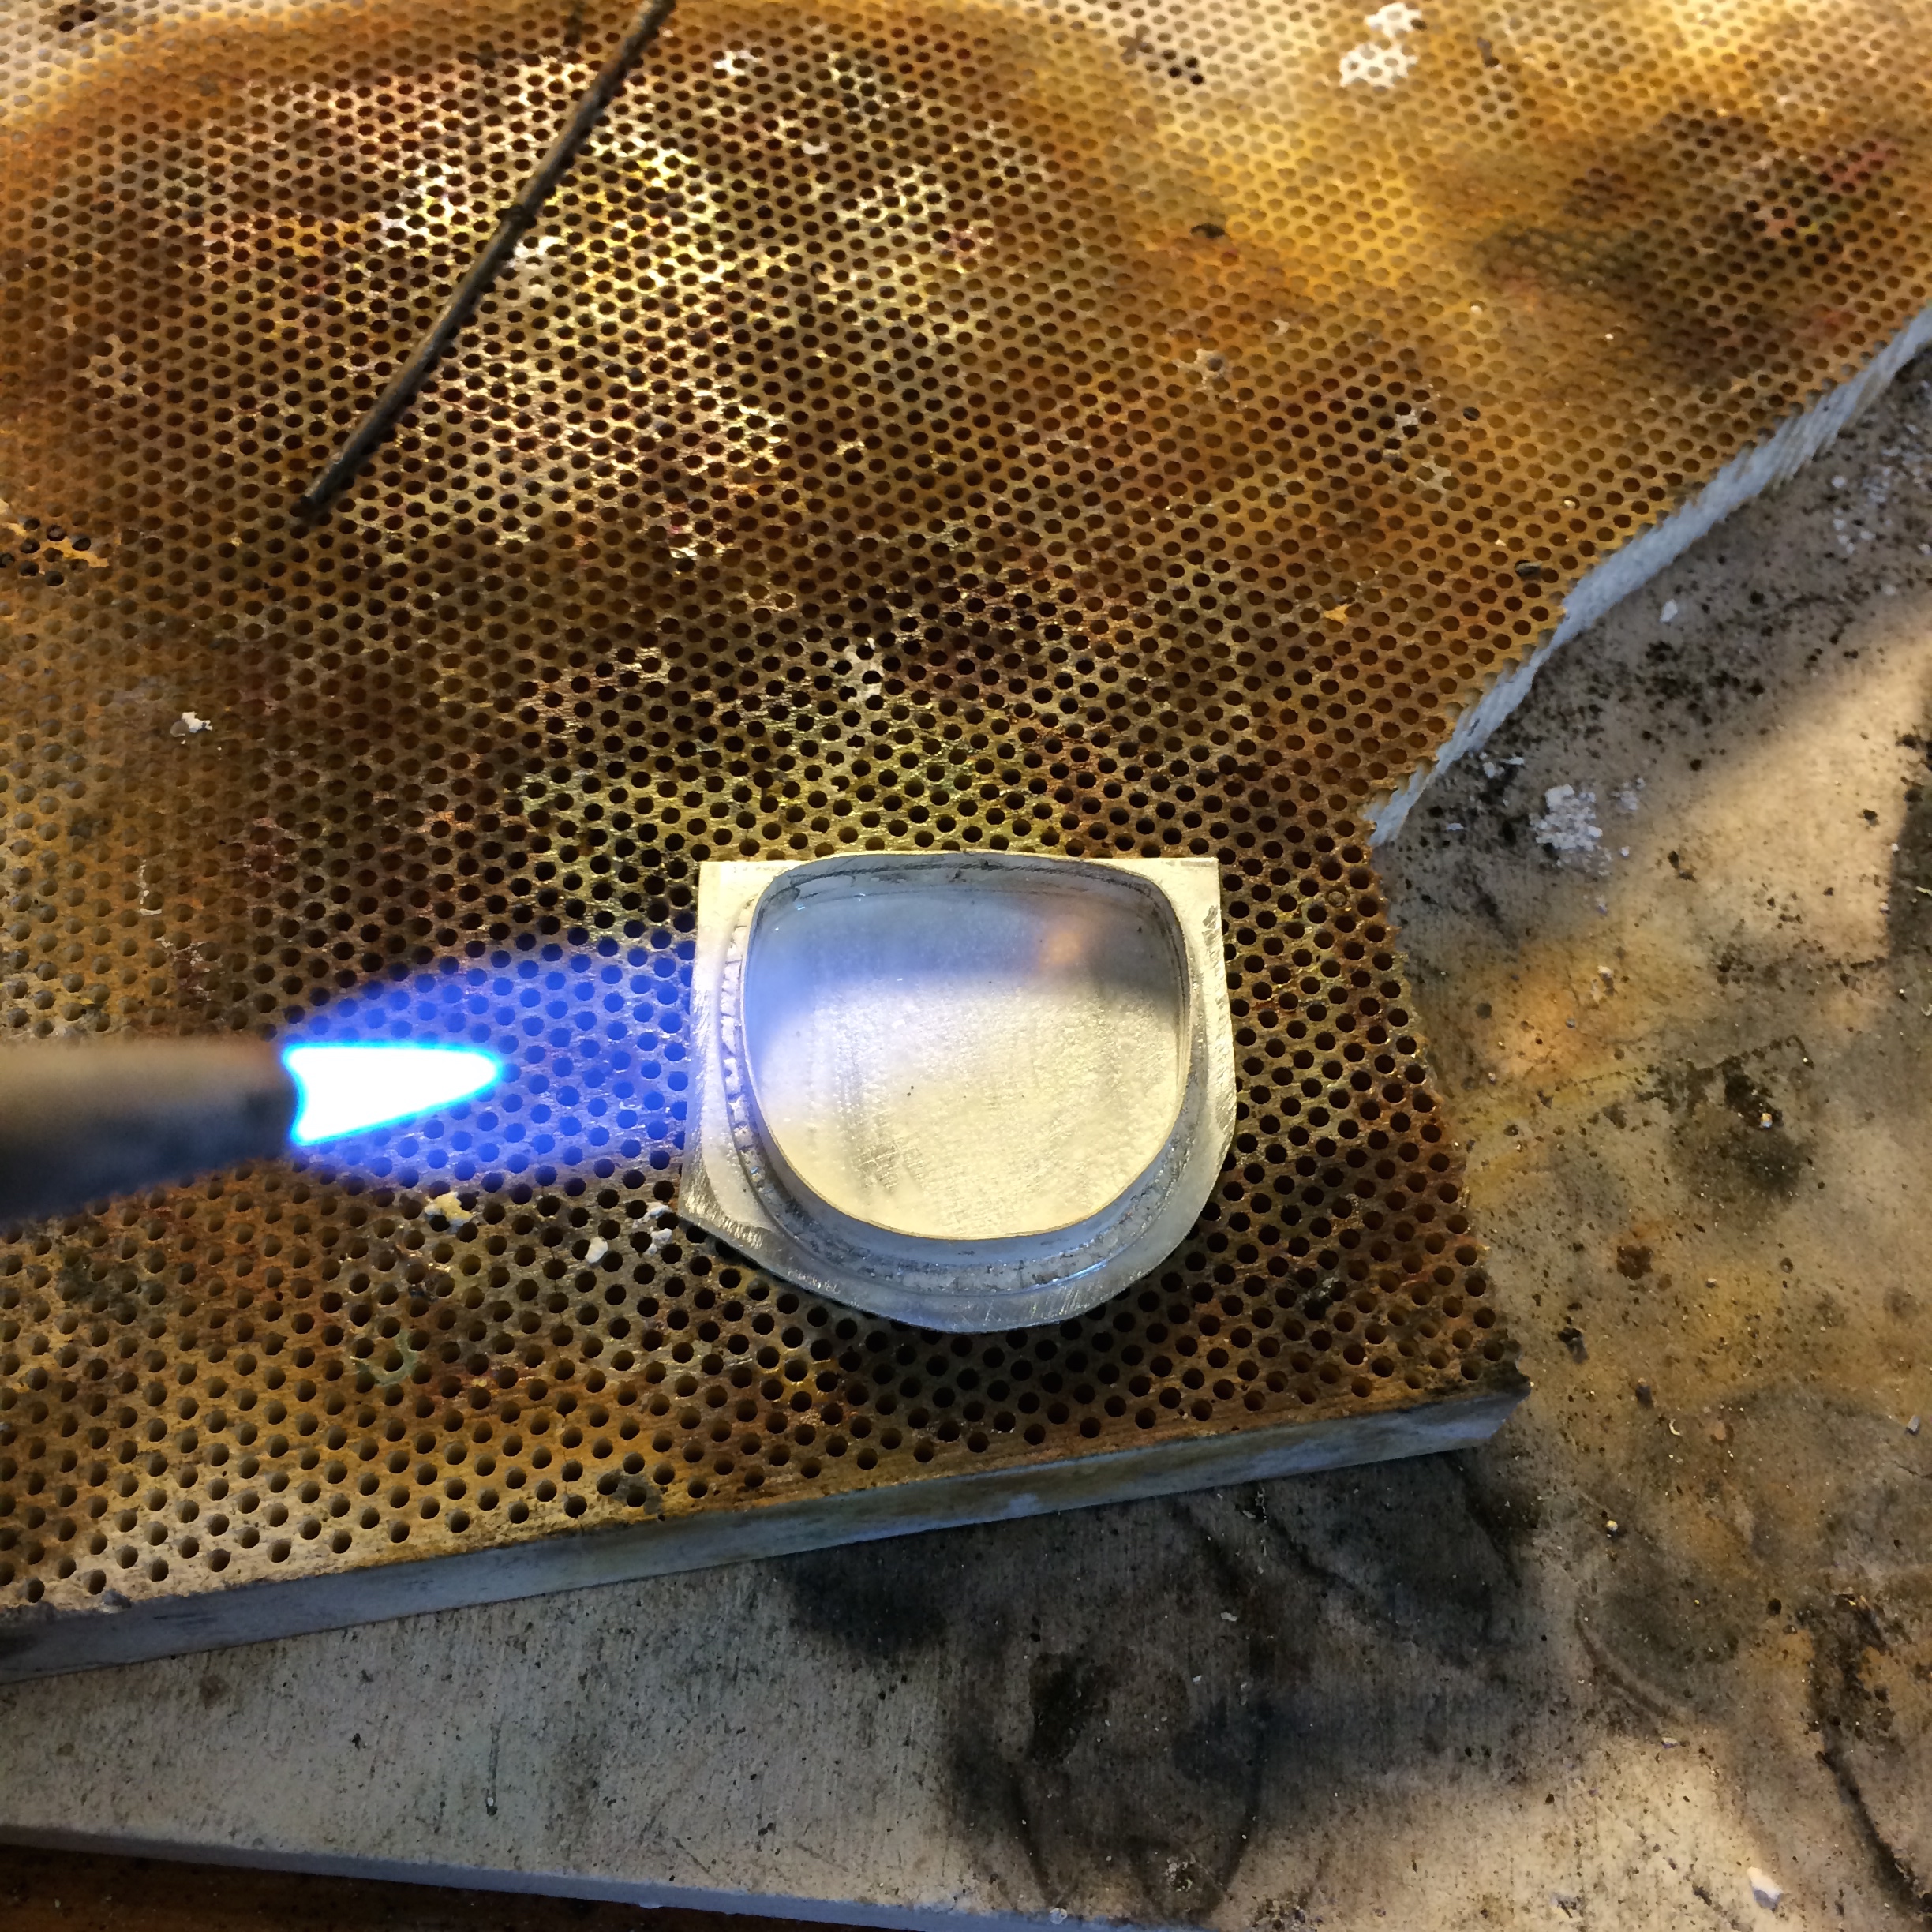
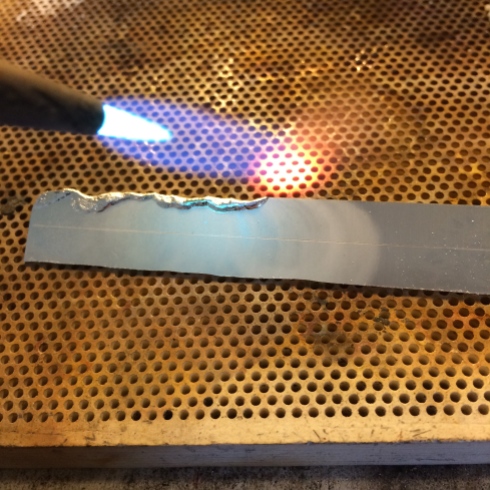
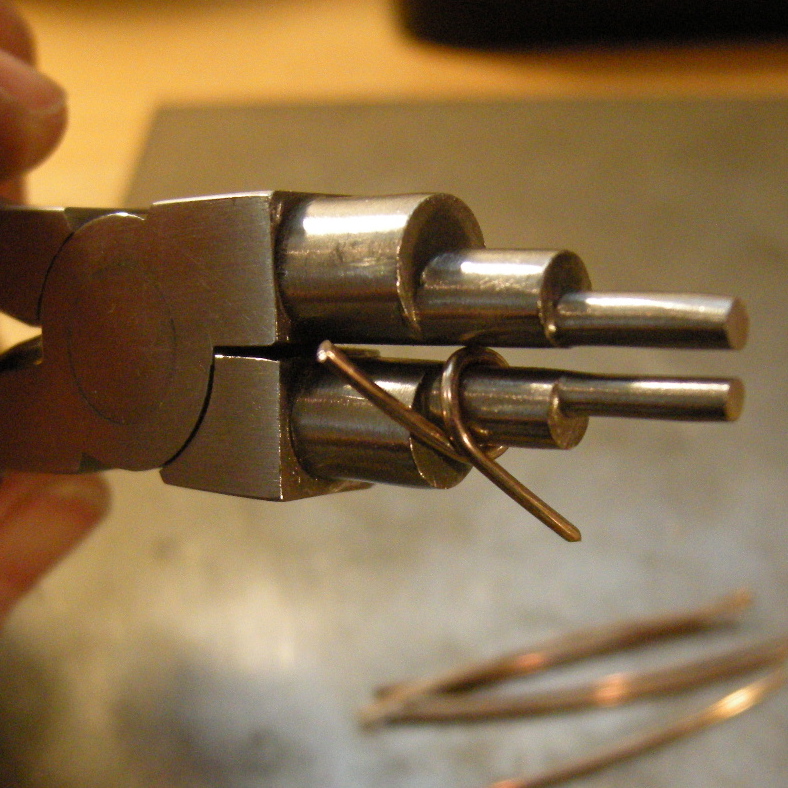
A quick recap on how I make my bezel collars.
Narrow bezel wire – Rio Grande #101003
Medium bezel wire – Rio Grande #101051
Wide bezel wire – Rio Grande #101076
–
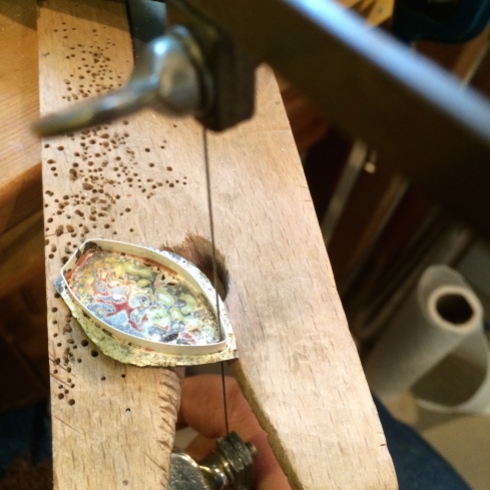
Video 3
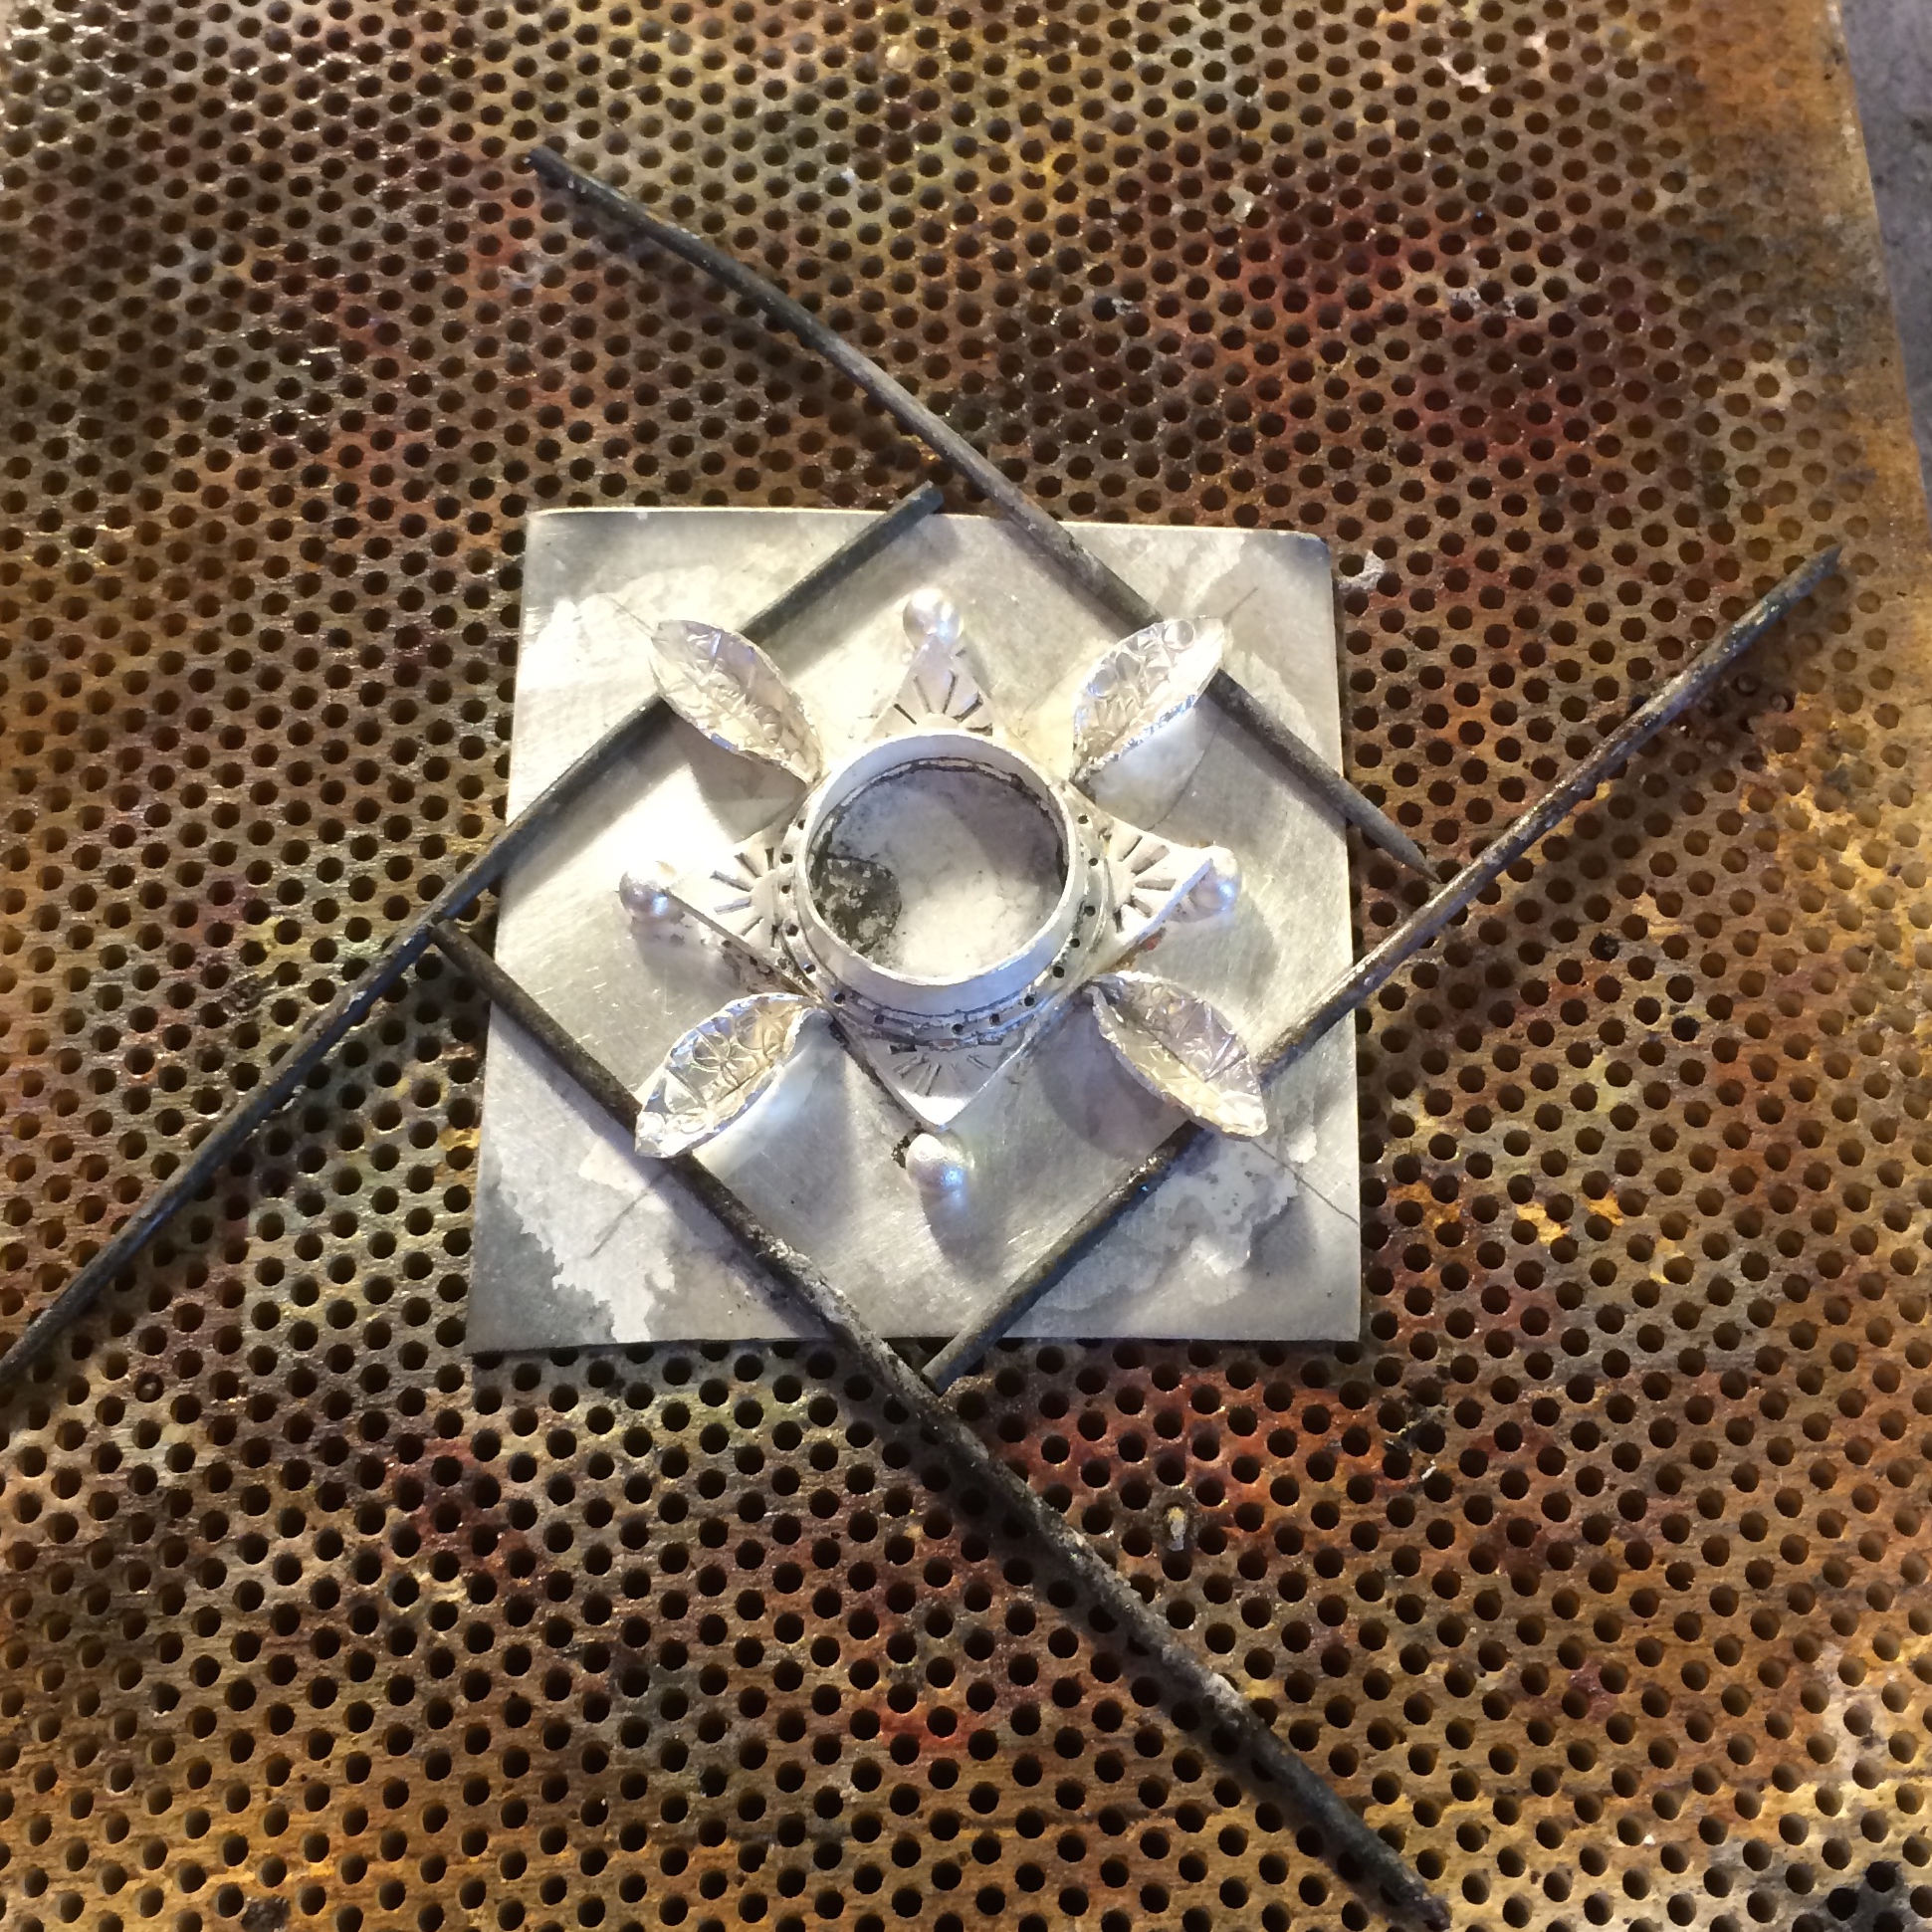
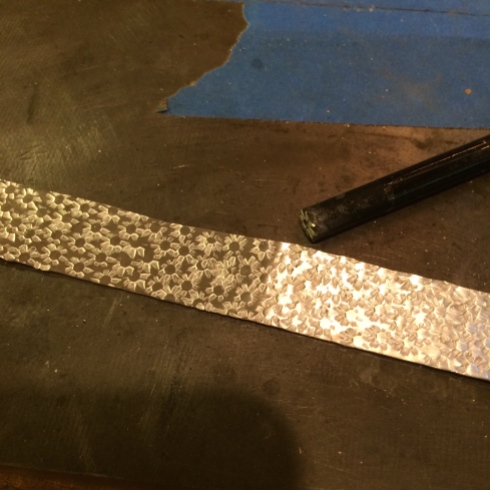
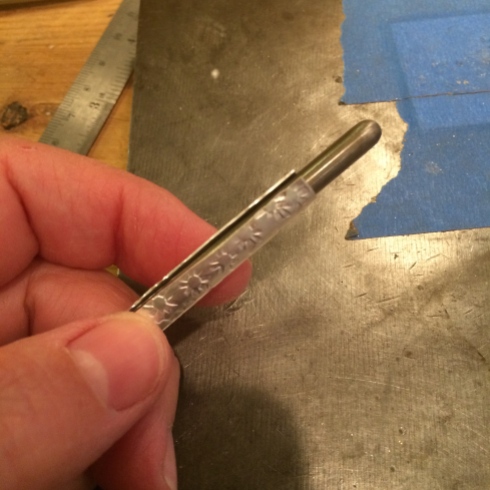
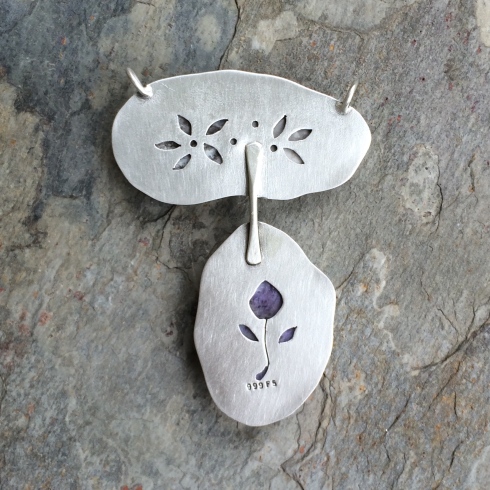
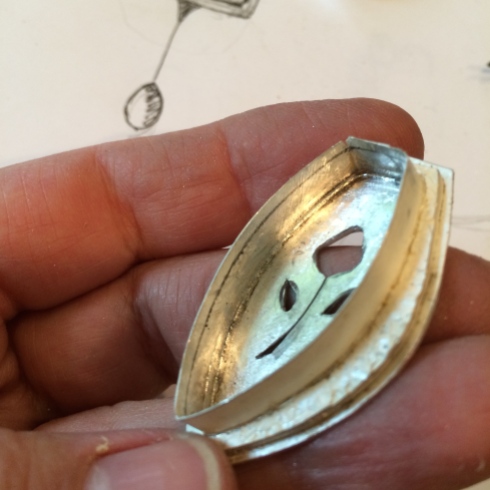
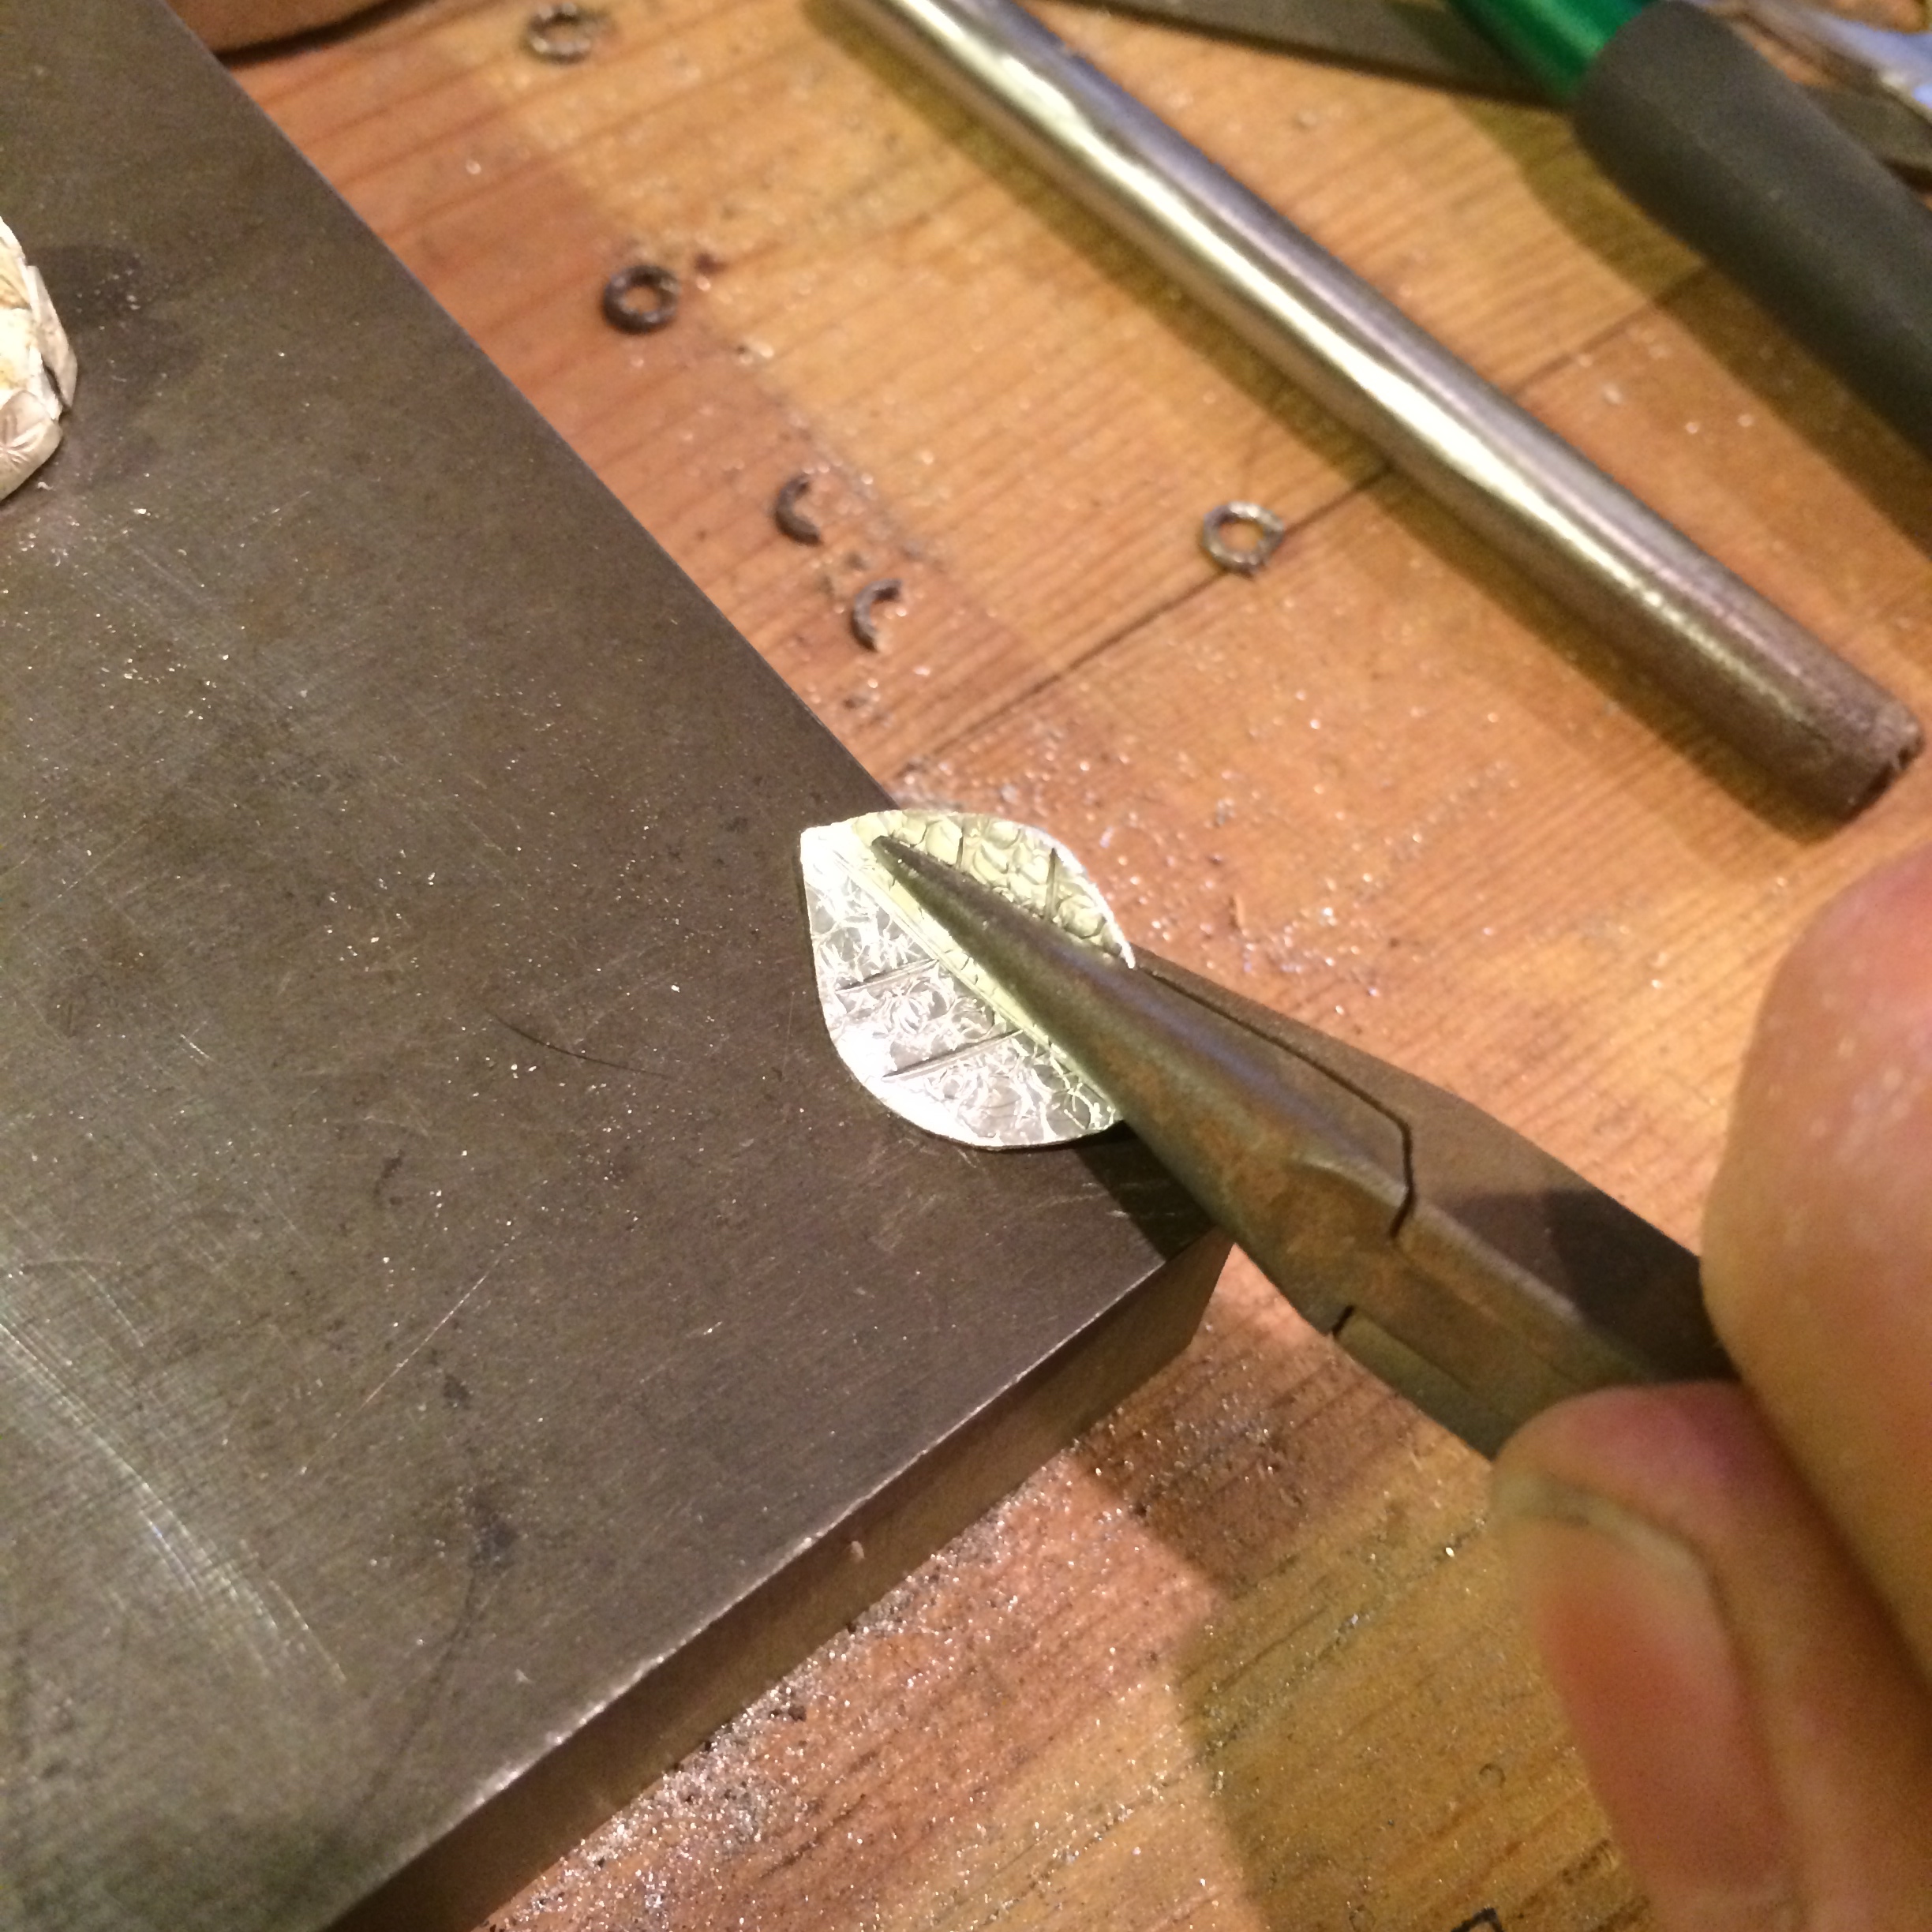
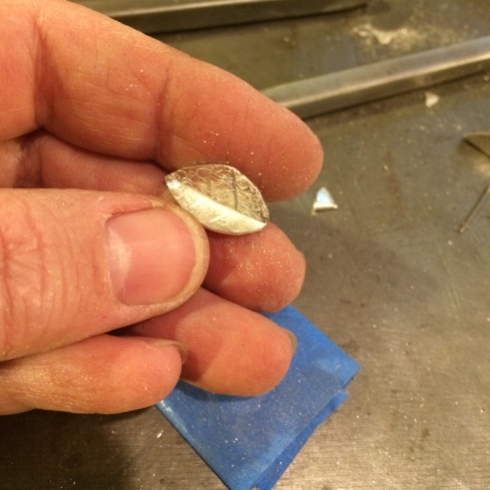
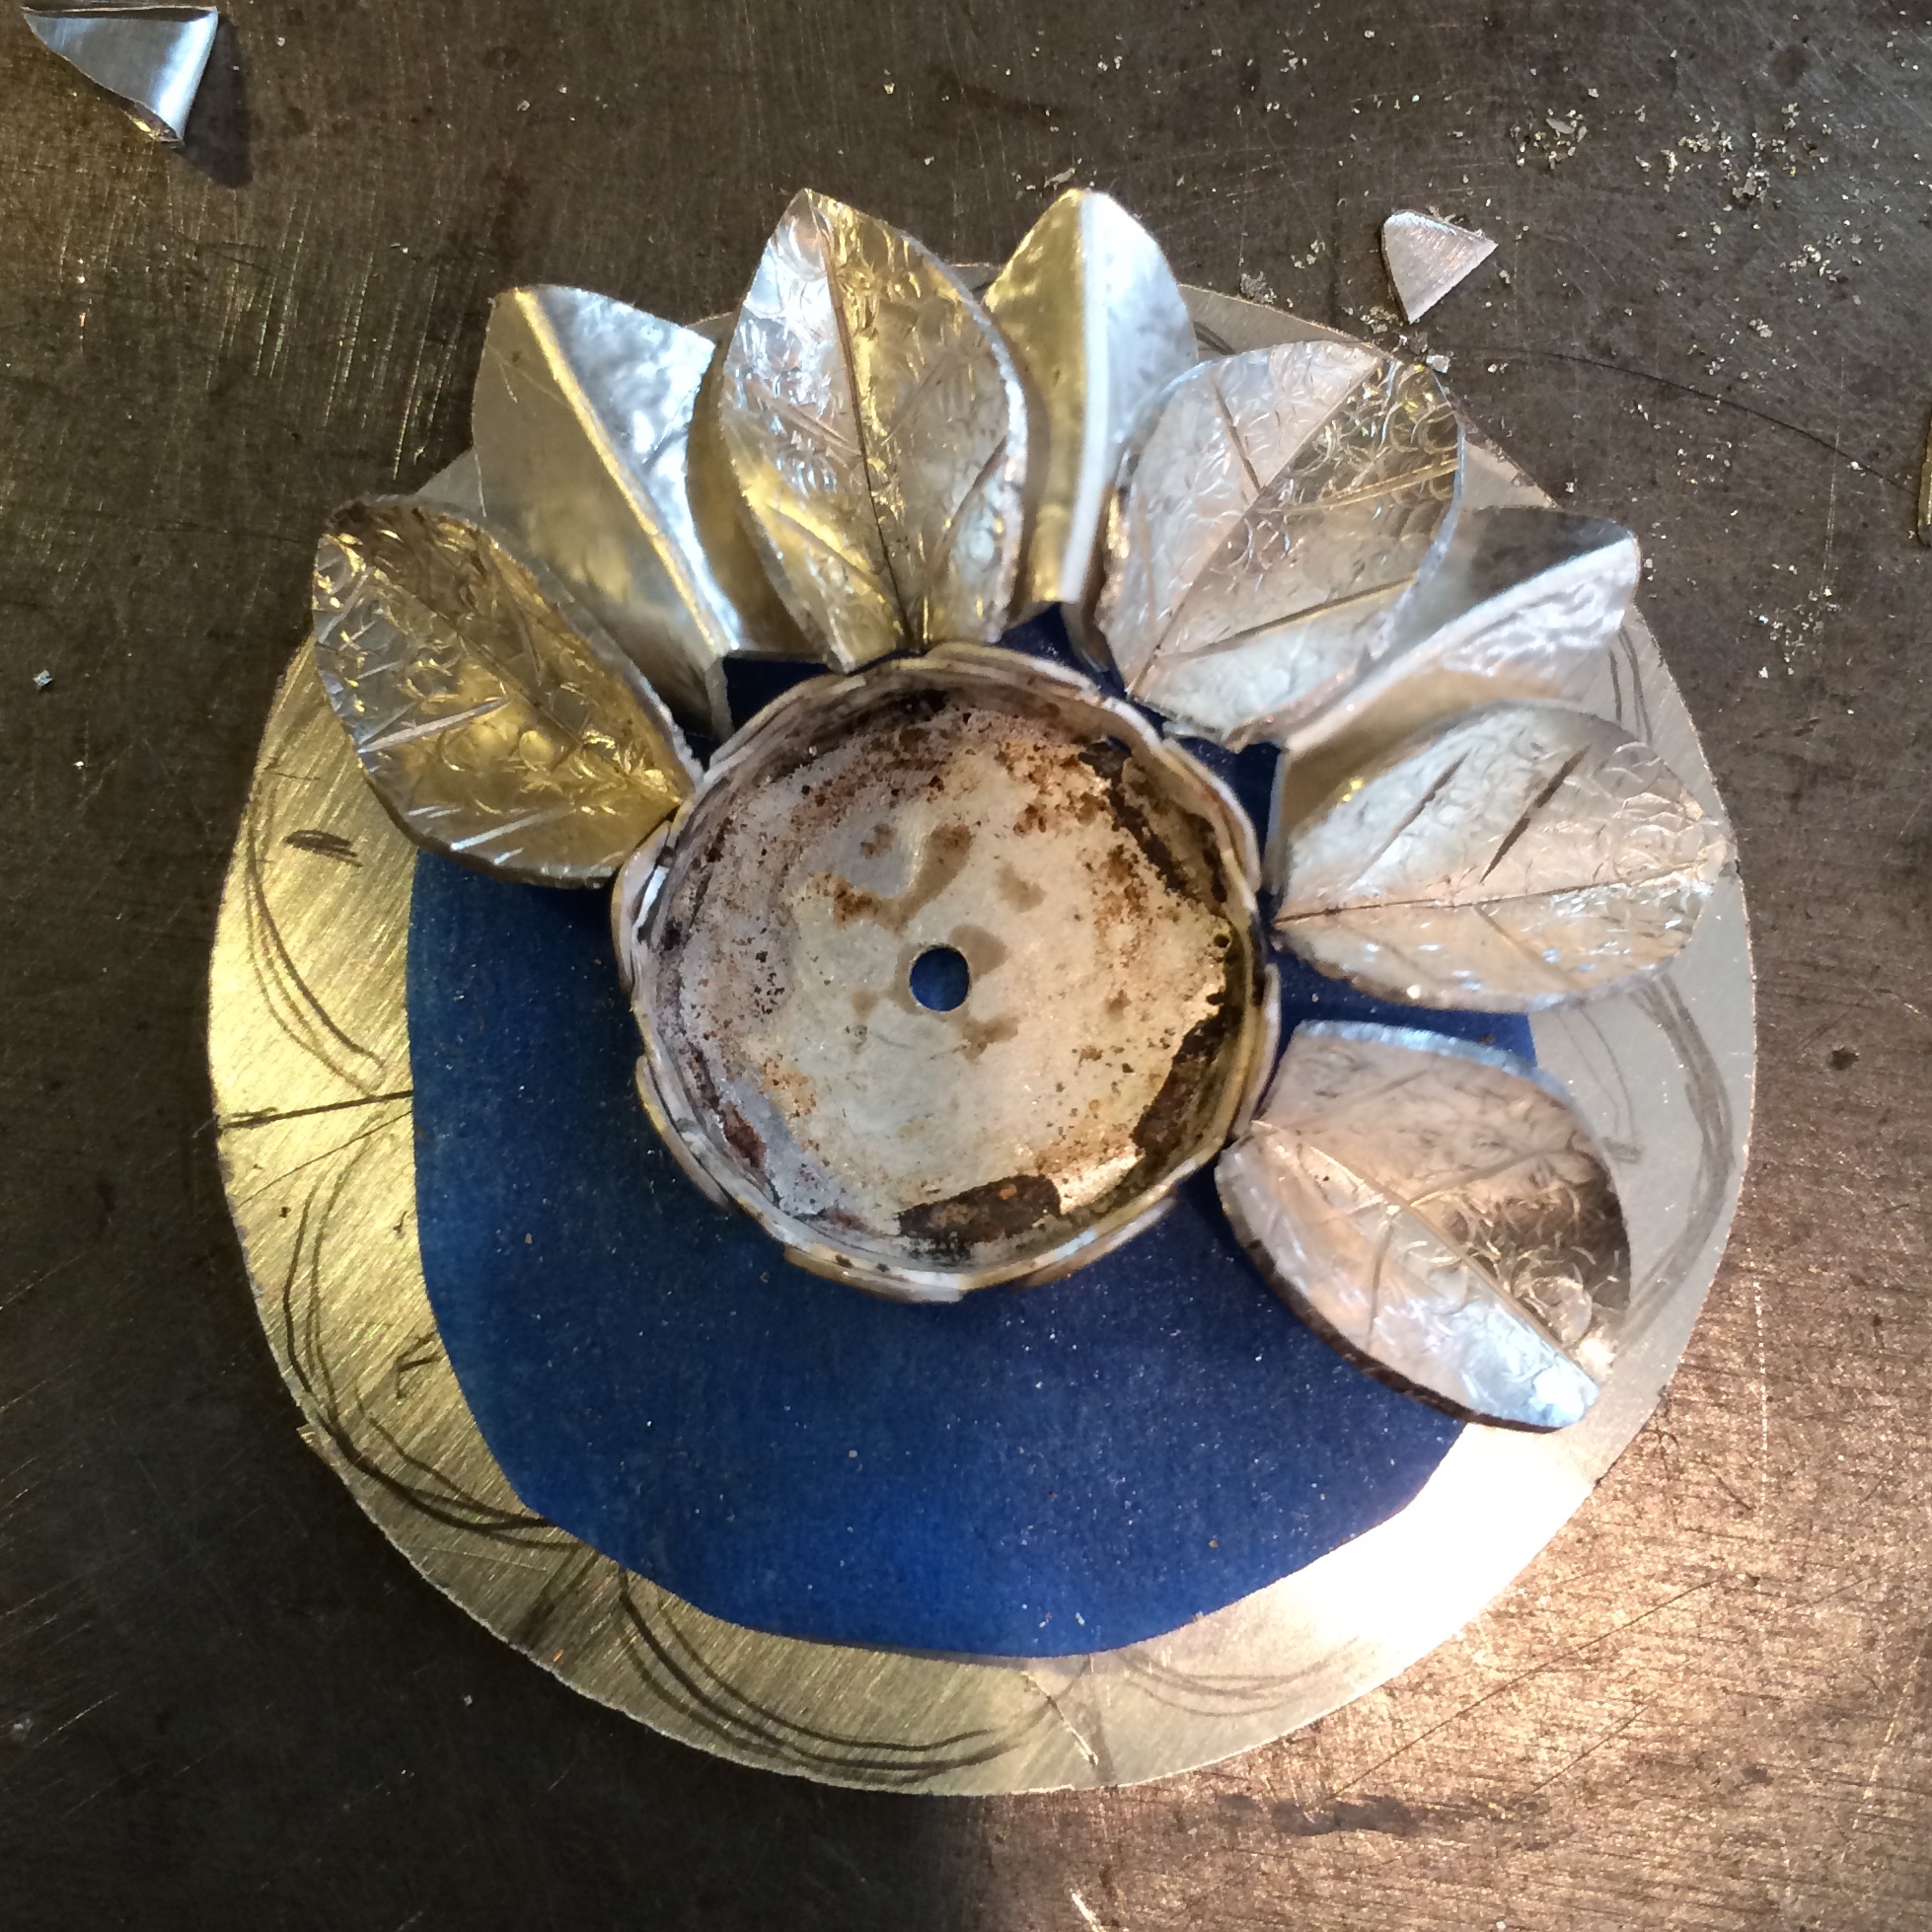
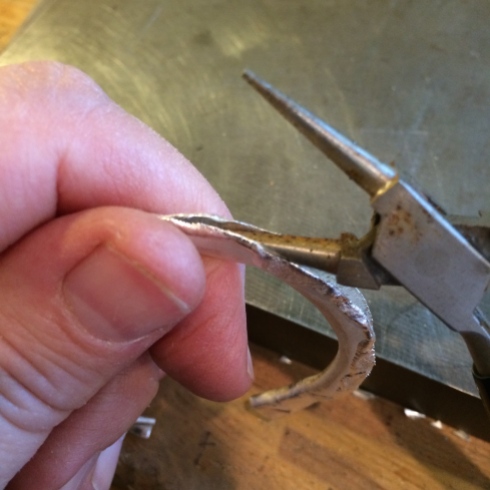
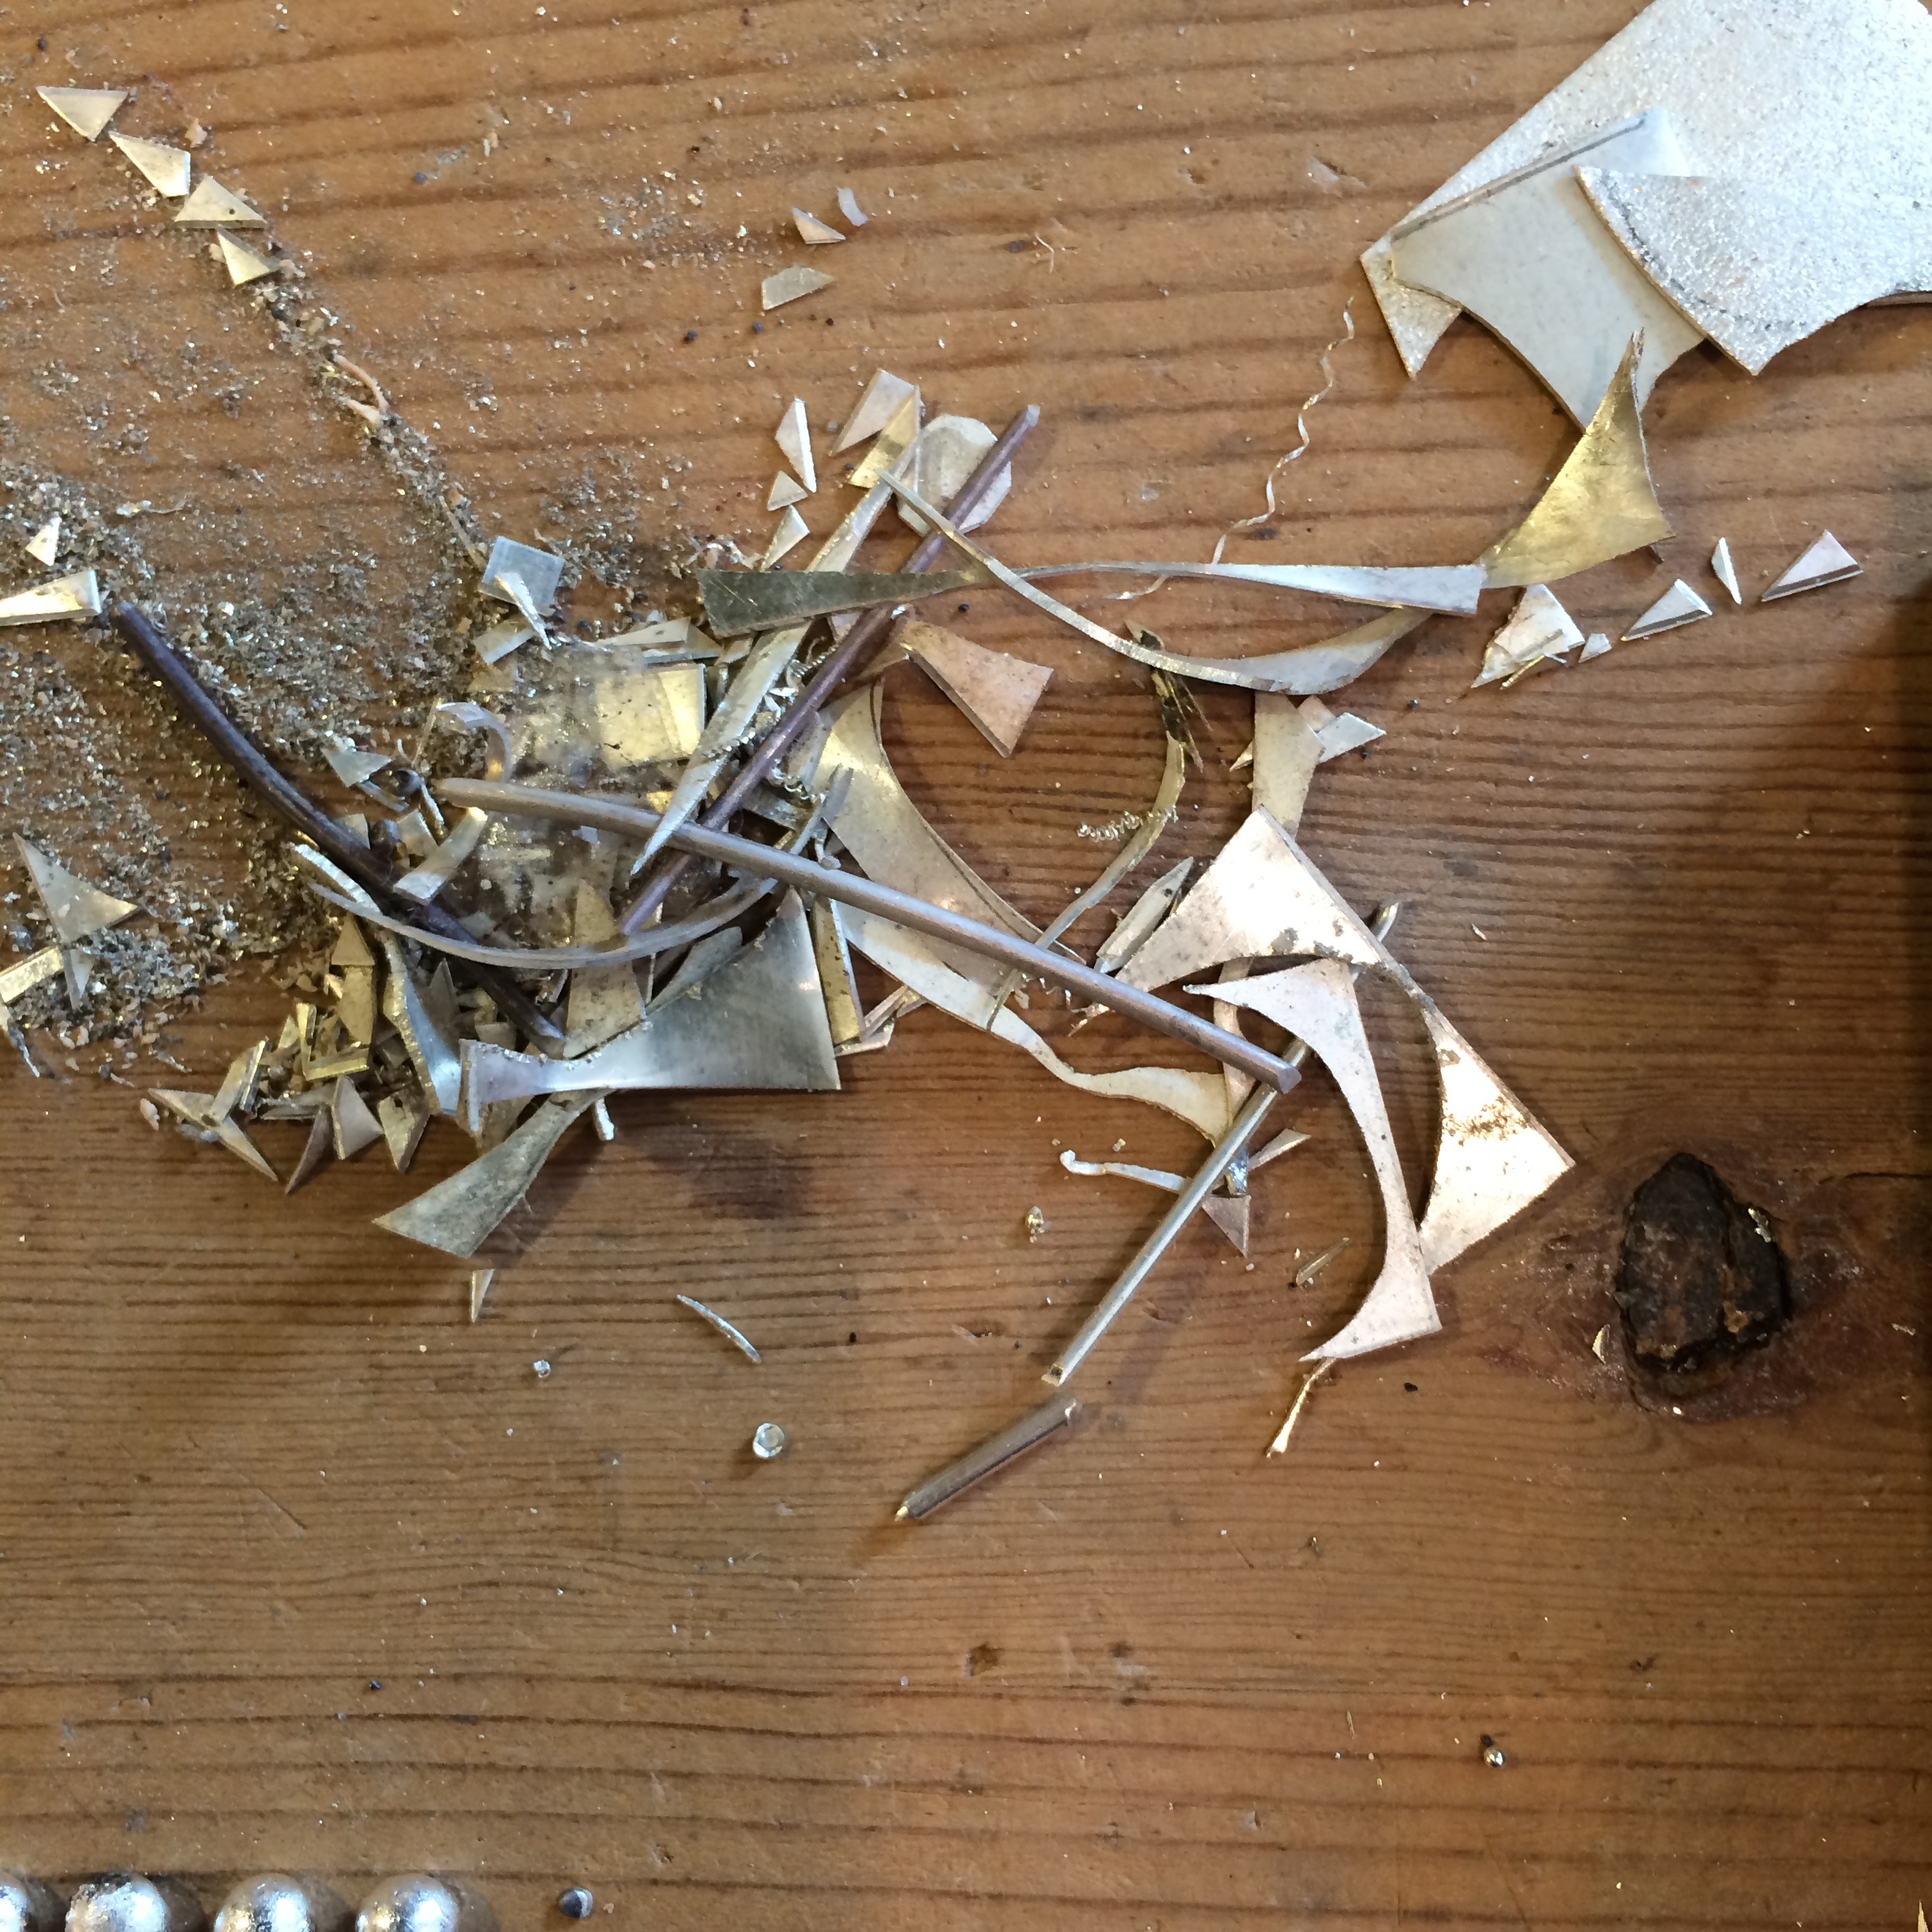
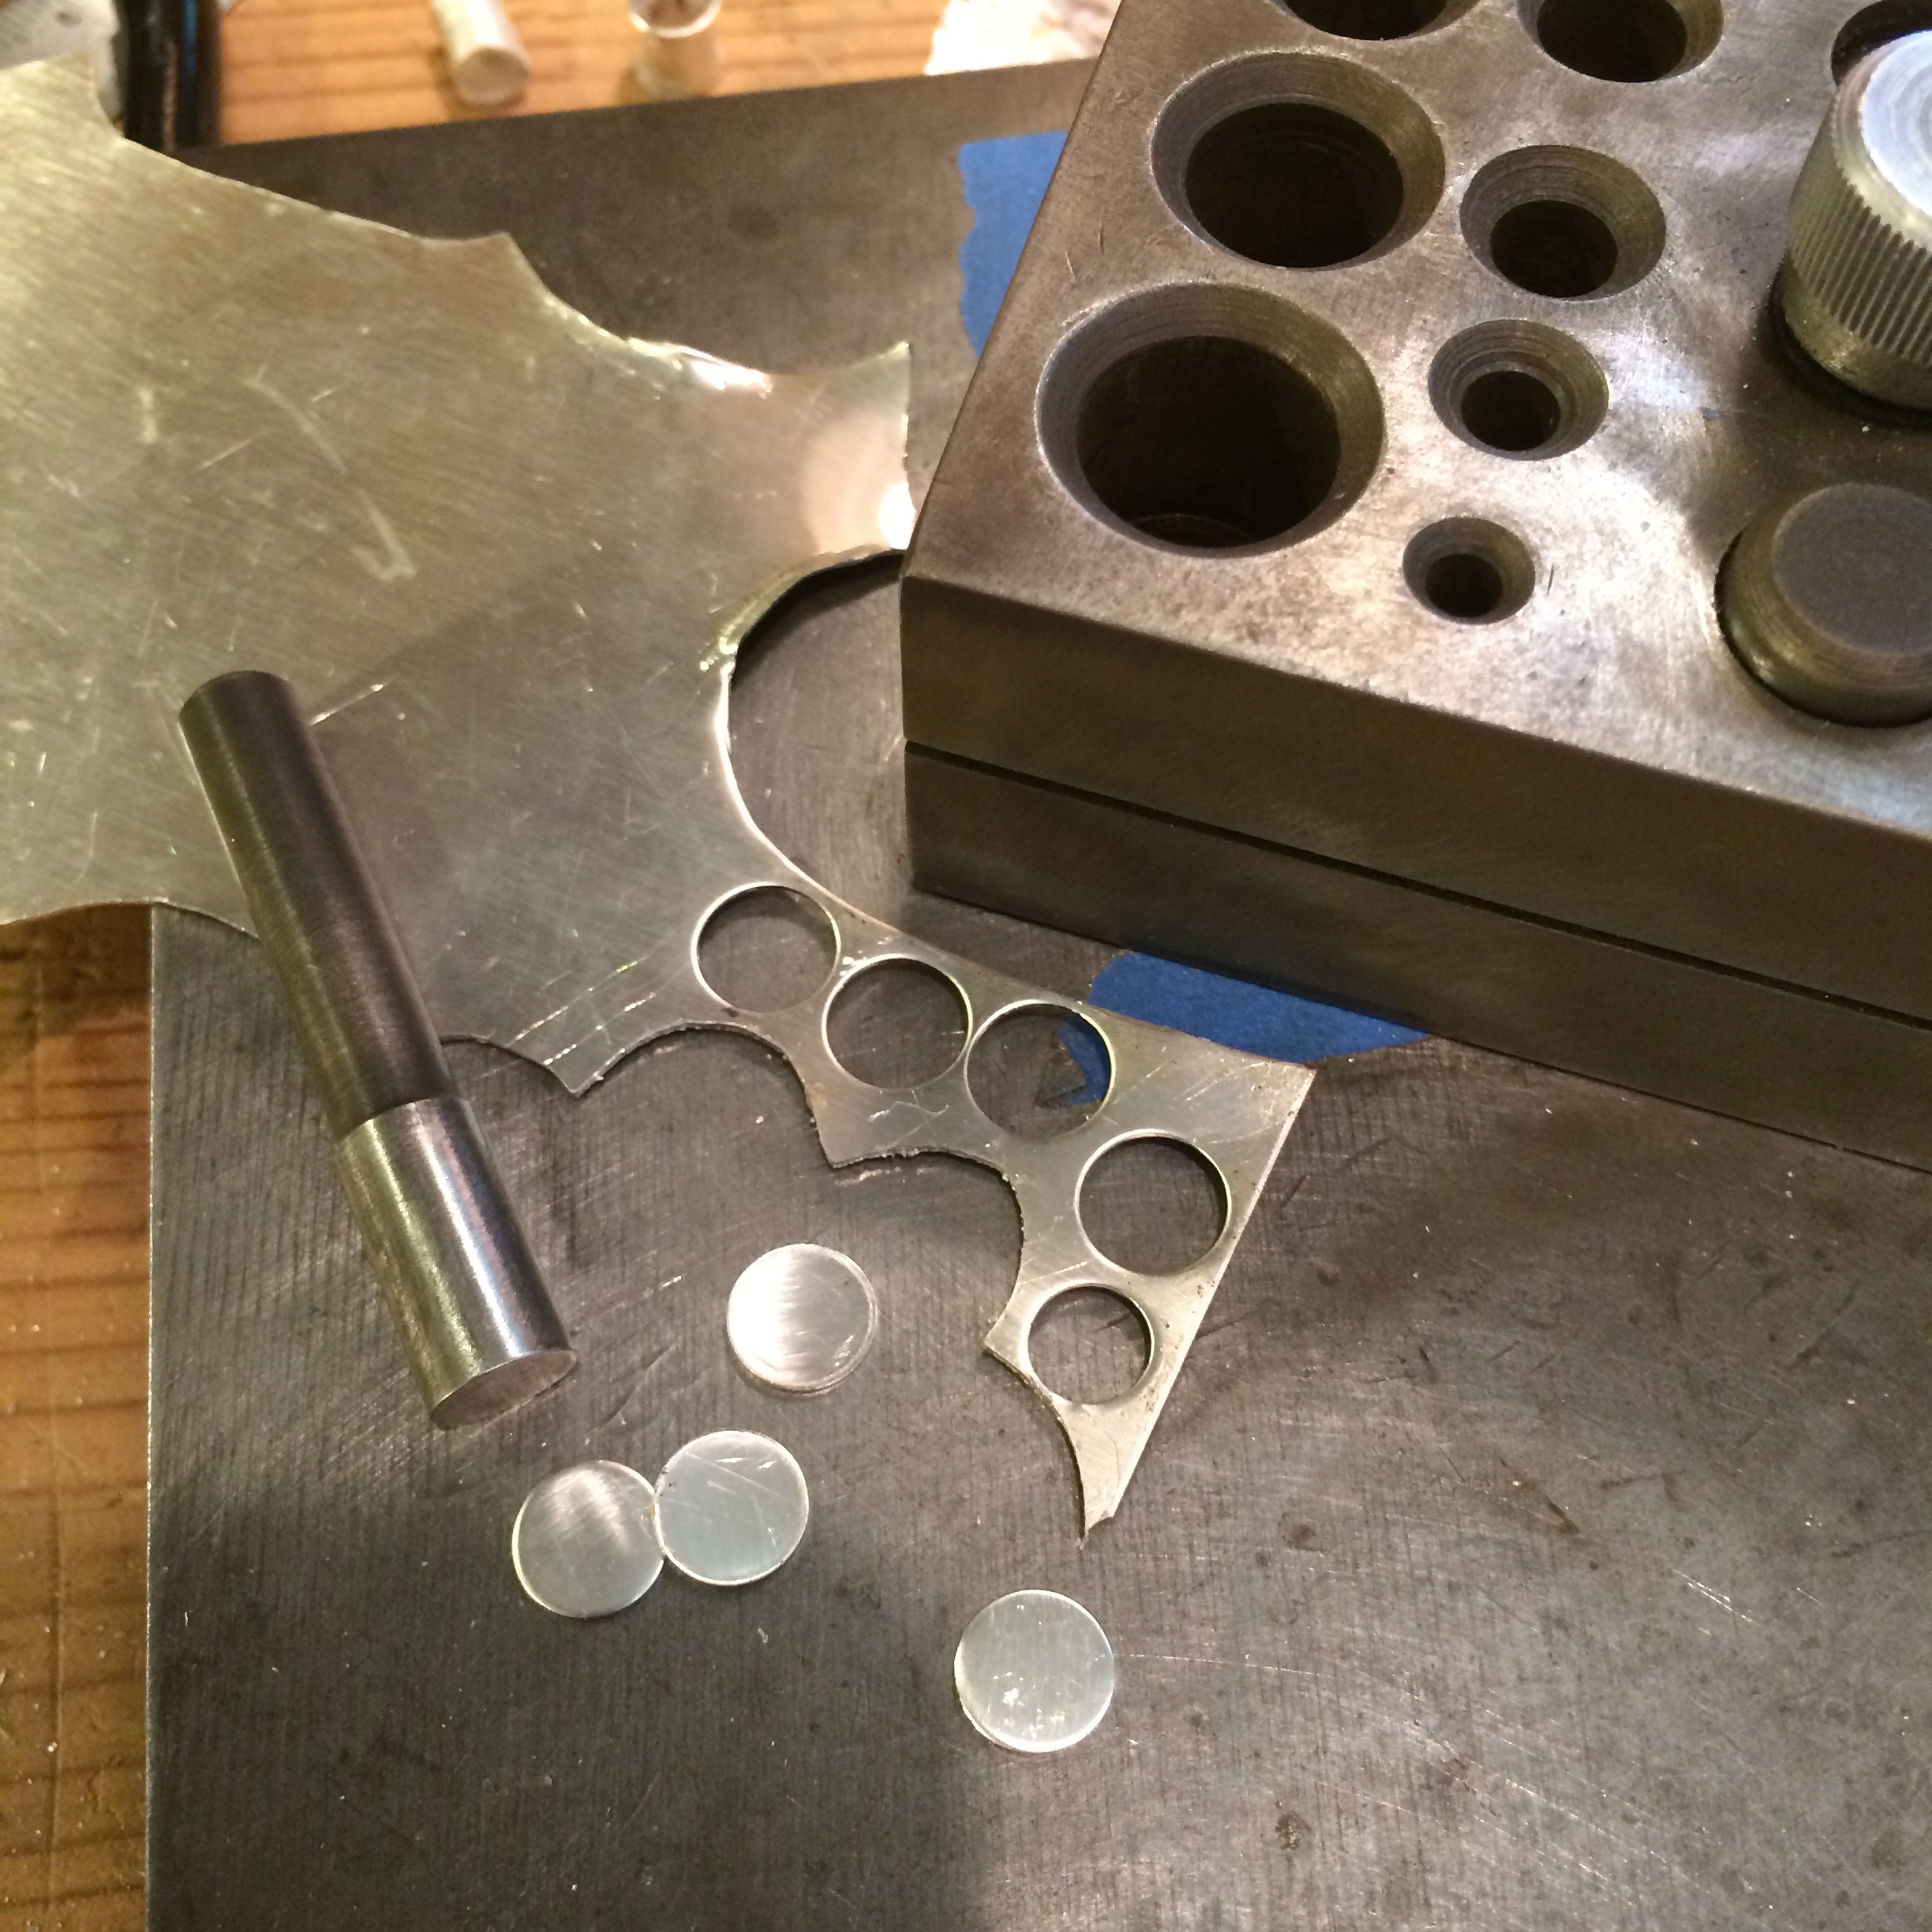
How I cut my leaves to give them a more 3 dimensional look.
I haven’t shown how I make the basic leaves because I covered that – HERE – and thought it best not to keep going over things you’d already seen.
NOTE: Seriously, I did not lie to the nice snipper guy. I do not use my good snippers to cut off the ends of leaves I use them just for wire. I couldn’t find my old ones. Promise.
–
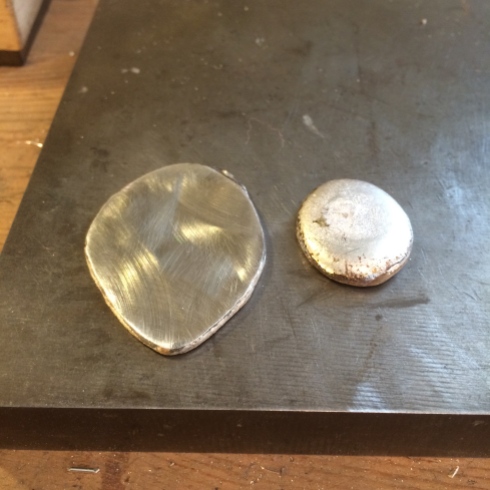
Video 4
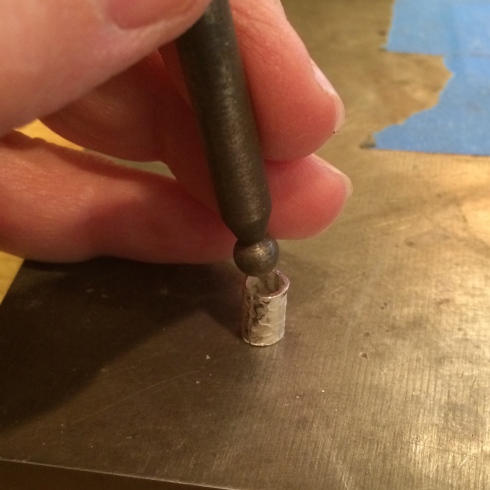
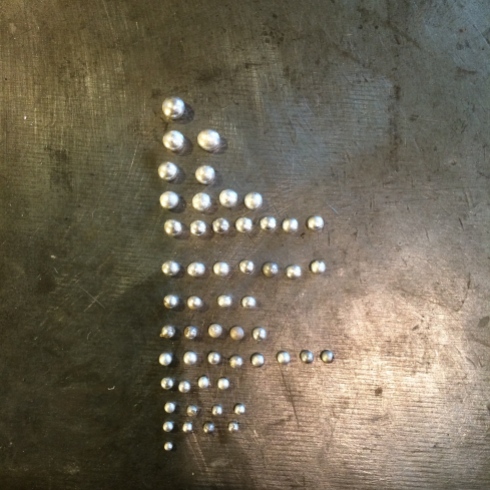
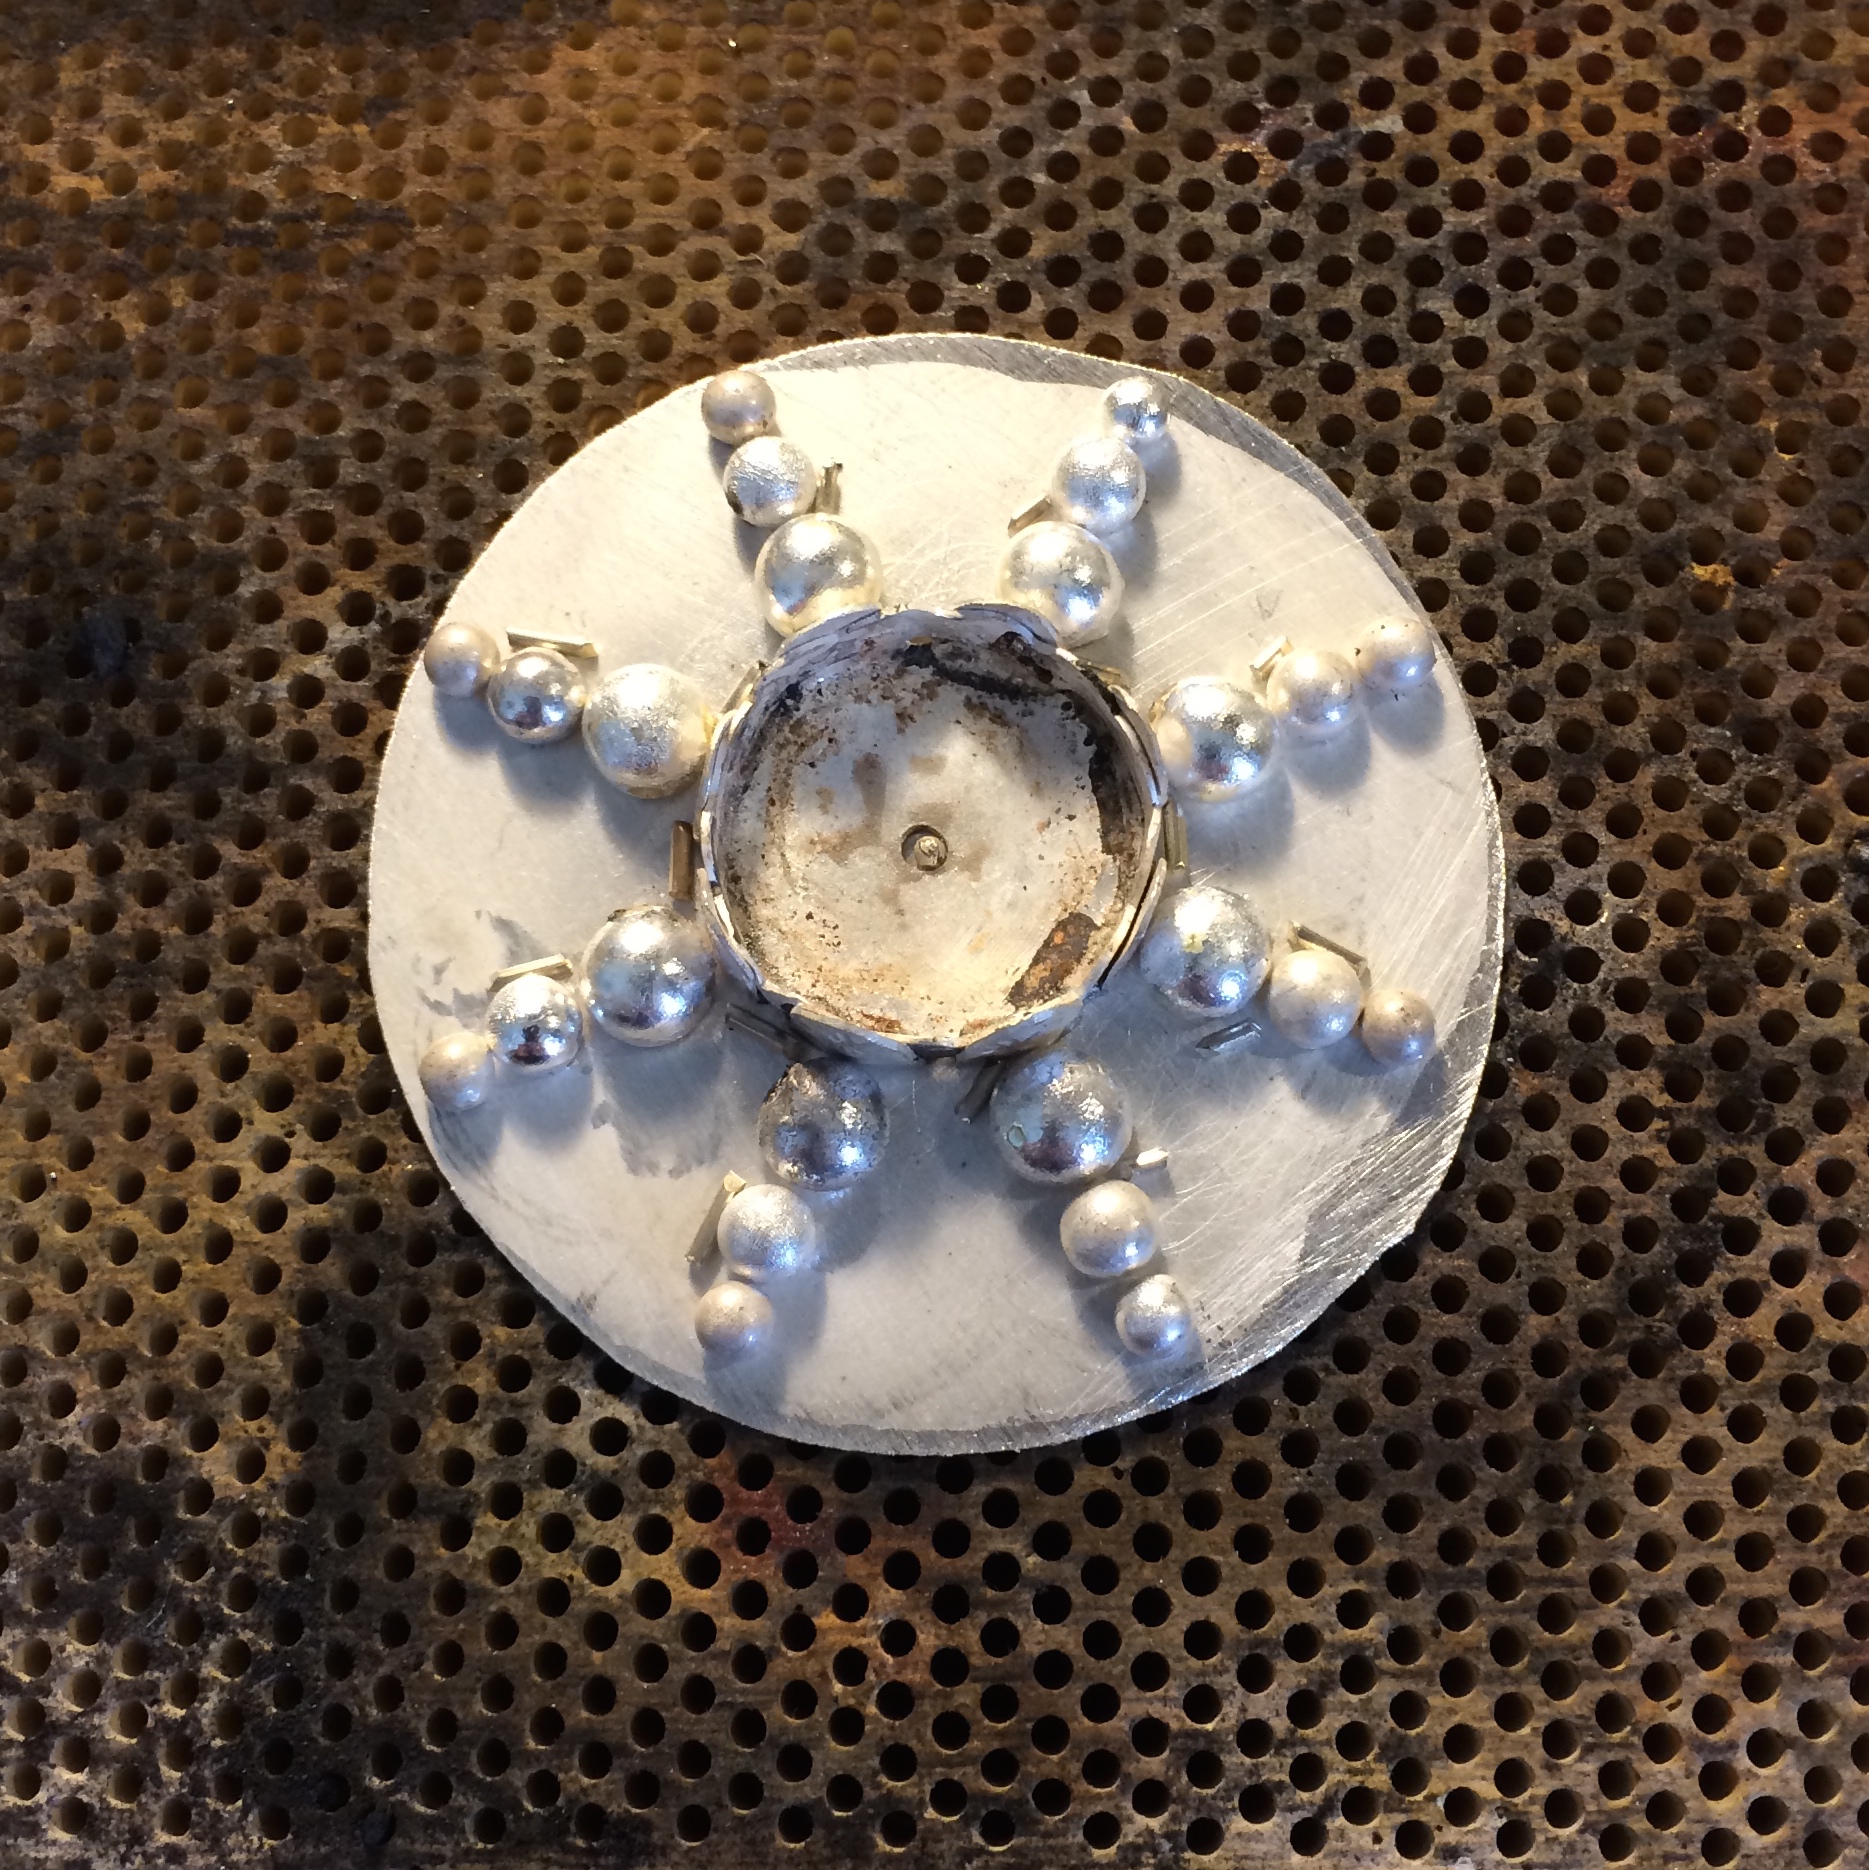
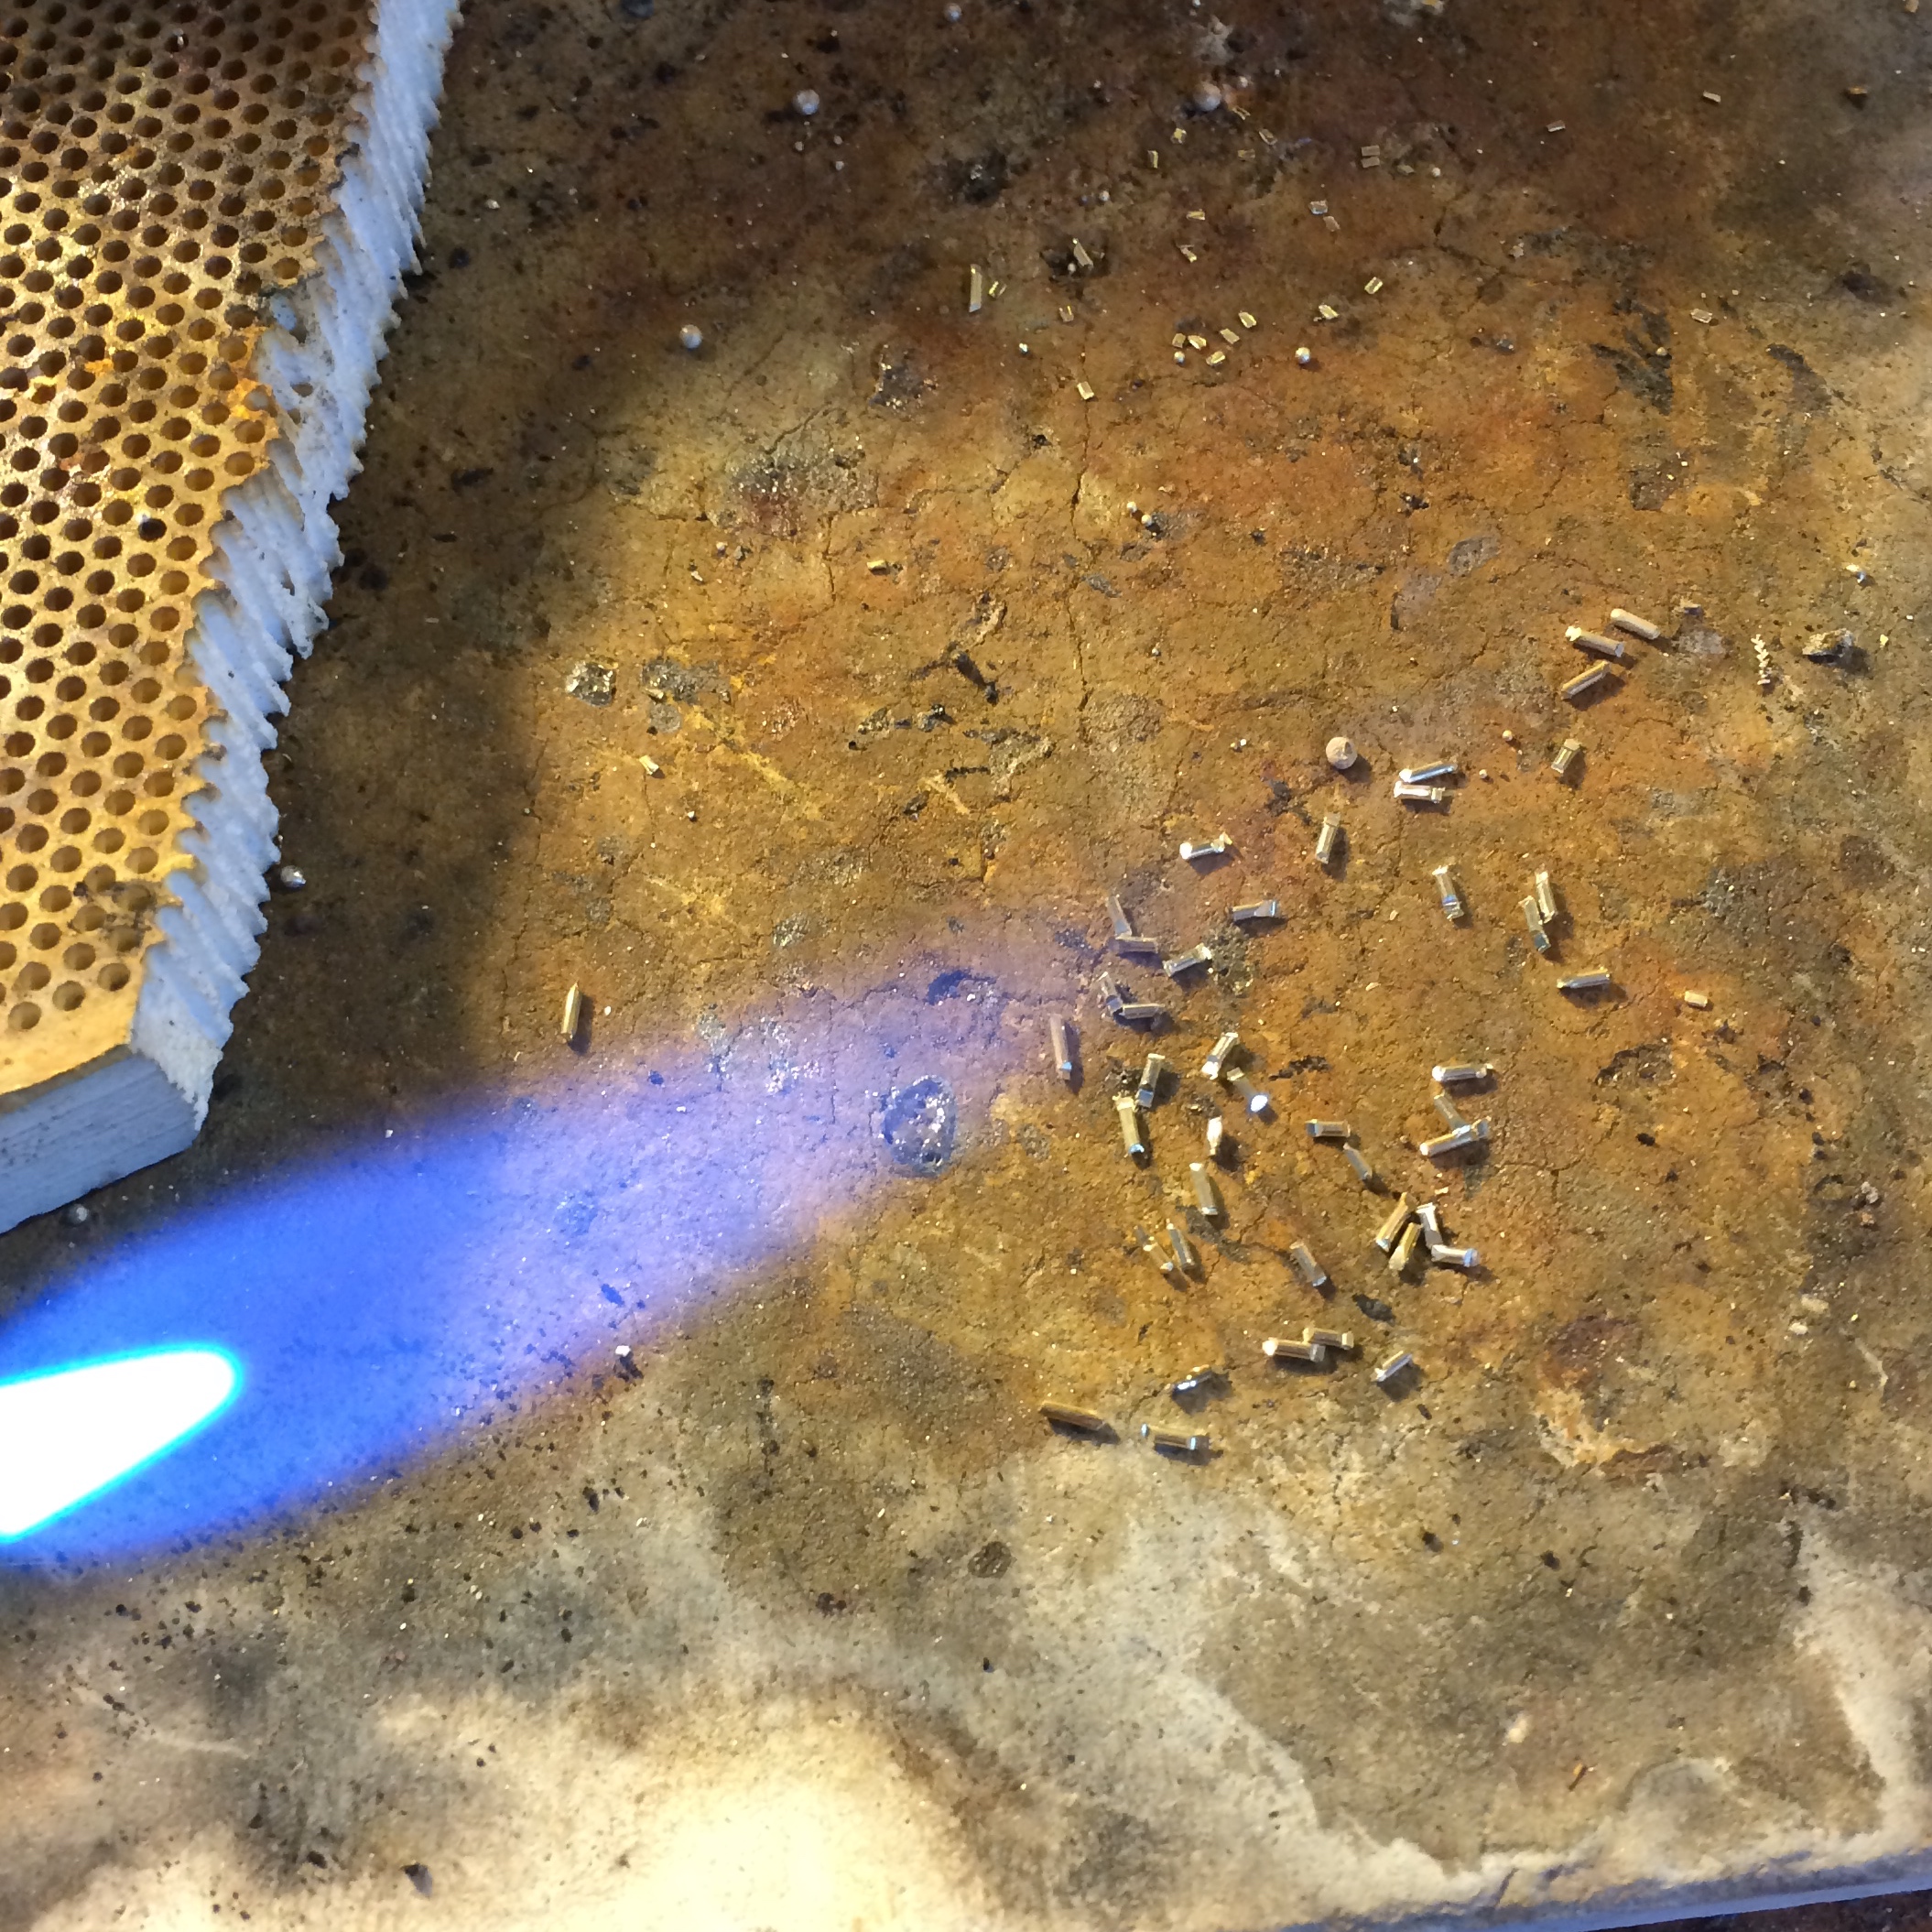
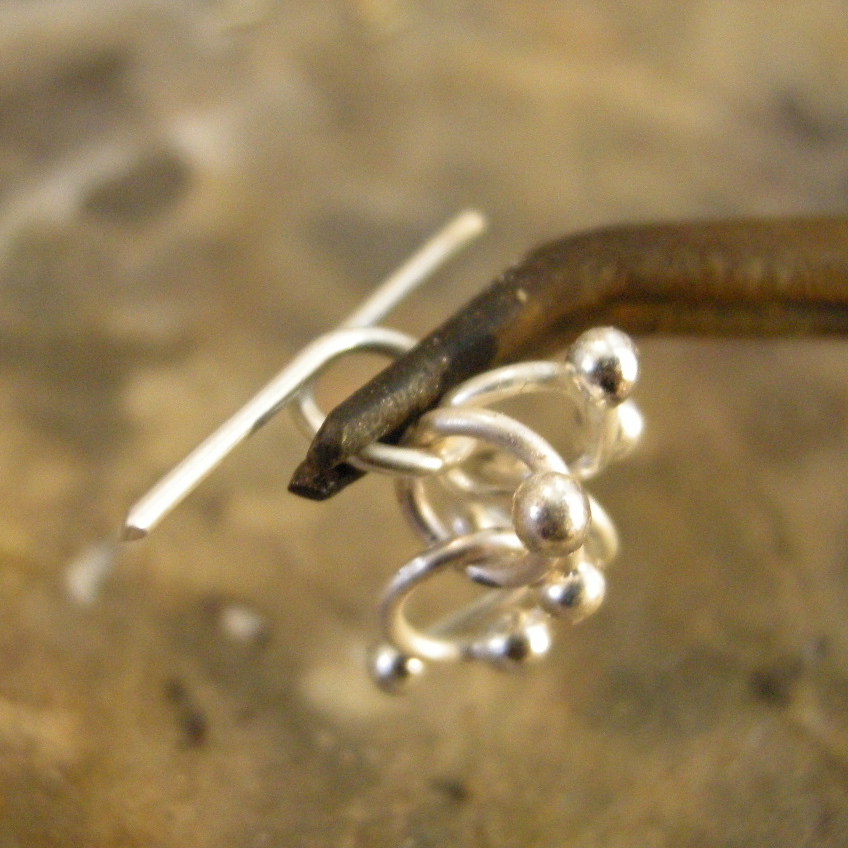
A quickie on making silver balls. Skip if you already make them.
–
Video 5
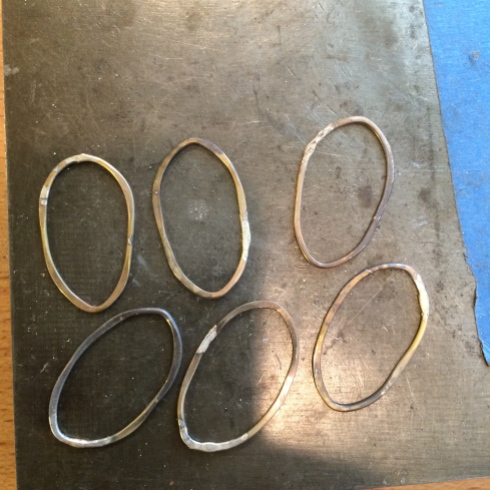
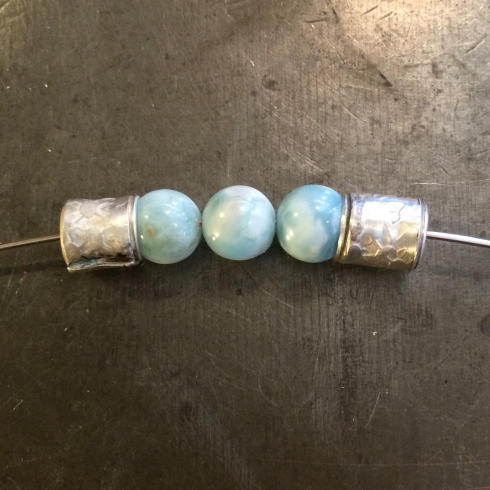
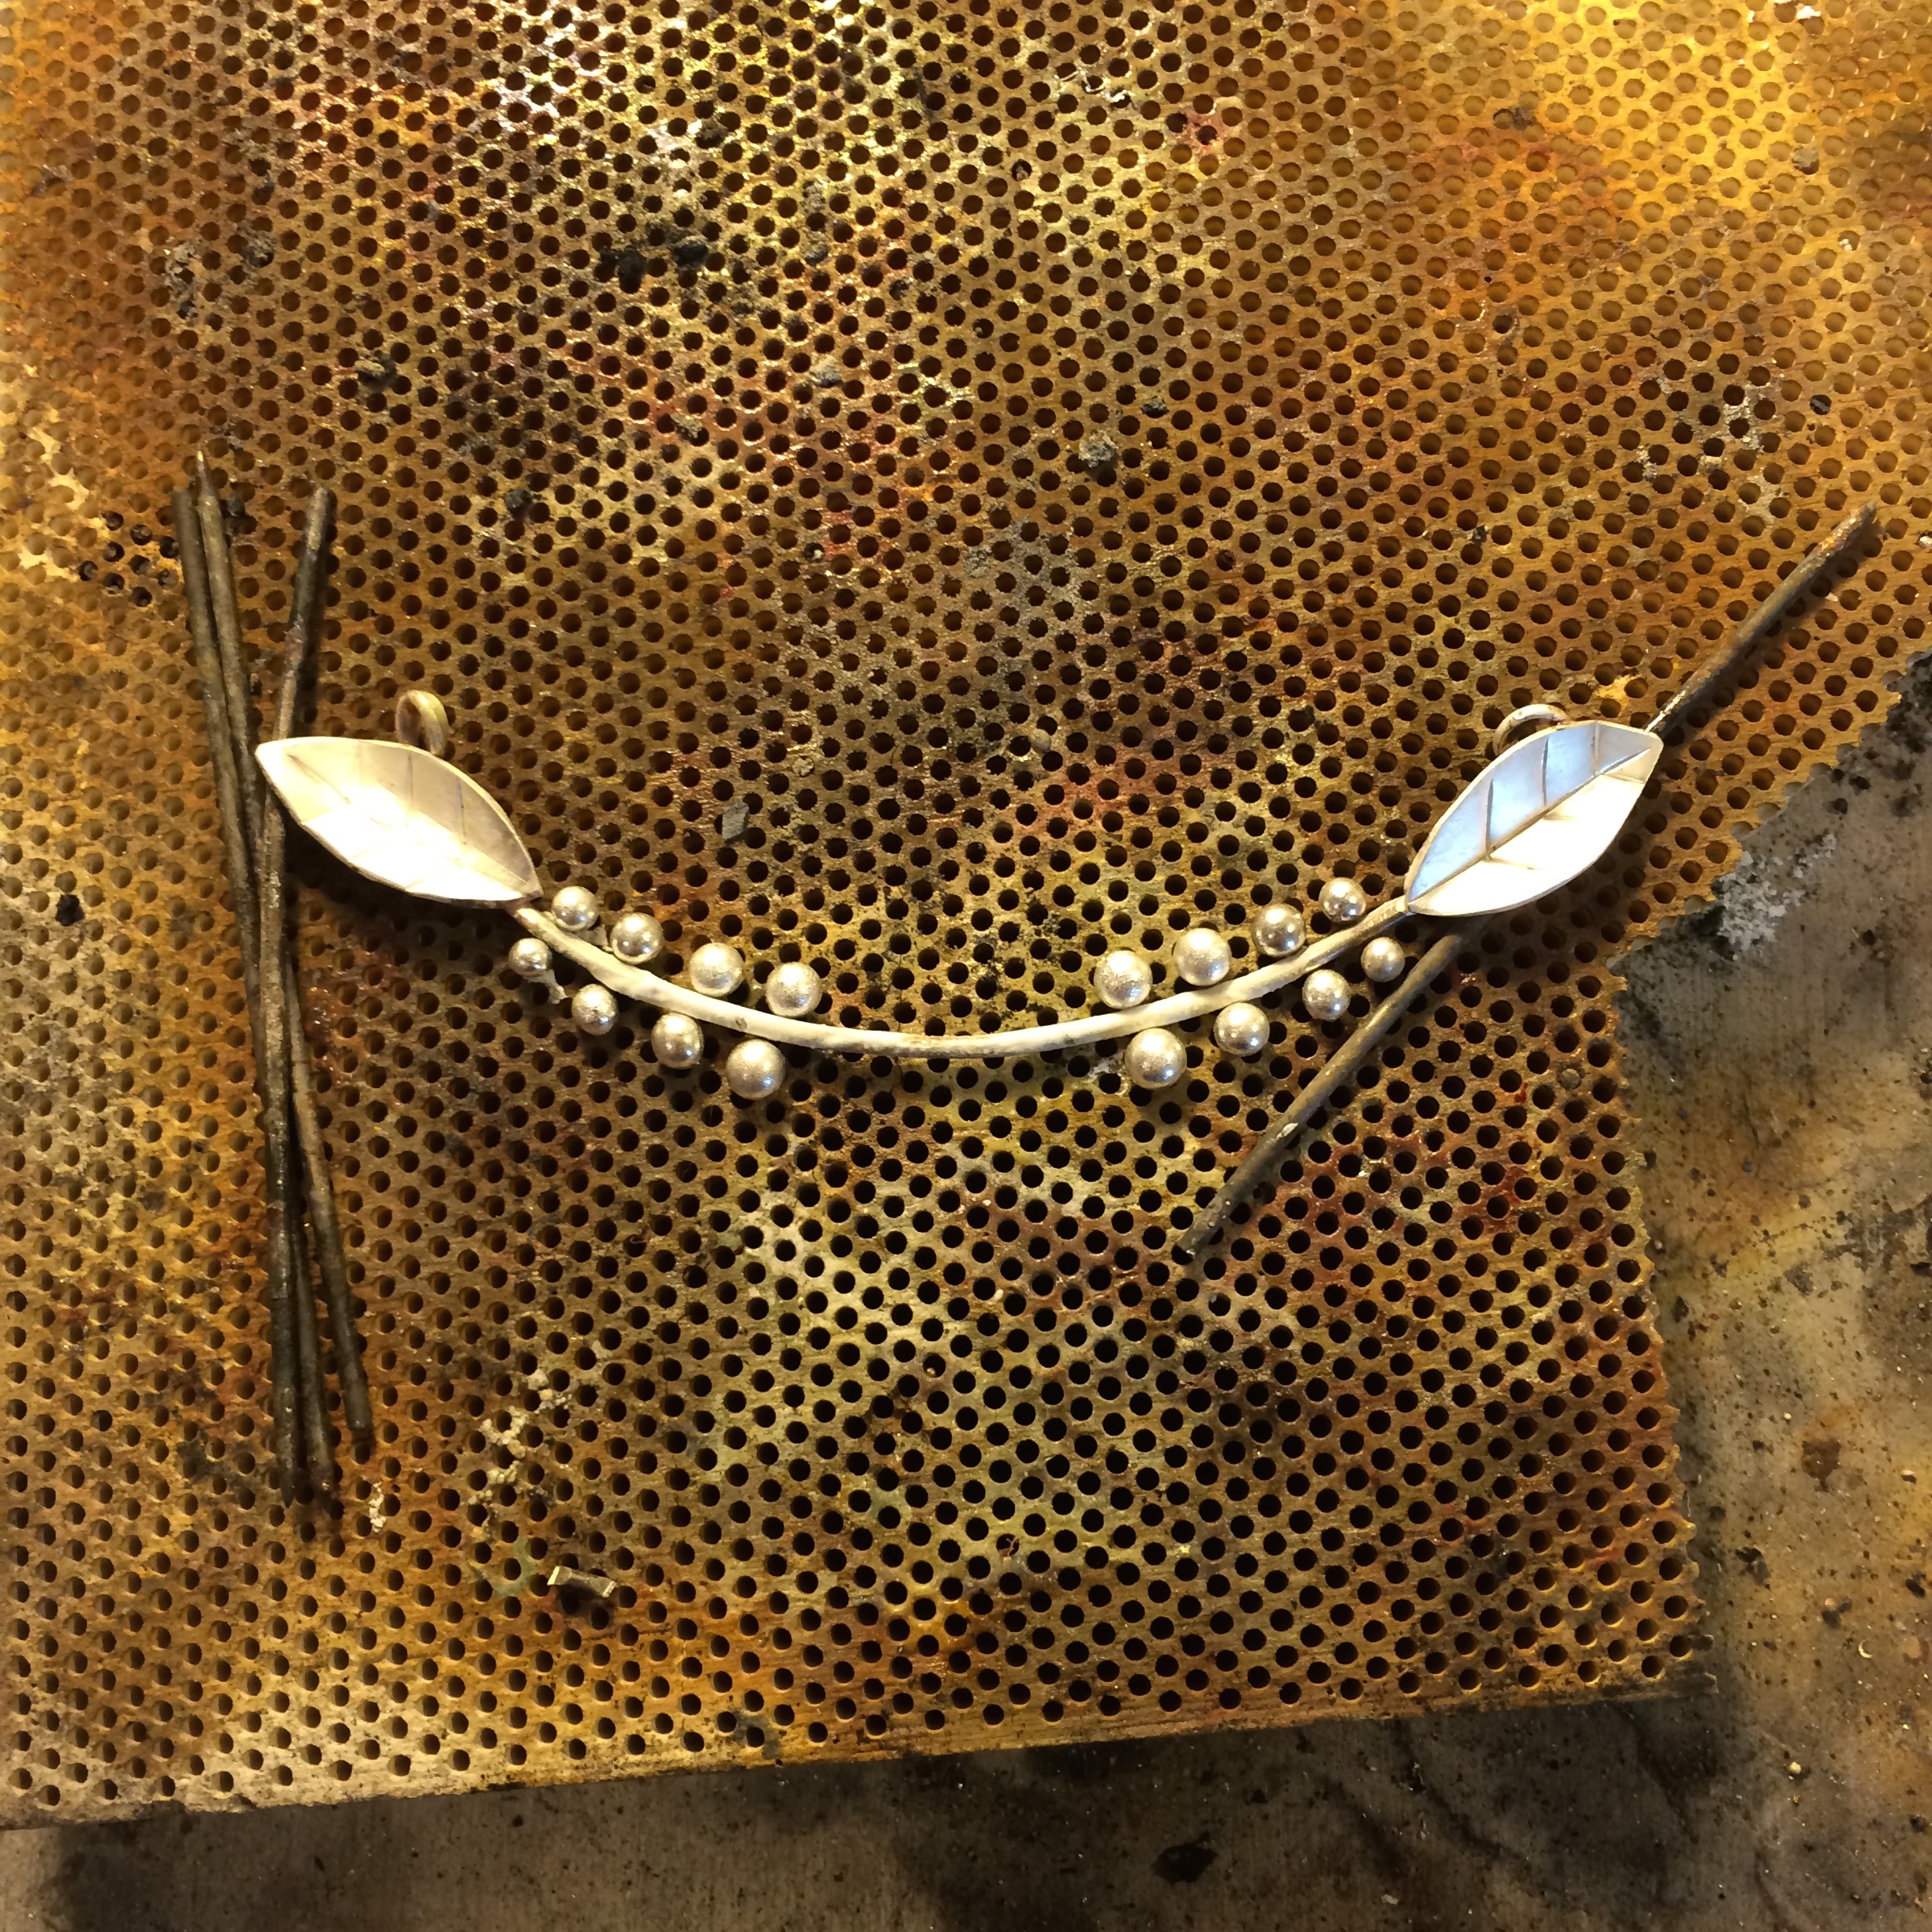
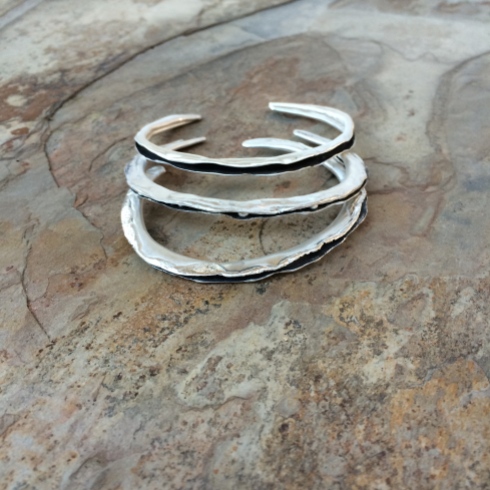
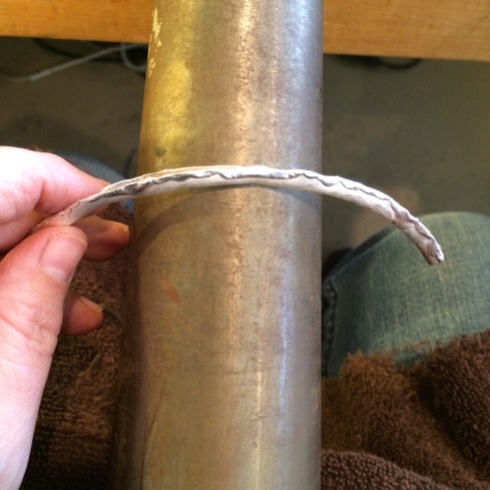
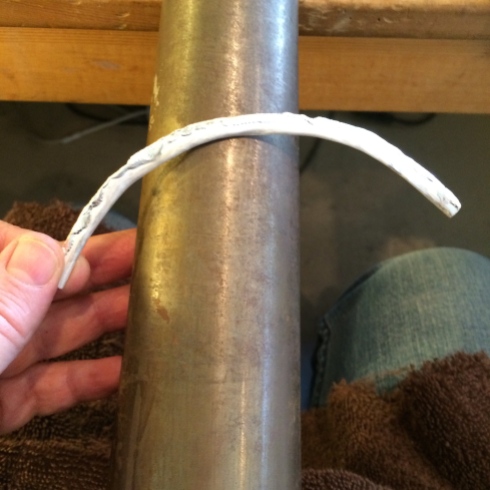
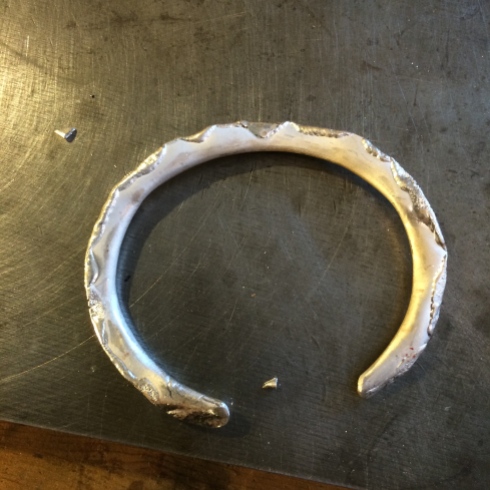
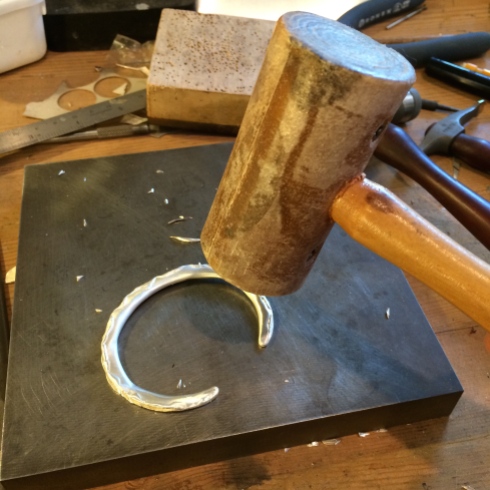
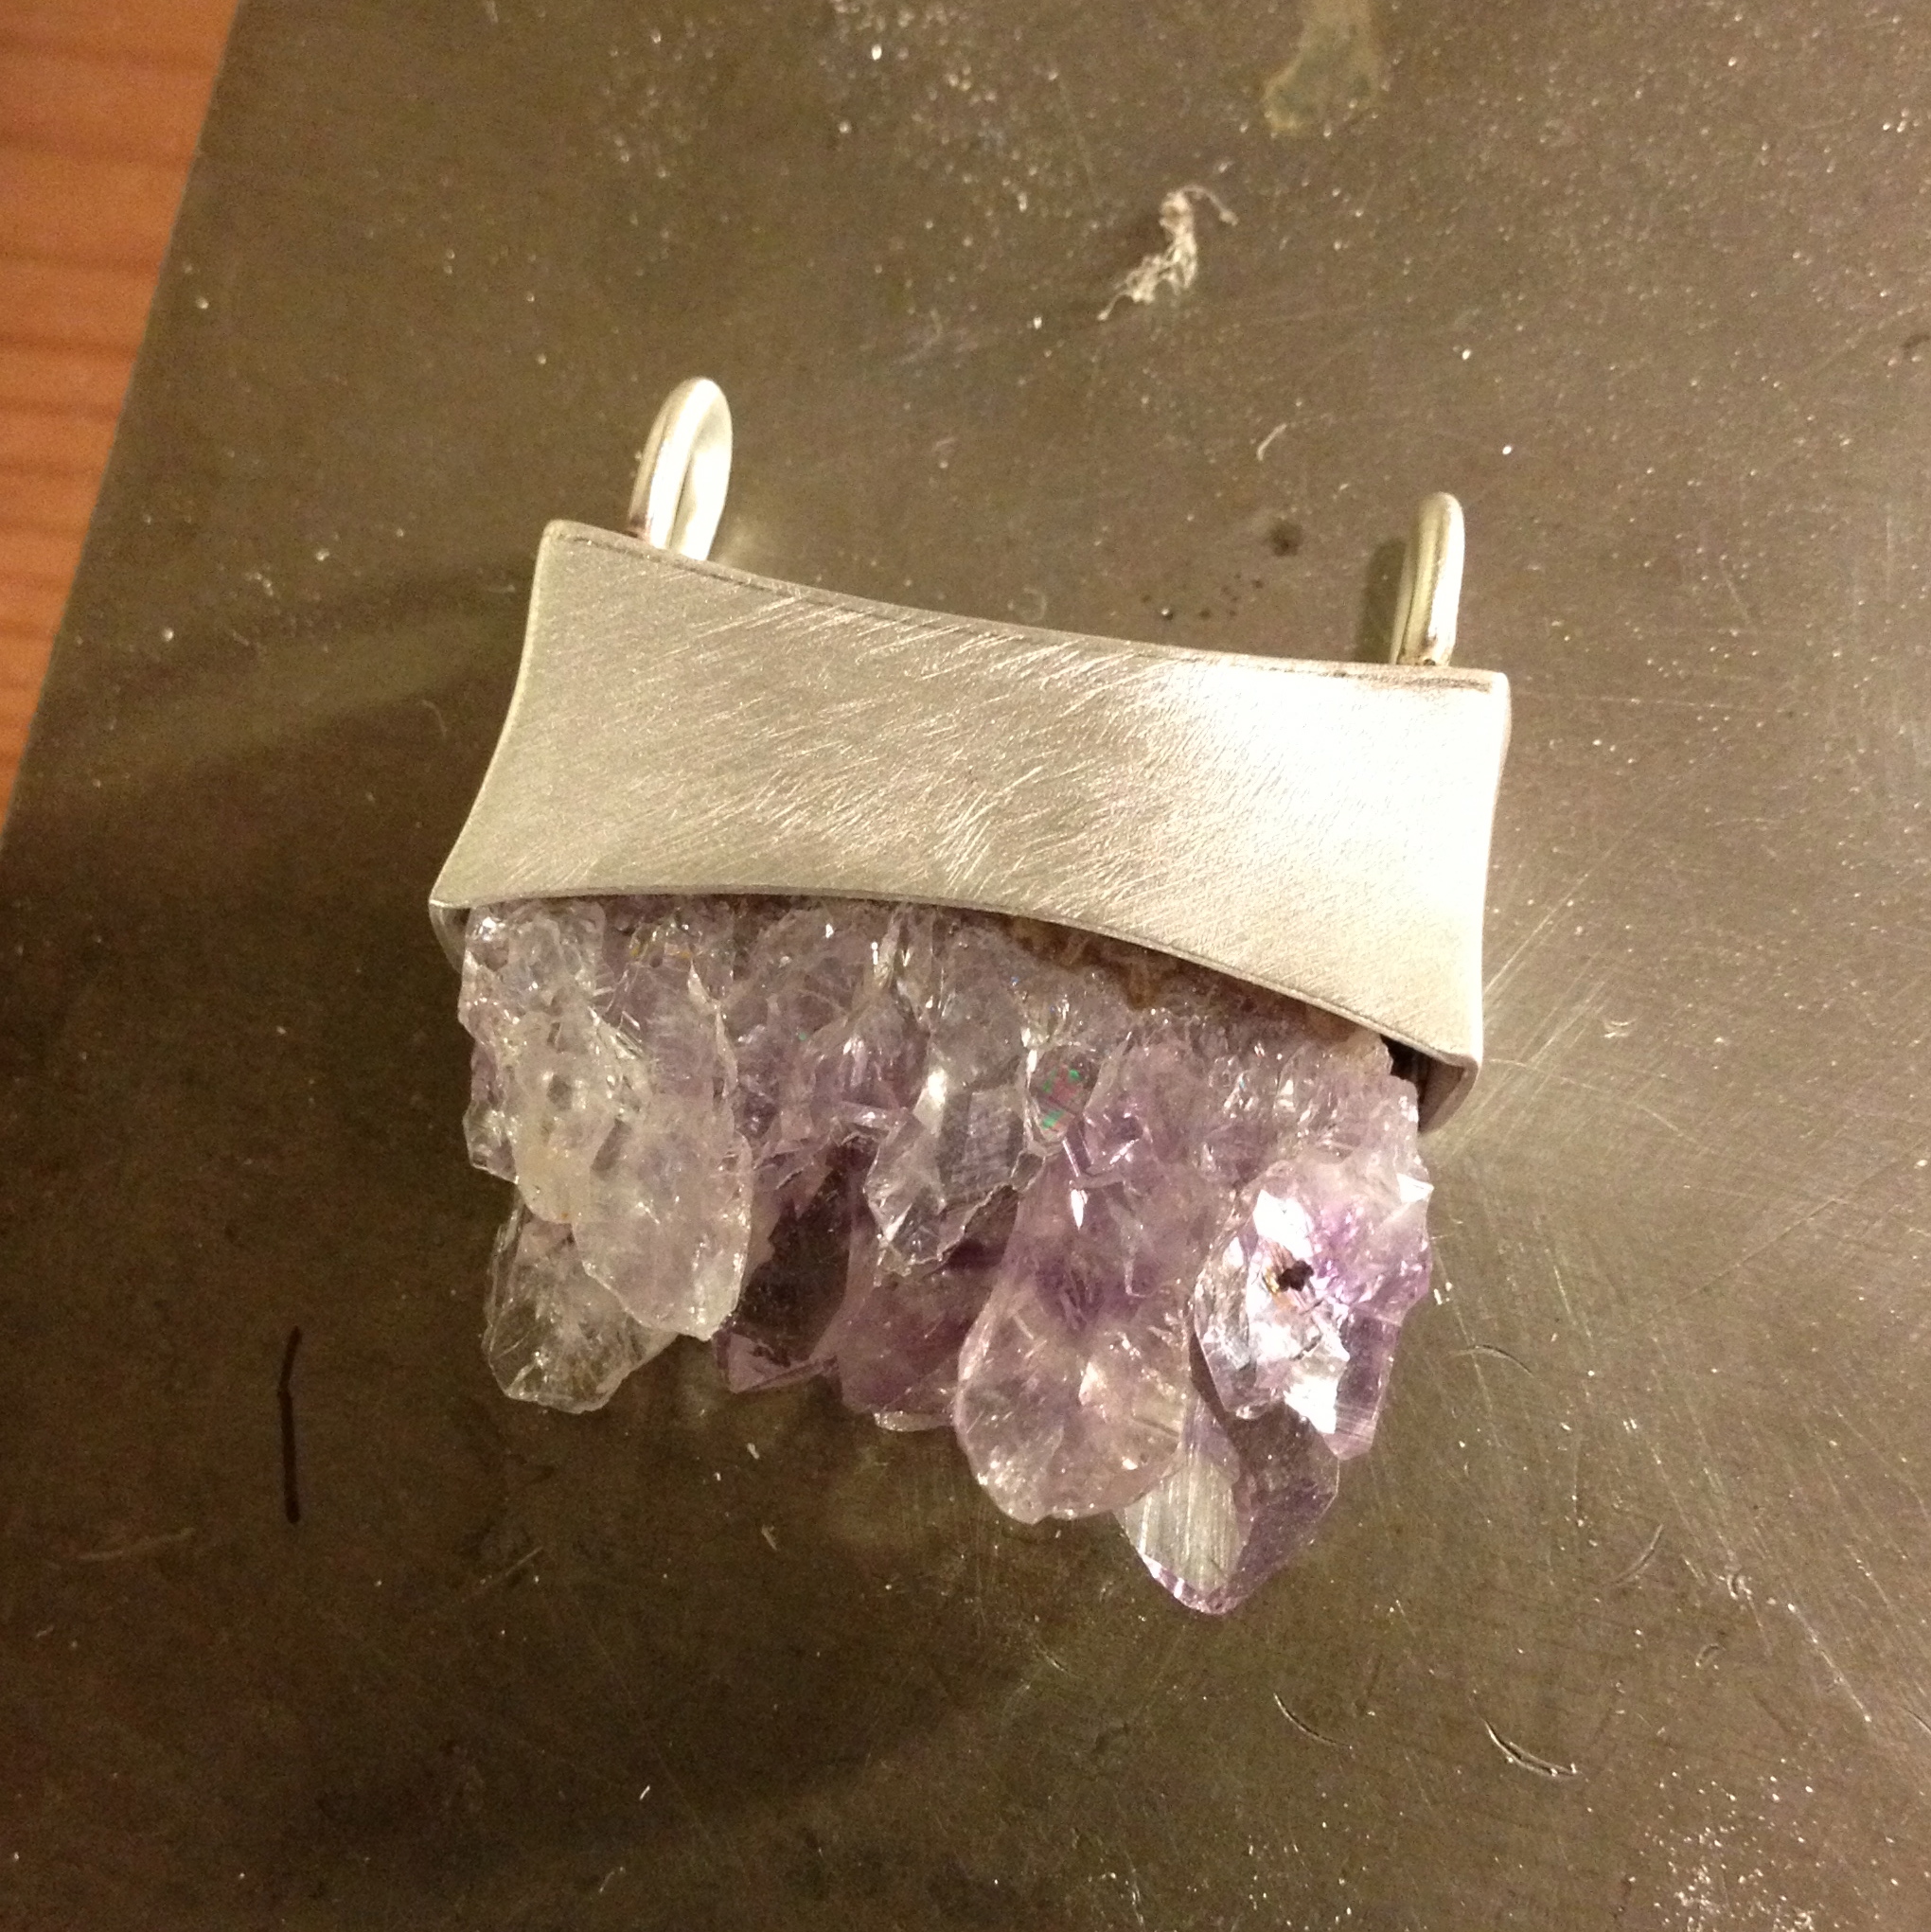
In this one I’m figuring out the best way to make the necklace the new way and also deciding if I want to make it into a bracelet/cuff instead.
–
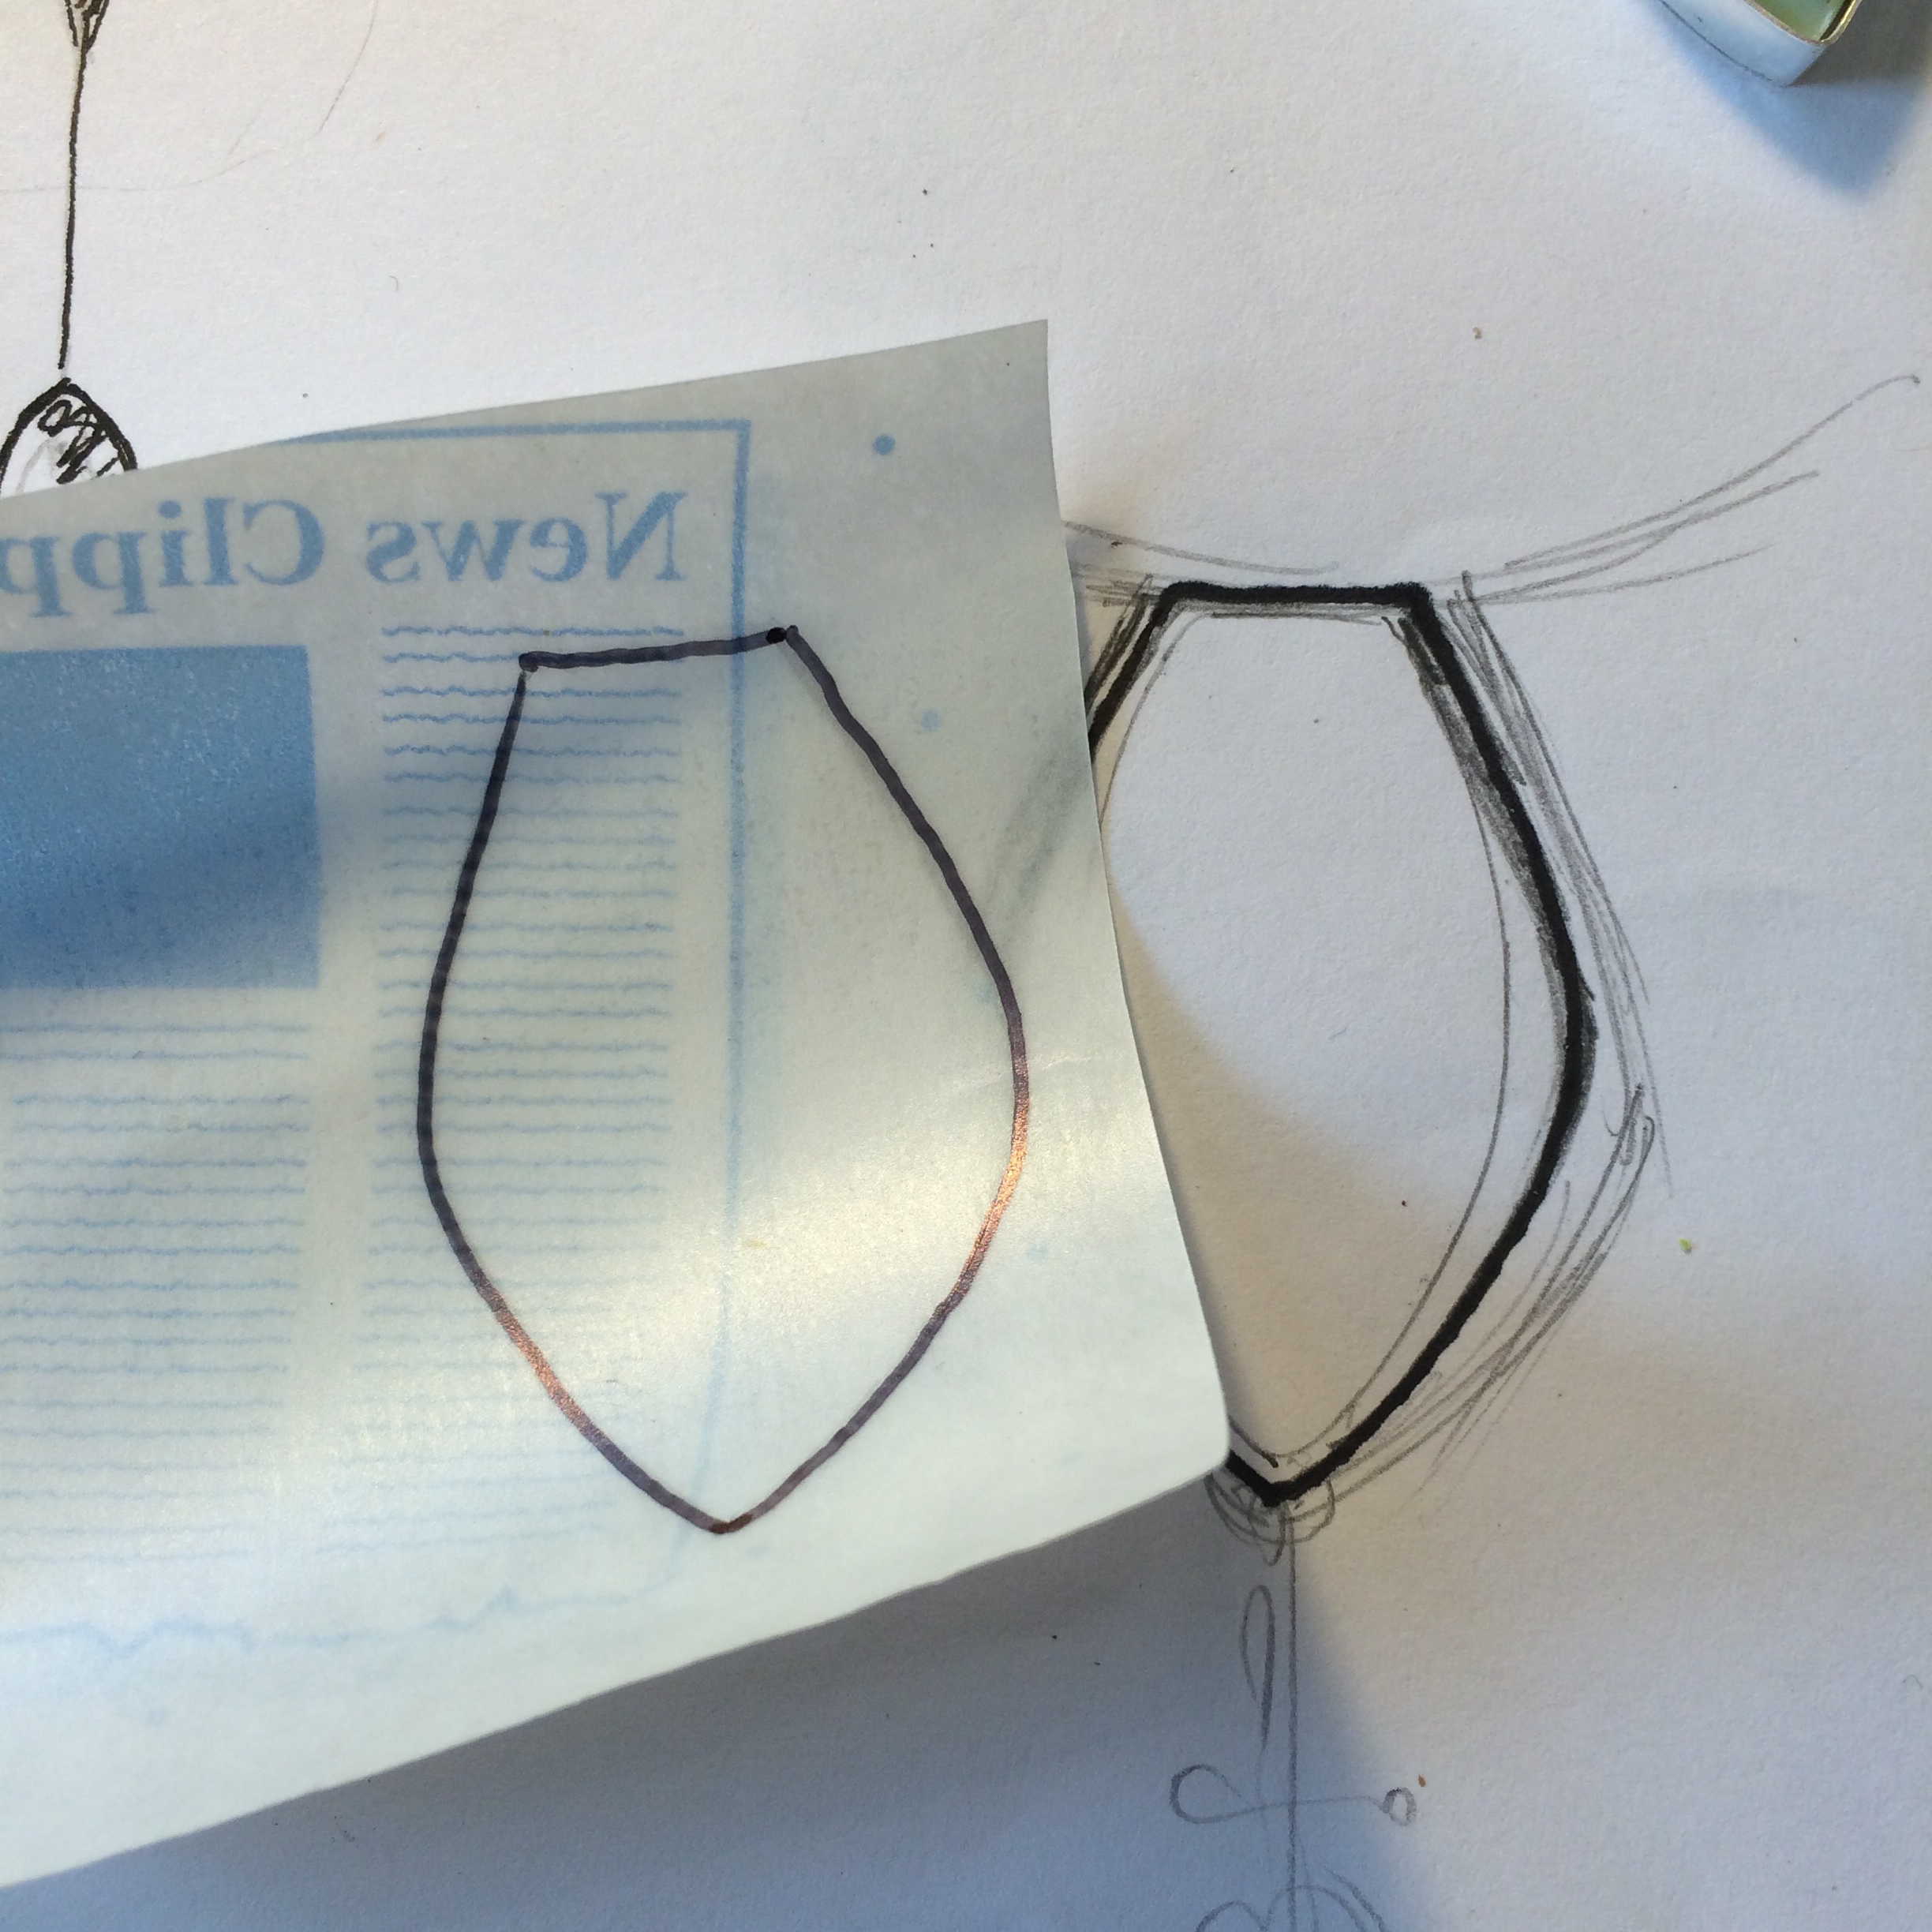
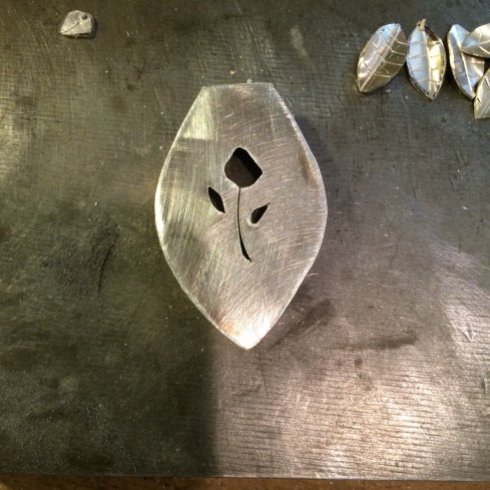
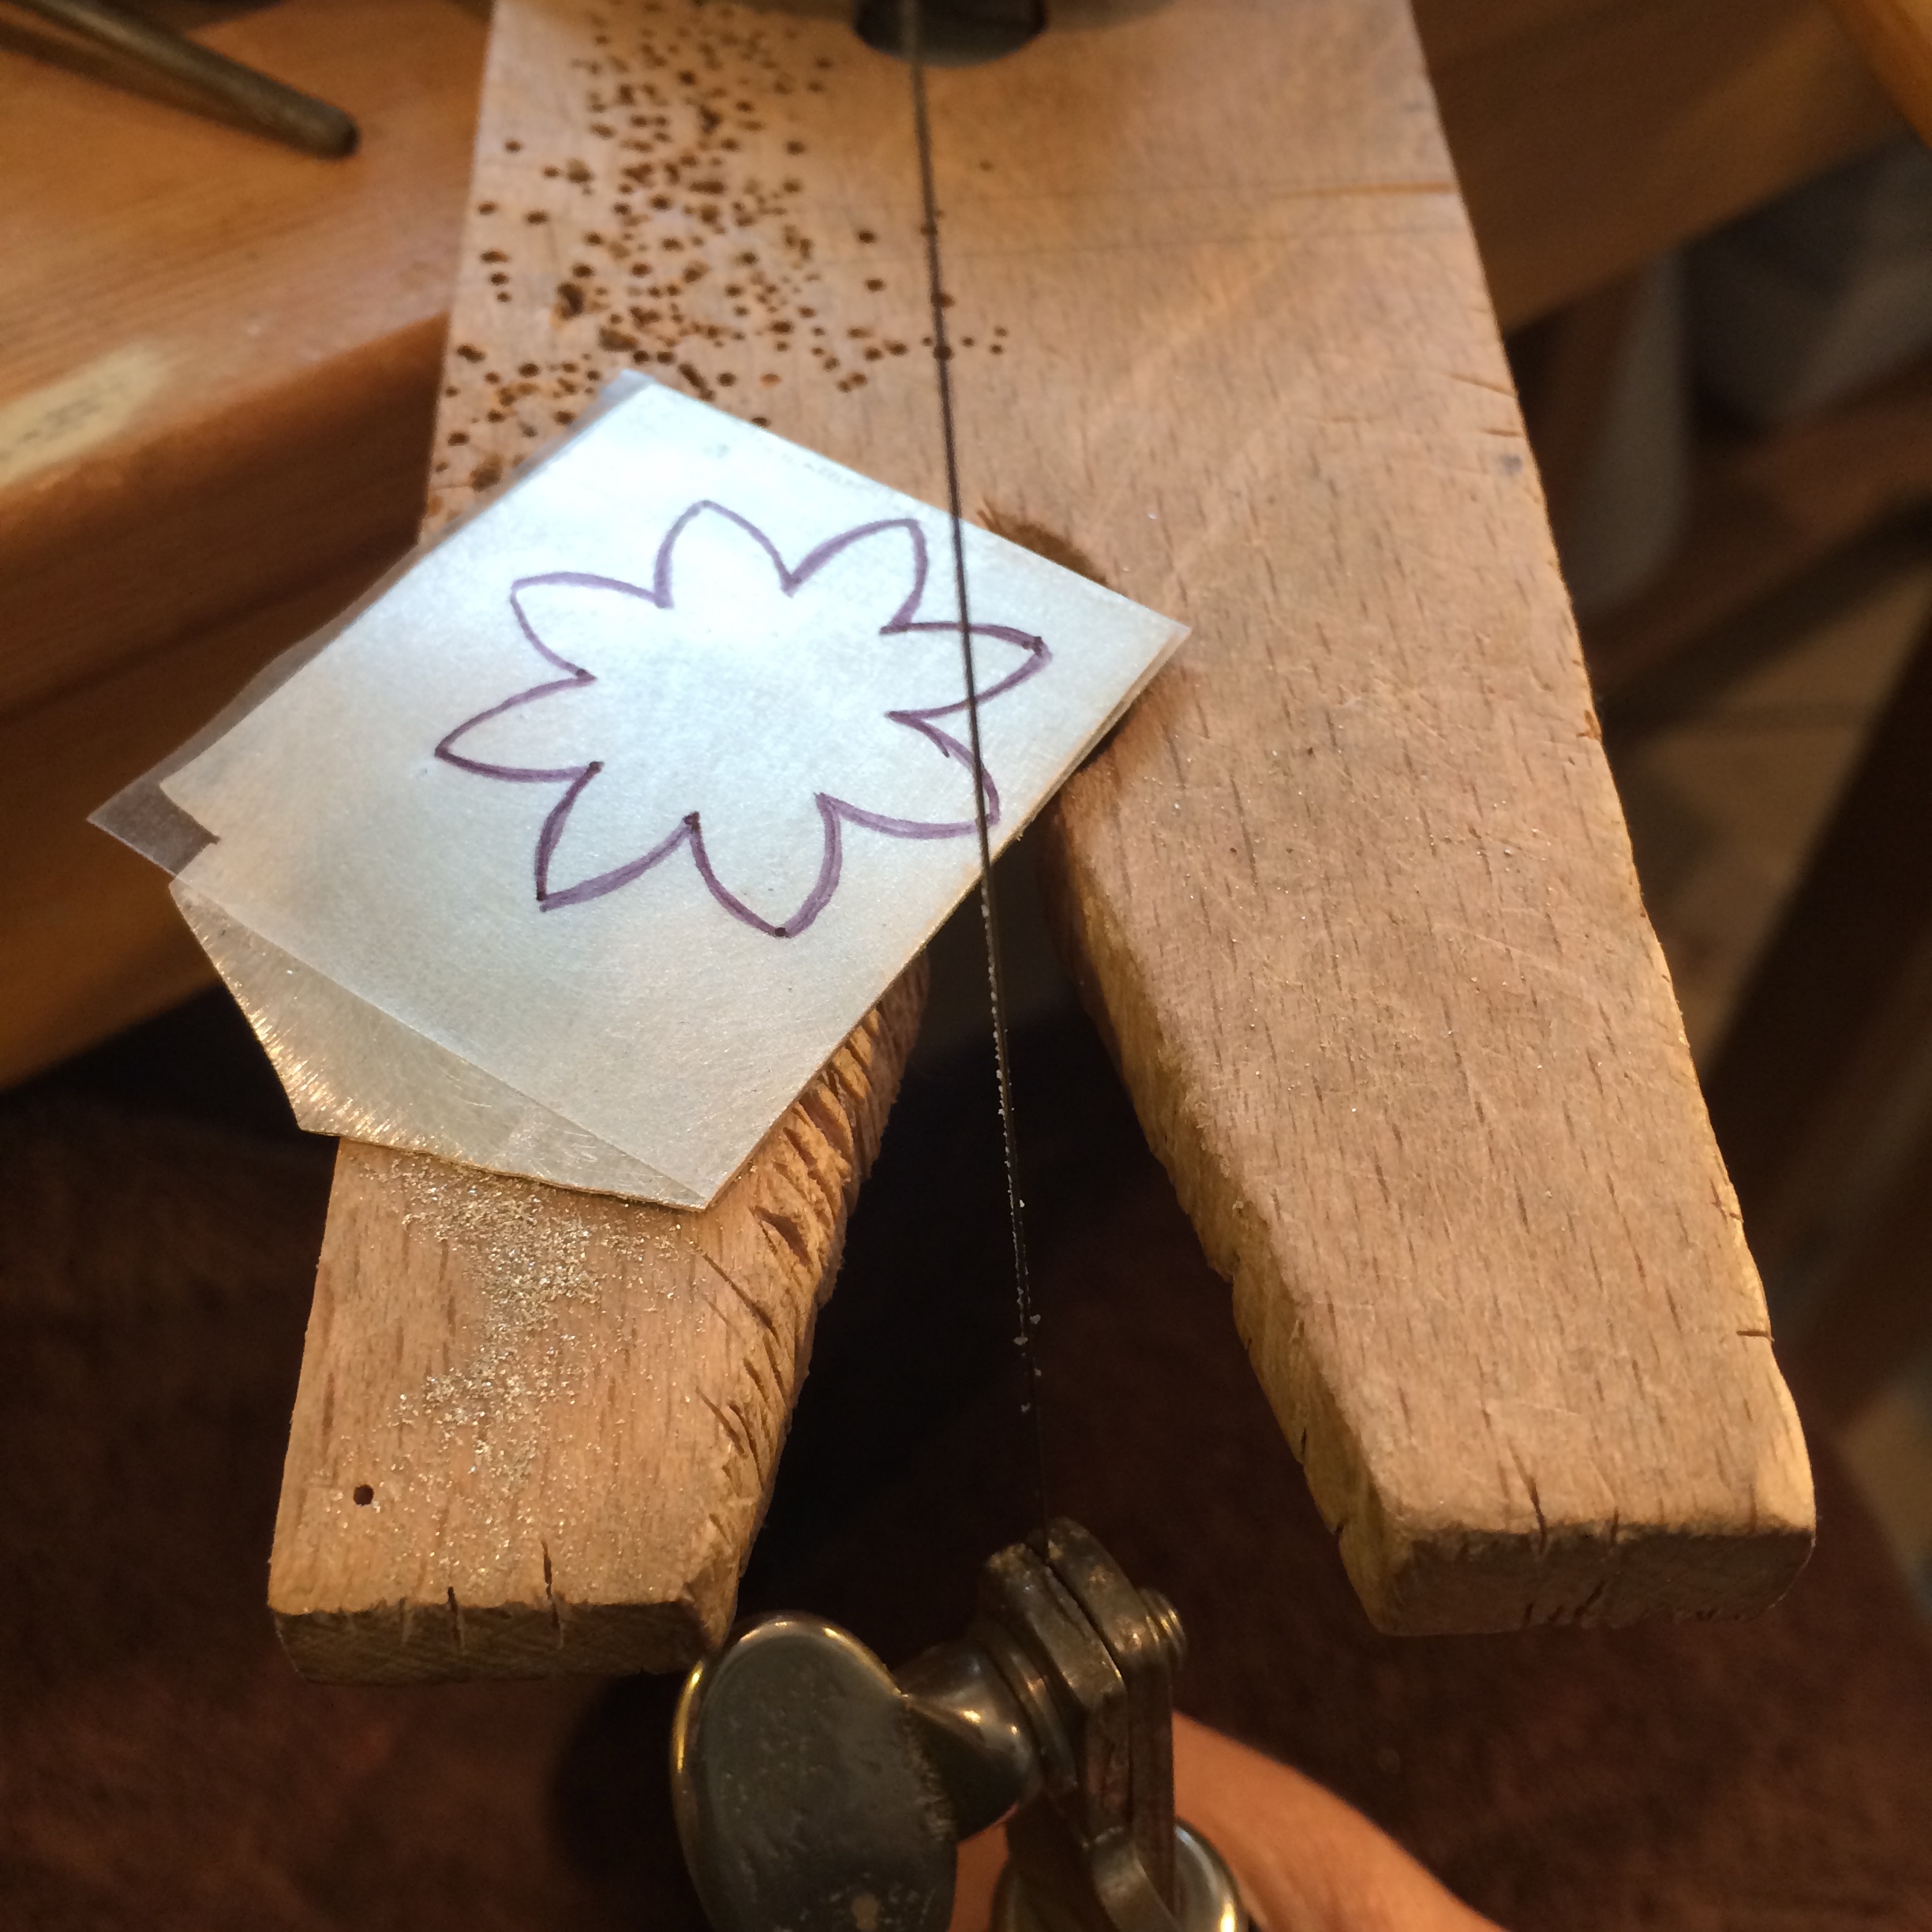
Video 6
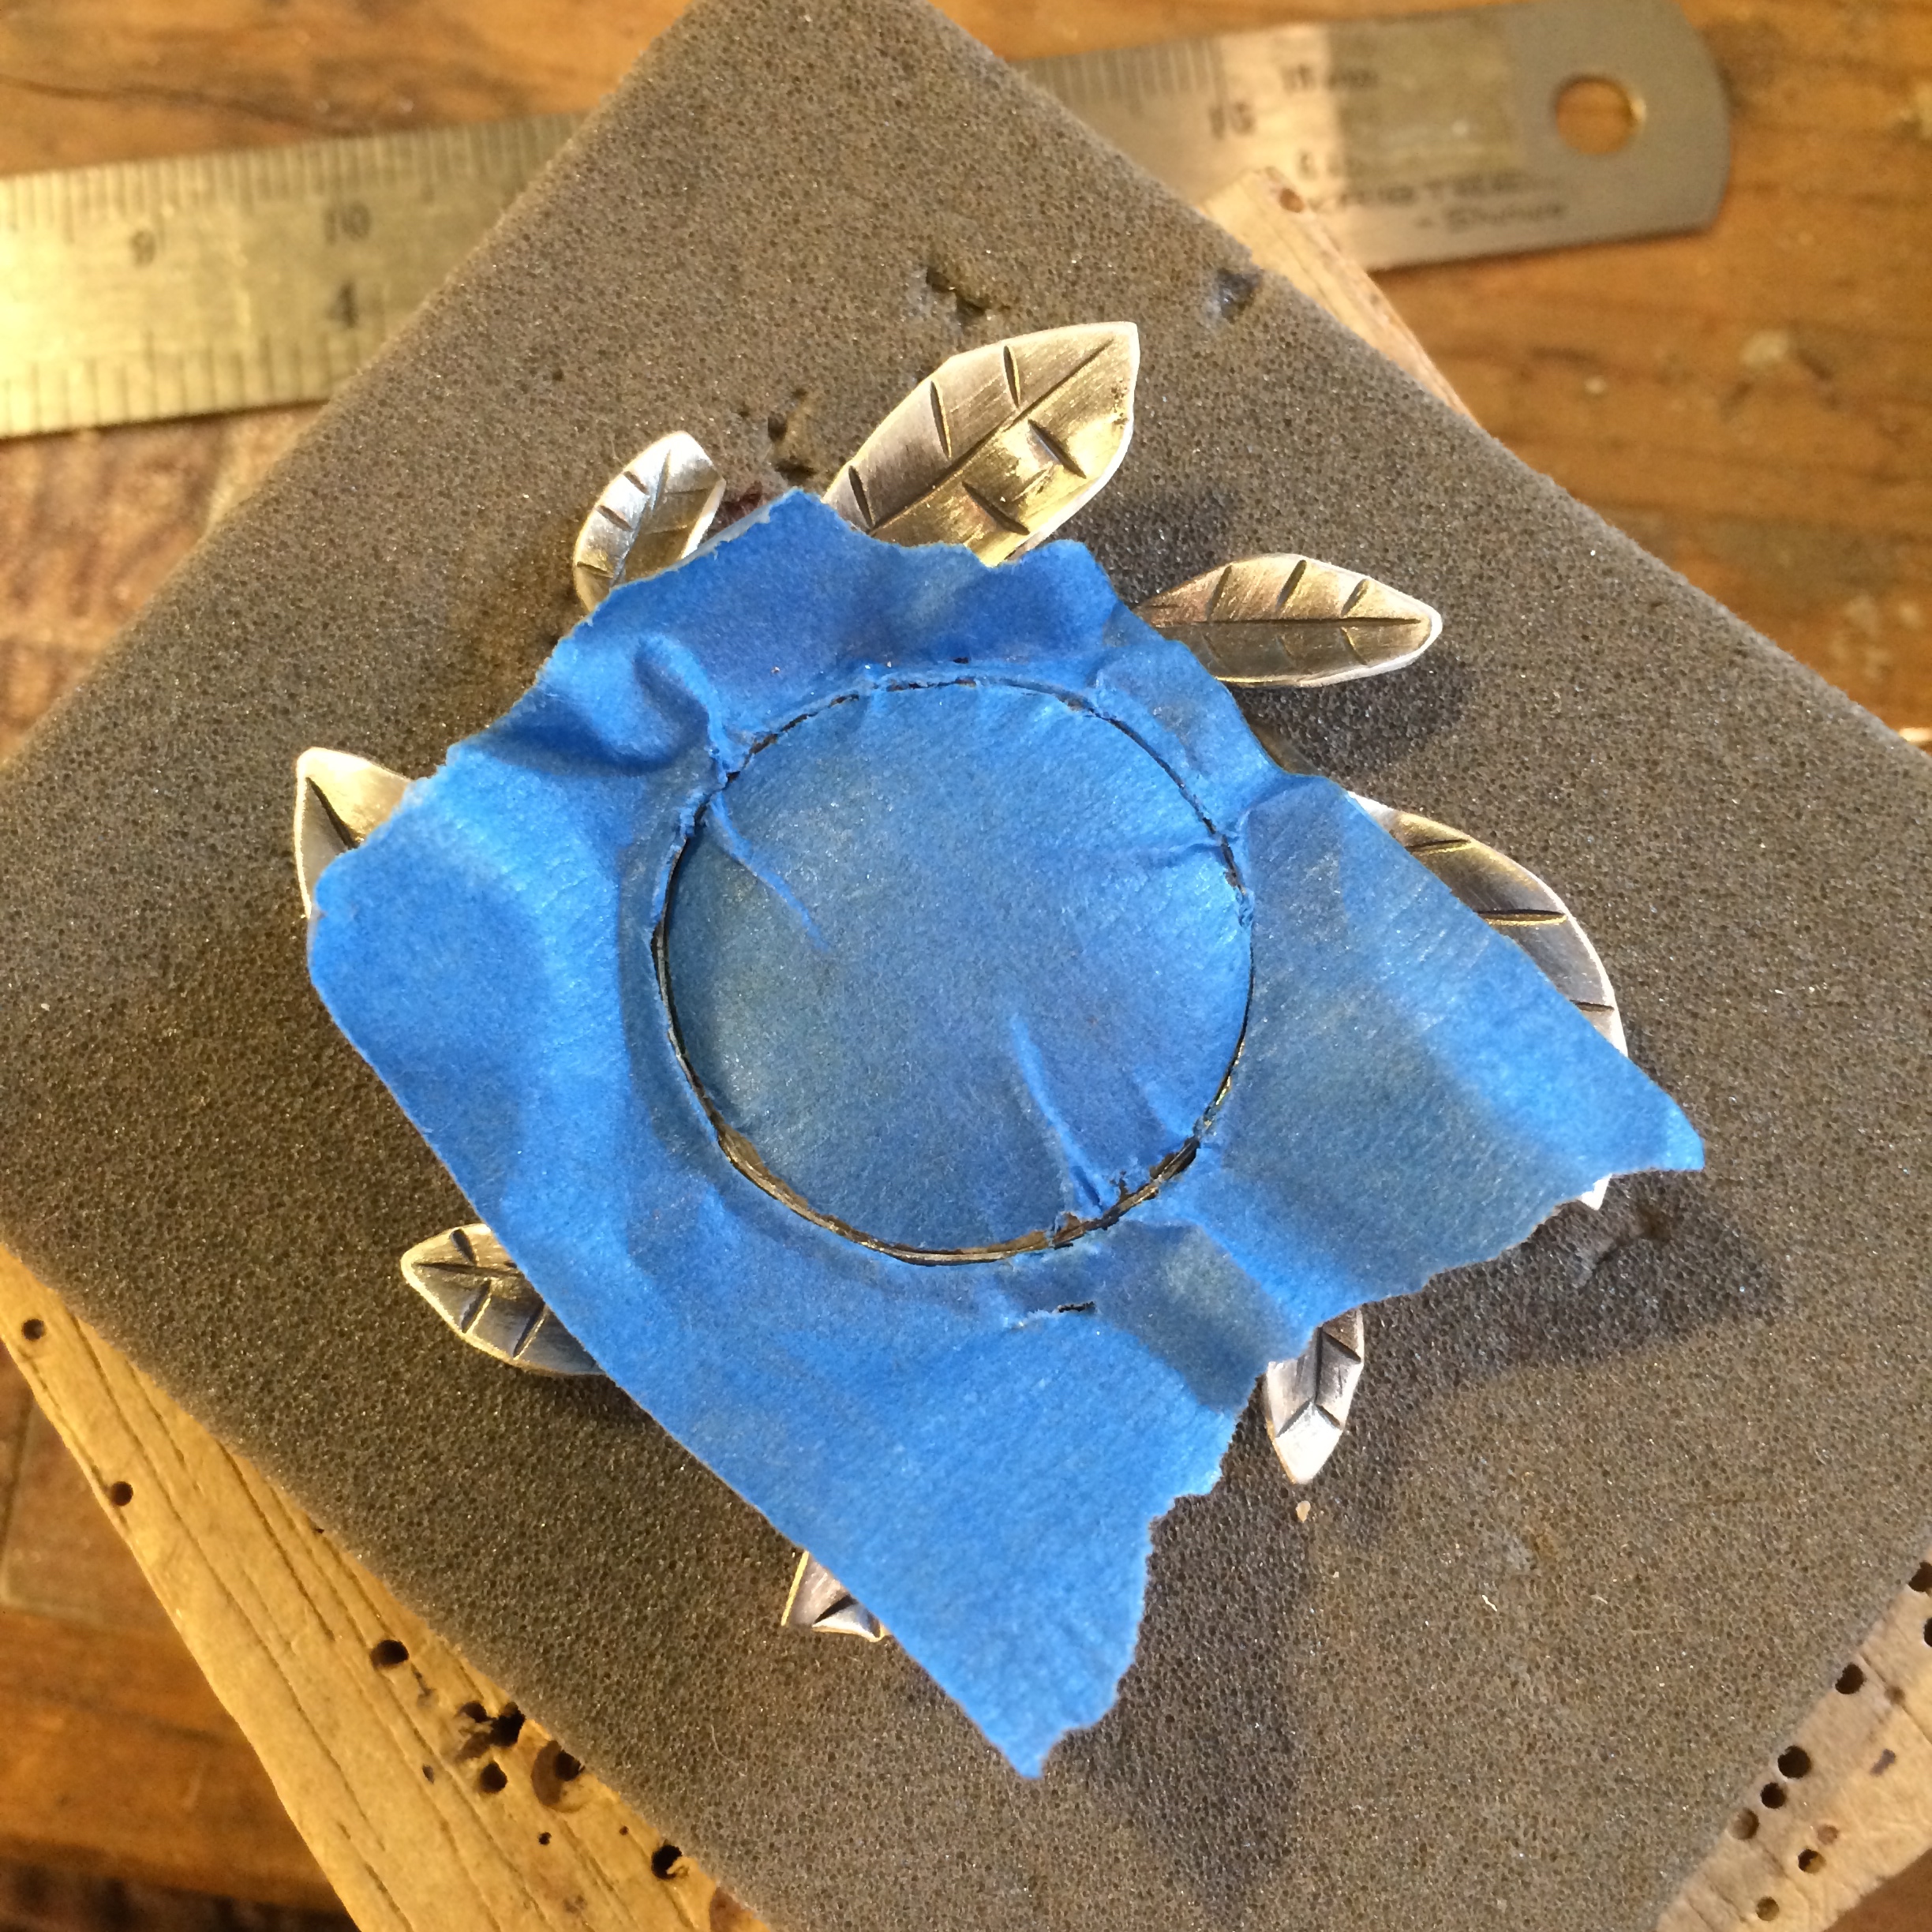
The contact paper bit.
NOTE: For sawing out fine detail on a piece of silver sticking an image onto it using rubber cement is probably a better choice. I’m not sure if you can print a design directly onto the contact paper because I haven’t tried. I know some people use sticky back labels to get the same effect.
Contact Paper – HERE
–
Video 7
More babbling as I figure out the design.
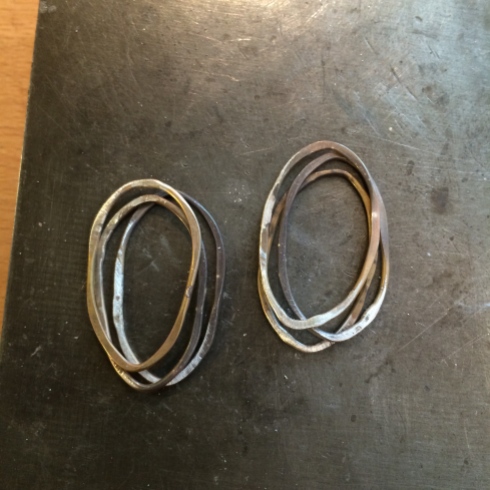
NOTE: As each piece is individual and so not exactly the same shape as each other remember to keep the pieces in their specific order as you go along. I kept forgetting to do this.
–
Video 8
Continued belabouring of the design
NOTE: When I make pieces that have a few different layers I pay attention to what I imagine the end weight will be. Sometimes the stone is heavy also. Had I used a slightly heavier stone here and just one layer of silver work I would perhaps have used the 20 gauge sheet, but because there were essentially three layers (including the leaves) and then the stone I used 23 gauge as it all adds up.
–
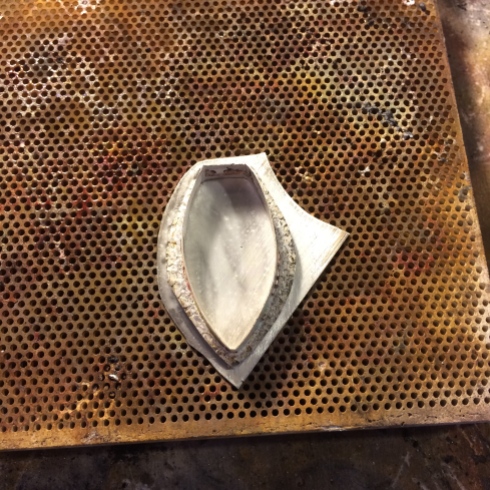
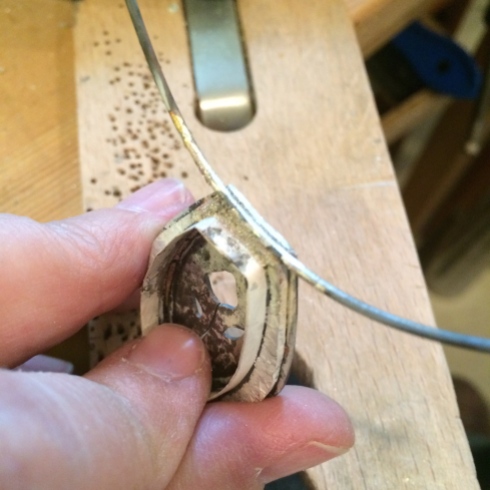
Video 9
Soldering the first two pieces together.
Contenti soldering chips – HERE
–
Video 10
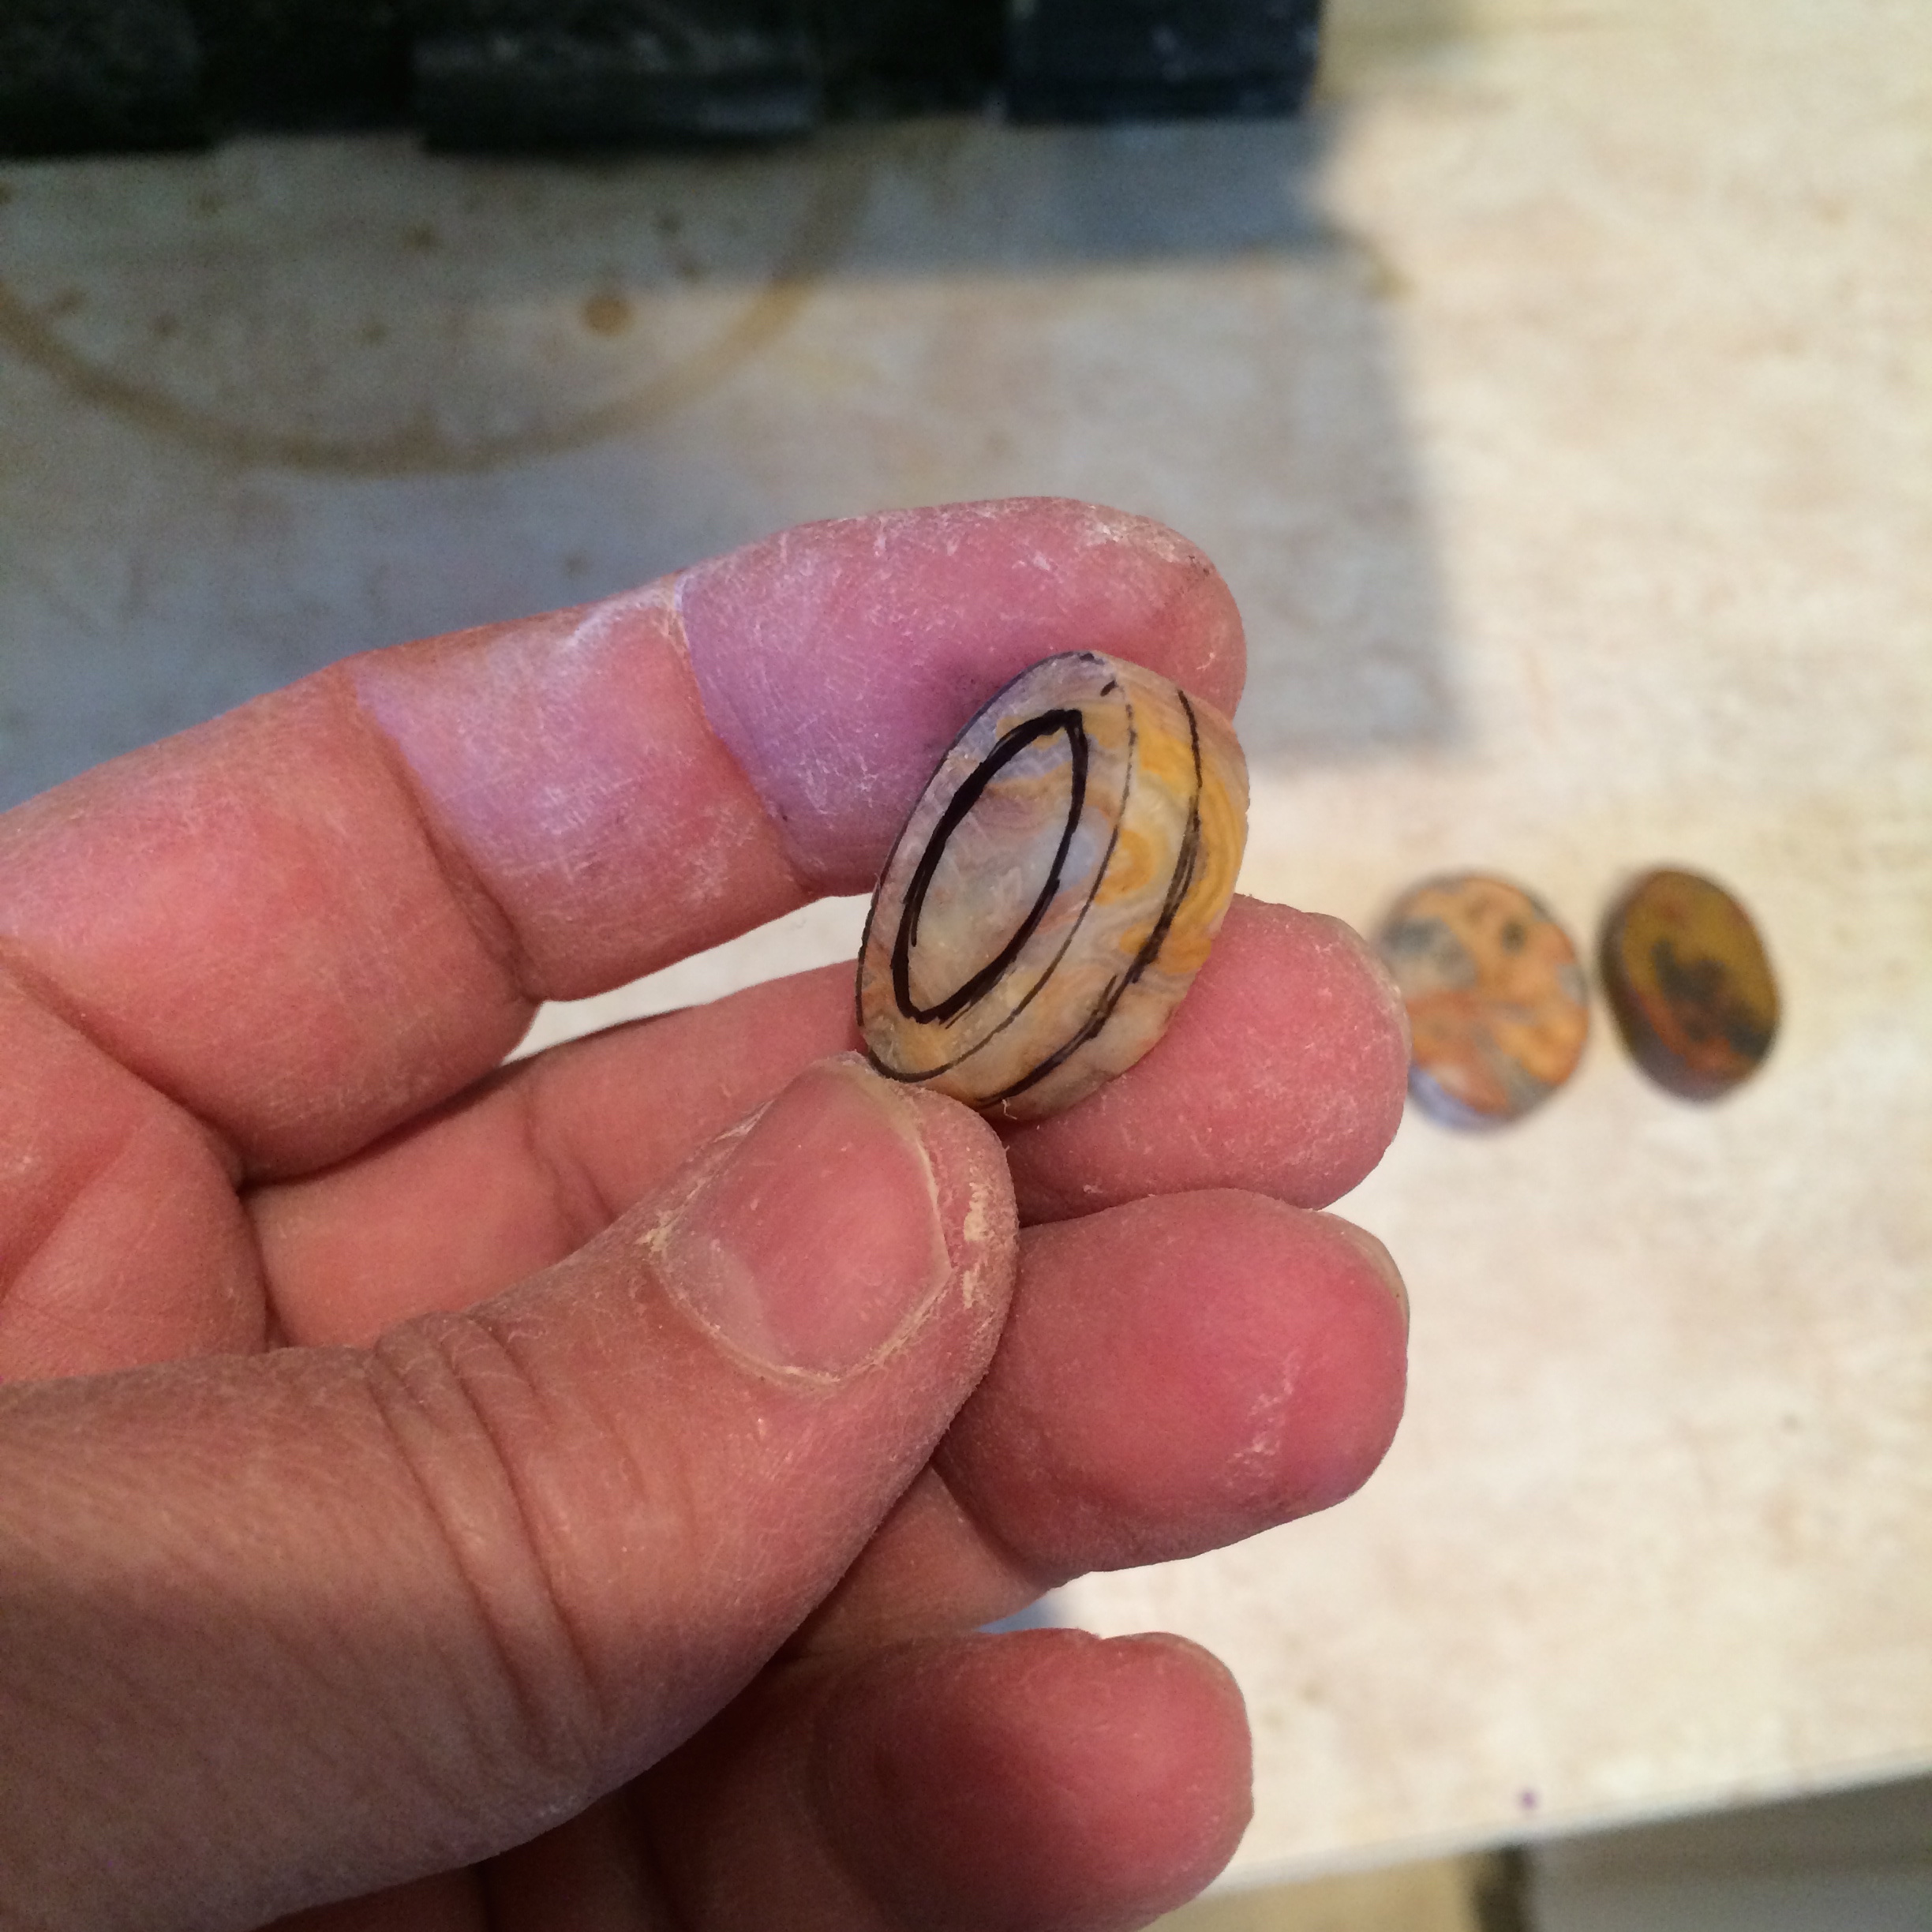
Finding my grown up words and moving on to the next stage.
NOTE: I usually run a Sharpie around the edge of the top layer of silver if I want to contour it. This gives me a good guide line for sawing. Pencil rubs off too easily and the thicker Sharpie has a good width for a starting point and I can sand more away later if I want it to be narrower.
–
Video 11
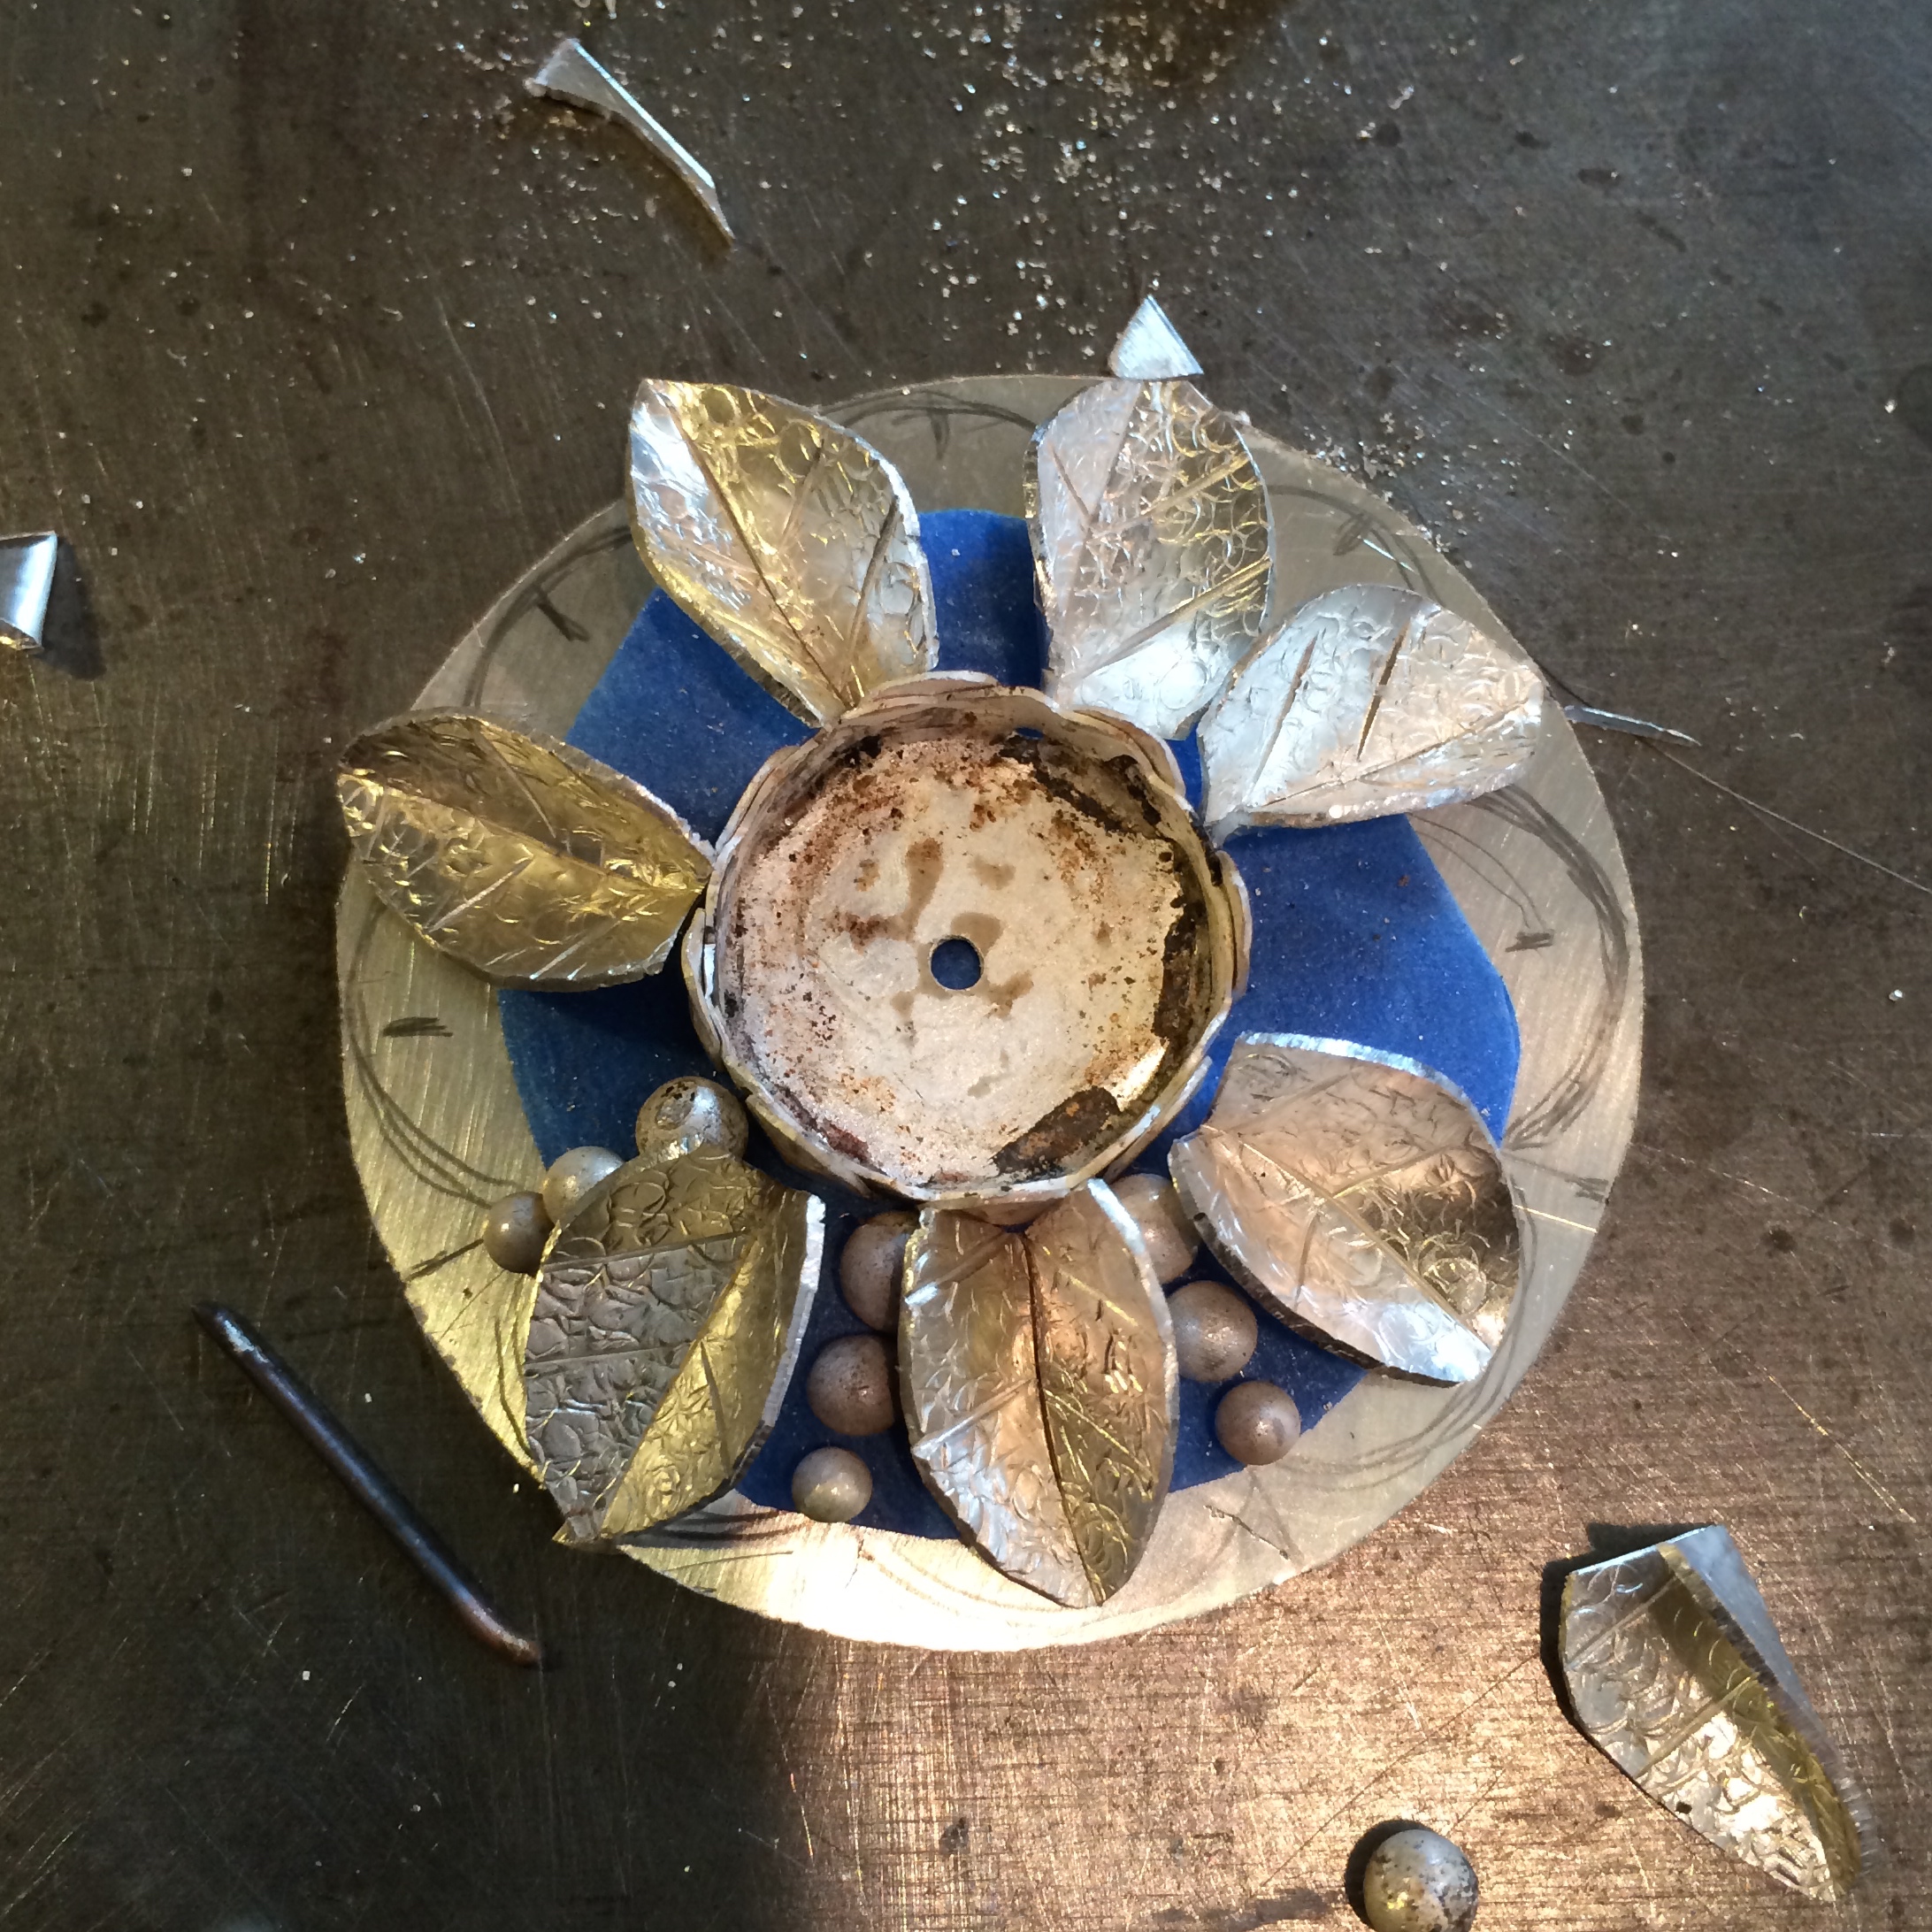
Soldering all the little pieces on.
At the beginning of this video you will hear what it sounds like when someone tries to get more than one word to come out of their mouth at the same time.
Doesn’t really work…
NOTE: When I’m attaching smaller pieces to the base I hold the attachments, leaves, balls, etc., close to the flame as I’m heating the base. This means that they’re not coming to the piece cold. Typically they don’t need as much heating as the base so you can control their temperature more by easing them in this way otherwise they may overheat and melt more easily.
MORE IMPORTANT NOTE: DO NOT BREATH FLUX IN. Quench your piece first before putting more flux on it. The heat from the silver sends flux fumes into the air. Heating the flux with your torch also sends fumes into the air, it’s just not as obvious as it looks here. Use an extractor fan if you have one or at least solder in an open, well ventilated area. I have a fume extractor which I didn’t put on here as it would have been too noisy, but even so putting flux on a hot surface as I did in this video is not a good thing.
Penny Brite – HERE
Long tweezers – Rio Grande #115222
–
Video 12
Muddling through the next soldering part as I demonstrate to you why your piece of silver should be clean.
–
Video 13
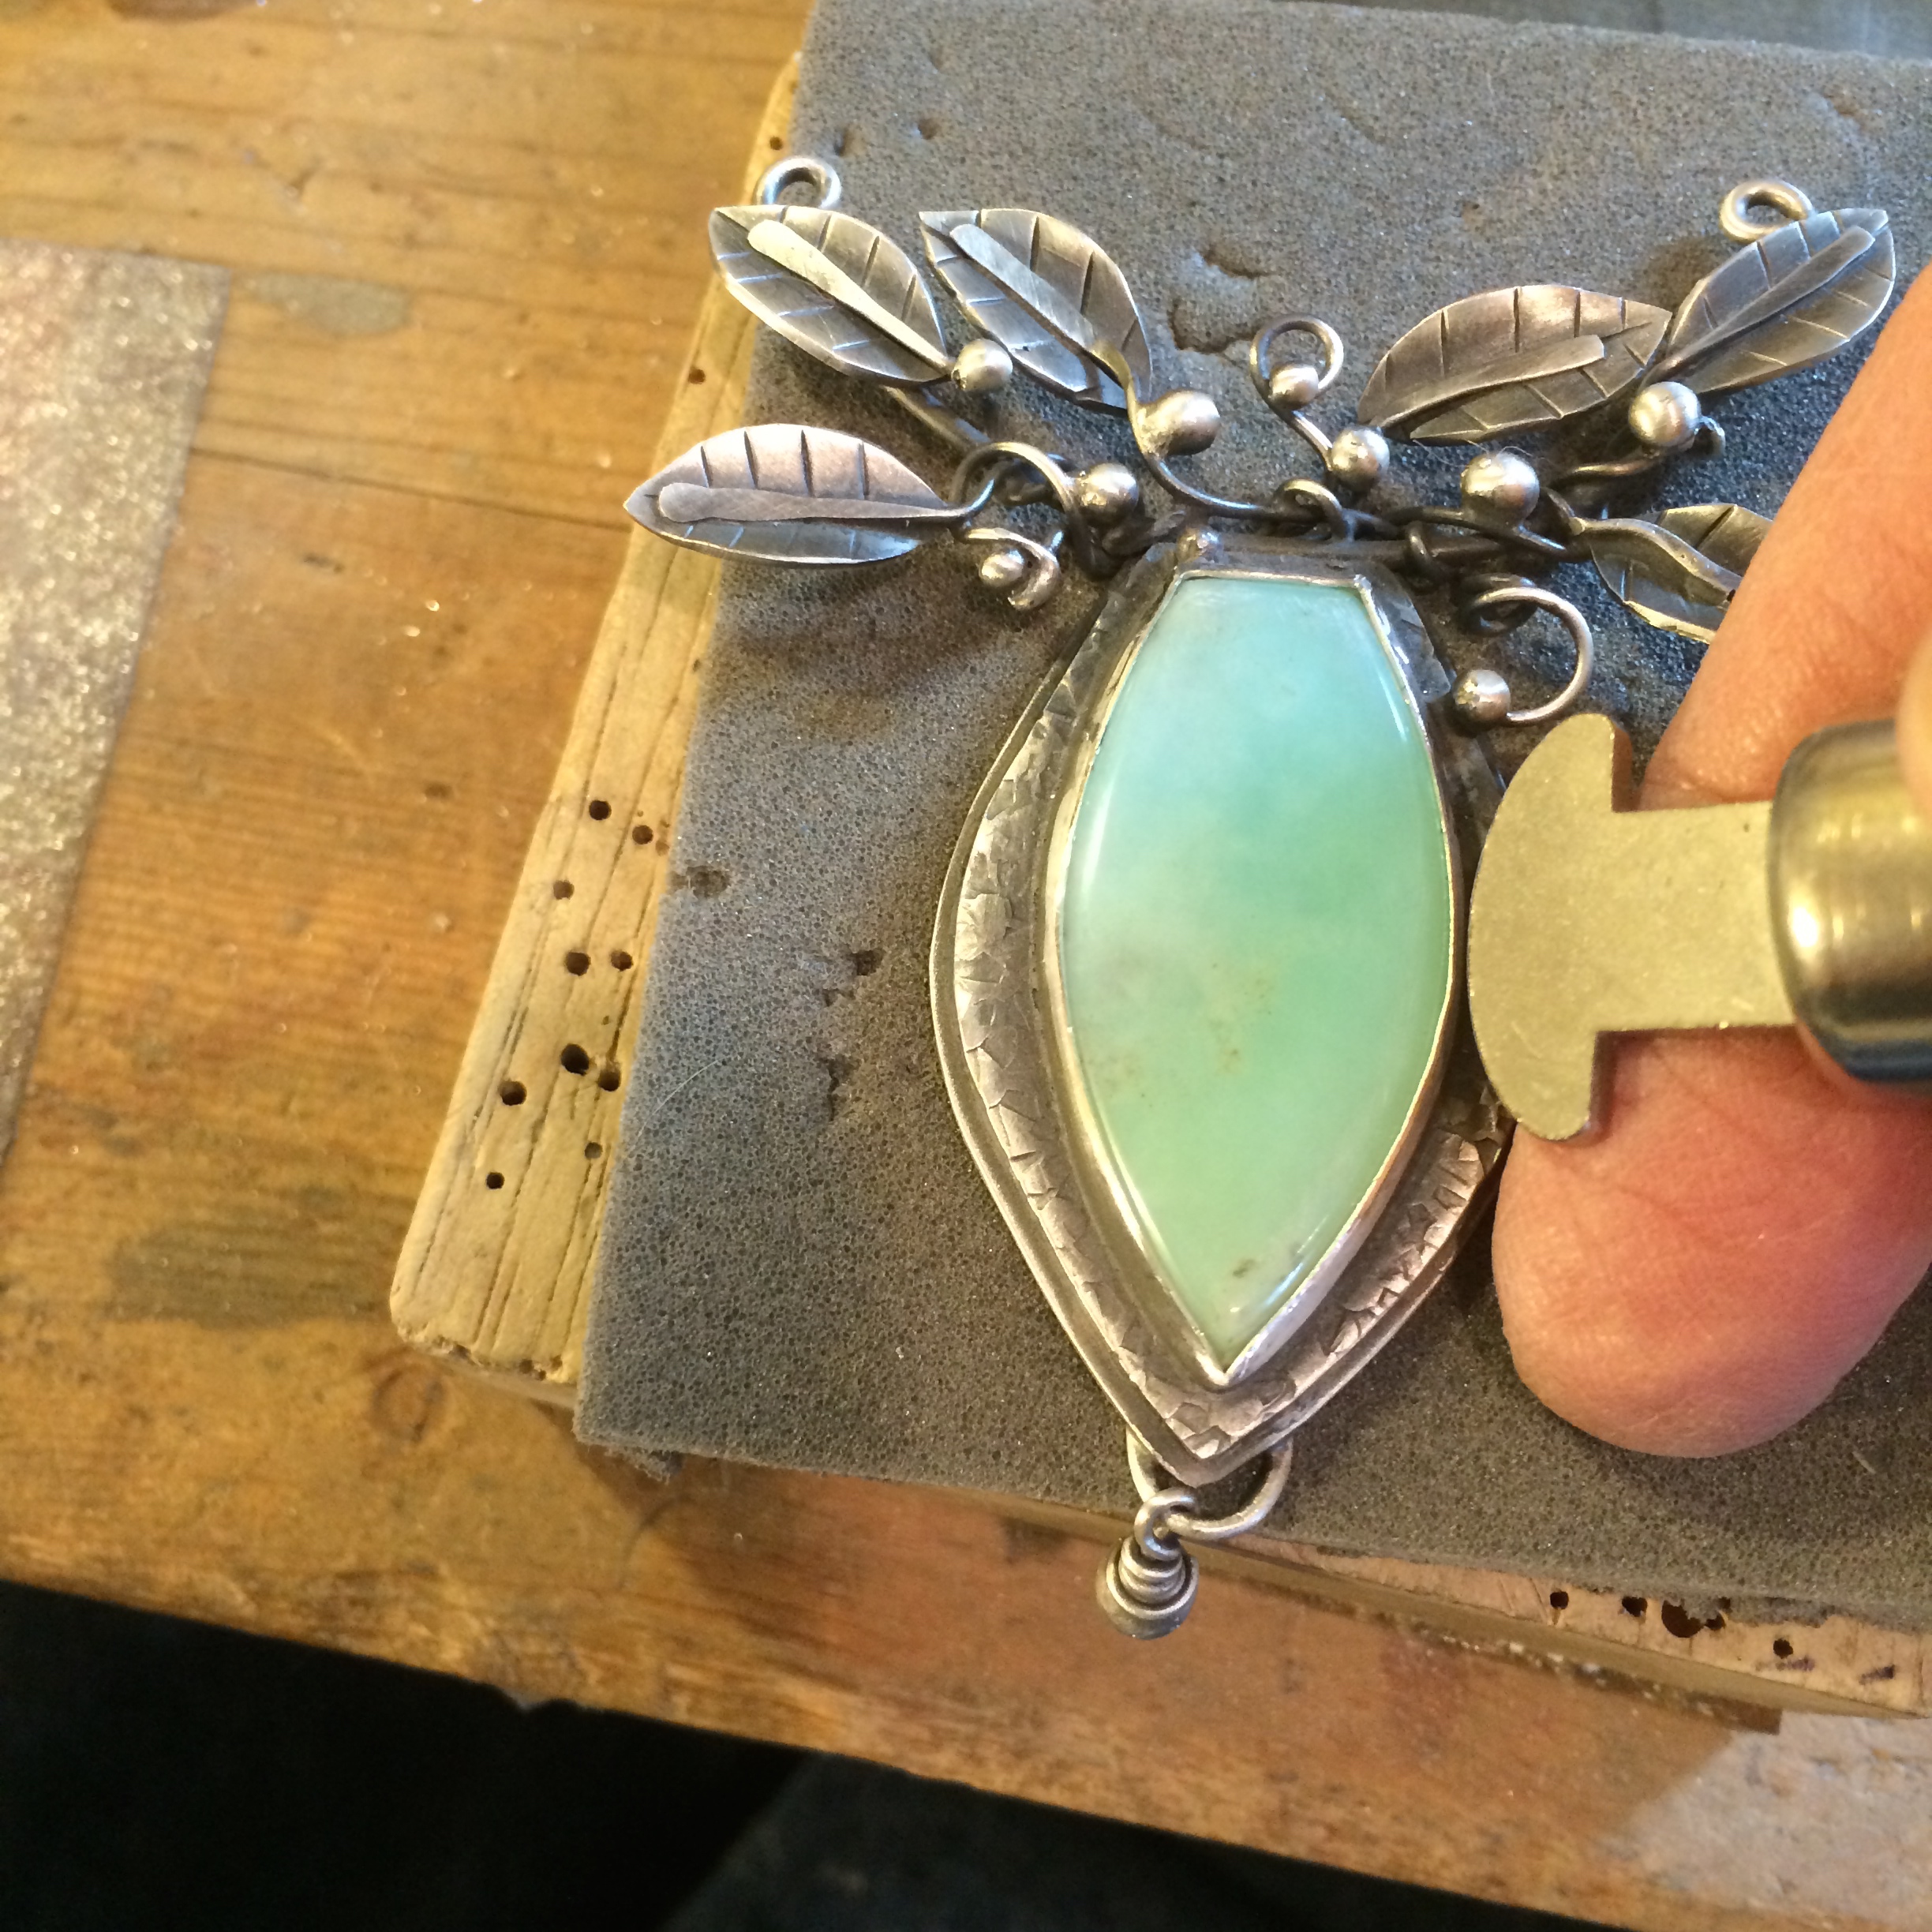
Fitting the stone in the bezel.
NOTE: Another reason why something doesn’t solder easily could be because your flux isn’t clean also. Just clean everything. Teeth, hair, clothes, etc.. then you should be covered.
Links – cut off wheel – Rio Grande #346085
–
Video 14
Using the Black Max and the first buffing.
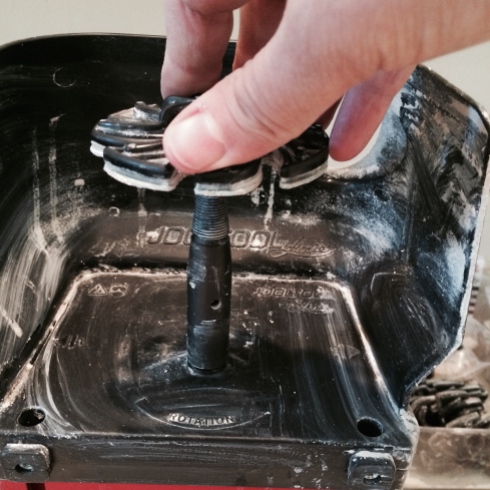
NOTE: Really you should wear gloves when you’re using the Black Max or any other chemicals. I have those latex free ones. I would take them off, however, when using the buffing wheel. It probably wouldn’t happen, but I just have visions of a piece of loose glove getting caught up in that wheel and taking your hand off. This is probably my tendency toward dramatic thinking here, but you never know.
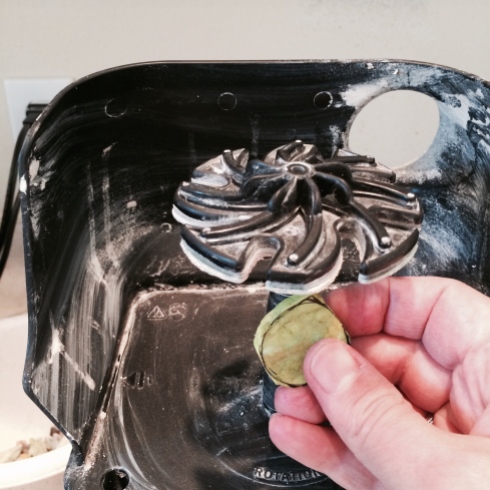
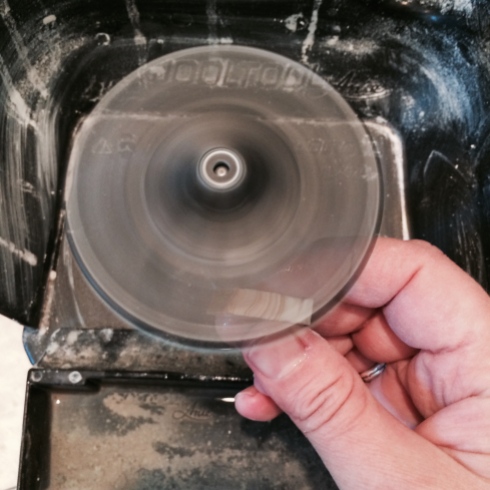
You don’t need a buffing wheel, or whatever that machine is called, for finishing your piece. You can get smaller wheels for your hand piece which will do the job. Just maybe not as fast. Links below.
Small hand piece buffing wheel – Rio Grande #338130
Machine buffing wheel – Rio Grande #330541
Small yellow wheel – Rio Grande #332581
Machine 3″ yellow wheel – Rio Grande #332076
3m elongated face masks – HERE
–
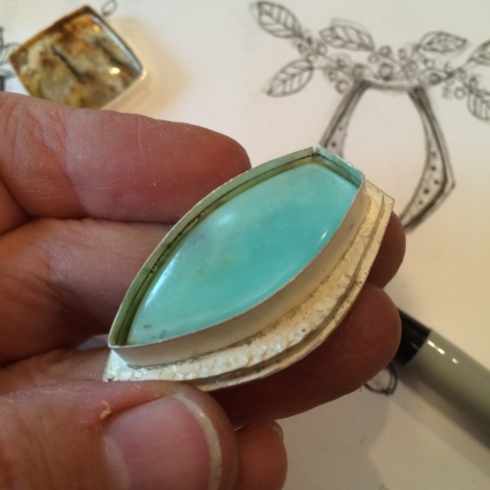
Video 15
Extra notes on setting the stone.
I was trying to explain here that although the bezel wire fits to the bottom circumference of the stone, because the stone I’m using has a very shallow dome there is a lot more wire to push over to hold it in place. In this instance if you push too much of the wire over the sides of the stone too quickly the silver will likely stretch unevenly thereby distorting the fit. The stone I used in the bracelet video had straight sides and so this wasn’t as critical, but you should always rotate the piece as you push the wire over the stone so that you’re not concentrating on one part for too long..
Also I don’t know if I explained it clearly, but by pushing the stone toward the bezel pusher as you push the wire over, you are always pushing the stone away from its opposite side. You will never get a good tight fit if you do it this way. You don’t have to actually pull the stone away from the bezel pusher very much, just make sure you’re not pushing it toward the pusher. See, not confusing at all…
In case you missed it, or need to go through the torture again, here’s the link showing how I set the stone in the previous bracelet video – HERE
–
Video 16
Ceaning up and final buff.
I know it didn’t look as though I was sanding the sides of the bezel gently, but I was 😉
–
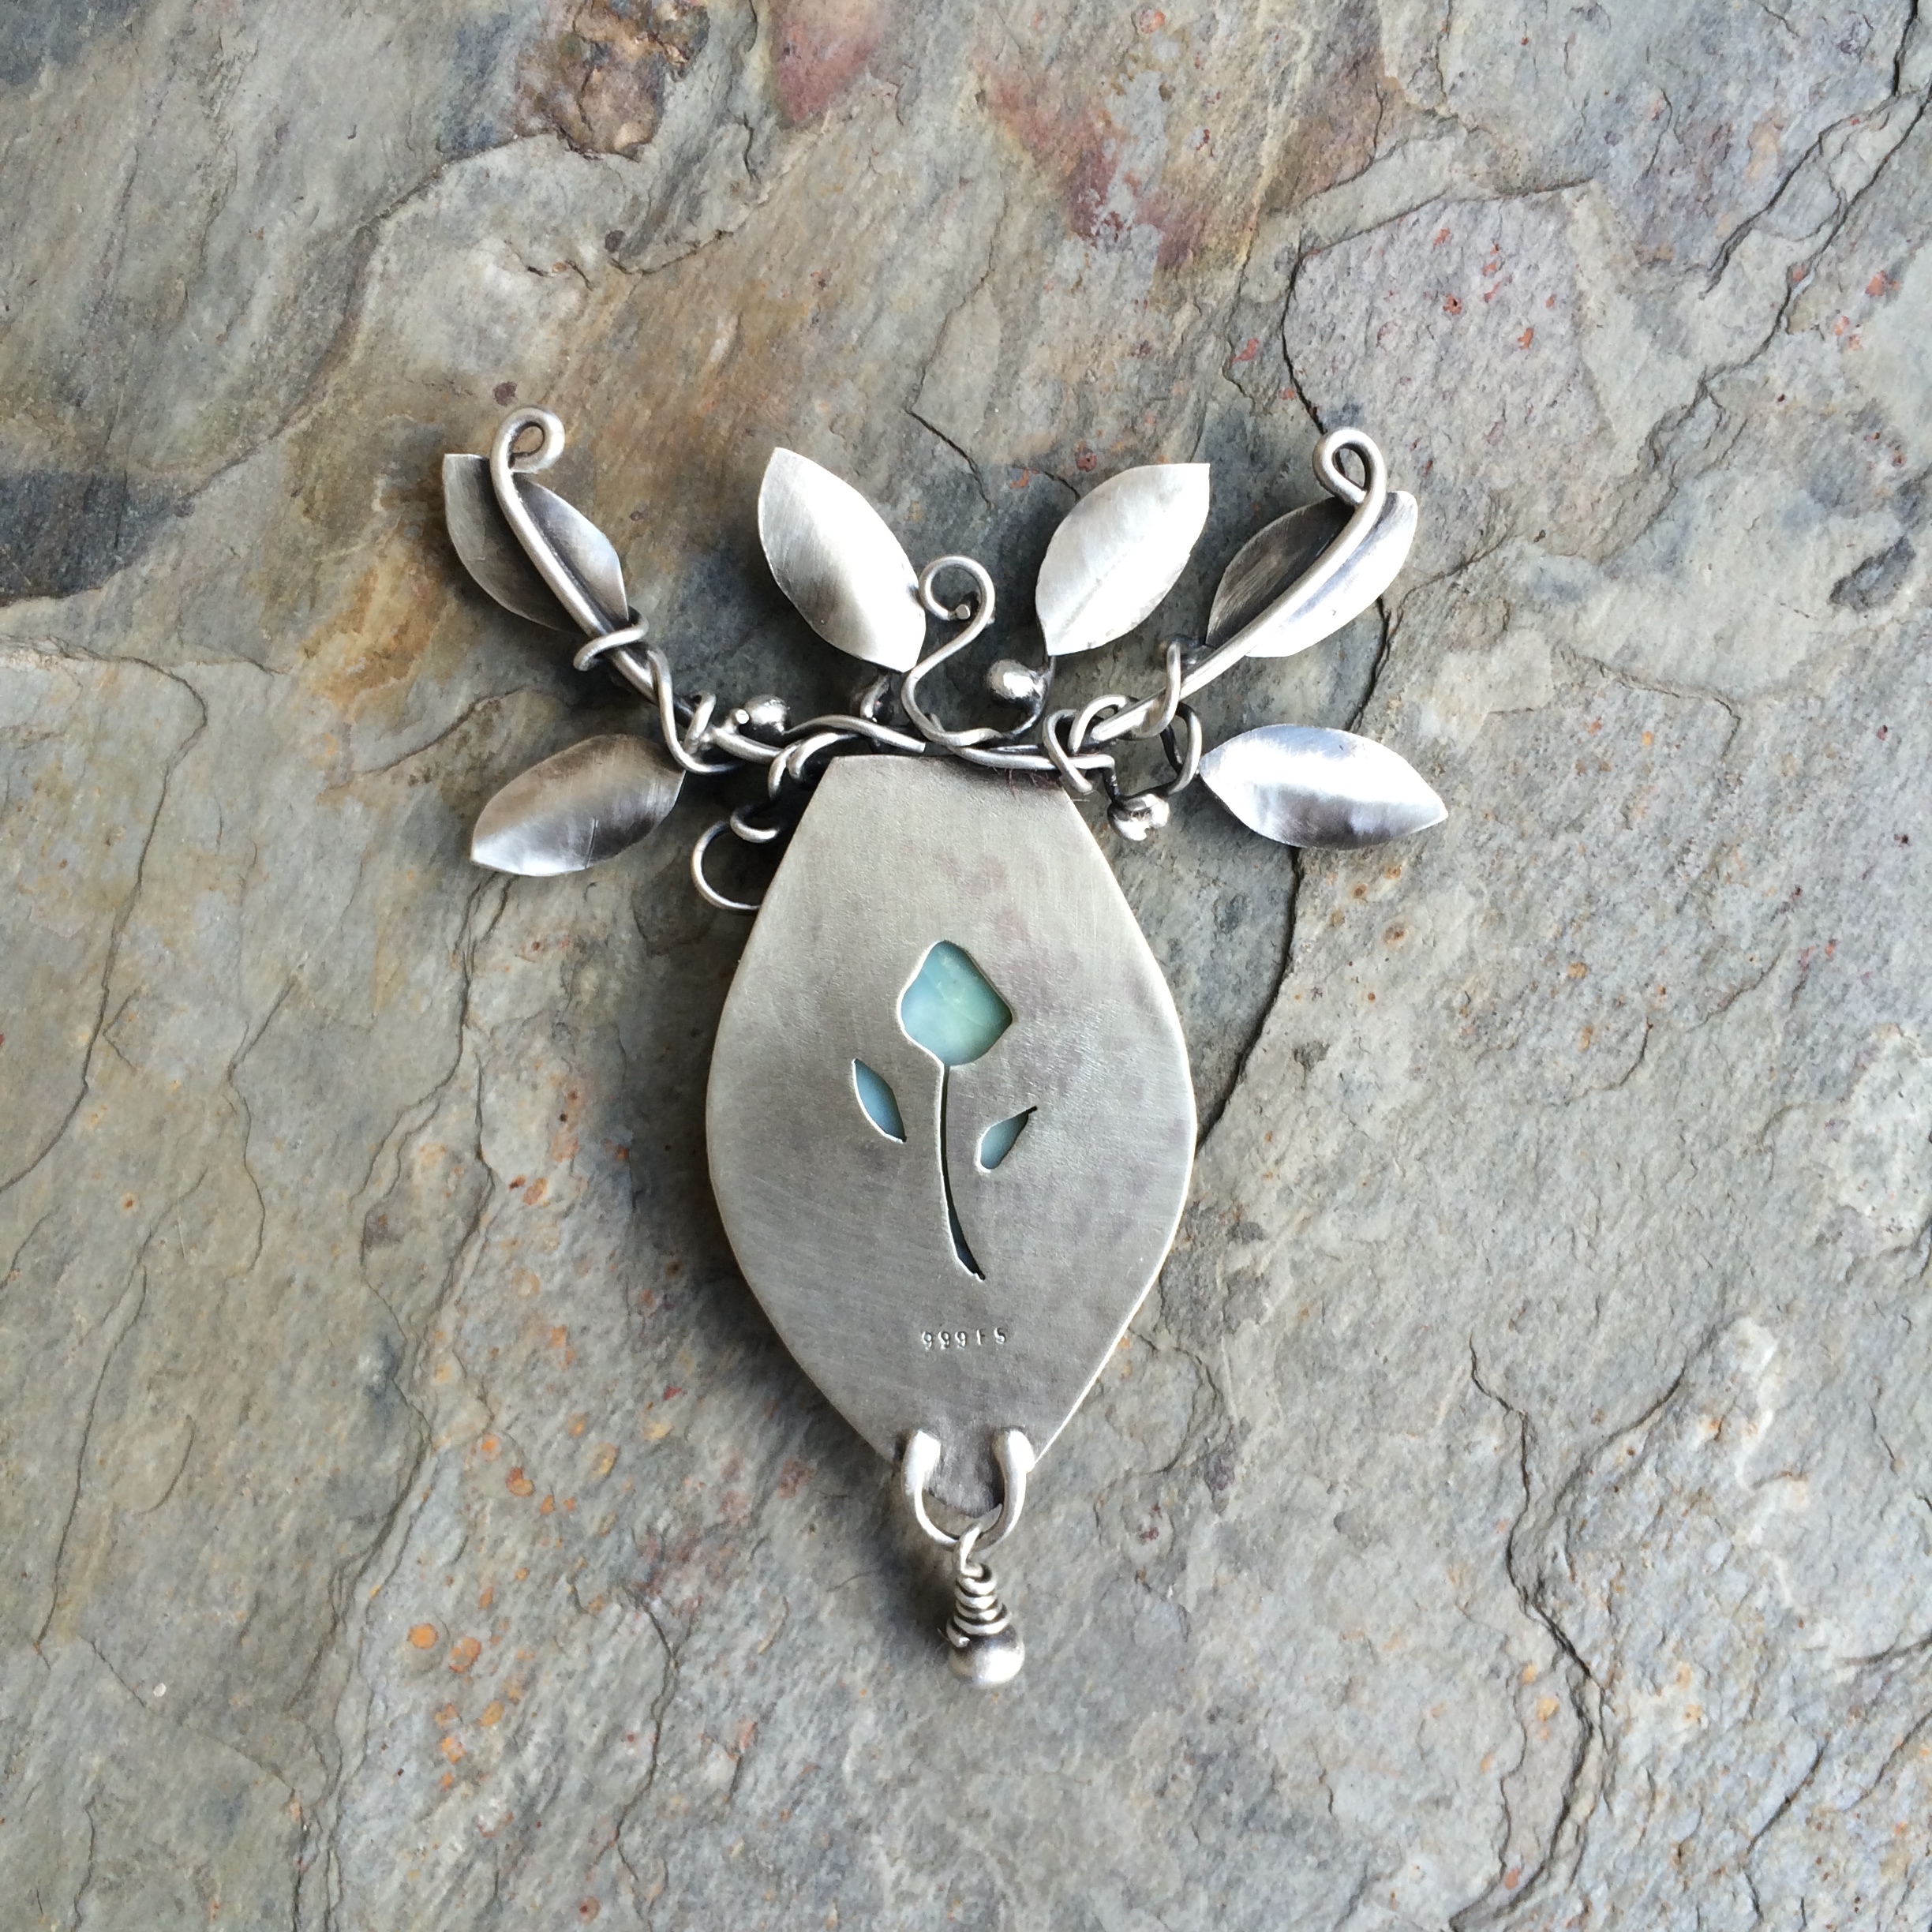
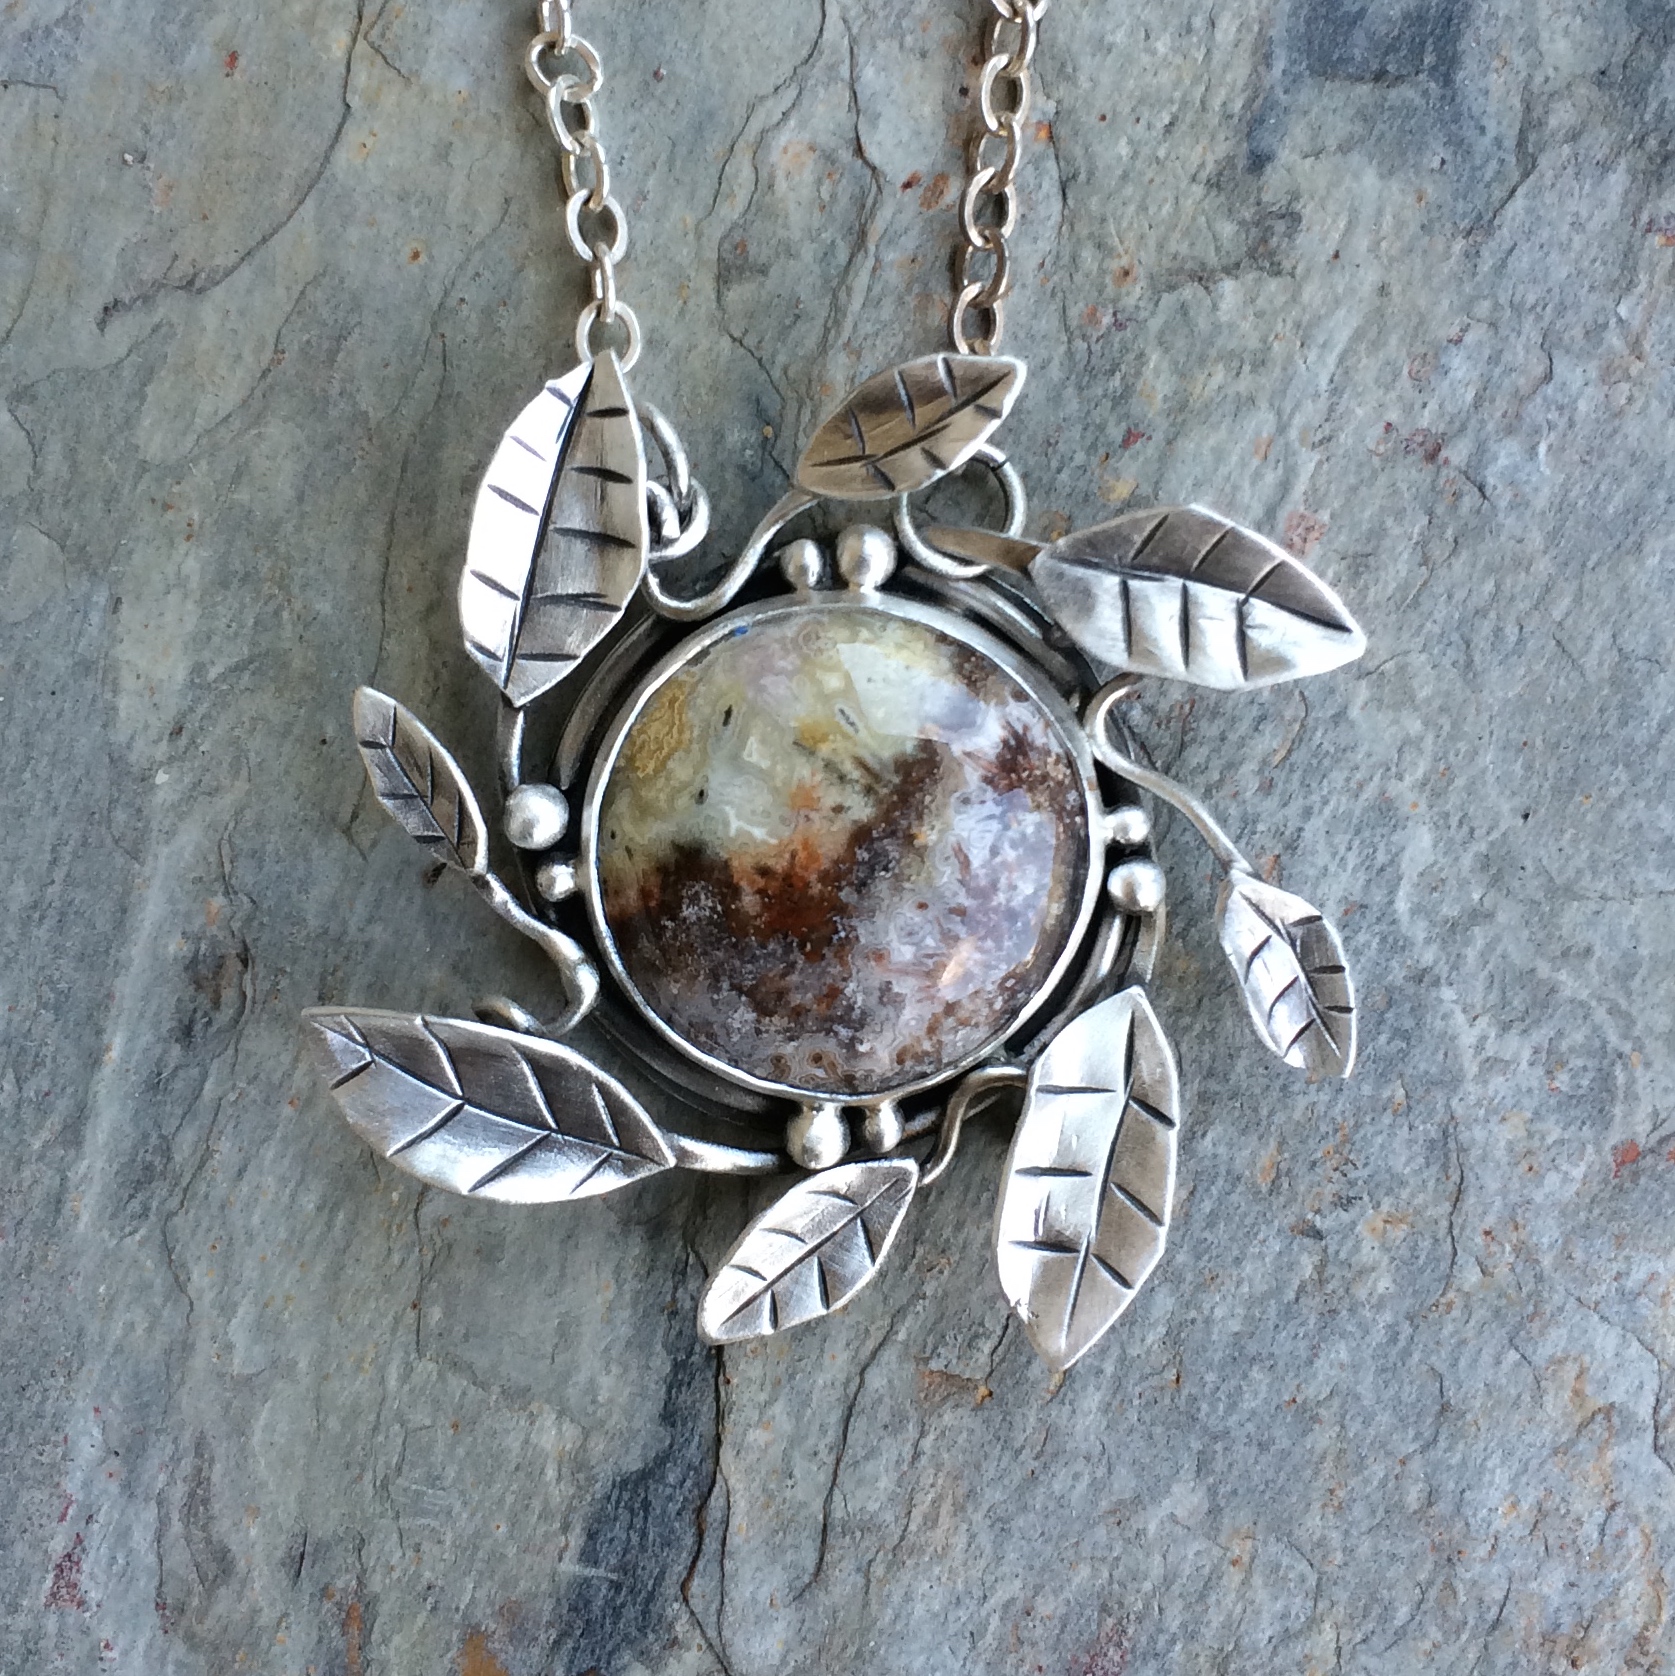
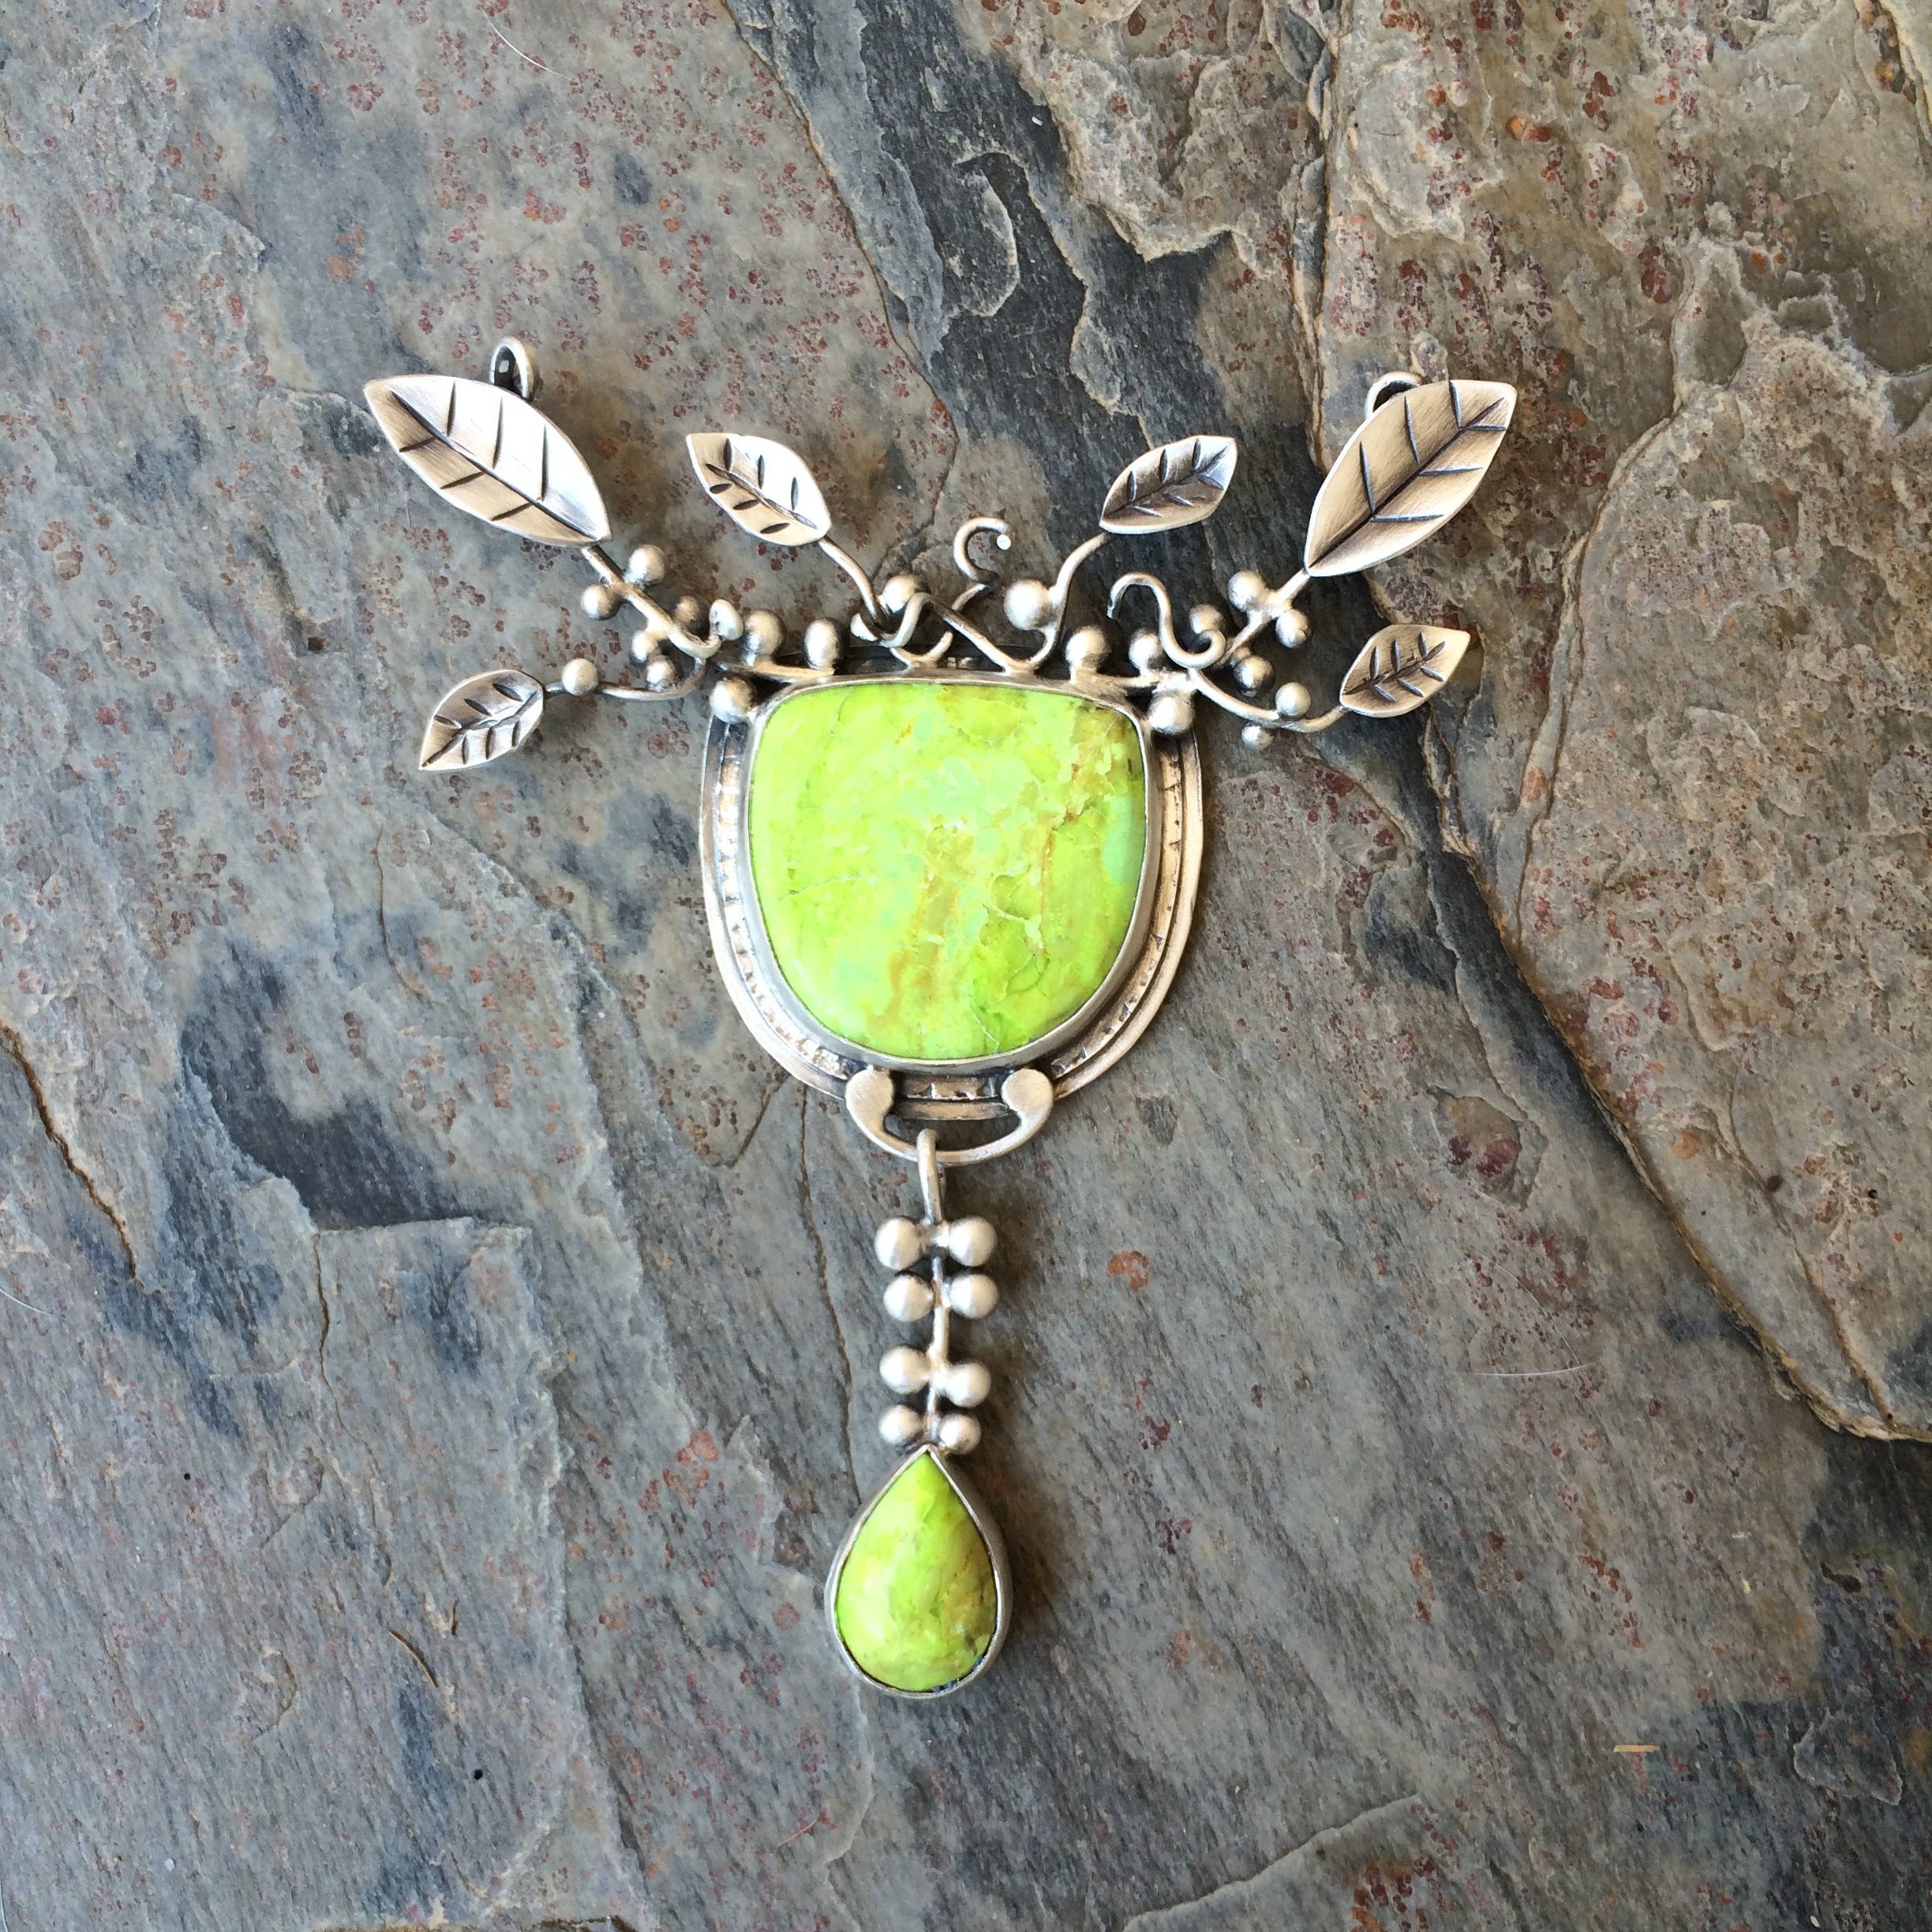
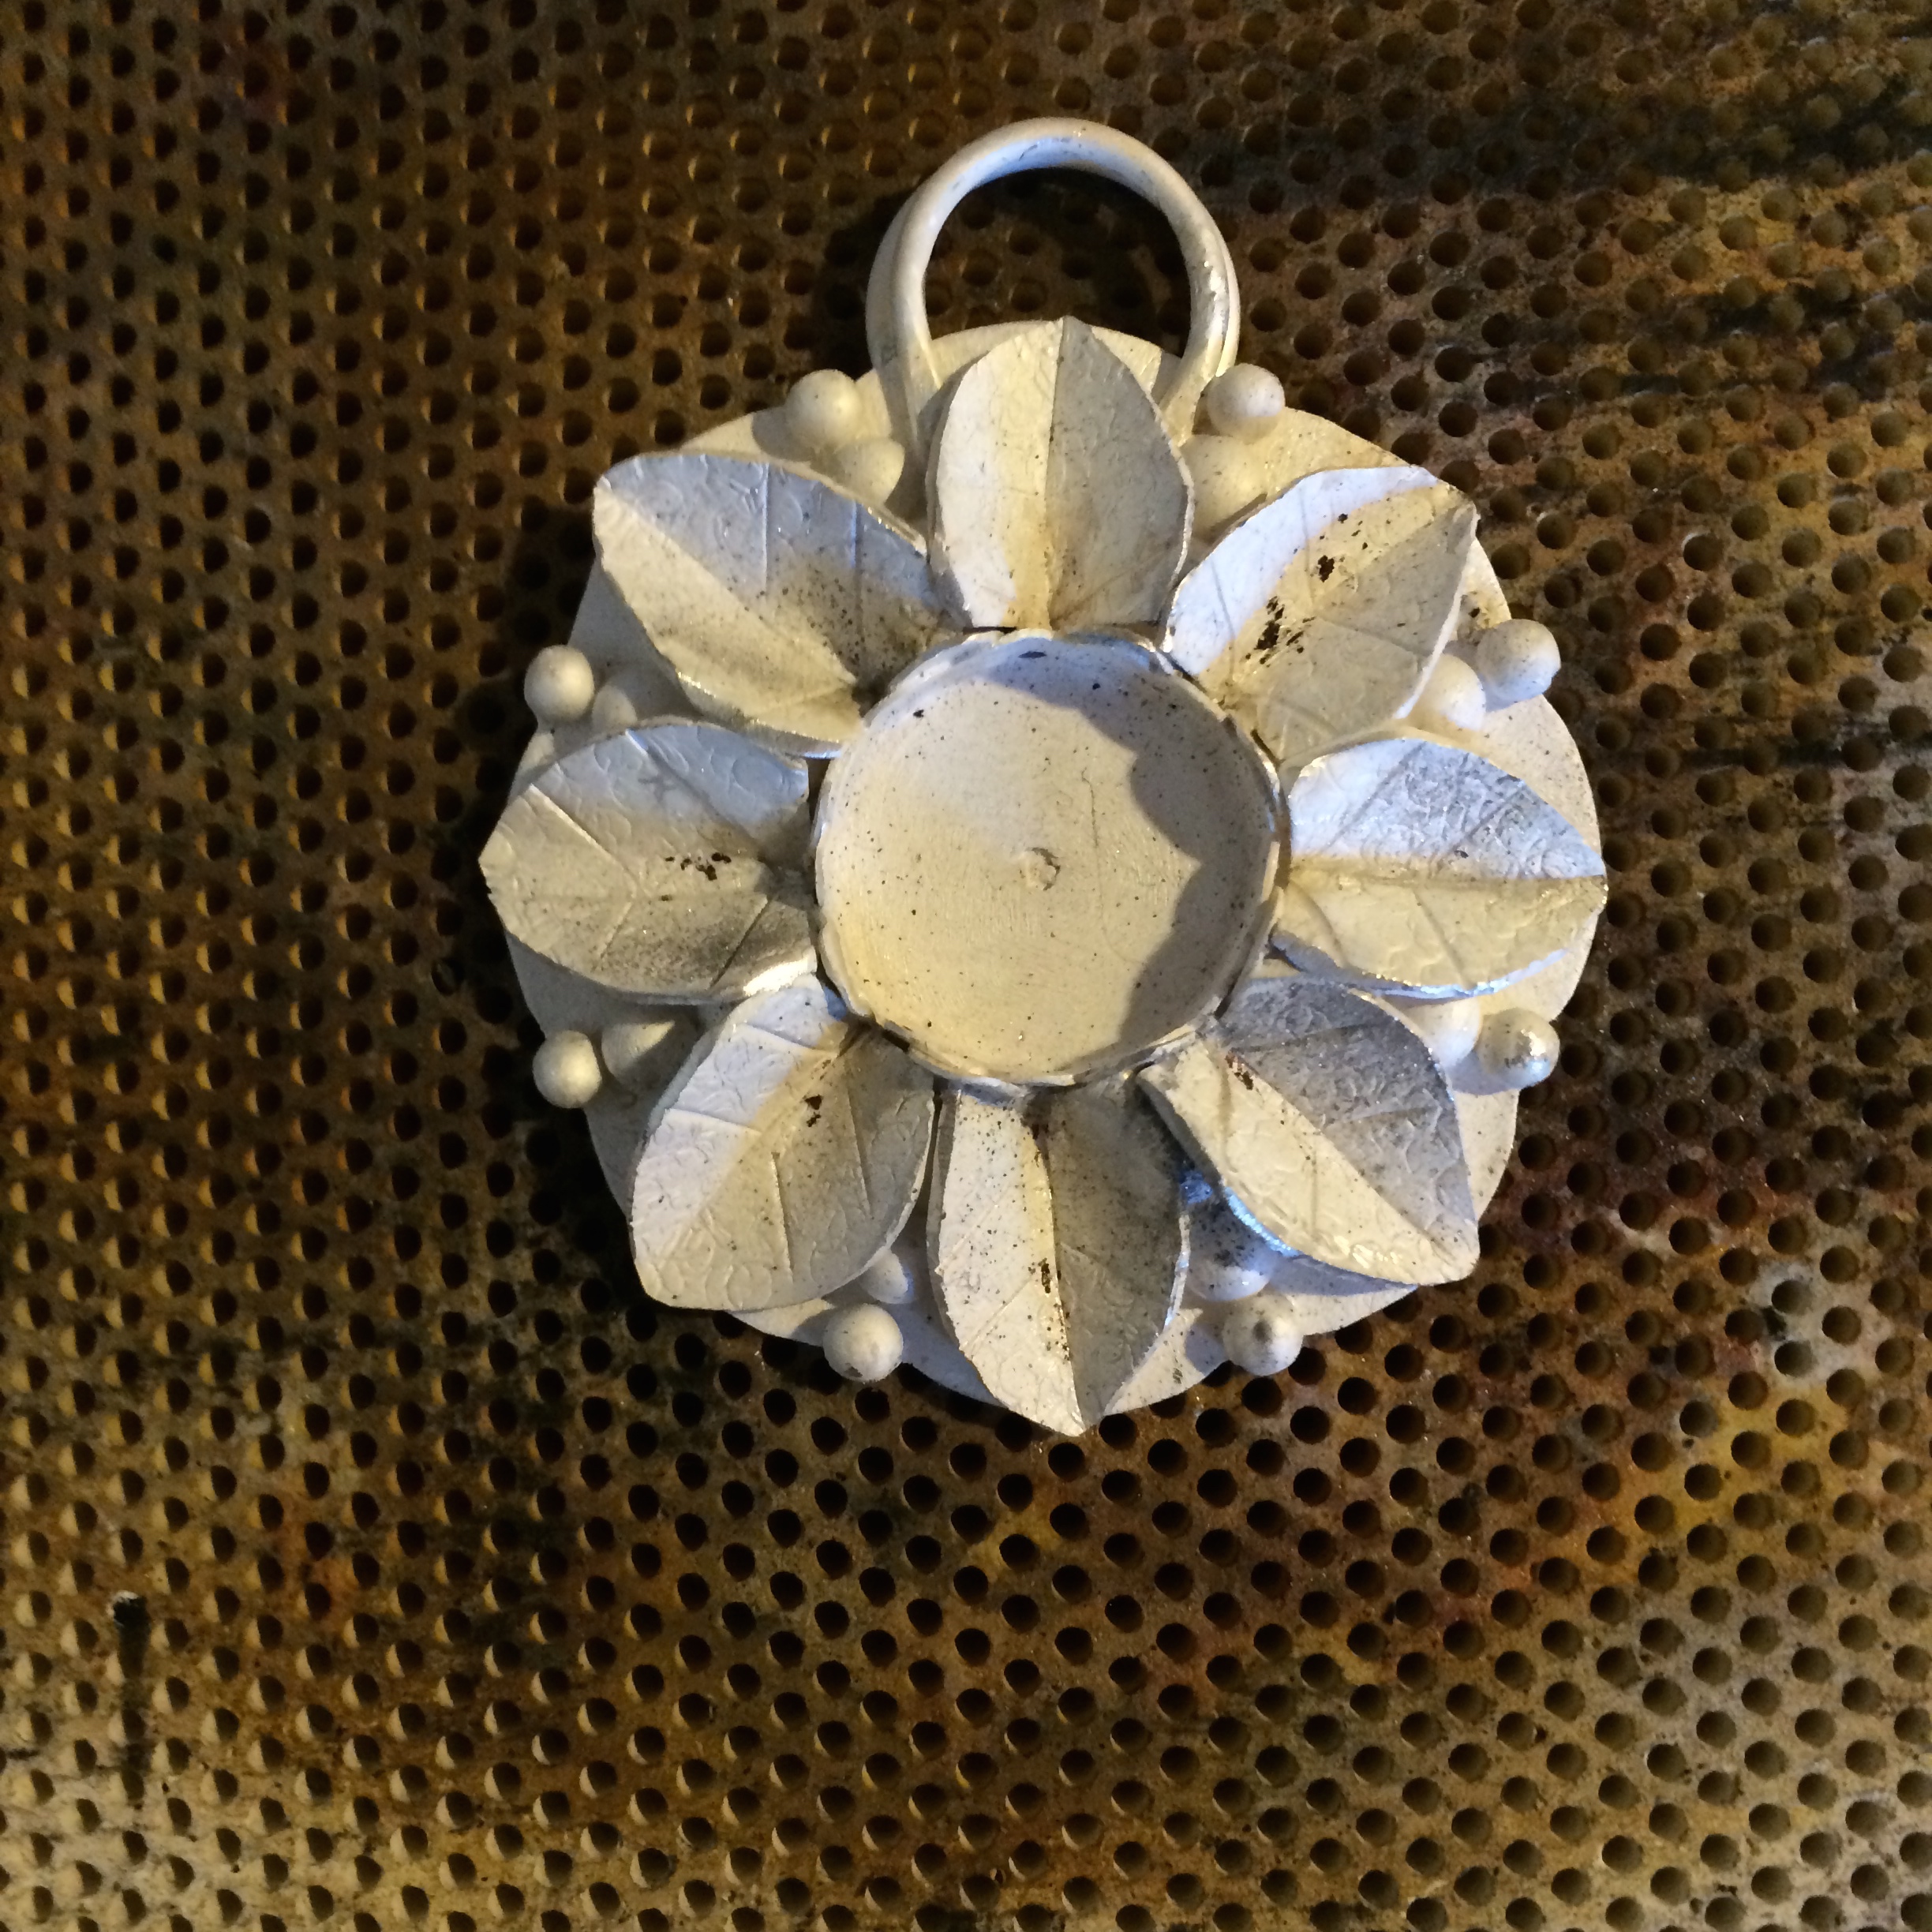
And so that’s another one done.
🙂
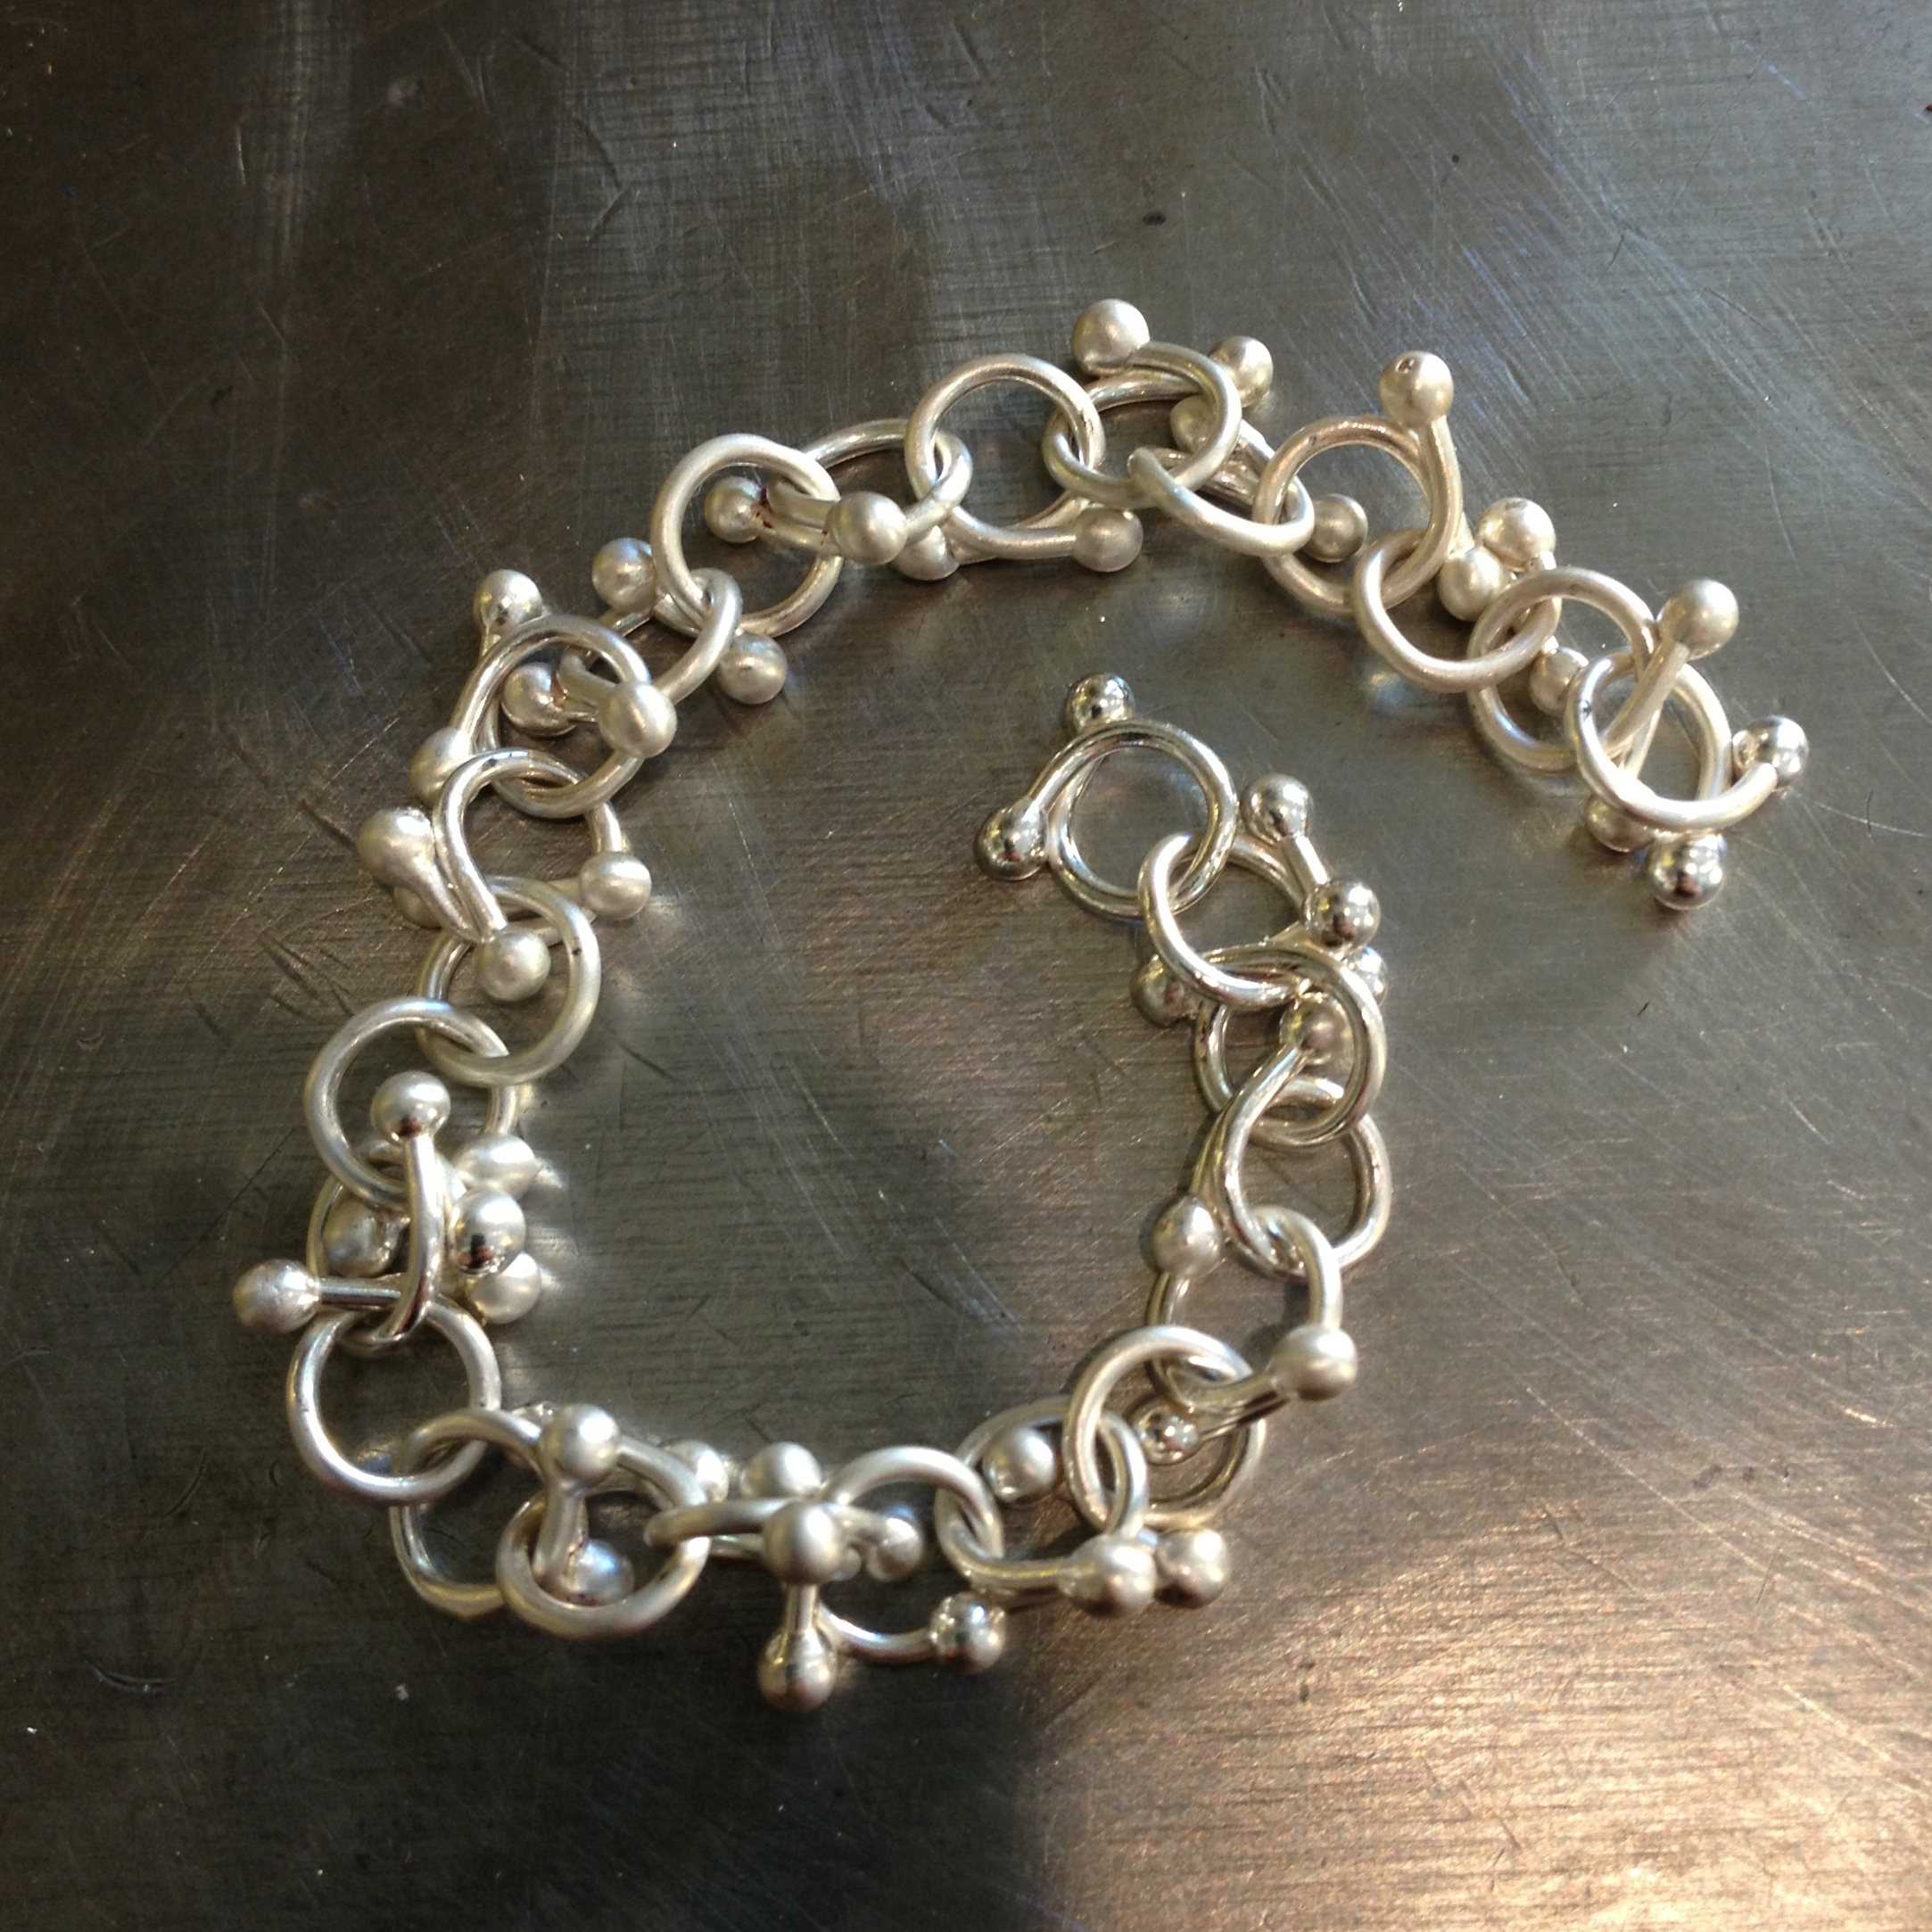
I went ahead and made the bracelet using the method I said I would at the end of the last video and I think it’s definitely quicker and more precise than the way I demonstrated for the necklace. Next time I make something similar I’ll experiment some more and report back, but I think you get the drift.

And here is…
Day 1 of the Pulling Teeth Challenge

Day 2

And day 3

Thank you for letting me waffle my way out of my funk.
🙂
–
–
–


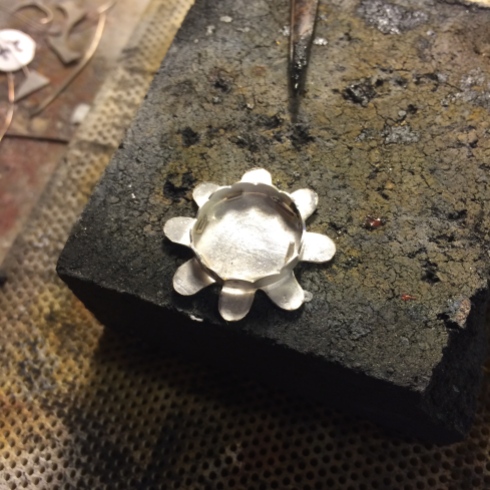
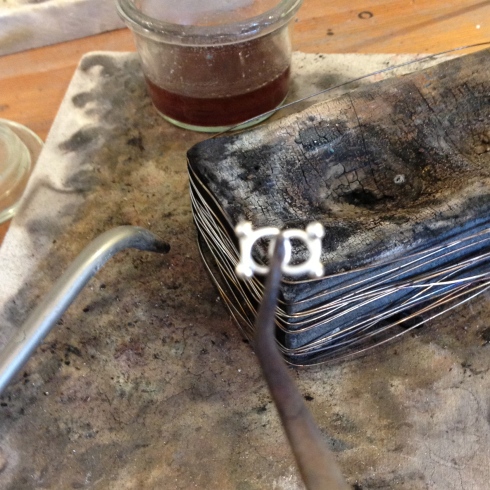
 I like to solder the prongs using a charcoal block. This way I can place each prong into the hole I’ve drilled and gently tap it with a hammer so that it sinks down into the charcoal a little. I place each prong as you would close a bezel up, tapping the next prong on the opposite side, etc., etc., until they are all in. This way seems to keep them more secure.


