I’ve got no energy Ma…
And, to knock myself really into the what the hell zone I’ve just finished a necklace which is like,
what?

Maybe it’s just me.
I’ll be back when I’ve figured out how to not bore myself.
–
–
–
I’ve got no energy Ma…
And, to knock myself really into the what the hell zone I’ve just finished a necklace which is like,
what?
Maybe it’s just me.
I’ll be back when I’ve figured out how to not bore myself.
–
–
–
It’s just flown by.
I have been a little bored with the jewelry and just can’t seem to be bothered to start anything new.
I finished this for Serina.

And then decided to use up some more of my larimar beads.

That bead cap needs a little adjusting.

And then I started a new chain.

But apart from that not a lot going on really.
I’ve been watching some BBC videos on artists that I found on Youtube. The series is called, What do Artists do all day? And I’m really enjoying that.
My favourite one so far is the one on John Byrne.
It all started when I stumbled across a series on Youtube called JTV Rock Star Designer because I was too bored to bother going into the studio and needed some inspiration.
I’ve suffered through all six episodes so far, and now have to wait until next week to find out who the two finalists will be. I think the winner gets to design a jewelry line for JTV.
I’m actually very surprised at how horrible the jewelry is and that, in the six hours they’re given to complete a piece, they can’t seem to make something that looks a little more professionally finished, but I suppose they’re under a lot of pressure. Also they’re only given half an hour to come up with an idea. That would be the hardest part for me as I generally make it up as I go along.
They’re also given some pretty gruesome materials to work with.
I’m not particularly impressed with the show, but of course now I have to finish watching it.
Then I discovered the artist videos and I love them.
It makes me want to go back to art school.
I went to Winchester School of Art in the U.K. What I wanted to be was a painter, but somehow I ended up in the sculpture department. I still would like to be a painter, but I’ve never given myself enough time to really get into it and now I just end up making piddly paintings which I enjoy, but which aren’t real paintings in my opinion.
Now these artists are making me a little sad that I never really gave myself to it.
I did love making the sculptures. I especially liked working out how the darn things would actually stand up and not kill someone.
I still think about making a sculpture of a woman sitting with her beautiful legs crossed in her beautiful designer clothes using nothing but used fake finger nails. I mean, what do they do with all of them once they’re done. I imagine that there are bazillions of them, in all shades of lovely, somewhere out there filling land fills and waiting to destroy our world.
Perhaps she could be having drinks with a refugee.
Who knows.
So I got my degree and then, nothing.
Well, there was the marriage part, and then the kids part, so it wasn’t exactly nothing.
Now it’s my part, and I’m really enjoying it.
Problem is that I’d have to get up before yesterday and go to bed after tomorrow, to be able to do all the things I’d like to.
Just pick one laddie!
Anyhow, so while I’ve been away I’ve been dreaming of all the things I started out to be and how I need to start being them.
The time is now people!
We just need to get down and be the people we know we are inside and stop fussing around with all the other stuff.
O.K. Well I do anyway.
😉
–
–
–
I have it.

And now I can’t stop even though they take ages to make

And it means my prices will have to go up

And I’ll never sell anything any more

But they give so much more depth to the pendants that I don’t think I can turn back now.
Man!
Off to make another one
I’ve got water and protein bars stocked up so if you don’t hear from me for a while I think I’ll be o.k.
–
–
–
The end caps.
–
You can make these plain or textured, wonky or straight, rustic or perfect, but these are the way I made mine for the pieces you’ve seen.
I use fine silver.
I buy all of my sheets in fine silver and most all of my wire in sterling. I like to use fine silver for my bezel settings because it doesn’t tarnish like sterling.
Sterling tarnishes when exposed to air because it has a little more base metal in it than fine silver. Sterling is .925 silver and fine silver is .999 making it purer. PMC is also .999 as is Thai Silver.
Just love the Thai Silver 🙂
Back to the project…
Cut a strip of 24 gauge sterling silver, or fine silver, sheet and texture it with a favourite stamp.
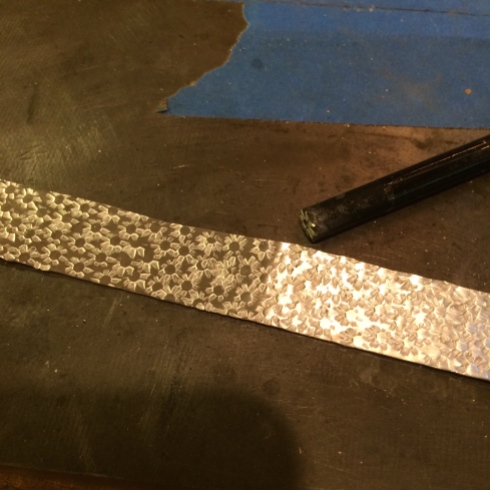
I have a selection of stamps from the Indian Jewelry Supply store – HERE
It’s like christmas every time I look at them.
Cut a manageable length off the strip and wrap it around a mandrel.

You might need to anneal the silver to do this as stamping, hammering, or any work you do to a piece of silver hardens it. Annealing the metal by running a soft flame over it until it changes colour and then quenching it, softens it again making it easy to work with.
Some people don’t quench afterward as they say the silver hardens again, but, as you may know by now, I’m too impatient to wait for it to cool on its own and I’ve found that quenching doesn’t really affect the results I want for this project.
When you’re annealing be careful not to melt the metal. It just takes practice. If it does start to melt no worries as you can then practice your reticulation skills, but that’s for another day… 😉
You want the silver to just begin to turn a dull pinkish color then take your flame away.
Now you can bend it around the mandrel until the two ends meet for soldering.
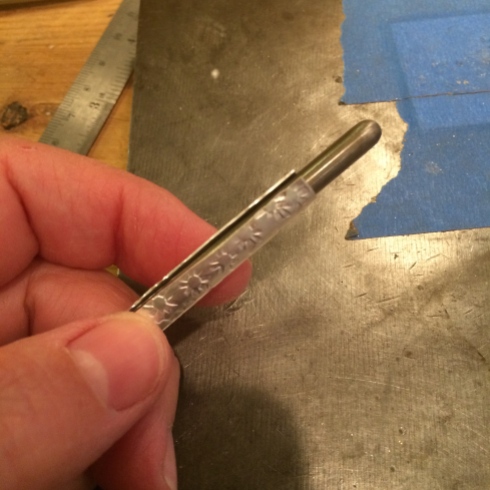
The mandrel can be anything that is the shape and diameter you want. I often use anything on hand. The shanks of my stamps or dapping tools, wooden dowels, but better still are the mandrel sets that come with a jump ring maker.
Like this
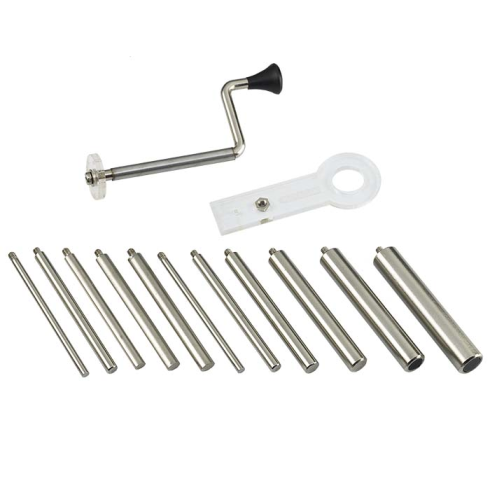
As you then have a selection which will last you forever and you can more easily match the mandrel diameter to the size of bead you’re using.
I’ll be using 8mm beads for these tube ends.
Now solder the seam.

Once soldered you can cut the tube into the lengths you want either by hanging it over the edge of your bench pin.

Or by using some other way to keep the tube secure as you saw.
This is an old paintbrush.
For this method, slowly turn the tube and gradually saw around the circumference for an even cut.

Now you can put the smaller lengths of tube back onto the mandrel so that it just overhangs a couple of mm’s making it easier to file the ends straight.

At this point you can decide whether to keep your tubes straight or make them wonky.
I like wonky.
So I use one of my dapping things to hammer into the tube to flare out the ends slightly.
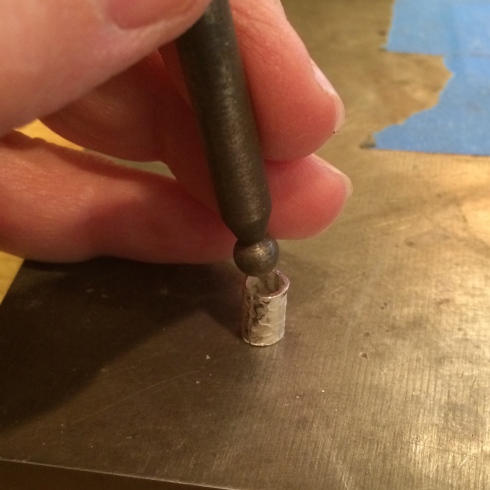
And then I might even hammer them down even more to wrinkle them.
I haven’t done that here, but just so you know all of my secrets…

The next step is to punch out the silver discs which will be the end caps of the tubes.
I like them to be just a fraction larger than the tube, (including the flared out diameter), as you’re going to dome them and this reduces the diameter of the disc.

Now you can use a hole punch or a drill to make a hole in the center of the discs.

I’ve found the easiest way to use a hole punch is to mark exactly where you want the hole to be with a sharpie and then place the bottom of the punch over the mark.
Then you can see exactly where to punch.

Now you will shape the discs into the caps using a dapping block.

If you don’t have these tools you can perhaps use makeshift ones.
Making shallow holes in blocks of wood, for instance, may make a good substitute for the dapping block. You can also round off a matching dowel piece to use as the punch.
For the discs you will have to either saw them or snip them. You can then file them down when they’re soldered to the tube.
At this point you are going to solder the caps onto the tubes.
You can solder the first cap from the inside.

But will solder the second cap onto the top.

Warning:
You can only do this if there is at least one hole in the silver for the hot air to escape.
If you do not leave a hole the heat will build up inside and the piece will explode!
It will fly away from the soldering board and, if you’re as lucky as me, will probably land on your body.
And it will hurt.

Now clean up the edges of the caps with a file and sanding board.

And they are pretty much done.
These are my ‘rustic’ ones, but you can make these so that the joins don’t show. It will just take more precise measuring and filing, etc.
Here’s what I did with mine.

🙂
–
–
–
With the bracelet.

Done.
–
–
–
Of course this doesn’t always go according to plan.
I’m just a little too impatient to read all the books and watch all the YouTube how too’s.
I just like to look at the pictures and wing it.
So I’ve made a few of no go’s over the years, and that’s o.k. as sometimes new ideas come from them.
I tell you this as I just want to remind you that, for most of the time, I don’t really know what I’m doing. I would hate for you to think that I have the best advice out there, even reasonably o.k. advice.
But I just love making stuff and think that if you want to have a go at something you should just do it without thinking you have to be some kind of expert at it who never makes mistakes.
Here’s a mistake.

Oh yes, it looks all fine and dandy I know, but it’s stiff and lifeless.
The gauge of wire is too thick for the diameter of the ring and the chain can’t move freely.
Now, I know that when you’re using rings to make a chain you need to know the ratio between the wire gauge and the diameter of the ring.
Yep. I know that.
But when I want to make something and I get excited I ain’t got no time to go looking for a chart or read the books, so I eyeball it, make a wish, and have a go.
Don’t try this at home folks.
Actually I wasn’t far off. I think half a millimeter may have done it.
Or maybe one.
(See, I’m doing it again.)
Don’t do it people!
Get a chart.
(I haven’t found a chart yet but I’m looking.)
If you have a chart I want one in millimeters, not fractions. I can’t be doing with all of that 5/16 stuff unless you’ve also got a chart for turning 16th’s into millimeters.
Math is NOT fun for me.
Web surfing is, however, so I’m off to find my chart as soon as I finish up here.
So the chain wasn’t a waste of time really, because I also decided that sterling silver hurt my fingers too much. But using sterling silver wasn’t a waste of time either as I soldered each link perfectly, not always a regular occurrence, so that was pure satisfaction right there.
See.
So next up I made another chain, this time using 20 gauge fine silver with the 8mm mandrel.
Much better, but I’m going to make another today using the 8.5 mandrel.
You should have a go if you haven’t yet.
It’s fun.
And the sense of accomplishment having made your own chain is a wonderful thing.
Warning: I may have mentioned that I still haven’t got ‘the chart’ so you might want to wait until you, or I, find one or I actually make a chain that’s perfect.
Don’t hold your breath on that last part.
–
So.
Single Loop Chain.
(This is going to be boring for people who already do this, so stop reading now unless you need a nap)
20 gauge fine silver 8mm mandrel
Make your jump rings and fuse them together.

I use a hard charcoal block for this.
The most important thing to remember when fusing silver is to make sure that you have no gaps in-between the two parts you are fusing together. The join has to be completely touching. If you have any gap at all, however tiny, the ring may fuse, but you can end up with a thin area of the ring which will be weaker than the rest of it.
So preparation is key.
Place the rings on the block with the joins all facing the same way. If you’ve done your job right and the ends are flush against each other it can be really hard to see where the join is so this eliminates that problem.
You want your flame to be a little softer than perhaps you usually use so you can turn down the pressure on your regulator a little to get it to a nice balance that will heat the silver, but isn’t so fierce that it melts it.
Now keep the flame moving around the ring until you see it just start to change, then quickly hover it over the join and take it away immediately the silver flows.
Keep the flame there too long and it will melt into a ball. Then you just continue to melt the ring and add it to your ball collection.
This might grow considerably as you practice.
It’s o.k. 😉
You want to keep the flame moving around the ring as the whole ring should be brought to the same temperature. If you get a gap, or a thin area, where the join is you either had a gap there to begin with or you have heated one side of the ring a little more than the other and the silver has gathered there pulling itself away from the join.
It’s just practice.
You don’t need any solder or flux to fuse these fine silver rings together.
Now you are going to stretch the rings out using a pair of round nose pliers.

Try to keep the rings at the same place on the pliers each time you stretch one as you want your shape to be as consistent as possible. I use the tips about 2mm down. You can mark the pliers with a sharpie or tape if you need to.
It’s at this point in the game that you’ll discover if your joins are fused properly.
It’s good to find this out now rather than later, so either re-fuse the broken ones or add them to your ball collection.

Now squeeze the middle together.
And bend them in the center.

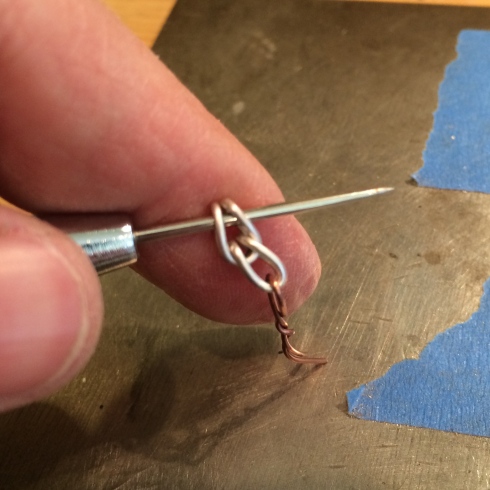
Use a length of wire, (I’ve used copper here), to anchor one end of the link and push the top ends together.

Now you can slide another link into the first.
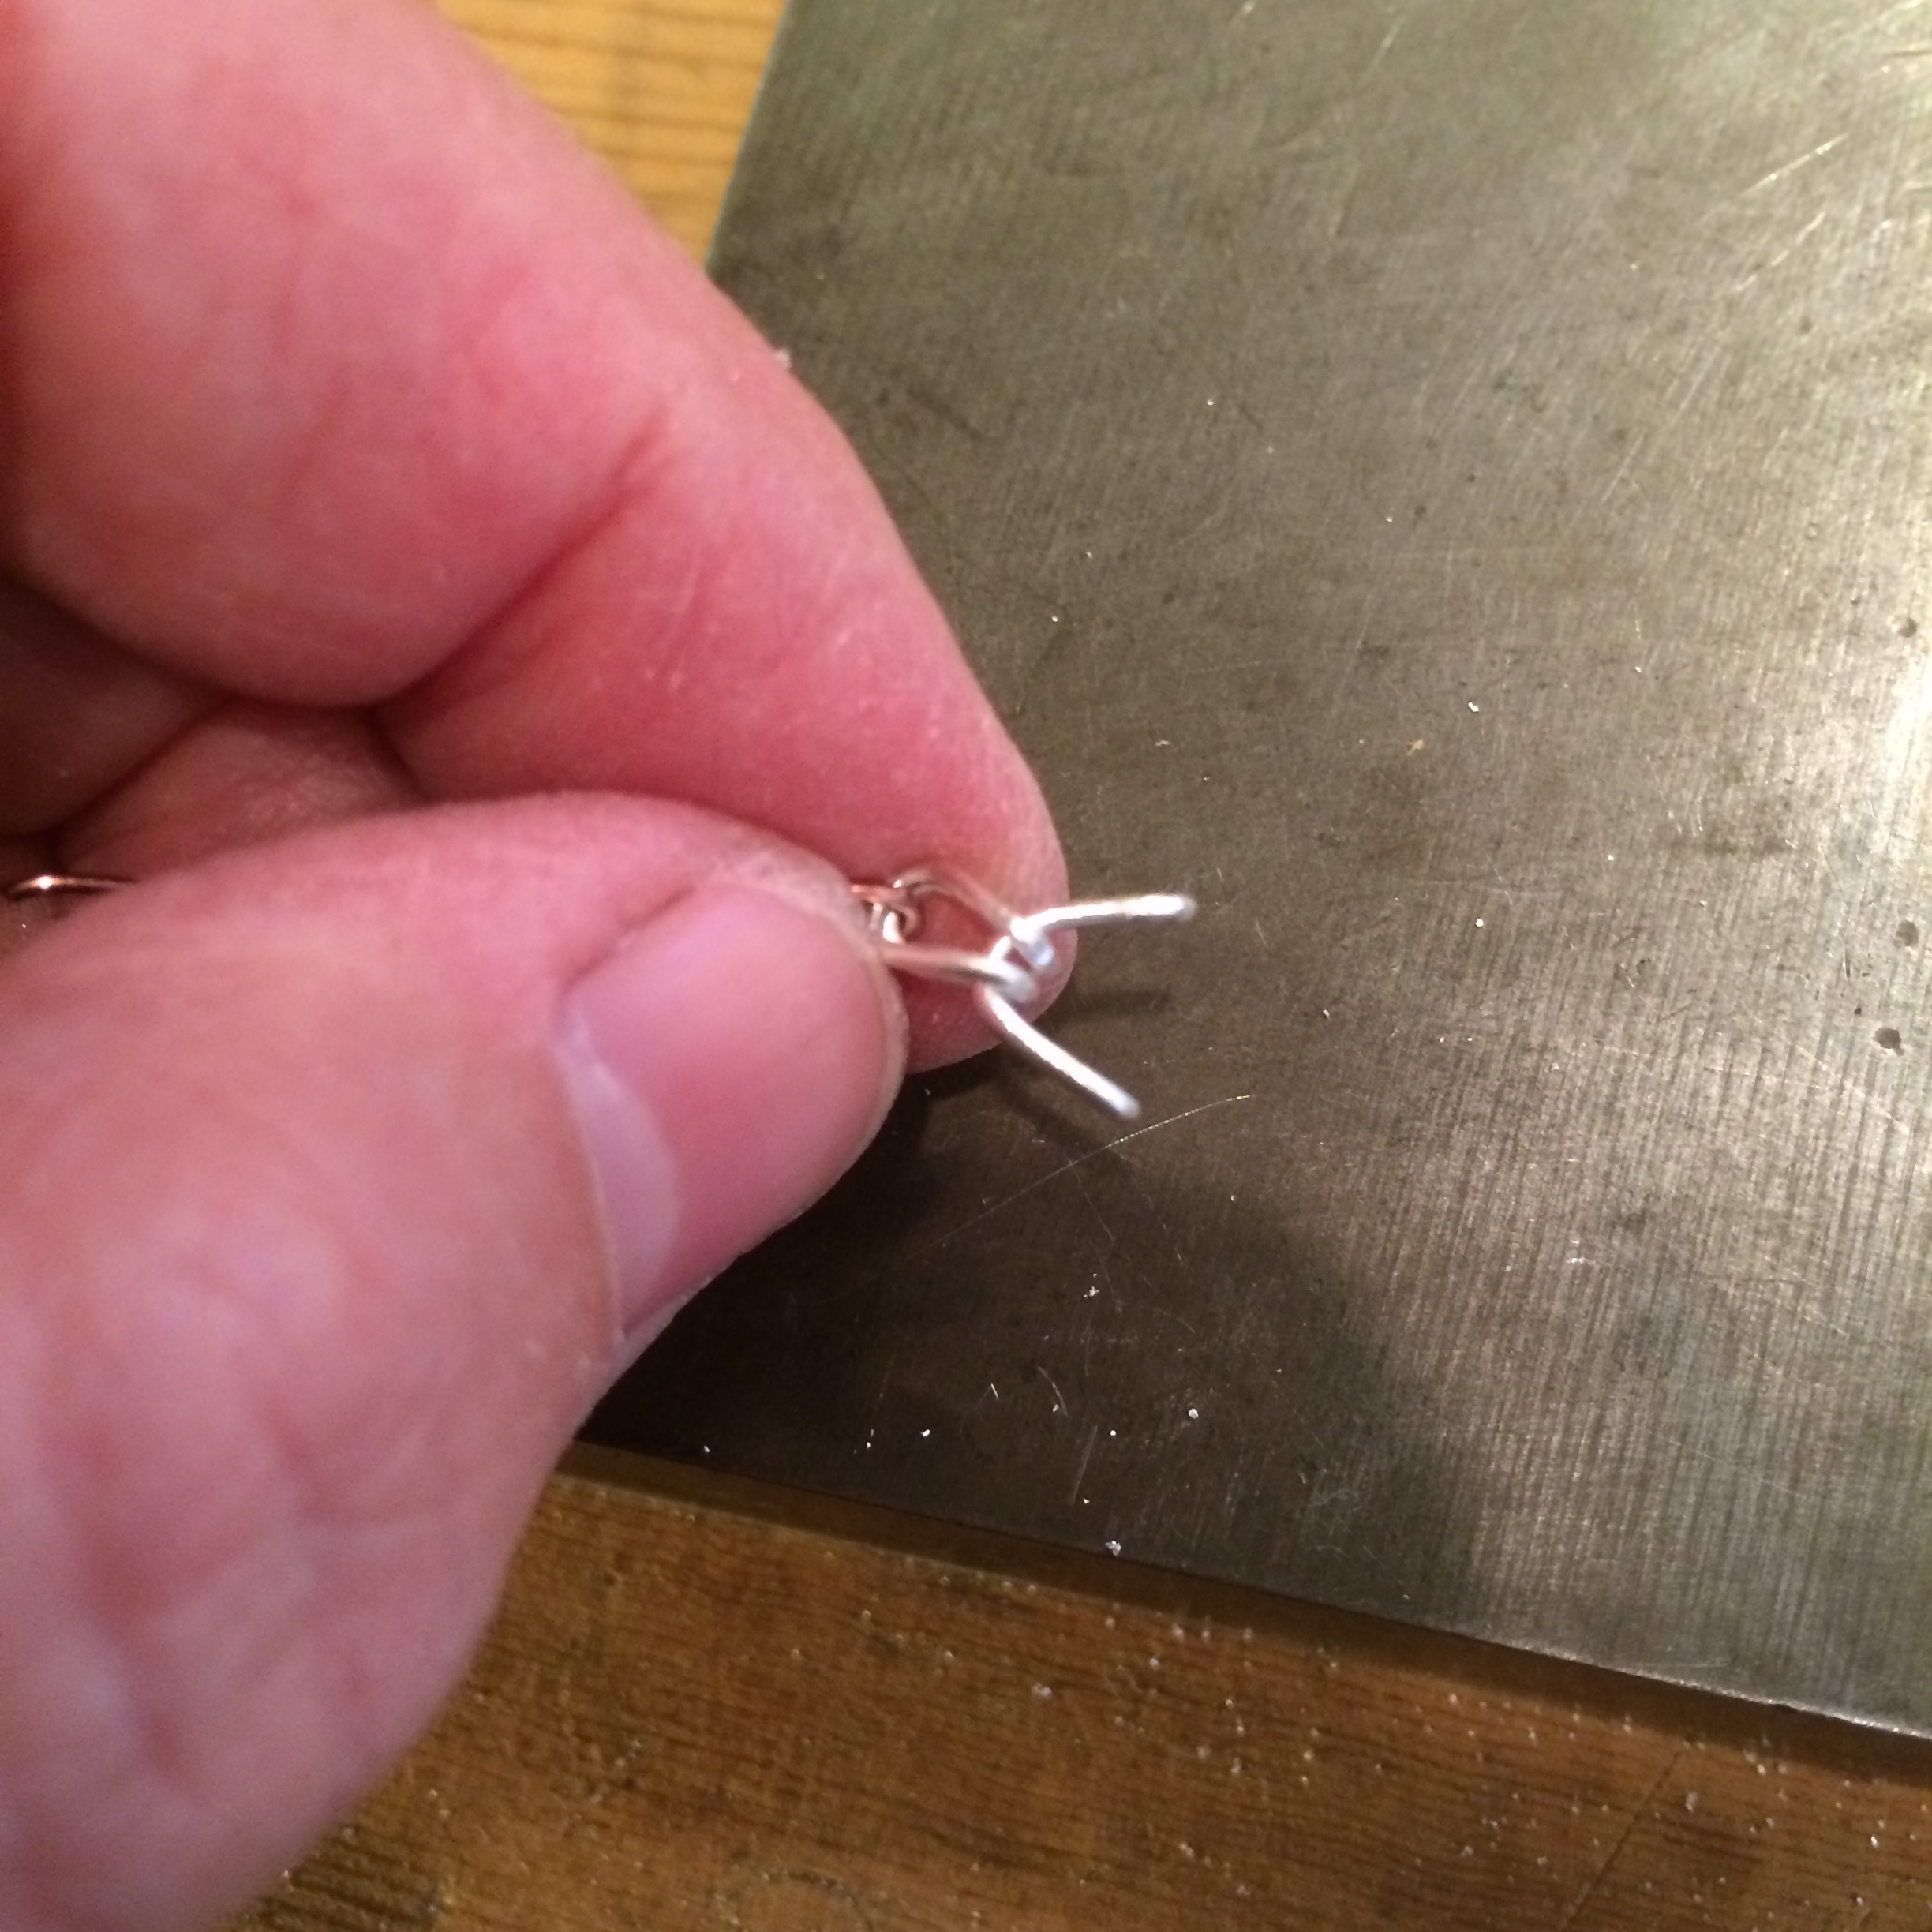
To do this you may have to squeeze one end of the second link together slightly so that it fits through the hoop in the top of the first link.

Also you can push an awl, or your center punch, through the hoop you wish to thread the next one into to widen it slightly.
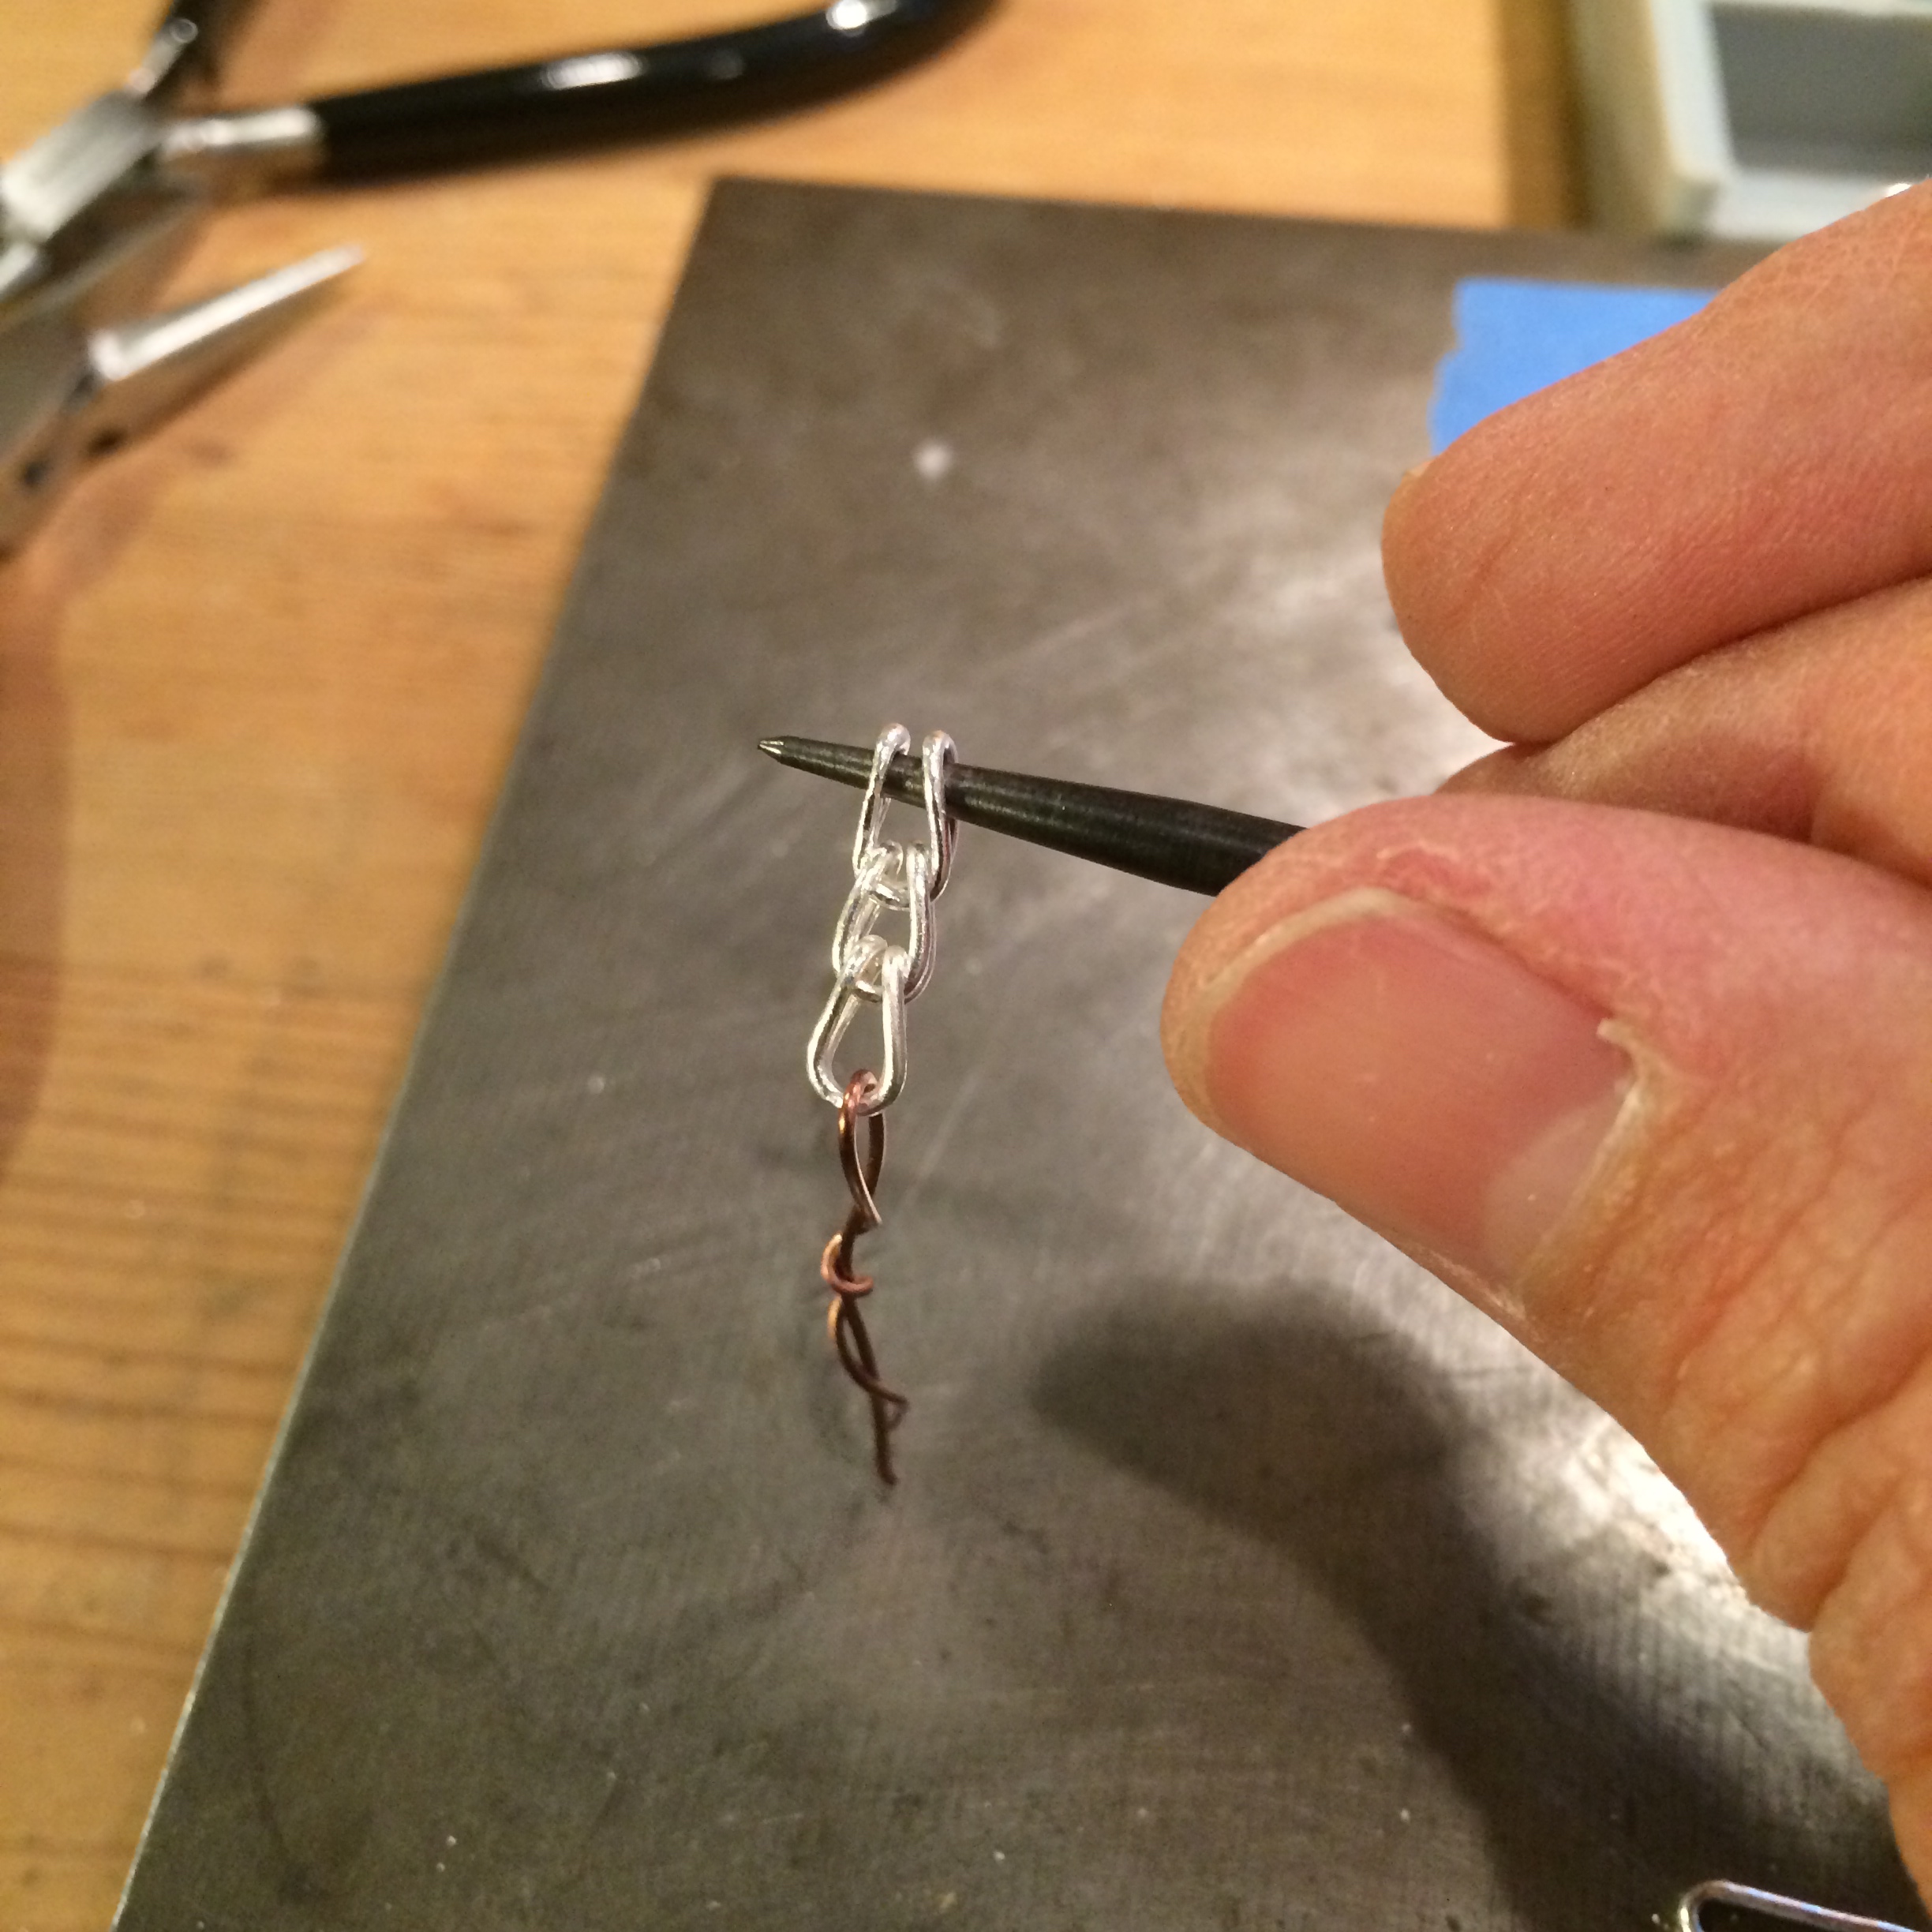
Now you just continue to make the chain until you get to the length you need.
Once it’s completed, anneal the chain by gently running the flame backward and forward over it until the surface of the silver just changes slightly, and then quench it.
For the next part you’ll need a draw plate.

I bought mine HERE, but you can find them anywhere, and any kind will do. I just drilled a hole through an old piece of wood before mine arrived.
Once the chain is annealed pull it through the draw plate to even up the links and make it look beautiful.

You just want to even up everything at this point and not stretch it so be careful which hole you pull it through.
The chain will be crunchy afterward so just loosen it up in your fingers and then voilà!
You are done.
Finish it however you prefer, I like to blacken mine, and then make something extraordinary with it.
Go on. You know you want to.
🙂
–
P.S. Remember Ann Cahoon has a great visual tutorial on chain making – HERE
–
–
–
I was getting ready to make this.
Then my family came.
And went.
🙁
I really liked the lightness of this design, but for some reason, which I can’t remember now, I went a different way with it.
Now it’s heavy and Victorian looking and only people who like heavy Victorian looking things will perhaps buy it – which leaves out most of the population.
Is this self sabotage I wonder.
To make jewelry which is not to the taste of the majority of people.
Or is it a genius scheme to save me from ever parting with my beauties.
We may never know…
So this stone, which is beautiful by the way and now happens to be one of my new favourites, had to be pried from its setting twice because one of the balls kept falling off.
We won’t mention names.

I hate it when this happens and for it to happen twice, each time after I had cleaned it, blackened it, polished it and smiled with satisfaction at it, just sent me right over the edge.
The best way I’ve found to pry a stone from its setting once you’ve pushed the whole bezel collar over and sat back thinking it’s done by golly, is by using a scalpel.
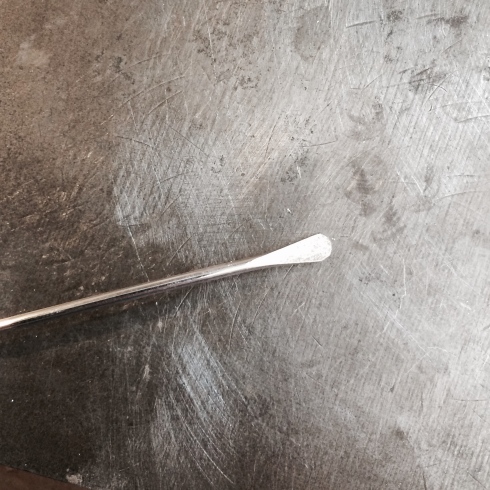
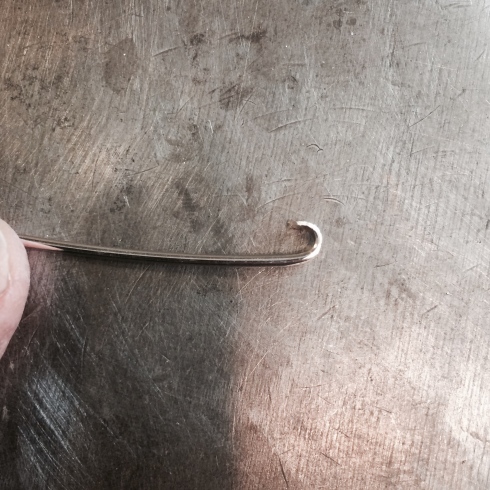
I used to use one of these double ended pottery tools
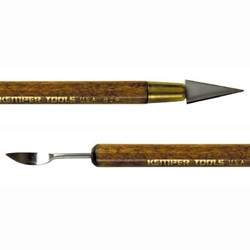
Because I’ve got loads of them hanging around.
But even though they look thin, the knife-edge is actually a little too thick and it’s also easy to bend.
So, after much deliberation, like a nano seconds worth, I went to the scalpel.

Which seems more dangerous, and it is, but sometimes we have to blow caution to the wind and just get down to business.
Just gently slide the blade down in-between the bezel collar and the stone and wiggle it slightly until a small opening occurs, then slowly move it around the stone. Sometimes you can’t slide it and have to push it down again to make another opening.
The key is to do this slowly and to not push the collar too far out from the stone all at once. It’s best to do it in little movements as you work your way around the stone.
If you try to move it all at once the collar will get marks and crinkles in it so you want to do the least damage to the collar as possible.
Otherwise you may as well throw it in the bin and start over.
The tip of my scalpel blade snapped off which makes it easier to use. In fact you might want to take a small section of the point off to begin with so that you don’t have it fly into your eye when it decides to do it for itself as that wouldn’t be good.
Needless to say, always use your safety glasses as well as crossing your fingers.
So, there you have it.
I sincerely hope that you won’t ever have to take your stones out because your balls fall off, but if you do, know that there is hope.
–
–
–
It takes me a while to get back to normal after my family leave.
I like to sit around wallowing for a couple of days.
I also like to give up cooking, stop going to the grocery store and stay in bed for a little longer.
O.K. so I always stay in bed for a little longer, but now I have a reason to.
My brain stops thinking about anything much and my head becomes a dull vacuous cave with barely enough sunlight for even the dust motes to play in.
(Too much?)
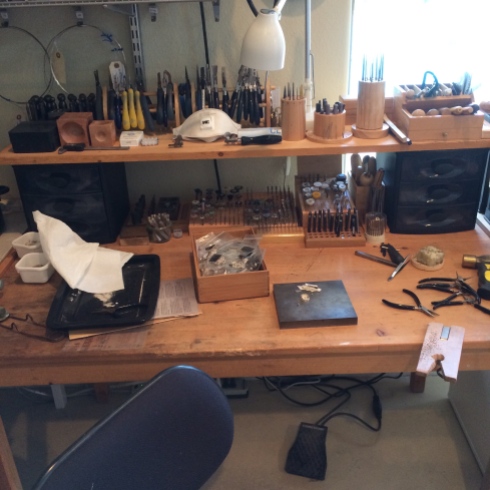
But I have got a great new studio to get back to.
When K was here we found a small backwoods furniture shop called IKEA and bought me some new stuff 🙂
It was a great opportunity to get this done as my sister was able to lift all the heavy stuff while I directed.
She didn’t complain once about her RA, but I did have a sore finger and couldn’t quite manage.
Actually we found a nice man who put everything into the back of the car before I could turn around to help him.
If only he’d waited.
Now I have drawers.


And super solid work surfaces instead of the jumble of old tables I used to have.


I still have my old table that I do most of the work on because the new ones were too long for the space, but I put a plank on two of my little drawer things and now I have a shelf and even more drawers to keep my bezel wire, silver plate and the small useful things which clutter the table when they’re not being small and useful.
I’ve still got more putting away to do, but to be honest, without K here I’ll probably try hard to ignore it, but ain’t it great 🙂
Just wait until I show you my bead drawers!
You’ll die.
😉
–
–
–
Well my dad left
🙁
And then my sister left
🙁
And once again I find myself here, all alone, in this strange land they call Texas.
–
It was great to see them. I really had a good time.
Dad was here for three weeks, which seemed like only one, and my sister was here for two.
Now they’re both gone.
Back to the Mother Land.
Without me.
And I had to have a little cry on the way home from the airport.
Well a howl really.
It happens.
–
I didn’t do much of anything during their visit which was nice.
Dad liked to sit outside in the 100 degree heat and read his book. I could only manage ten minutes at a time and I’ve lived here for twenty-six years.
My sister also liked to sit outside in the 100 degree heat and read her book.
Man!
You know what they say about mad dogs and Englishmen.
I’ve never been able to sit outside in the heat. Of all the people to come live here in sunny Houston, I was probably not the best first choice.
We went to the theatre to watch The Foreigner by Larry Shue which was really good and we had to laugh out loud.
Except it was FREEZING inside the theatre and we almost had to cry also.
I know, I know.
It’s too hot, it’s too cold. What’s a girl to do.
Live in Hawaii that’s what…
Anyway we didn’t ‘do’ the Space Center because it was like 100+ degrees and the thought of being outside on their little open air tram tour seemed a little…well, hot, but P did take my dad fishing five times! because out in the bay where the air is so still that the water doesn’t move and the heat beats down on you to the point where you think your brain is frying and you can’t see the shore line which is your only hope for survival and you begin to think you’re living in some strange hallucinatory land from your worse nightmare is exactly what the doctor orders for all 85 year old men.
Did they listen to me?
No.
And what did we get to show for the worry?
One little fish.
But
Dad survived to live another day and I think enjoyed living on the edge even if it did nothing but to prove that we’d never survive on their hunting and gathering skills.
My sister, on the other hand, found that worrying about whether your fishing skills are sufficient for survival meant nothing compared to being taken aside into the ‘special’ room at the airport because your hands show evidence of recent exposure to explosive materials.
We think that the only possible explanation for her detainment could be that we had been in my studio just before we left for the airport. Who knows what chemicals are lurking there. Fortunately I don’t know what to do with any of them except to make jewelry and my sister definitely doesn’t know what to do with them.
Thankfully she passed their second test and so avoided the ‘extra special’ room where she believed that the latex glove worn by the nice security lady may well have been put to good use.
Whew!
Sorry K.
So, now they have gone
🙁
And I’m still here
🙁
It will be O.K.
–
Send chocolate…
–
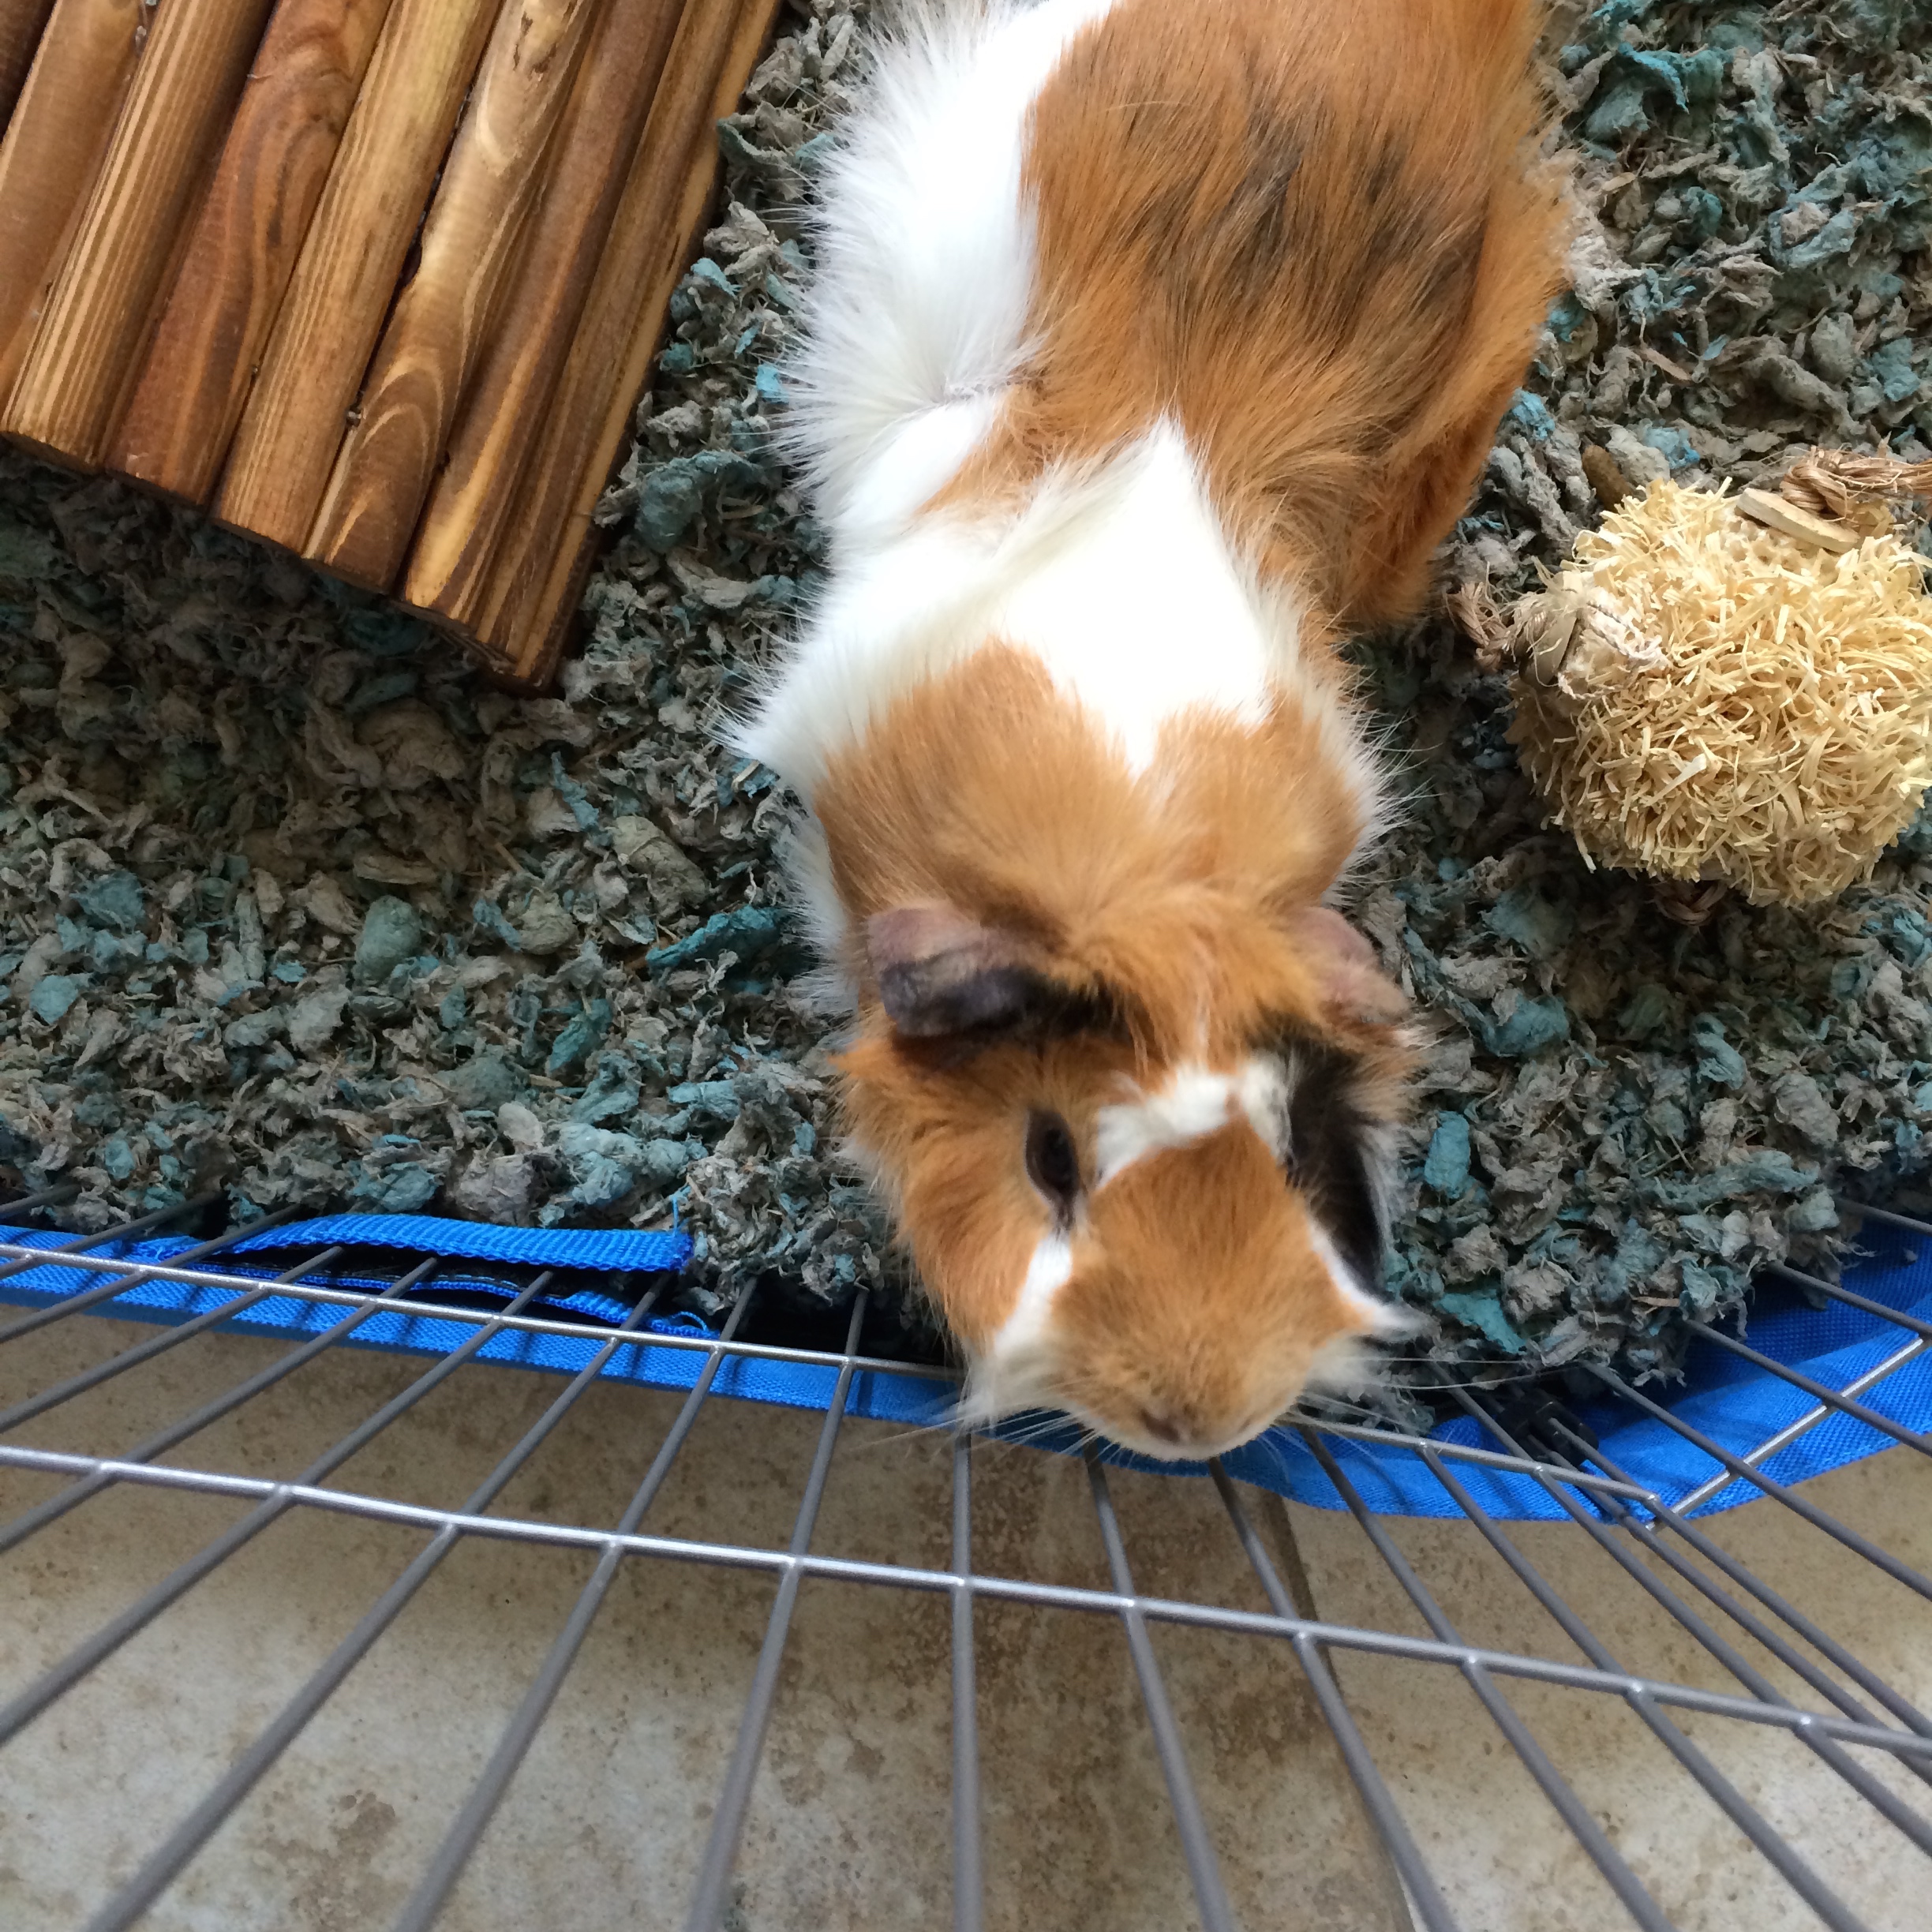
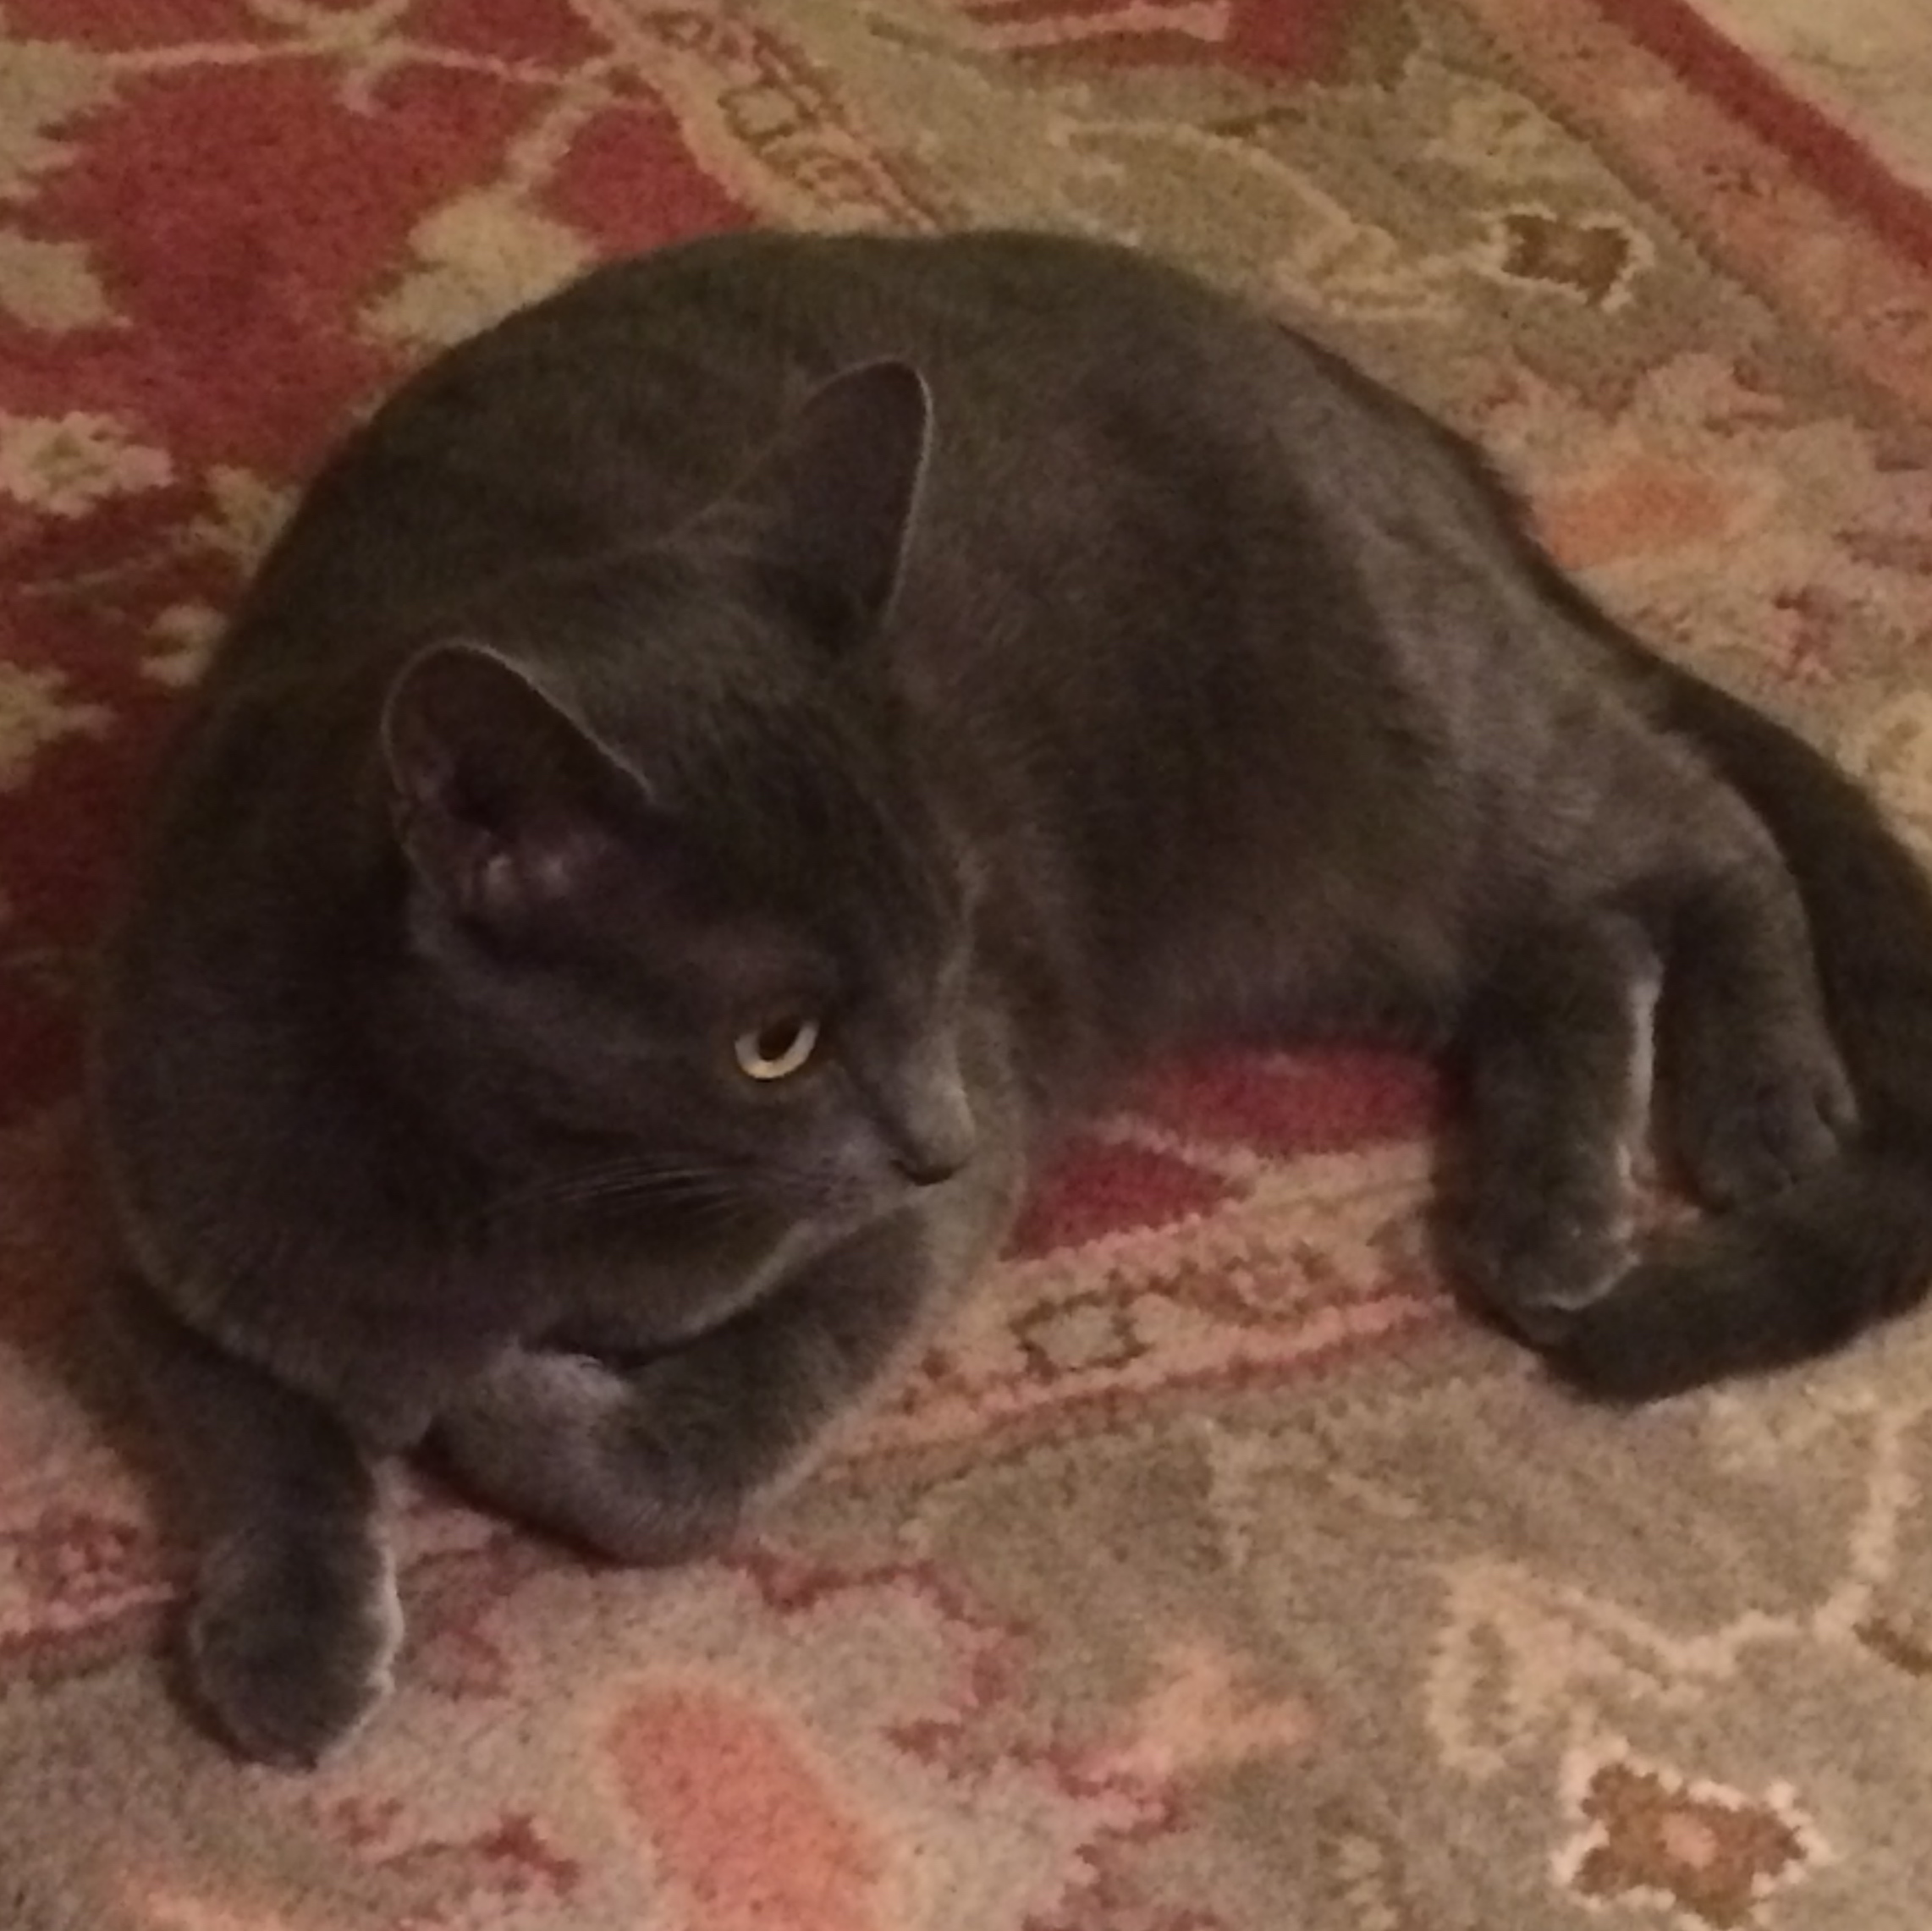
I leave you with a photo of the only family I have left.

Aside from the two humans who live here.

And Pickles who doesn’t like to socialize with the local riff-raff.
–
–
–
O.k so it’s not a winner exactly, but I felt that since we had talked about the chain I’m still impressed with myself for making, that it’s something of a big reveal to show you what I did with it.
And so, without further ado,
Open the curtains please…

The Bracelet.
Dah daaah.

Lol
Bit of a let down really.
Made myself chuckle though.
And
Just because I like you, here’s a new link.
–
Take a manageable length of 16 gauge sterling silver wire and hammer it flat and file the end.
Now make a small curve with your round nose pliers at the flattened end.
Still using your round nose pliers shape the wire into a link so that the small curve is on the inside.
As you close up the link push the wire past the end it’s to be soldered to so that when you wiggle it back into place the ends of the wire will be touching.
Annoying I know, but the two ends have to touch to solder.

As you form the link match it to a master link.

This way you’ll always be checking it against the same size and it will be easier to keep them consistent.

Now cut the link from the remaining wire

And make it a couple of friends.

When you have as many as you need pick solder the ends together.

With just the tiniest pieces of solder.

Now trim them and file the ends smooth.

And join them together with a soldered jump ring.

Then you can go to town with making another bracelet.

Because you’re on a roll.
🙂
–
Sorry that a few of the photo’s are bad quality, but you get the drift.
–
–
Nothing what so ever has happened!
It’s just been a weird month that plugged into my hypochondriacal, so I’m going to die now am I, self, which only stopped yesterday afternoon.
Nope it wasn’t big.
Loads of people go through it.
BUT
I didn’t like it and I felt really really sorry for myself and really really annoyed that I was feeling sorry for myself and everything screeched to a stop as I planned for how I was going to react to my biopsy being positive.
Told you.
Hypochondriac.
Actually my doctor said that she had seen hypochondriacs and that I wasn’t one, but I’m pretty good at hiding my secret life of health anxiety so she didn’t know that I had already planned my funeral and given away all of my jewelry tools.
(Penny, you would have hit the jackpot! Especially as my imminent death didn’t stop me from buying more.)
Sooooo,
That’s about it folks.
I made it.
I’m still here.
And now that’s over I’m going to take my jewelry to the next level.
Again.
–
In other new.
My dad’s here so that has also slowed down my days.
But I did manage to finish a piece for Leslie.


I’ve also finished a second piece for Leslie to consider, but I don’t like it and can’t concentrate as much as I would like to at the moment on making something better.
And before dad arrived I made a chain.

My first.

And I was pretty darn pleased with myself.
I started on a double one, but got the gauge wrong and haven’t been able to start another yet.
If you want to make chains this is a really good dvd.

And they’re really not as fiddly as you think they’re going to be.
Of course I haven’t got on to the triple double o.m.g. one yet so I’ll have to get back to you on that.
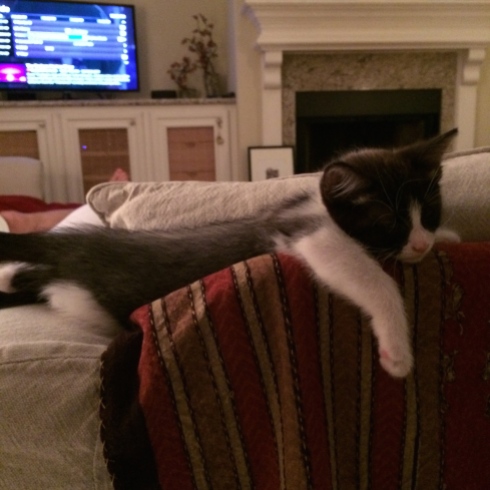
Throughout my trauma Spud has slept.
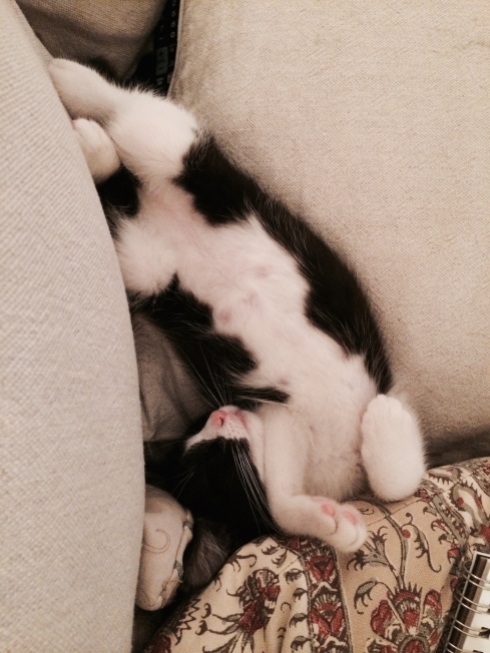
Without a care in the world.
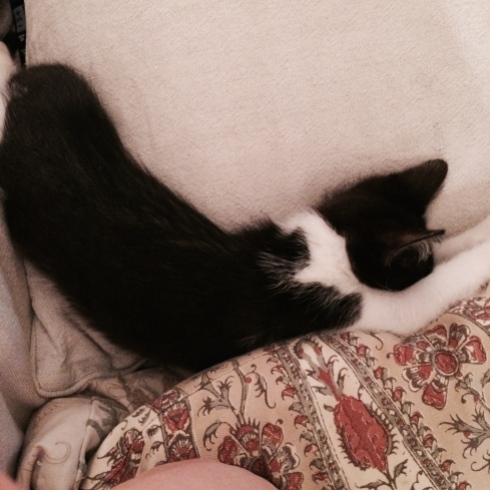
Just to rub it in.

But I still love her.
Even though I had to restock on phone charging wires and computer leads.
She doesn’t discriminate. P’s leads are as much in danger as mine.
And she comes onto the bed at all hours of the night when she decides she needs to spend a couple of hours purring next to a human head at decibels exceeding those made by a pneumatic drill.
It’s all good.
–
And finally, to all of my cyber friends who need a boost.
I have found our new motto…

May all your s#@* be amazing…
–
–
–
So short story long, I had surgery on Tuesday.
Just a small one concerning those parts of the body that an old grandma might refer to as the ‘unmentionable’ bits.
It was nothing EXCEPT that I had to sign my life away, have HALF the blood drained out of me, have an EKG AND a chest x-ray, AND was asked if I have a living will and, just to make me feel really good, would I like to have the chaplain visit me…
These people obviously didn’t know I’m a hypochondriac.
On top of that I had the added pleasure of paying thousands of dollars for the privilege.
We’re lucky to have care when we need it, but how on earth do people manage if they haven’t got thousands.
All the people in the hospital, except the mean looking desk lady who didn’t know how to smile, were really nice.
Not that I felt like hanging around or anything,
but really nice.
I got to wear the long white victorian tights, the puffy purple gown with the vacuum pipe attachment, and that nice deli counter cap.
Why can’t they just put that thing on you when you’re not looking? I mean, they do everything else while you’re sleeping…
I didn’t want to go and don’t mind telling you that I felt very sorry for myself.
I had to toss up between going in to hospital for a couple of hours with living in one of George Martin’s books or turning myself in for a fifteen month prison sentence – voluntarily.
We’ve just started to watch Orange is the New Black. Not sure that I like it, but it certainly came in handy for weighing up my options.
As for George Martin. What the hell’s going on in The Game of Thrones anyway.
All you get is the boy who can’t walk being dragged around in his little caddie chair and dreaming about crows and doing his eye rolling thing. I don’t know where he thinks he’s going. I don’t think he knows either. The tall soldier lady dragging around her one handed captive. Stark’s ward sniveling like a little boy in the corner and not doing anything to help out anyone. O.K. so I know he was tortured, but get a grip man! The oldest daughter just sulks around in fine dresses. The youngest daughter stabs anyone she can get her hands on with her little sword and looks like she smells bad. And dragon lady just wanders around messing in other people’s affairs and generally not really doing much but looking pretty. John Snow just is, and the poor half crusty girl has to sit in her little dungeon room all day reading books.
I only like the dwarf.
Now we have to wait until we get to watch season 6 and I will have forgotten everything that happened and why it happened so none of this will matter anyway.
But with all these options available to me surgery was the least worrying.
Except it messed with my brain man…
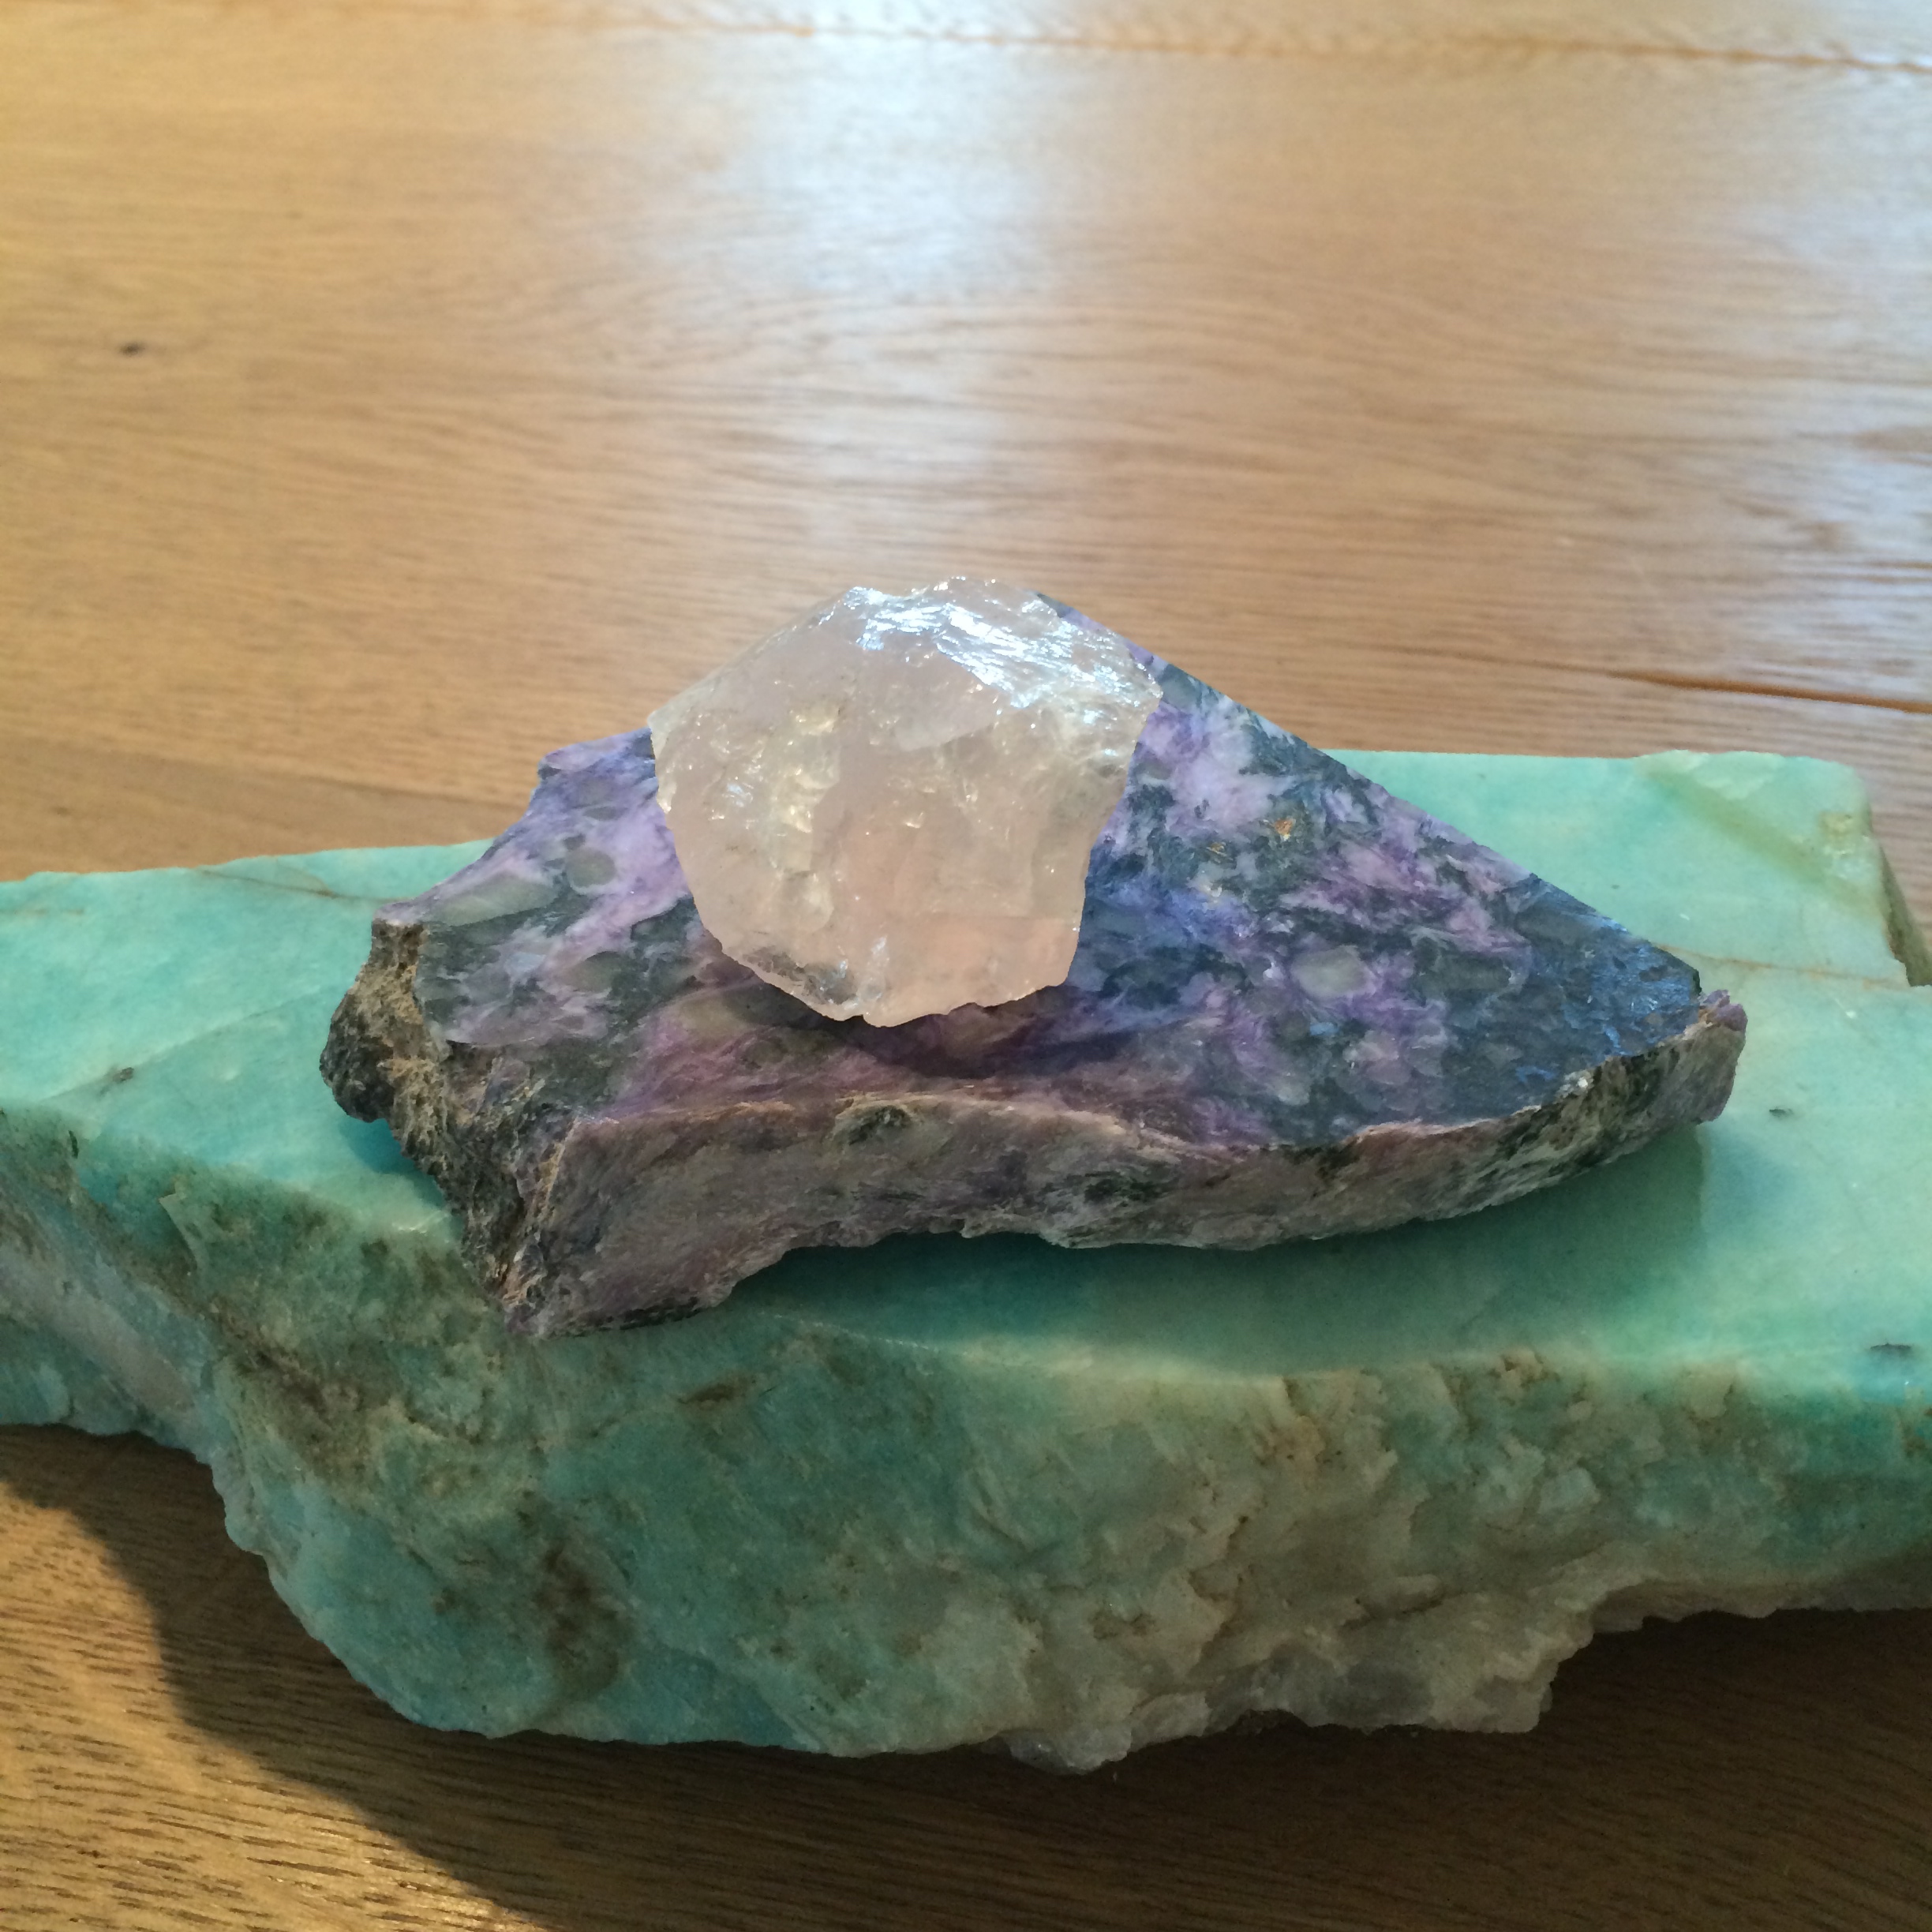
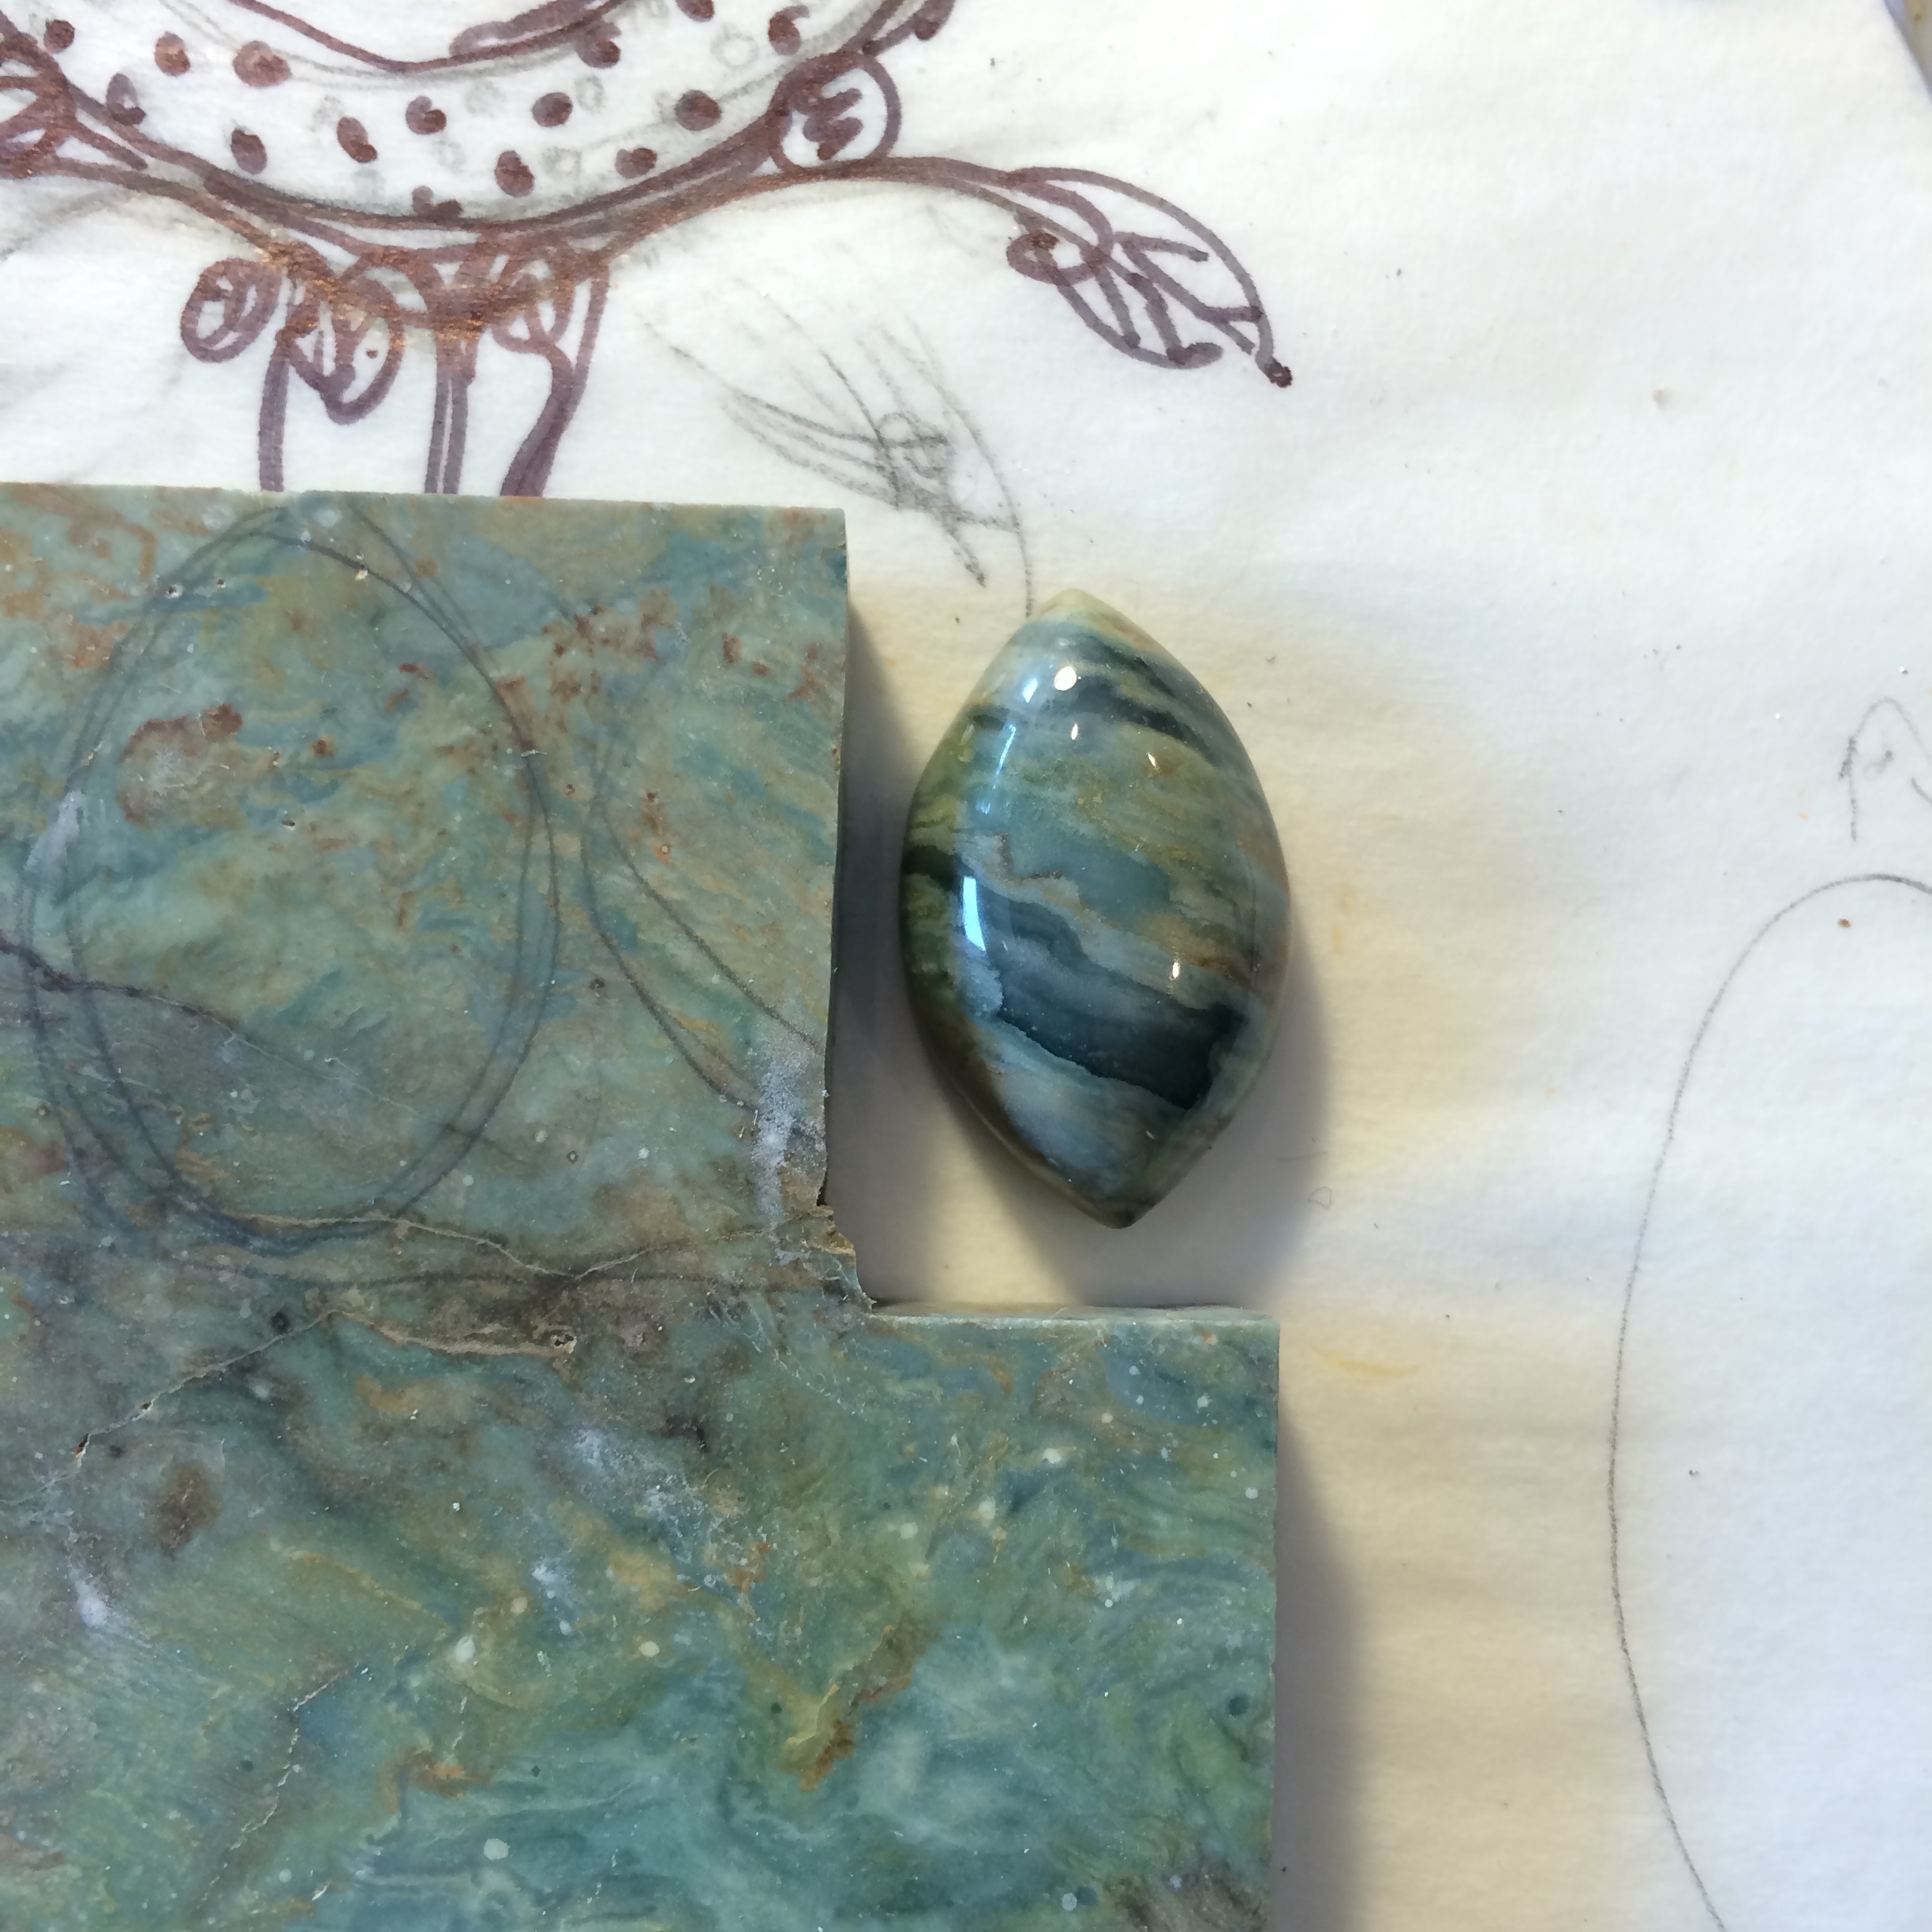
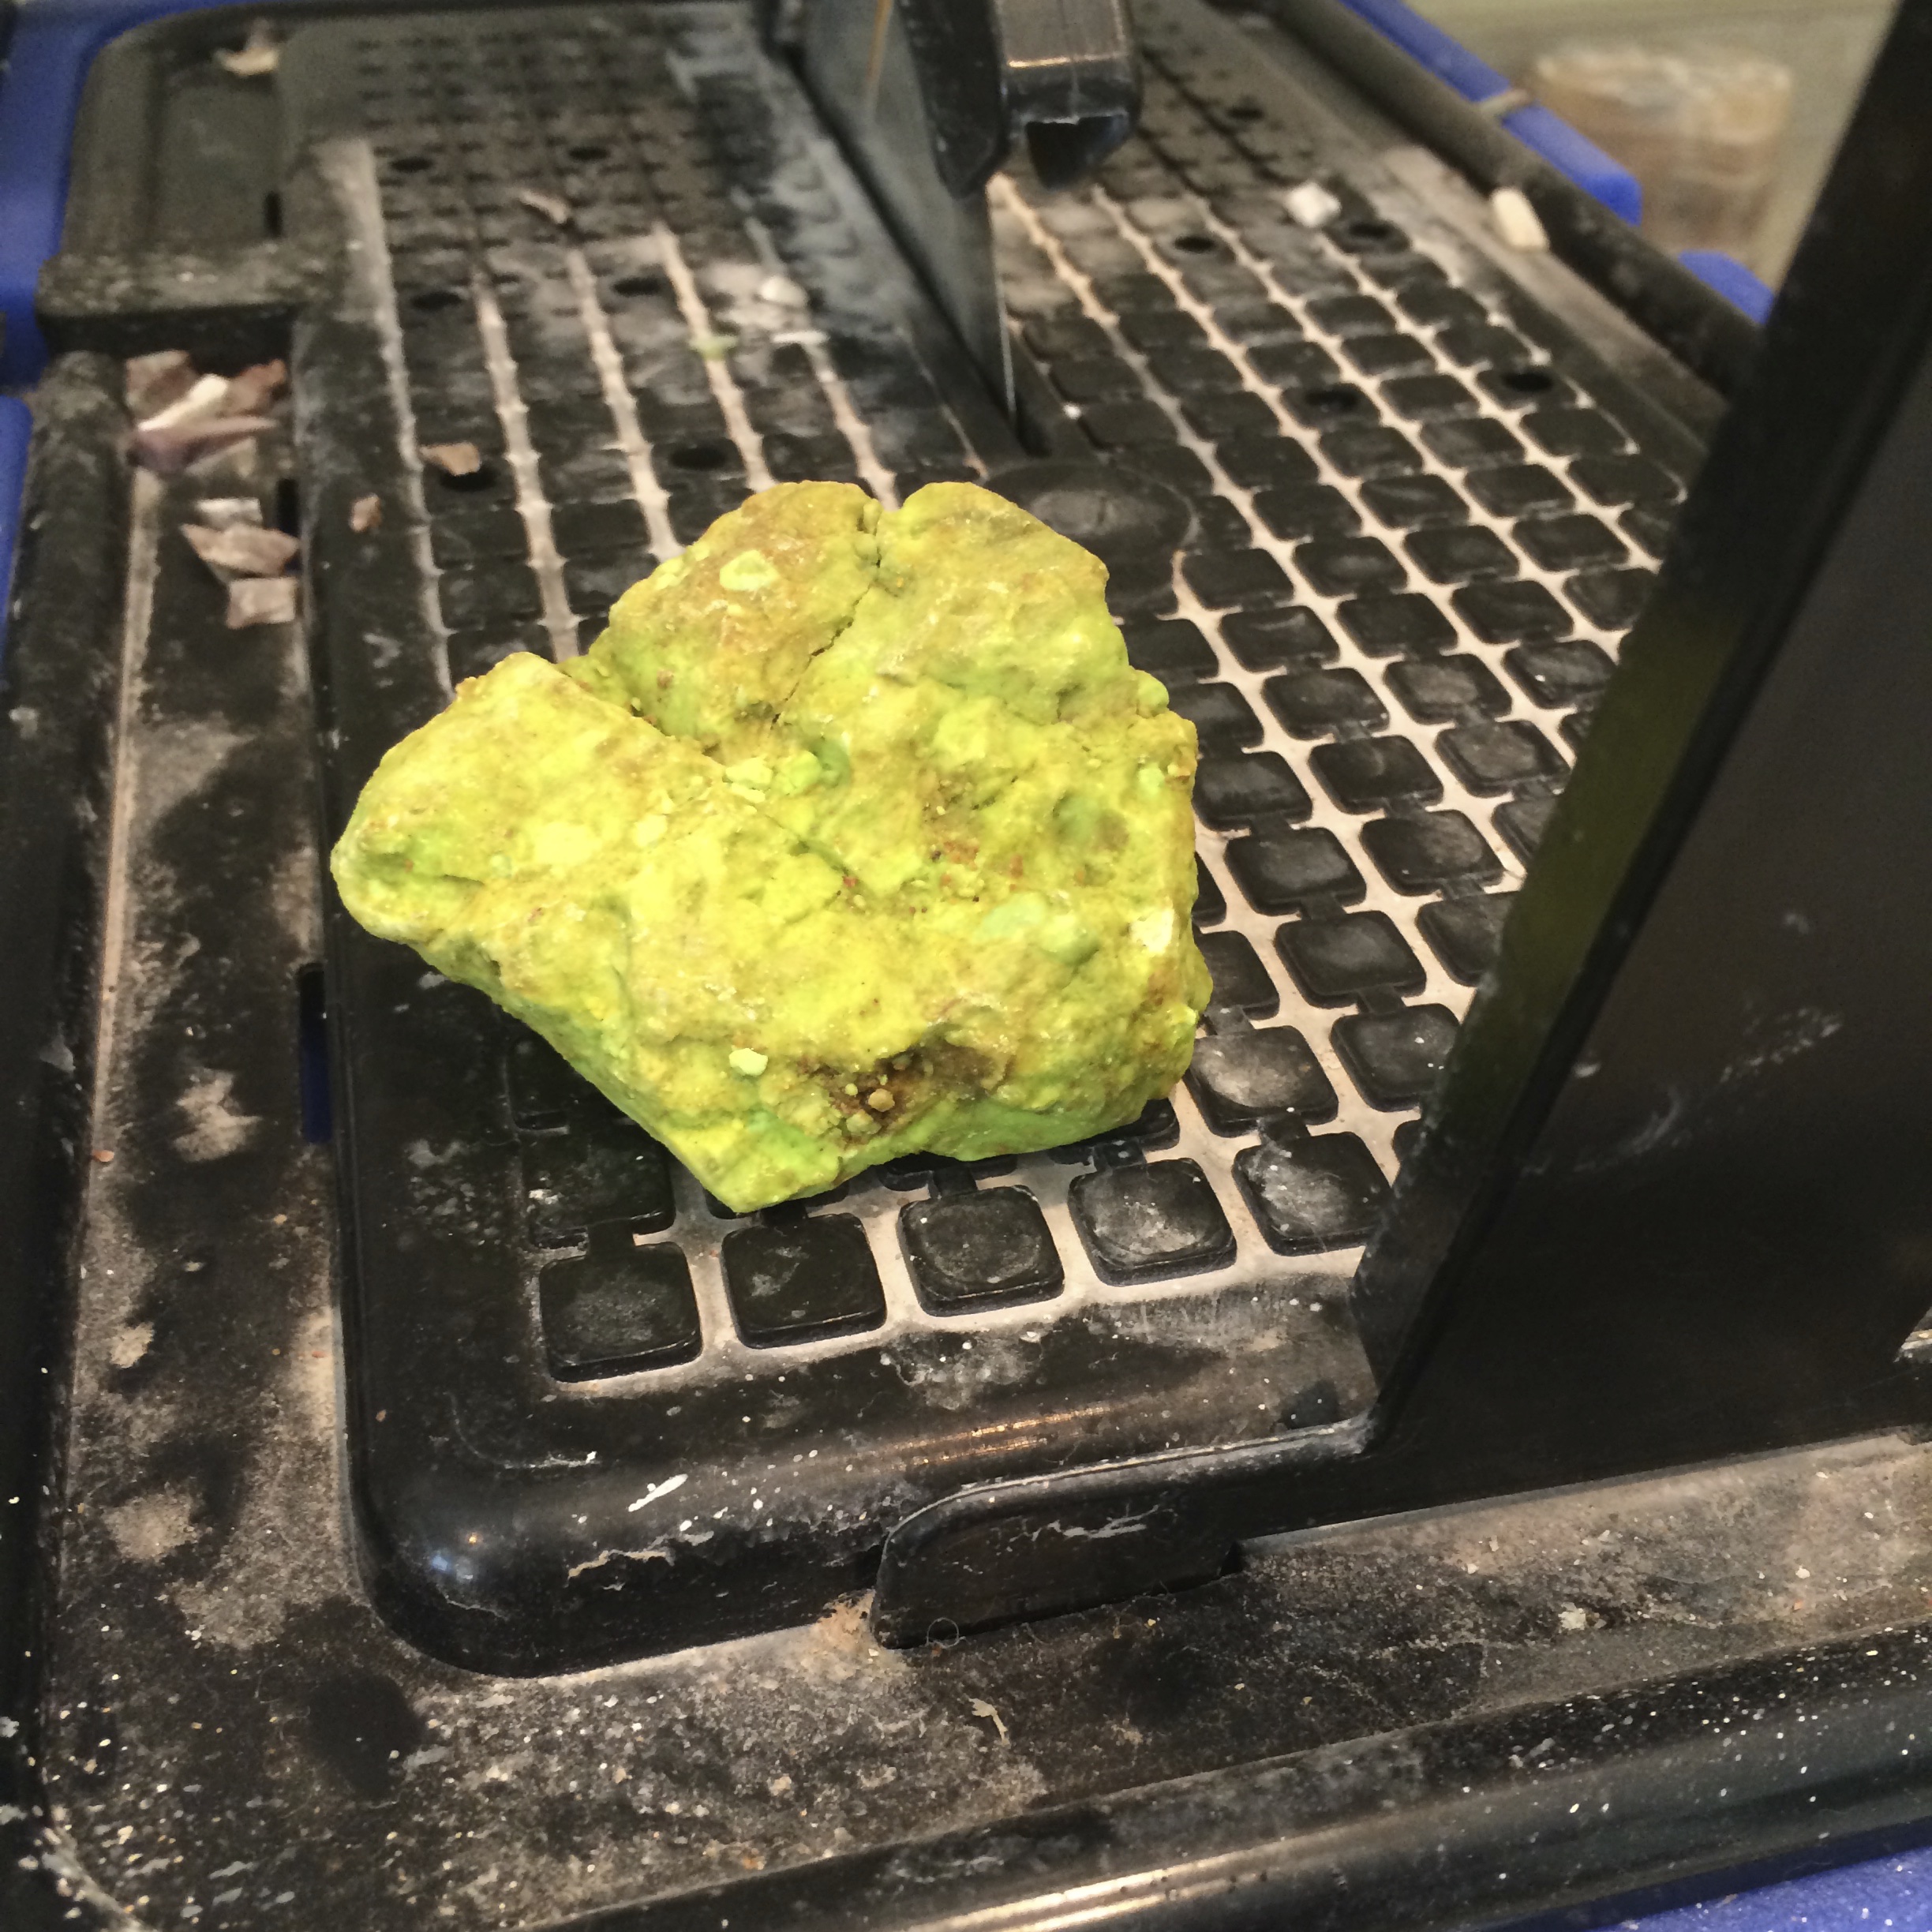
And when my brain gets messed with it thinks that this

Is the same size as this.
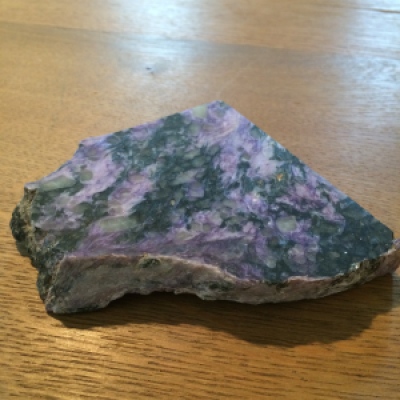
But it’s not.
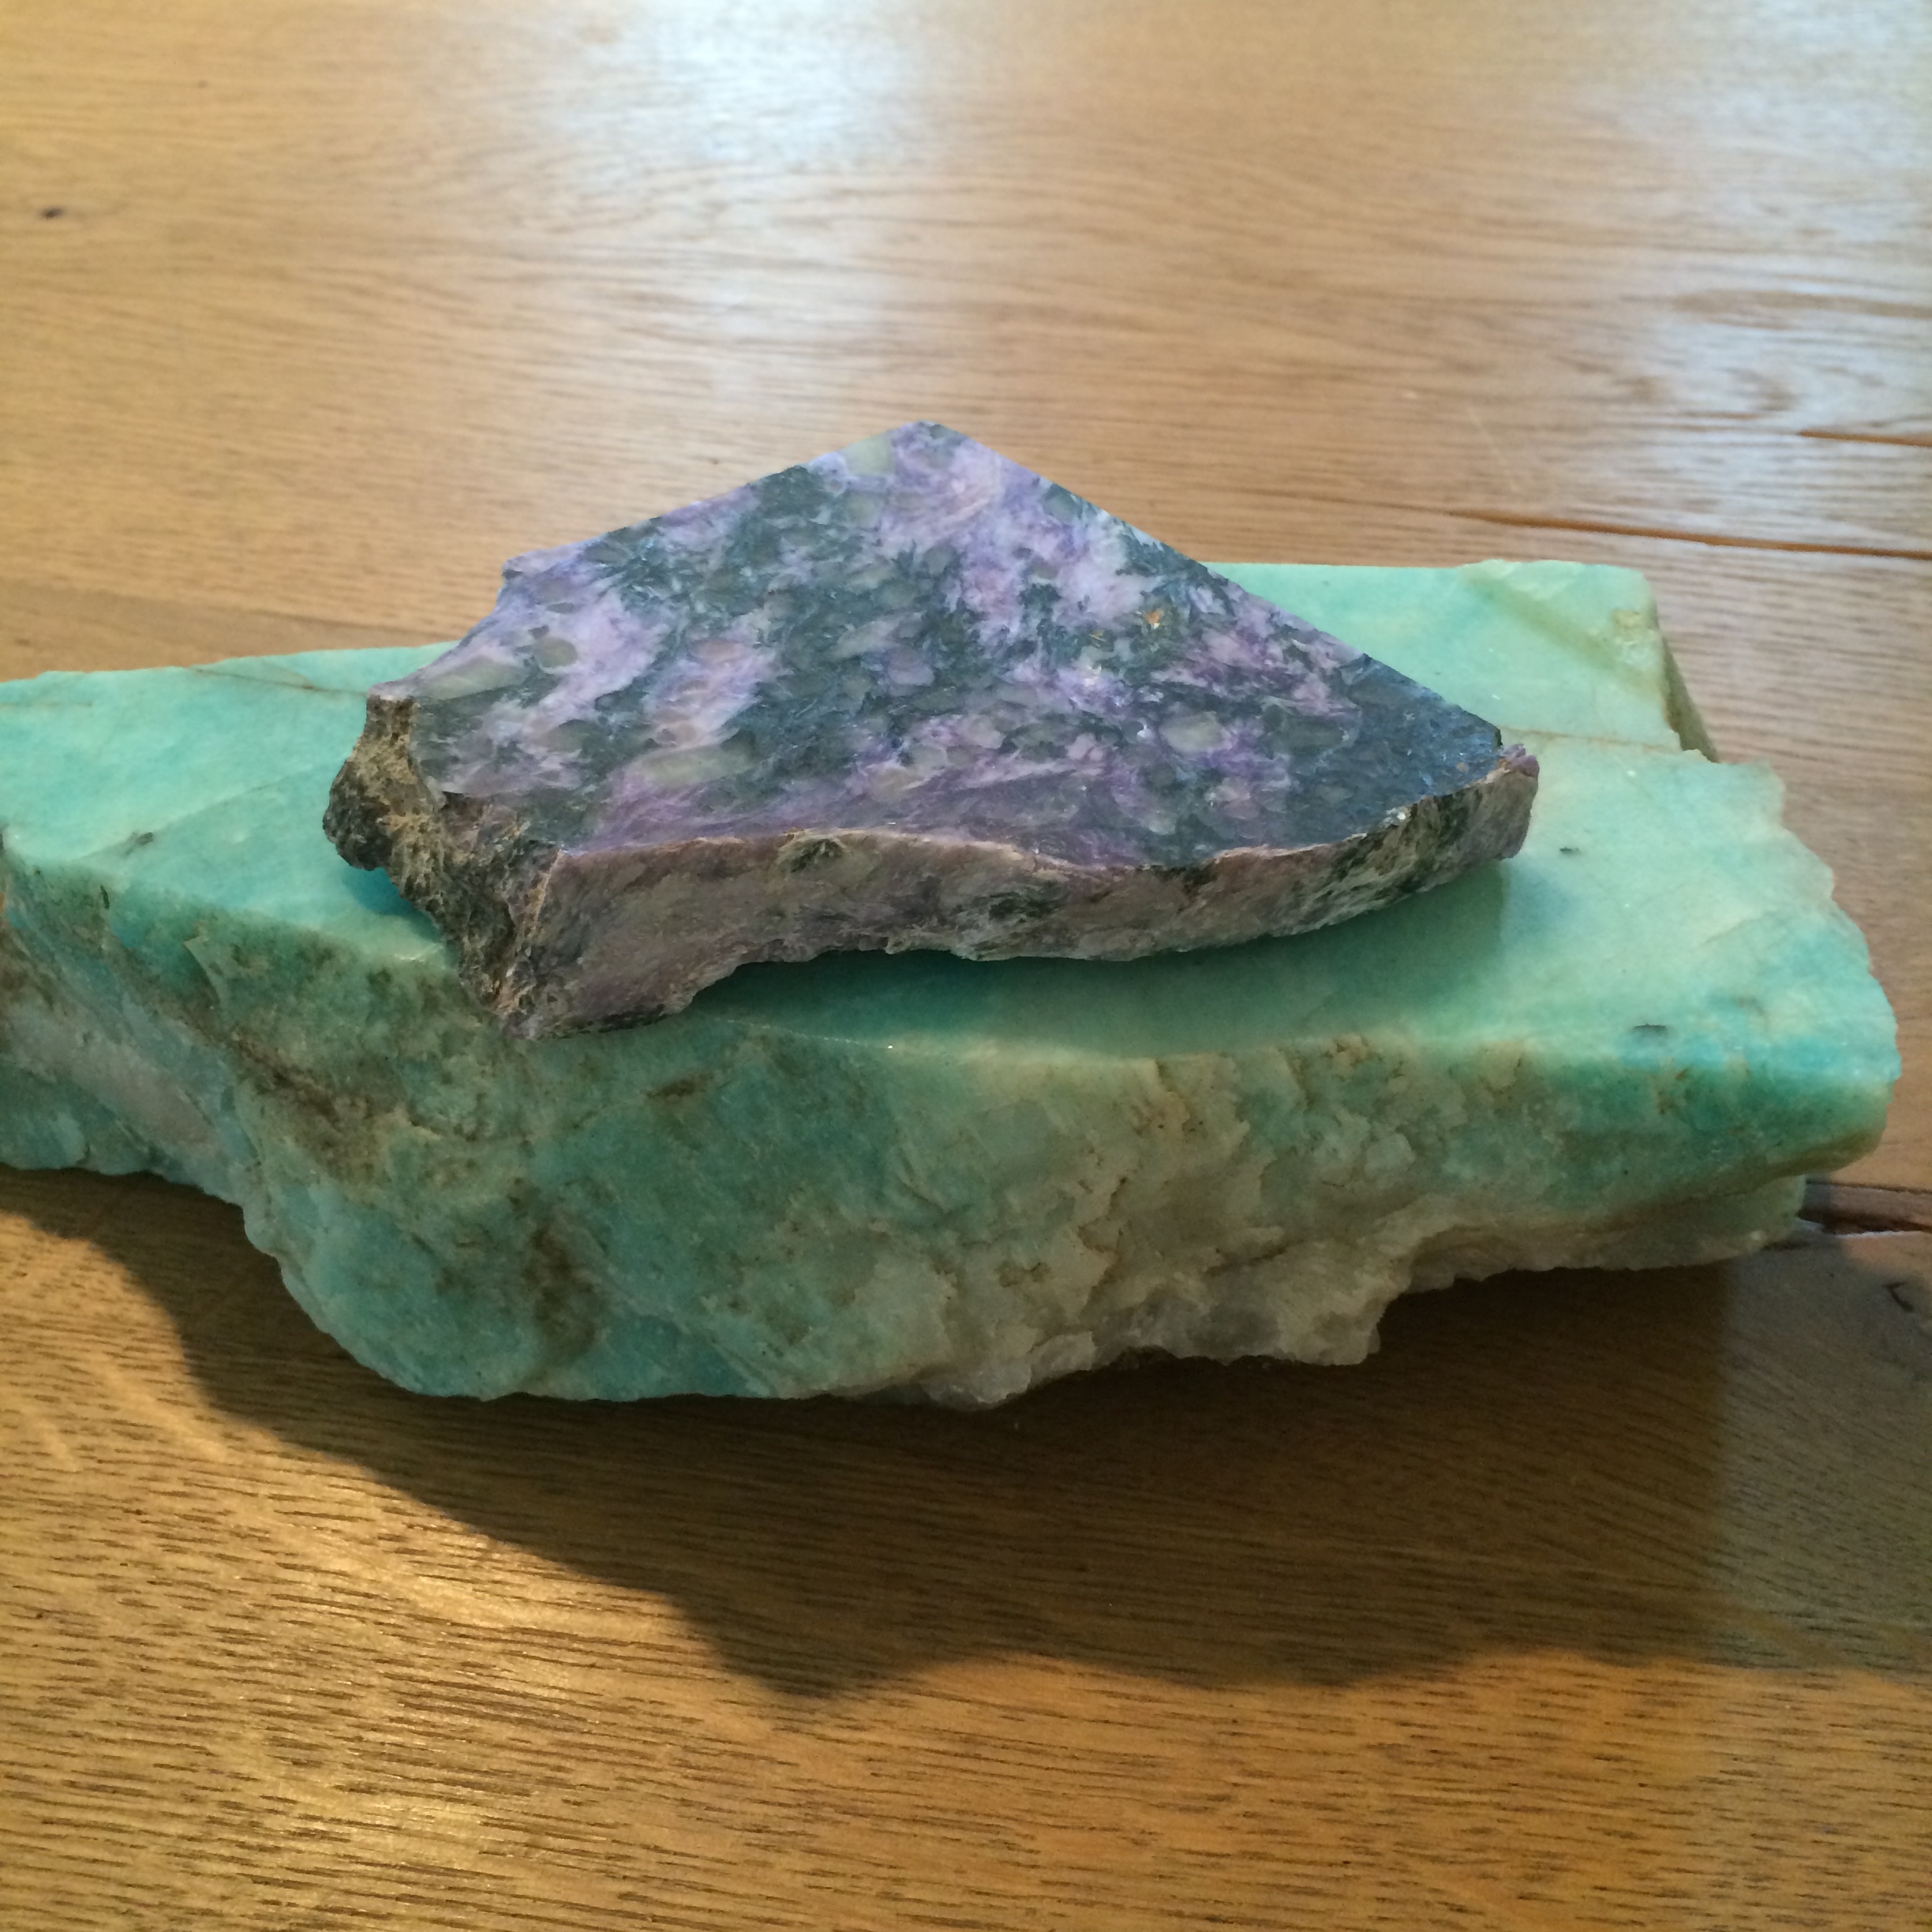
And now you have enough big beautiful blue/green rock to make more cabochons than you can count on two hands, which is roughly about one hand too many.
But, I did get a gift.
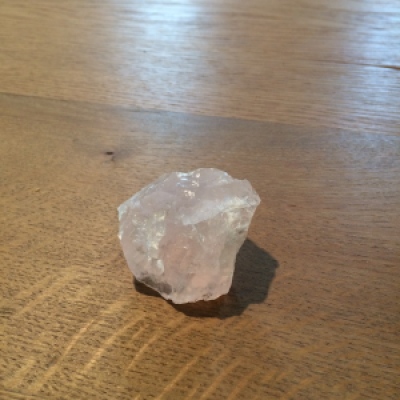
Because the nice rock man probably knew my brain was a mess.
 Oh well.
Could have been worse.
It has got to the point where I daren’t let P into the studio anymore.
If he knew the extent of my (let’s call it) habit I might end up needing surgery on more than my unmentionables.
In other news:
Spud is a nightmare and likes to use Pickles as a spring board to elevate herself to higher levels. Fortunately Pickles is so fat that she doesn’t even know this is happening.
The 100 day project stopped for a couple of days because of Tuesday and the whole brain short circuiting thing, but should be up and running again soon.
I dropped my laptop (again) and now it likes to do its own thing even though I press all of its buttons.
Probably because I press all of its buttons.
And I’ve made a few pieces of jewelry including this

And these.
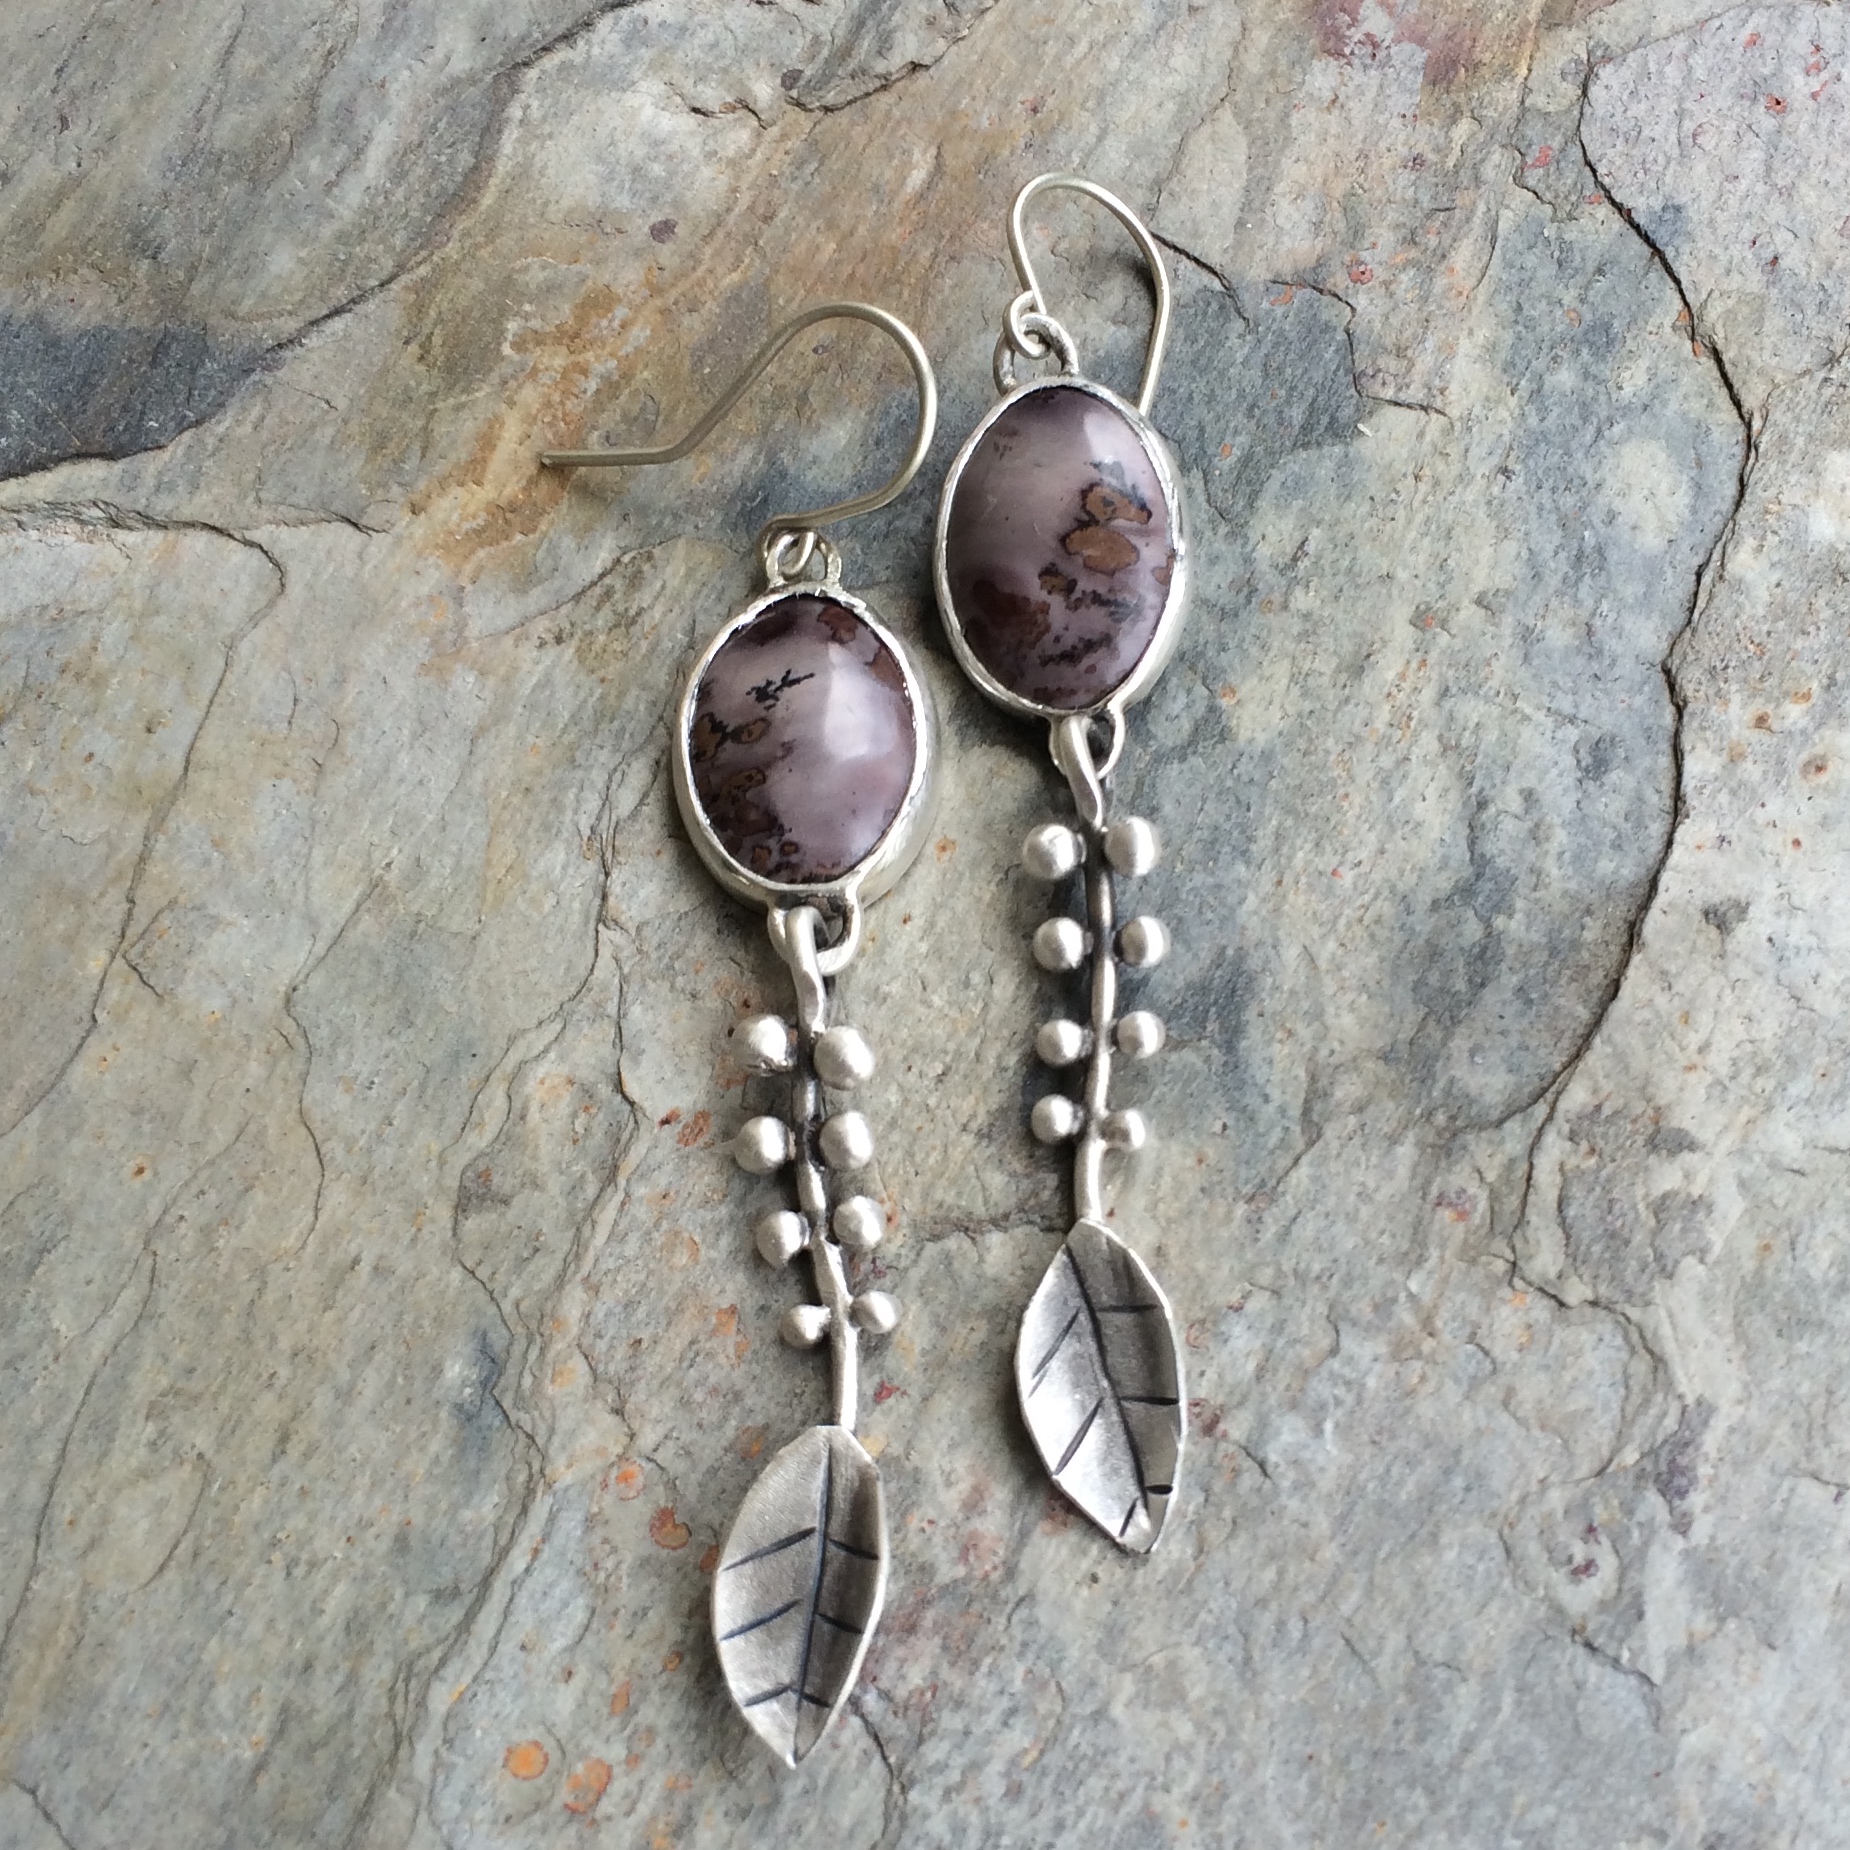
And I’m just now starting another pendant with one of my new favourite stones.
That’s if I manage to get off the sofa today.
😉
–
–
–
For anyone out there who would like a comprehensive tutorial on prong setting, bezel setting, and flush setting faceted stones, Ann Cahoon has one of the better demonstrations I’ve watched.
You can download it to watch immediately or purchase the dvd.
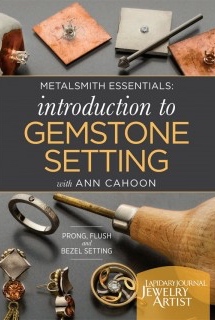
Enjoy.
Actually they have a lot of good dvd’s.
And here’s another piece I’ve just finished because I know you were wondering.
I’ve decided that my next pieces will concentrate on finishing and polishing.
Jane I know you asked, but I’m really not that good at it.
For the pieces I make with the leaves I simply buff the hell out of them using one of these

These
And these.
The bottom two make it easier to reach into the nooks and crevasses.
You can also use fine sandpaper.
I know steel wool will work also, but I threw mine away because it hurts.
All those tiny slithers of steel get into your skin and even if you wear gloves there are still stragglers on your bench etc..
They really hurt.
I know, I’m a weeny.
I actually find it very hard to finish my pieces.
My journey to correct this starts now…
stay tuned.
When I get frustrated I take it out on a perfectly innocent canvas.
Sorry canvas.
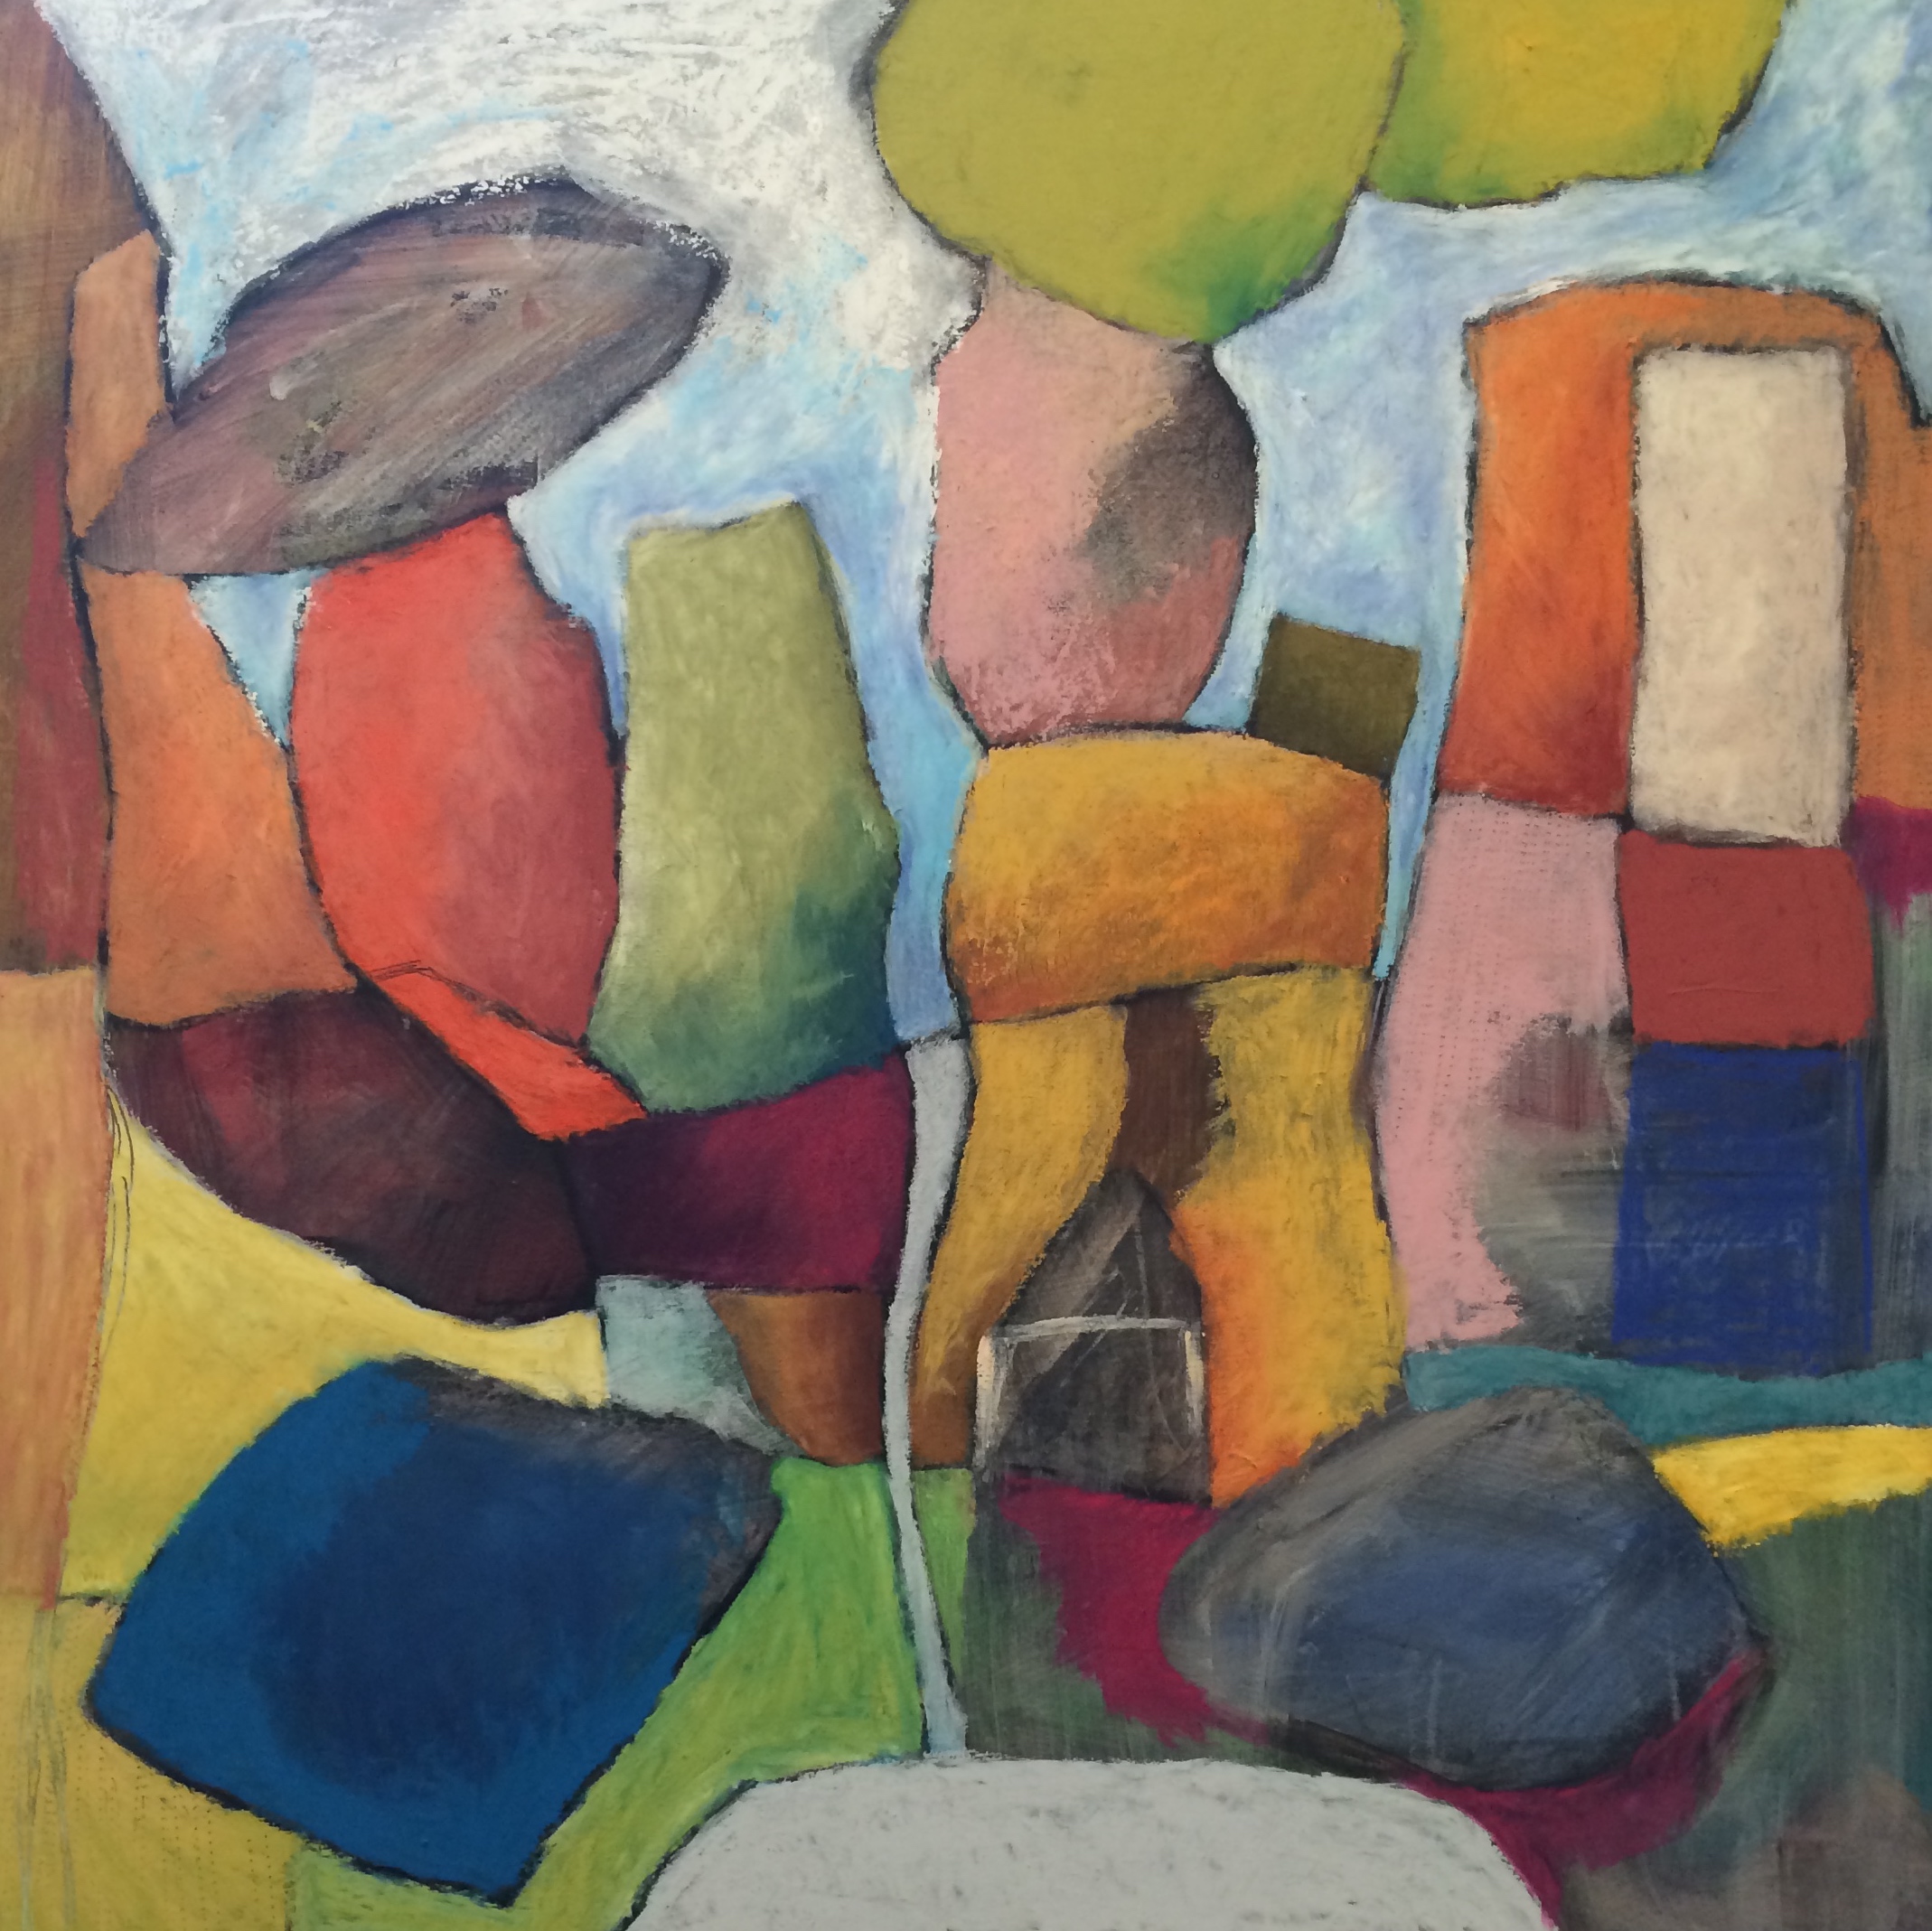
As you all may know by now I start a lot of paintings, but rarely finish any of them.
I’ve decided not to let it bother me and just enjoy the flow.
Perhaps I’ll get to finish this one as I’m pretty sure my acetylene is going to run out at any minute and I won’t be able to replace the tank until later next week.
Will I be able to make it…
dum dum dummm…..
–
–
–
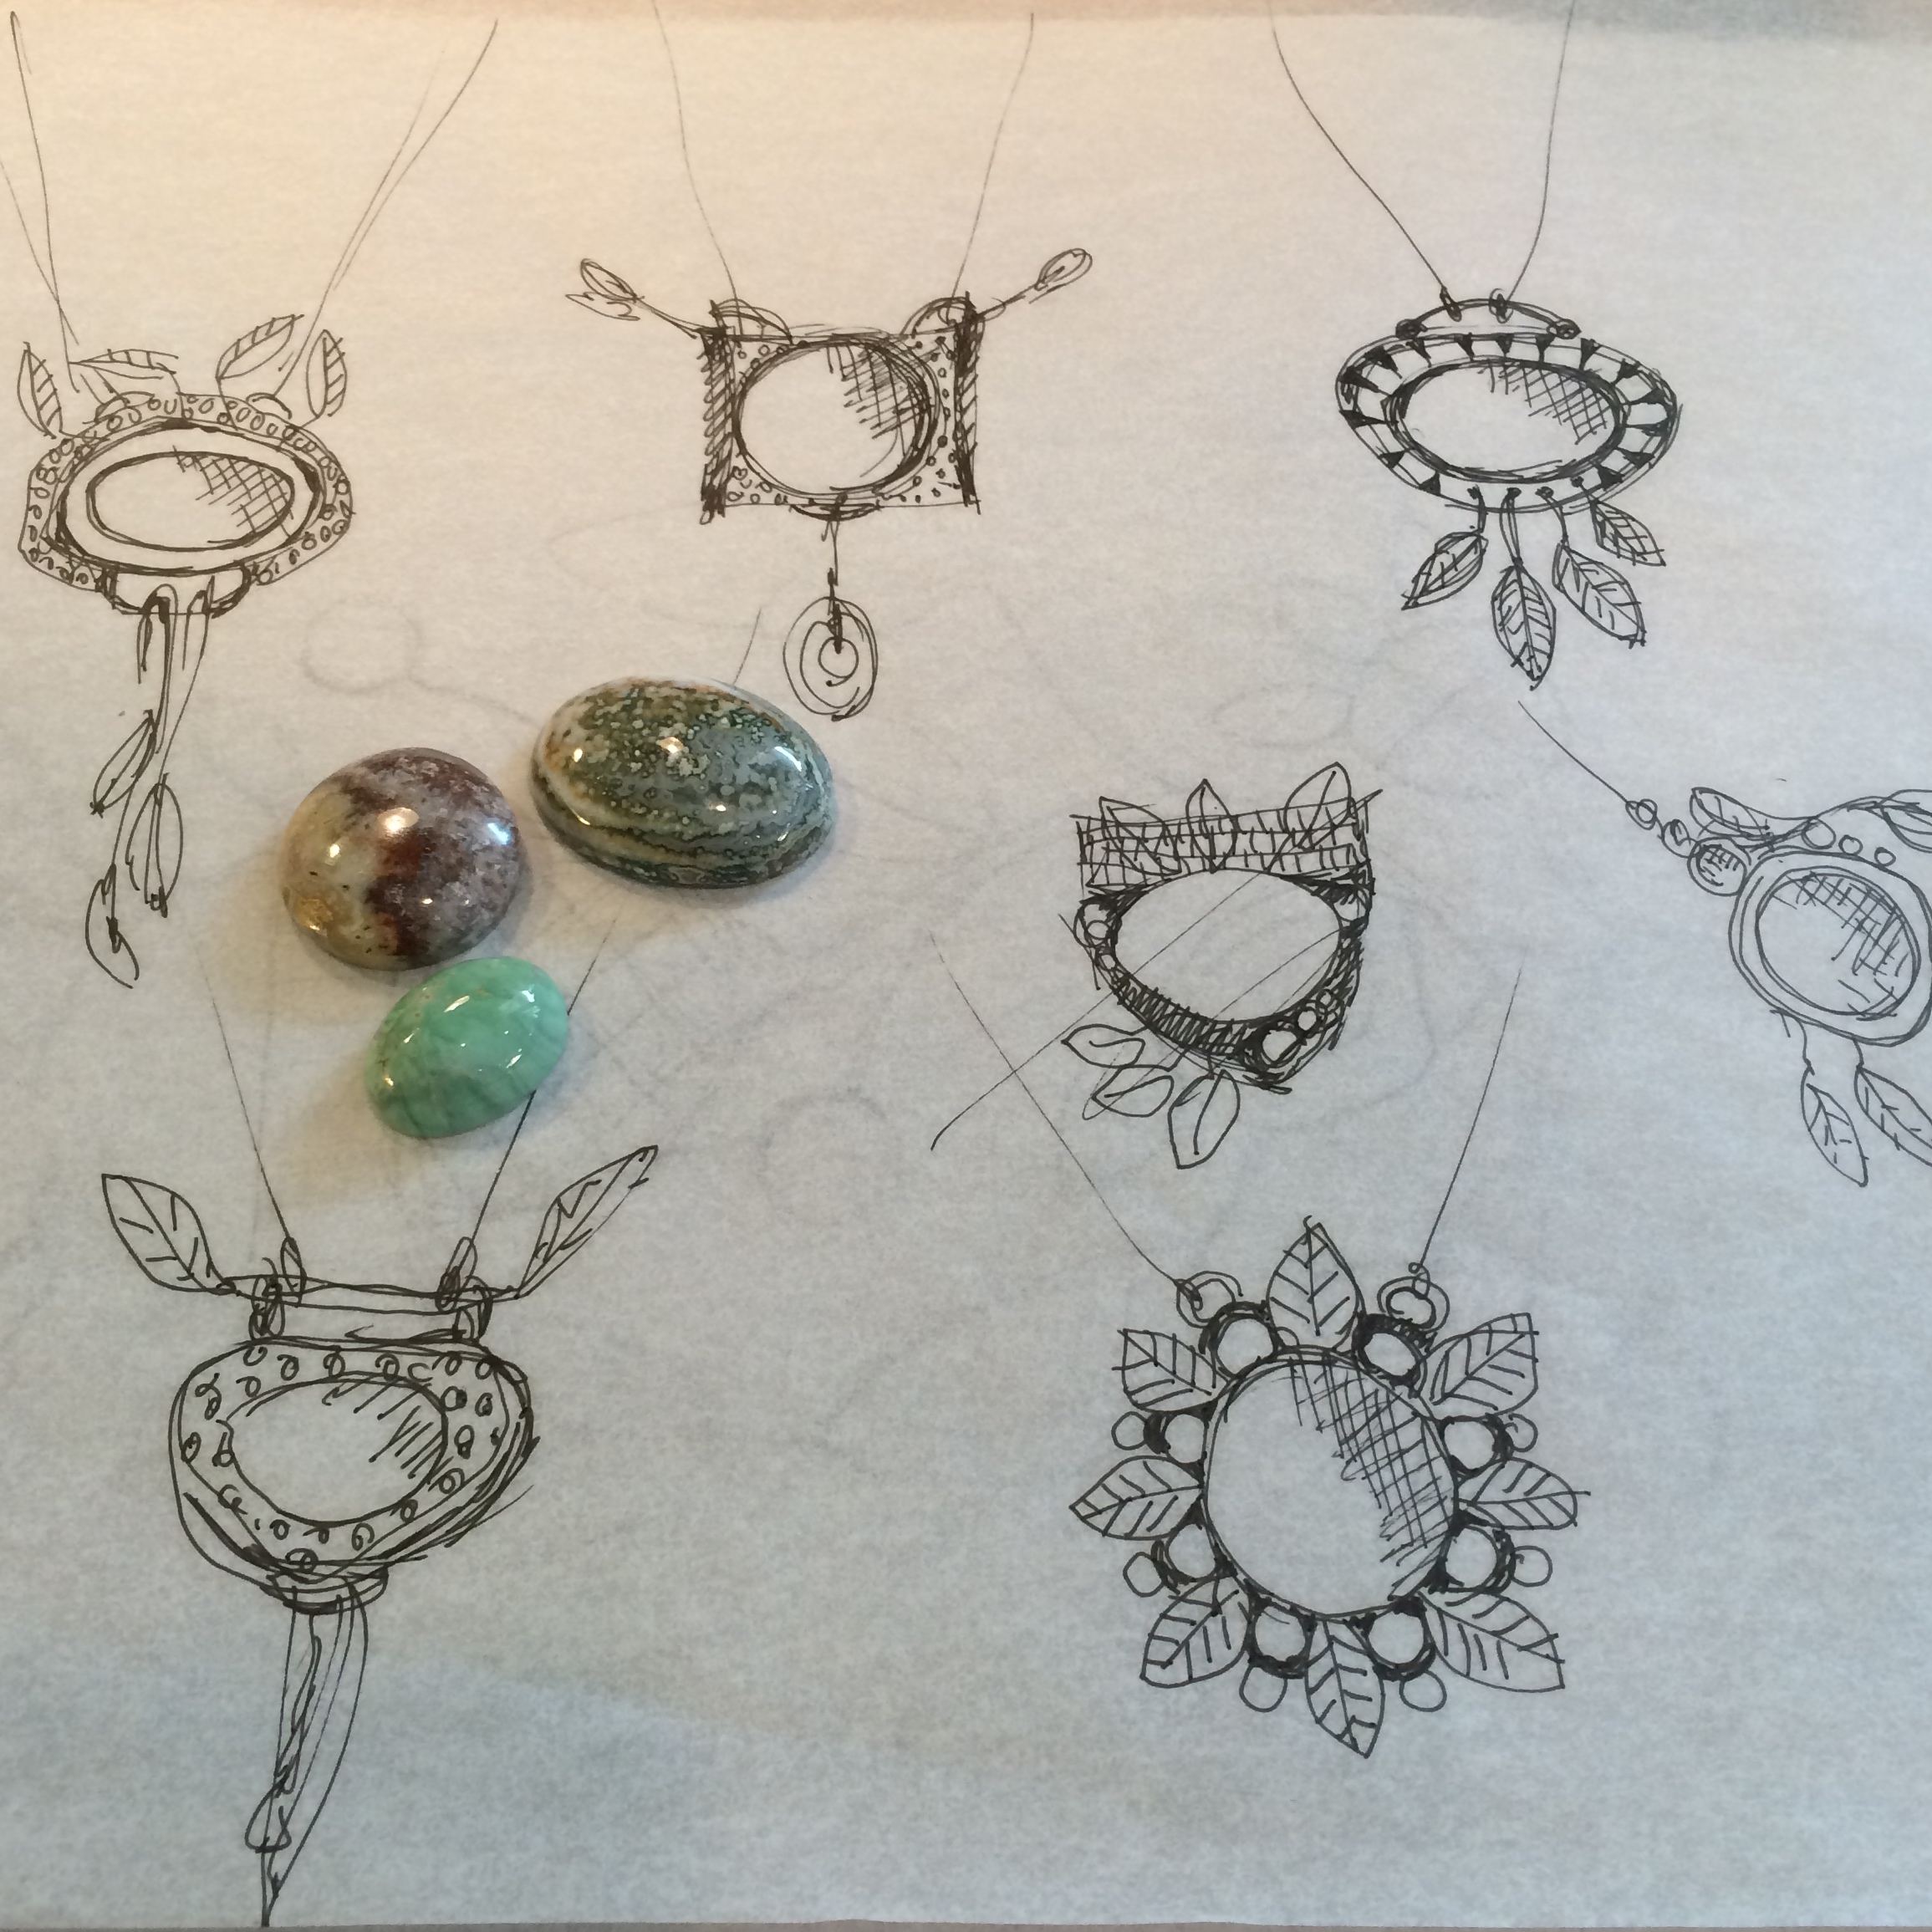
I’ve spoken about my cabochon habit before, but today I thought I’d fess up.
They do say that admitting it is the first step to recovery.


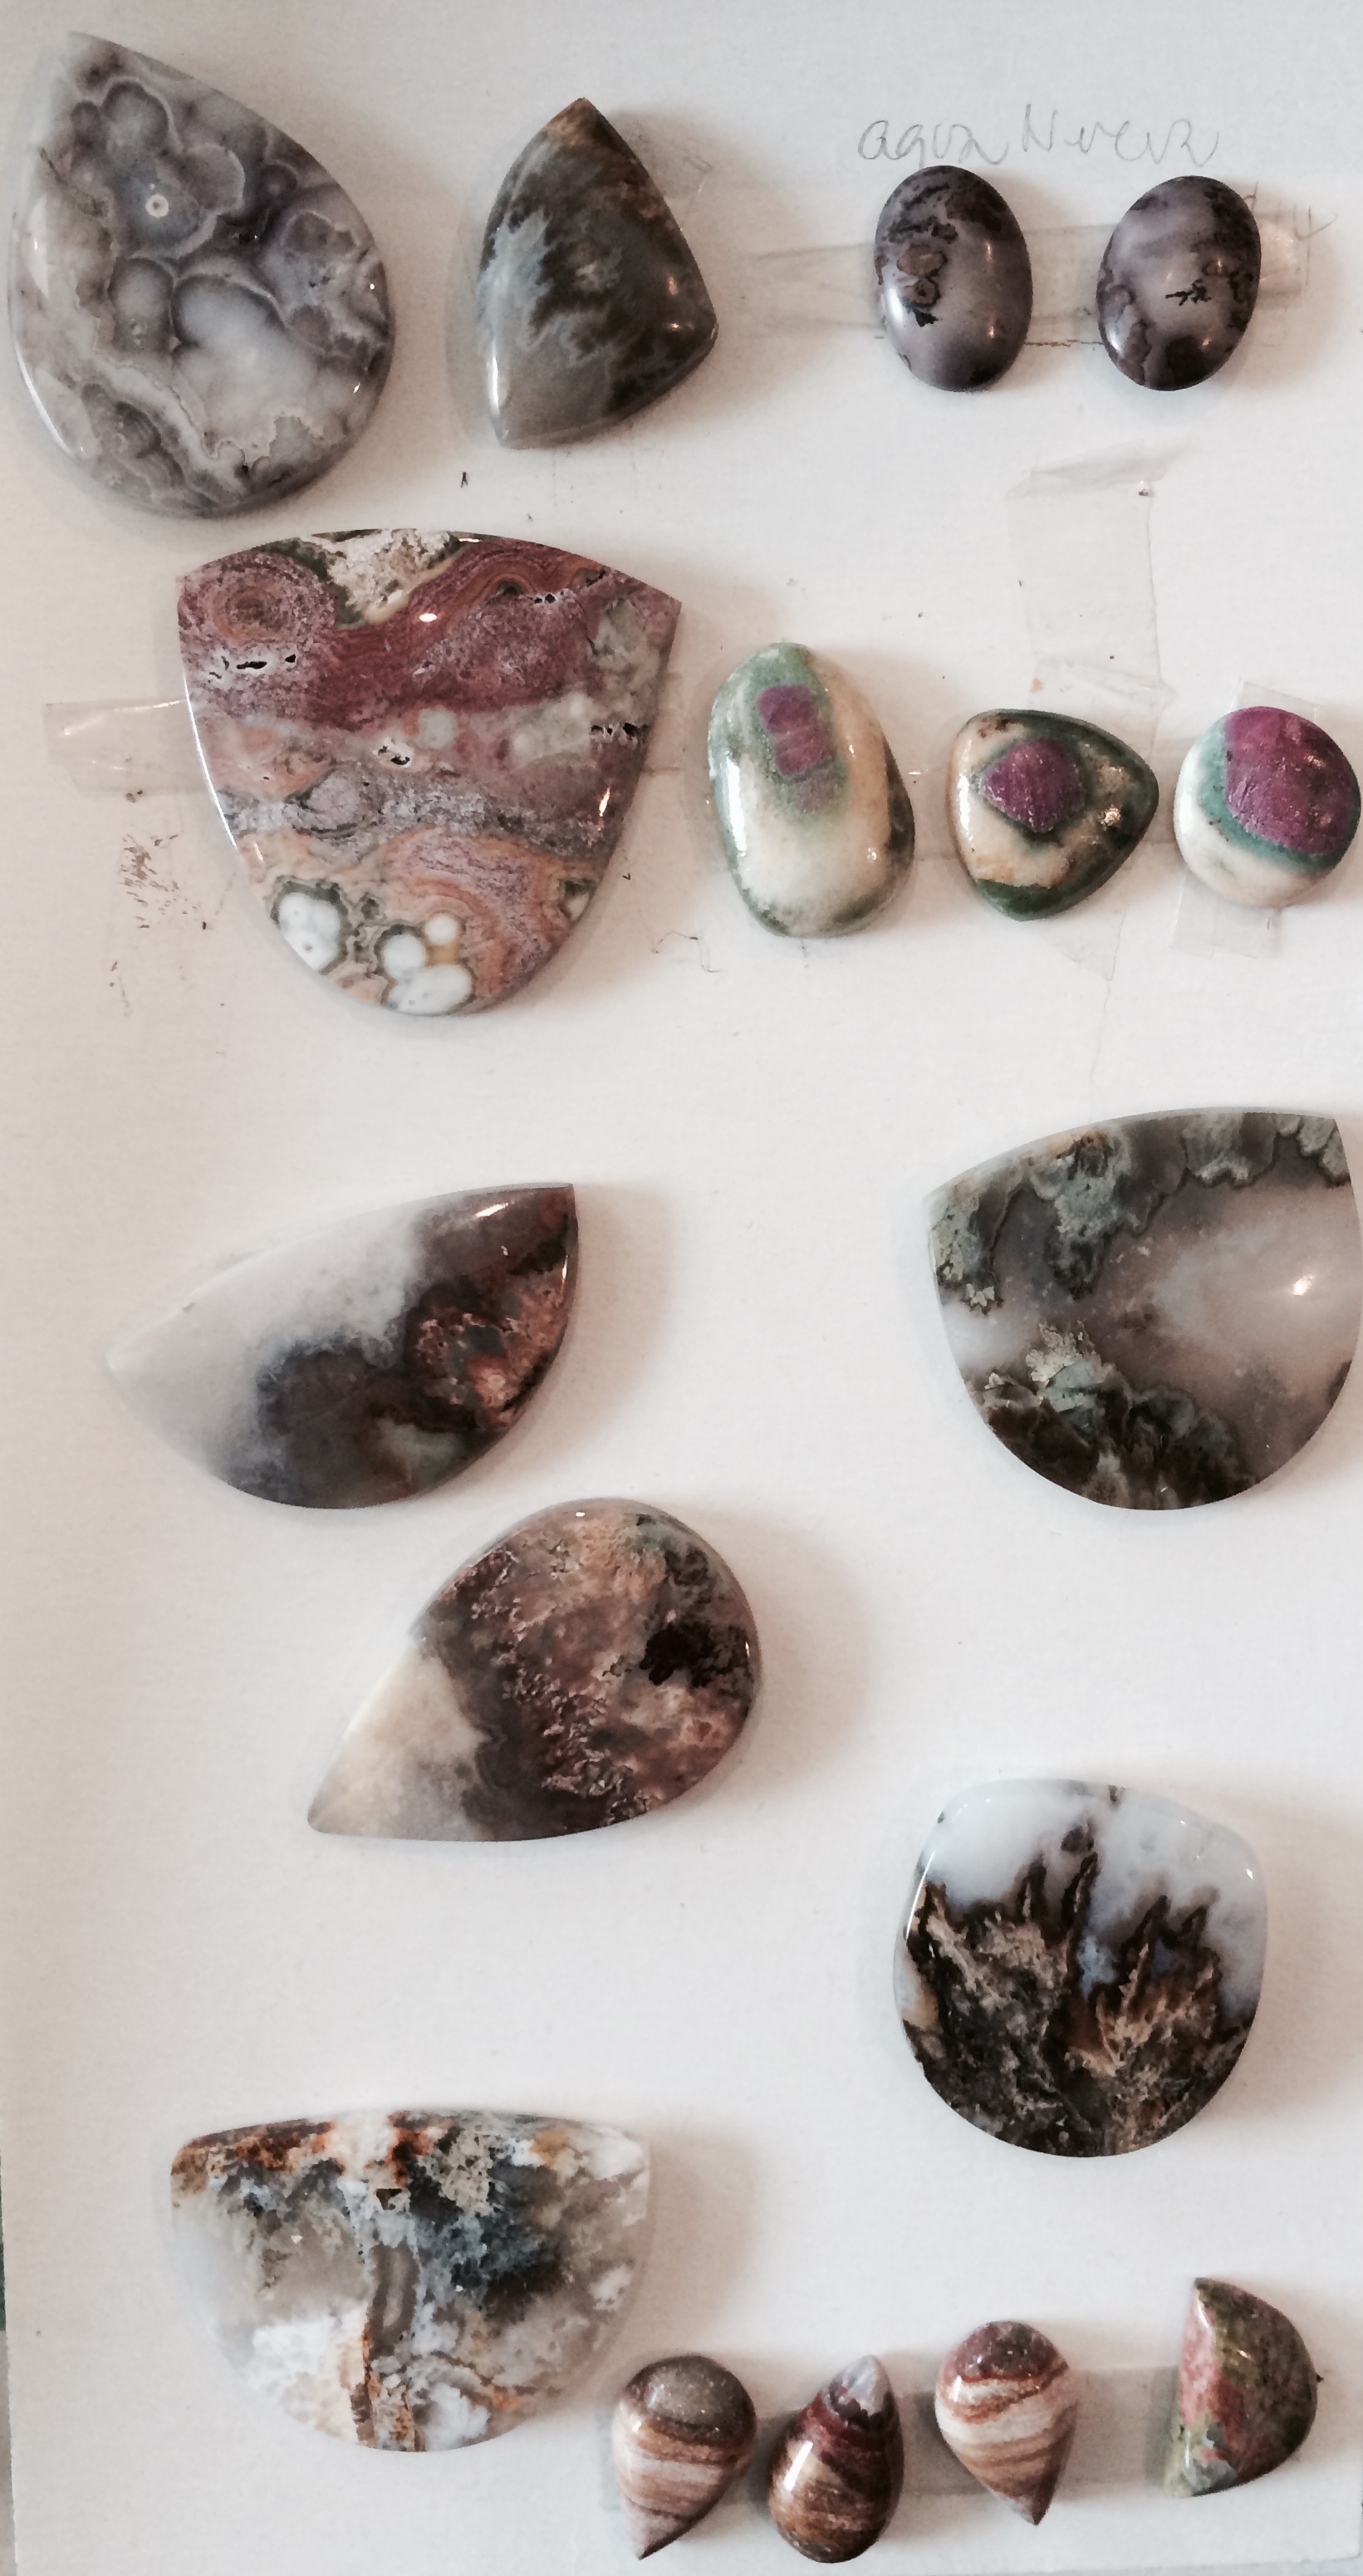

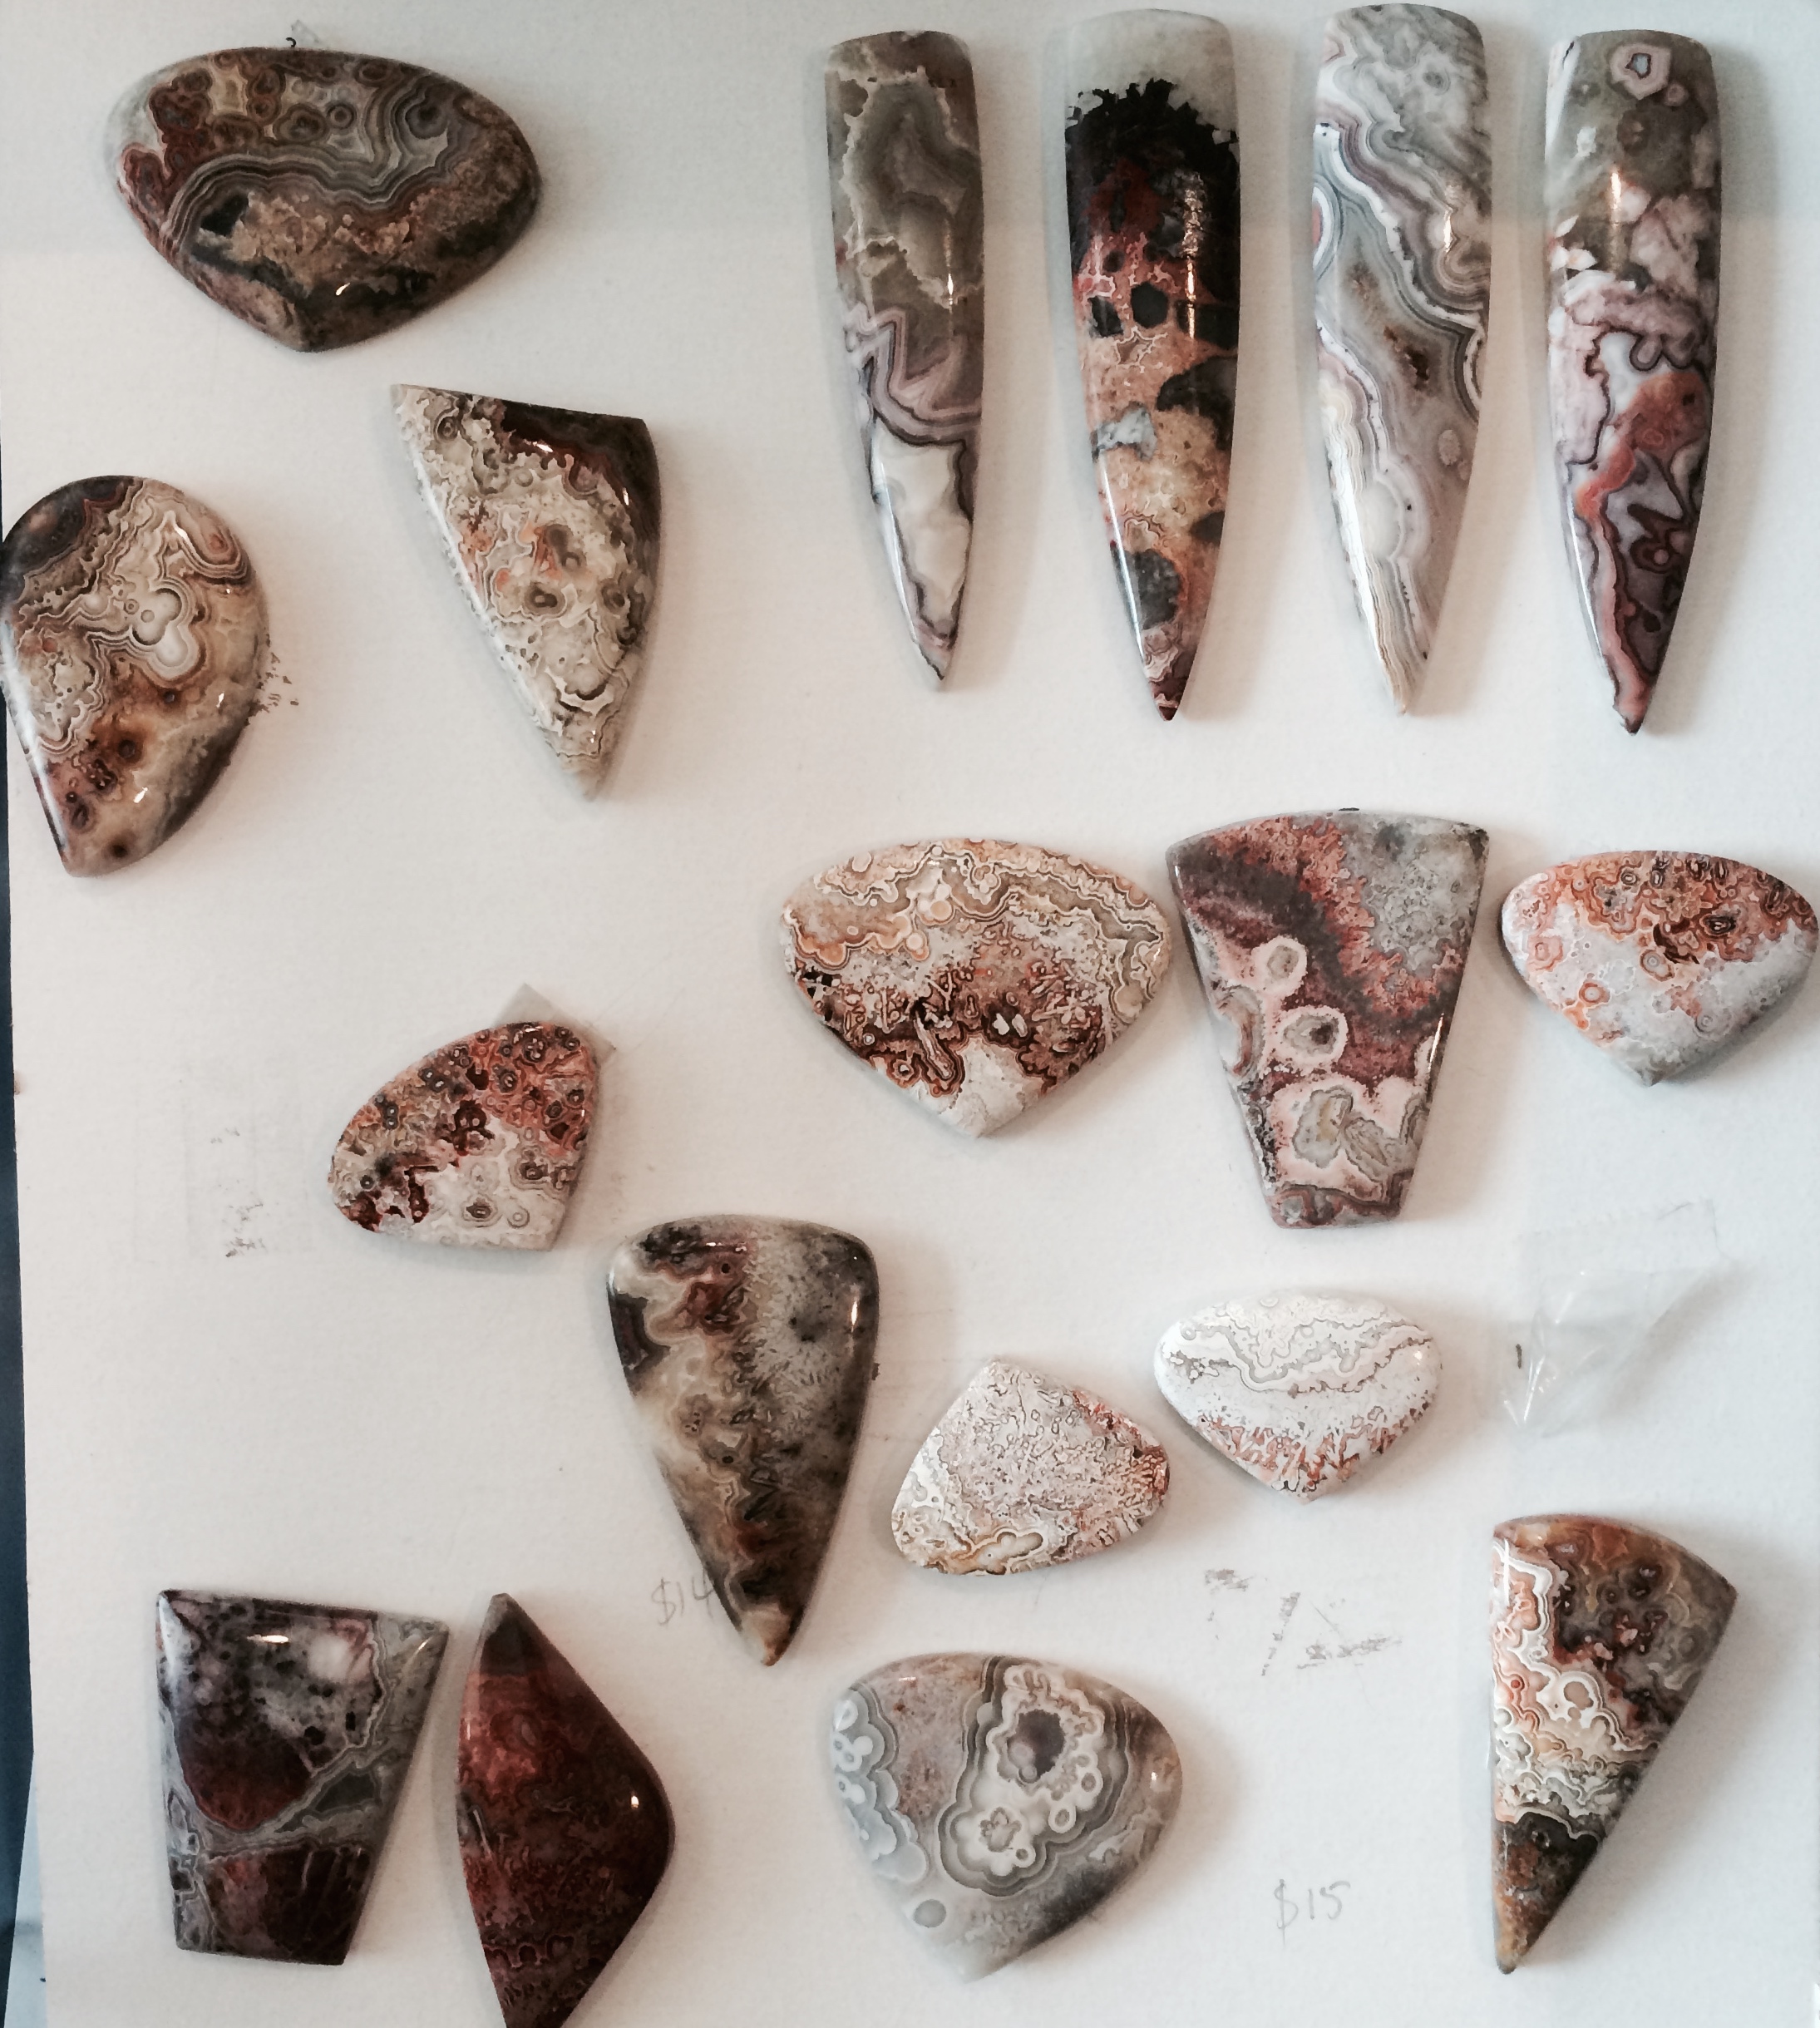


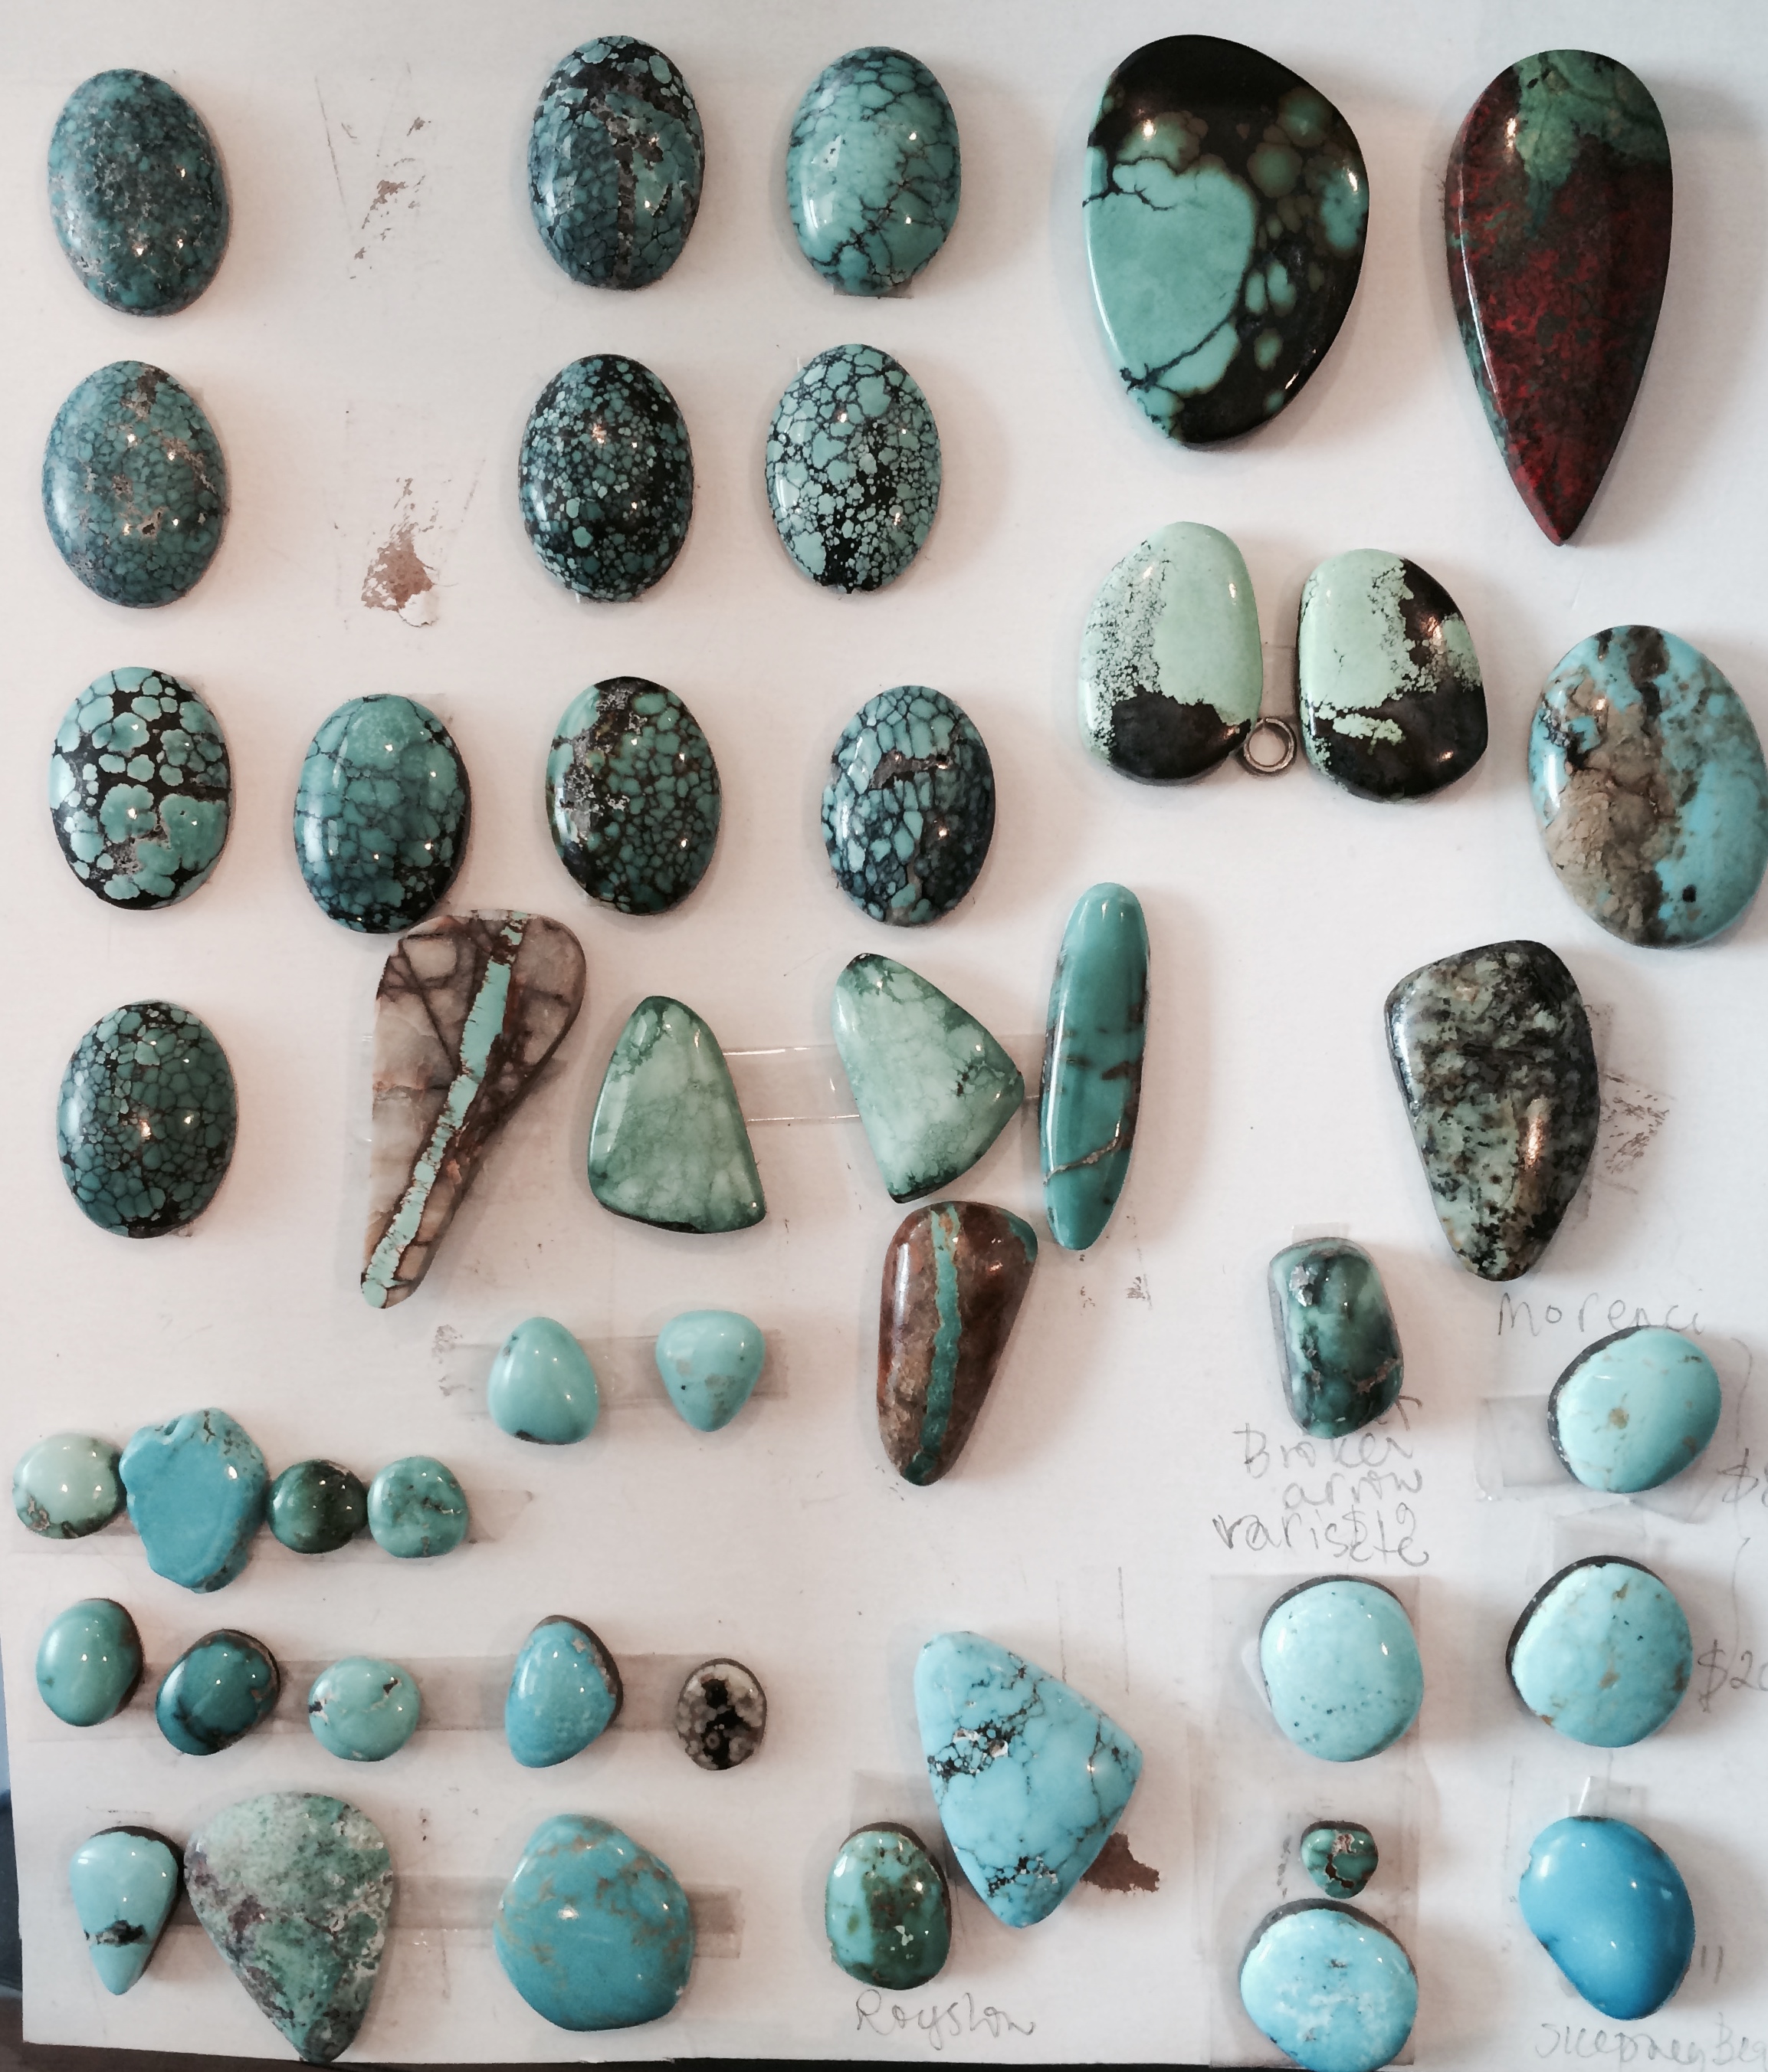
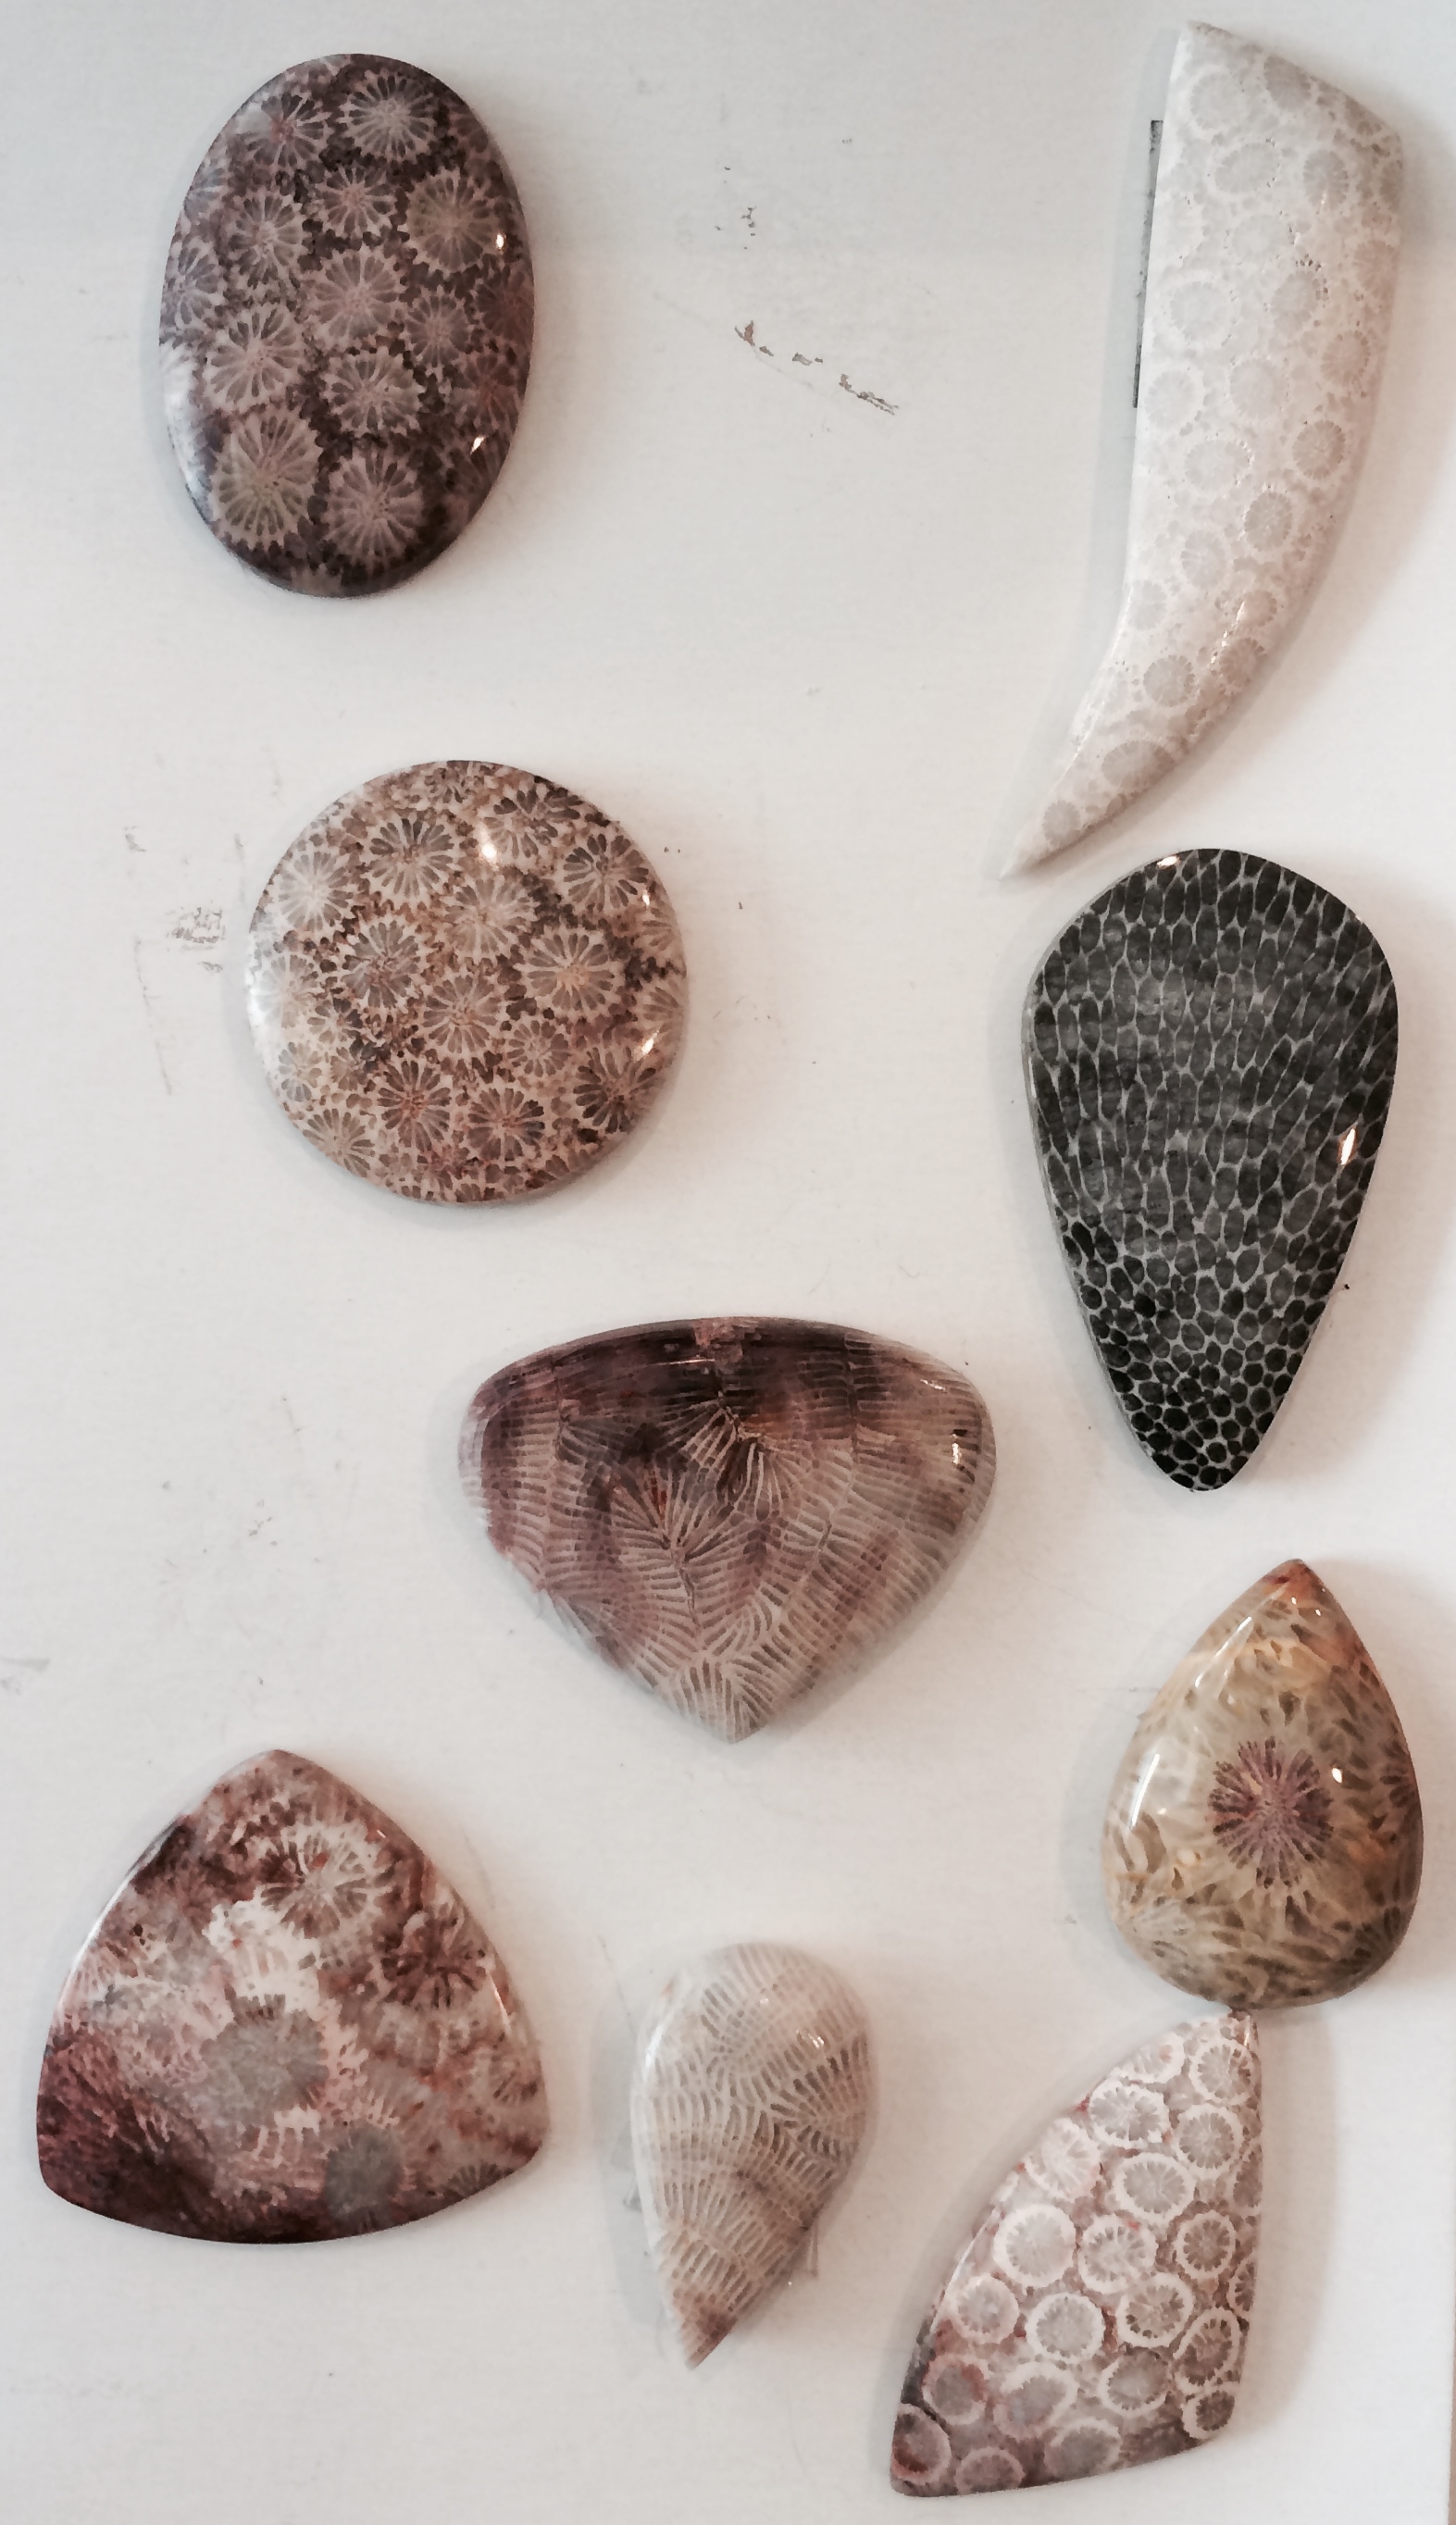

Don’t judge me.
They actually are more beautiful that the photo’s give them credit for. The colours didn’t come out well.
I took them so that I could keep an eye on what they’re doing and print them out to design around.
Somehow I’ve got to set them before P sends the van to take me away.
I did make some pieces recently that I didn’t show you.
One of the custom pieces.

Which was followed by his friend who didn’t want to be left out.

And I started another painting.

In other news.
Spud is causing as much trouble as she possibly can.
Except when she’s so tired she just has to fall asleep wherever she happens to be.

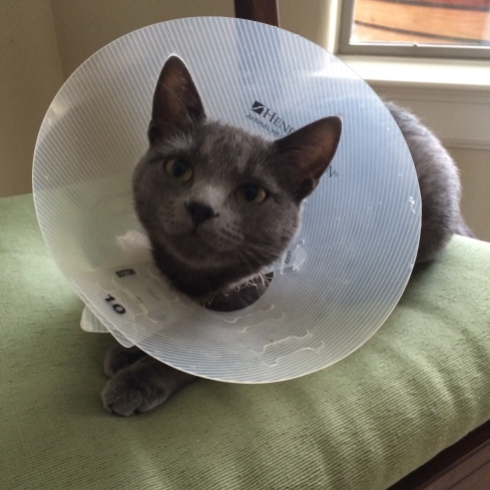
Here she is at the vets

And this is what she thought about it.

I think she’s actually been sent here to cure me of my need for material things as she and Nutmeg continually race back and forth until all my things get broken.
And all my computer and phone wires get chewed through.
And all of my skin gets ripped off.
And my sleep is interrupted by sporadic pounces.
Darn cute kittens…
–
–
–
I’m going to share with you my latest adventure into jewelry making where I seemed to have fire scaled the living daylights out of an innocent piece of silver…
I have to tell you the truth, up until now I hadn’t given much thought to fire scale.
I’d heard the word bandied around the jewelry channels often enough and yet, as with many things that cross my path, I didn’t think they were talking to me.
Those colourful papers with school activities and happenings would come home from school in the kid’s backpacks and I would just put them aside thinking they were meant for other mums.
Until I missed the event and wondered why no-one told me.
Yep. That’s the world I live in.
I think it’s called dissociative.
I call it happily going on my way and ignoring the stuff I don’t want to deal with.
Like fire scale.
Then, as I was making my latest piece, I was taken by how beautiful a piece of silver was that I had just soldered.

I mean, look at it.
And I was wondering if I could make a piece and somehow protect this finish.
But I believed it was just the flux having a field day with the heat and that it would just come off in the pickle.
Actually, I haven’t pickled that piece yet, so I still don’t really know.
Ah, the wonders of experiment.
Anyhow, somewhere in the back of my head the word ‘fire scale’ started to wake up, and now I think that’s what it might be.
Here’s a good article on fire scale.
–
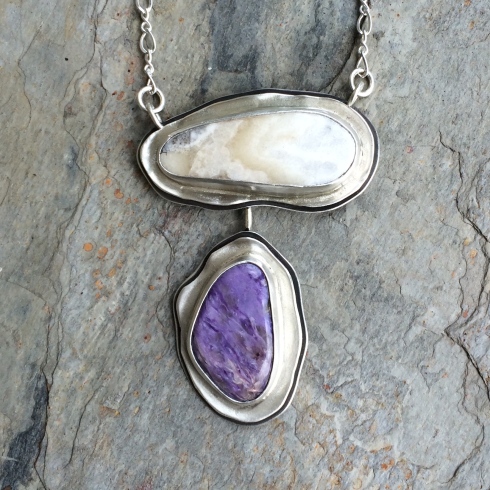
So onto my latest piece.
Which might bore some of you because it’s pretty much like all of my latest pieces.
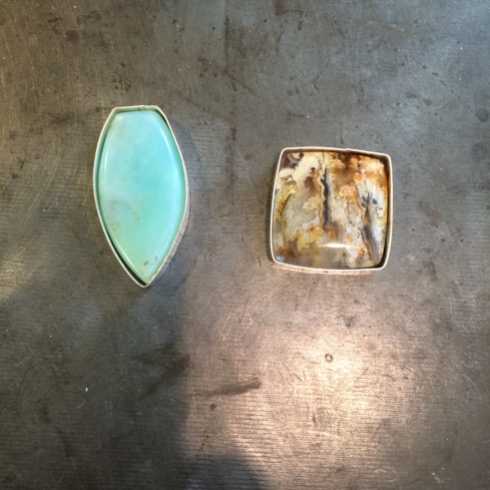
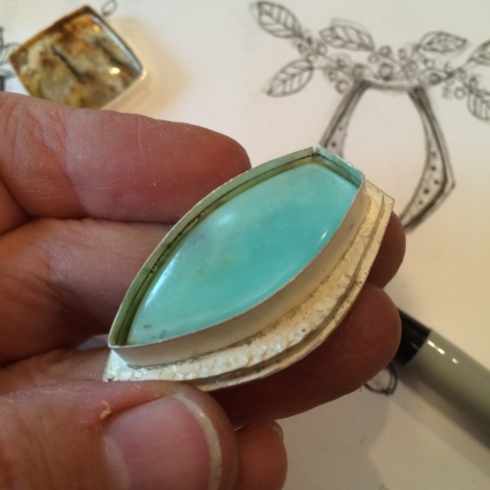
I bought a nice piece of Peruvian Blue Opal from Shirl.
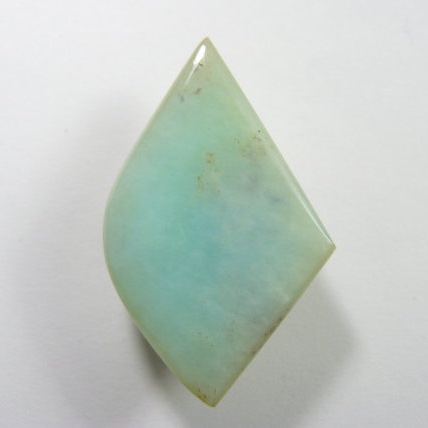
I didn’t like the shape, but I liked the stone.
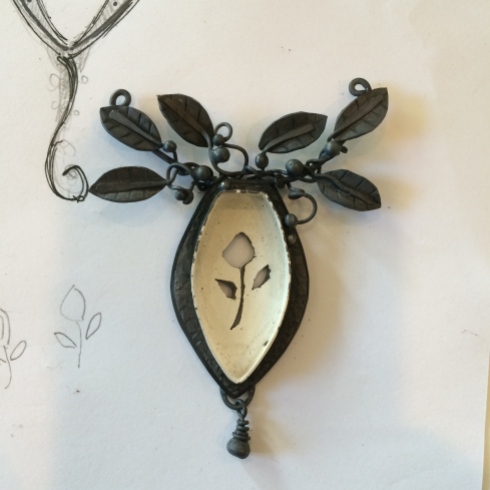
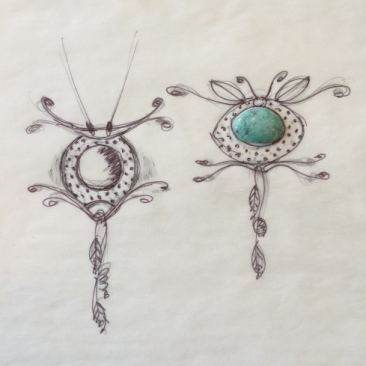
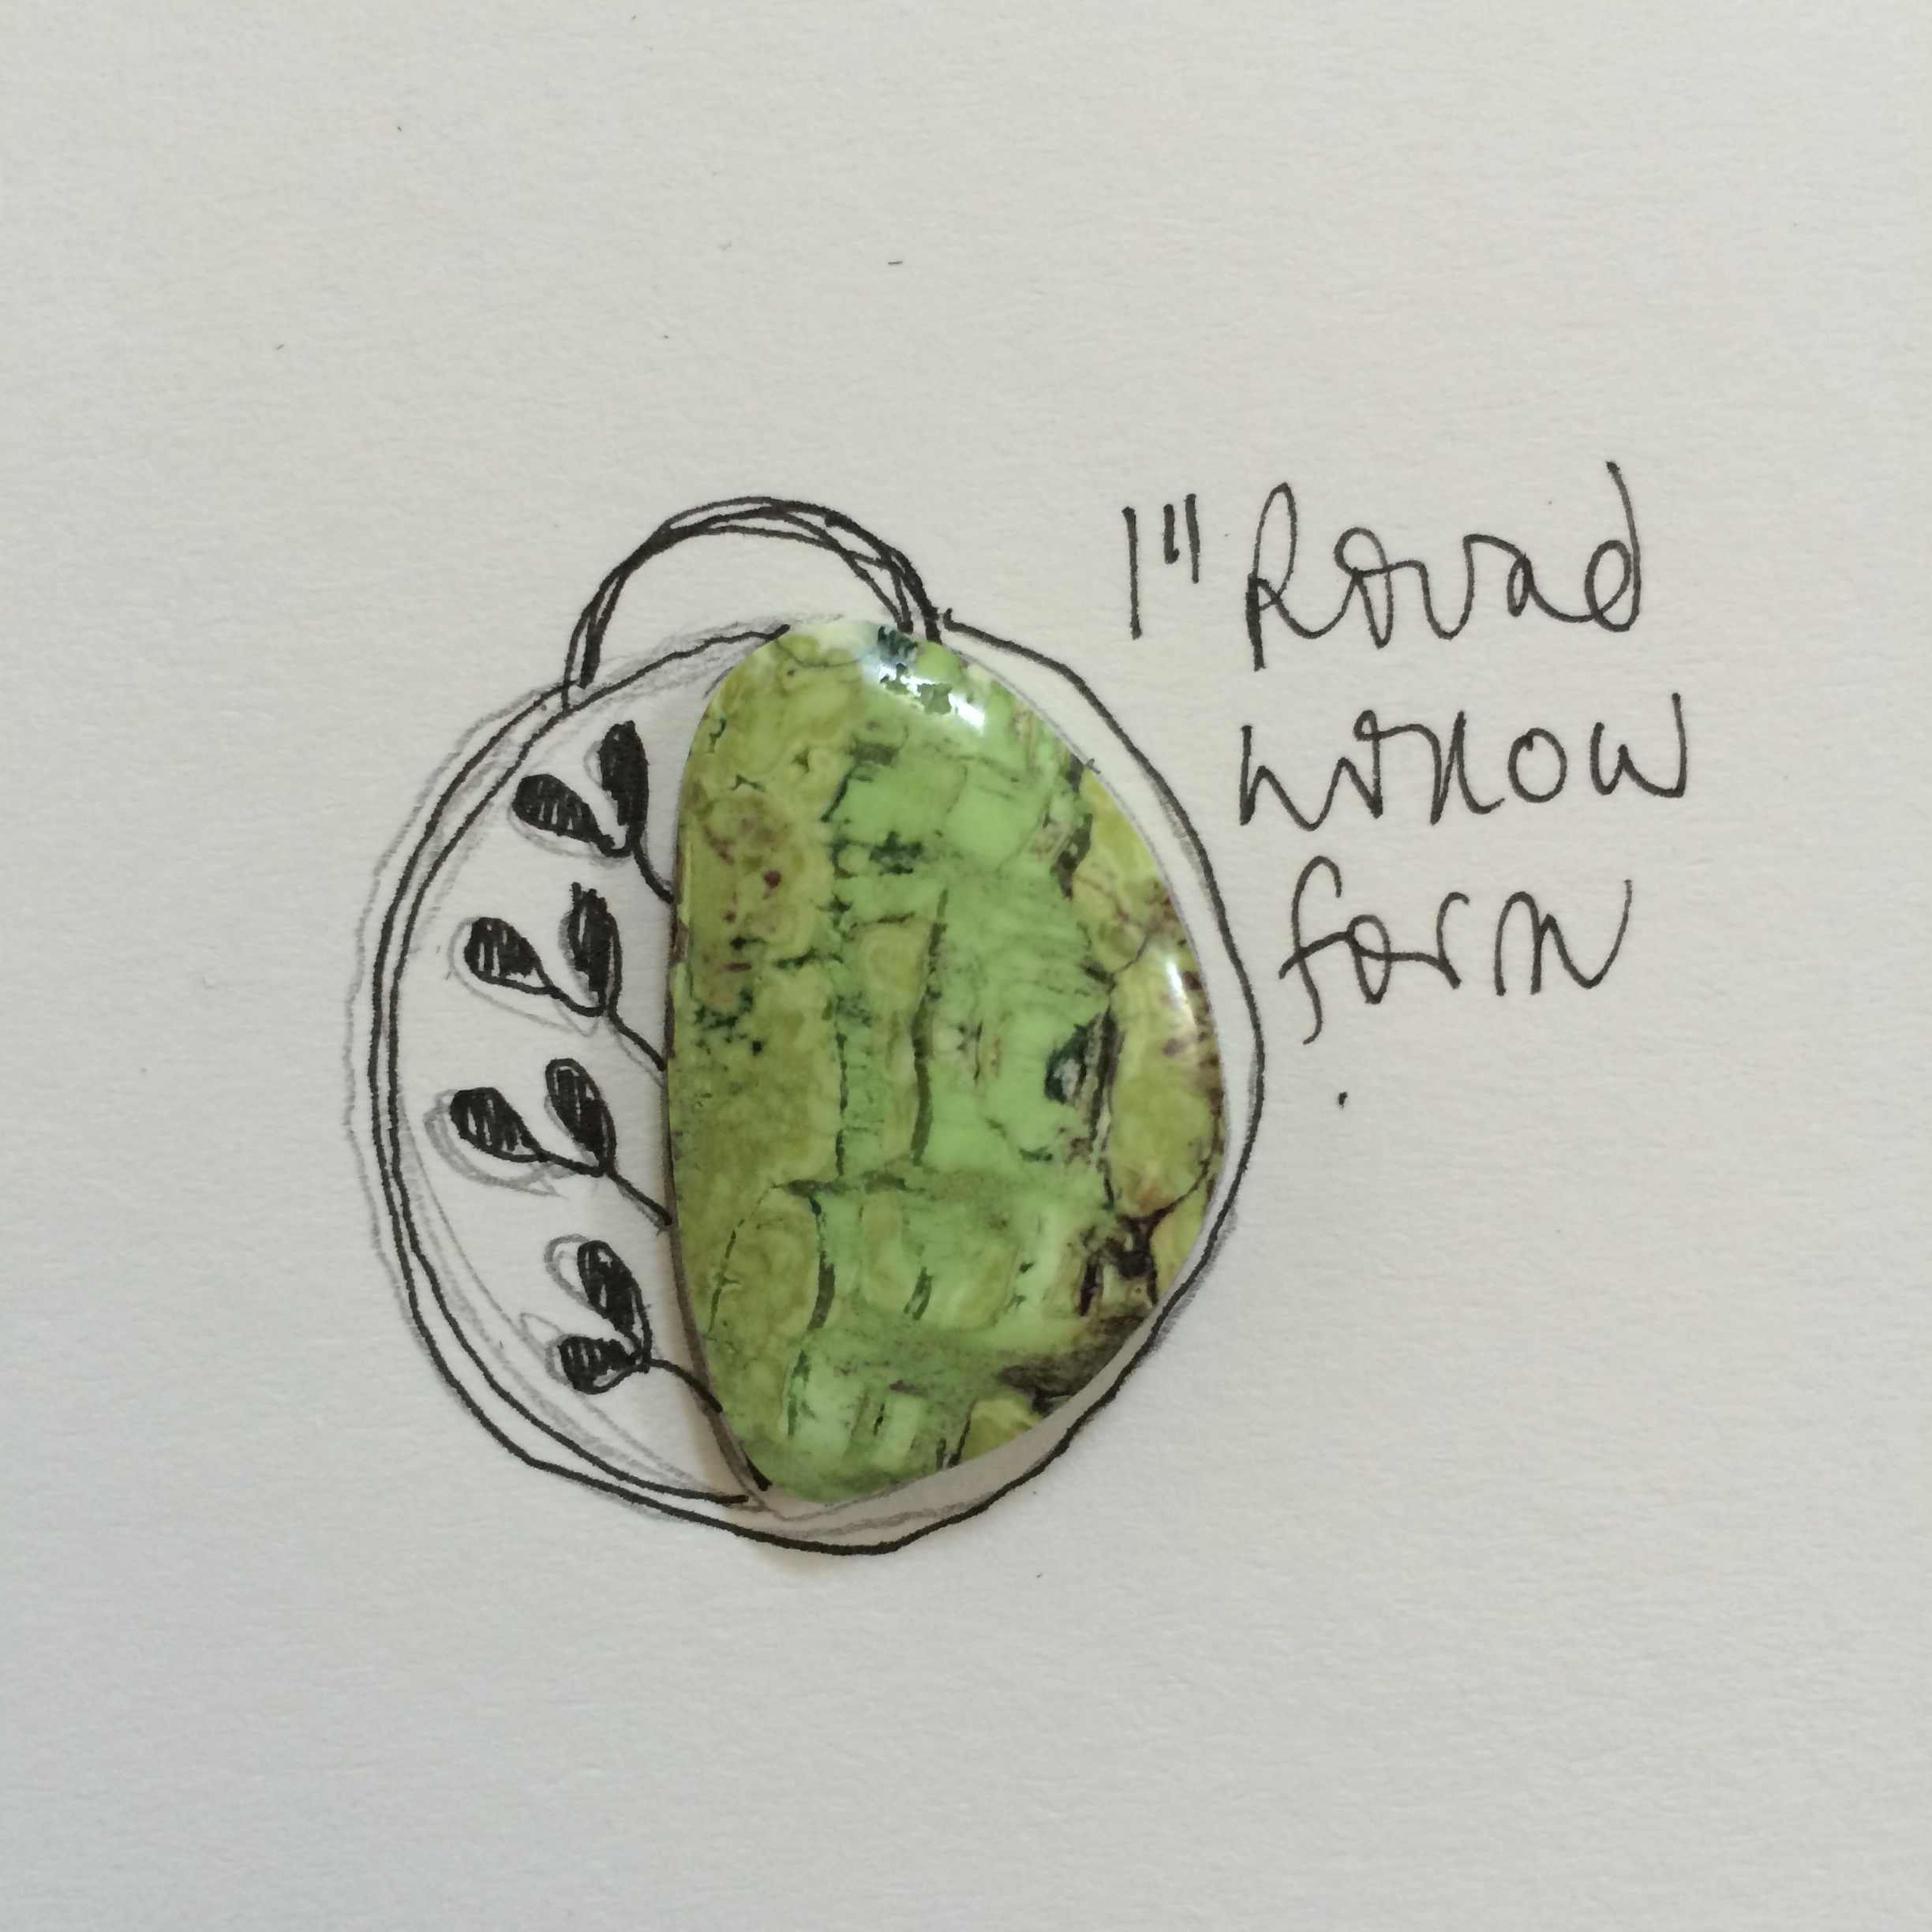
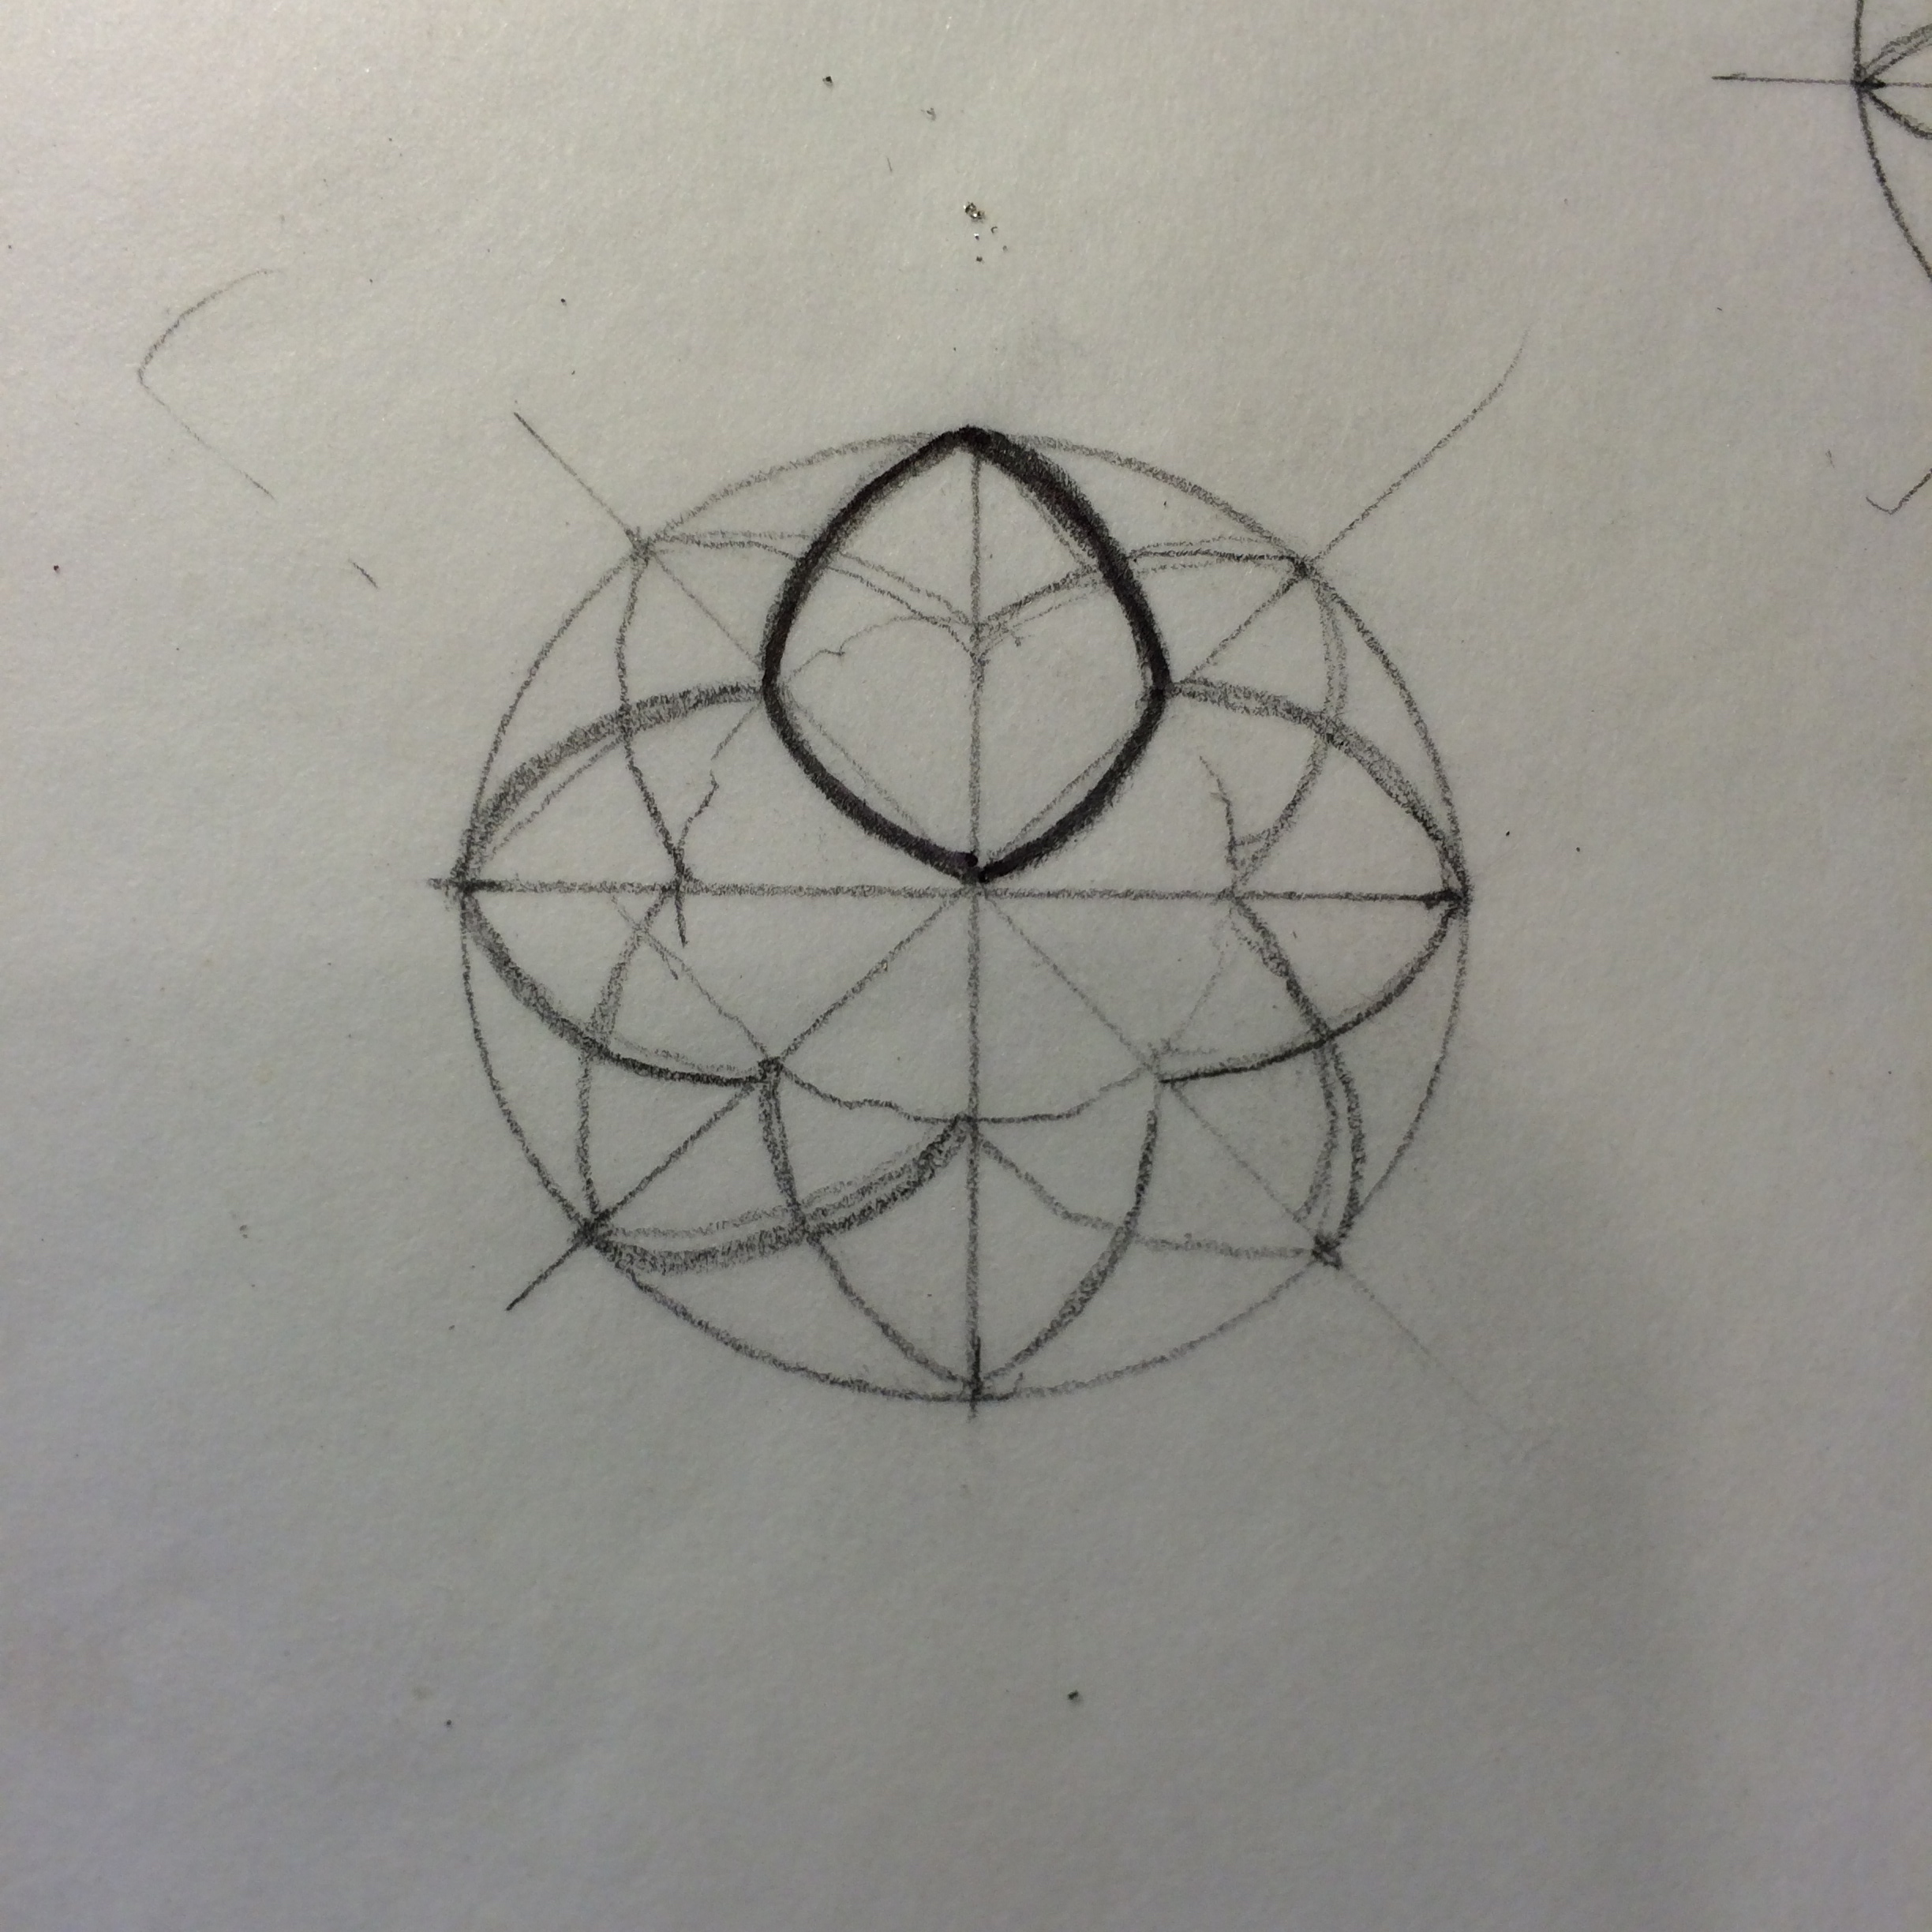
So I had a few drawings hanging around and decided to make one…
or two…
You know how it is.
First up I re-cut the stone to fit my design and polished it through all of the grits of the Jool Tool.

I do like how I can now adapt stones I’ve already bought, and for that I think the Jool Tool is worth it for me.
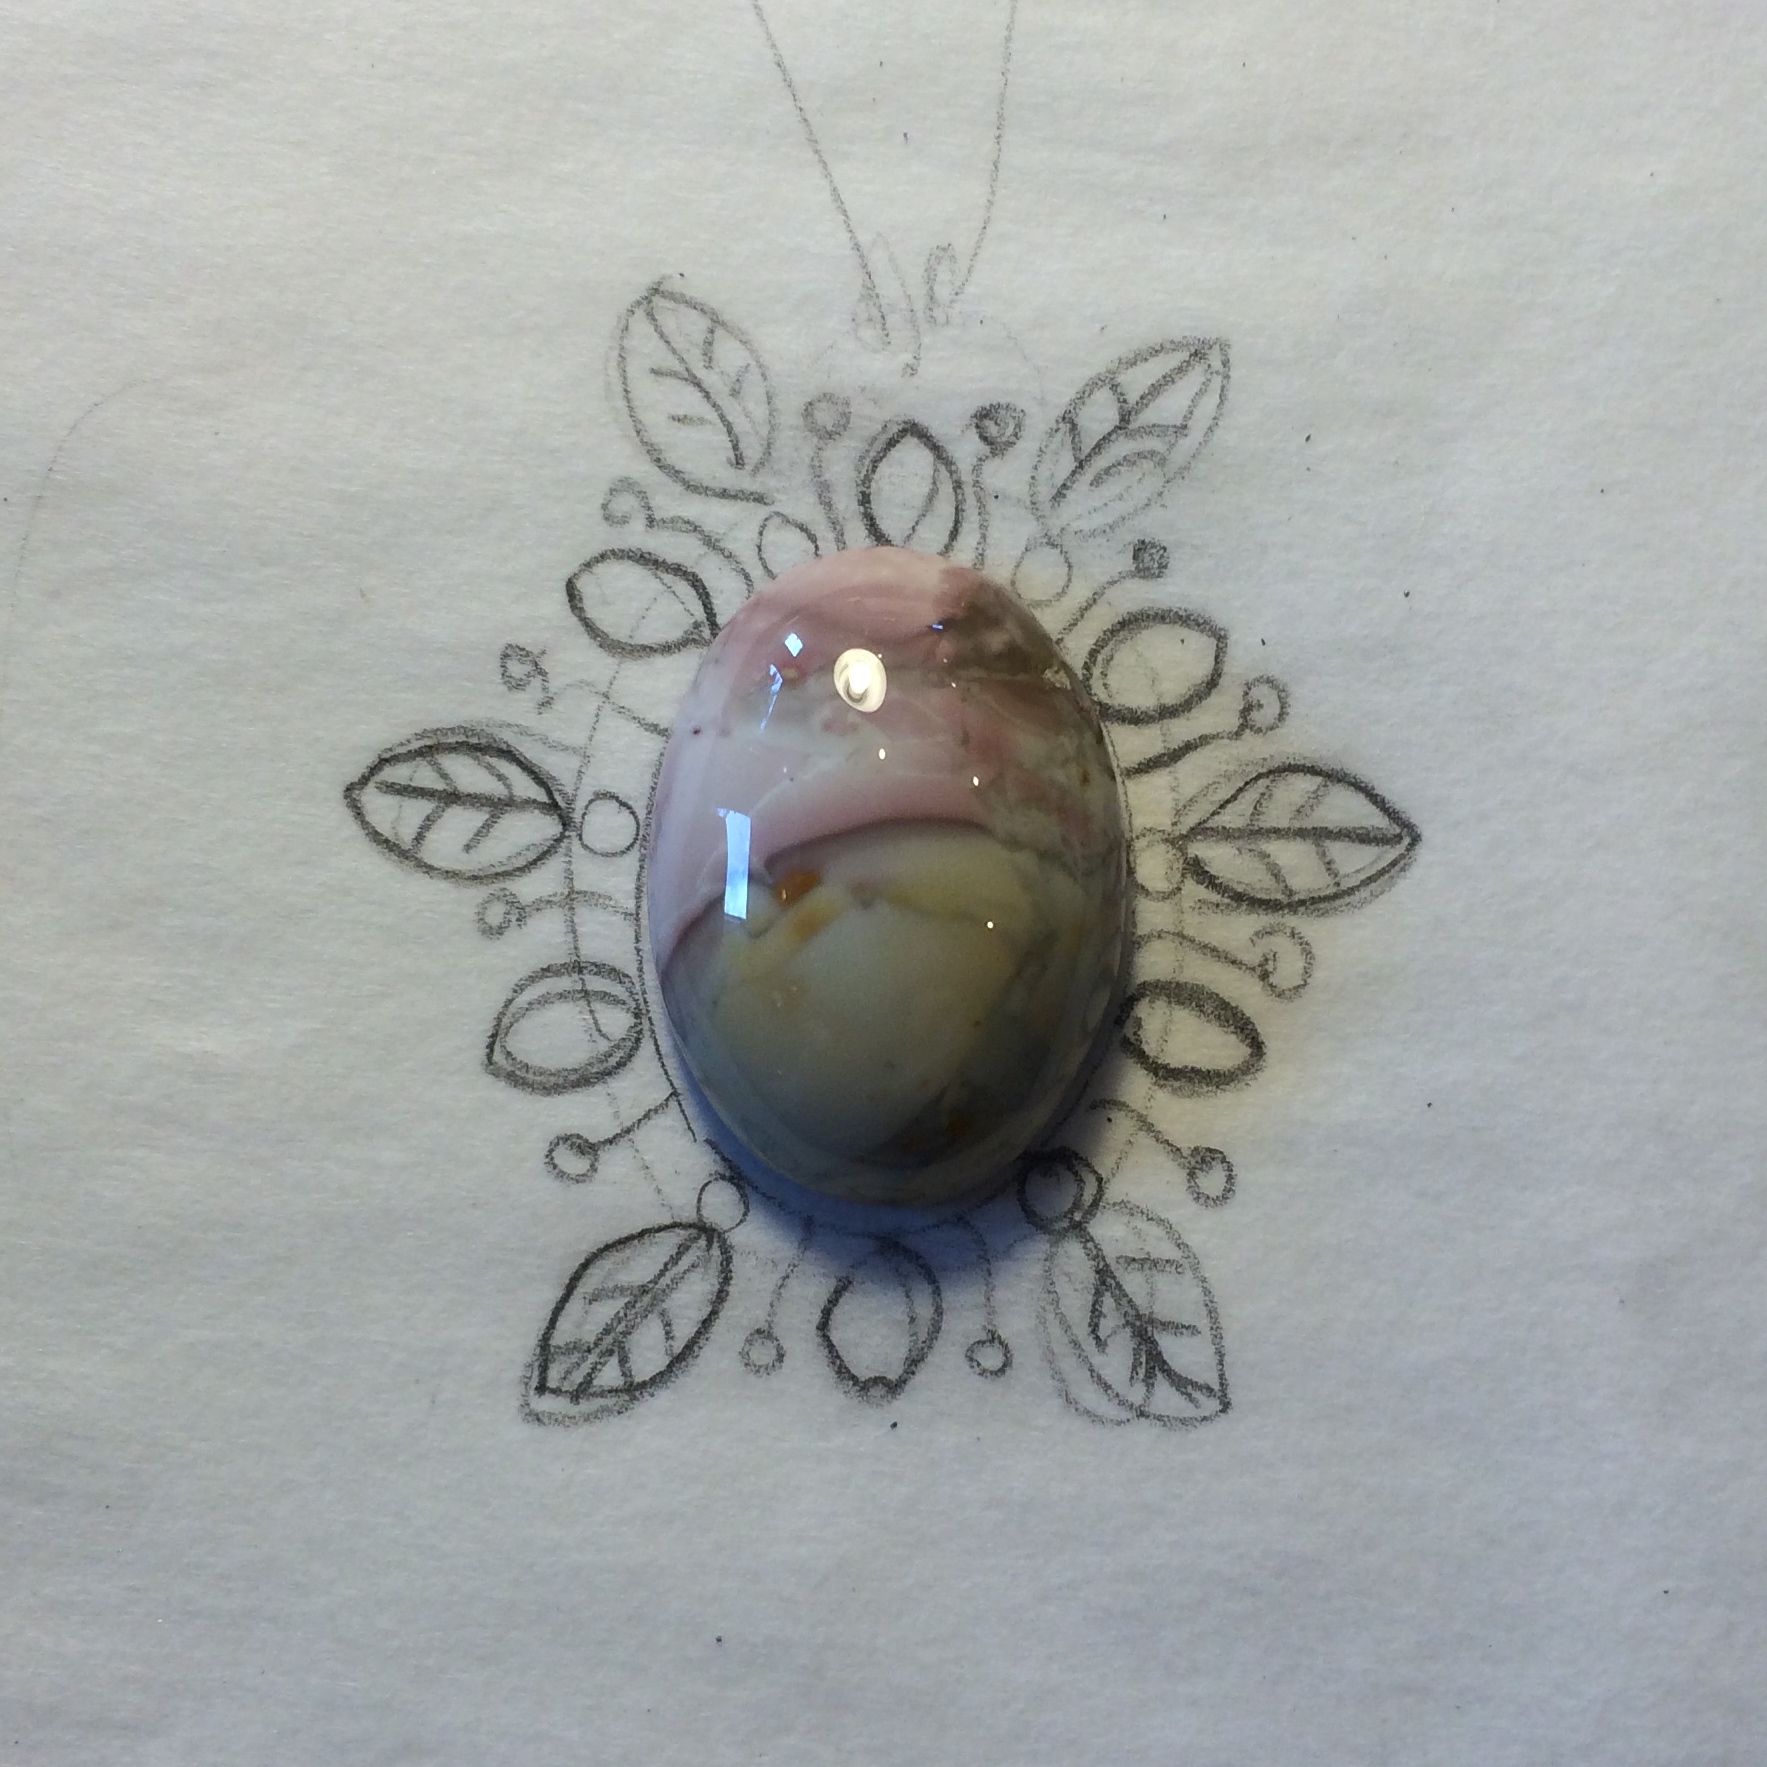
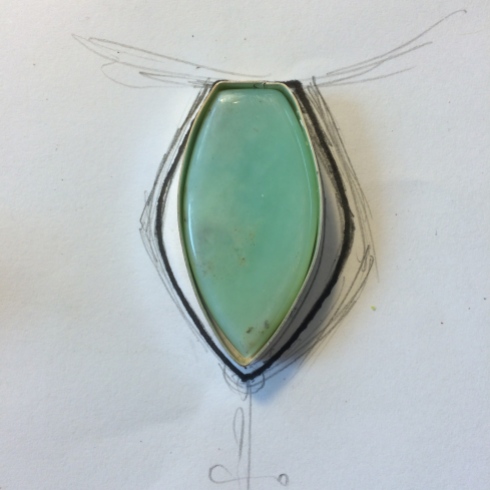
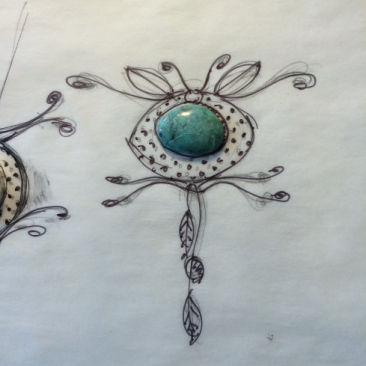
So here it is in its sketch.
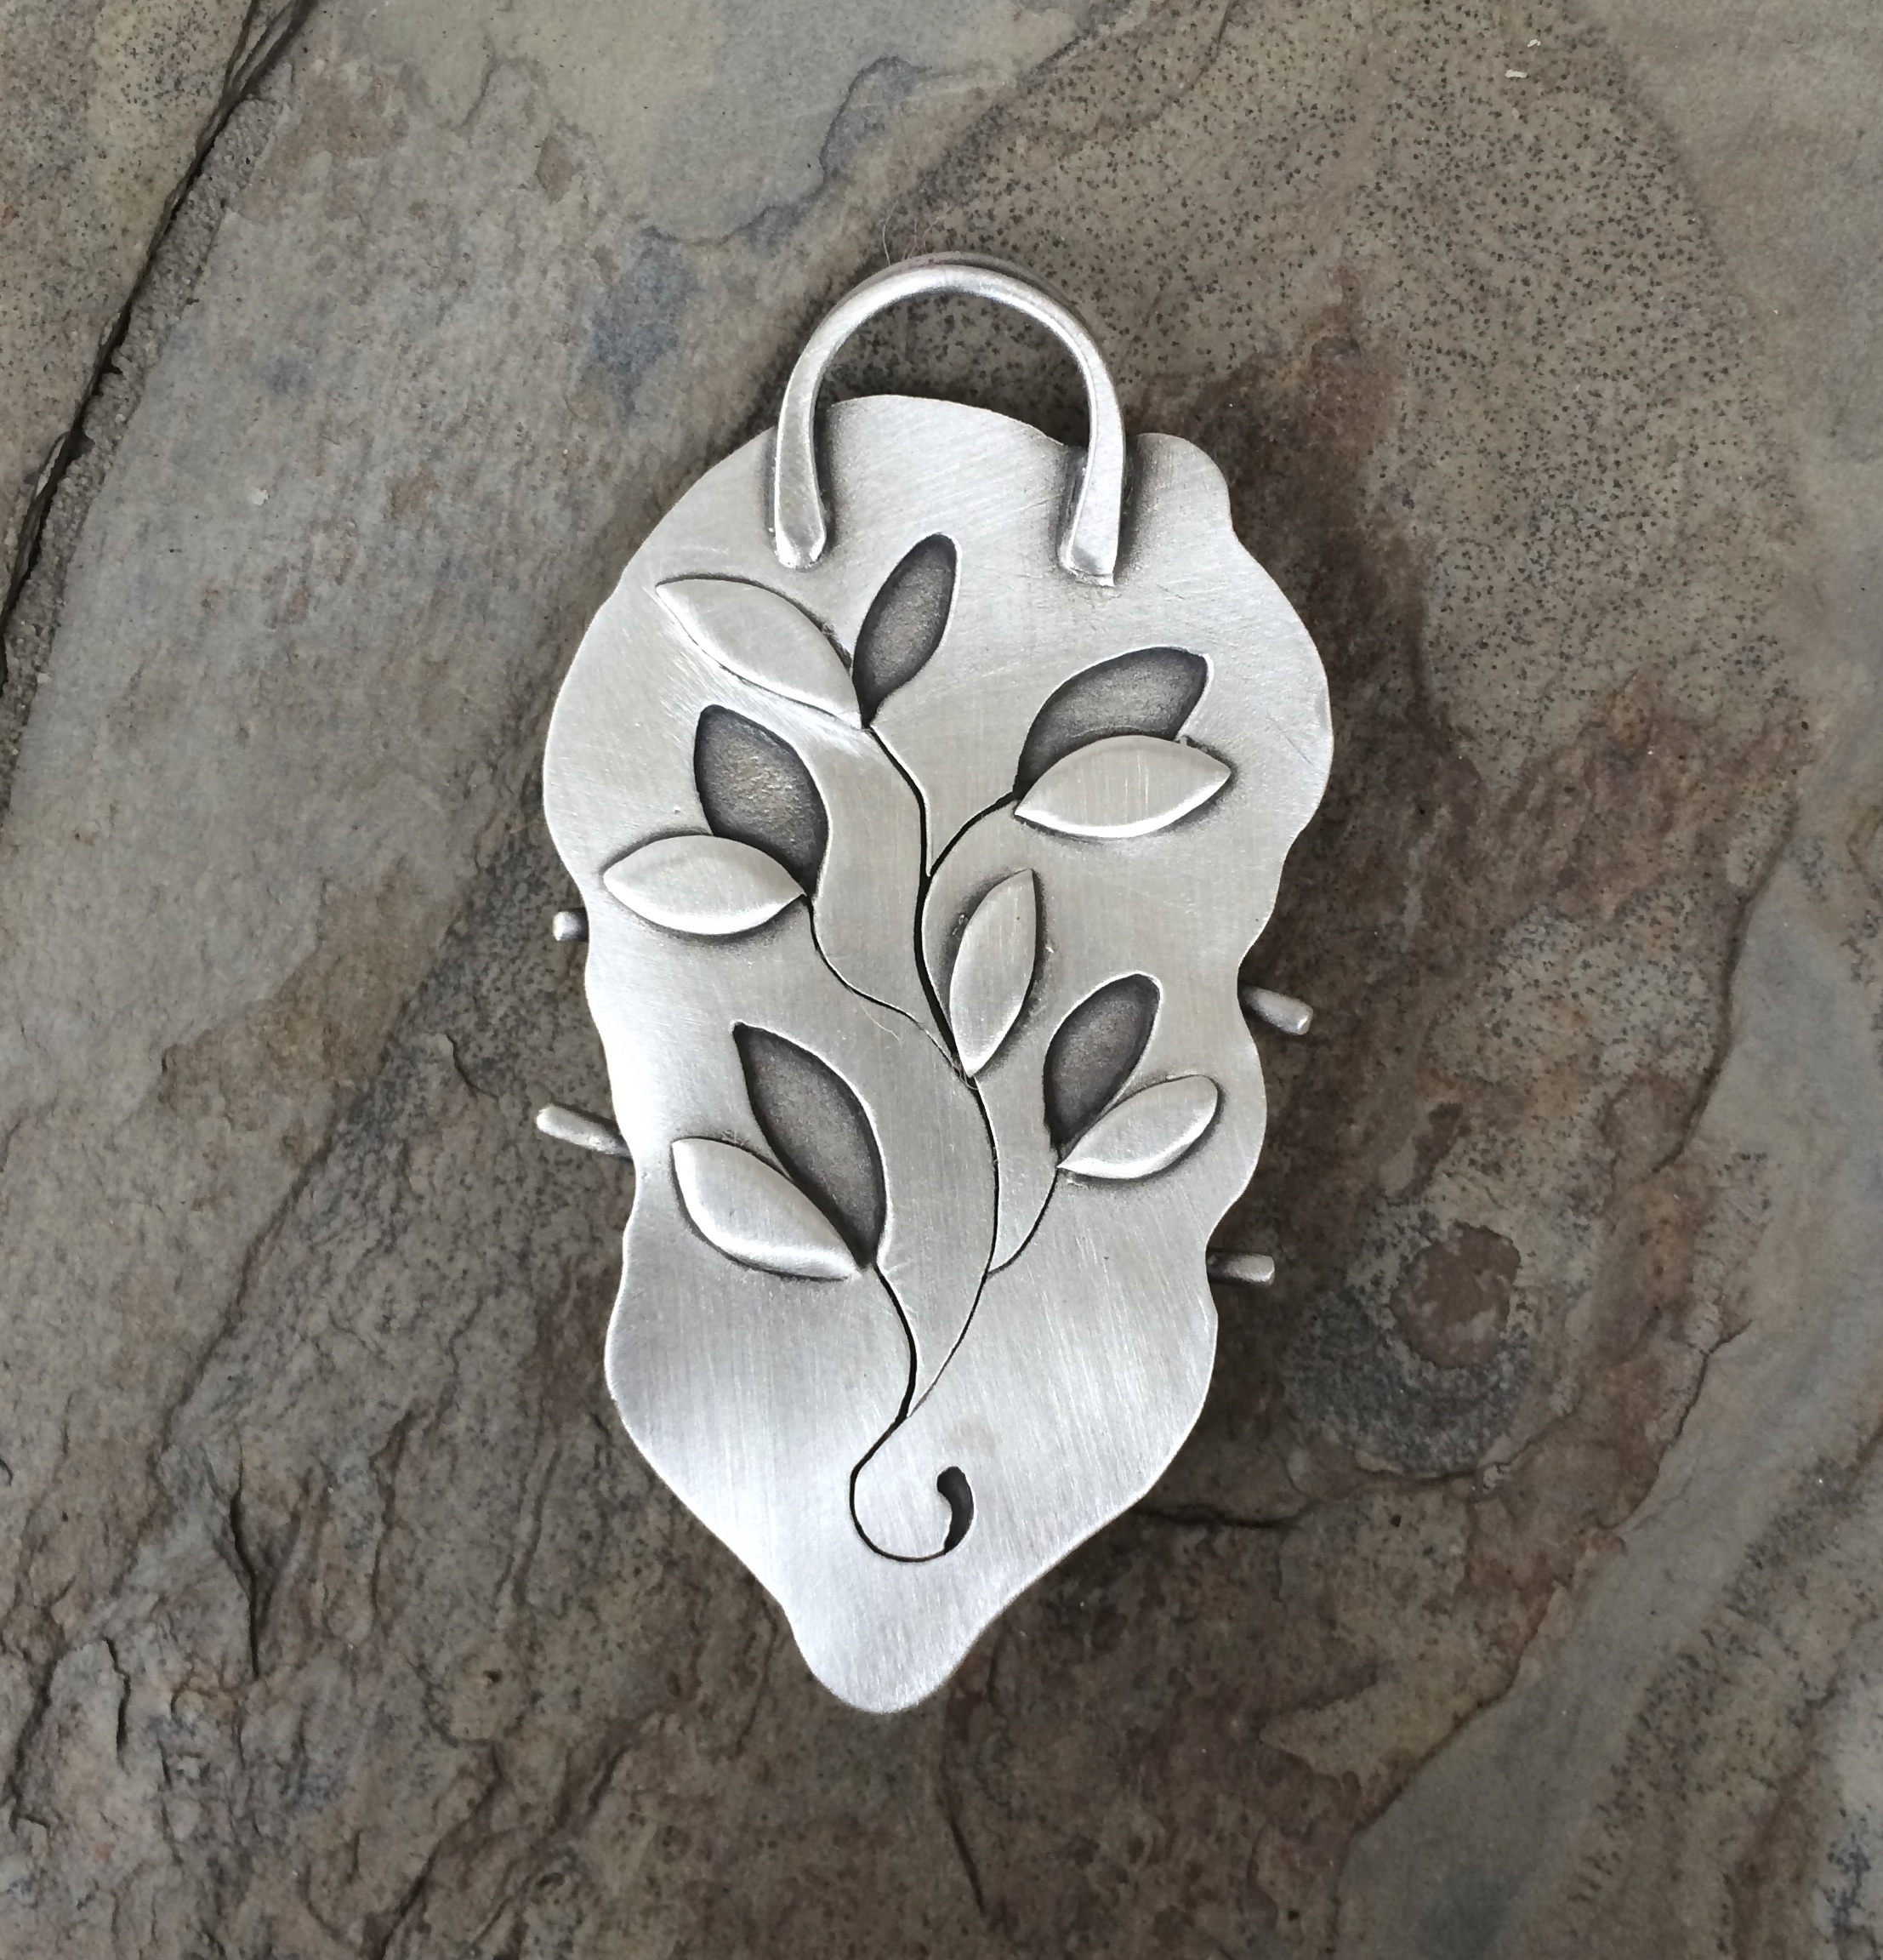
I’m kind of over the big leaf design, but for some reason here’s another.
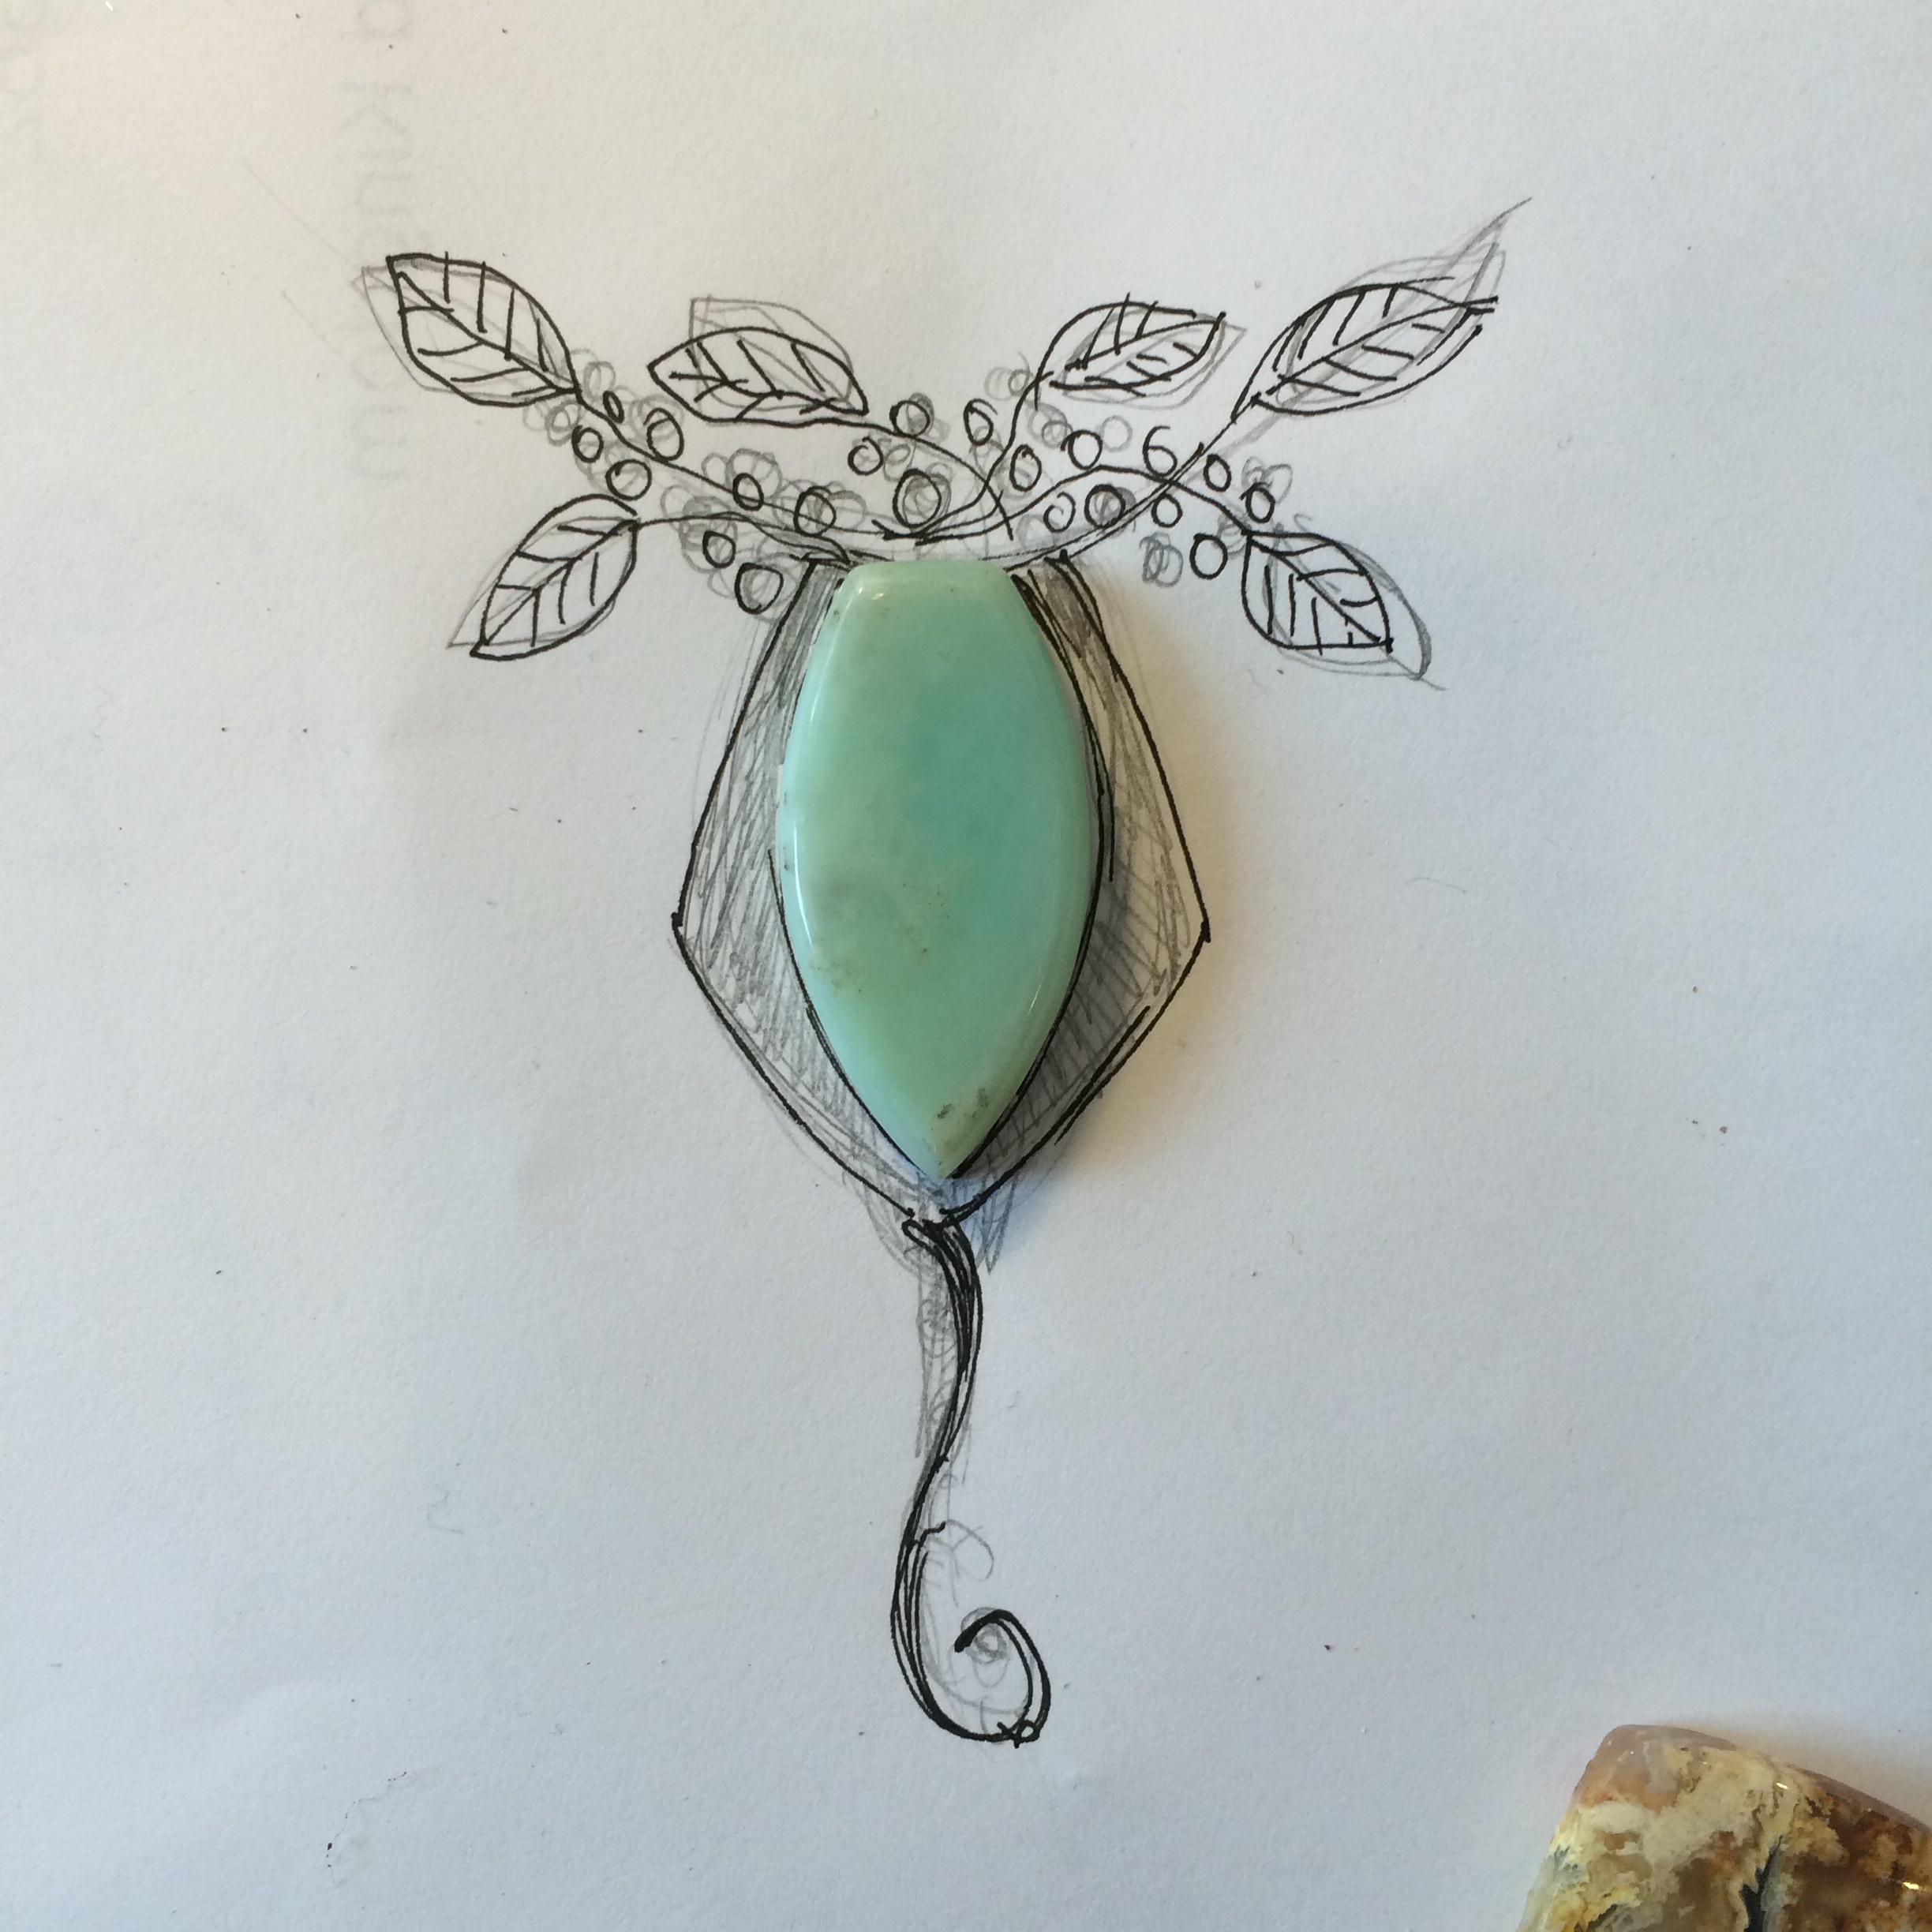
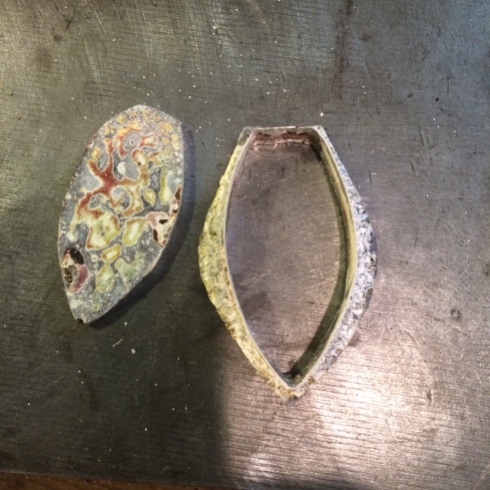
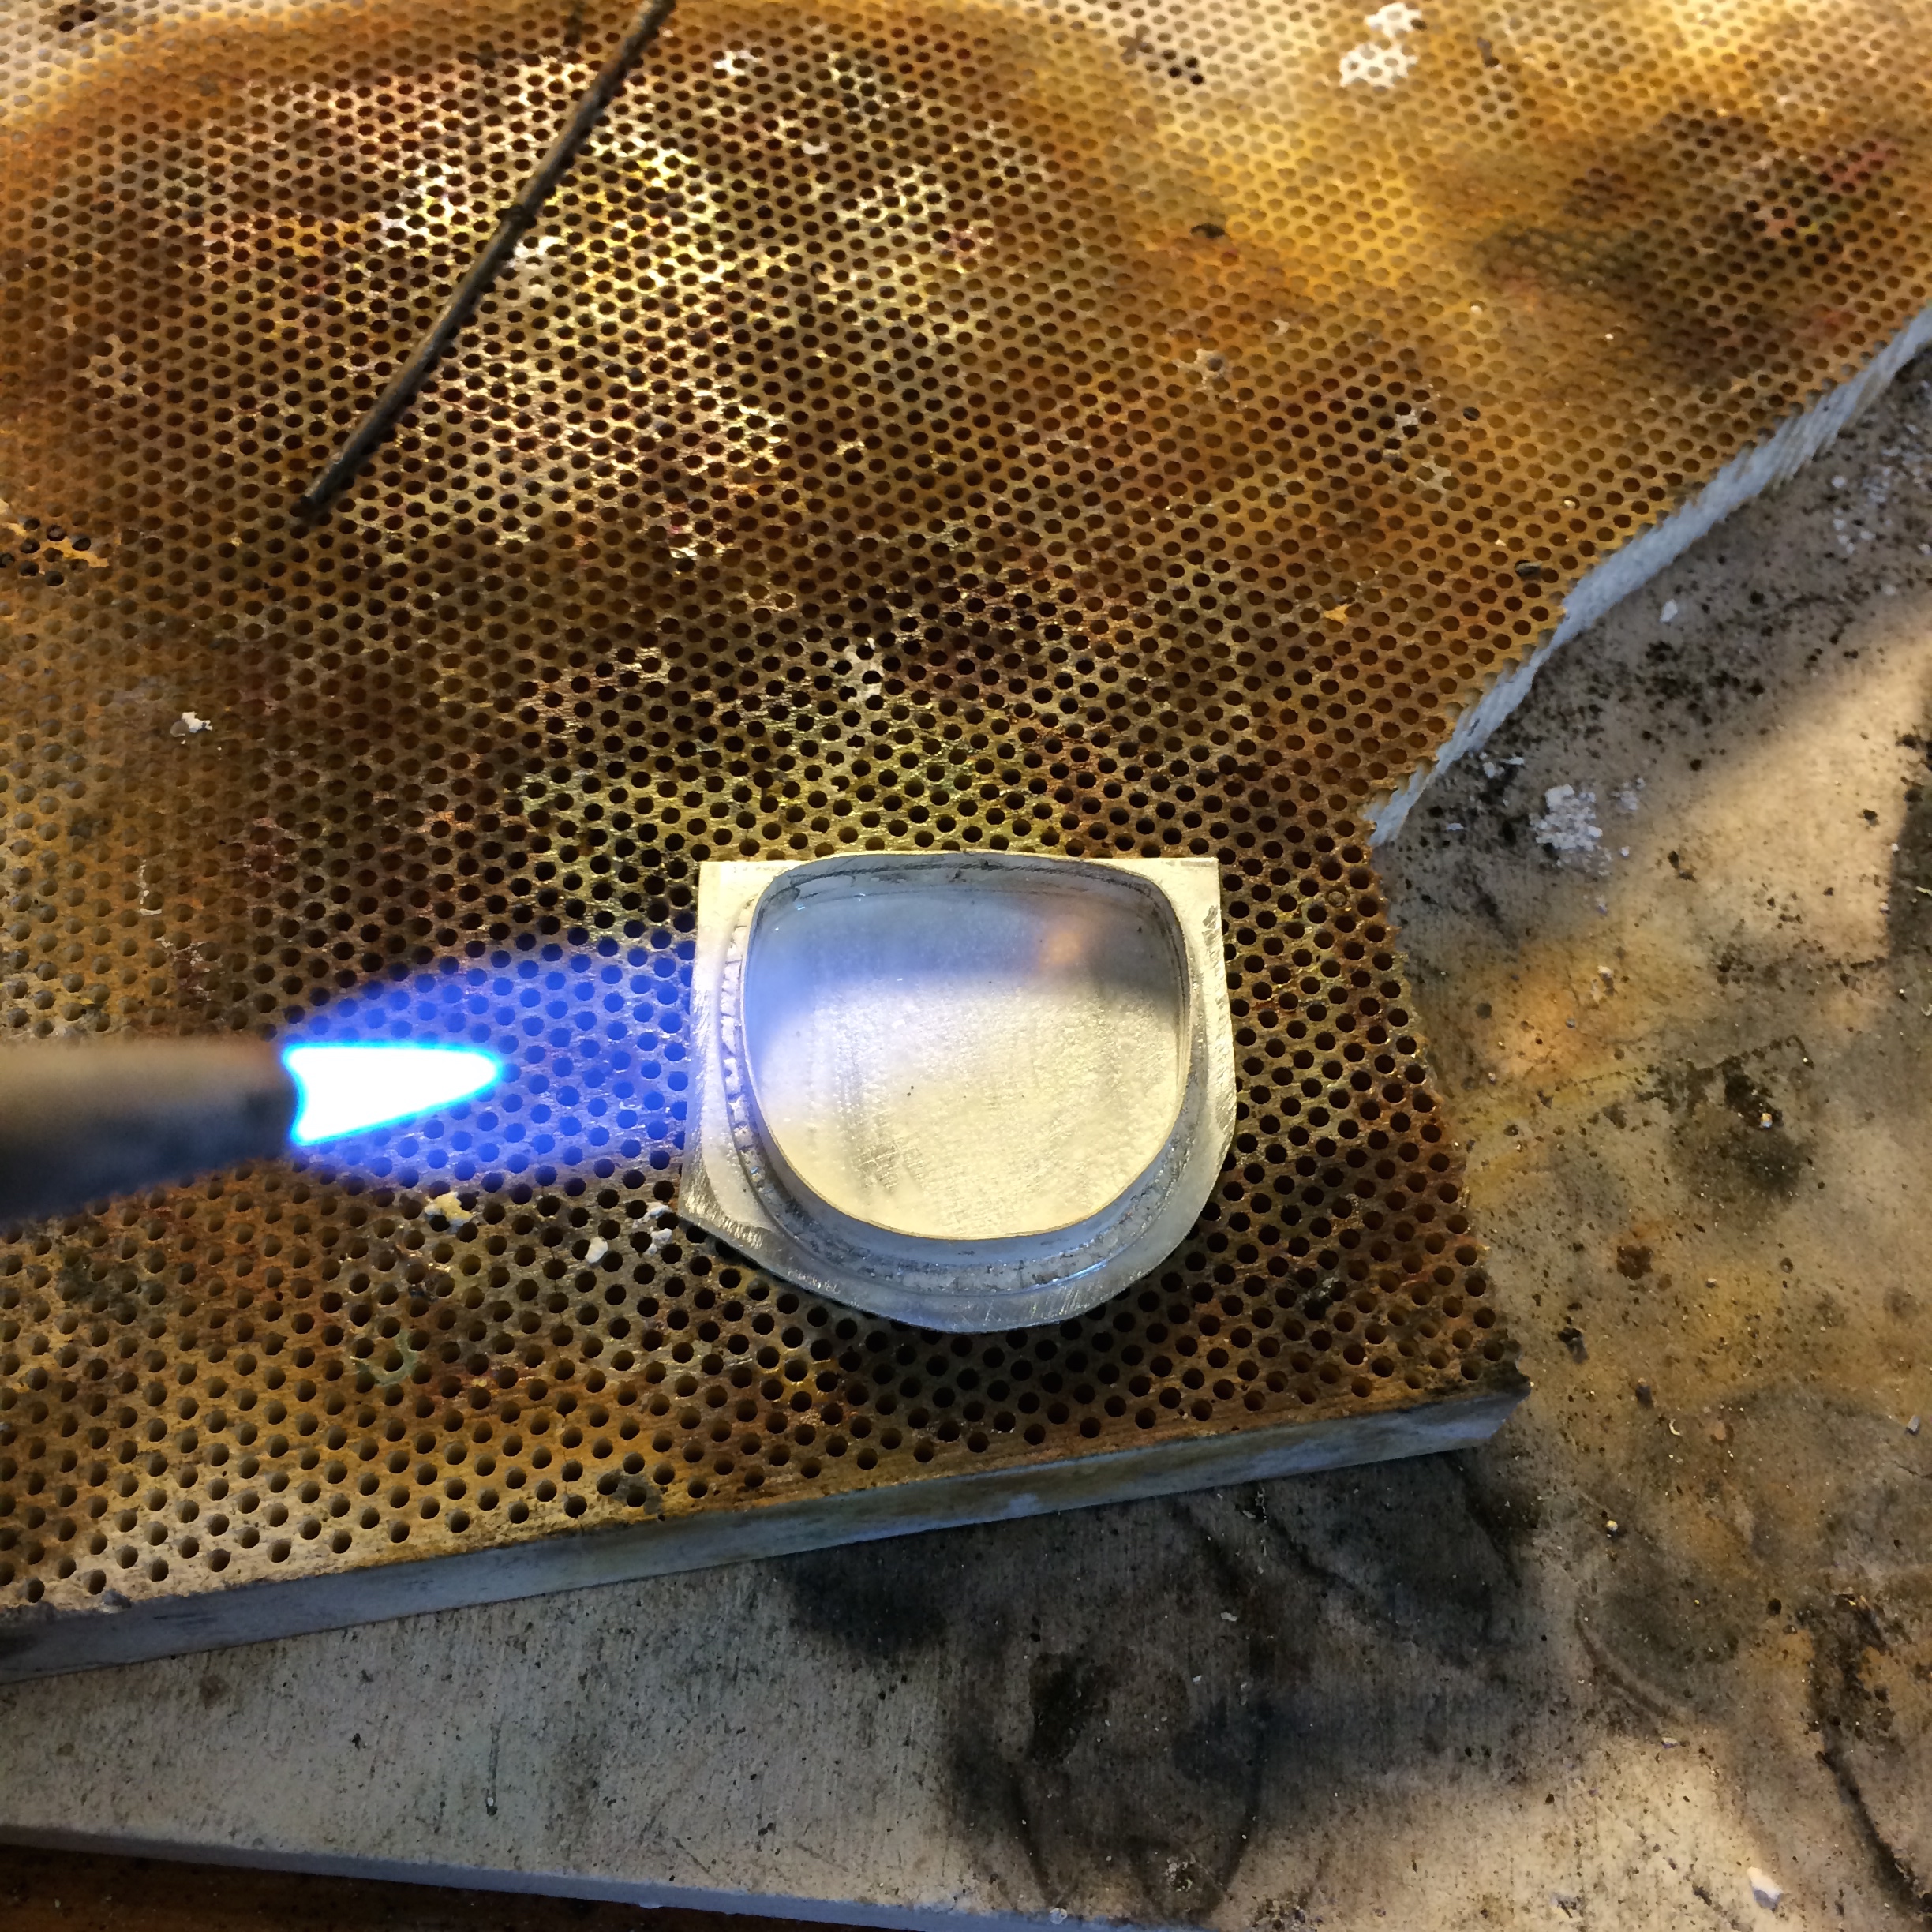
I made the opal, and it’s friend, a collar.

But felt that to just solder this onto a sheet of silver wouldn’t look good as it needed some more substance.
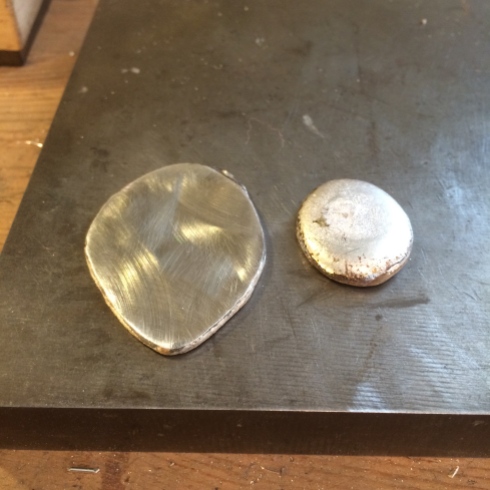
So I rolled out one of my silver pancakes that I’d melted down from my scraps.
Because I wanted chunky.
Decided where I wanted the dimension.
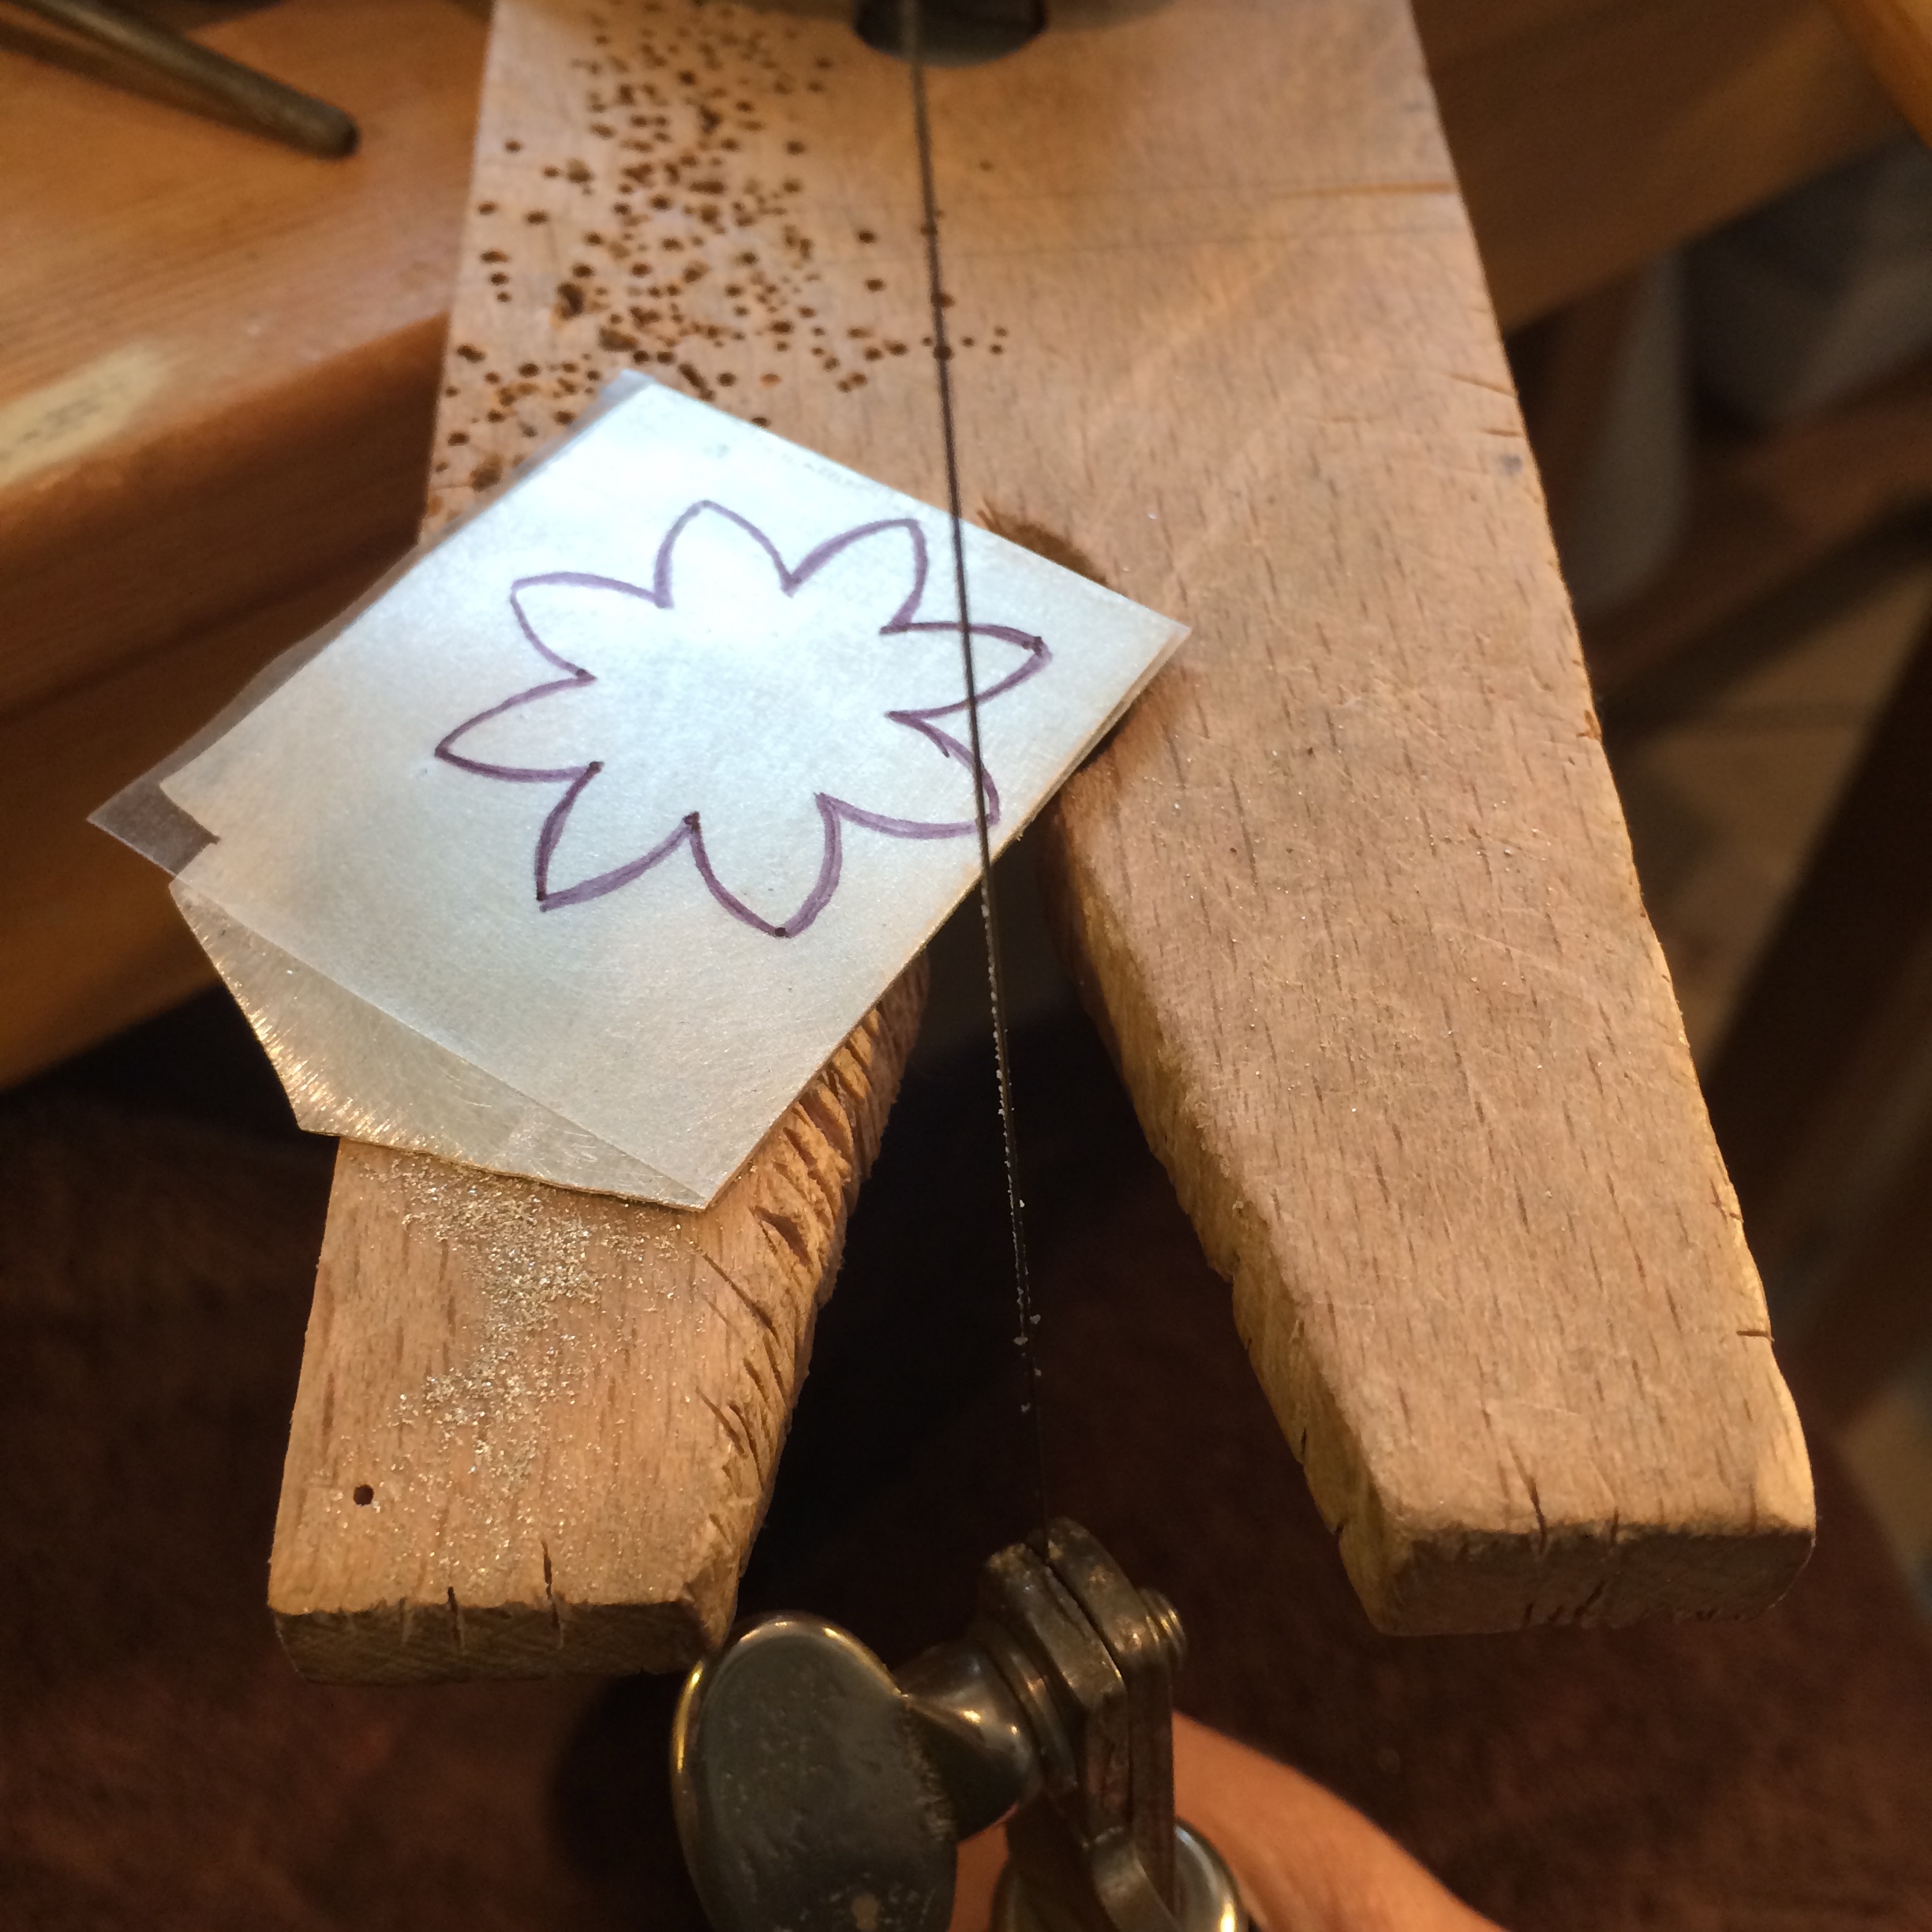
Used that sticky film paper
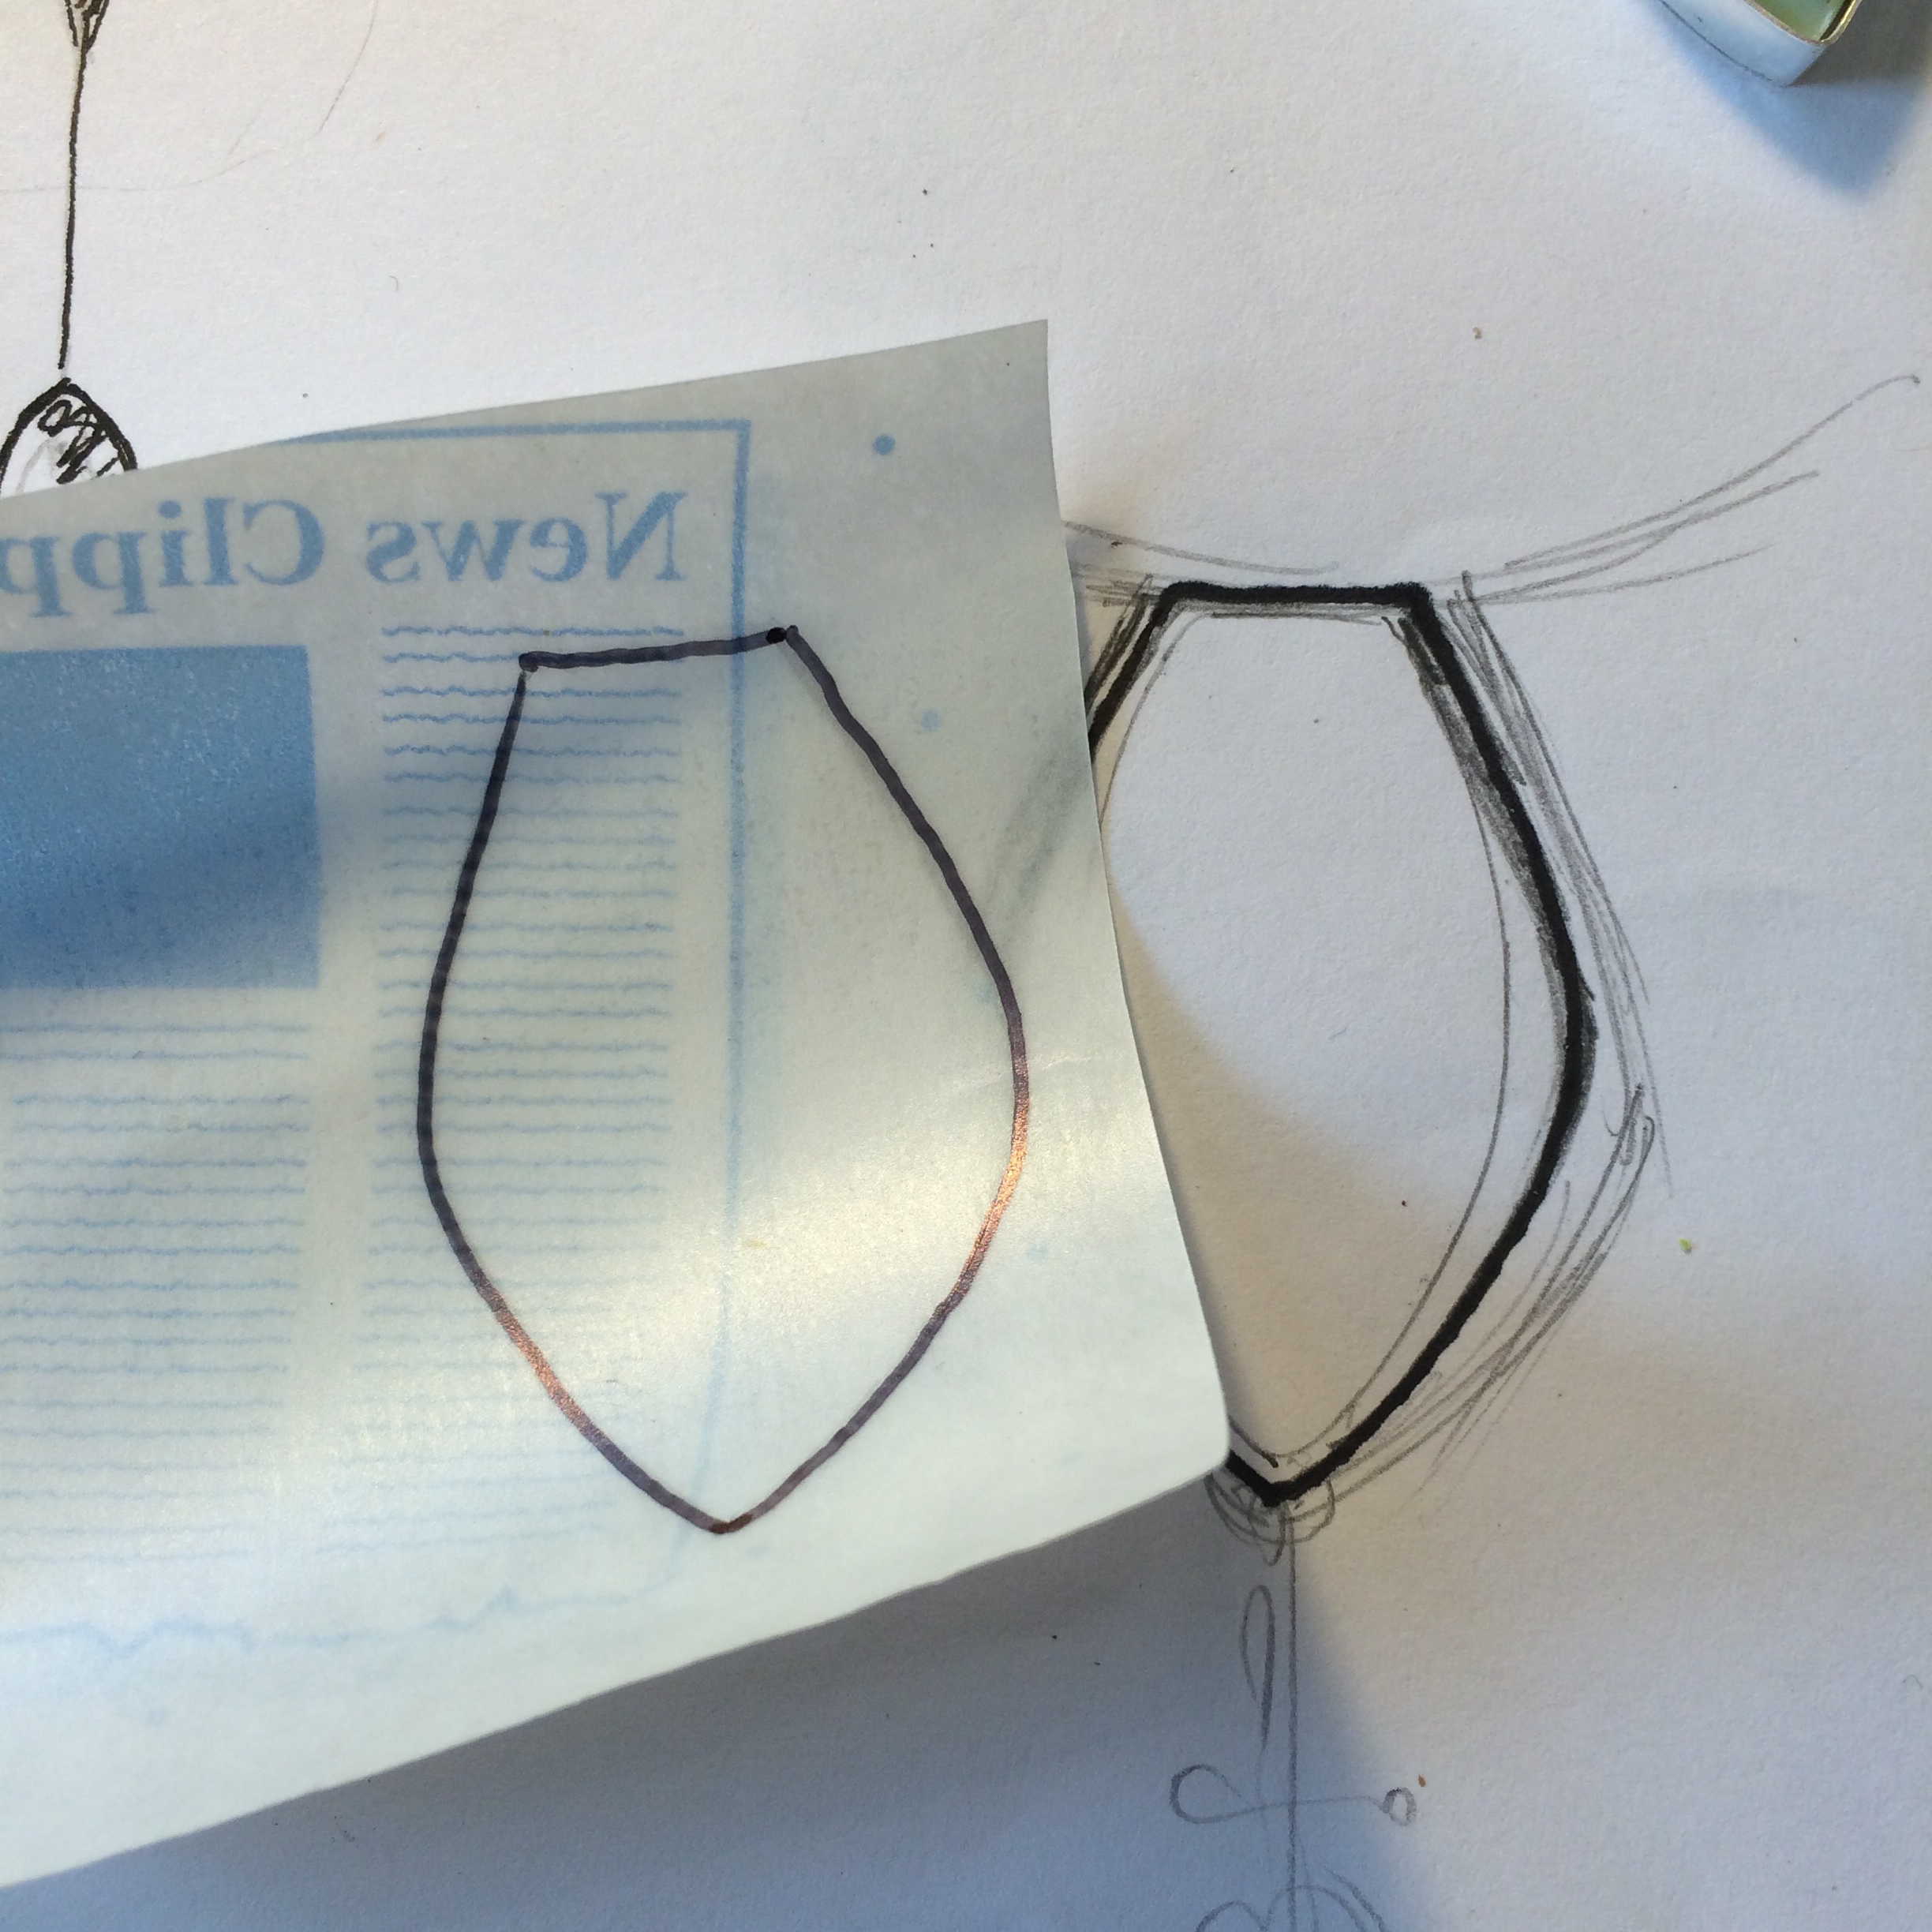
To cut out the shape.

And then decided it needed to be stamped.

I then soldered the collar onto it.

And that’s when that beautiful surface design happened.

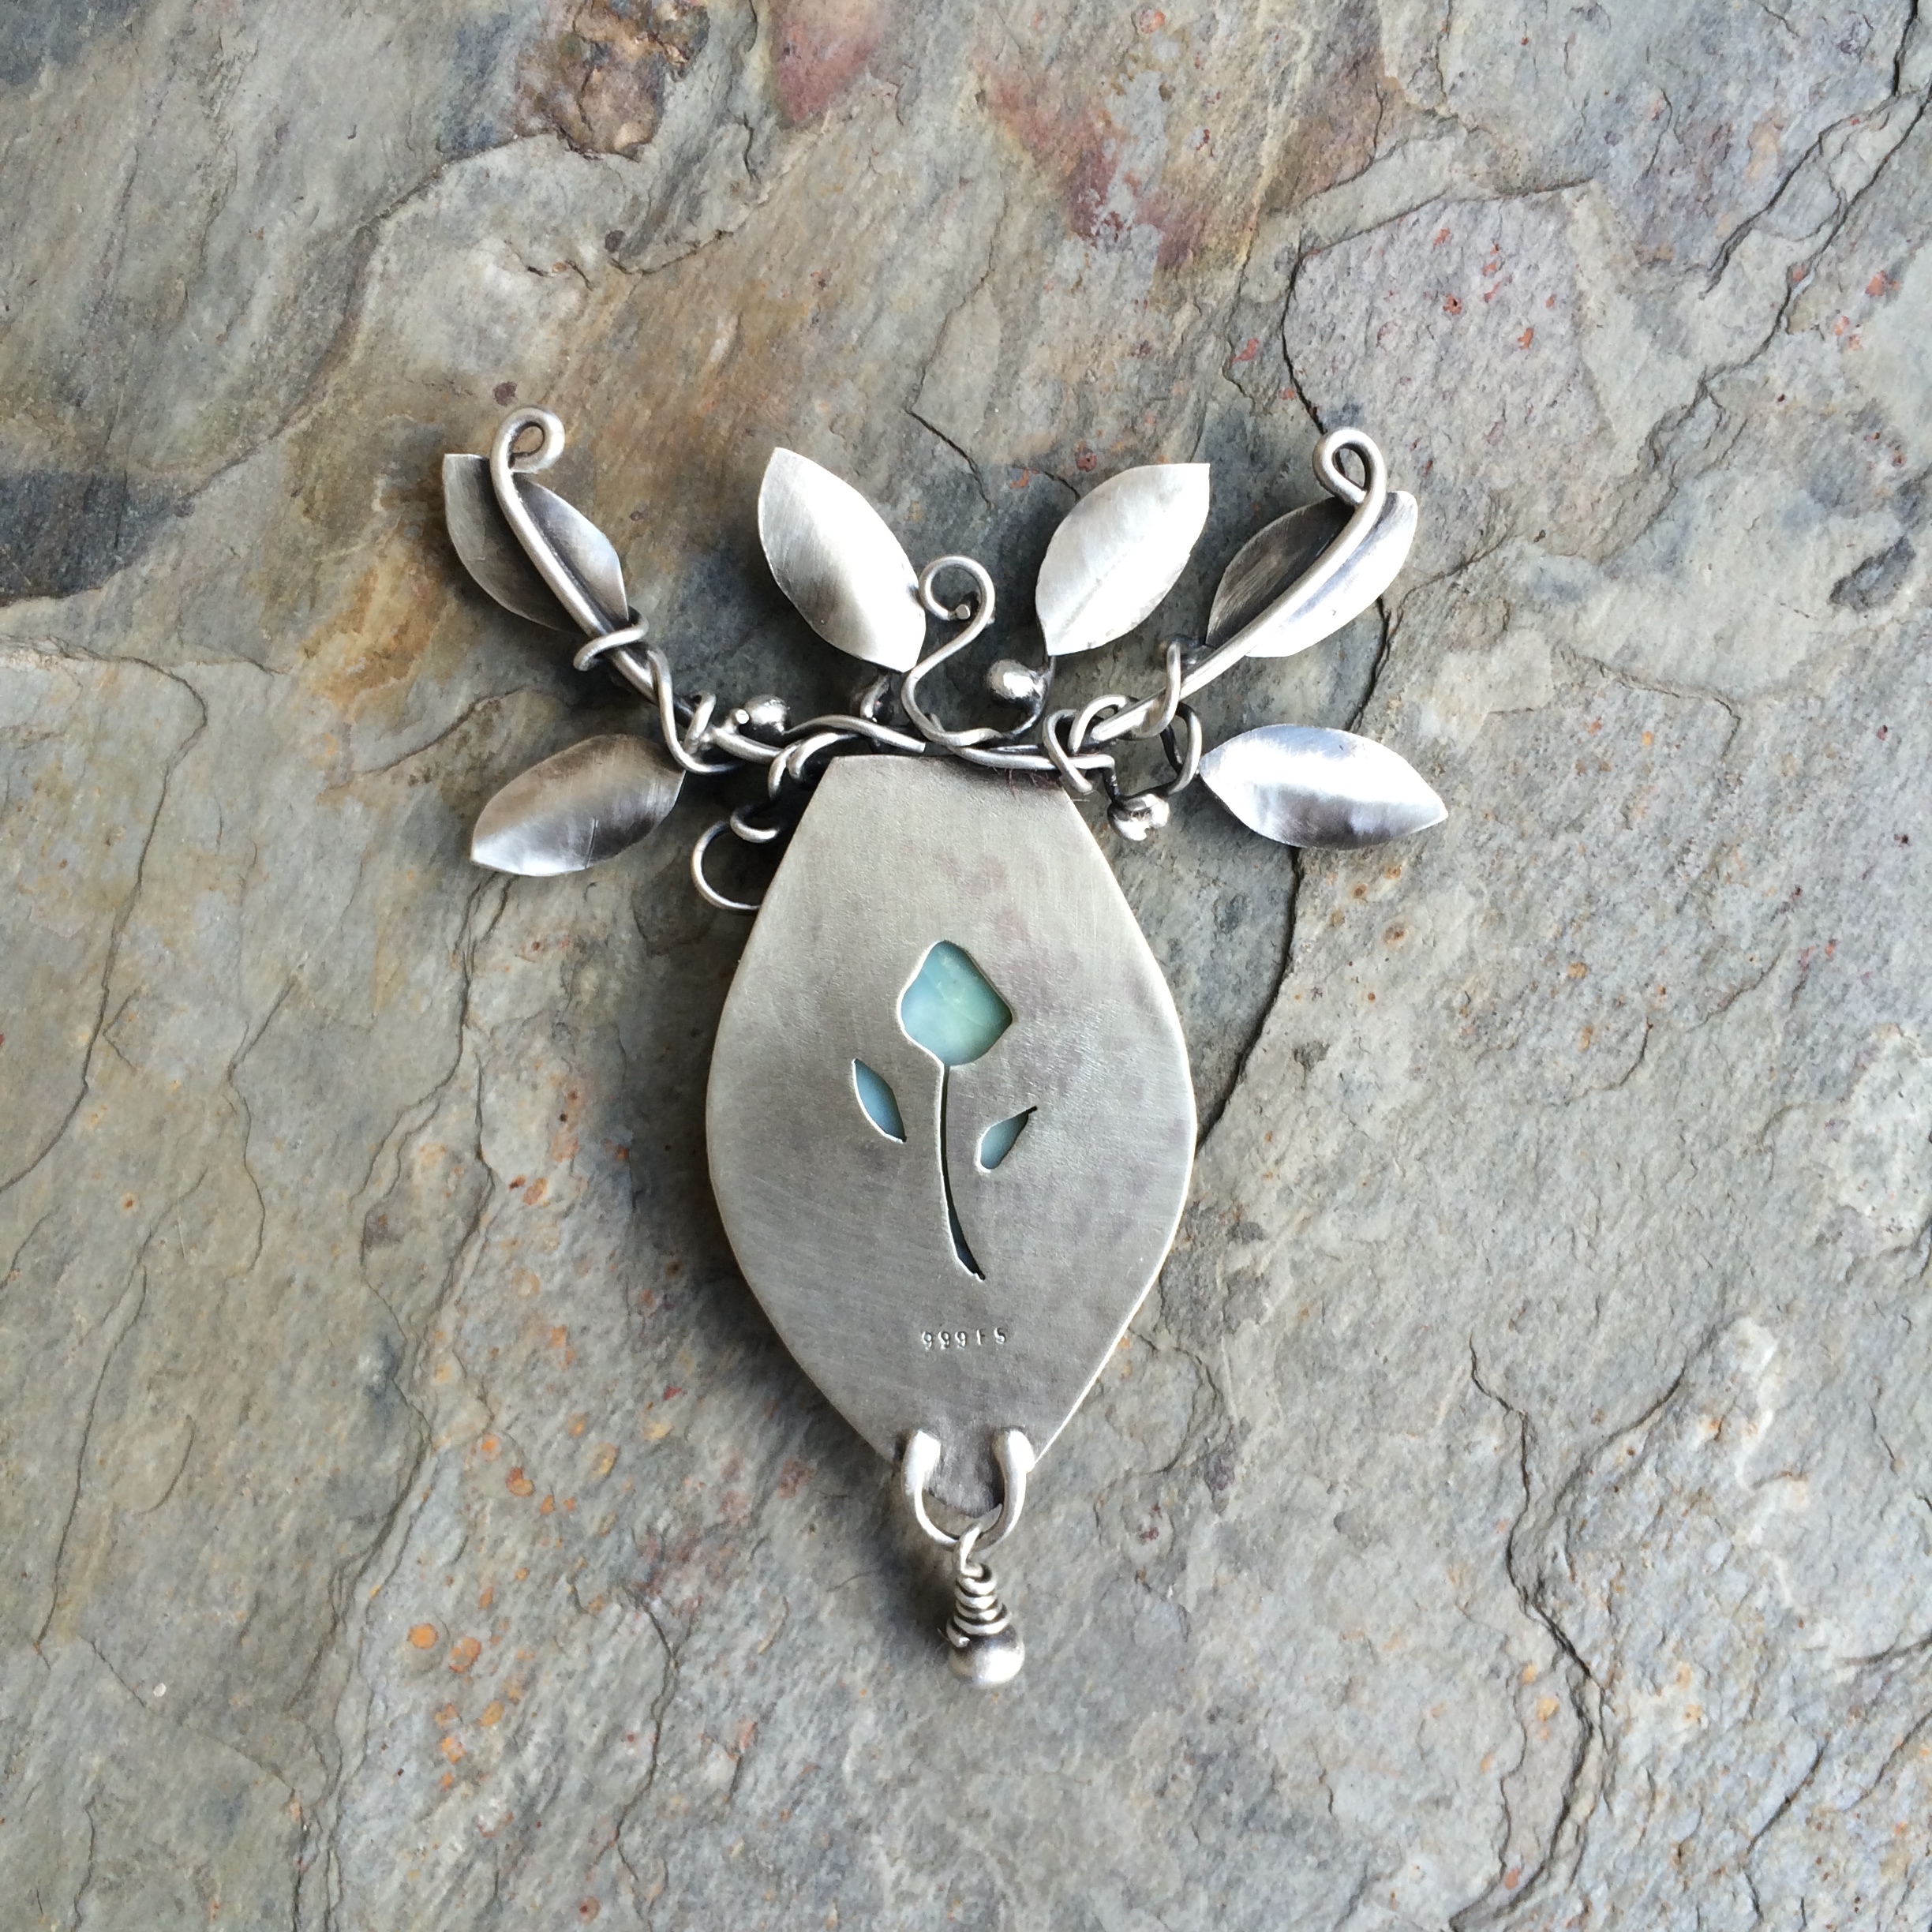
The back didn’t look quite as good though.
That must be the copper coming to the surface.
Still kind of interesting though.

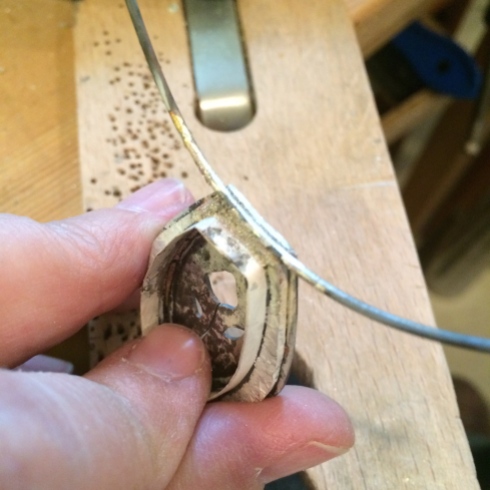
Because I wanted the stone to sit down further into the design I then cut the inside out of the bezel.
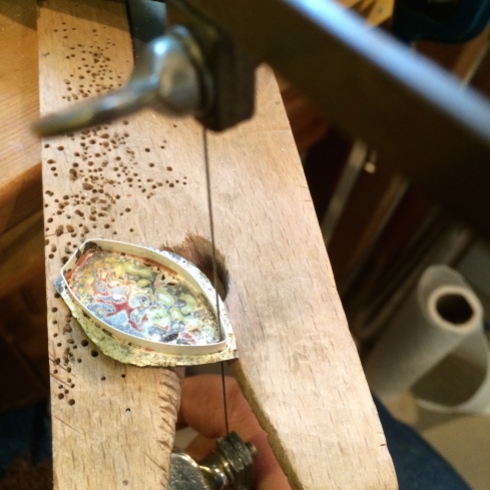
This also reduced the weight of the piece.
I try to saw as close to the inside edge as I can otherwise I’ll spend a lot of time filing away the excess.

I want the stone to pass easily through to the bottom.

Next I tidy up the edges of the bezel where the stamping may have distorted the shape and see how it looks on the sketch.

Now I solder it onto its new back plate, which is 22 gauge silver sheet, making sure to leave enough room around it to be able to give it a ‘step’.
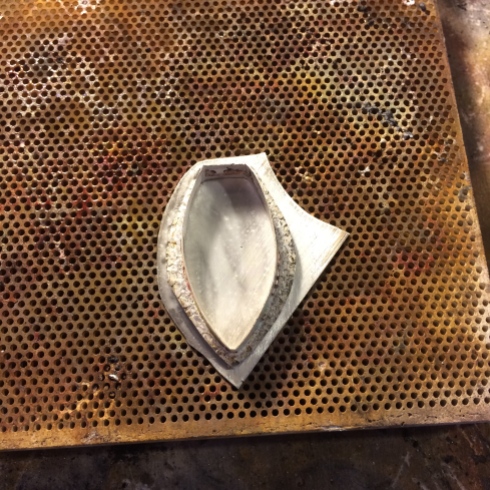
Here it is trimmed to its final outline.
And now a much needed chip break.
I don’t usually eat them, but S brought me in some.
I think just to make sure I was still on the property.
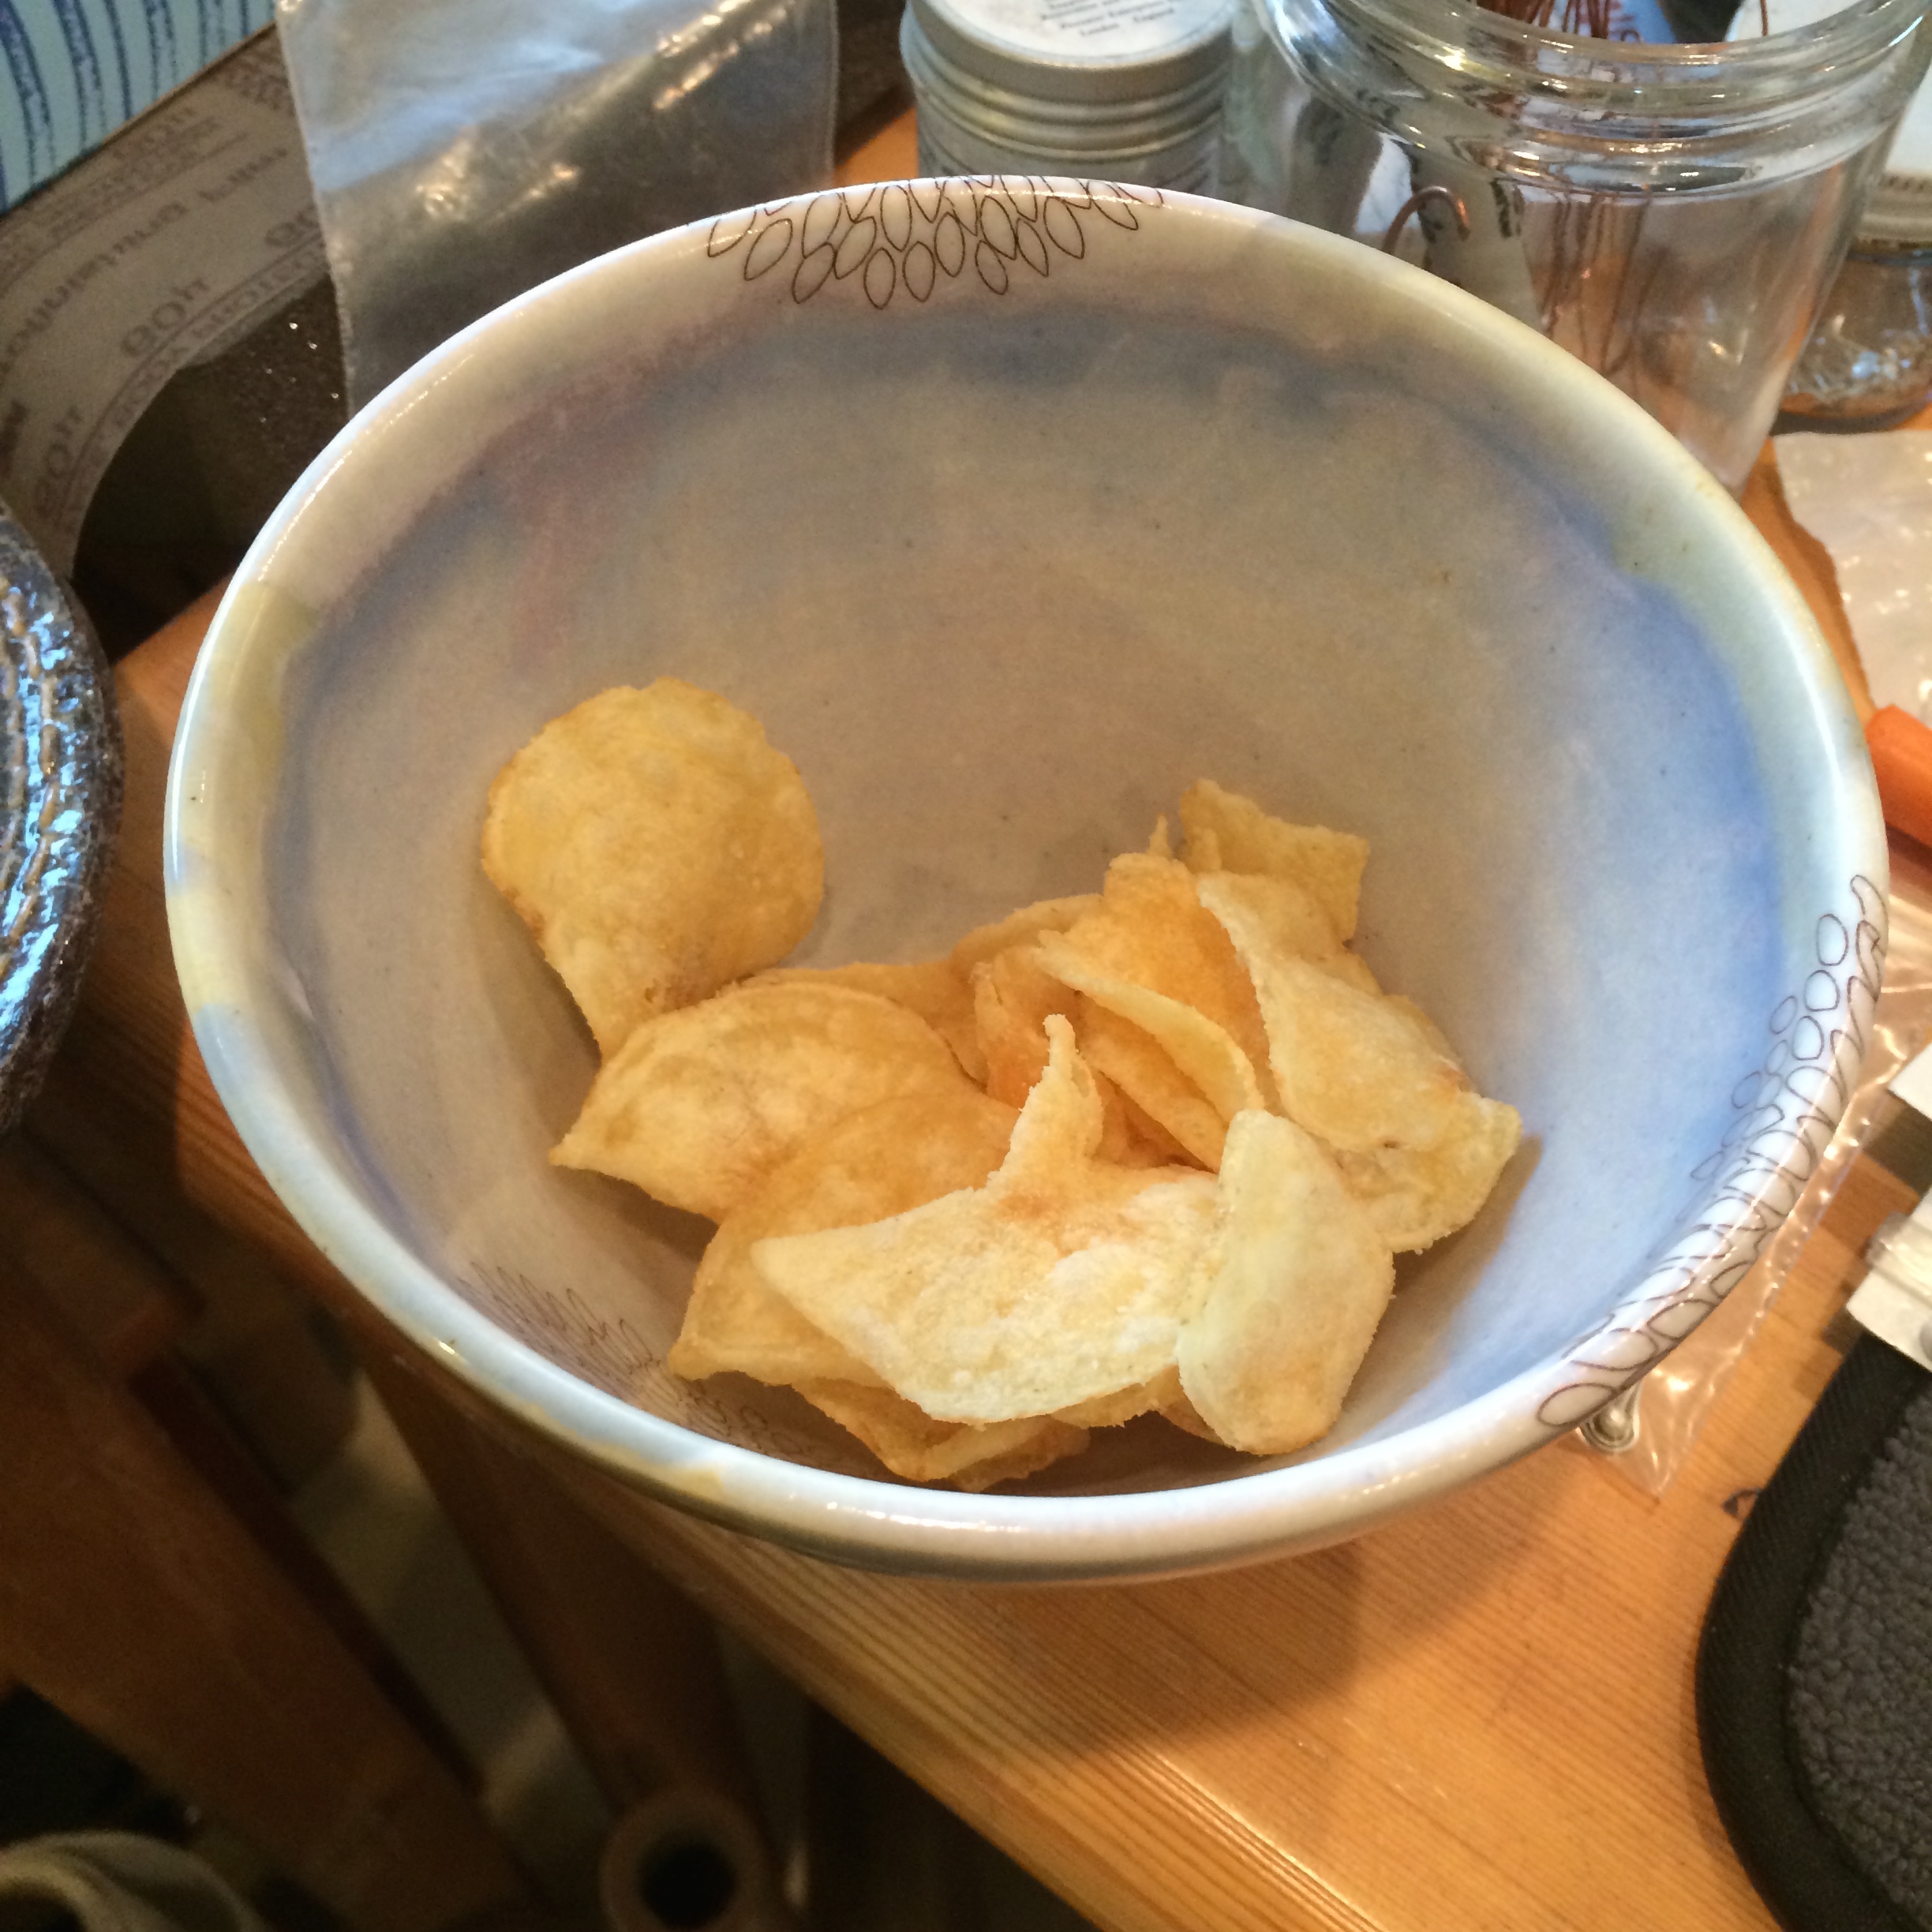
You can see from the last photo (above the crisps) that I have traced a line around the inside of the bezel where I want the collar to fit against the stone.
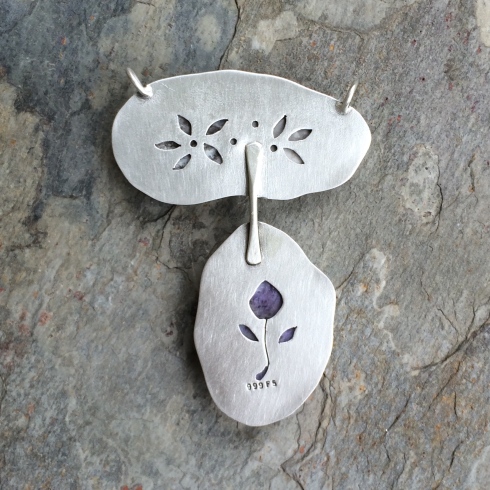
I now also decide on the design I would like to put on the back.

I draw it onto the inside of the bezel because it’s easier to saw it out this way. I also always use a sharpie pen because I find that pencil rubs away as I’m sawing and so I lose the shape.
I don’t cut it out before I solder the first part of the bezel onto it because I want to make sure the design is exactly where I want it to be.
I drill the holes.

And cut it out.
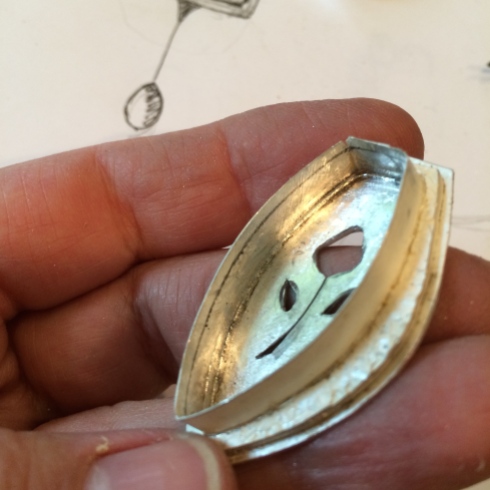
And at the same time cut away and file the extra from the height of the bezel collar.
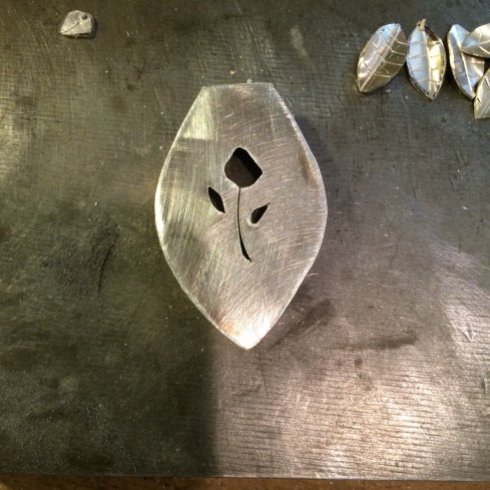
As you can see above I’ve already cut out the leaf shapes.
You can snip them out of scraps, but here I’ve used my saw as I haven’t got any scraps left.
They’re all repurposed pancakes now.
Oh well, live and learn.

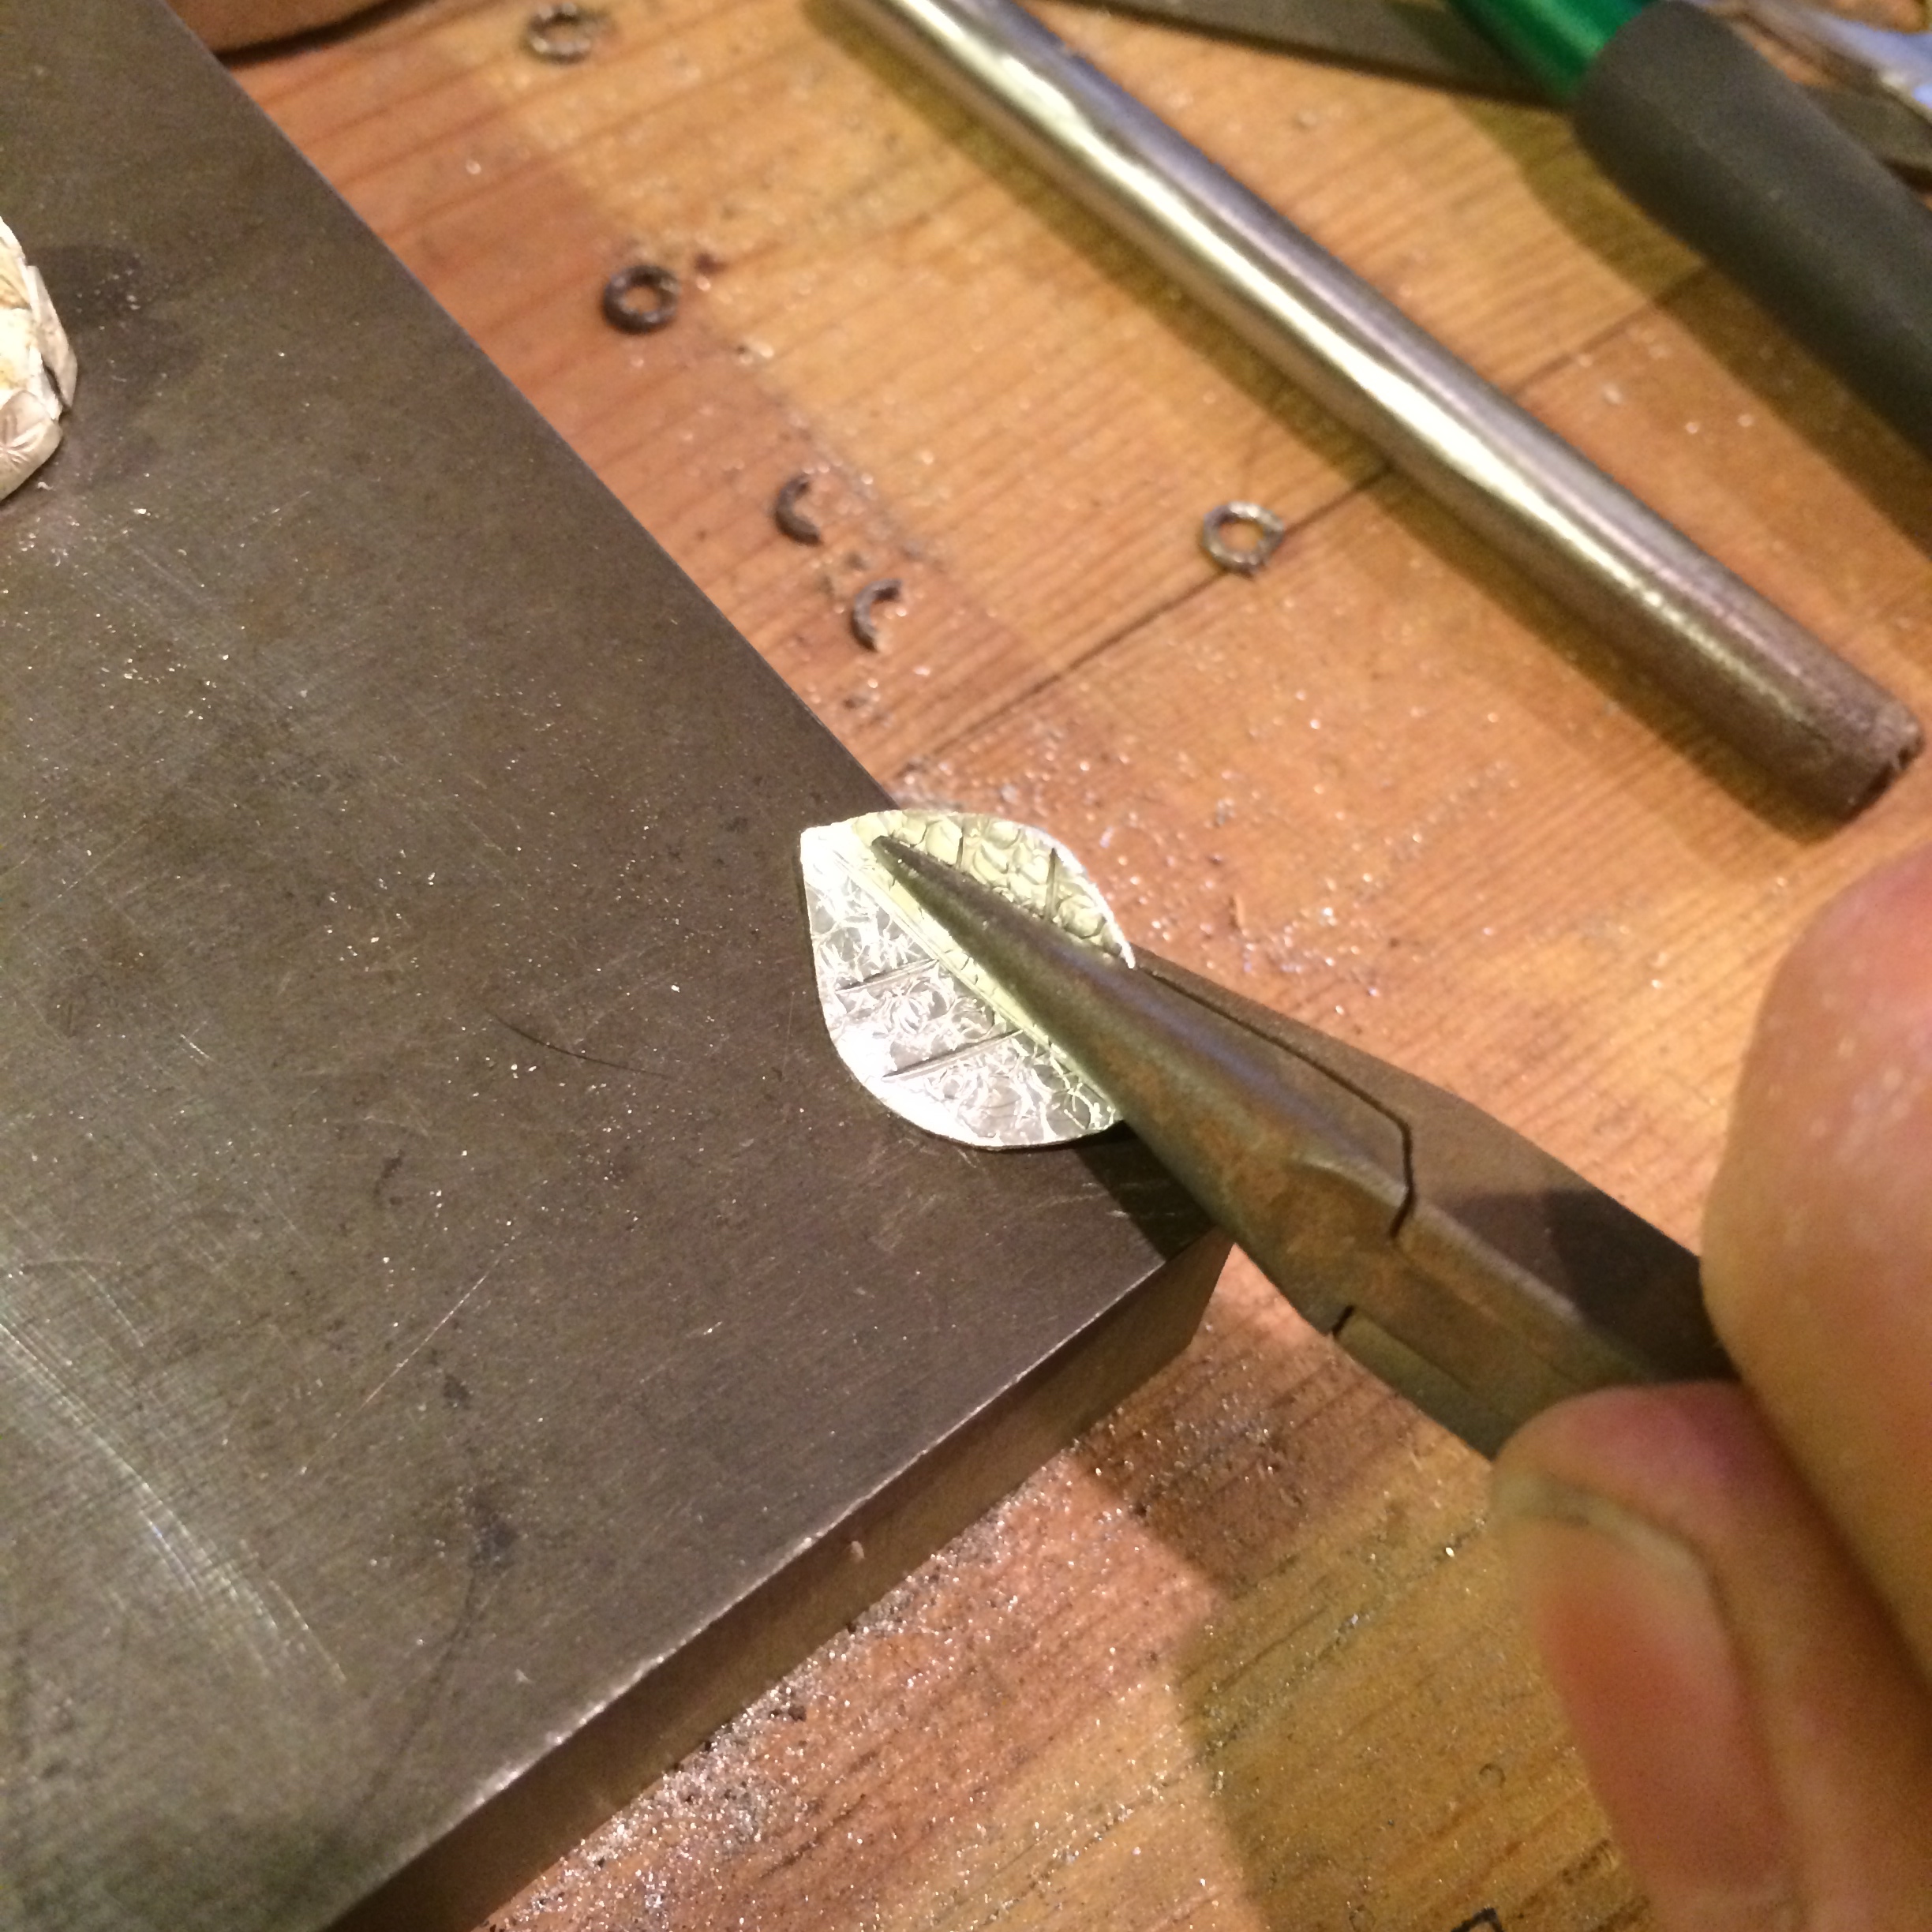
Then I put them onto the sticky tape and use my chasing tool from Larry to make a leaf design.

Which I then solder onto lengths of 20 gauge wire.

I cut a length of 16 gauge wire for the main stem and soldered it onto the top of the bezel.

I then filed down the excess back plate to follow the curve of the stem.
And checked it on the sketch.

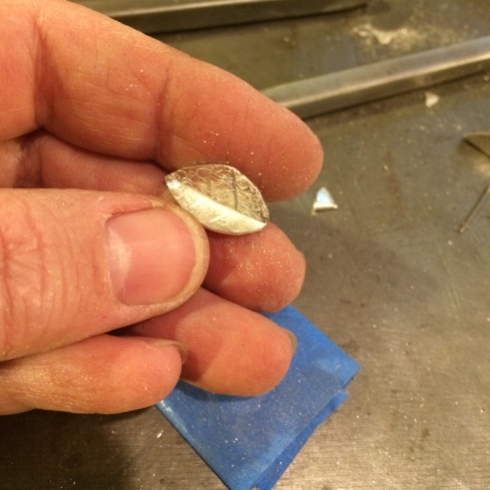
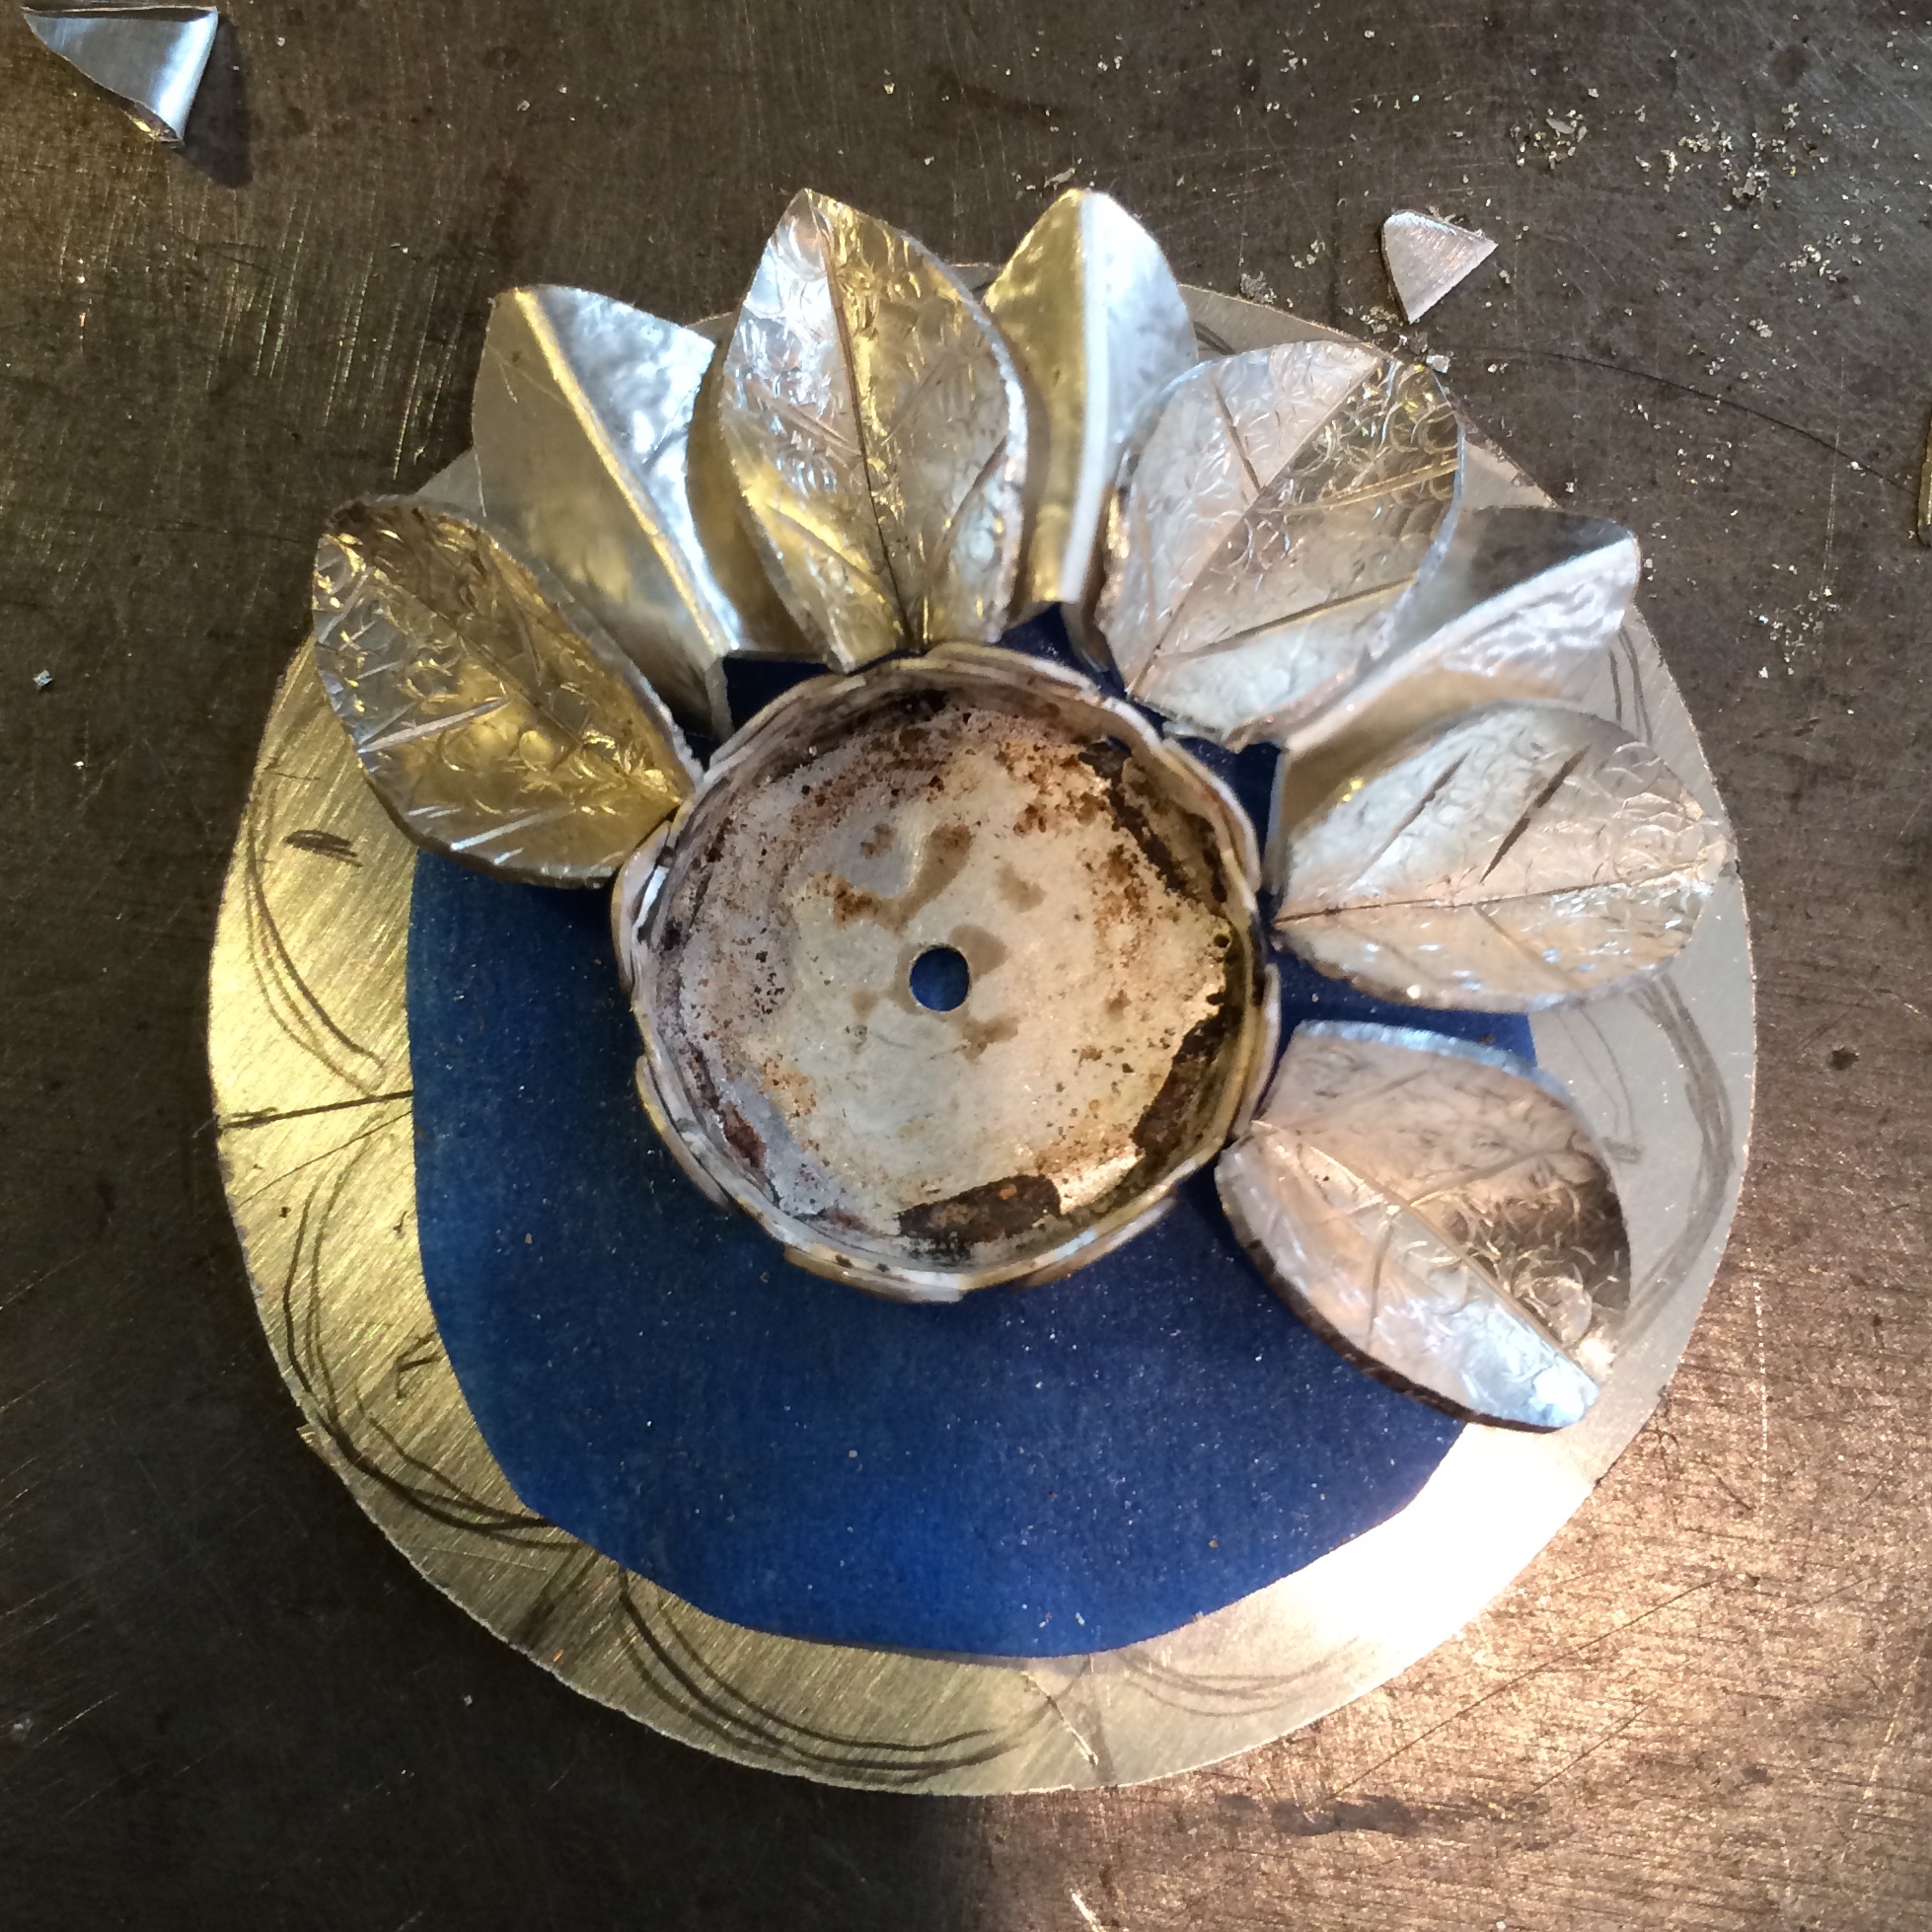
I wrapped the leaves around the main stem and soldered them onto it.

I do this very gently.
I move my torch in and out of the piece that I want to solder, all the time watching the surrounding area.
With practice you can see when another part is going to melt and so then I will quickly take my torch away, then bring it back in again slowly.
Depending on how many different solder points I have sometimes I will do this in batches in-between pickling the piece.
This is because often, before I can get to a different solder point, the flux has become grubby and the solder won’t flow so I can just manage three or four points at a time.
I just have to be patient (not easy for me) and go into my zen place.
If you are going to try this know that it is possible and just takes practice.
I only use easy solder for all of my joins from the beginning to the end of the whole piece and I am able to do it so keep at it.
🙂
I added some balls then pickled and sanded it, bringing it to its pre-finished state. Trying to get all of the excess solder and my new friend, fire scale, off and then I smothered it in Black Max.
Because I like to live dangerously.
Oh, and I decided on that little ball thing hanging from the bottom.
I buffed it a little bit and then set the stone.
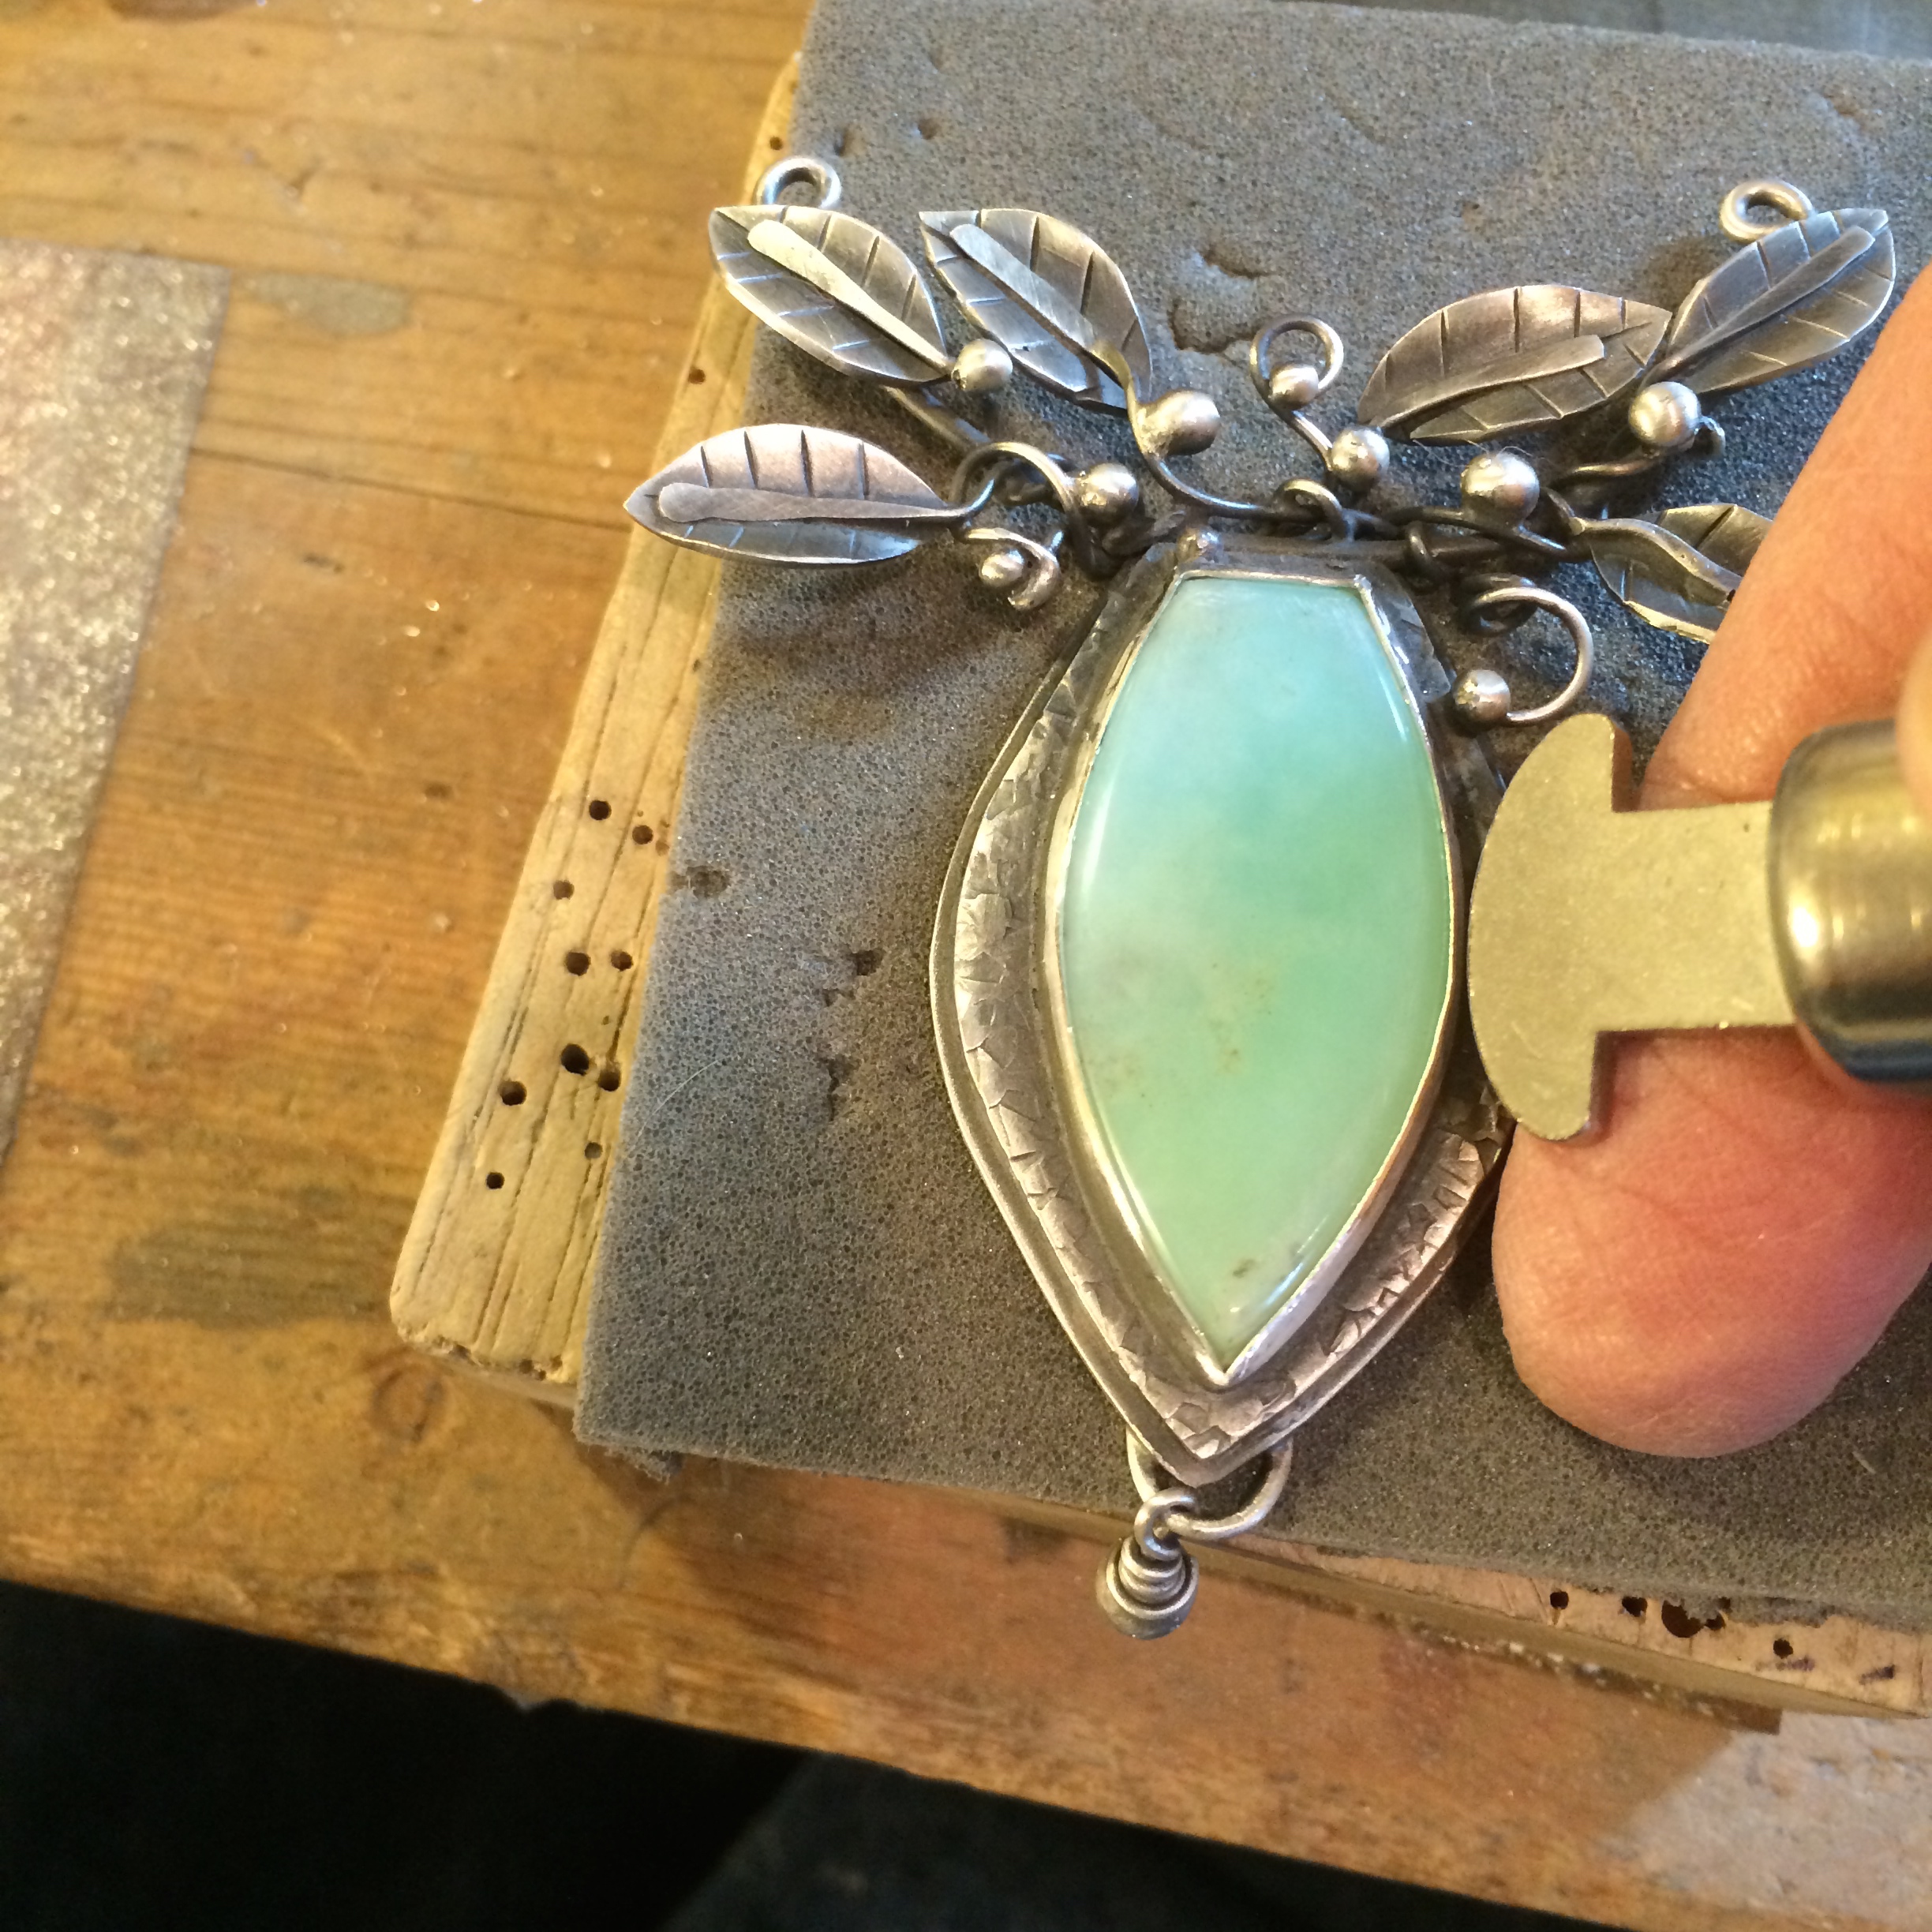
I prefer to use the bezel roller.
I started with the square pusher thing, and did find that easier at first, but I like the smoothness of the roller.
It’s worth practicing with if you can take the pain of constantly pushing it into your fingers when you begin.
And voilà.

Yet another viney, leafy piece.
I really need to get some new designs going.
–
BTW
If you read the Ganoksin article on fire scale (linked above) you will have read this line.
“Traditional polishing apprenticeships lasted from three to five years”
No wonder I find the polishing part the hardest.
Aint got no time for five years though so I’m just going to have to keep on winging it…
–
–
–
I came across the 100 day project and thought why not.

Trouble is I didn’t know what I’d want to do for a hundred days.
I’m not usually up for challenges as I believe they are set ups for failure, but I thought, hey, I might give this one a go.
So I decided I could either:
1. Make a piece of jewelry every day, but as I pretty much do that already it kind of seemed a bit like cheating.
2. Clean a little part of the house every day… Nah. Don’t think so.
3. Stop drinking wine for a hundred days.
That would definitely be a set up for failure.
4. Take a photograph.
5. paint a picture.
6. Create a doodle.
Etc., etc., etc…
I could do all of these things, but my dad’s coming to visit within the hundred day period, and my sister, and I don’t want to take up my time with them. It would have to be something I can do that doesn’t mean going into the isolation tank for long periods of time.
And, of course, number 2 would just about do me in and that wouldn’t be fair to my visitors, or to me.
So I chose Cornelius.
Remember?
My little botanical book?
Titled.
The Ledgers Ledgend of Cornelius Audenberry III.
Intrepid Explorer and Royal Botanist to HRH Significanta Regina, Queen of Spry.
I started it when I was creating a run of triffid paintings.
Of which, you can be assured, there are many more.
And of course each triffid begged for a story.
Well, o.k. they didn’t actually beg, but rather was given one whether they liked it or not.
And so began Cornelius’ adventures to document the wildly fantastic flora of the Copstan Islands.
Of course his voyage on the Encumbrance had to be postponed due to his narrator taking all of the time she could be writing making jewelry instead, and whining about the house keeping, so to Cornelius the 100 day project seems to be a brilliant idea.
(Or not)
And one that I can easily do when my dad and sister come.
At first I thought I’d give myself a word or page goal for each day then I realized that I really just needed to write anything and not worry about giving myself rules.
So today is day four.

And I’ve already discovered a new member of the crew.
Who knew!
I usually get caught up in grammar and spelling and reorganizing the words, but this time I am simple writing it down.
One day at a time.
–
Other news.
Here’s a picture I’m working on because I was getting a little bored with the jewelry.


It’s got nothing to do with Cornelius as this is an entirely different world which he hasn’t discovered yet.
–
And a necklace.


–
–
#the100dayproject
–
–
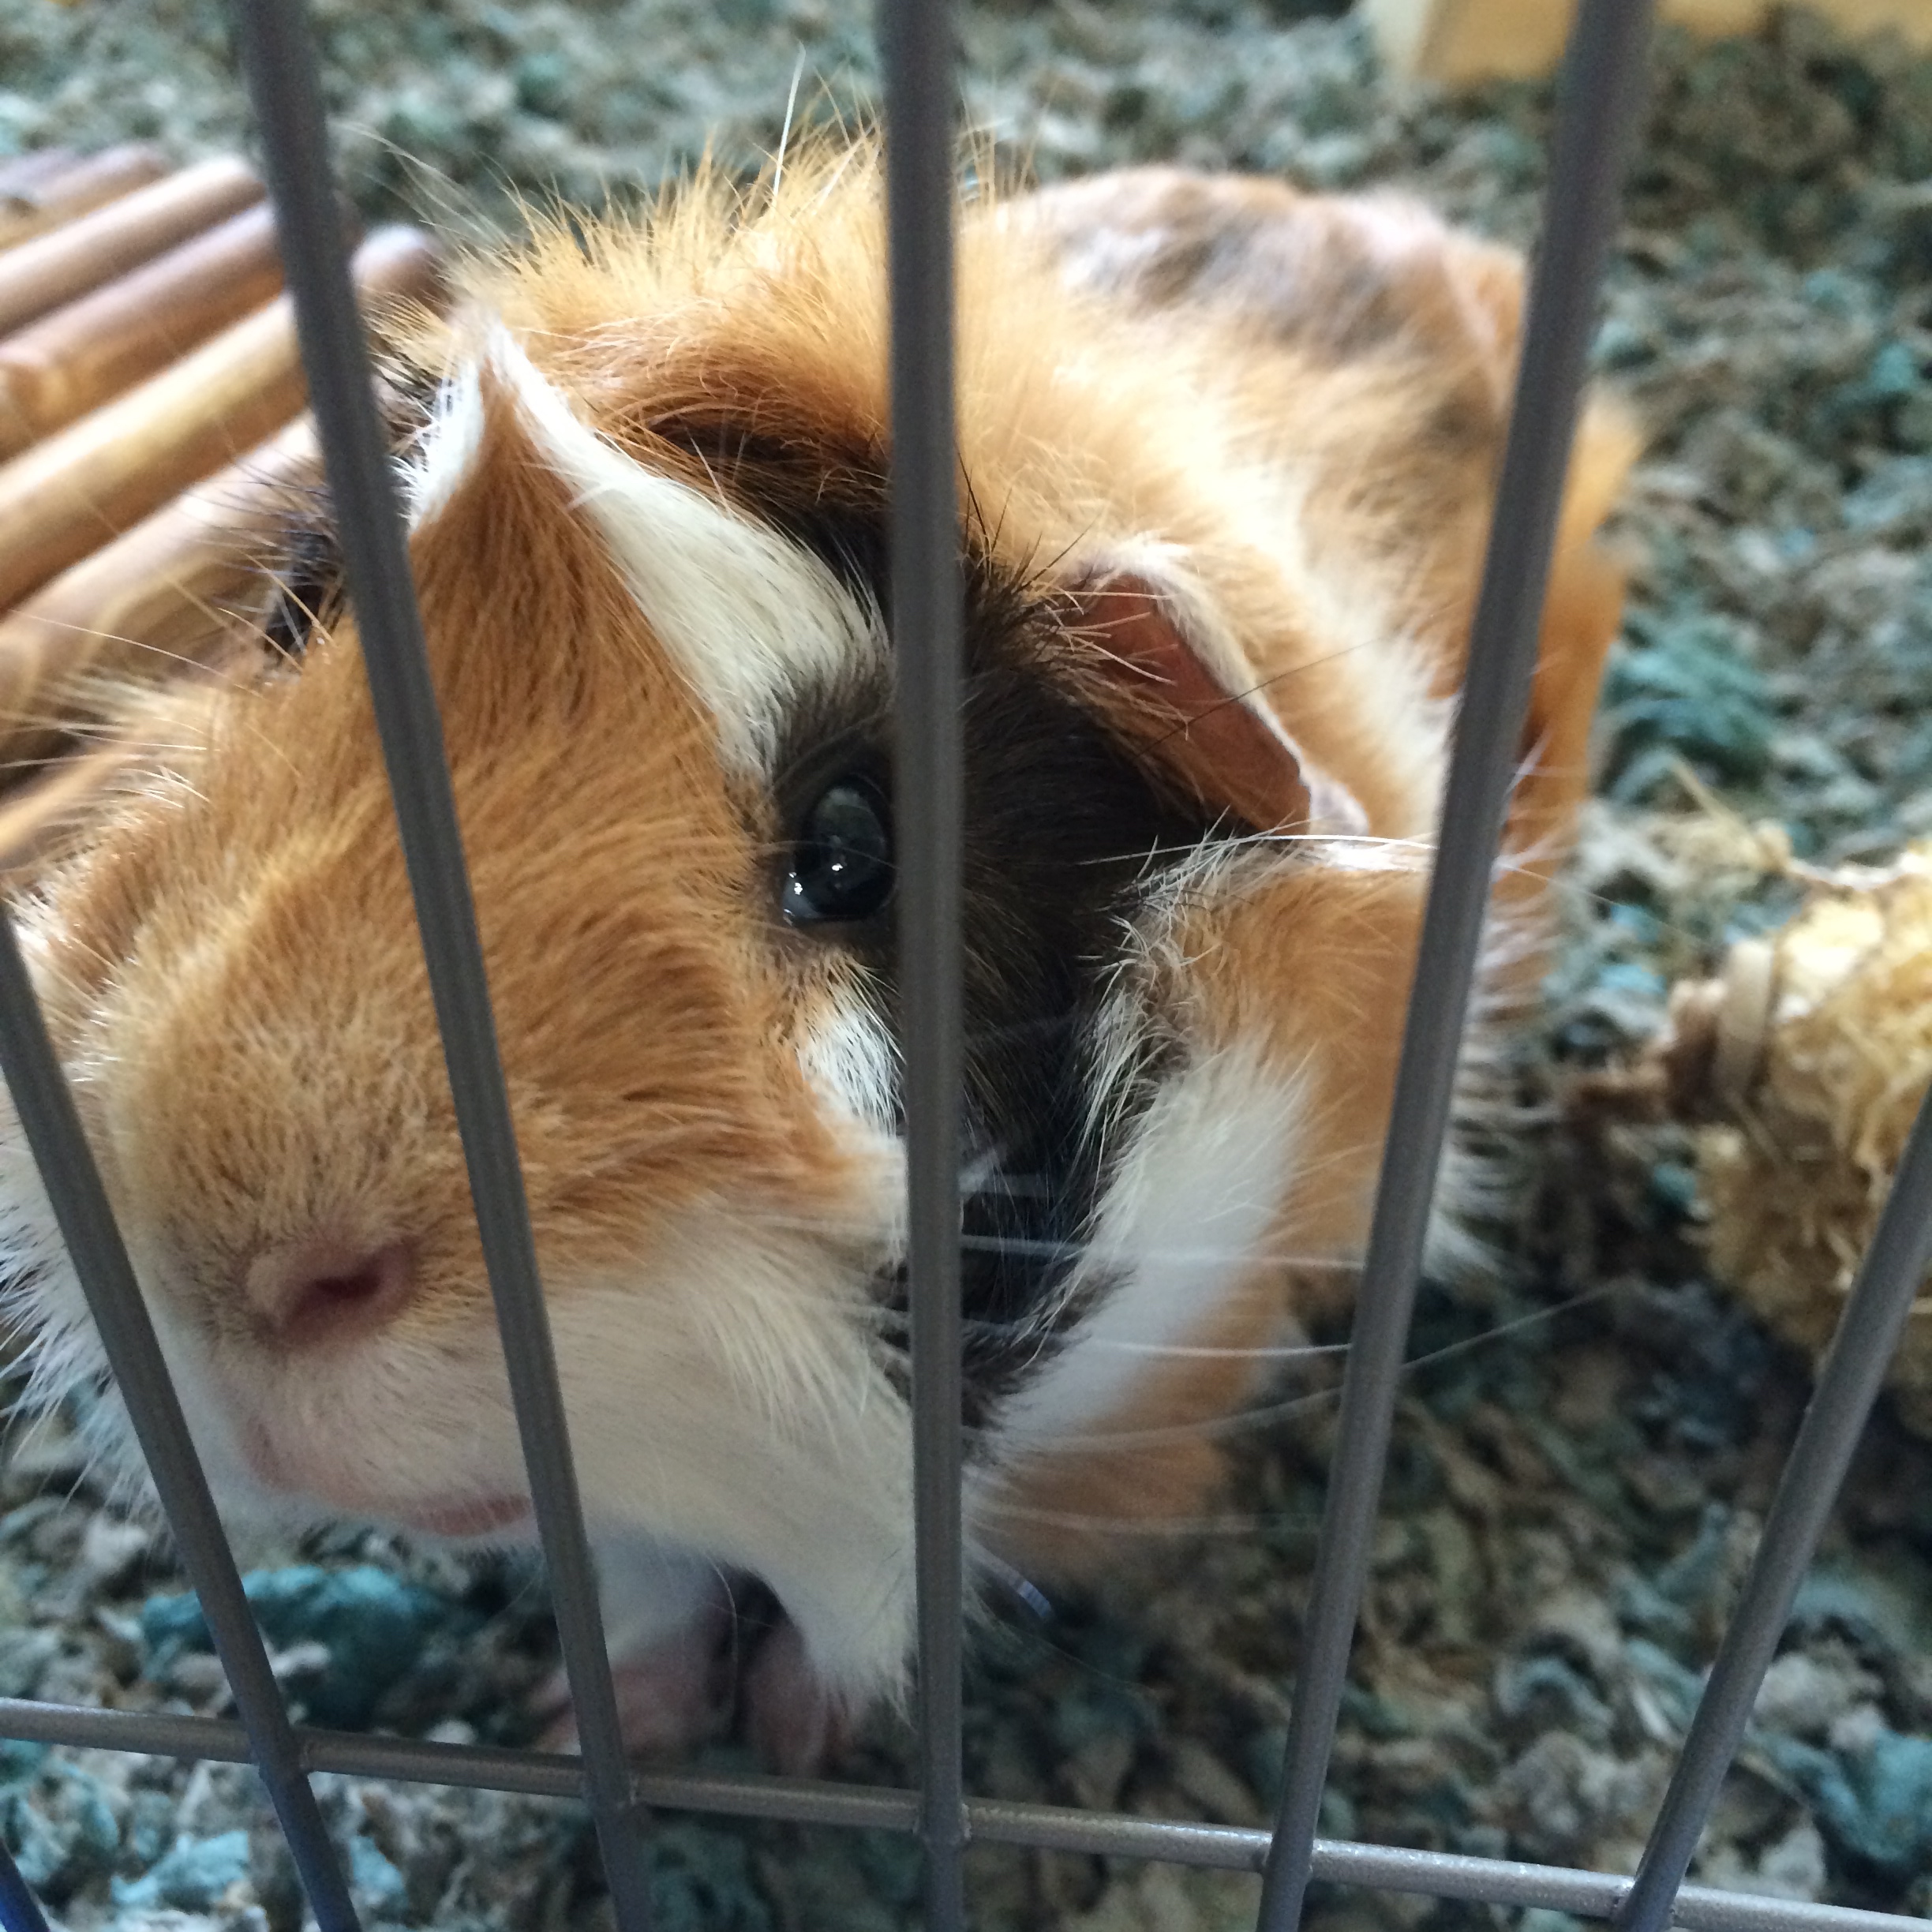
Guinness passed.
It was quick.
One day he was there, rummaging around his cage, making important decisions like what to have for lunch. Oh yeah, that dried up food in that little bowl there. That’ll do.
Then he got pneumonia.
And died.
He went to the vets.
Had an x-ray (don’t talk to me about it)
Got medicine and special care food.
Came home with a 50/50 chance.
And died.
S cried.
I cried.
And all I could think about was how I called him a sex offender.
Not to his face though, so that must count for something.
Yes?
🙁
S kept him overnight in one of the small dorm room fridges that came home with one of the kids (don’t talk to me about that either) and he’s now on his way back to his college town to bury Guiness. I know. Strange lad, but apparently all of his college buddies had been involved in Guiness’ life and S felt that he’d want to be back there…
with everyone…
I think S has forgotten that he isn’t going back there next term.
Me thinks this was just an excuse to get out of dodge.
Where’s the guinea pig love now boyo?
So he’s gone to bury Guiness.
With the hand-made ceramic bowl that he ate from.
Because it’s a king’s bowl apparently.

I daren’t ask what else he’s going to bury with it.
–
RIP little one.
I loved you really.
Not because you were a rodent…
but because you were our rodent.
–
–
–
And when the boy is back in town things happen that you didn’t want to happen.
Like coming home to strange animals.
First there was Guiness.
Imprisoned for his sins.
(If you remember he was found guilty of the sexual abuse and consequent death of Thor. RIP)
Then Nutmet.
The clumsy kitten with diarrhea.
Thankfully that little episode is over now,
but she’s still here…
And then, just when we thought we were safe, we come home to a strange dog standing deathly still and silently staring at us with his eerie eyes.
As though he owned the place.

Actually that was kind of freaky and I was glad to find out that the boy had brought him over from a friend’s house because he was scared of the noise from the graduation party going on there and that he was going home that night.
He was just so completely quiet and his eyes, though beautiful, gave me the creeps.
Next up.
Spud!
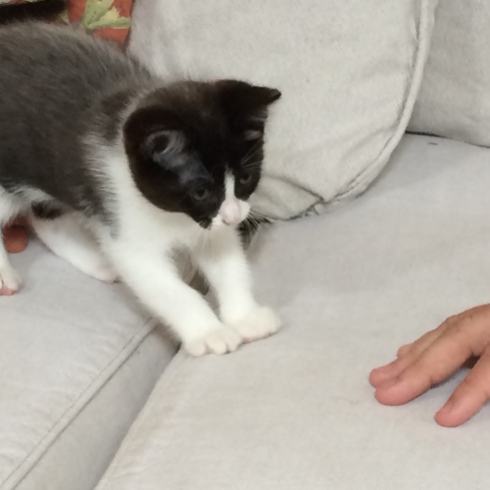
What can I say.
Ridden with fleas. Just the way we like ’em.
Not.
Here she is preparing for the flea washing ritual.
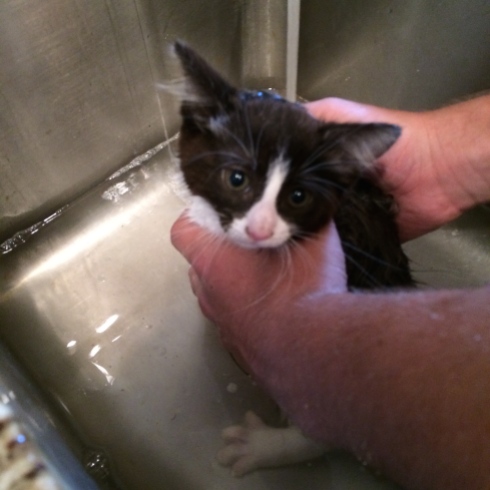
She wasn’t happy.
It was kind of tragic seeing her cling on for dear life to the enemy.
Yes, the water of death comes from the faucet little one.
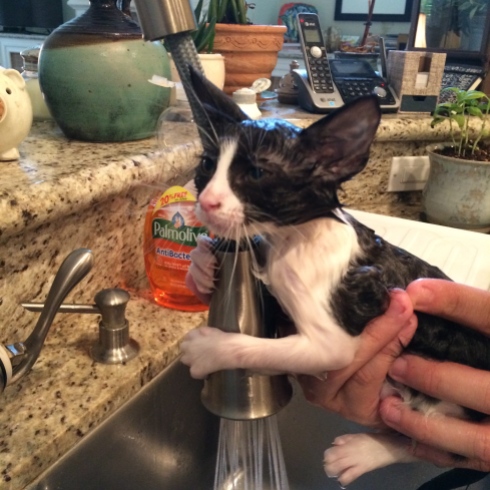
She was left utterly exhausted
But very soft and fluffy.
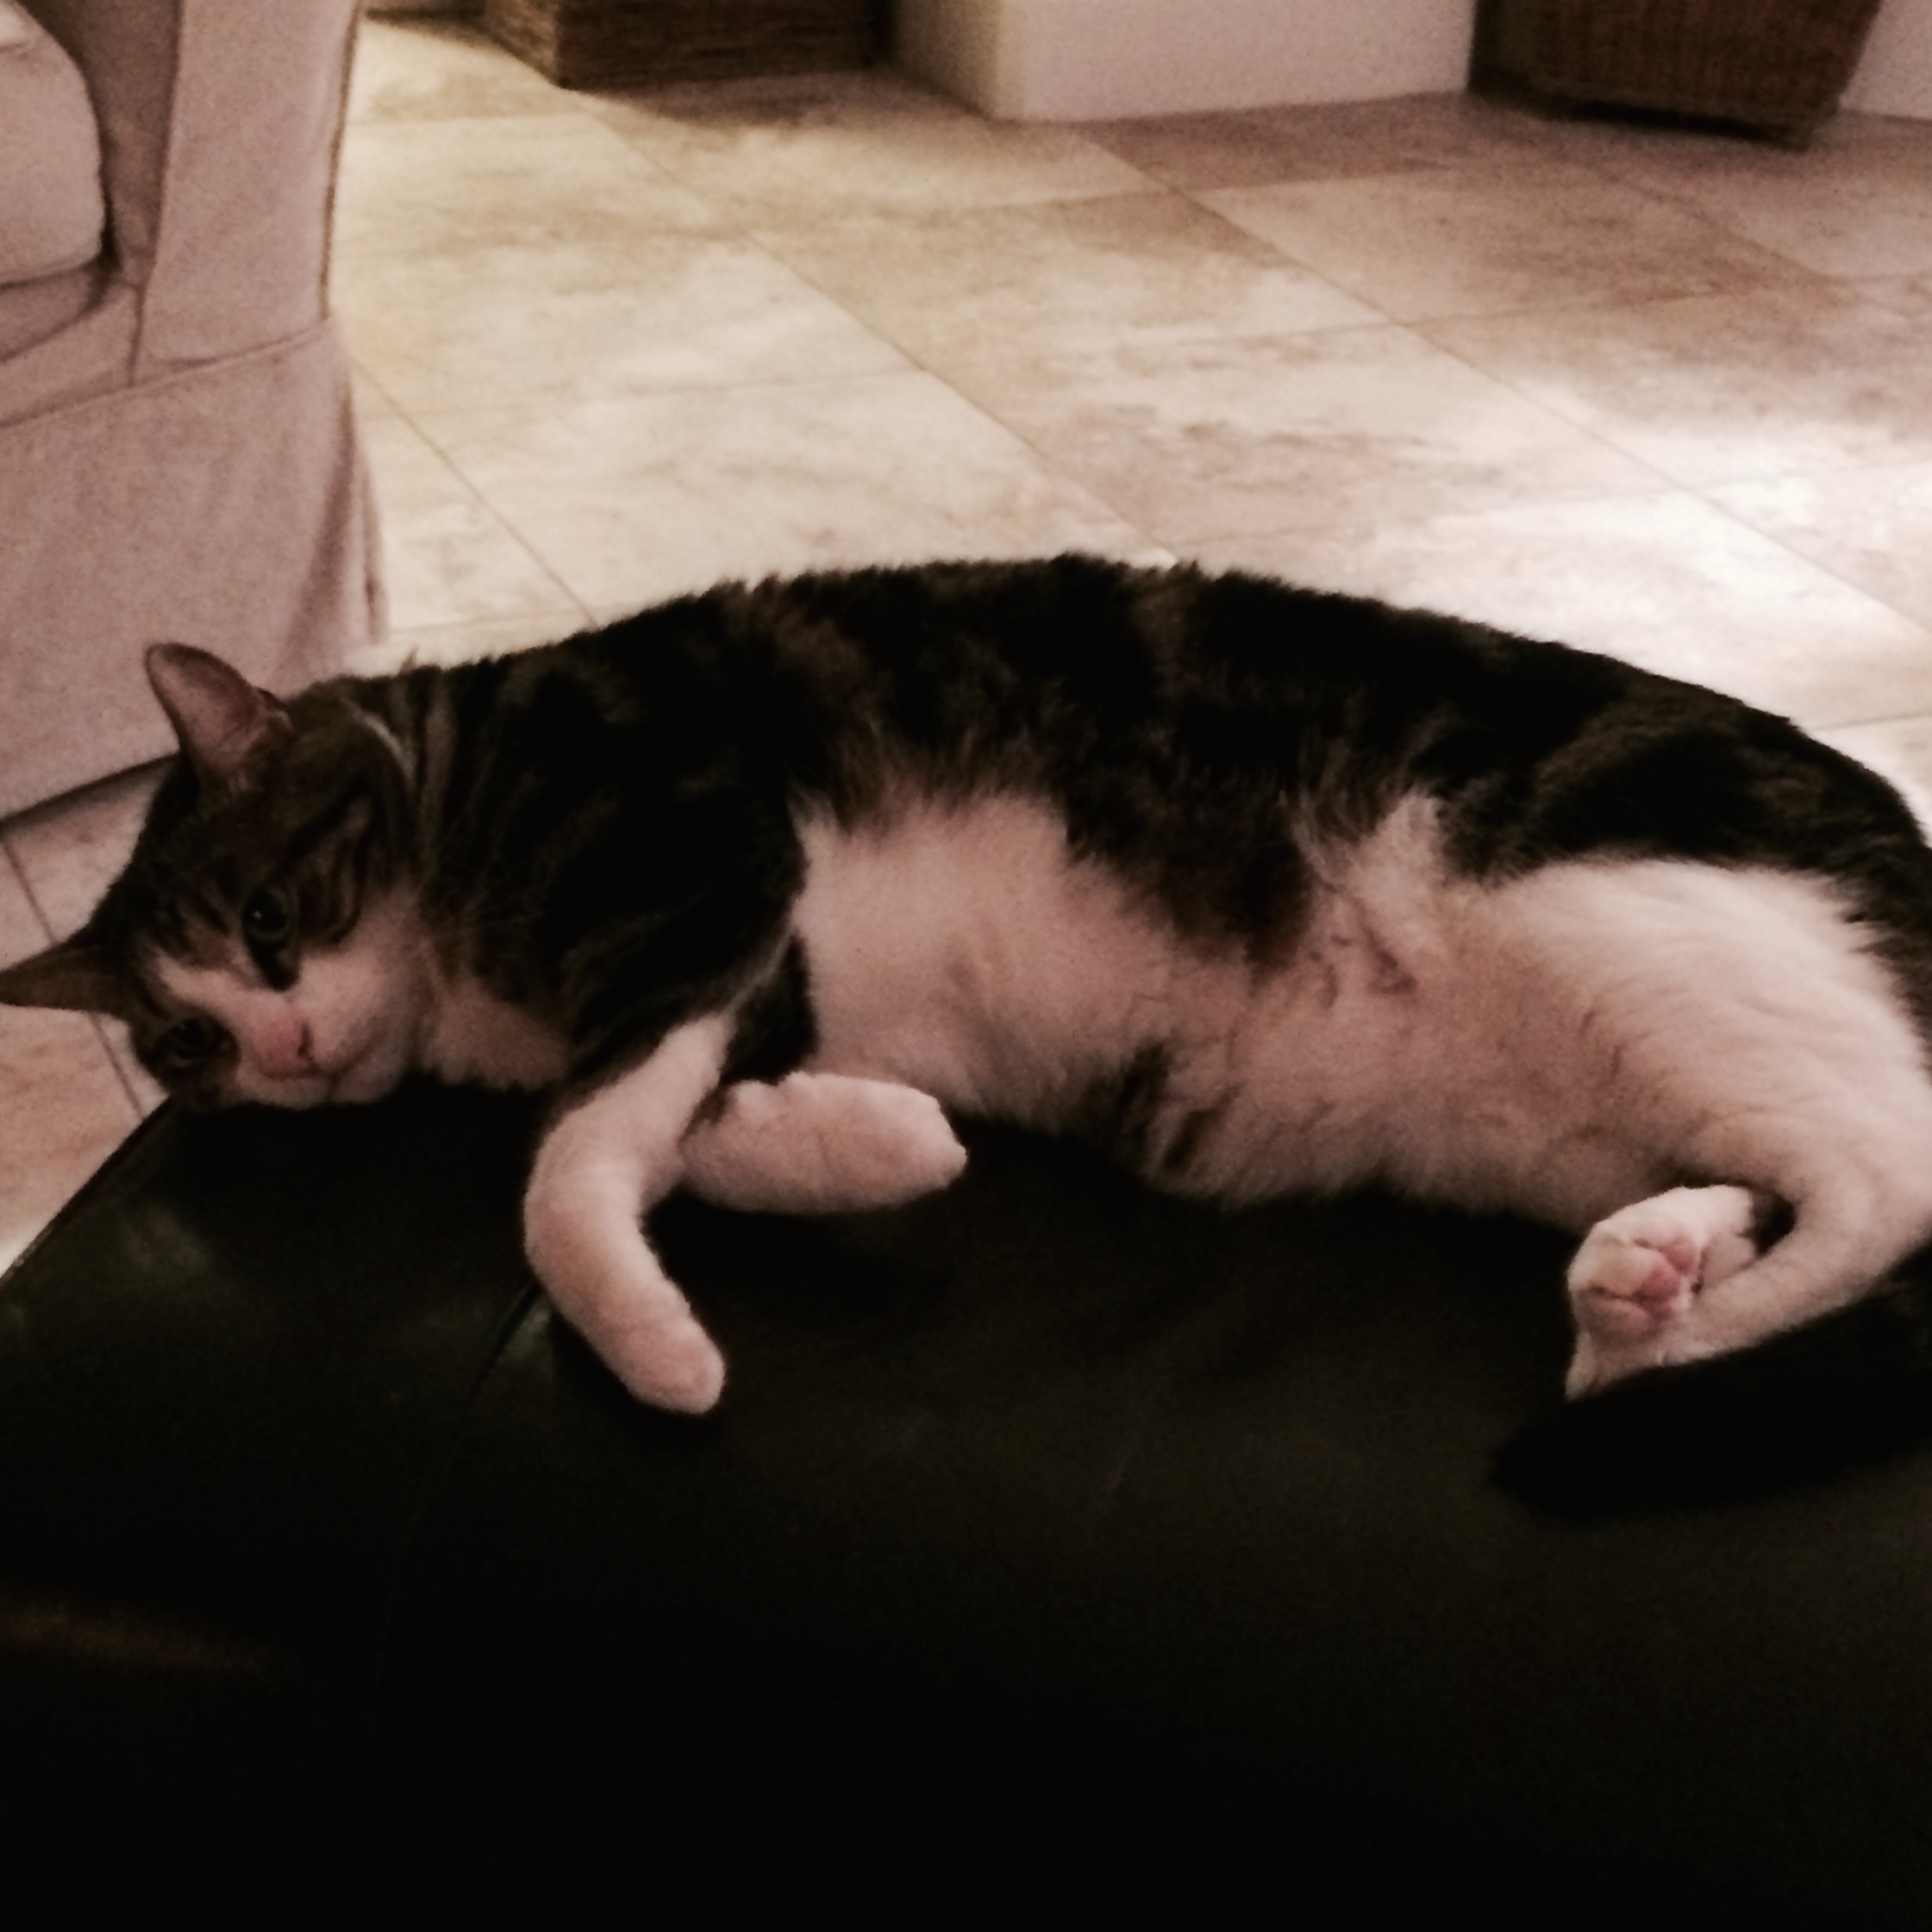
That’ll teach her to turn up without an invite.
Ultimately Pickles (don’t look at her fat) is just baffled as to why these creatures keep turning up

And Wally and Willow are just so over the drama already.
They can’t even be bothered to pretend they’re interested.

Meanwhile…
In the studio I’ve been working on my silver scraps.
I’ve loads of them.
Four years worth I should say, give or take a year.
This is what’s left after my scrap silver melt down extravaganza.

A while back I bought a new torch head because the one I use for soldering didn’t give out enough flame to melt anything and I was just wasting gas.
The one I use for soldering is a number ‘0’ (can there even be a number ‘0’?) and I really like it.
So, not one to mess about, I decided I’d get a number ‘4’ nozzle.
That’d show the scraps.
Well it came and veritably scared the sh@* out of me when I tried to light it.
The bang was a loud explosion of black smoke and I thought I’d have a heart attack right there at my table and no one would find me until it was time for dinner.
After the initial shock, and not one to give in to intimidation, I decided that the thing was obviously new to the game and was just adjusting itself to its new job and so I tried it again.
It scared the sh@# out of me just the same this second time,
and the third
and the fourth…
Don’t tell me I’m anything if not determined.
Eventually I decided that perhaps continuing wasn’t the best idea I’d ever had and that my heart probably couldn’t take a fifth explosion so I packed the torch head back in its box and sulked a bit before giving up on the scraps as a lost cause.
They’d have to go back to Rio.
That was until I had the bright idea of ordering a number ‘2’ head.
This one.
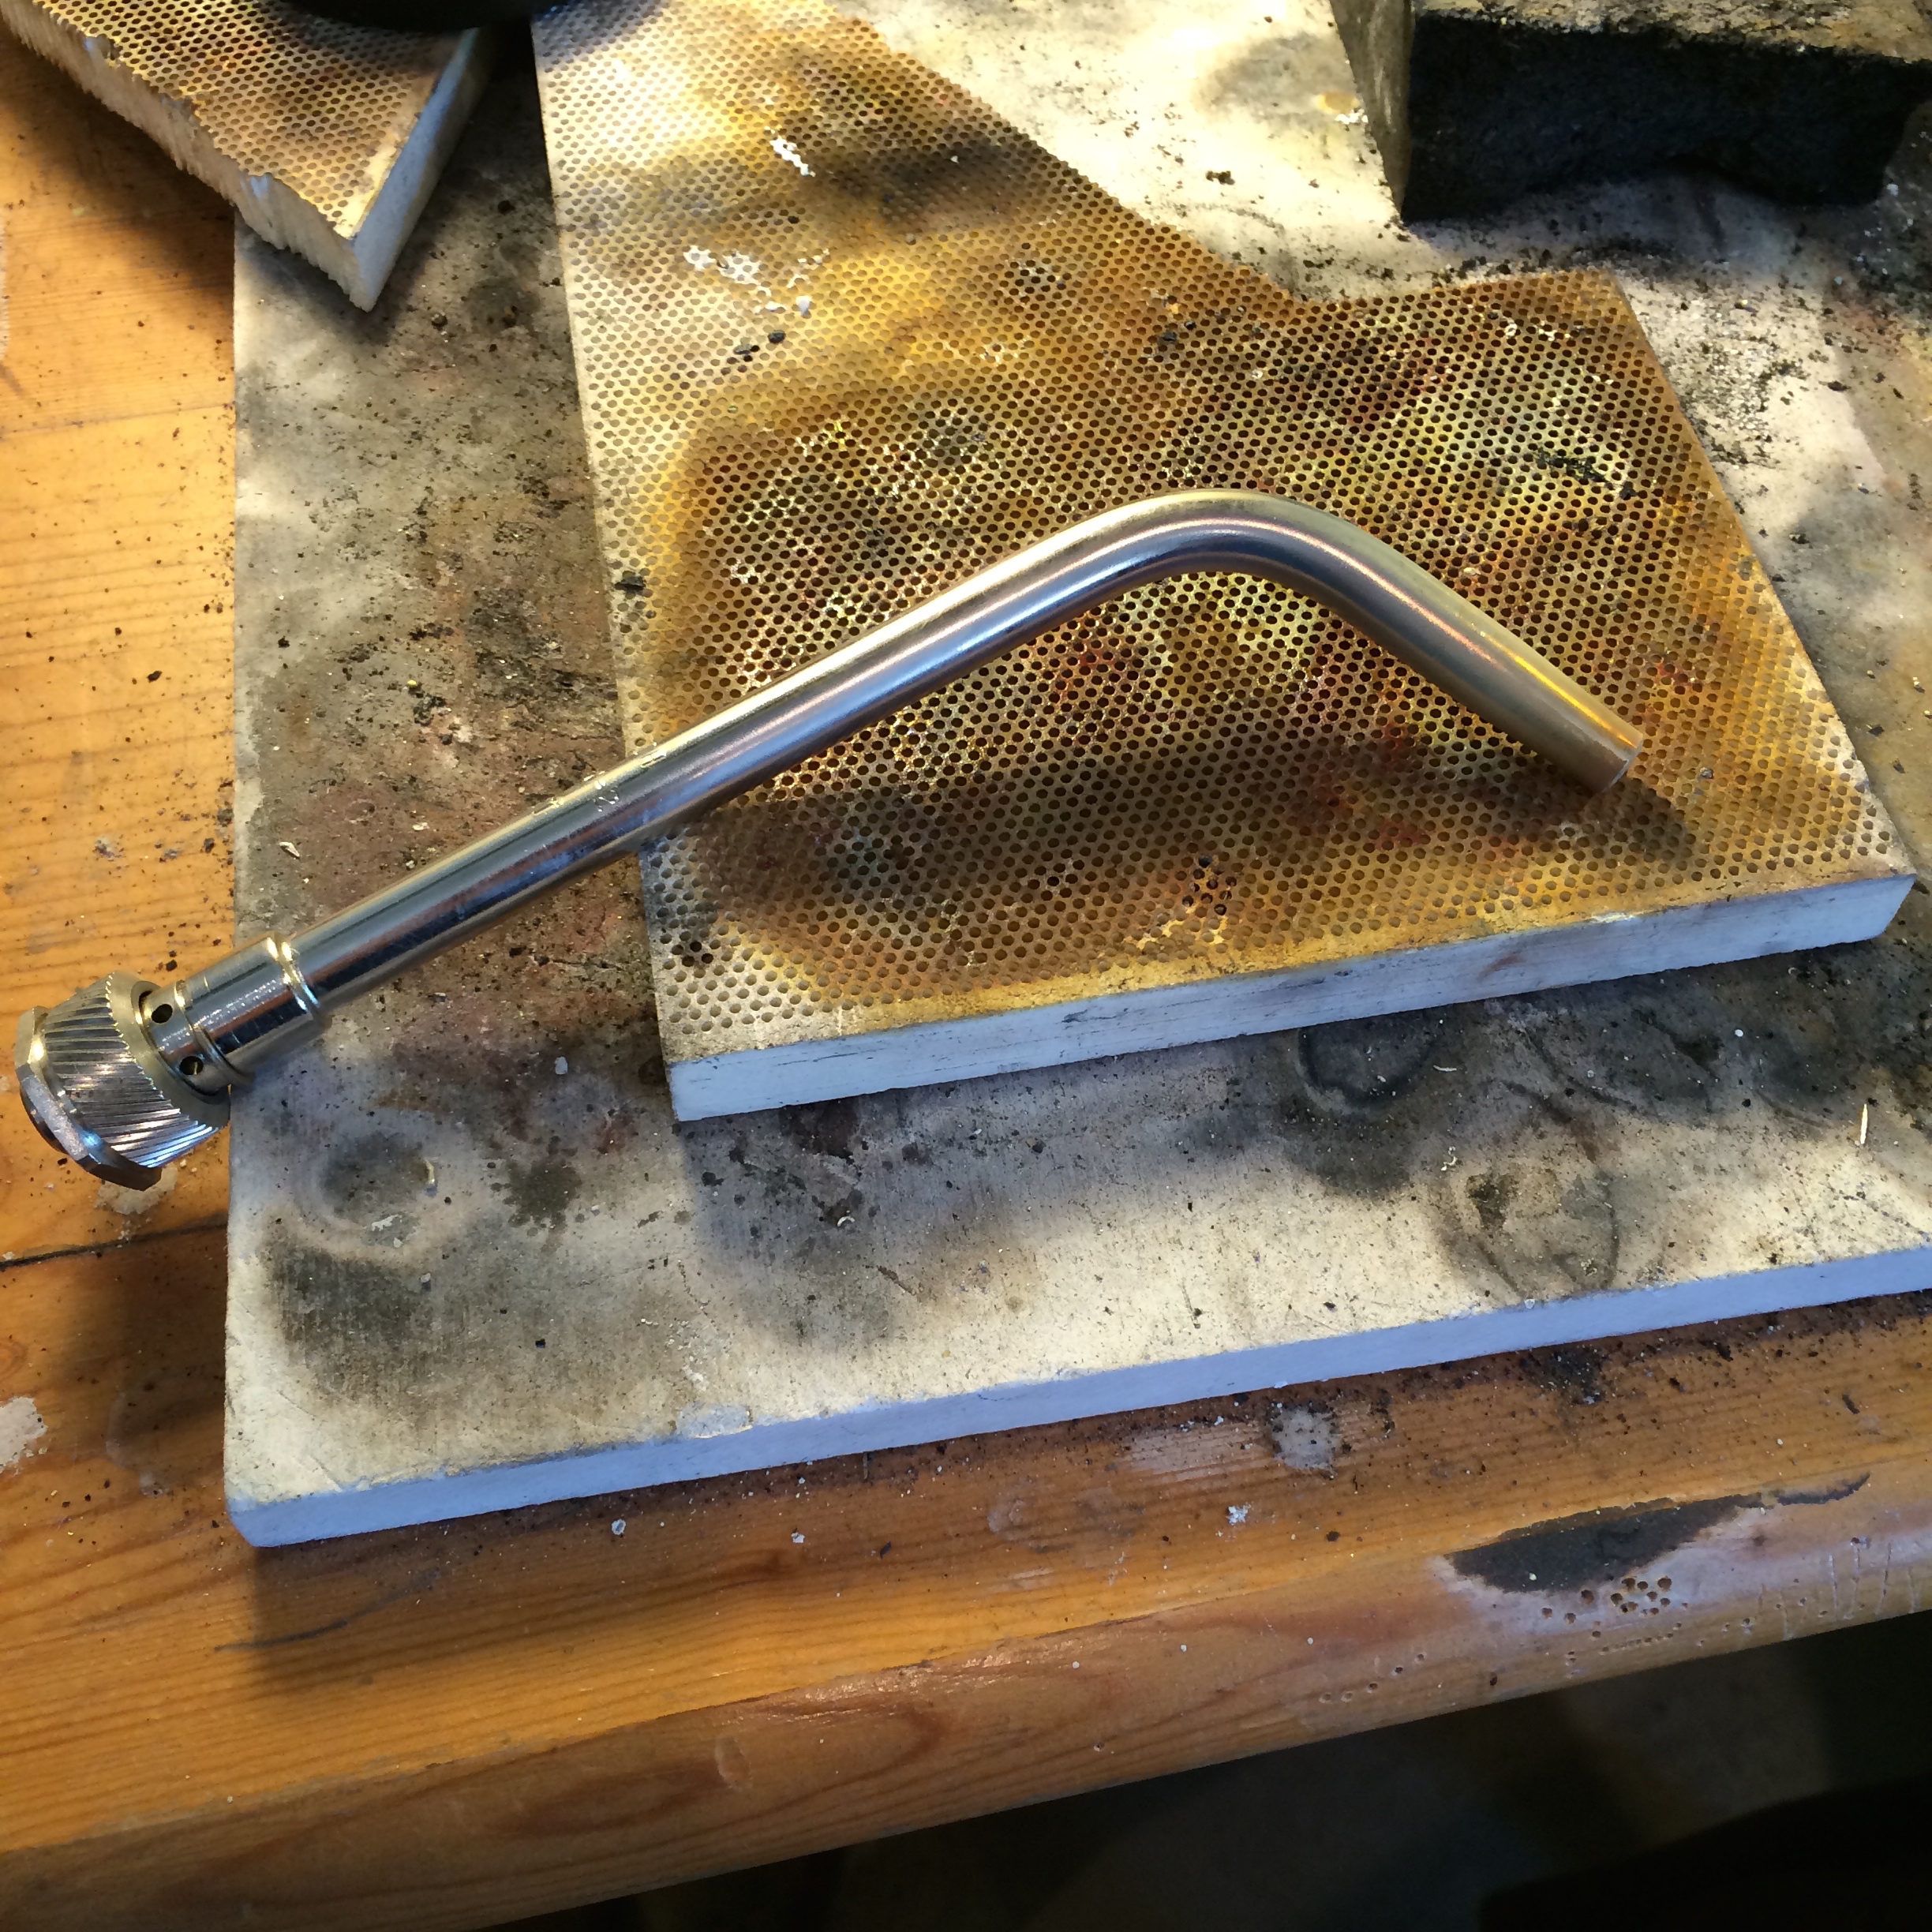
Now it might sound obvious to anyone reading this that a number ‘4’ was just way too large for the job I needed it for, but why the h@#$ would a jewelry store sell a torch head that could take down the Eiffel Tower just by looking at it?
Not my fault.
The number ‘2’ worked like a dream and now I have a huge stack of silver just waiting for something to do with itself.
Look at it!

It’s brilliant.
So here’s to my little scrap necklaces.

This could be the beginning of a wonderful relationship.

May you always choose your torch head with care
and not blow up…
🙂
–
–
–
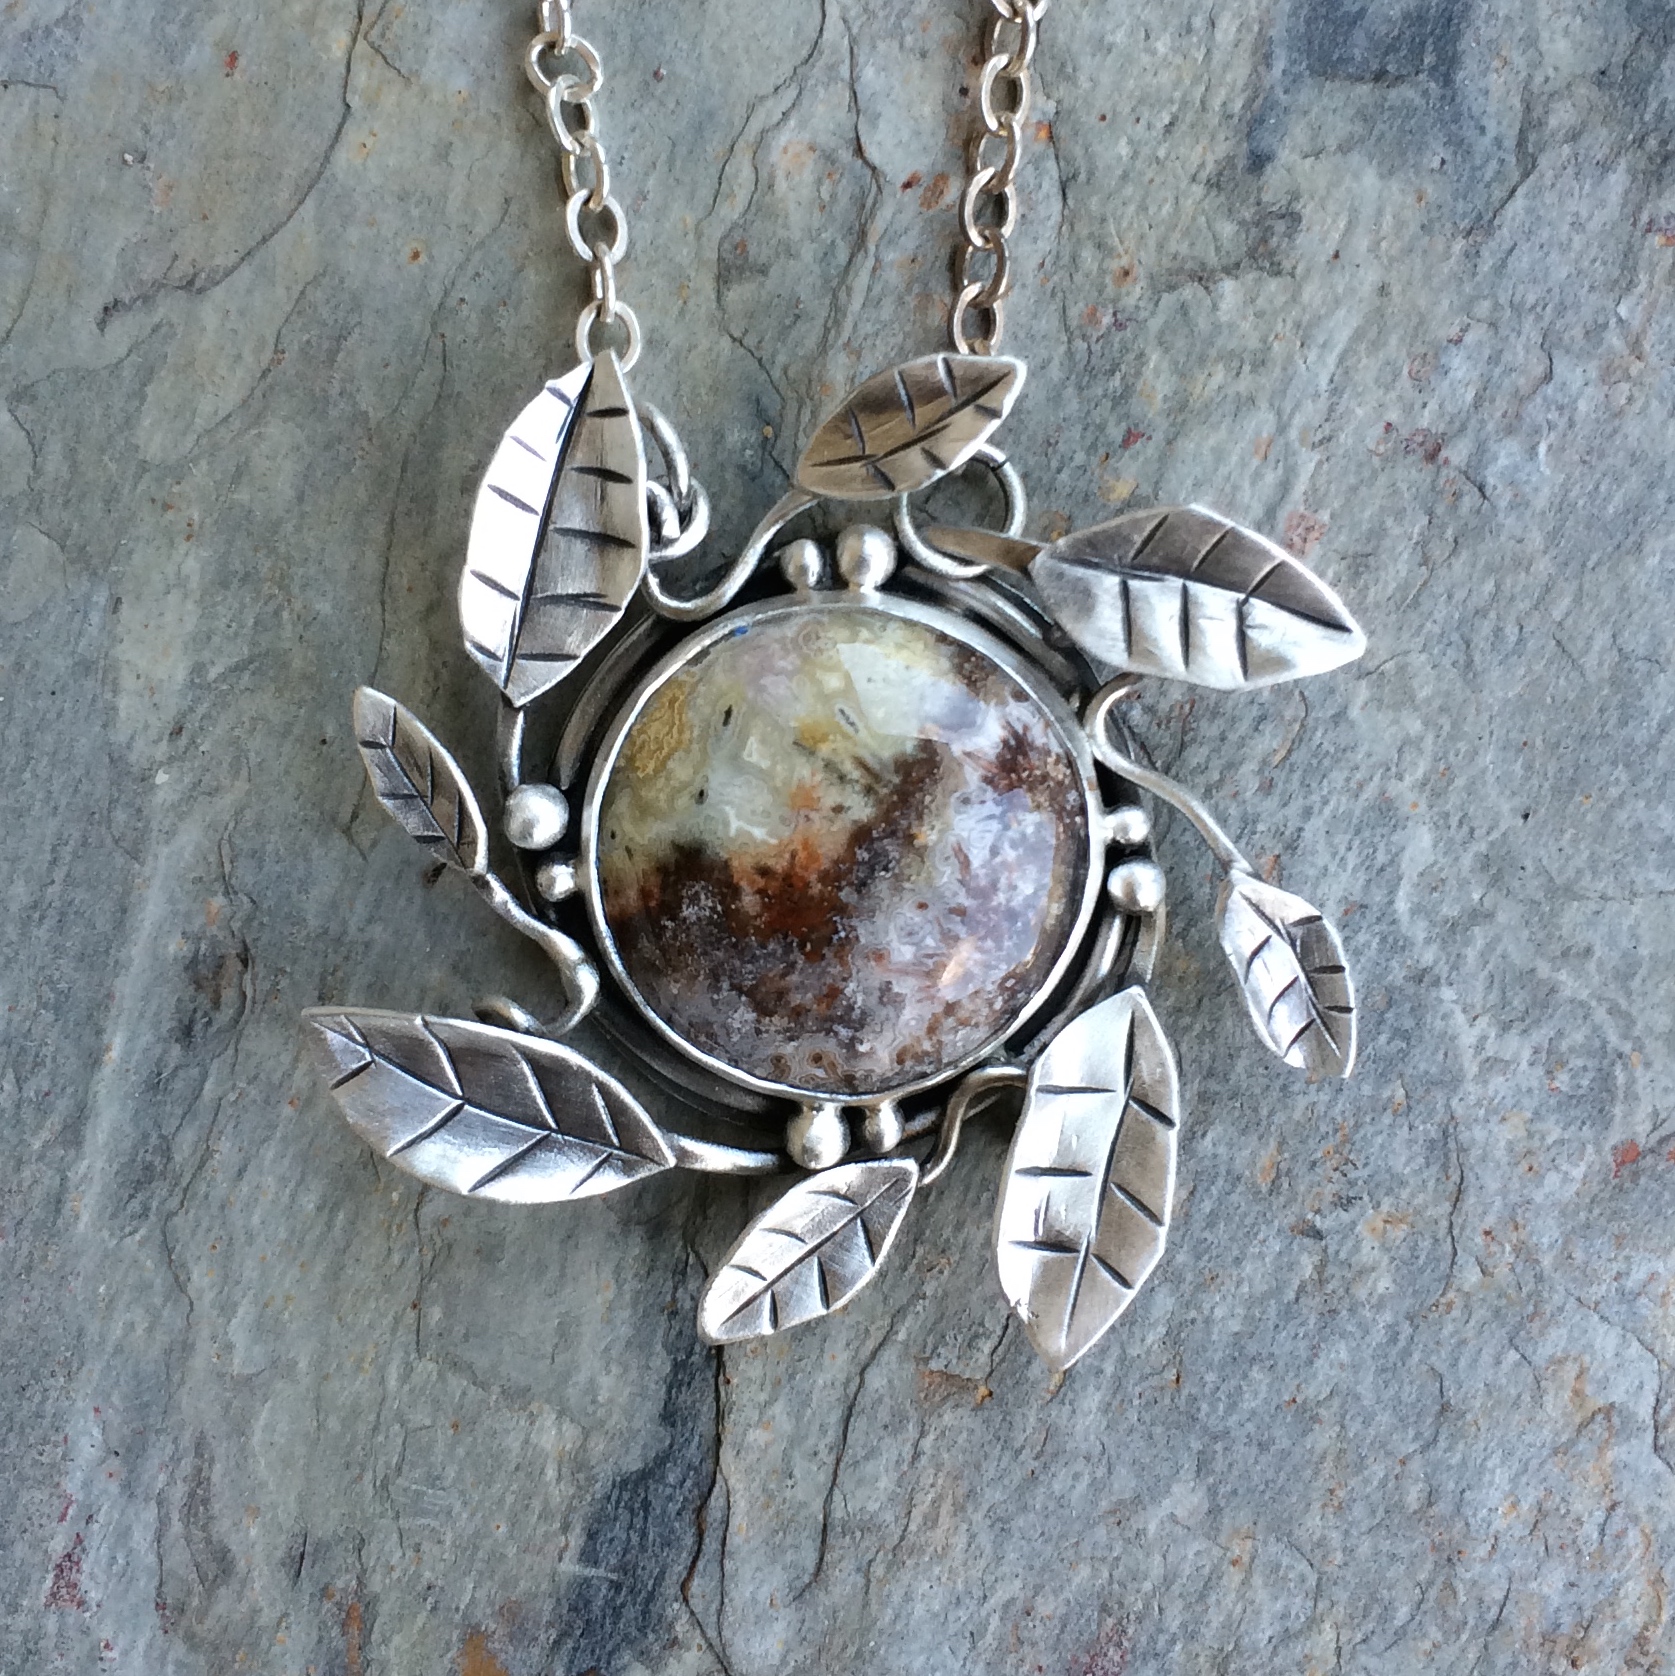
I wanted to show you what I do when I’m buffing one of my pieces.
Full disclosure here that I’ve only just started to do this because I’m the SLOWEST learner IN THE WORLD!
You probably do this already so don’t rub it in.
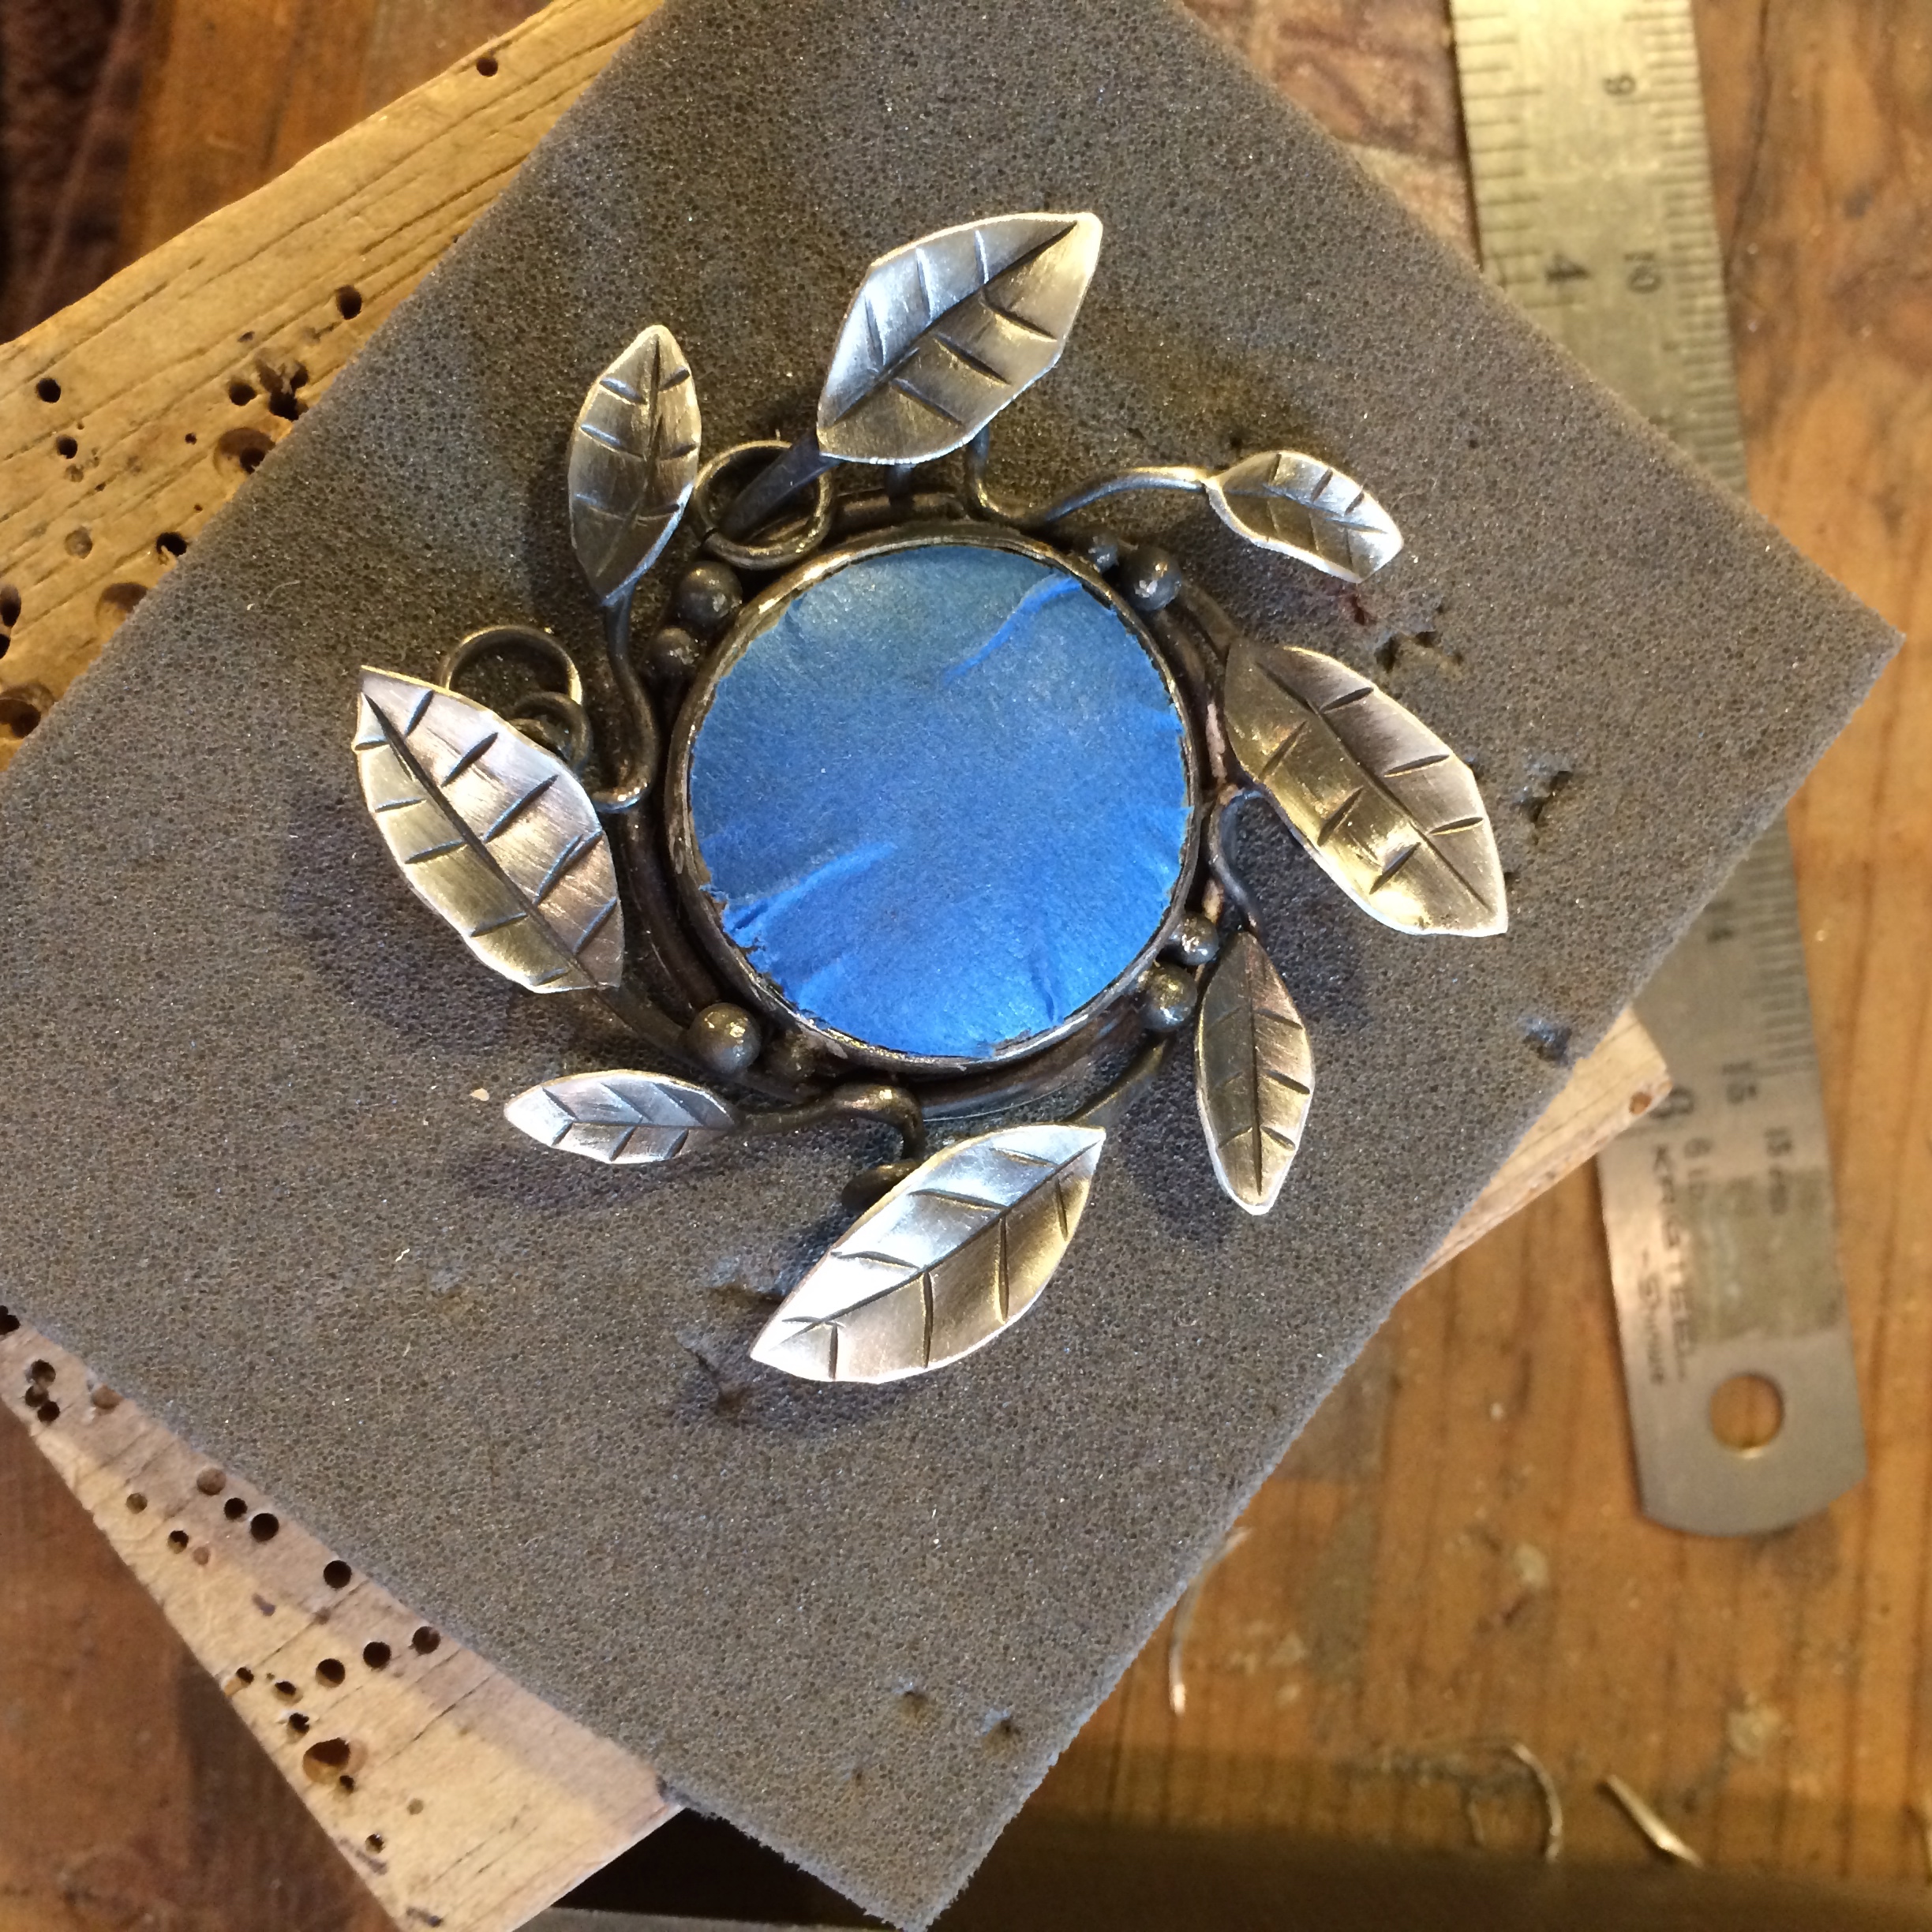
When it’s finished but before I put the stone in I give it its black dunk or liver of sulphur spa treatment and buff it up as much as I can.
Then I set the stone and cover it with masking tape.
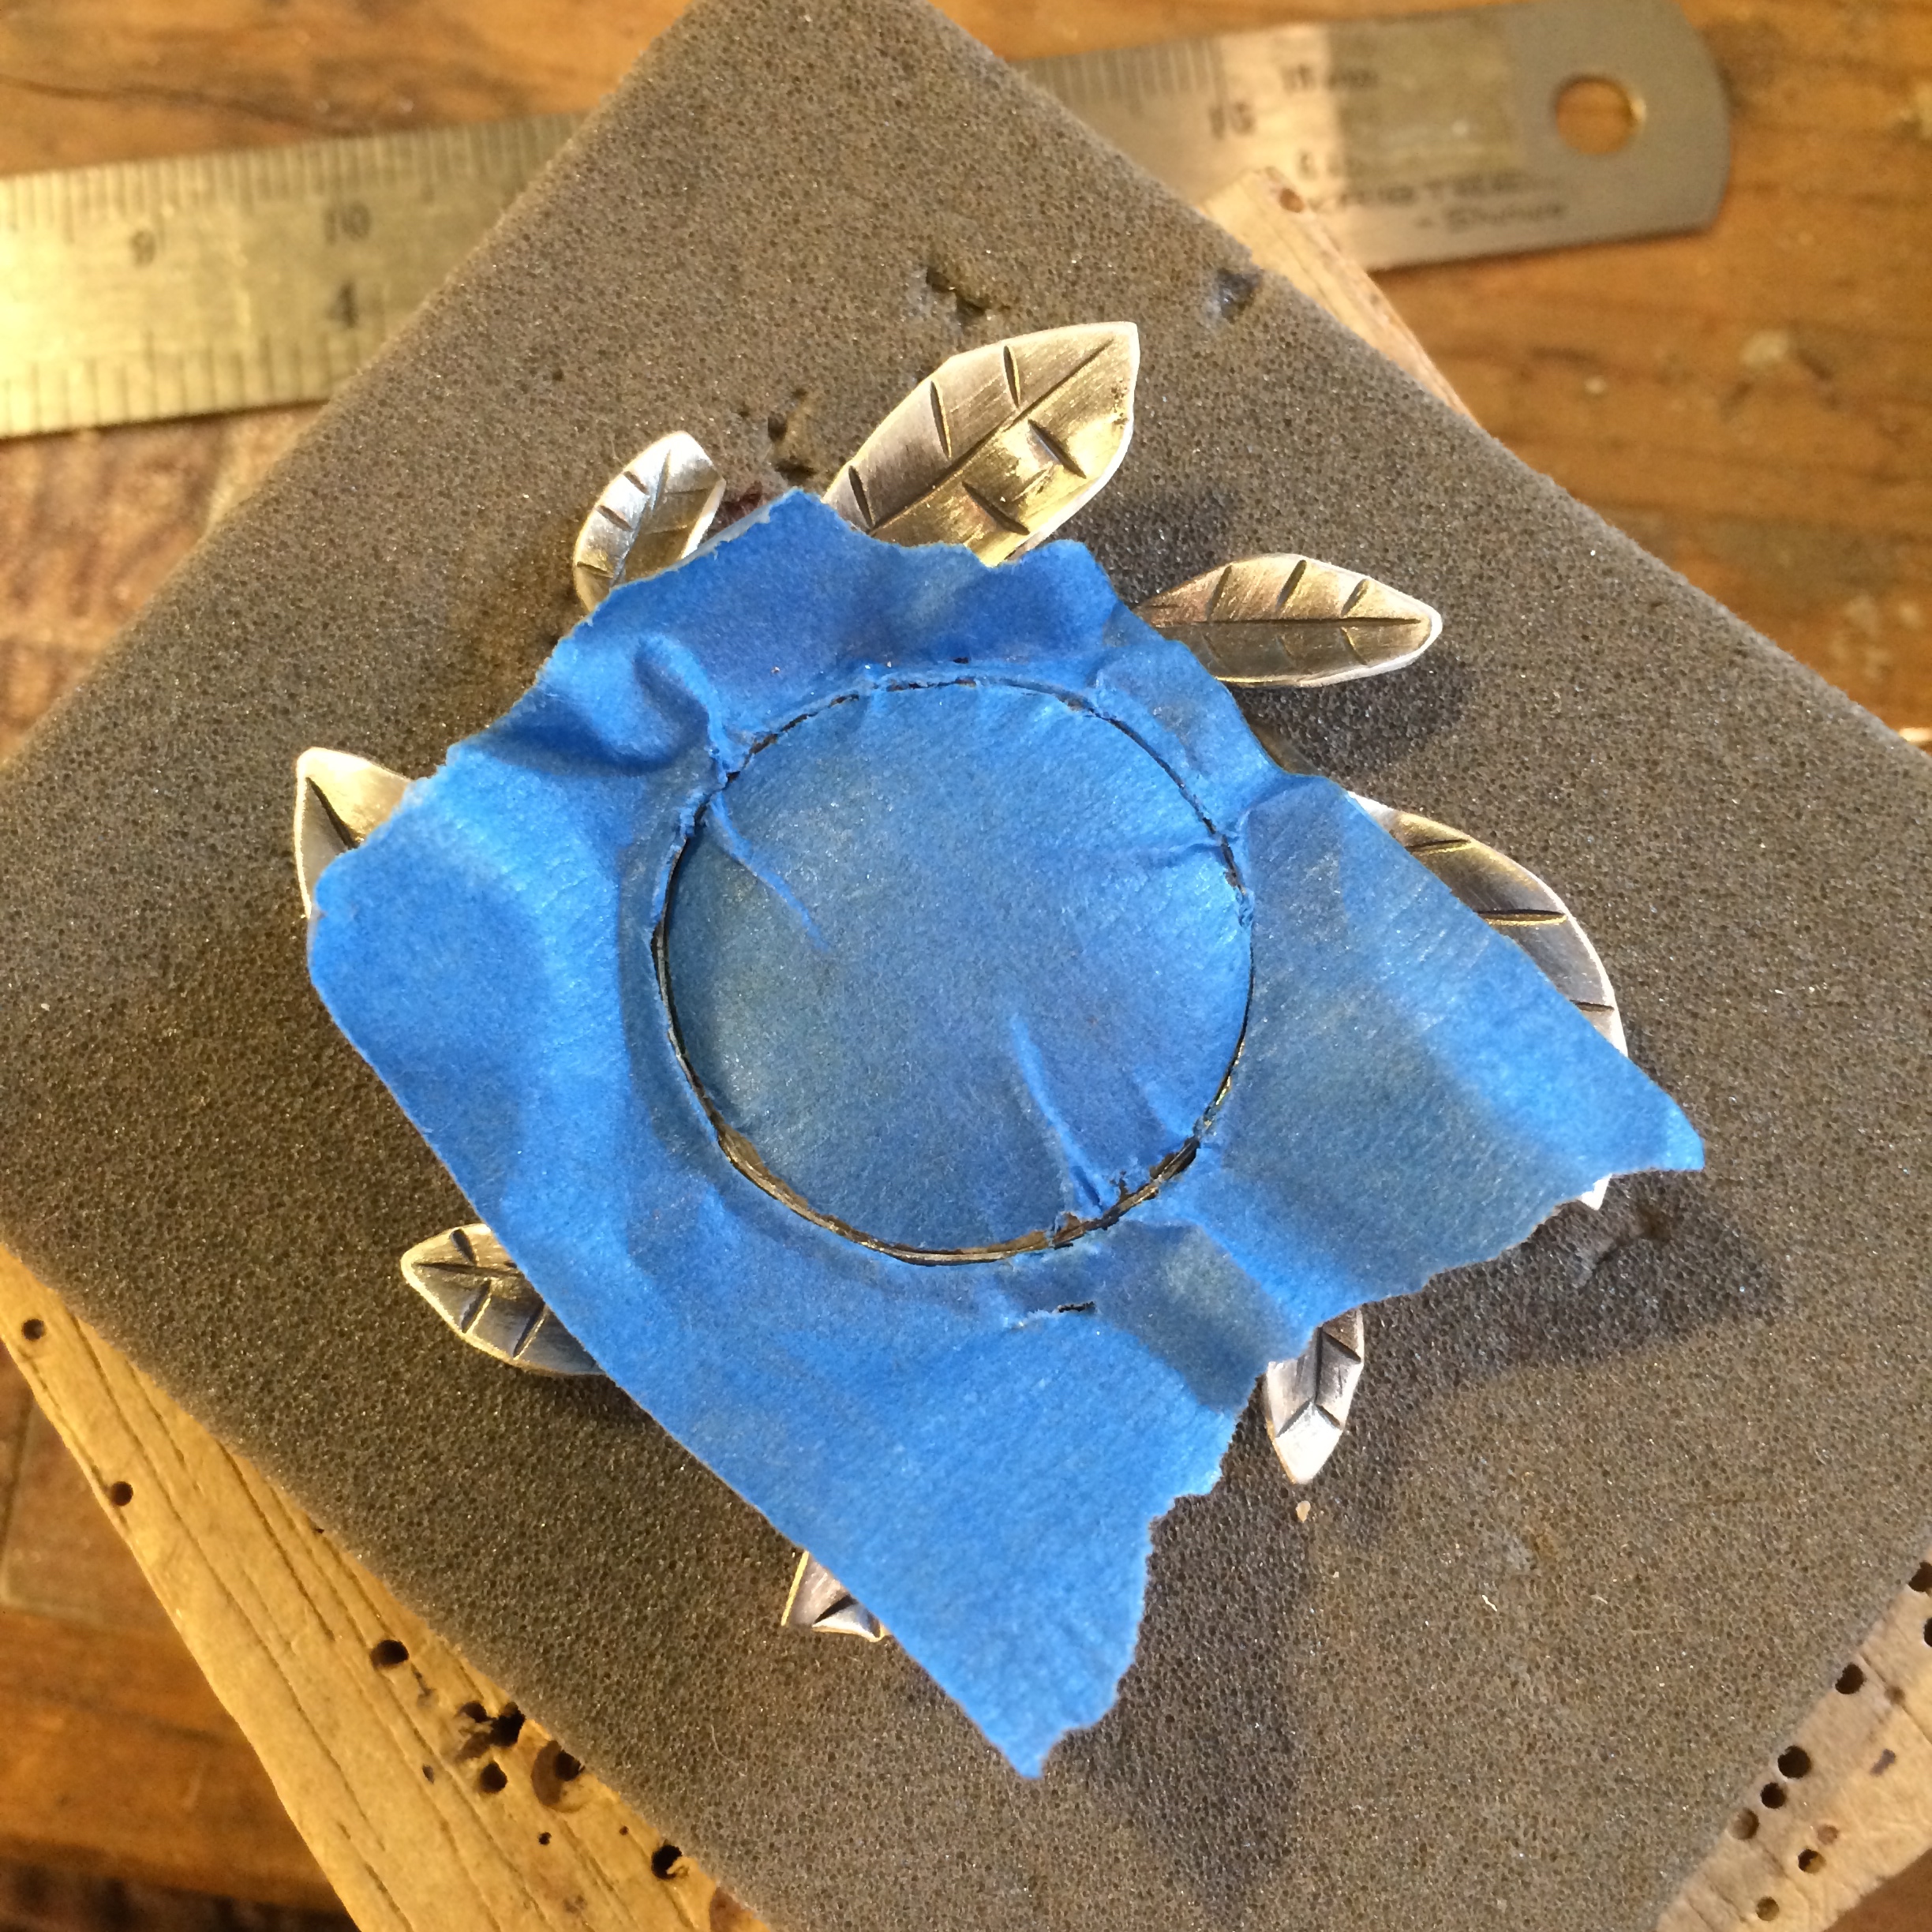
I trim the excess tape away with an xacto knife
and then really go to town on it.
I don’t buff it completely before putting the stone in because I don’t want to harden the collar too much, but I’m pretty sure you can do it all before the stone goes in.
I just like to make it harder on myself.
It’s more interesting that way.
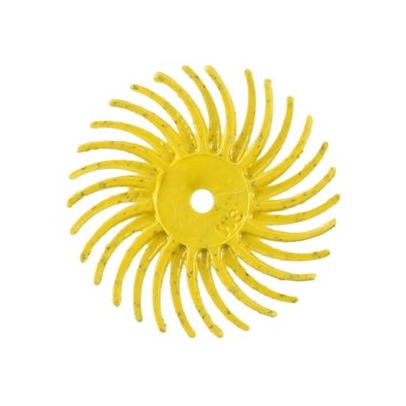
I started to use these some time back.
I like to use three of them together for the general buffing, after which I soften the look up a bit with a fine buffer.
Either this.
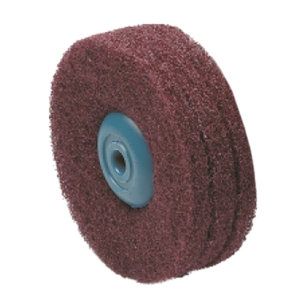
Or one of these.

And I use one of the yellow wheels on its own to just touch up the top edges of the bezel collar to give it a pop.
You can just use a general burnisher for this also.
🙂
–
–
–
As usual I started off with the good intention of photographing everything I do to cut a cabochon, but then forgot.
Sorry Linda.
Sometimes I didn’t forget, but didn’t want to lose a hand.
You understand I’m sure.
Talking of hands I was listening to NPR yesterday and it was actually about how they can do hand transplants now,
but even so I didn’t feel like chancing it…
–
I start out by buying the slabs already cut.
Mainly from Natalie, because she’s got loads of them and her shop is laid out nicely so I don’t have to search around forever and get frustrated because I don’t really know what I want.
Then I take them to my new trim saw which always makes me feel irritated because somewhere in the back of my mind I have a feeling I had one before which I never used and at some time must have thrown away.
This is why you never throw out anything people!
It’s not hoarding. It’s common sense.
Saying that, I did manage to take six boxes of craft books (not that I have a problem with collecting them of course) to the charity shop yesterday.
I had to listen to S moan and groan all the while as he took them to the car. He even showed me his box wounds afterward, but why else would I have had him if not to lug things around for me is what I want to know.
So I got the trim saw from Rio Grande although I’m sure you can get it anywhere.
Armed with a mask, a pair of safety glasses, my old pottery apron and a towel hooked around the front of my neck I proceed to cut the slab into manageable sizes.
Not quite as cute a look as I usually go for, but as the saw spits out water faster than I can put in it it was that or catch pneumonia and I’ve already got a bit of a cough…
Although I’m fairly sure that they can reattach fingers more easily than hands you’ll see I prefer to push the slice through with a slab of wood.
Again a seemingly useless scrap which I was loath to throw away and yet proved itself to be of vital importance.

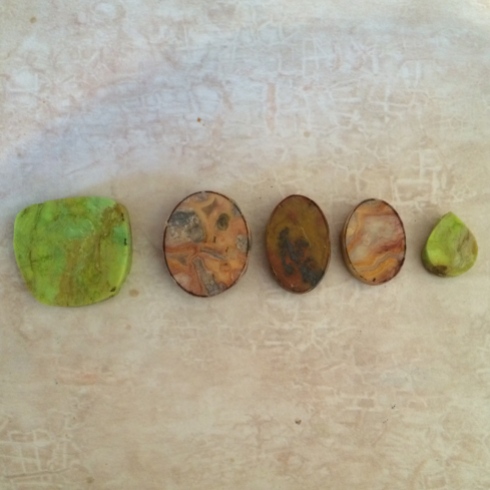
These are the manageable pieces.
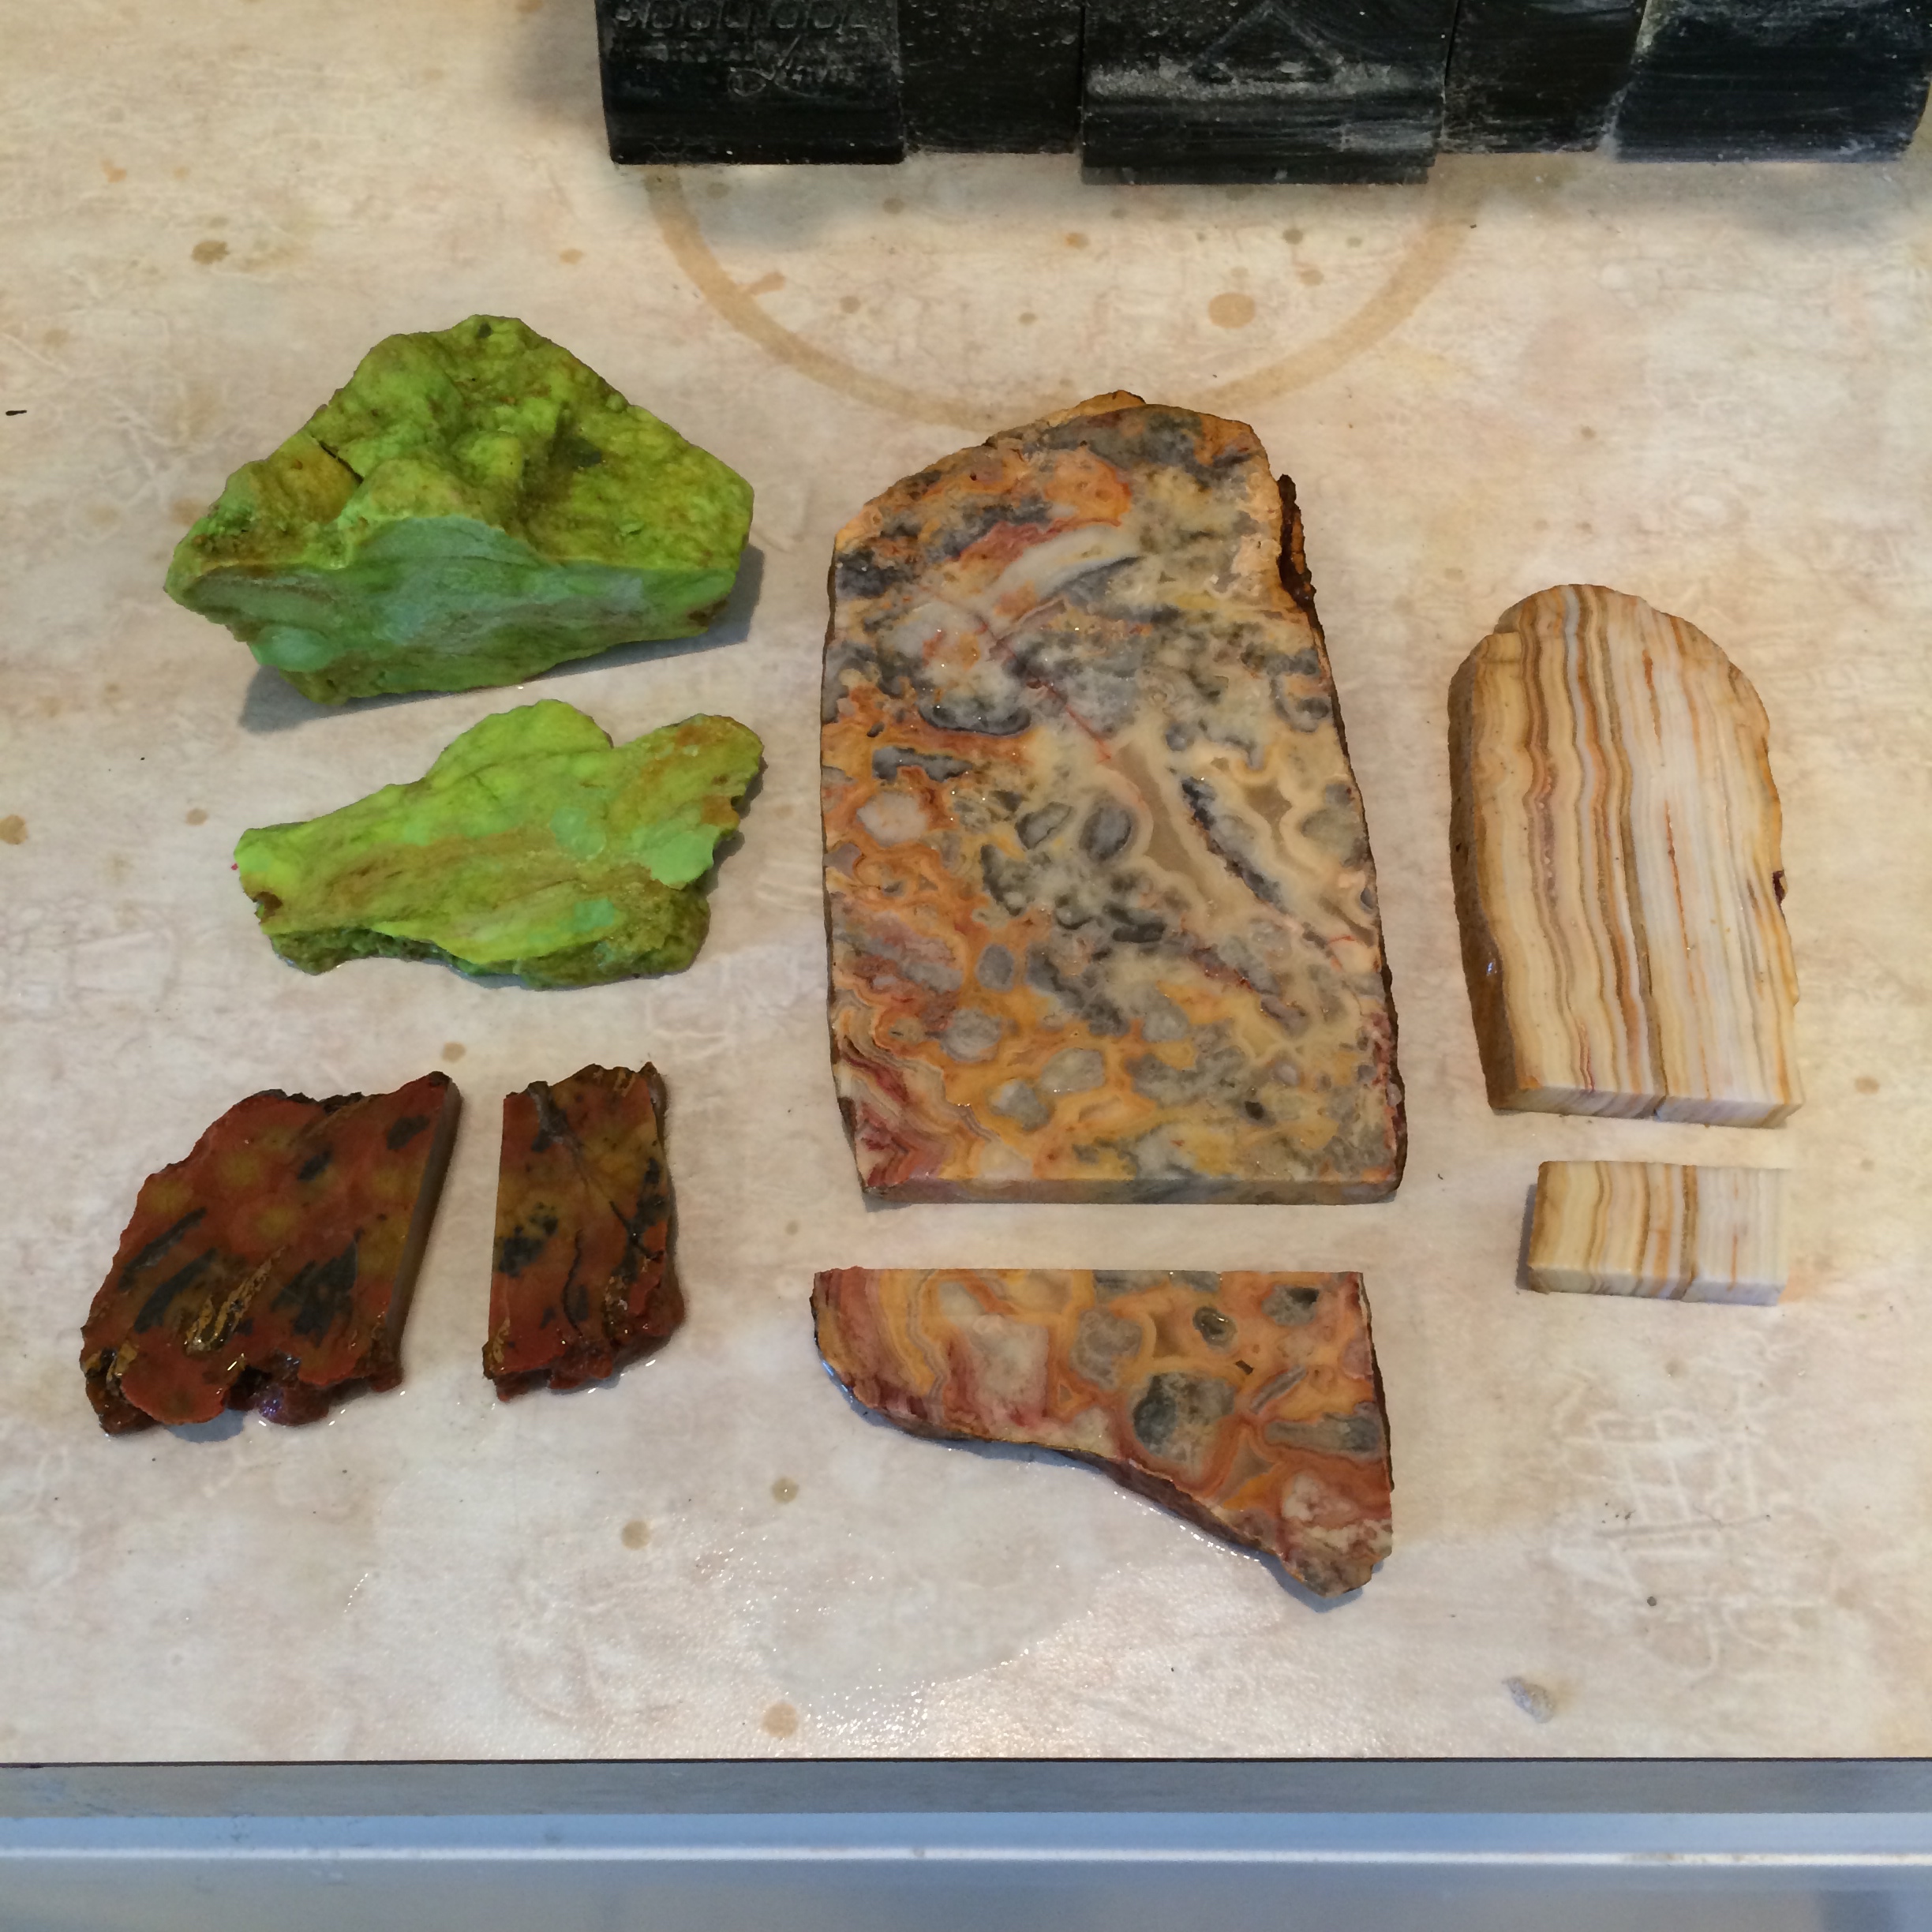
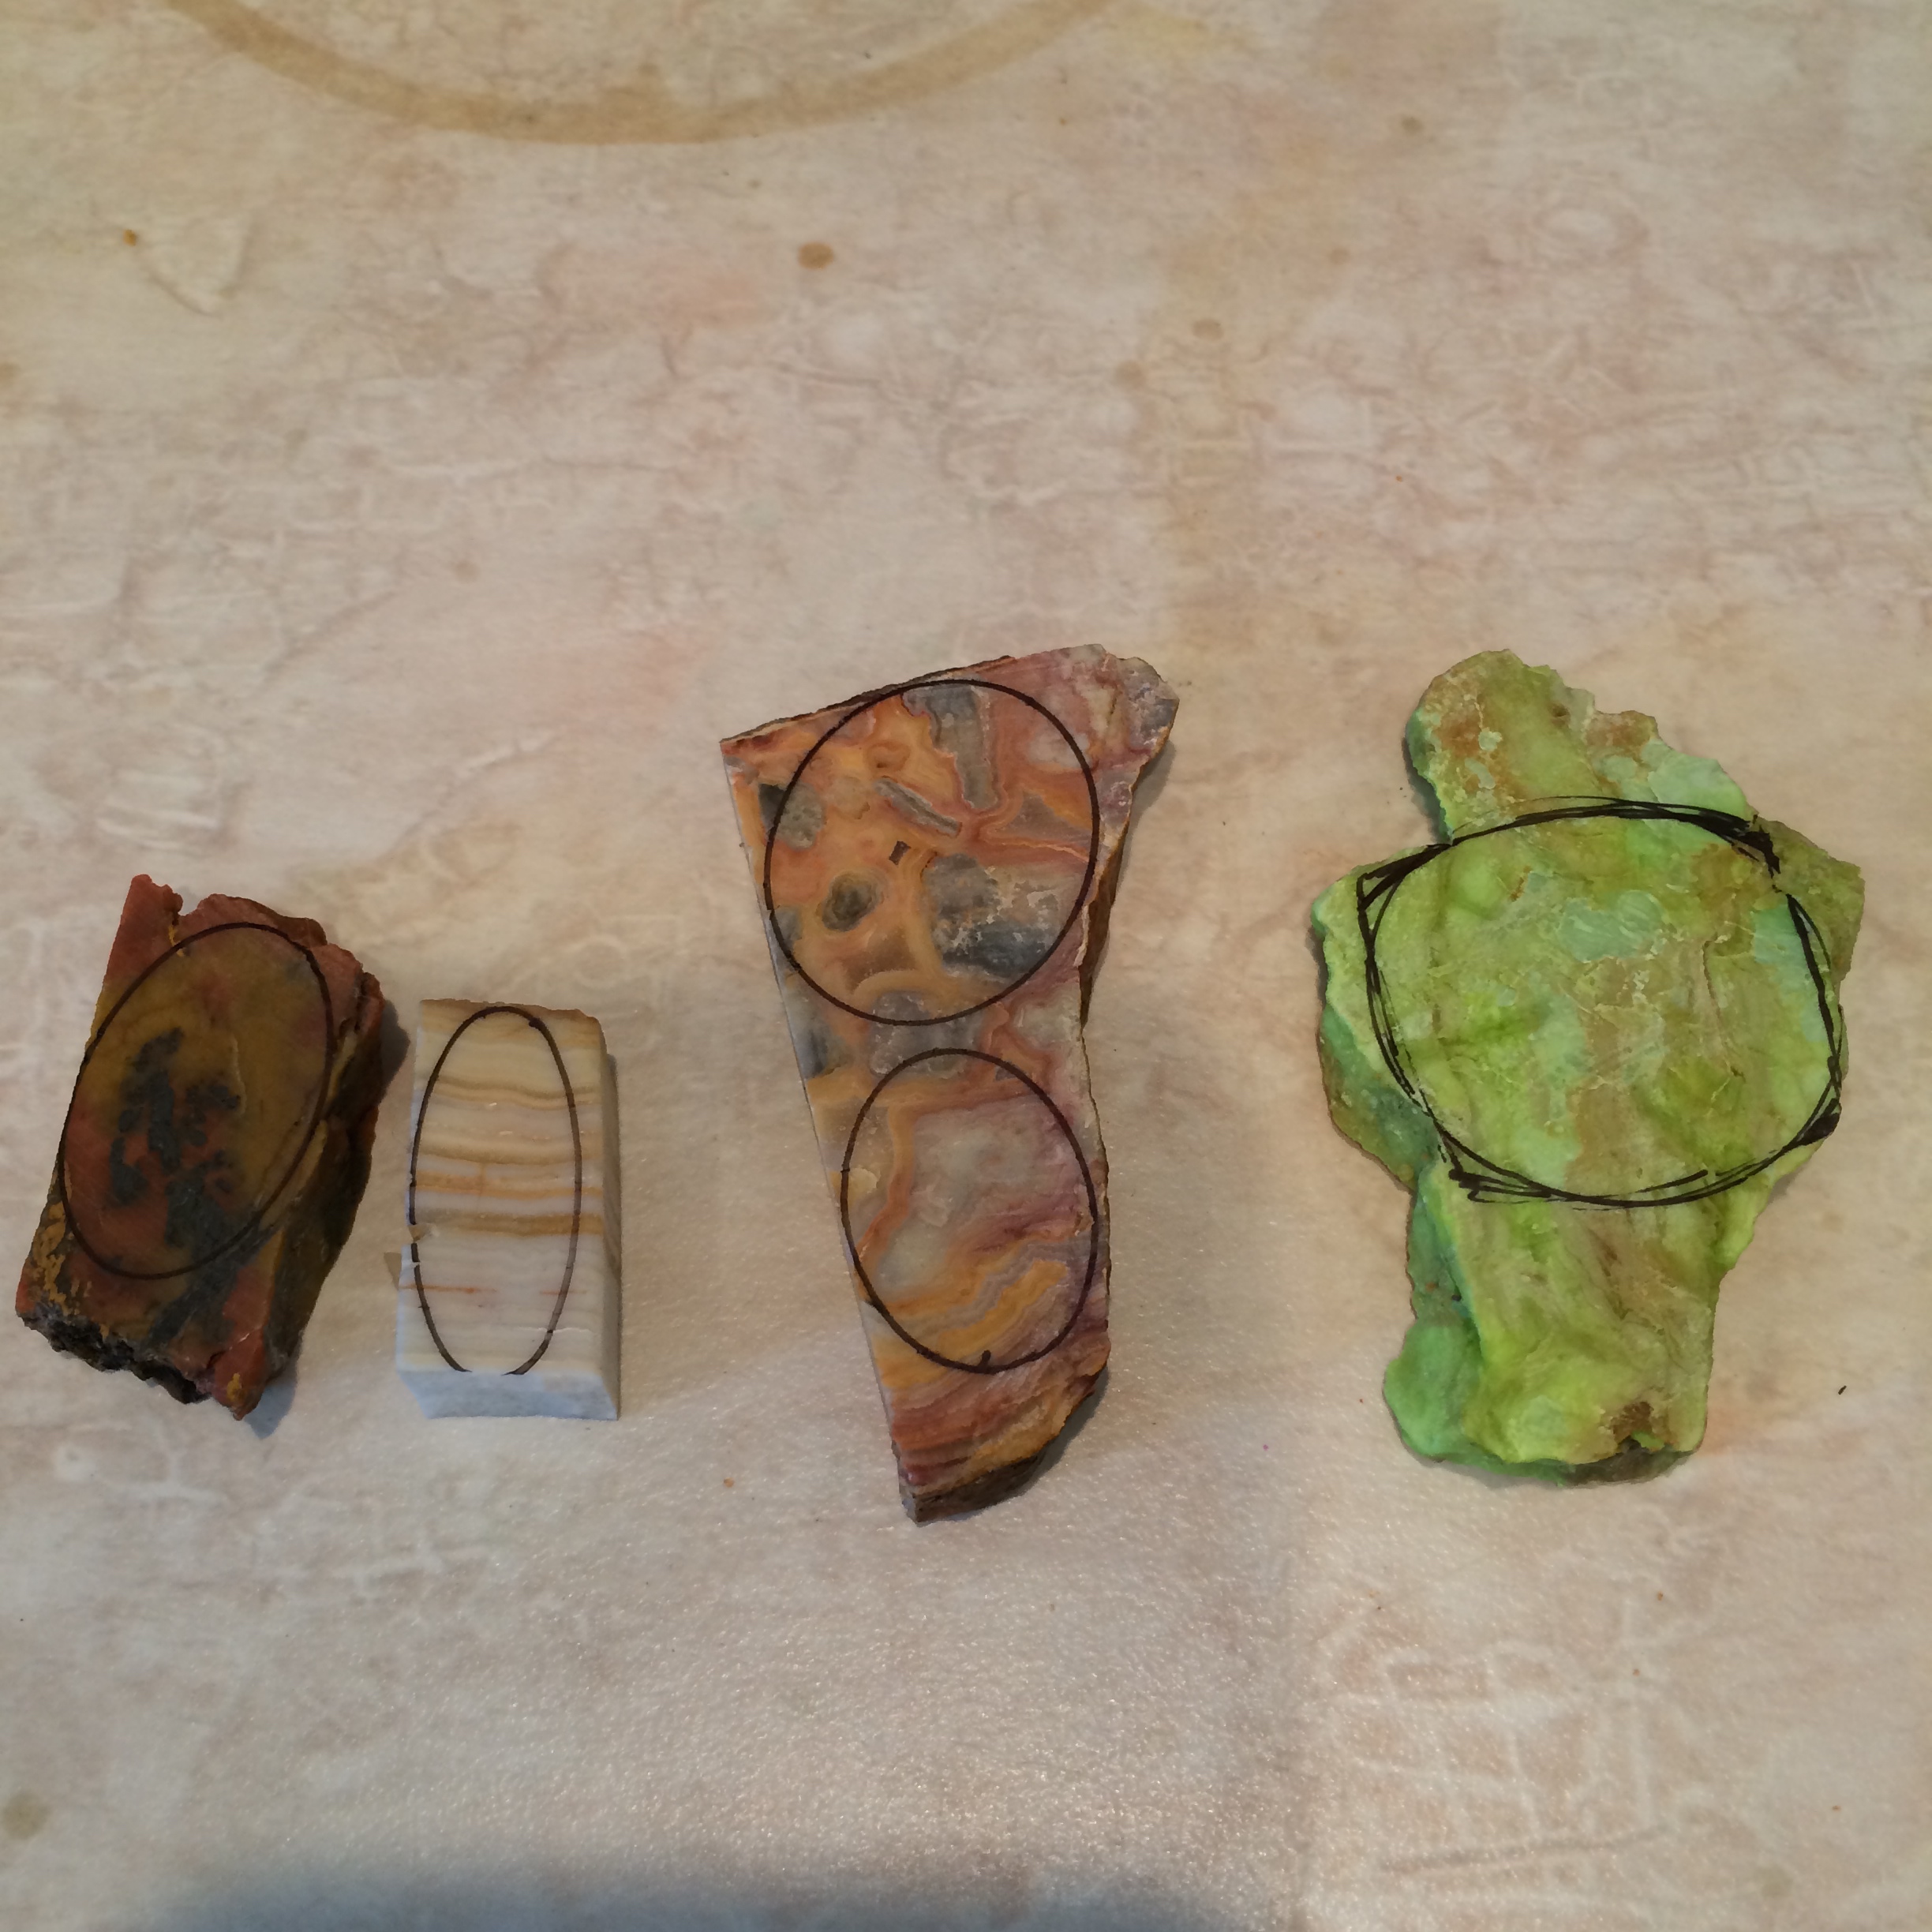
Next I mark out the shapes I want to go for with a sharpie.
I used templates for the first four shapes and winged it for the gaspeite.
You can probably tell.
Then still with the trim saw I try to trim as much rock away as I can because I don’t want to wear out my grinding disc more than I have to.

And so on to the Jool Tool Extraordinaire.
I’m in two minds about the Jool Tool.
I think it’s a great little tool, but I think if you want to make cabs for a living and not just the odd one here and there, you’ll probably want a ‘proper’ lapidary machine thingy.
Like this

Oh hell. I just found this.

Save me now.
So back to the Jool Tool Extraordinaire…
This is the diamond grinding disc which I use first.

It screws onto the spindle on top of the Jool Tool.
You can see I cleaned it for you 🙂 It was either that or the bathroom…
no brainer really.
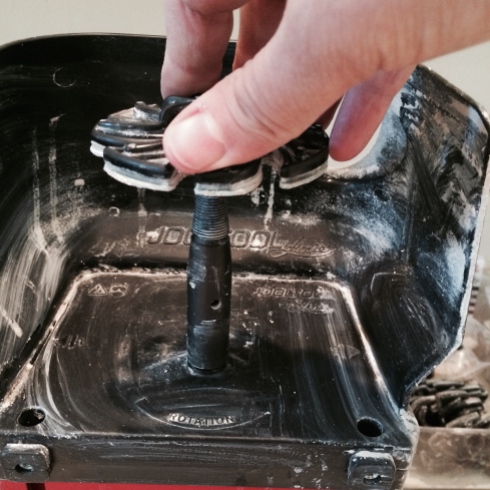
And the idea is that you push the stone onto the disc from underneath.
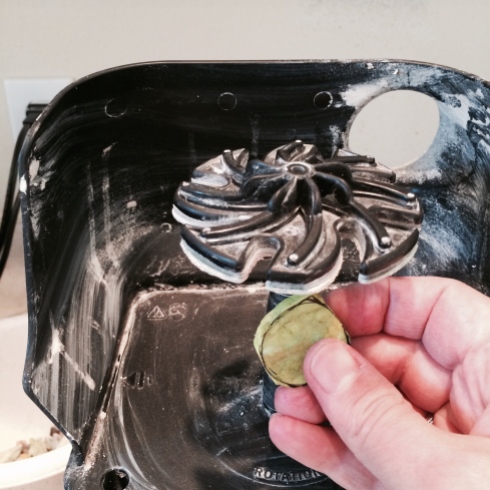
The neat thing is that the discs are designed so that you can see through them as they are spinning and therefore you have more control over what you’re doing.
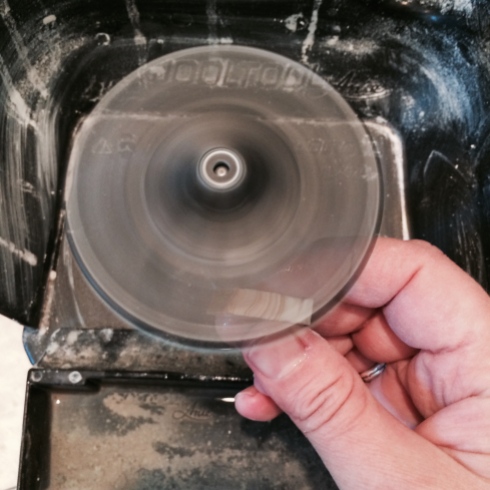
The speed of the disc also keeps the stone cool which is nice.
You keep the stone wet as you grind it. You can just see the little water tray underneath the wheel.
Here they are after their first round with the grinder.
Next I like to mark half way down the side of the stone and on the top for guide lines and then I sand off the edges.
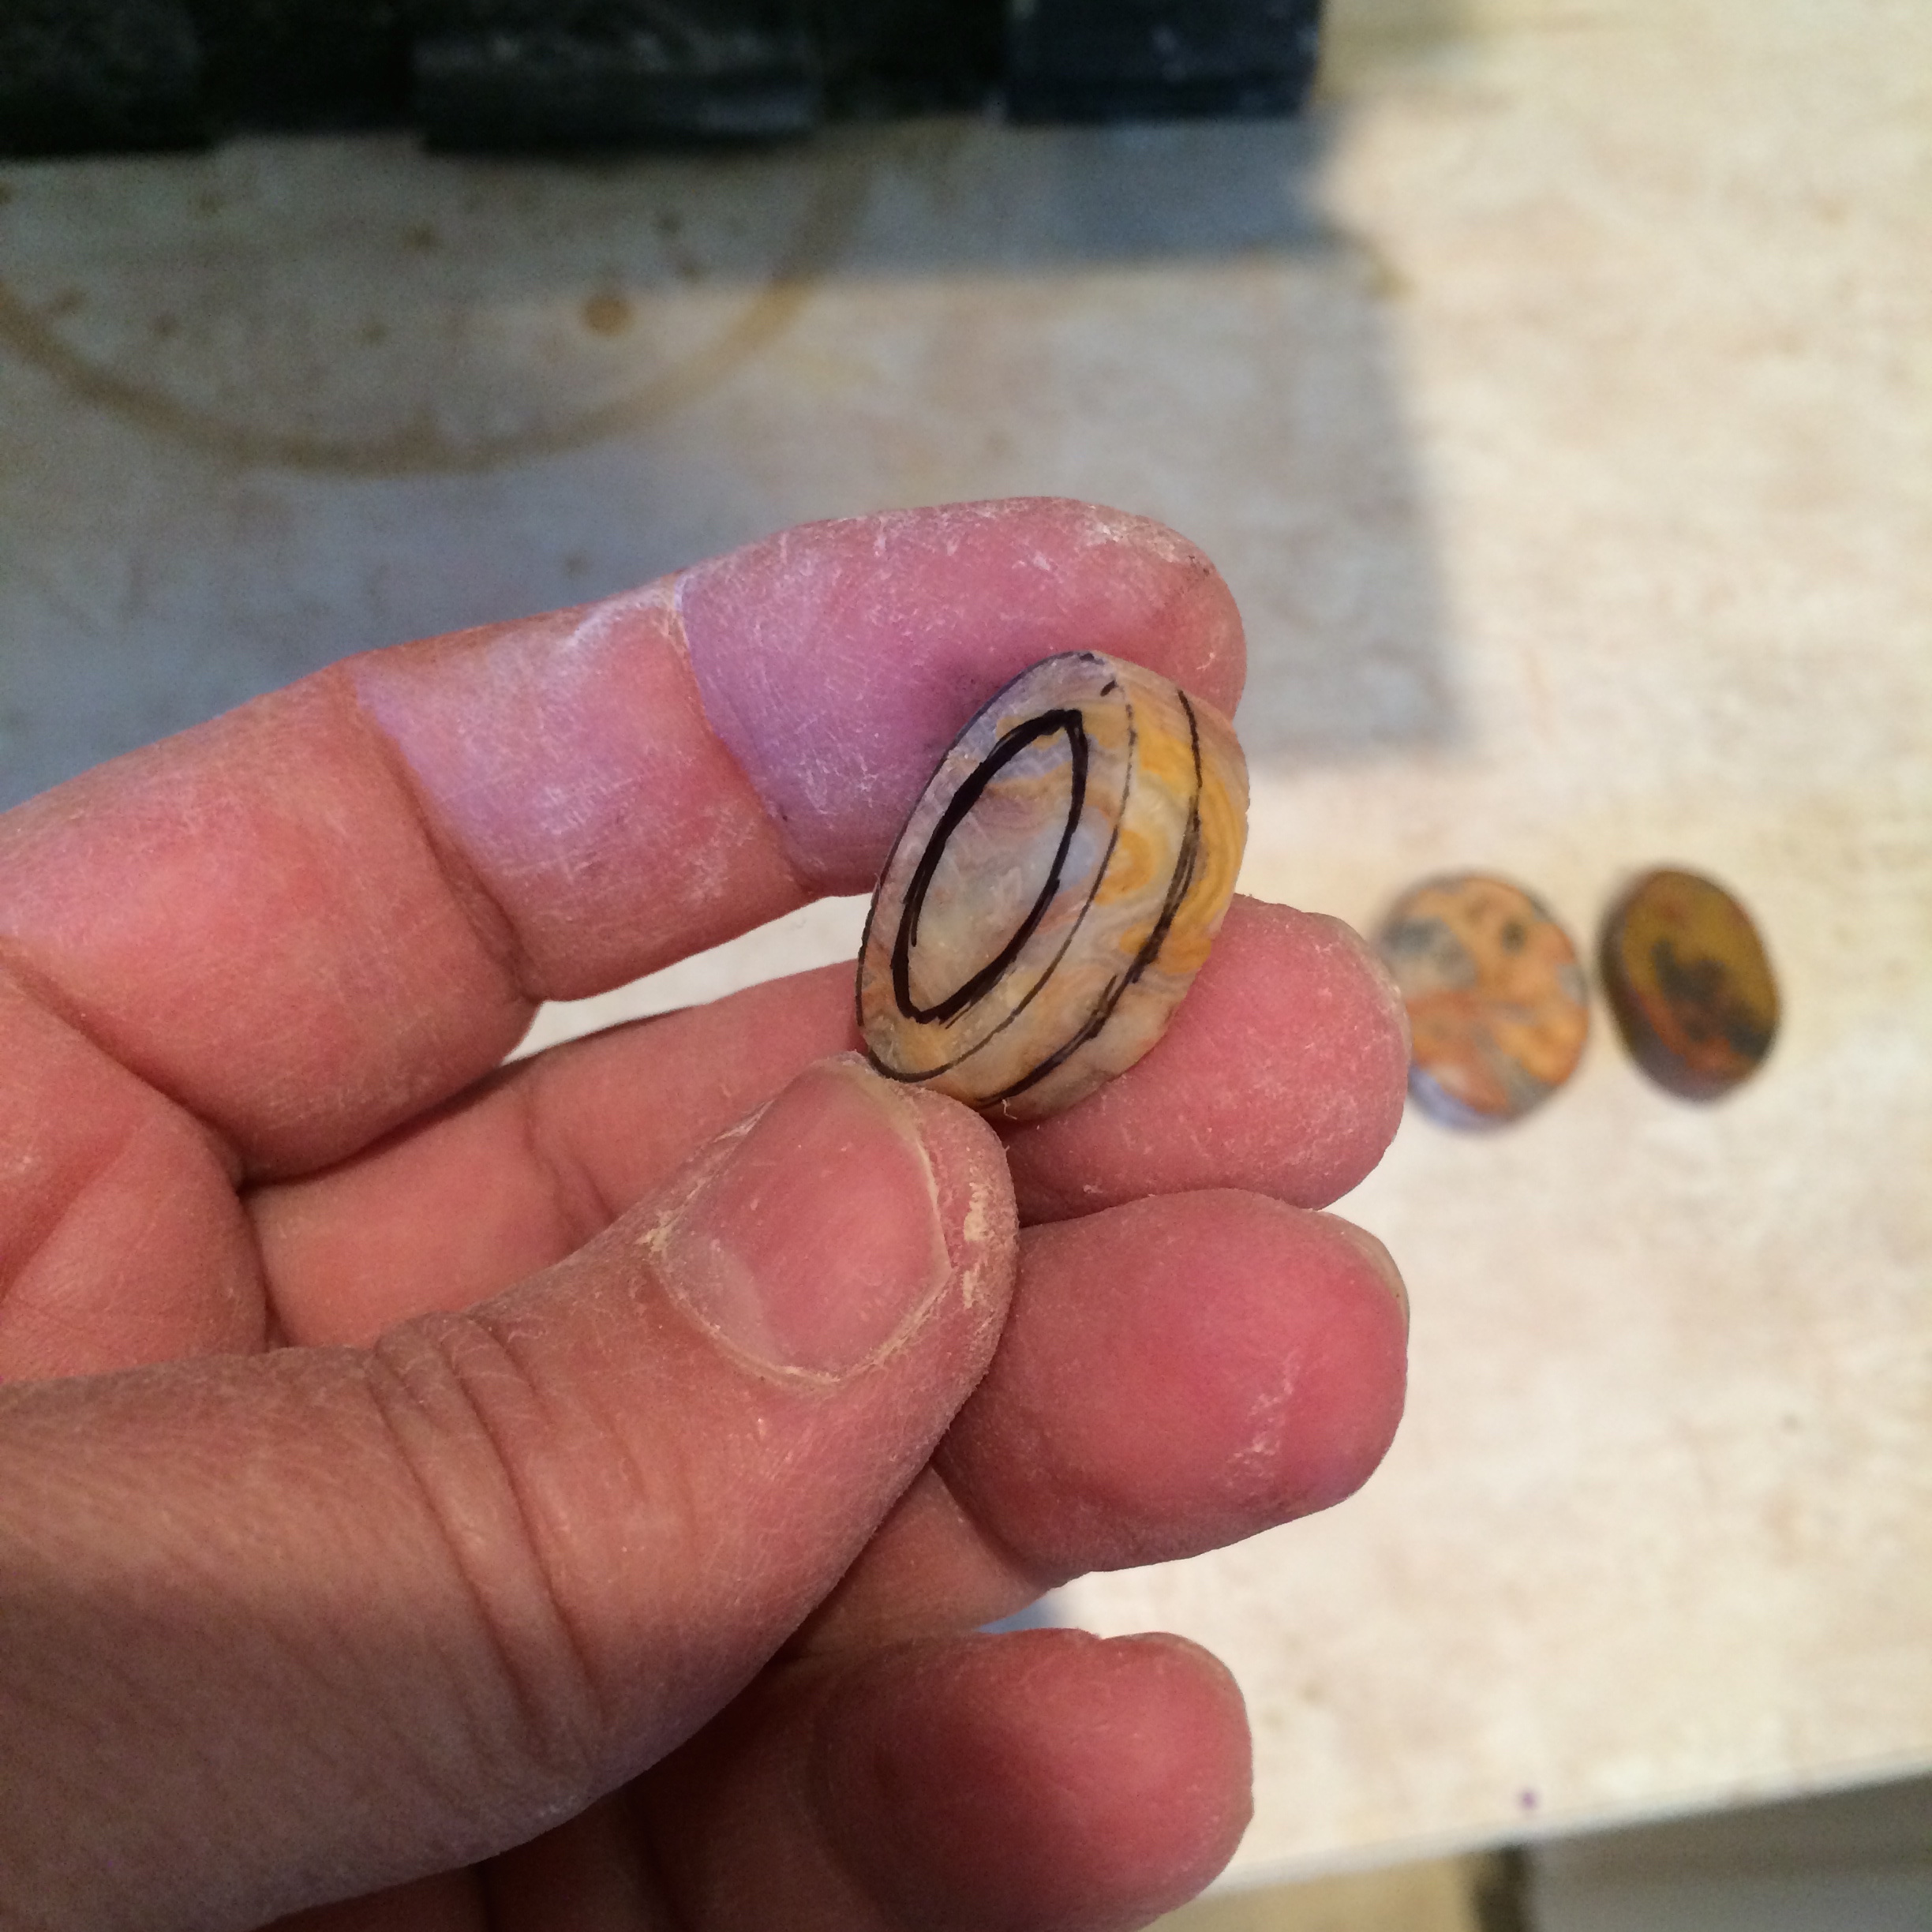
Jool Tool + finger nails means never having to get a manicure again.
Priceless.
O.K. so here’s where I forgot to continue photographing.
🙁
Basically you continue to grind the stones in this manner until you get the shape you want. After that it’s just a matter of sanding the stones through all of the grits available until you get a nice finished shine.
For instance after the diamond wheel you go through the coarse, medium, fine, extra fine, 3,000 microns, 5,000 microns, and 50,000 microns sandpaper wheels. Then you use a fine cerium oxide wheel and finally a felt wheel with a polishing compound on it.
It really doesn’t take that long and it can be quite calming.
I’ve found I like to do it when I’m having a, oh my god I can’t go on, moment as it’s mind numbing yet productive.
But that’s just me.
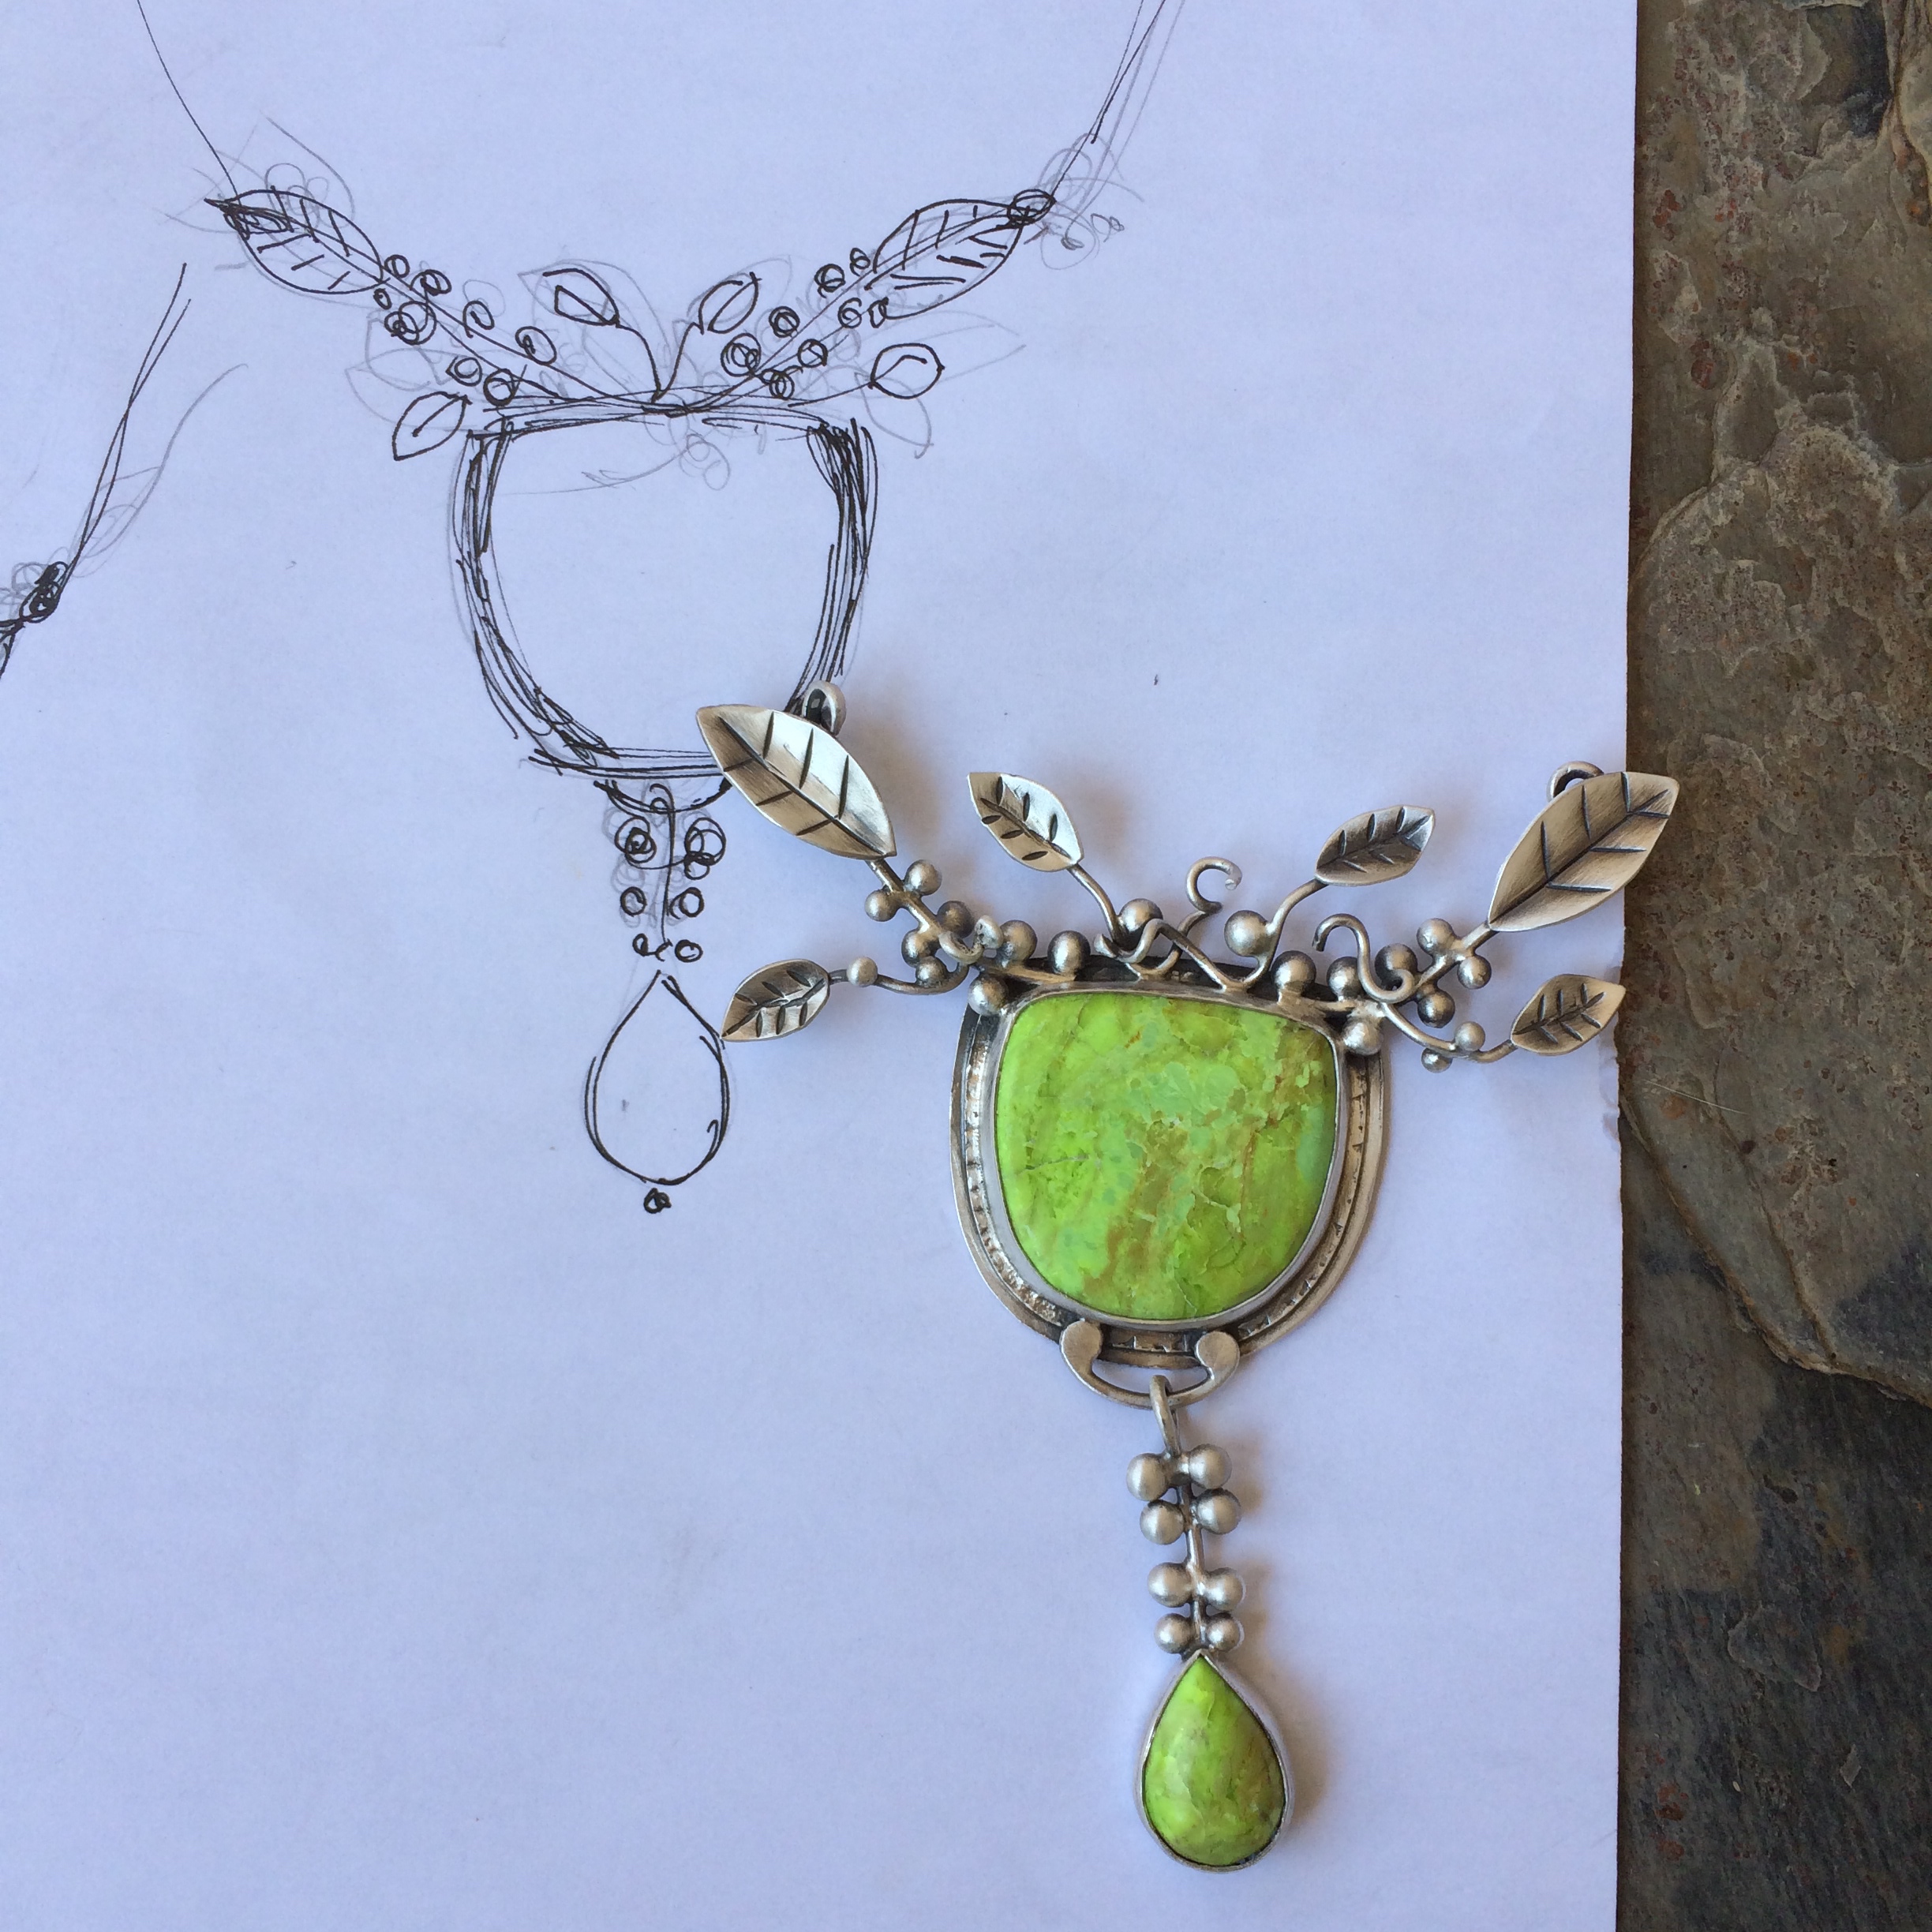
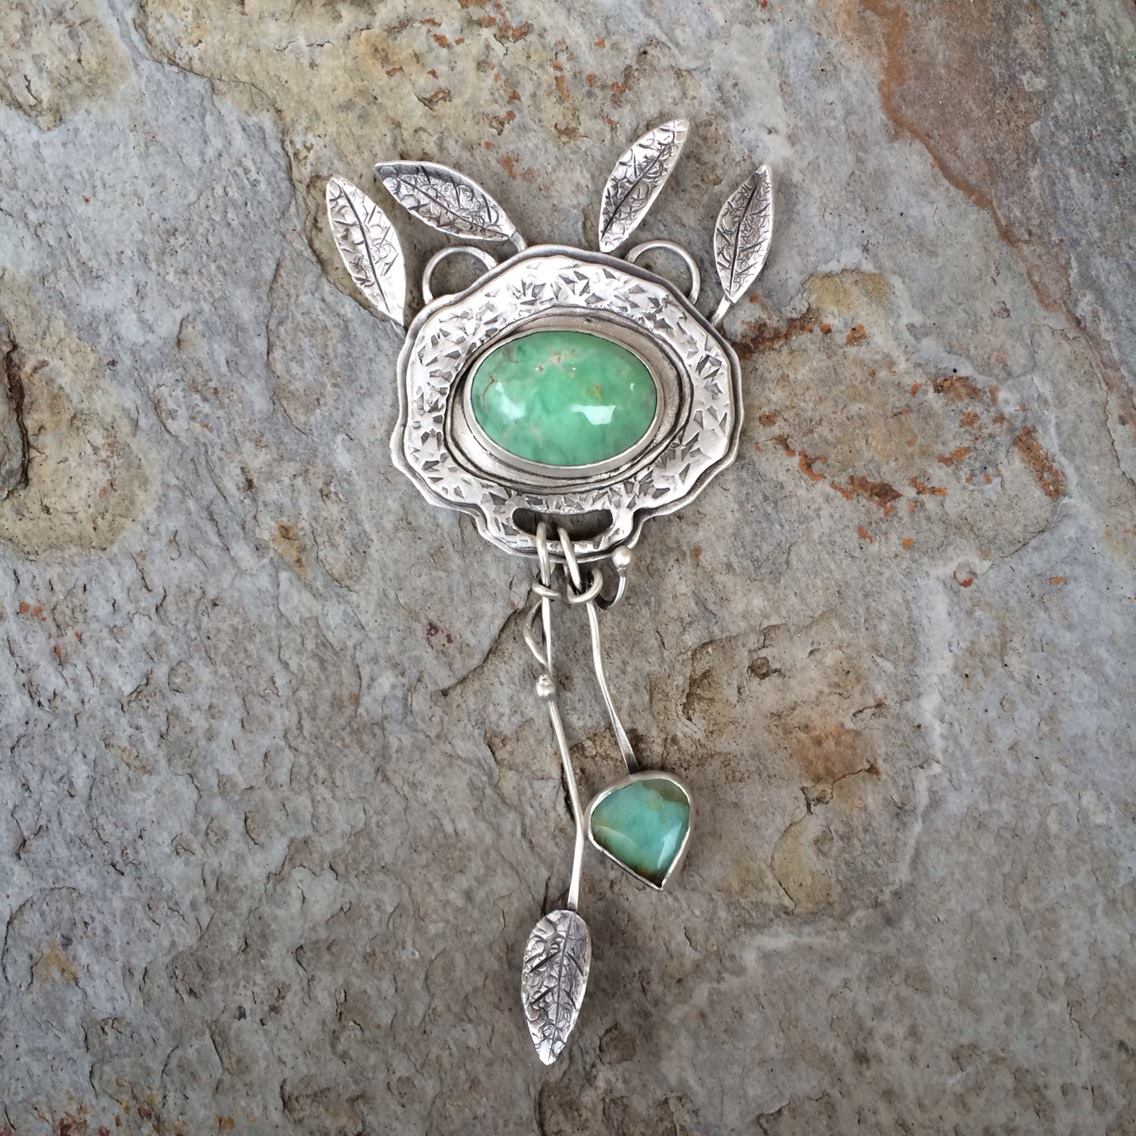
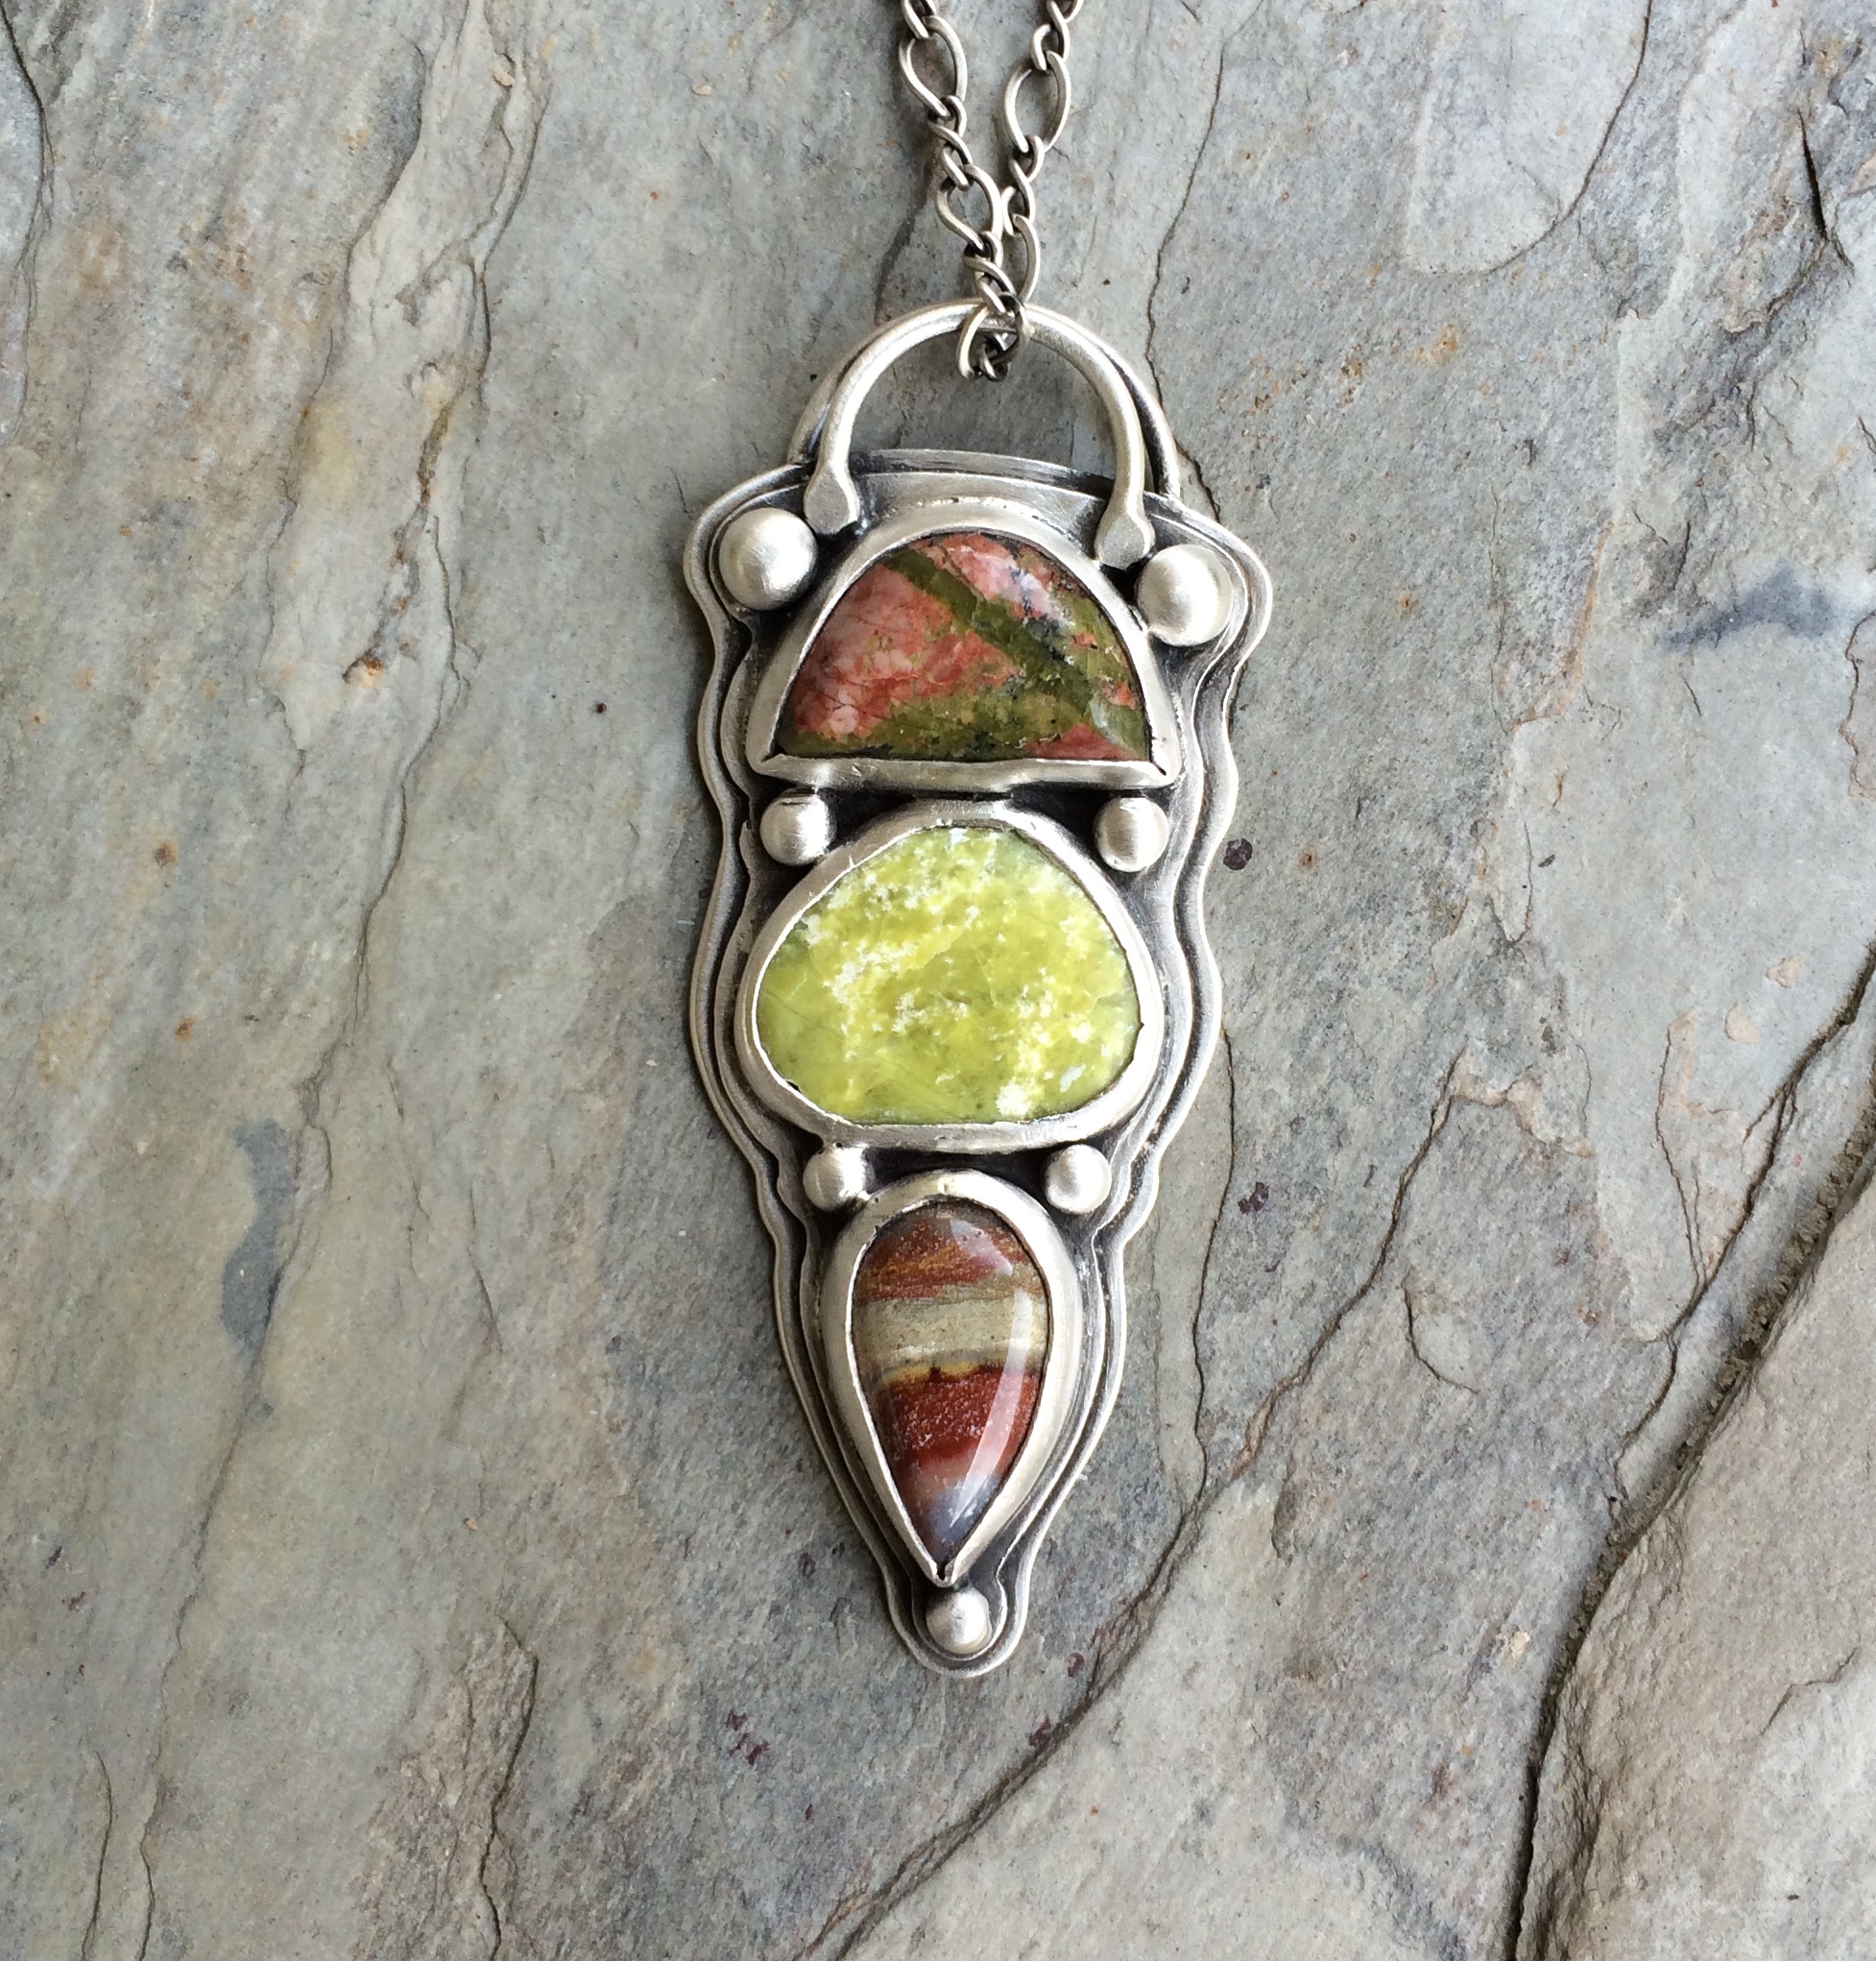
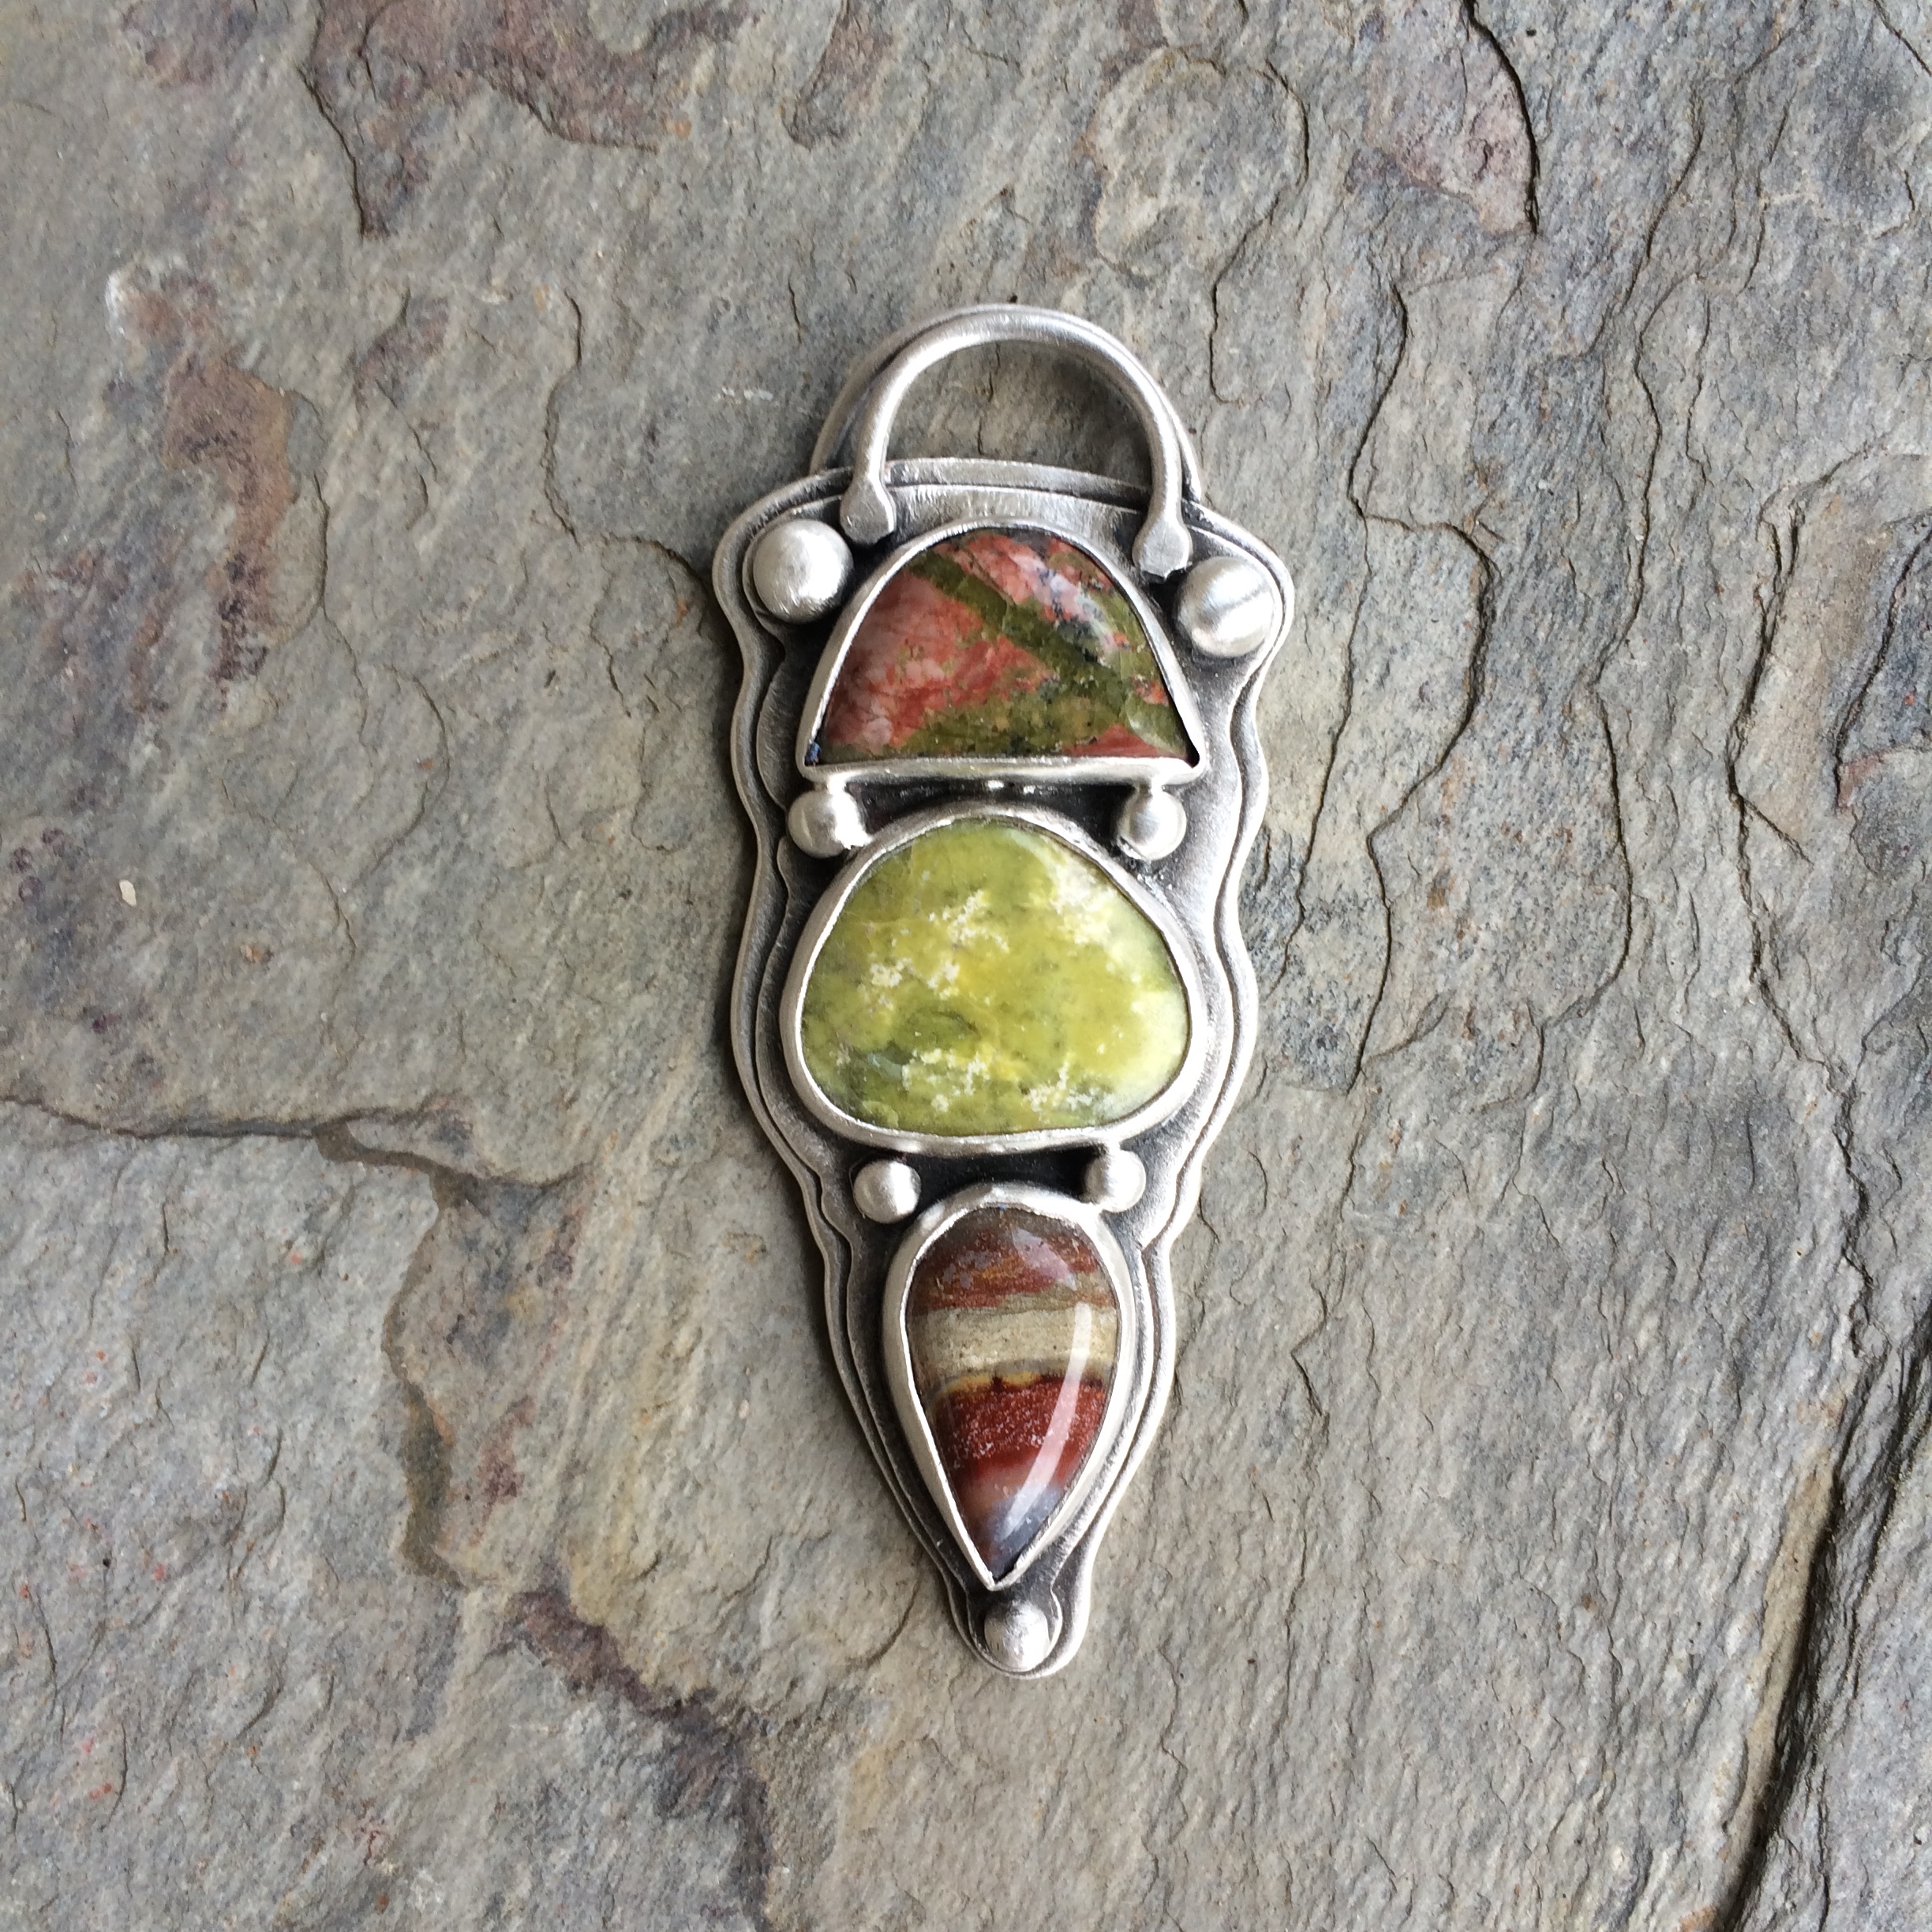
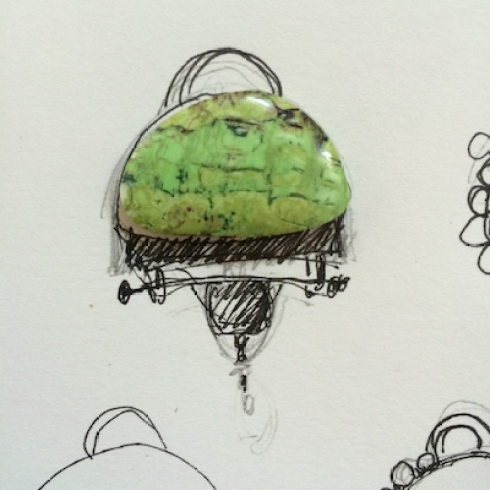
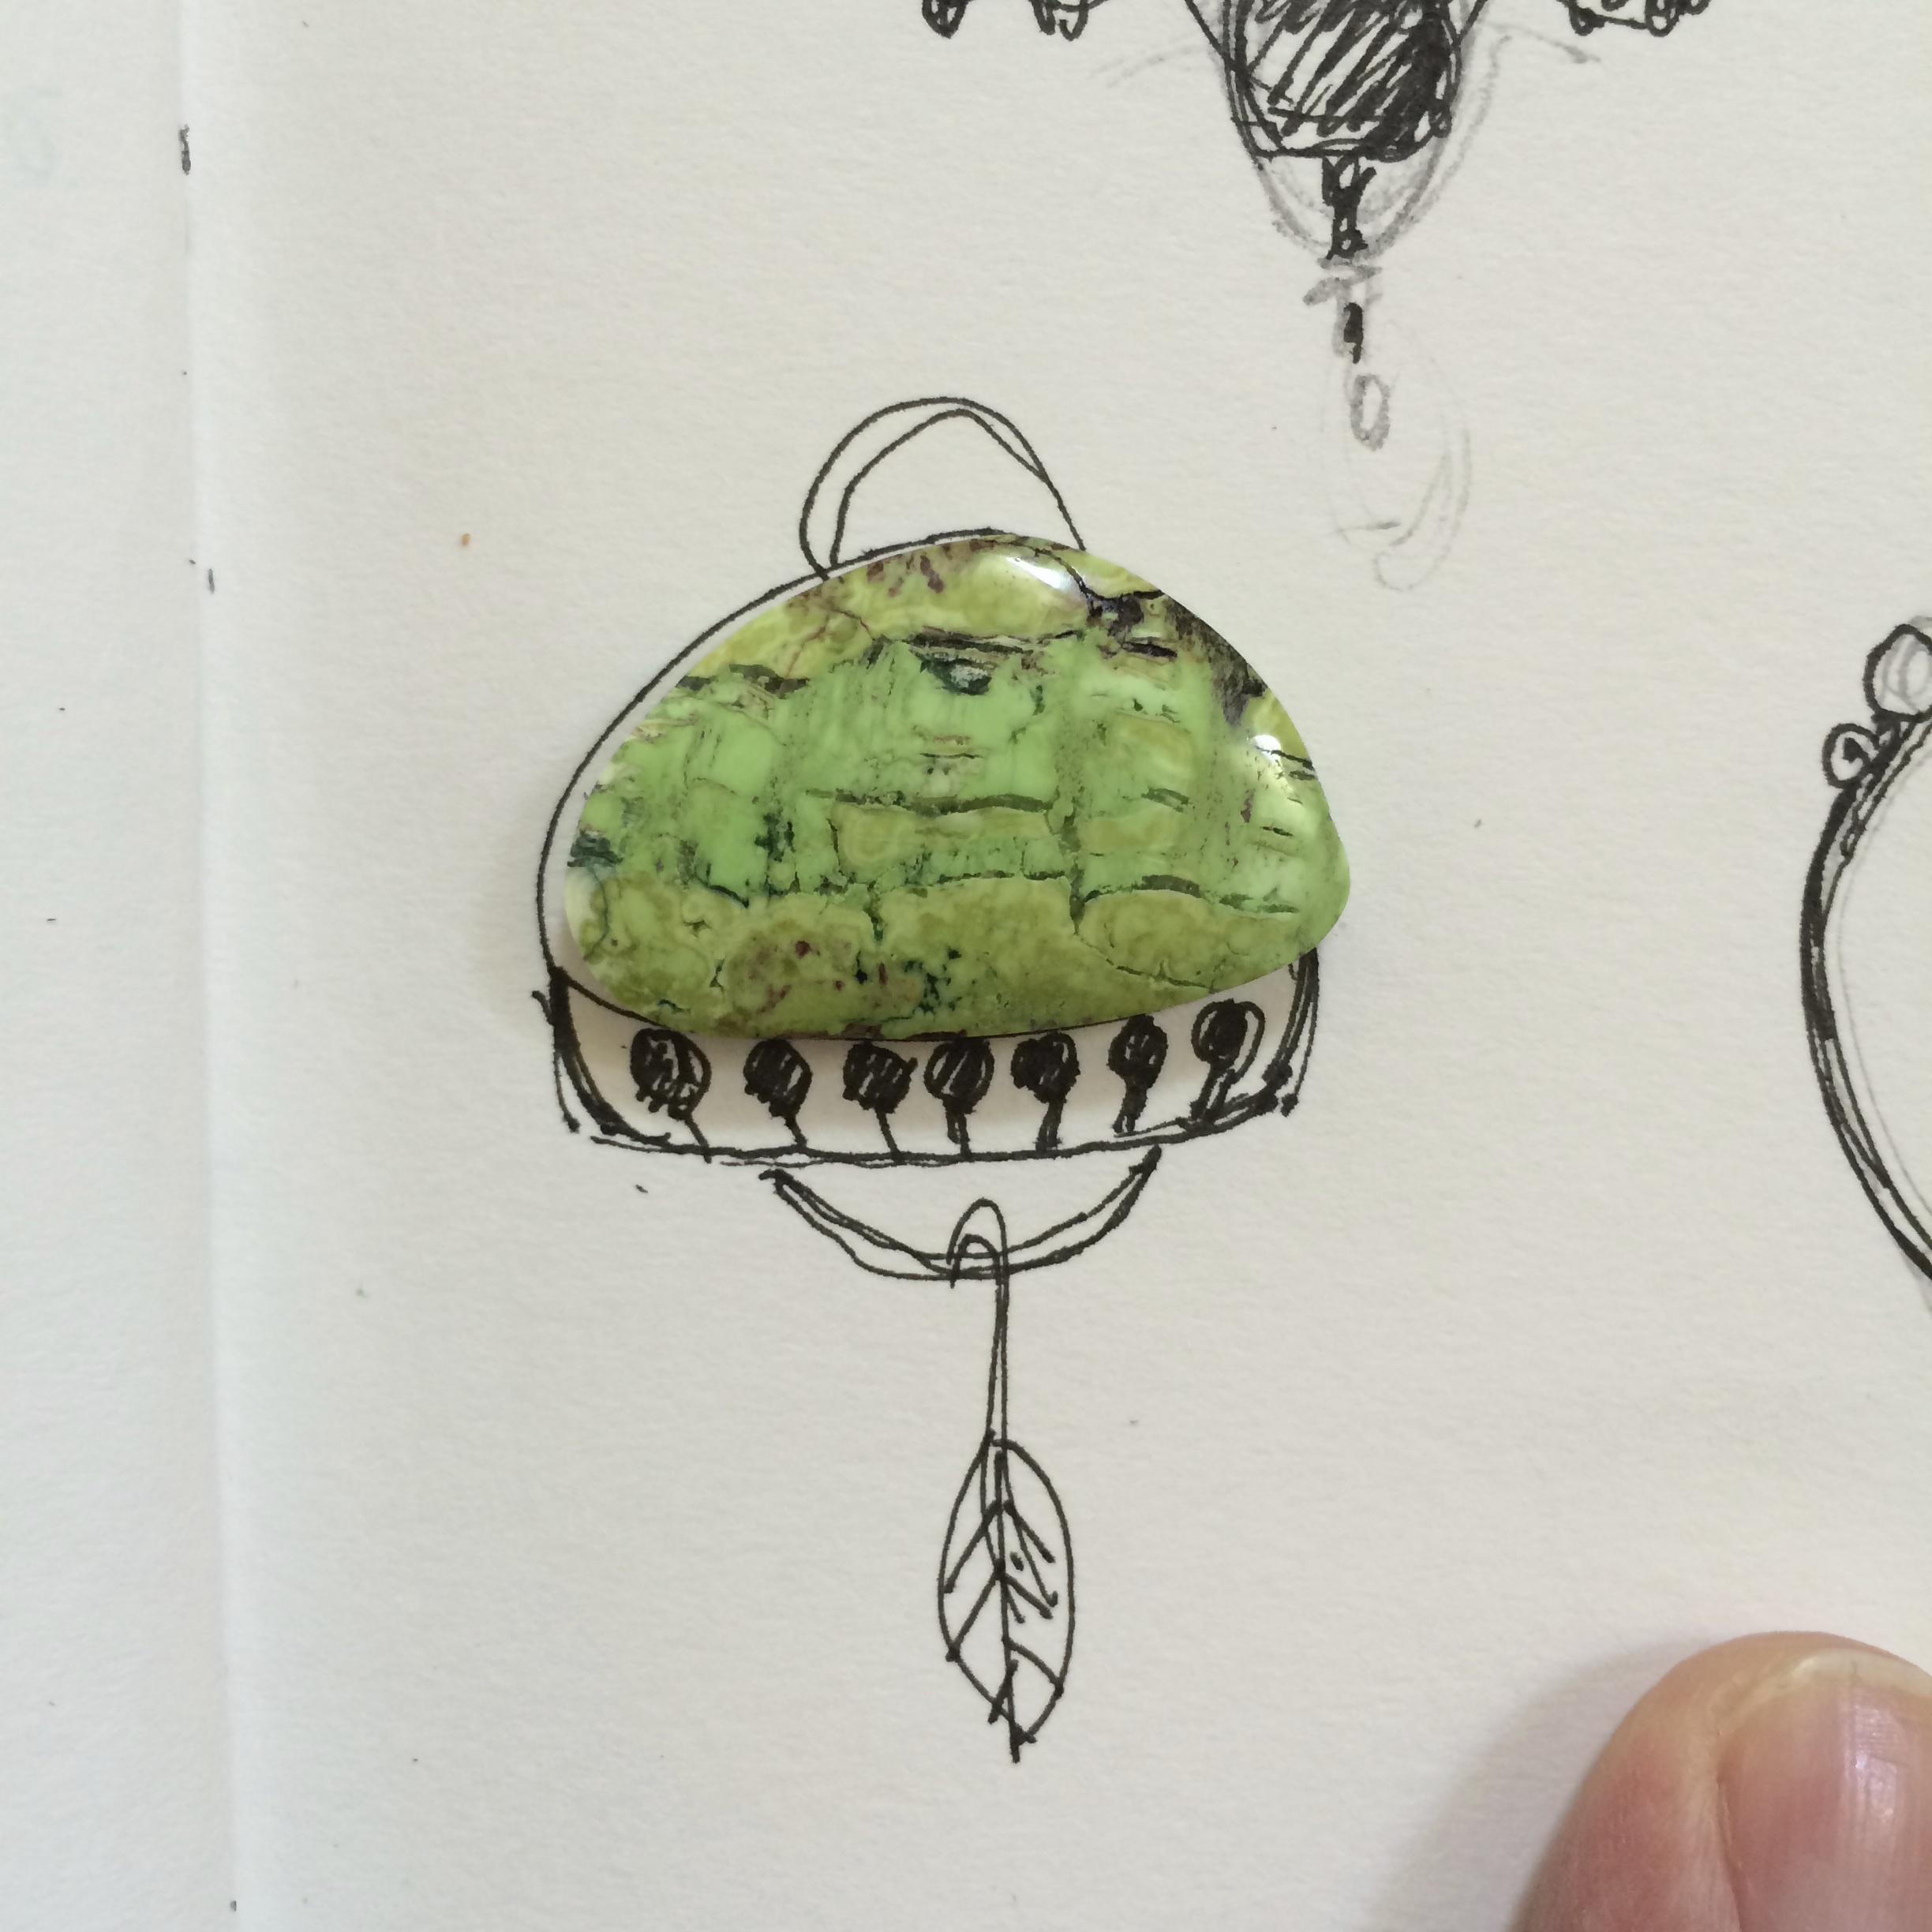
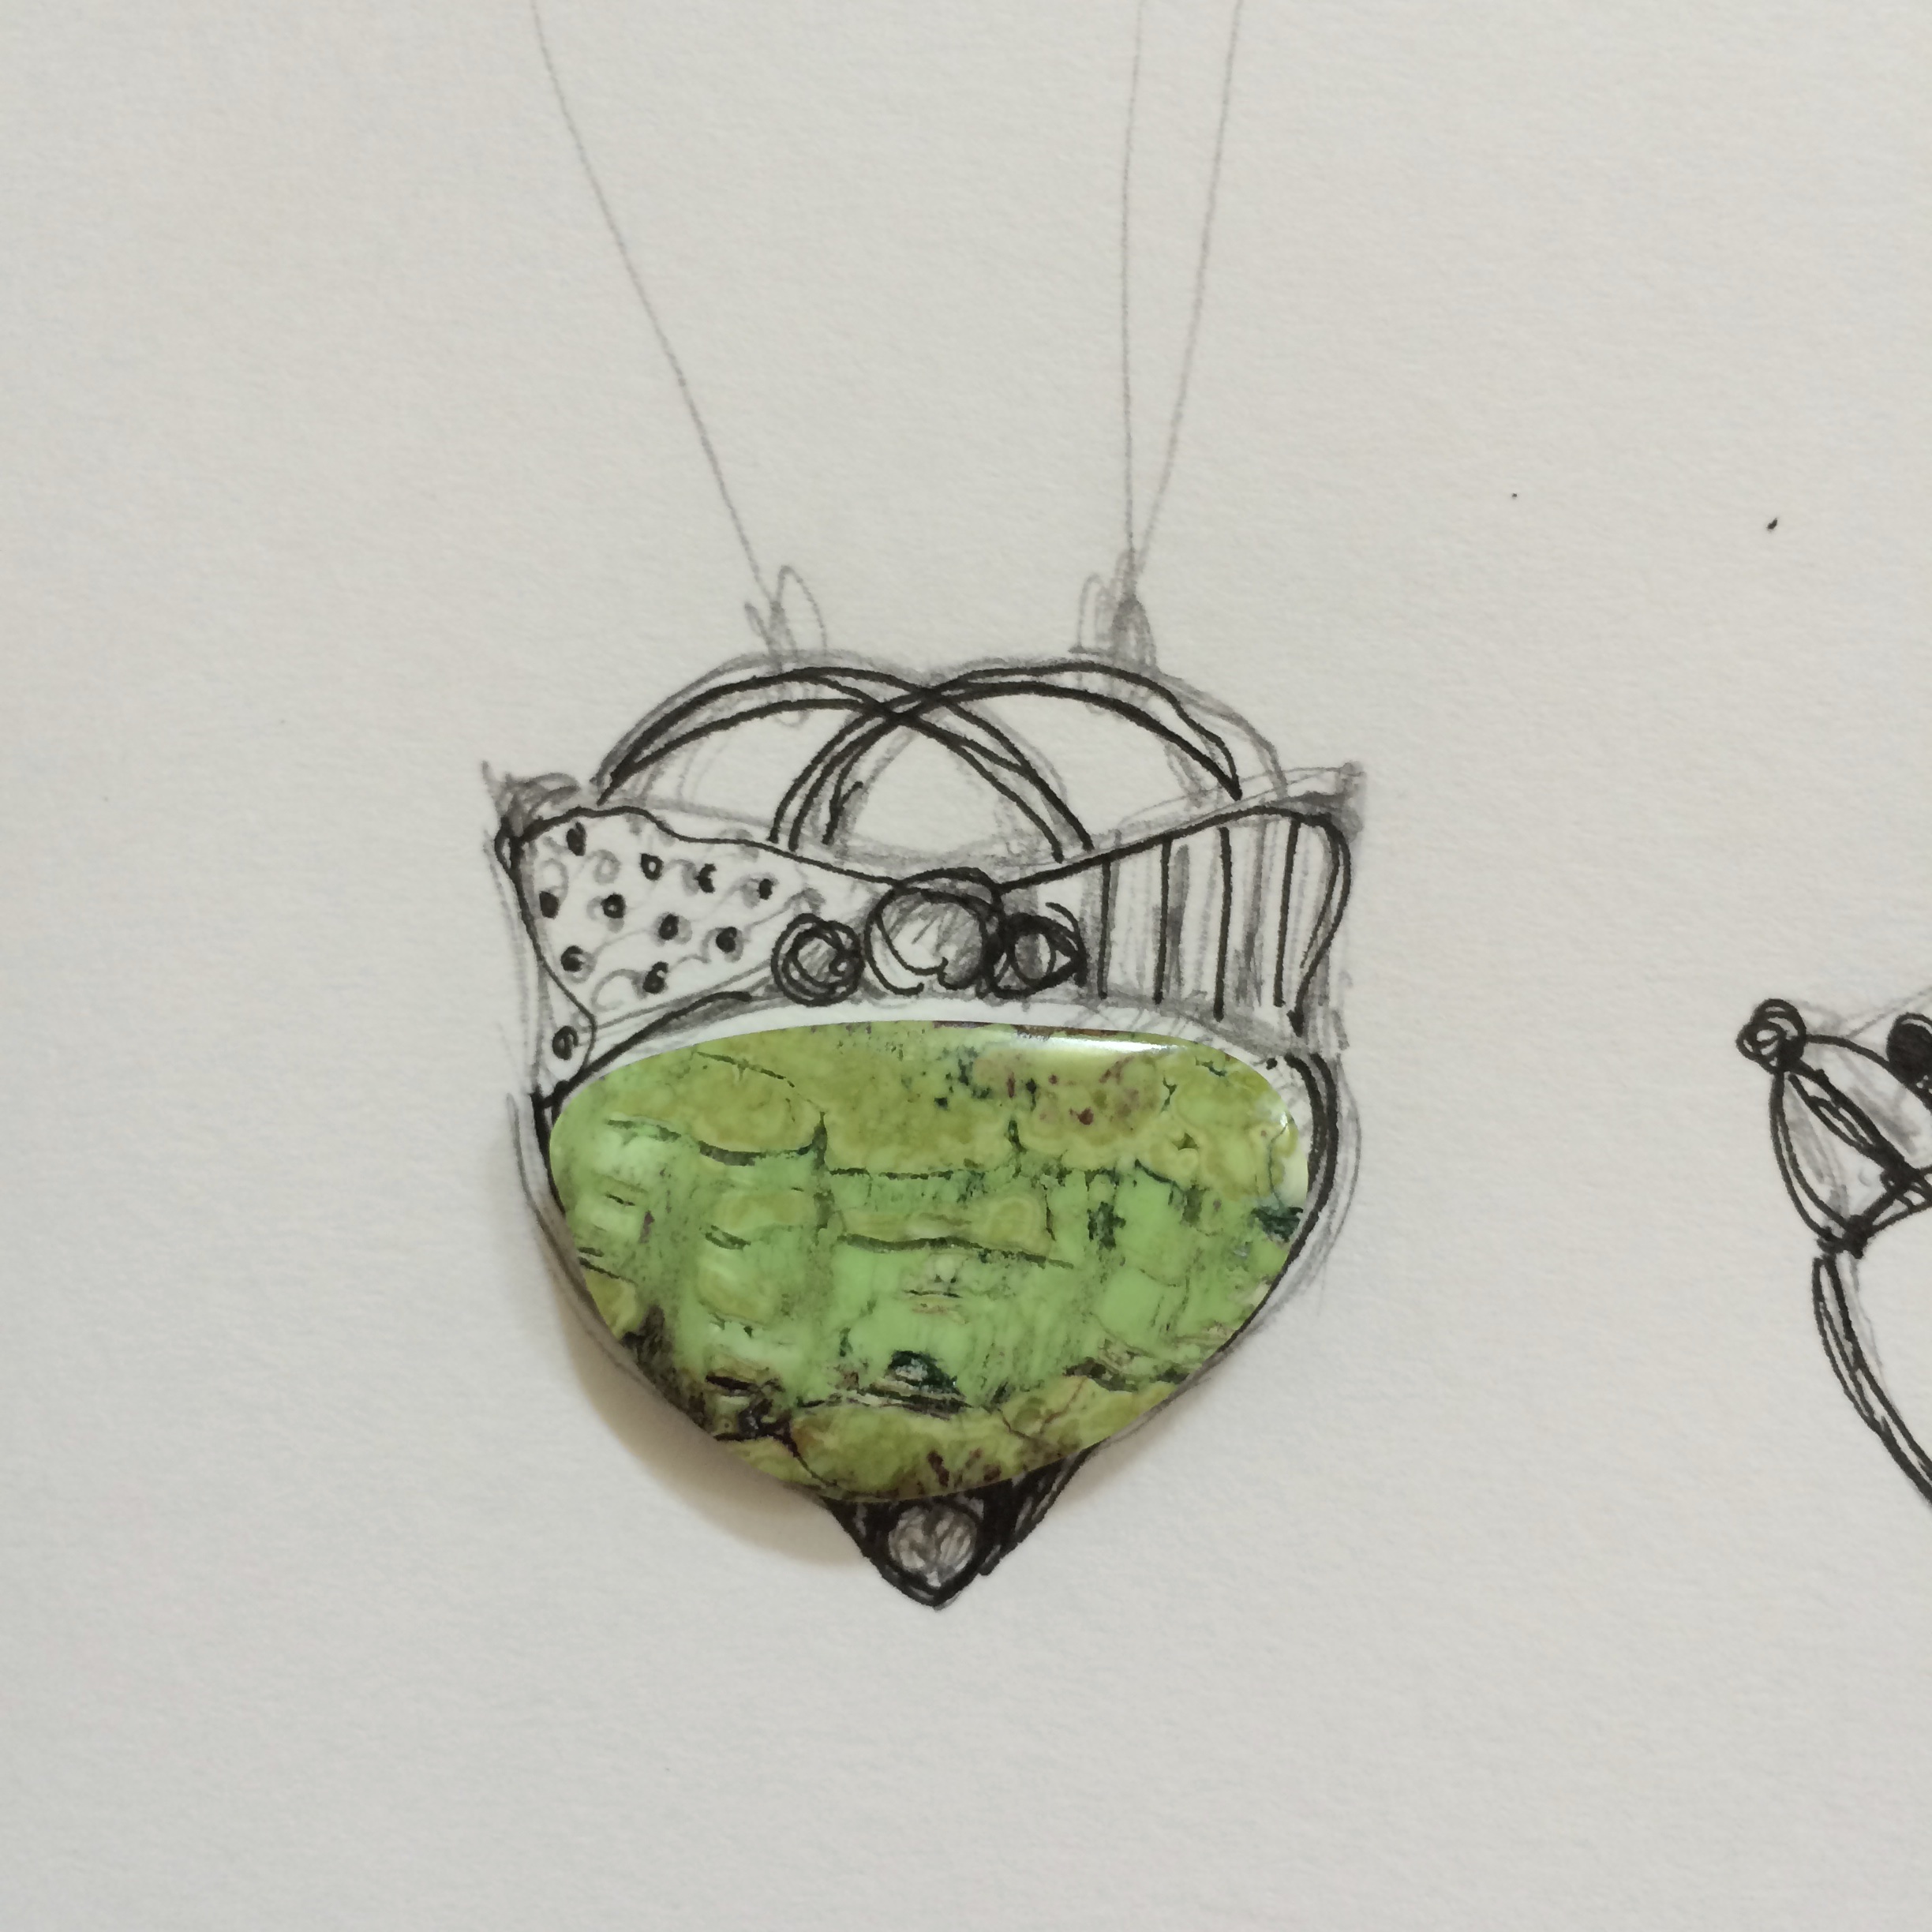
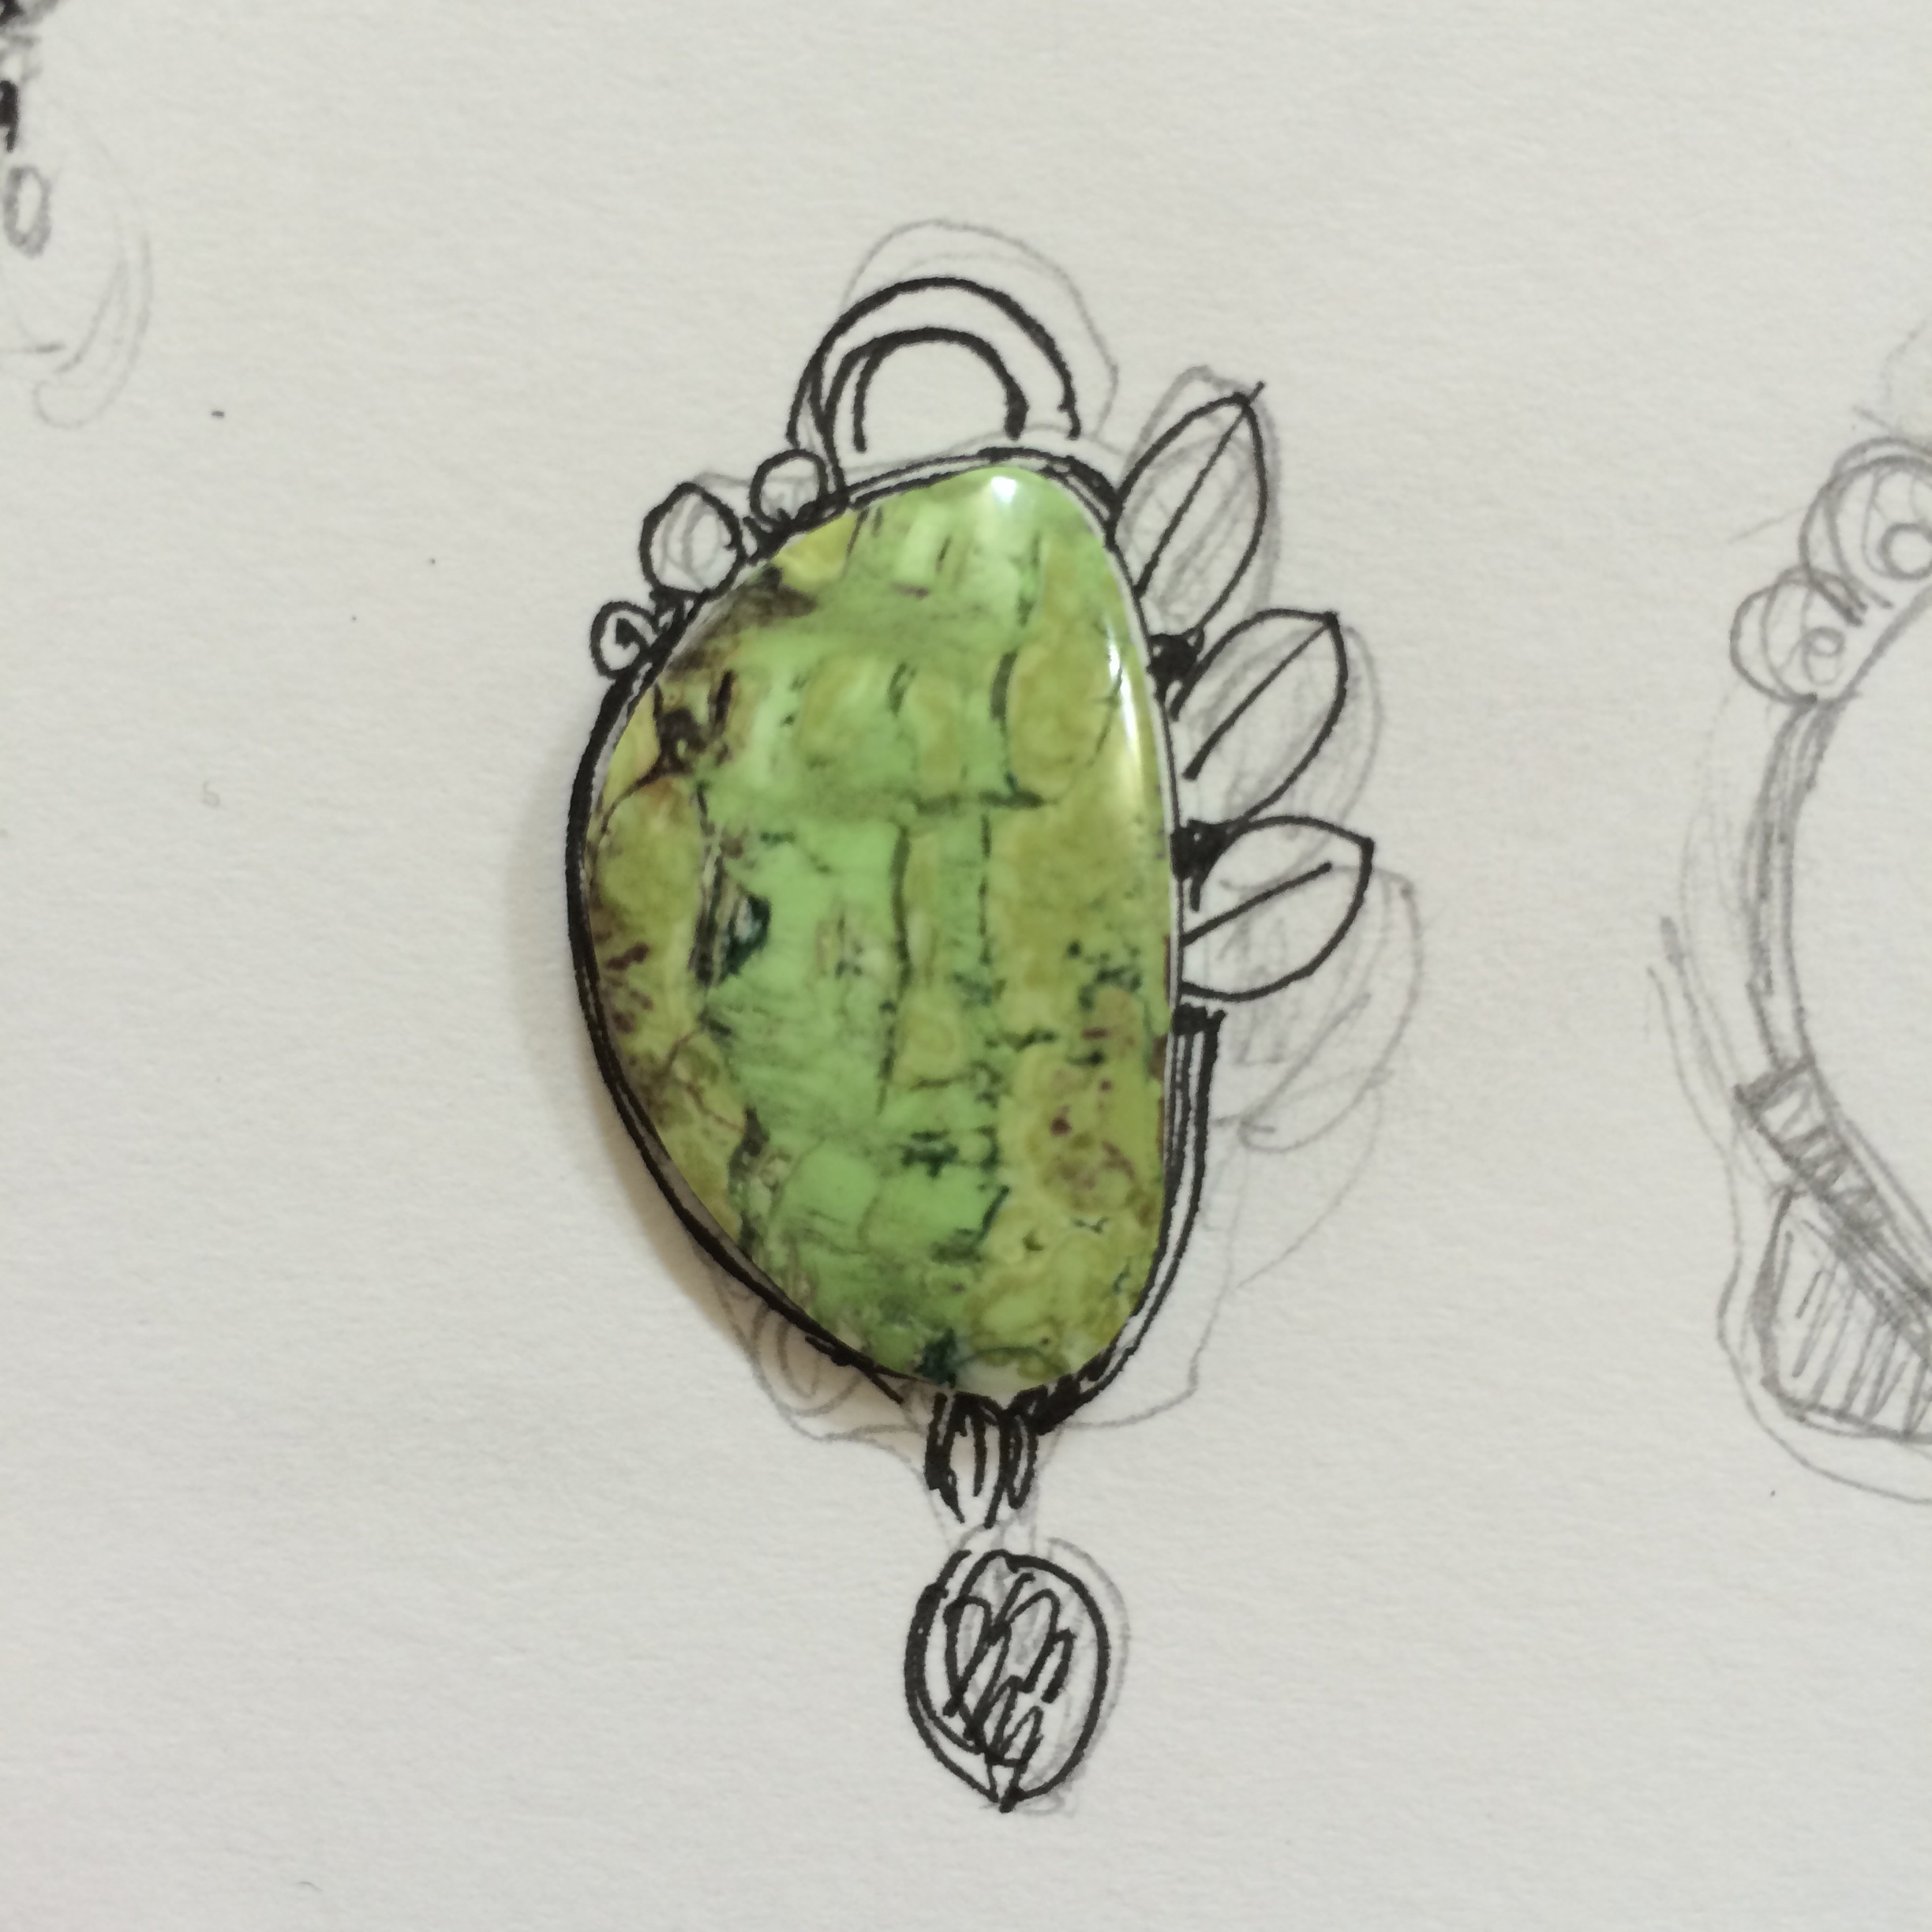
Here’s what I did with the Gaspeite cabs.
I drew the sketch.

Around the cabs.

Set the collars.

Cut the back plate away so that the stone sits deeper into the piece for more dimension.

Soldered this onto a new back plate
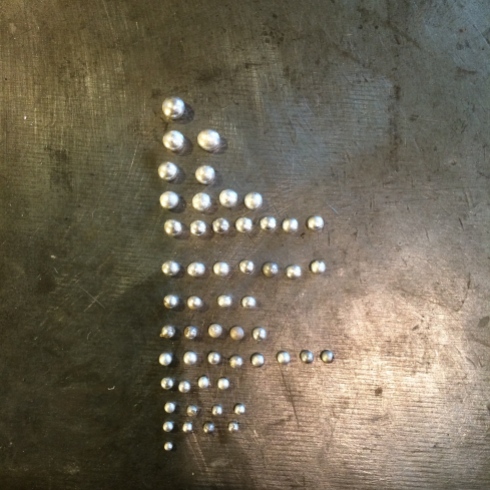
Made some balls.
Worked on the bottom vine.

Cut a design out of the back and attached a hoop for the bottom vine to hang from

Checked it on the sketch.

Started on the top vine.

Cut some leaves.

And soldered them on to wire.

Soldered the balls onto the larger wire.
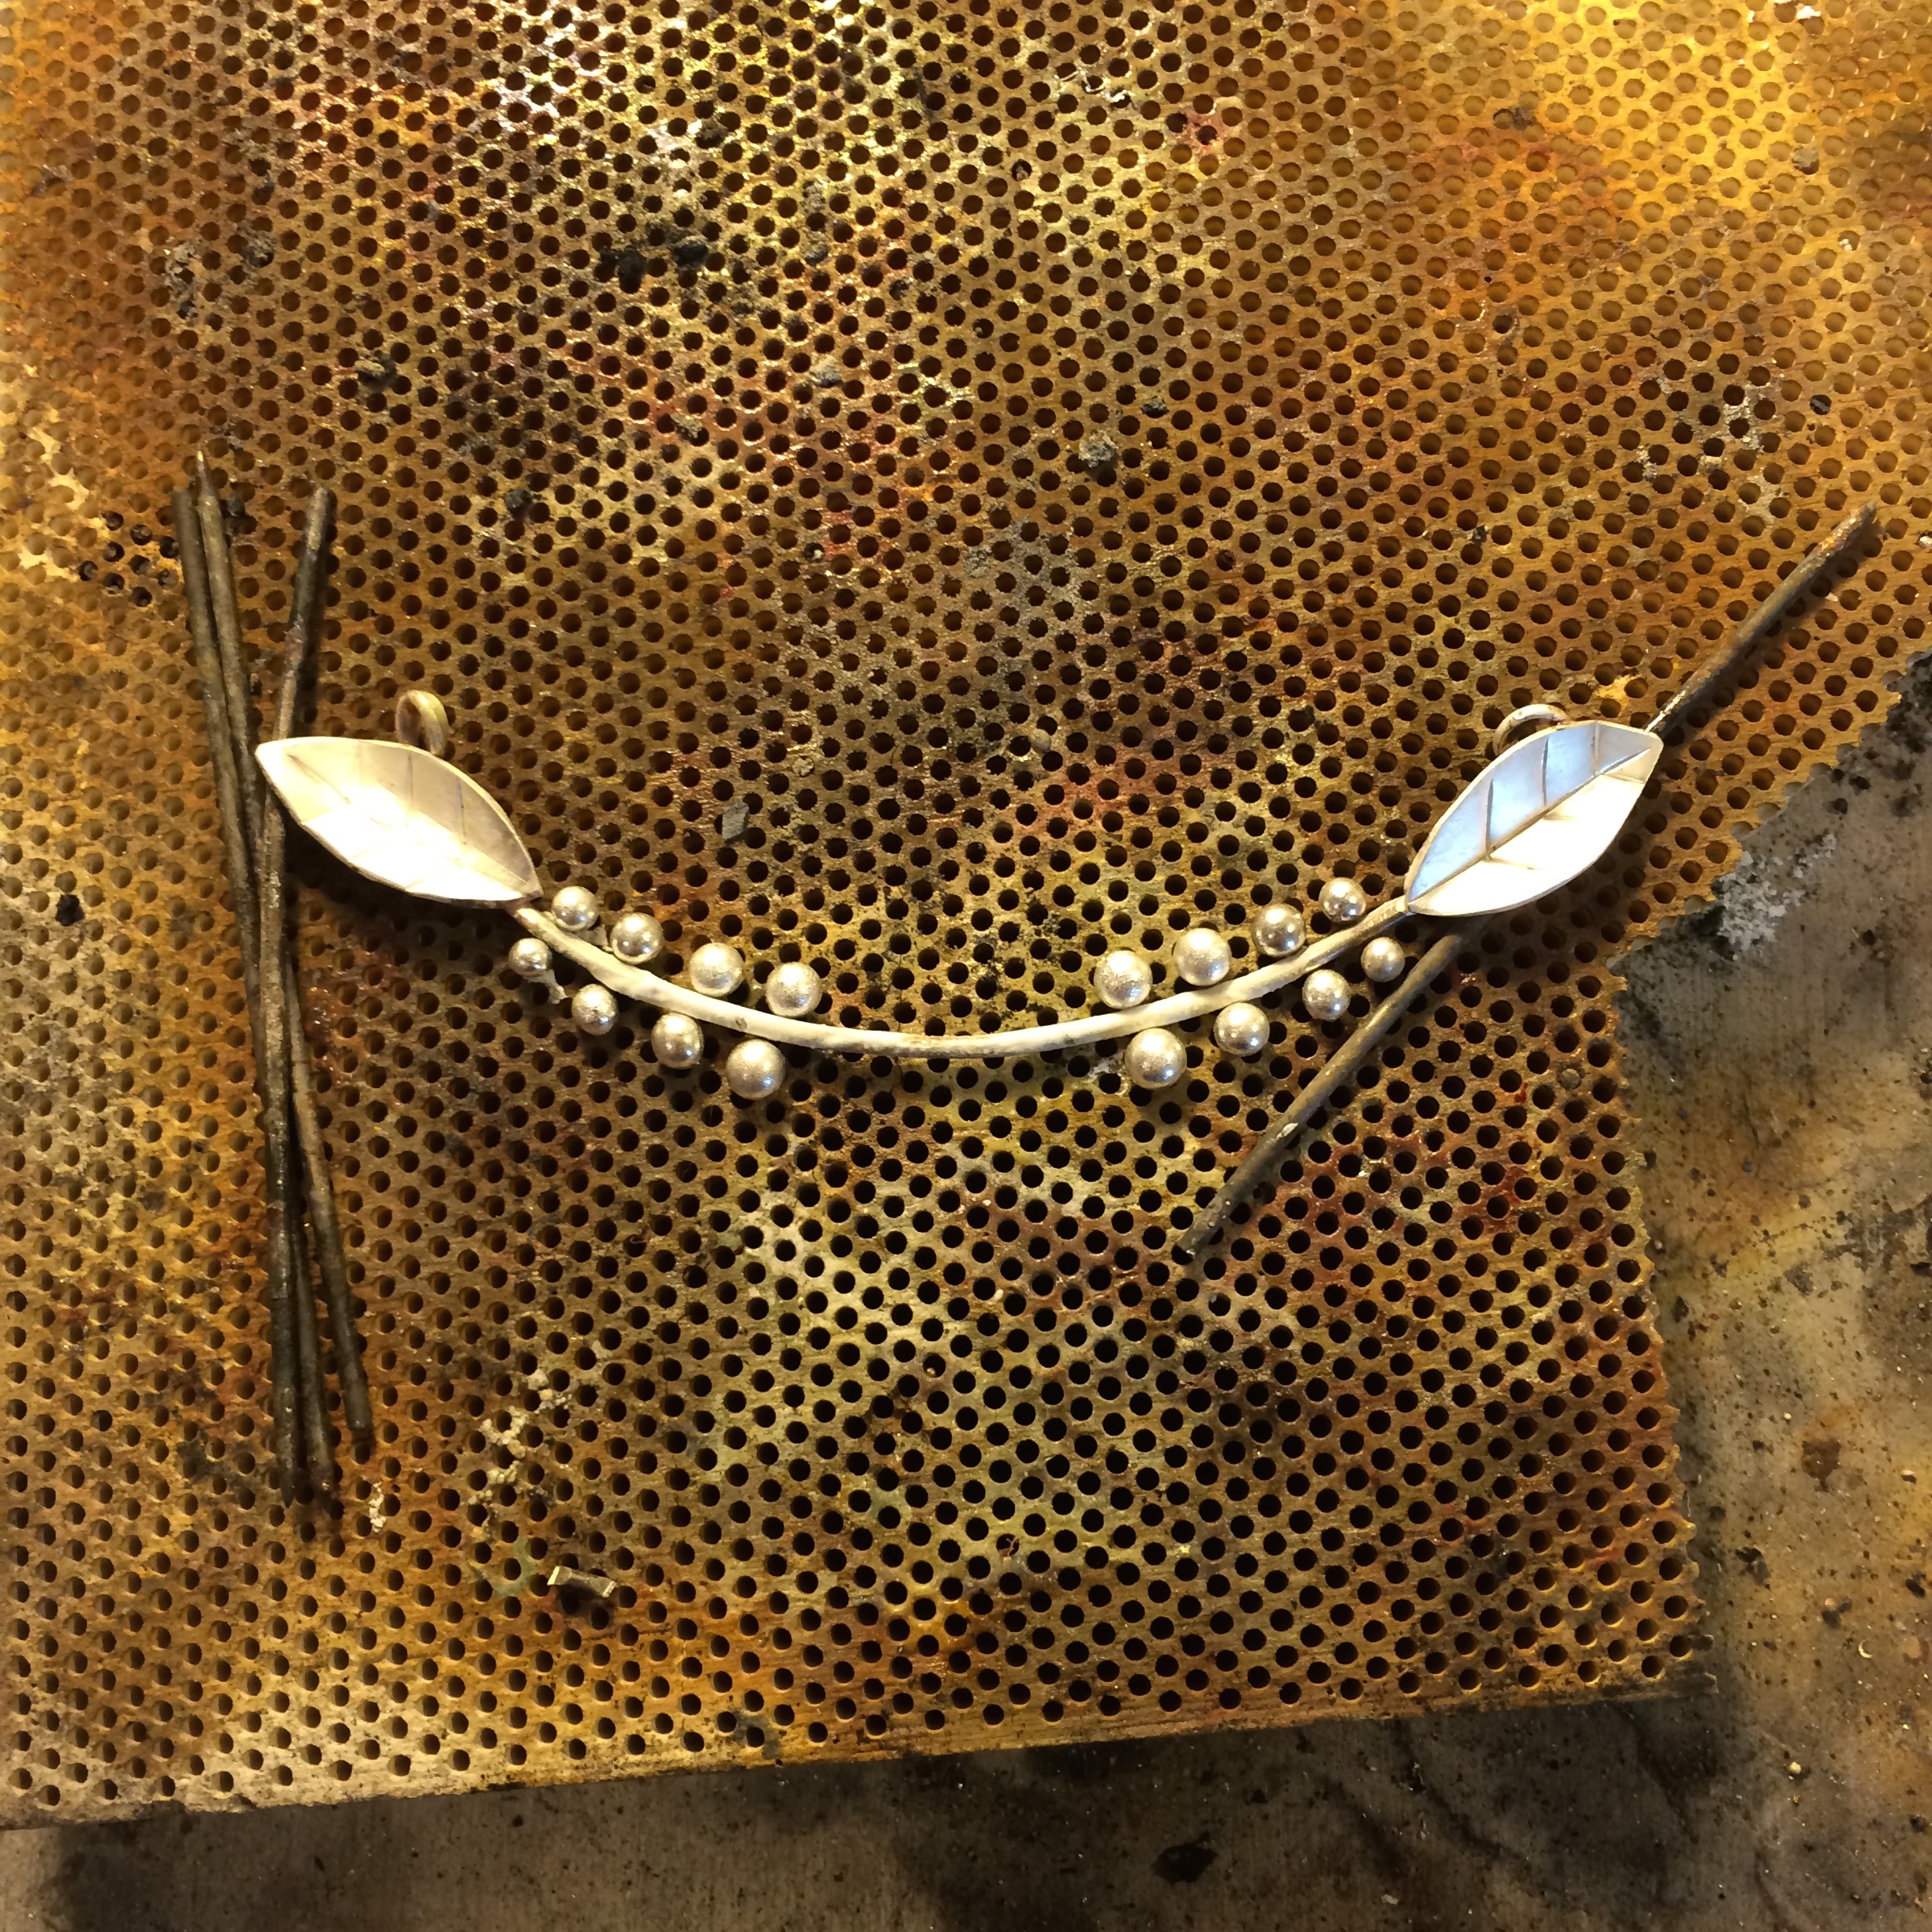
And placed the smaller vines around it.

Rechecked it against the sketch.

Not too bad.
And now it’s off to its forever home.
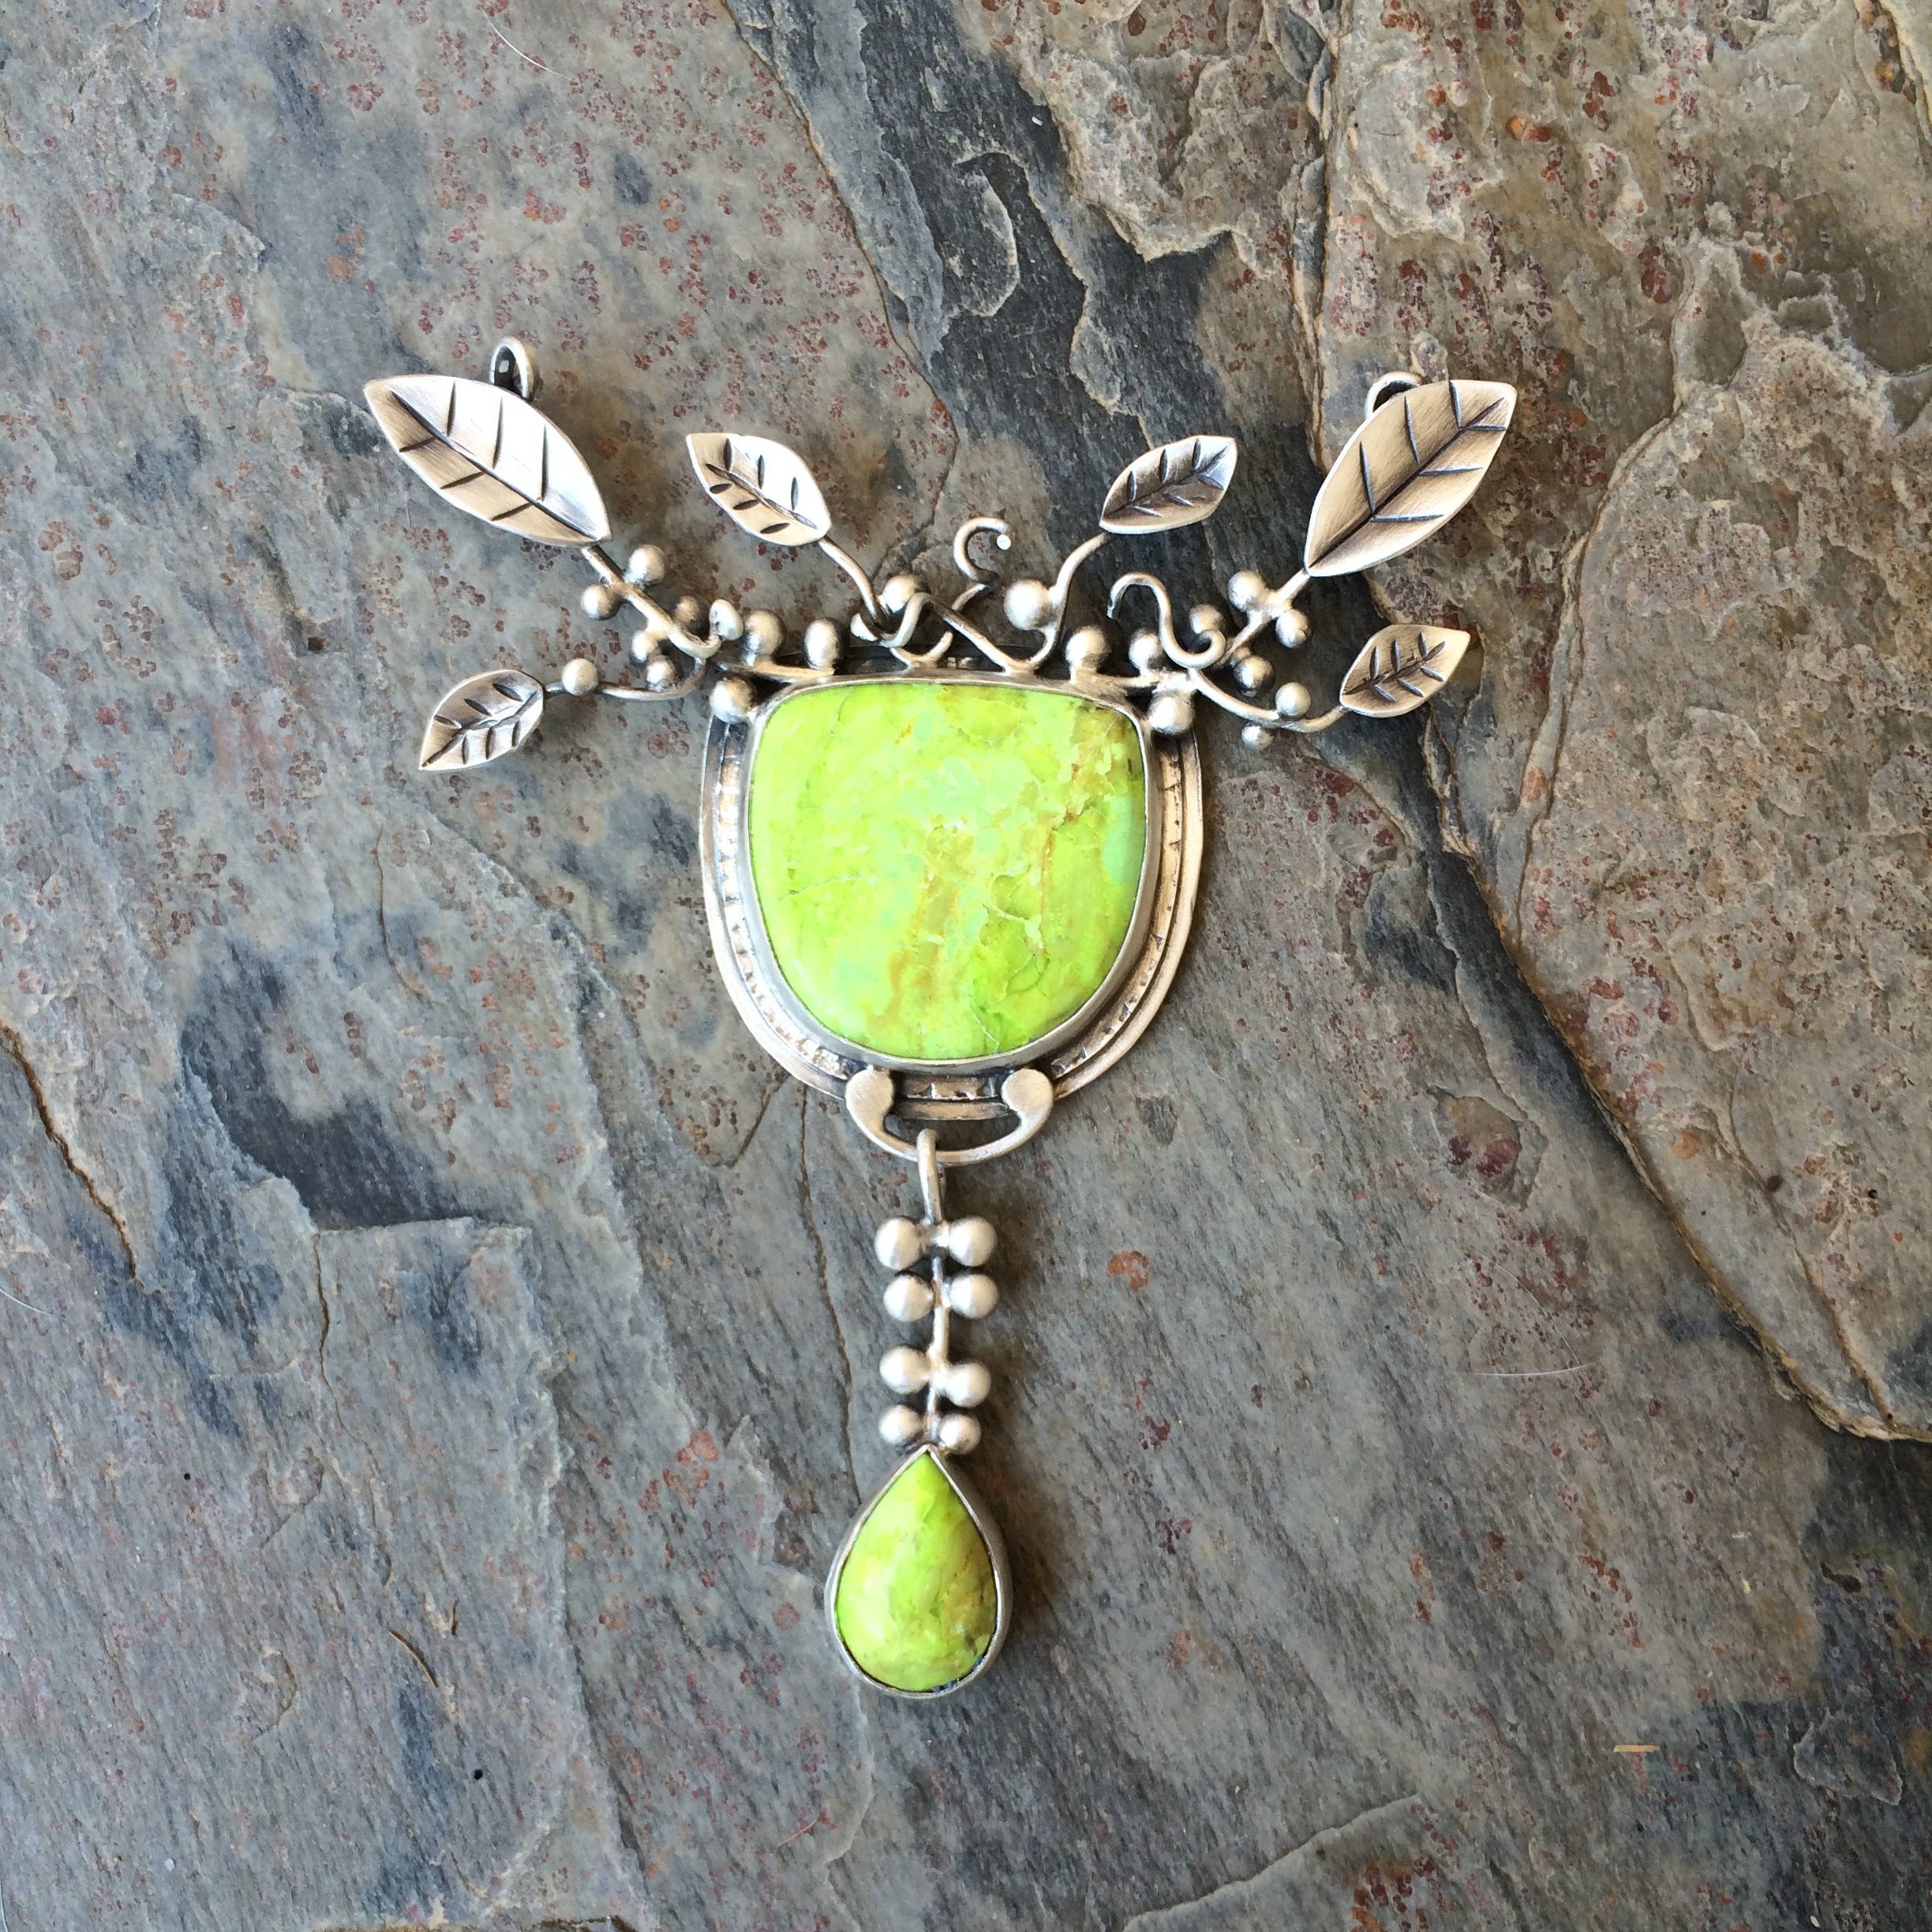
Thank you Deborah.
–
–
–
I finished the custom order and the lady liked it!

It was a nice surprise to hear from her that she wanted it.
The day I finished it I told P that I didn’t think I was up for any more custom orders as it was just too hard for me to get to grips with what someone really wants and then I end up wanting to under charge them because I’m unsure of myself and feel bad for them that they’ll be getting something that they don’t really want.
Etc…
Then yesterday, when I was upstairs cleaning out my ‘clean’ studio, the one where I make my quilts etc., I got an e-mail from another person wanting a custom order.
I didn’t say no.
And so it starts over…
Actually I’m looking forward to it.
(Remind me of that when I start to moan again)
In the short time it took me to give up taking custom orders and then accept another one I tackled my thirty year stash of craft books .
To be honest I didn’t think I would be up for it and P definitely had doubts.
In fact he laughed at me which was not funny and not very encouraging.
But look.
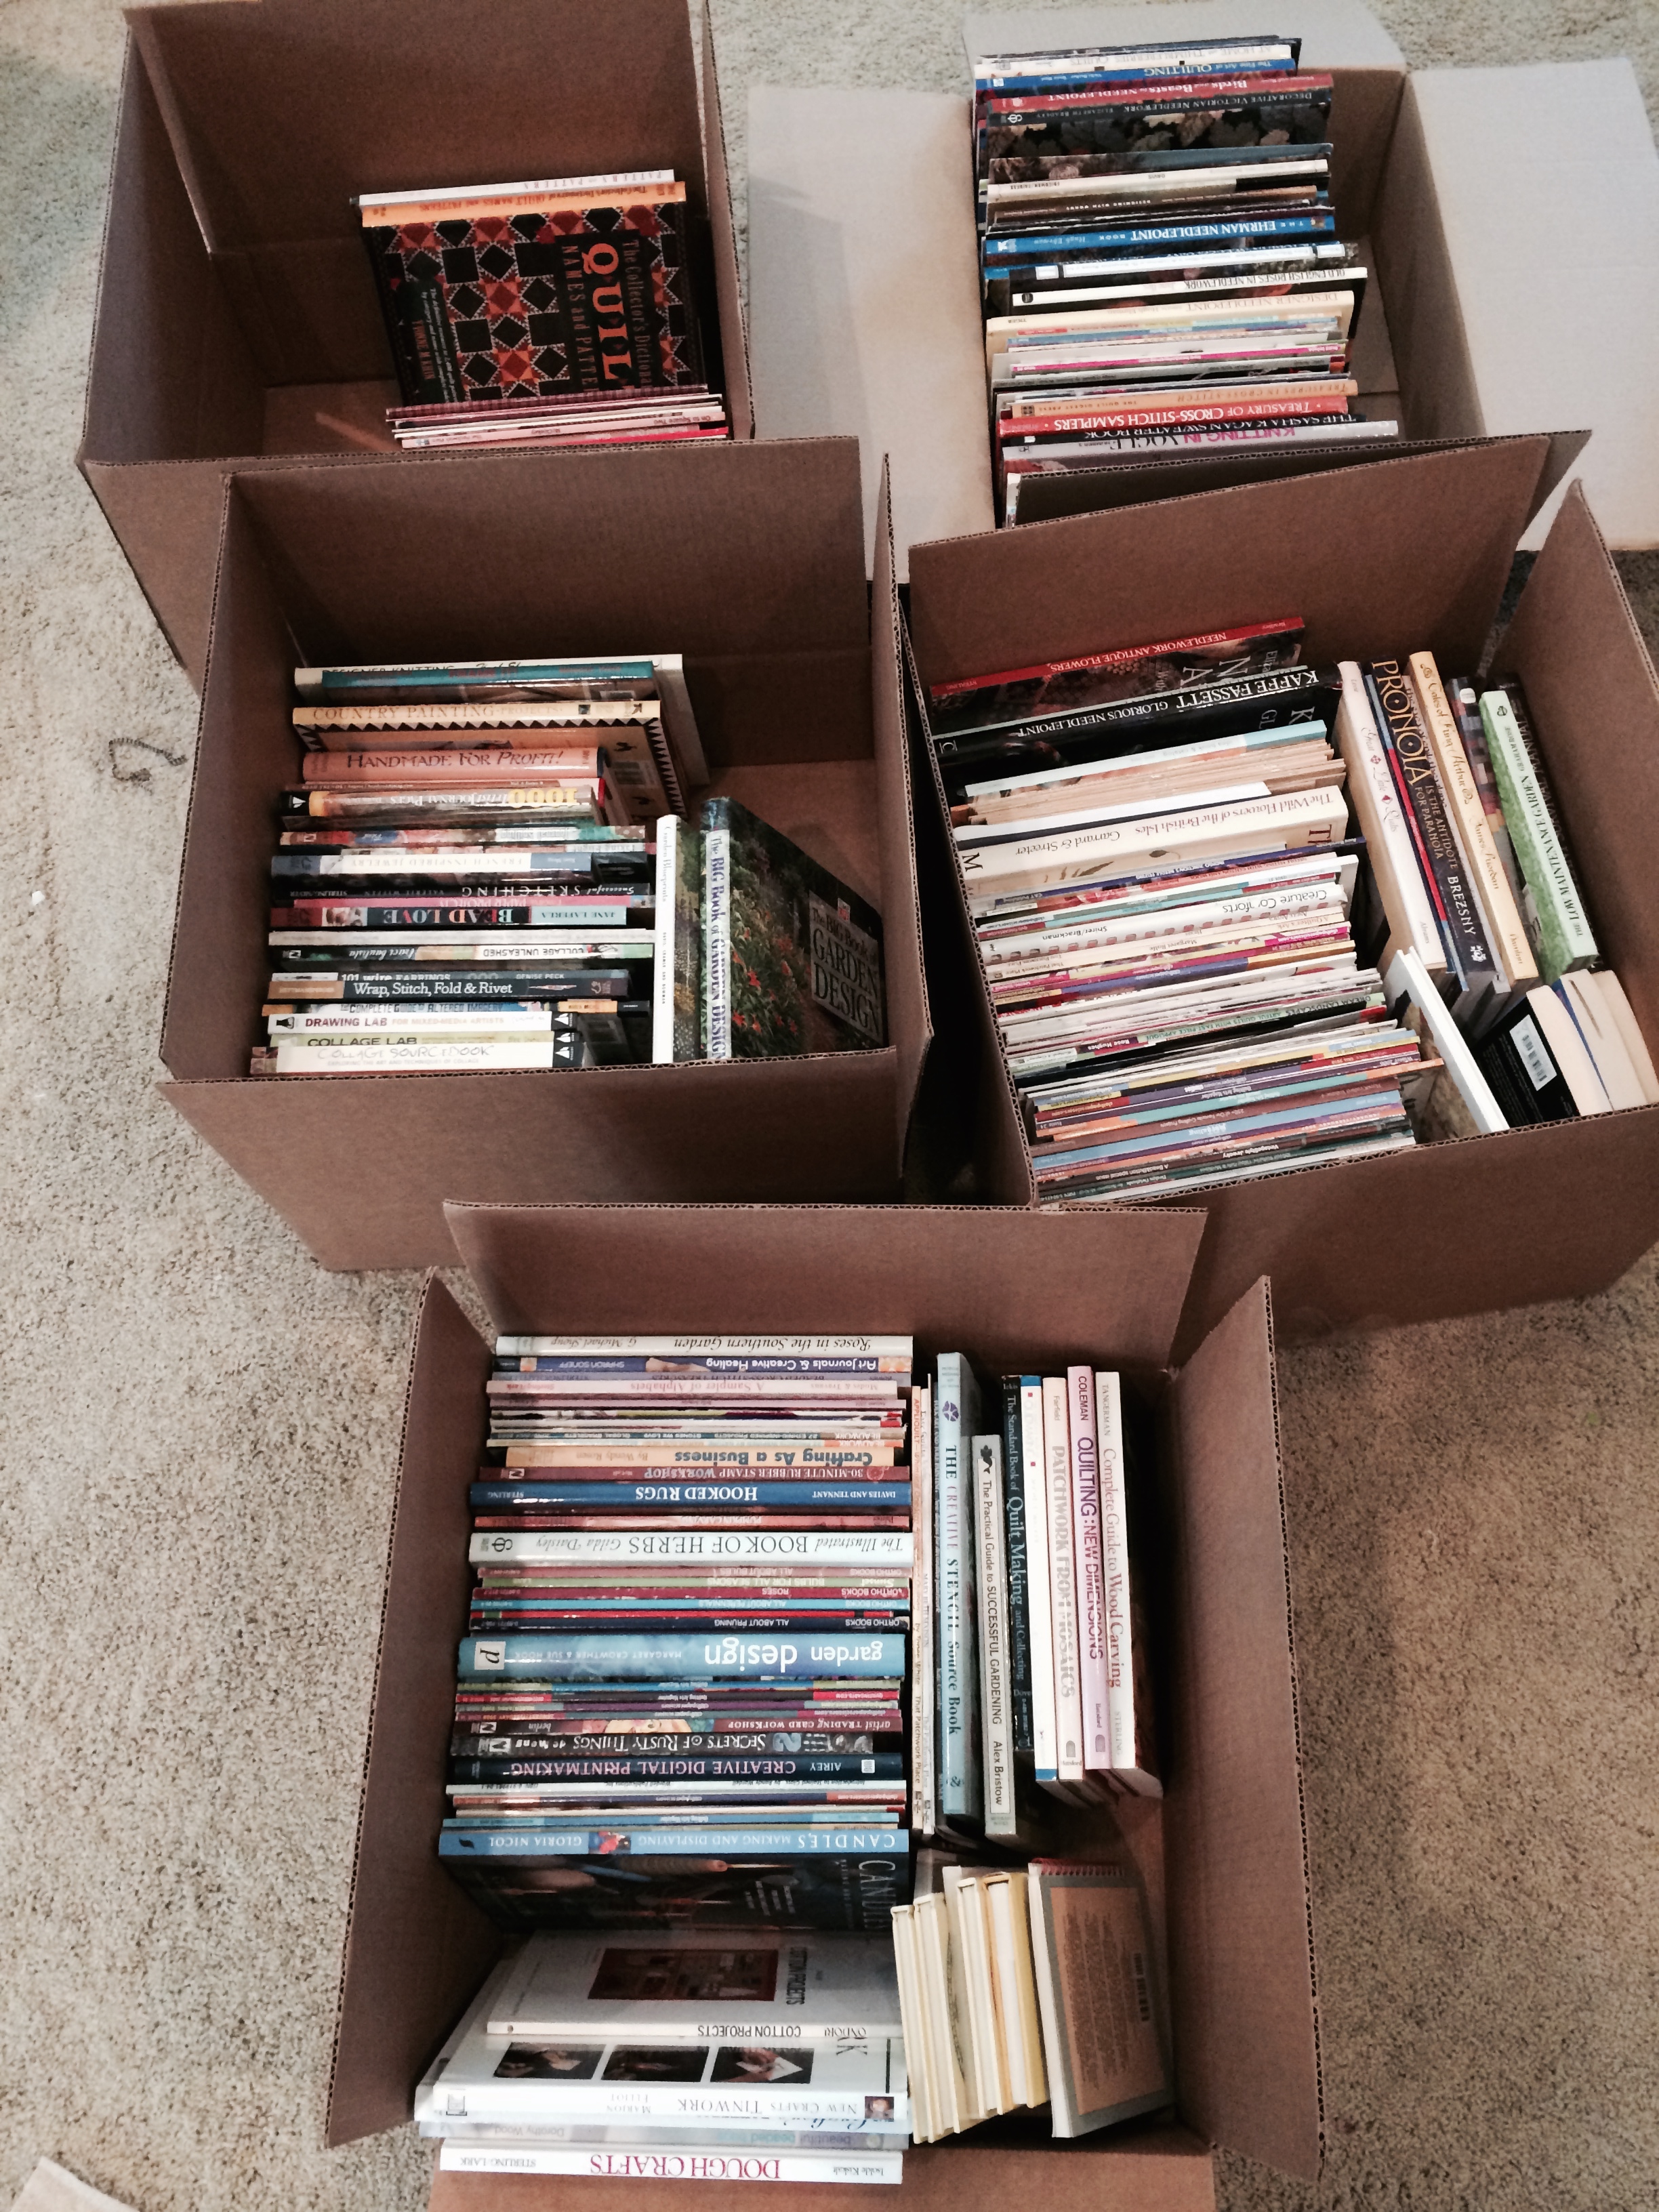
And I haven’t finished yet.
They haven’t actually made it out of the house yet, but I’m working on it.
Of course the upstairs A/C decided to pack up half way through my sorting, but I soldiered on and now I’m feeling quite pleased with myself.
They’re all going to the ministry up the road although I think that they may have to open a new room to accommodate them.
In other news,
the boy’s cat, Nutmeg,
has diarrhea.
Nope. Don’t talk to me about it.
I’m not really that put out by the sofa covers needing to be washed five hundred and sixty-three times daily.
Nope, not at all.
–
–
–
I’ve almost completely had it now with the boredom, the bathroom, and the custom order, but at least I don’t have to worry about the cactus garden for a while now as we had 162 billion gallons of water fall here last week.
162 BILLION GALLONS!
I can’t even count that high.
P still went into work though because he’s very brave.
And stubborn.
It’s hard for me to imagine, but over 20 people lost their lives.
Now I’ve just depressed myself.
Which is all I need as I’m already depressed, and bored, even though it’s Saturday, and I like Saturdays – apart from the cleaning the bathroom part of it.
I should pick a new bathroom day.
I hate the bathroom.
Every day I have to get up and go in there.
I’m so over showering. You’ve got to get wet, get dry, find clothes…
It’s all boring.
Then you have to do it all over again the next day.
and the next…
Probably should have just stood outside with some soap during the thunderstorms instead.
So. On to the custom order.
I’m struggling.
I just can’t seem to get it right. The piece I’m making just feels too thin and blah and I’ve finally figured out that I’m trying so hard to make it just right for her, that I’m forgetting to go with my instincts.
As you know she likes this.

And so I made this
And this
And then I made this

Which, to be honest, I really don’t like that much, although I did cut the stone myself.
Pretty pleased with that 🙂
Anyway she sent me the stone she wants in it and I’m in the process of making another, but as I said, I’m just not feeling it.
So today, I’ve decided that I’m just going to go out there and stop being so precious with it and try to give it back some feeling.
I’m not upset at making the piece at all, but am very interested in how doing things for other people makes me so unsure of myself.
I’m definitely getting better at it, but it’s quite hard for me.
Of course it might not have anything to do with the custom order at all, but that I’m just in the lower part of my circle. The part where everything goes wrong and you begin to wonder whether you should just become a lollypop lady instead of fiddling around trying to make jewelry all day.

But I’m just not sure that the outfit would look as good on me.
Here’s another piece that went so wrong that I had to take it in a completely different direction from the original design.


And so what have I learned from all of this you may be wondering?
Not to try so hard and to loosen up a bit.
Otherwise just order the yellow coat already and stop moaning.
–
–
–
And I’m still bored.
Maybe it’s the weather. It’s done nothing but rain since I woke up two months ago, and although I like it I think it might be making me a bit moody.
The garden is loving it though.
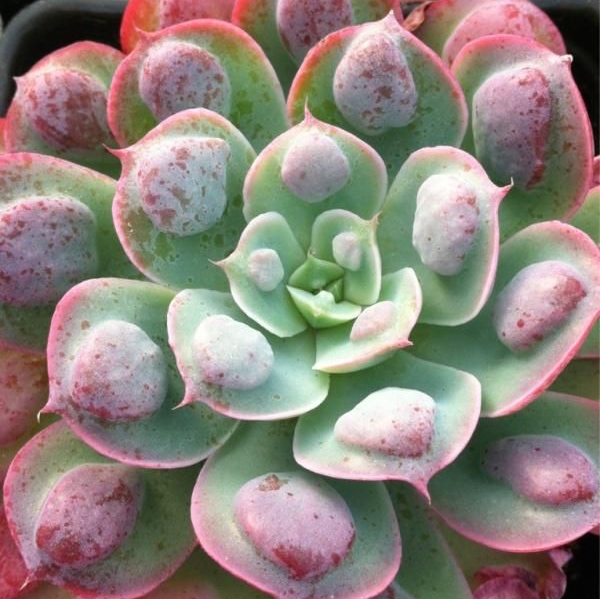
I’ve been thinking about water a lot just recently, and how we use it, and I’m pondering over whether I want to plant a cactus garden in the back instead of my wanna be English garden.
There’s this lady round the corner, Alice, and her native Texan garden is beautiful.
Garden envy.
I have it.
P doesn’t but look.


Of course, you wouldn’t want to be pushing anyone over into the flower beds

Or go around acting like the crazy Medusa lady

But it could be very calming

Especially if you throw in one of those blue doors as well.
Now I’ve just got to get P on board and work up the energy to get myself going.
Could be a while.
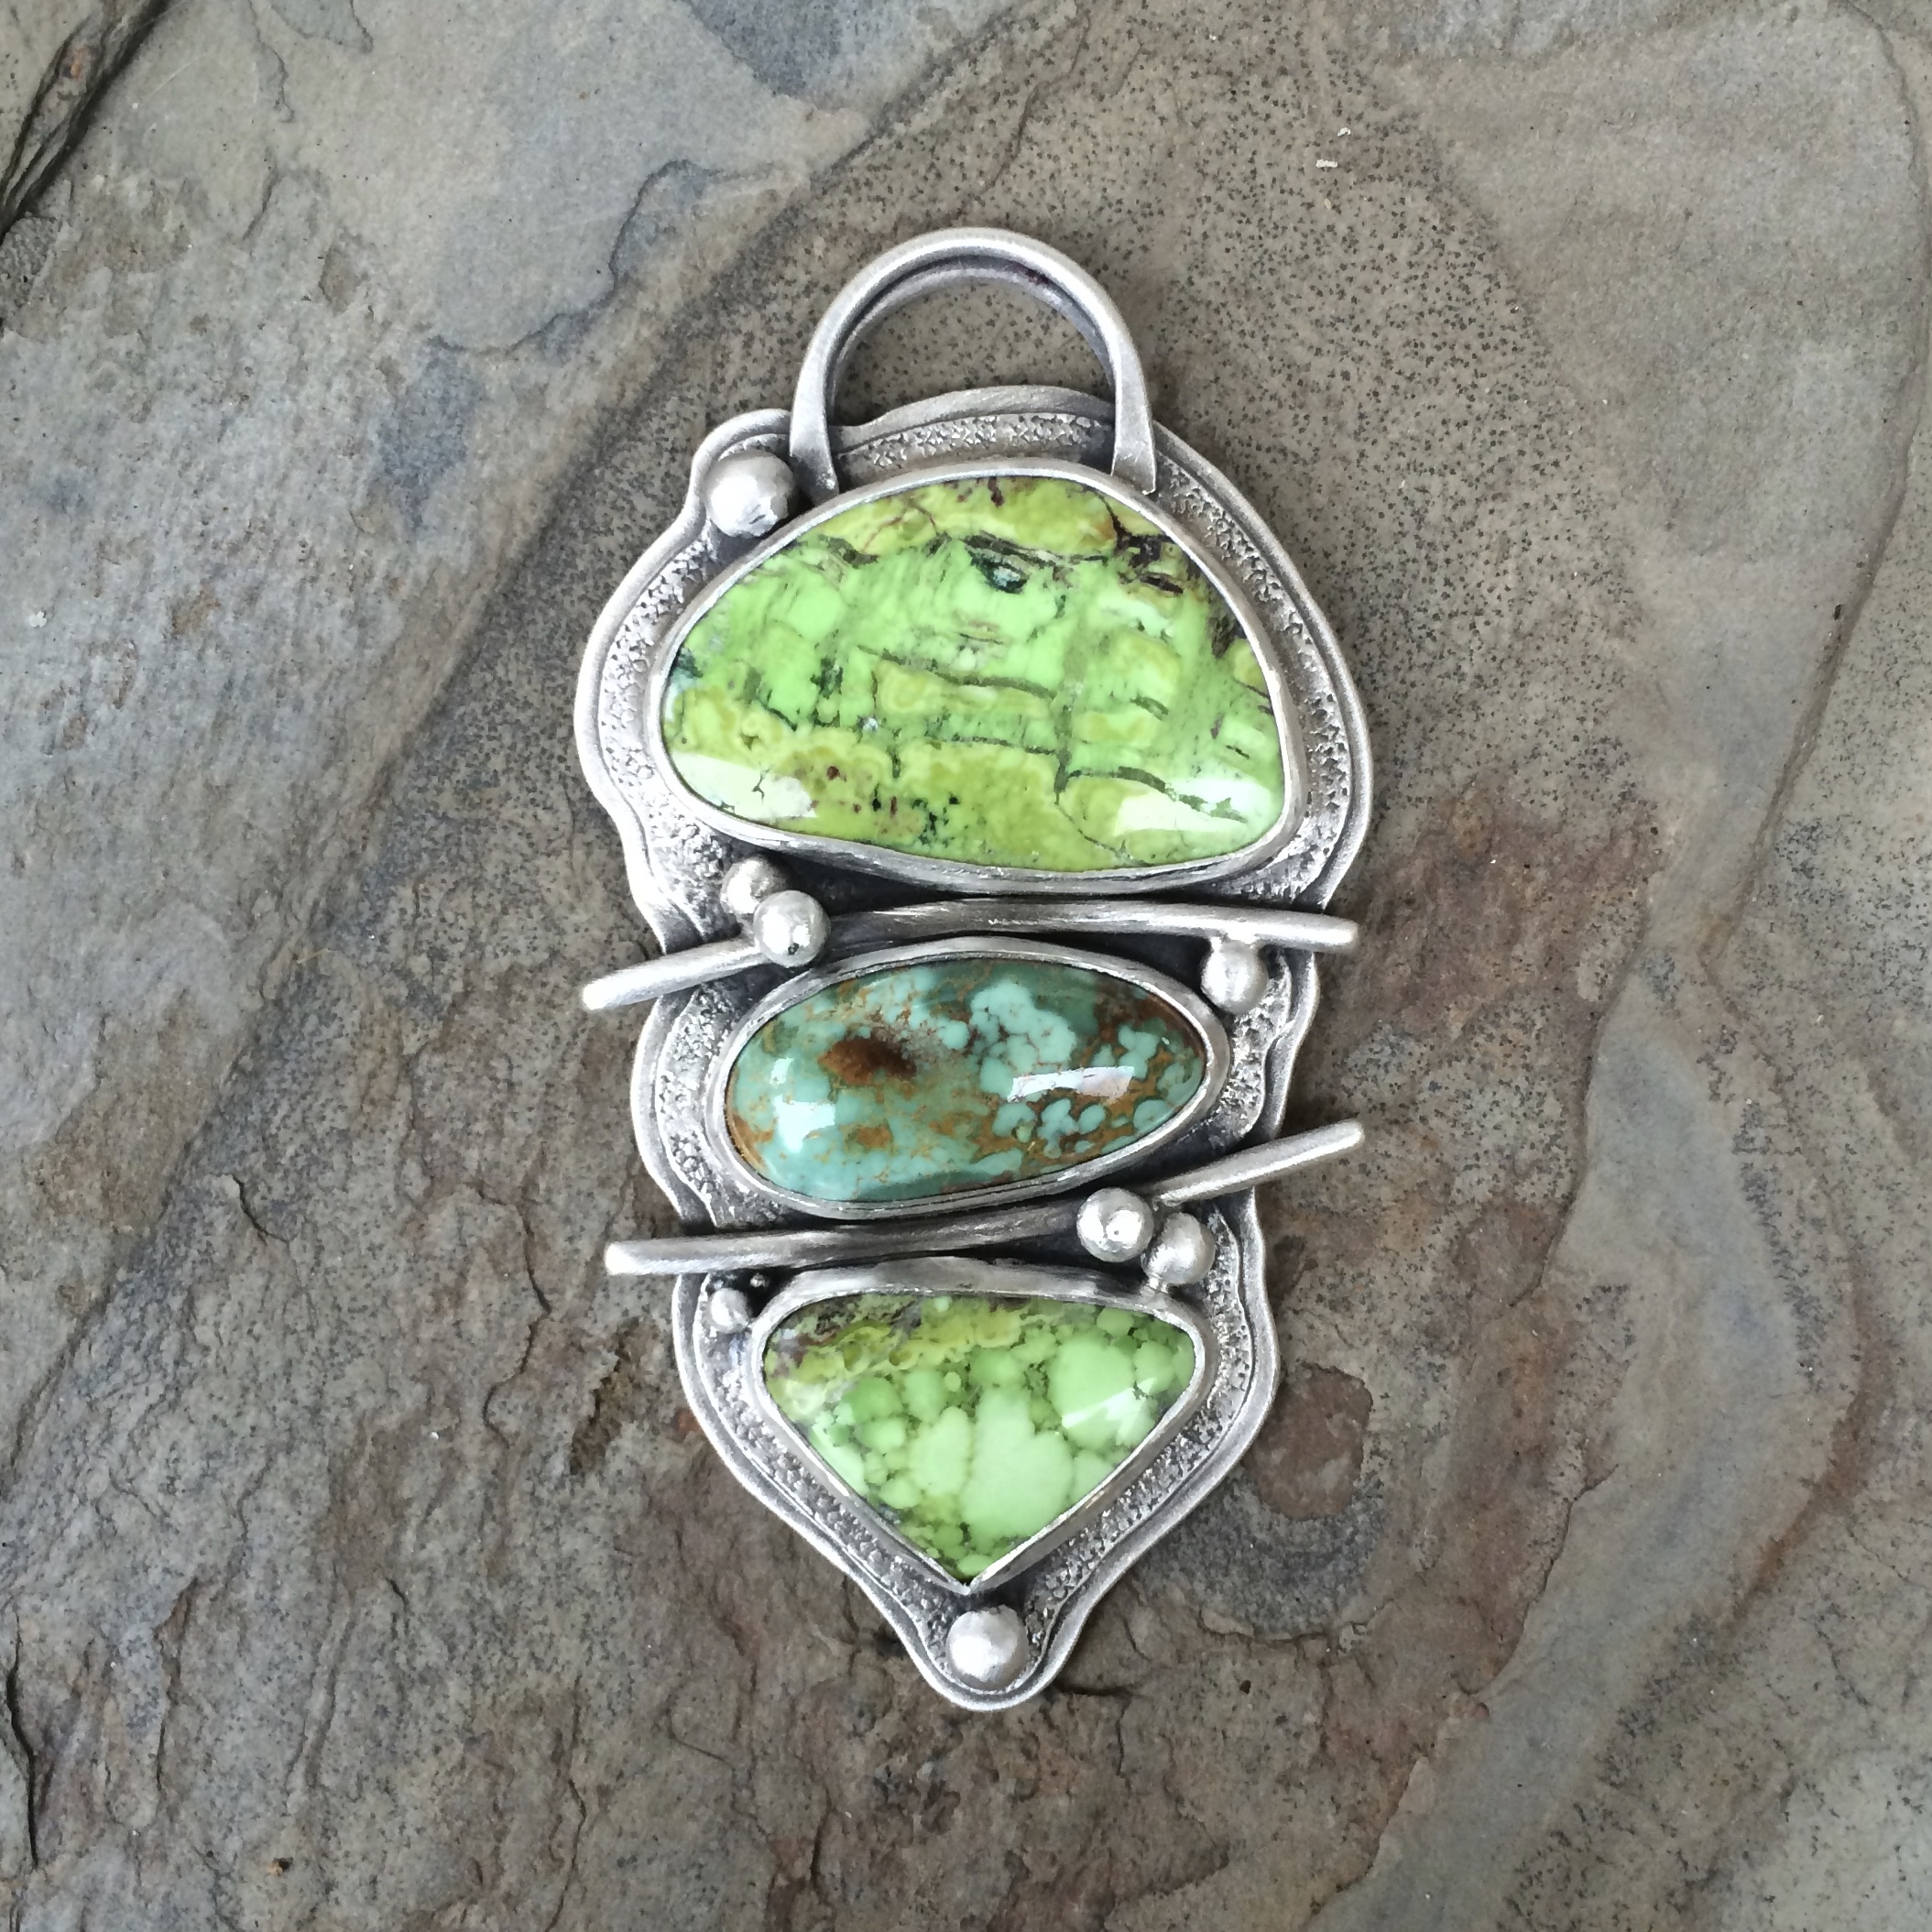
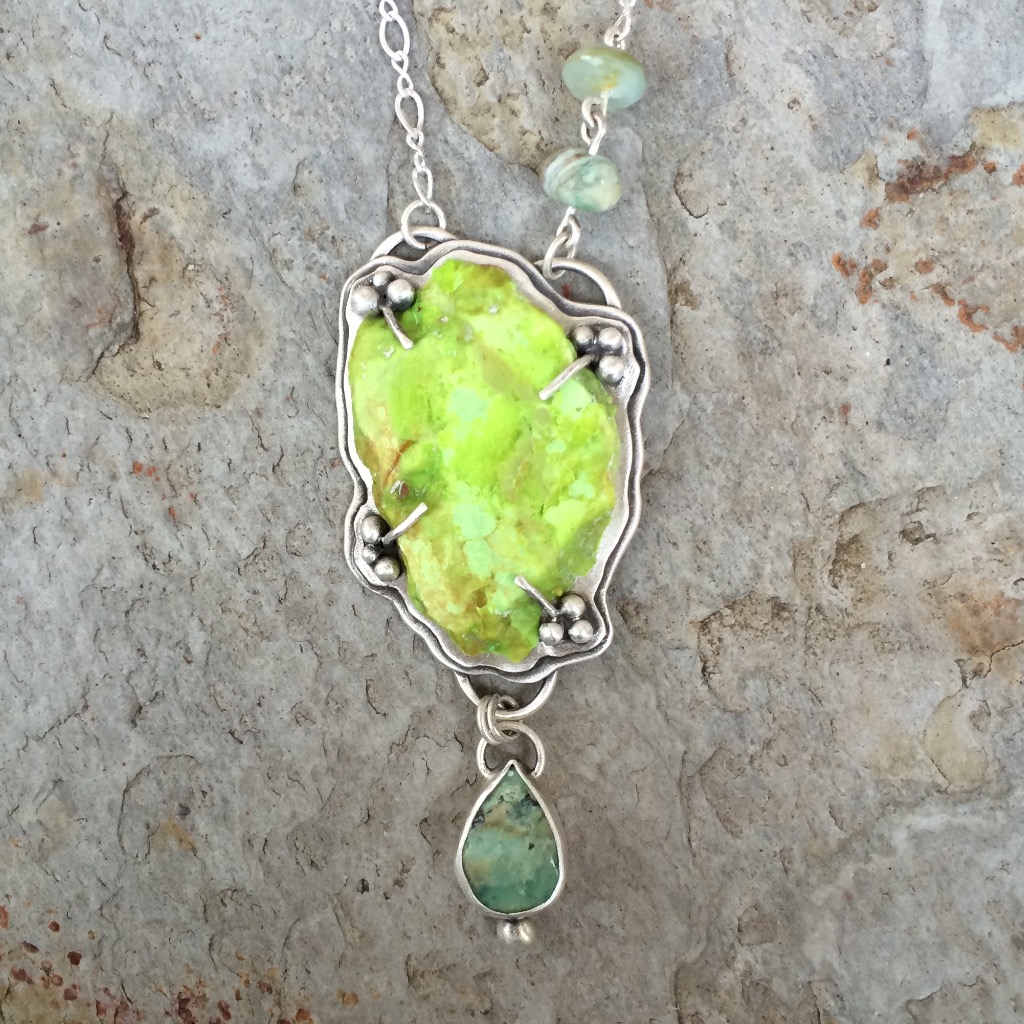
Through the boredom of it all I’ve still been making jewelry.
And teaching myself to cut stones
But I really haven’t been in the studio much these past weeks.
I’ve also been fiddling around with the embroidery.
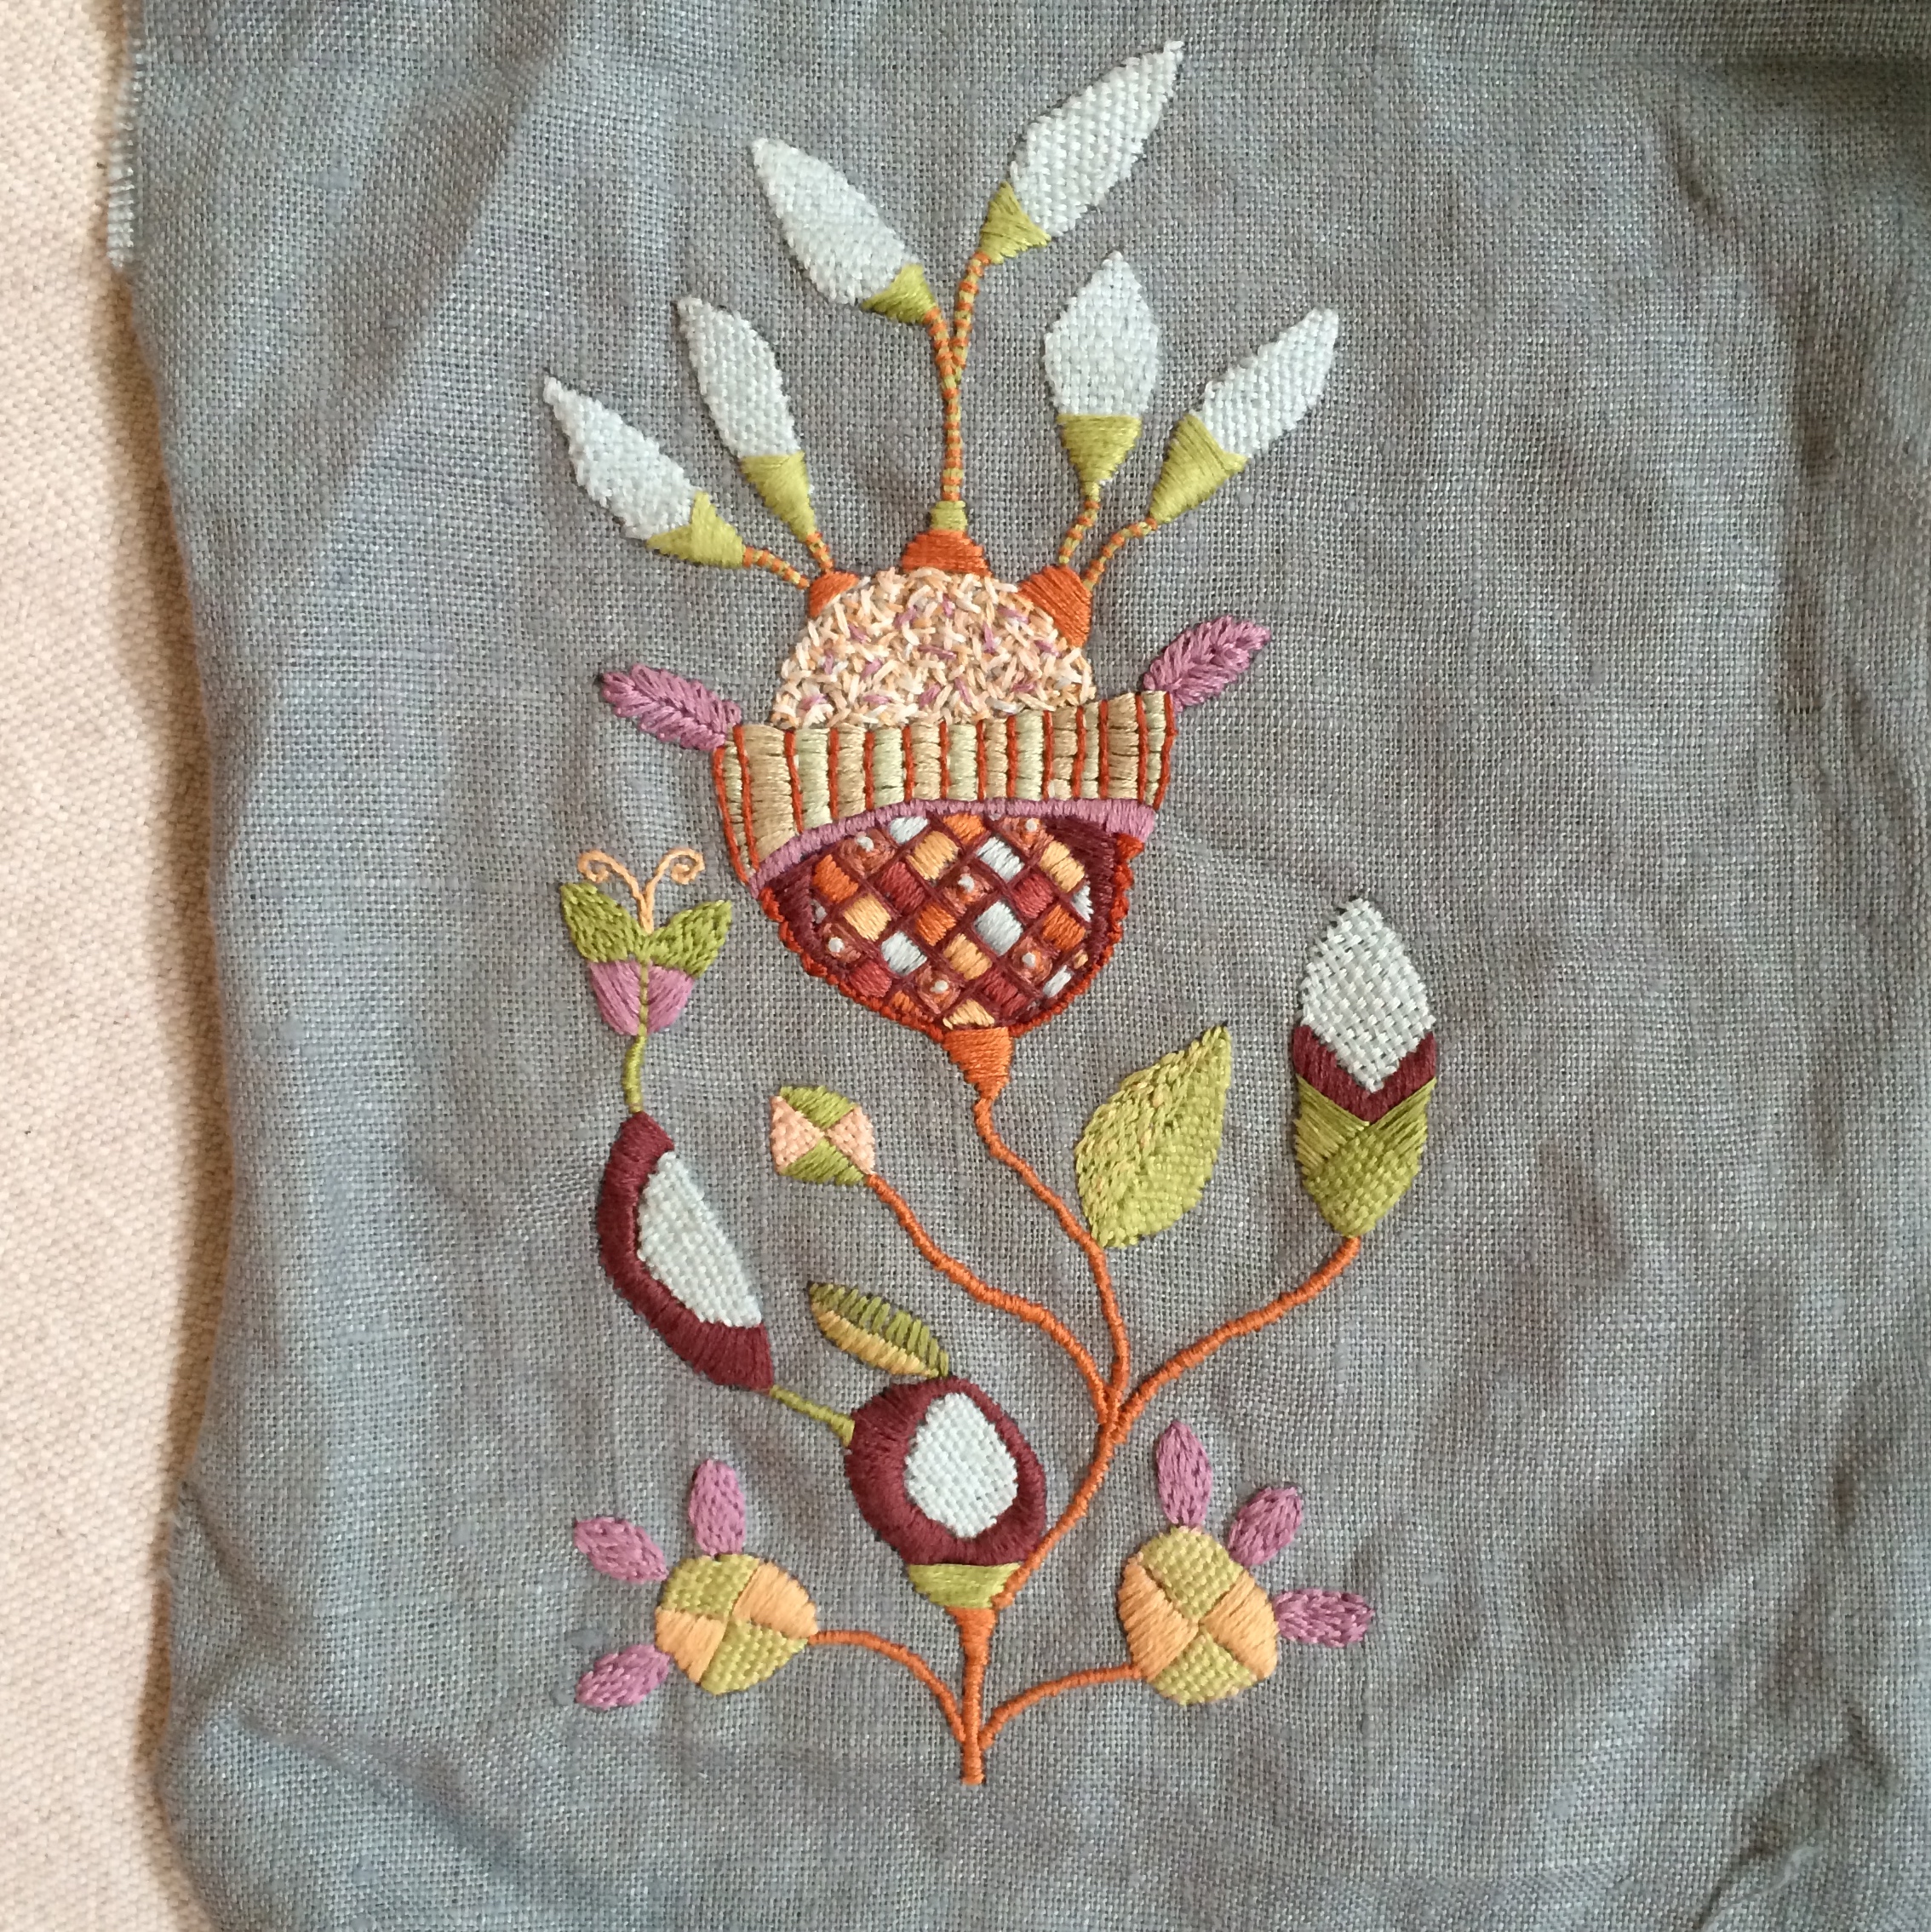

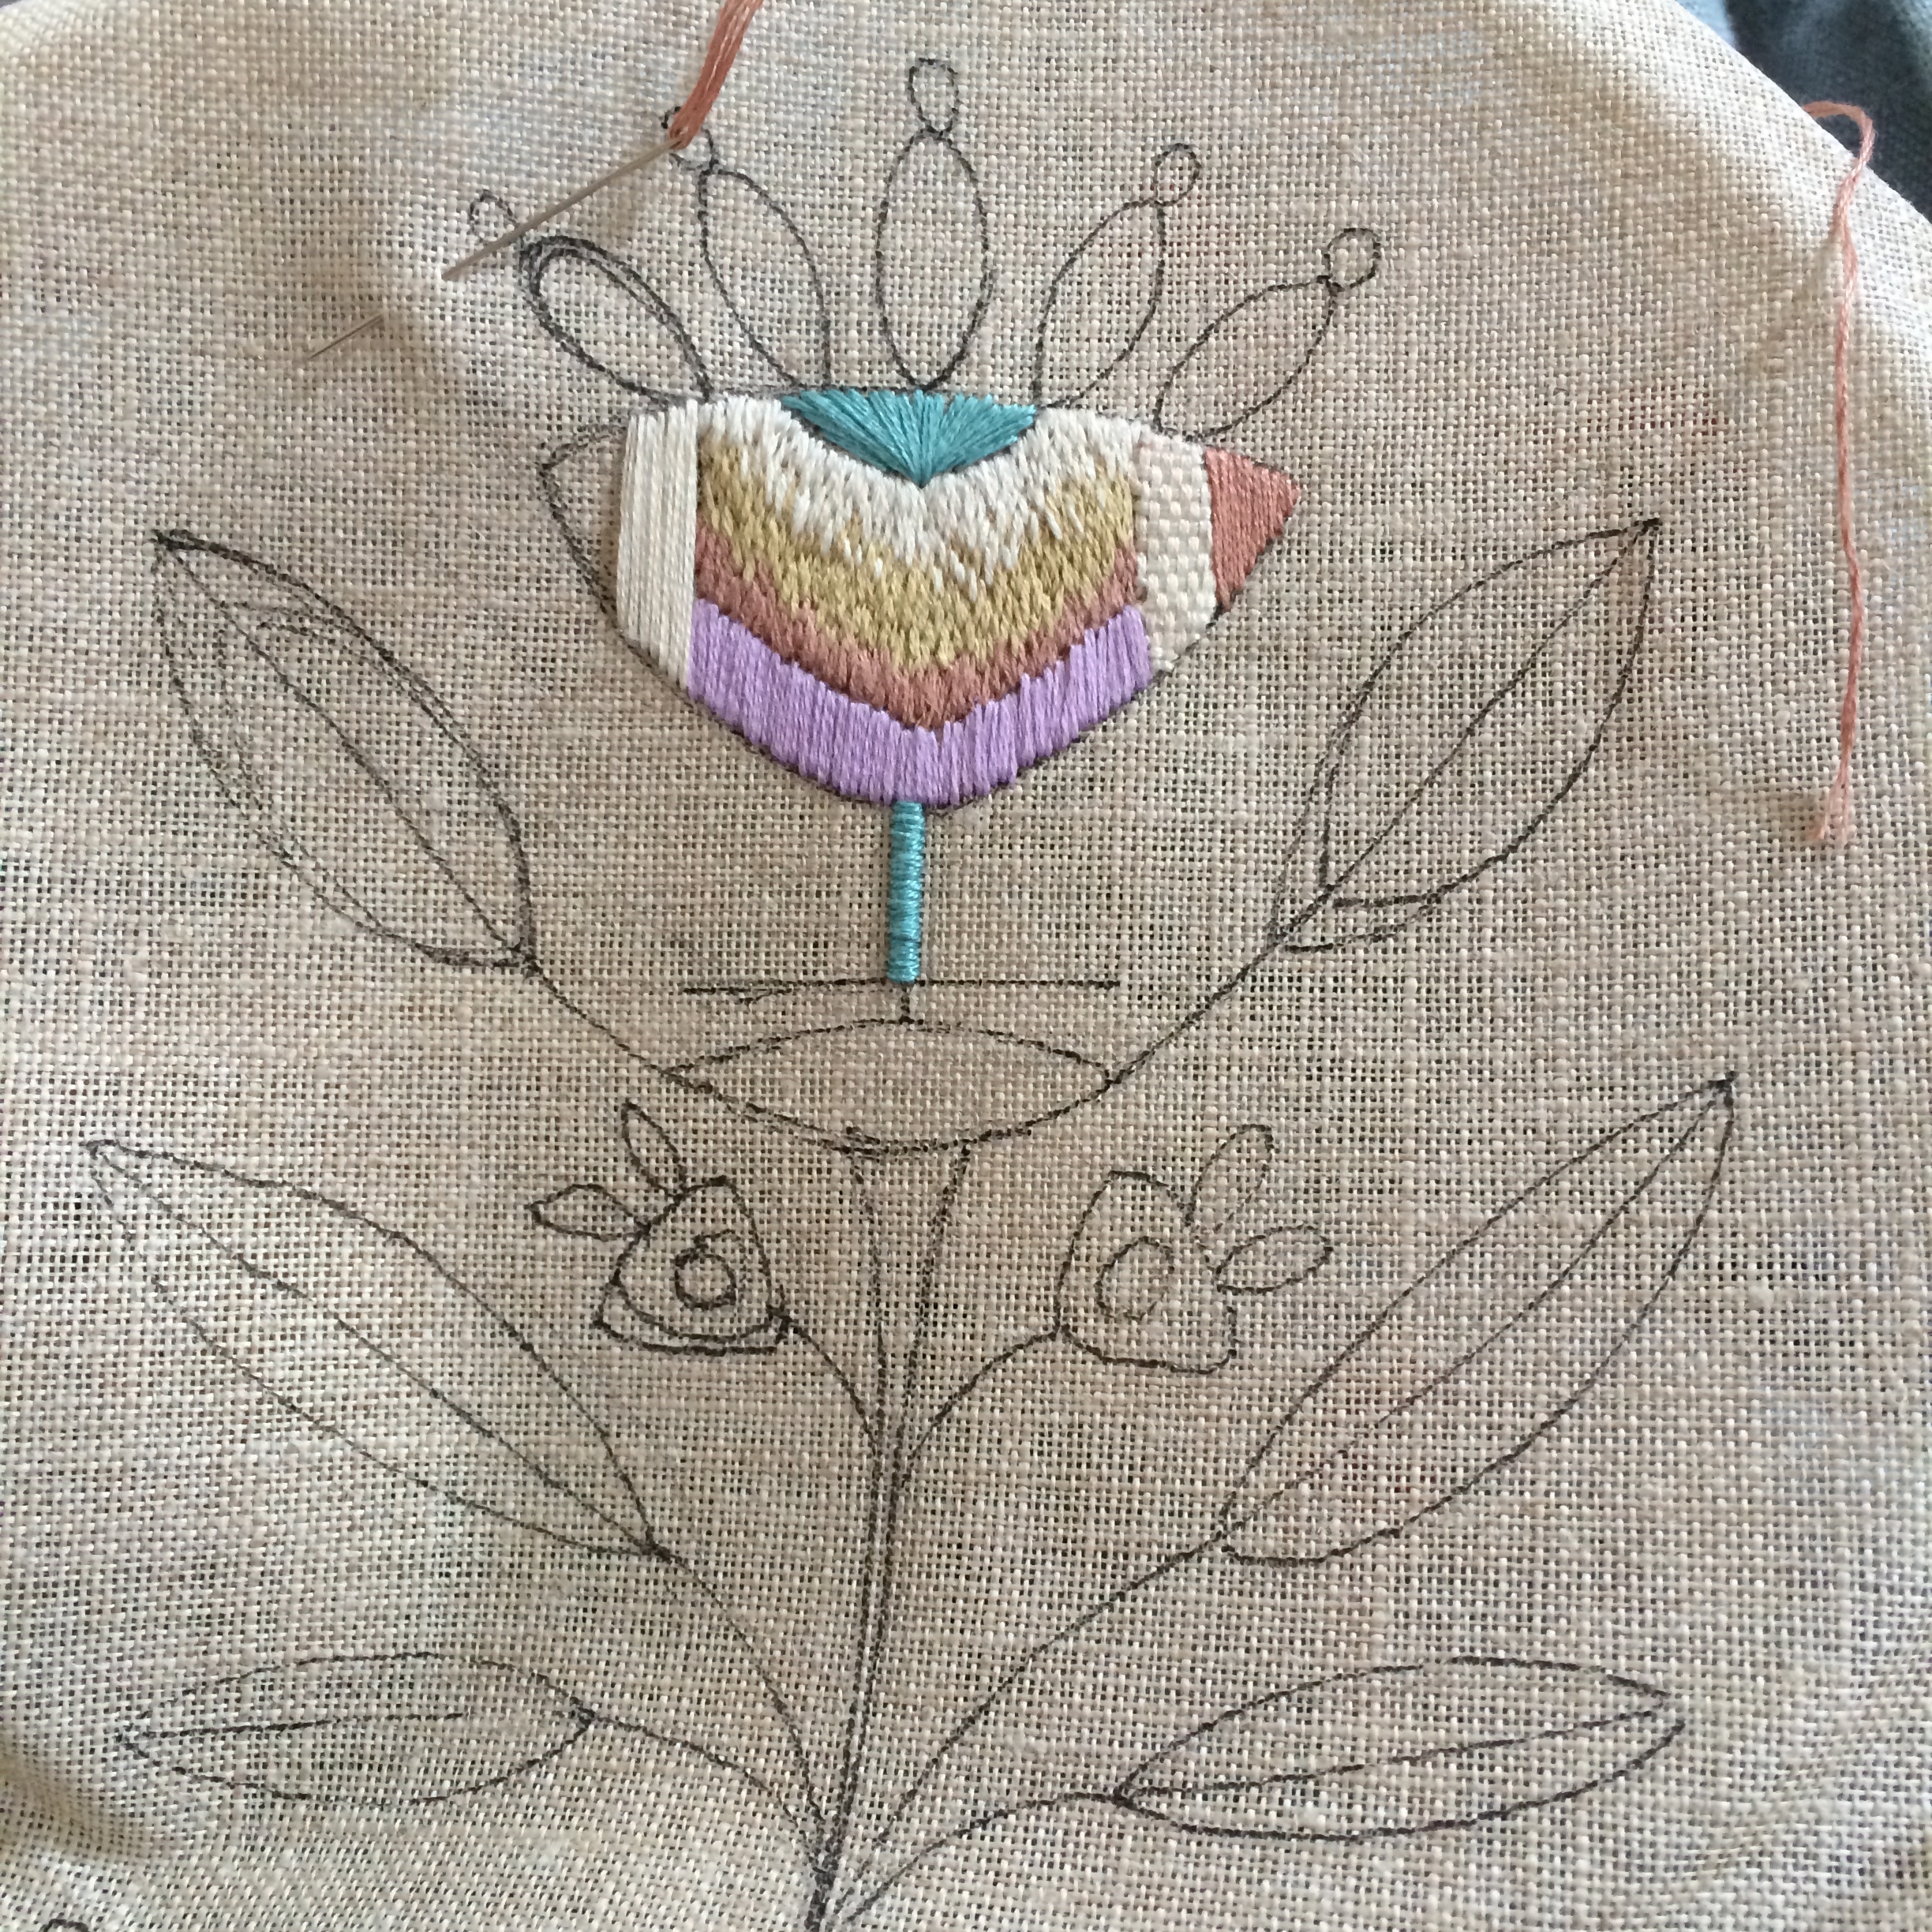
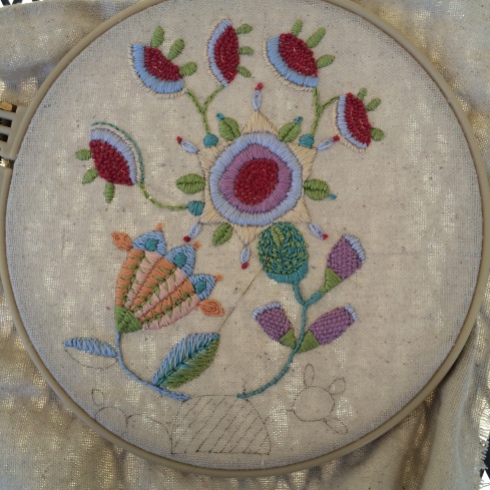
I’m practicing for a big one.
And I really might have to make myself one of these.
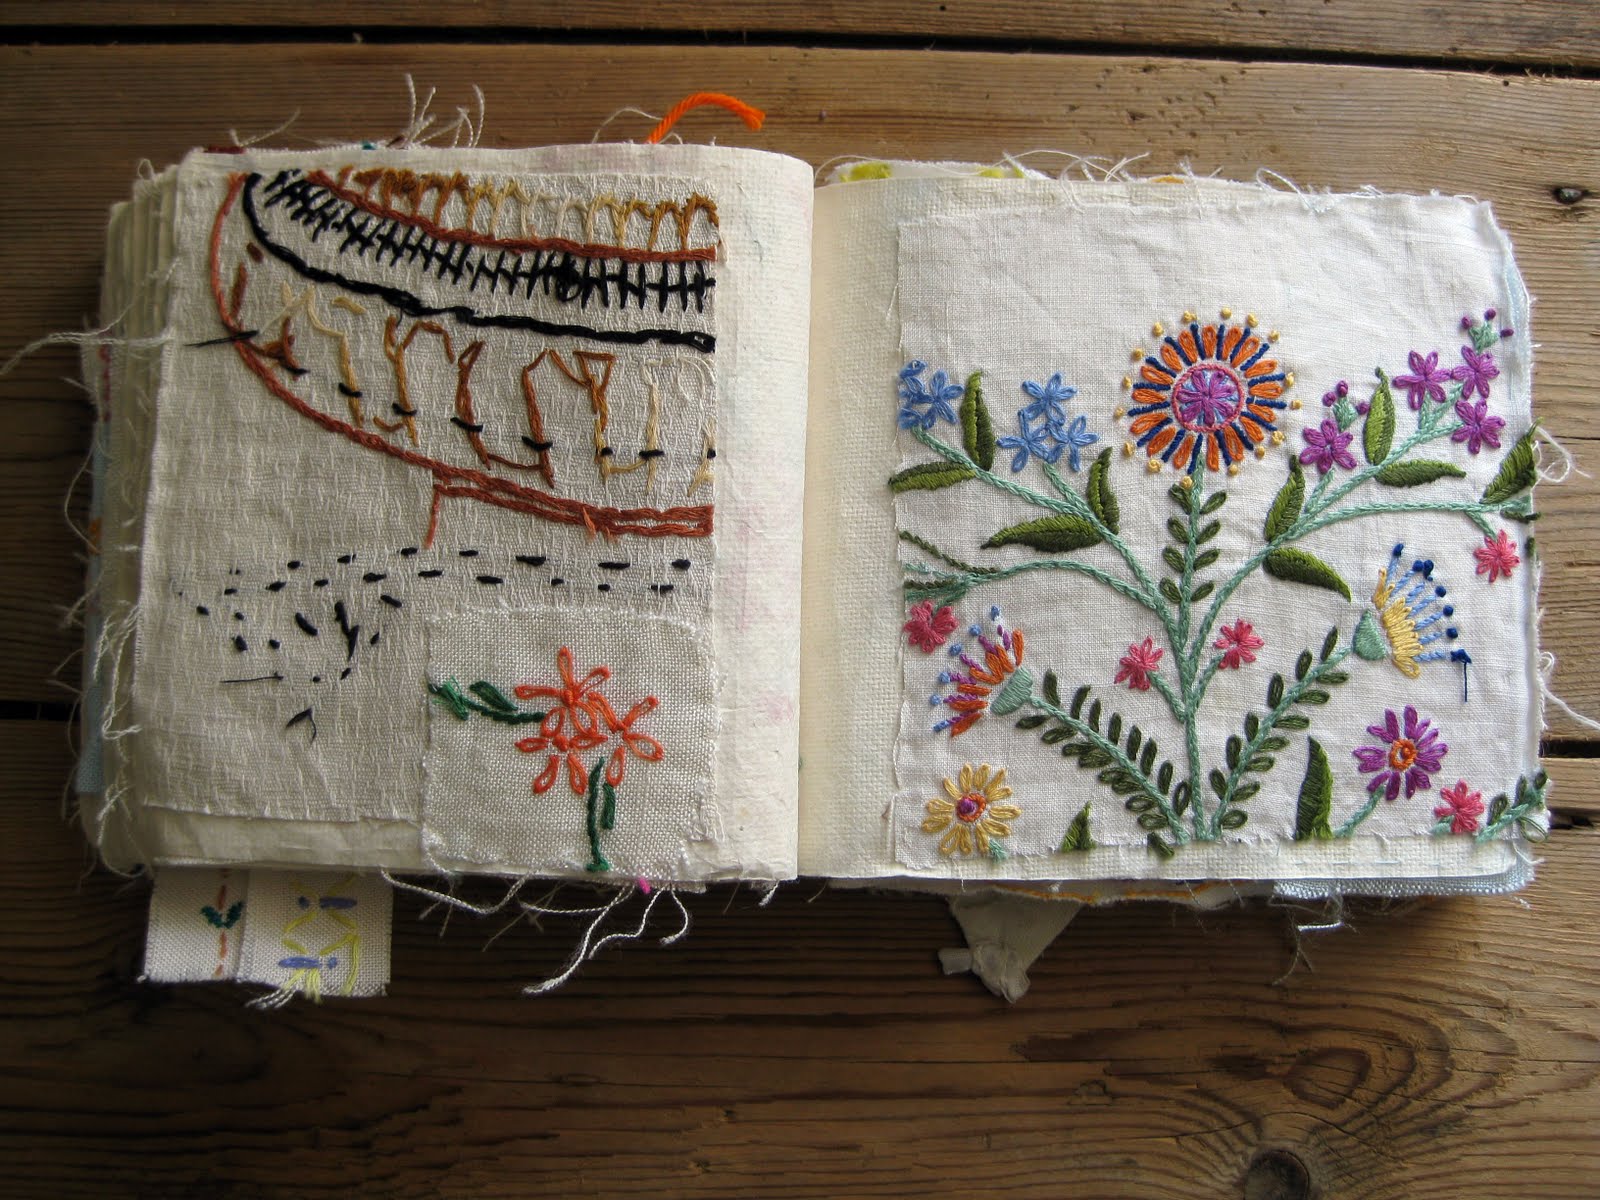
Because it’s beautiful.
🙂
Other than that there’s not a lot going on really except I’m reading The Goldfinch by Donna Tartt which has started off beautifully.
I thought I might have to give the murder mysteries a rest for a while as they were all running into one another which wasn’t really helping my powers of deduction. I was getting a little confused as to the best way to knock P off if he doesn’t come around to the cactus garden soon.
The perfect murder just doesn’t work when you get muddled with too many options and I ain’t prepared to get caught over a succulent just yet.
I’ve too many cabochons waiting to be set.
–
–
–
While I’ve been away, recuperating from the trauma of losing one of my most beloved teeth, I’ve been working on a couple of custom orders.
(Actually, there wasn’t much recuperating going on, I was just boring myself silly with all the drivel I’ve been writing lately…)
I’ve never really felt that comfortable trying to make something for someone else and prefer to just stick to whatever comes out of the studio whenever it feel like happening, but I decided to live on the edge for a while.
I only have two custom orders, but wanted to give the buyers a couple of choices as I really can’t cope with the idea that I’ve got it wrong.
I’m sure that will get easier if I do more customized pieces.
Here they are.
For one lady who wanted a piece using Gaspeite.
I made this, which you’ve already seen.
And this,
Which is the piece she went with.
Then, for another lady, I made this
And this,
But am still working on something for her as they weren’t quite what she wanted.
She likes this
So perhaps I should just go with it instead of trying to make something similar, but different.
I’ve enjoyed making each one of them.
In the meantime I’ve decided that I definitely have a problem with cabochon hoarding.
When I opened one of the little drawers I have which holds them there in all their glory, the whole little chest almost toppled over because of the weight of the stones in it.
It was a bit of a wake up call really.
I’m like that with books.
Finish reading the ones you have before you buy another already!
Now I sound like my mum…
So I might have a little stone setting marathon. Although that will more than likely take me well into next year I’m sure I’ll be able to come up for air at some point along the way.
Maybe to eat perhaps.
I don’t know.
Who of you offer to make custom orders for people with stones you already have which they can choose from?
Is it really that worrying, or am I just a scaredy cat?
Off to make something new.
TTYL
–
–
–
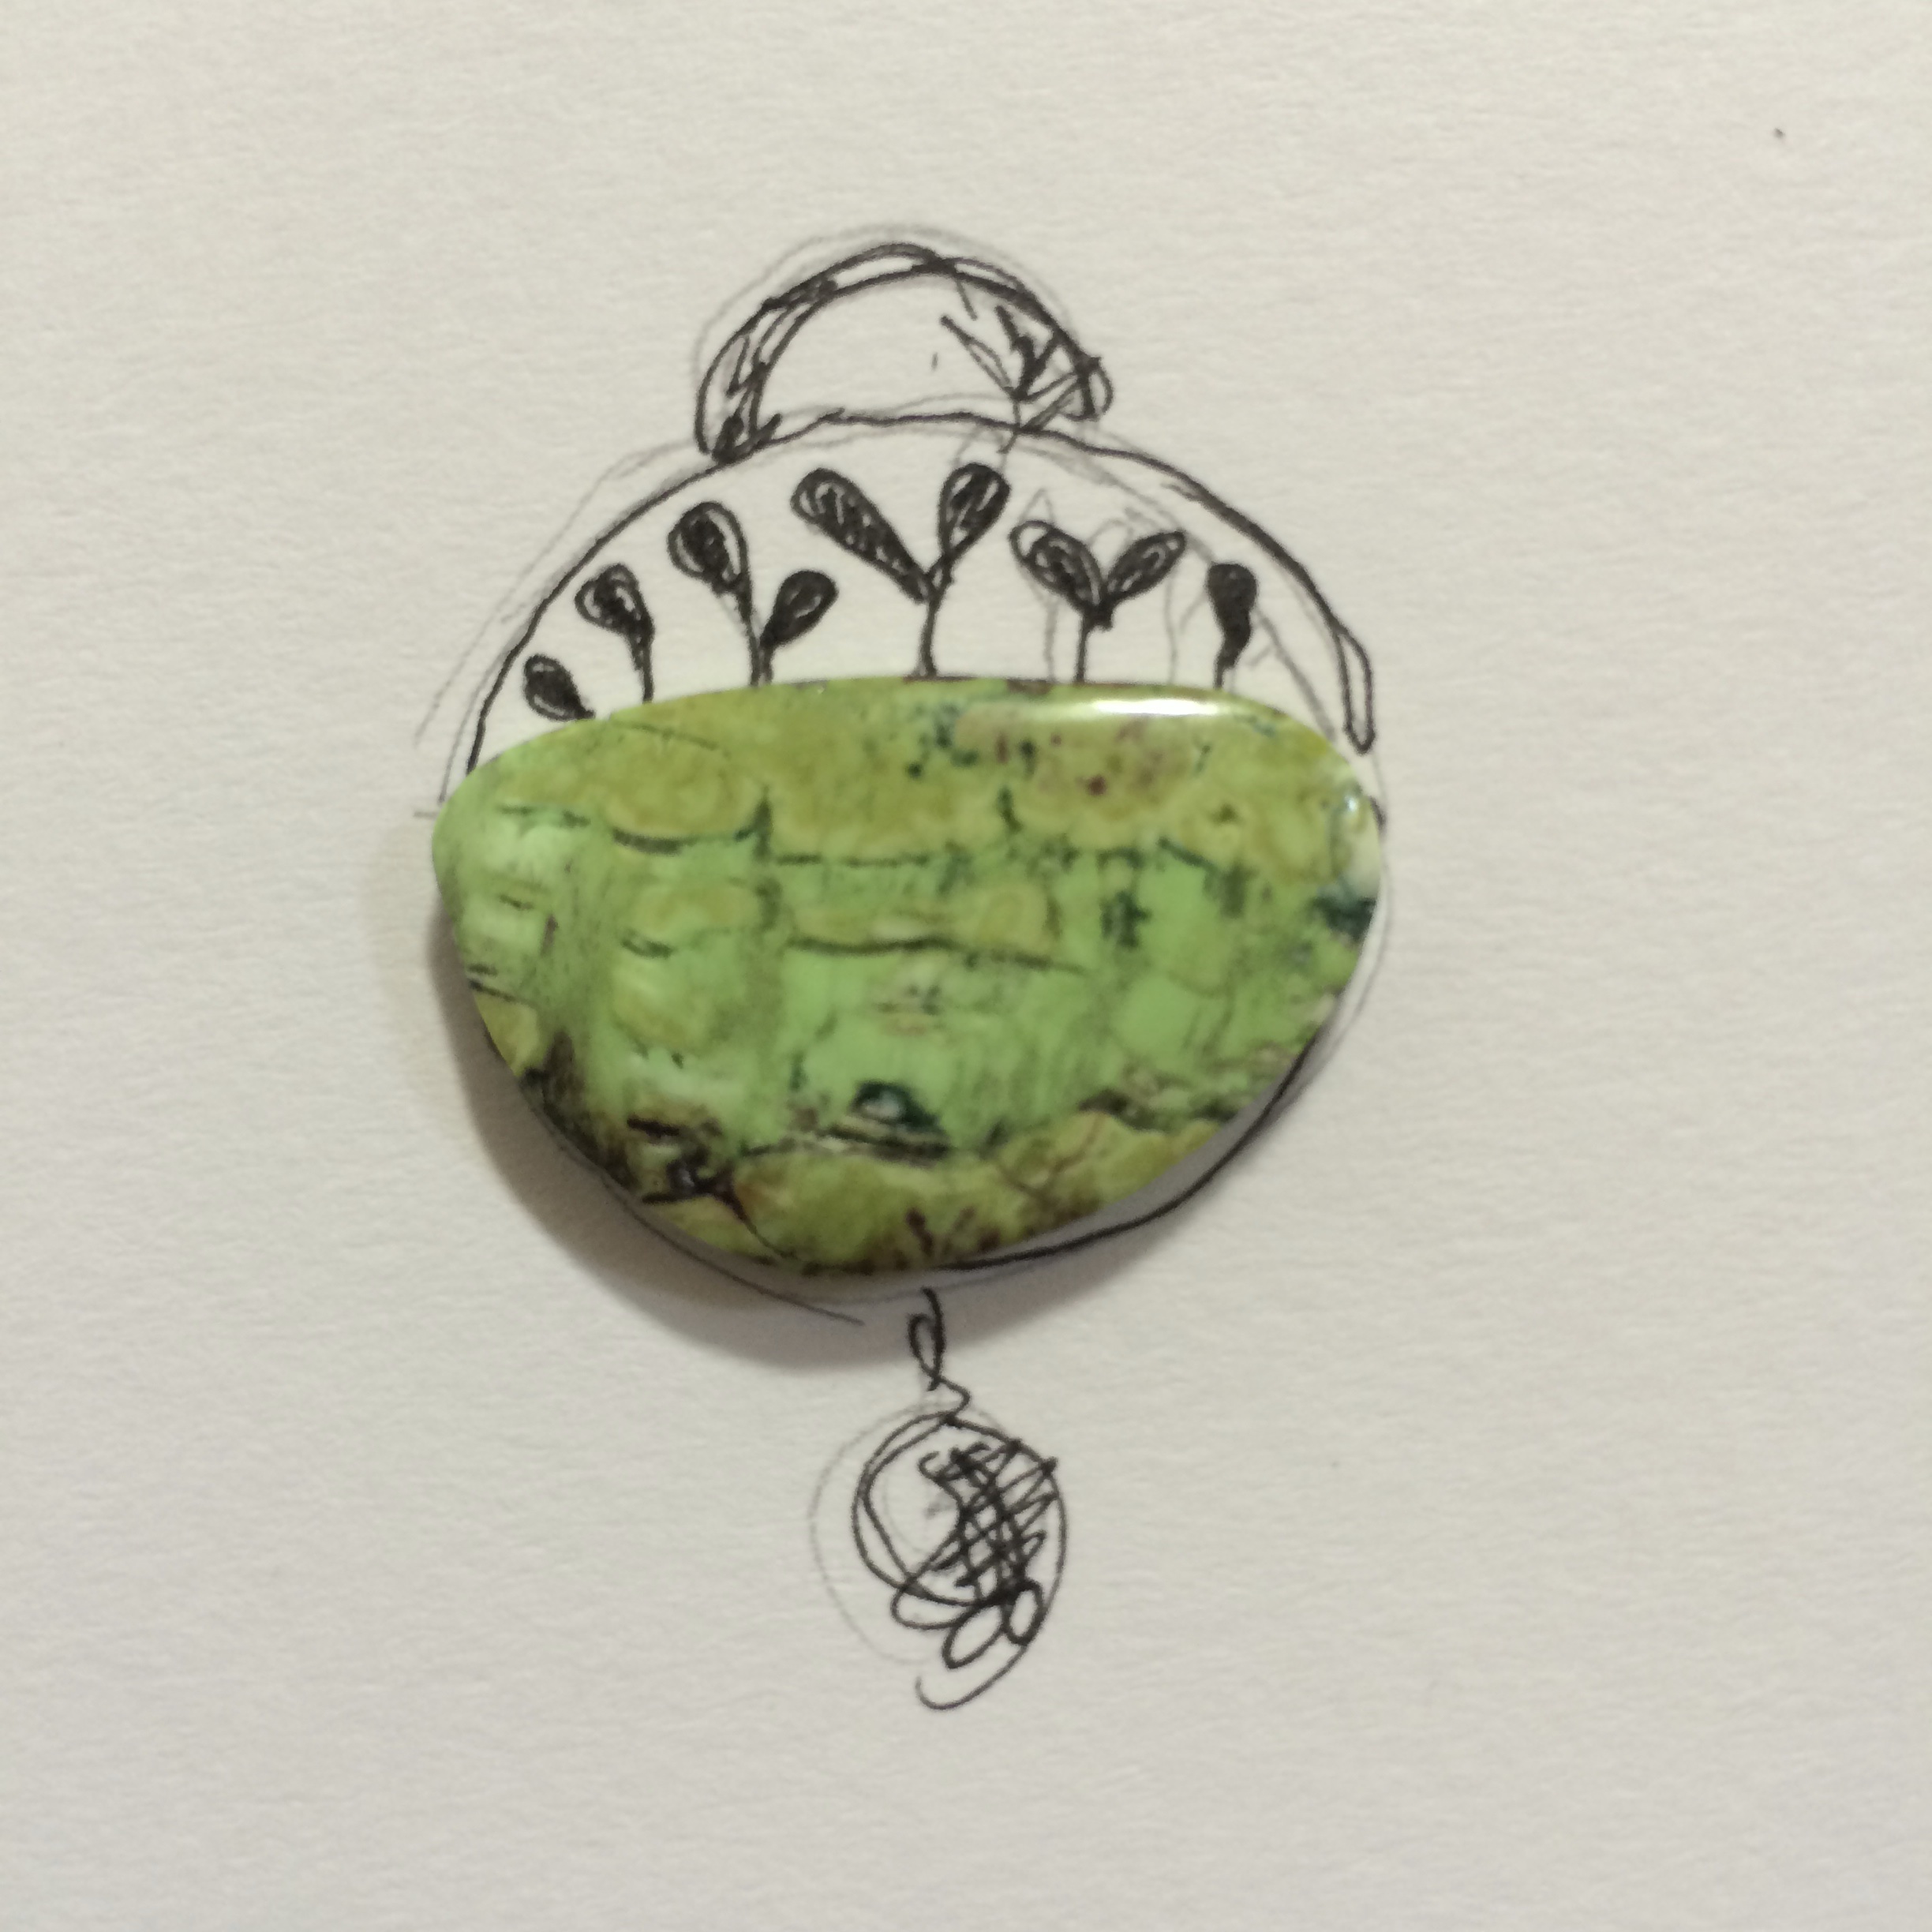
I thought I’d show you the result of this

It’s a little green, but I’m liking it.
Here’s the back.
And that’s about it.
I’m still mourning the loss of my tooth.
A little bit of me just thrown away.
Gone from me forever.
But it’ll be o.k. I’m sure. Hanging out with all the other lost teeth.
Man. I’m thinking I should get out more…
–
–
–
Lots of trauma.
First up, I had to have a tooth out.
I know, right!
Now I feel old and gappy, as though I’ve forgotten to put my dentures in.
It was a horrible experience and I’ve felt shattered the WHOLE week. I can only imagine what I’m going to be like when I have to have the implant. It’ll most likely freak me out completely.
I’ve already warned the dentist, but he says it’ll be o.k. as he’ll have his phone on hand and there’s this guy on youtube who does some great dental demonstrations if he needs to check in on the procedure.
Doesn’t help.
Secondly, much to P’s distress, I’ve been going through the whole Inspector Barbaby series on Netflix and all of a sudden, what do you know, it’s over.
No warning.
No nuffin’
It’s left a void, like a black hole imploding in my chest.
It’s going to take me a while to get over it, I mean, how do you recover from something like that…
Fortunately Netflix only went up to season 15 and so somewhere there’s another three waiting for me in the magical world of t.v. limbo land.
P will be delighted..
On a brilliant note, however, I had a great art fair last Saturday.
You know, I didn’t really feel up for it. I’d been a bit blah, as you all know by now from my recent groanings and moanings, but it was really good.
The weather was perfect. I managed to emerge from my introvert coma for the day, and we talked and laughed all day.
And, as you may know, laughing is my favourite thing to do…
I made $4,000!
I can hardly believe it.
Personally I think people were afraid, paid quickly and ran for their lives.
Whatever it was it worked, and I’m fairly sure Nepal is not going to worry about it.
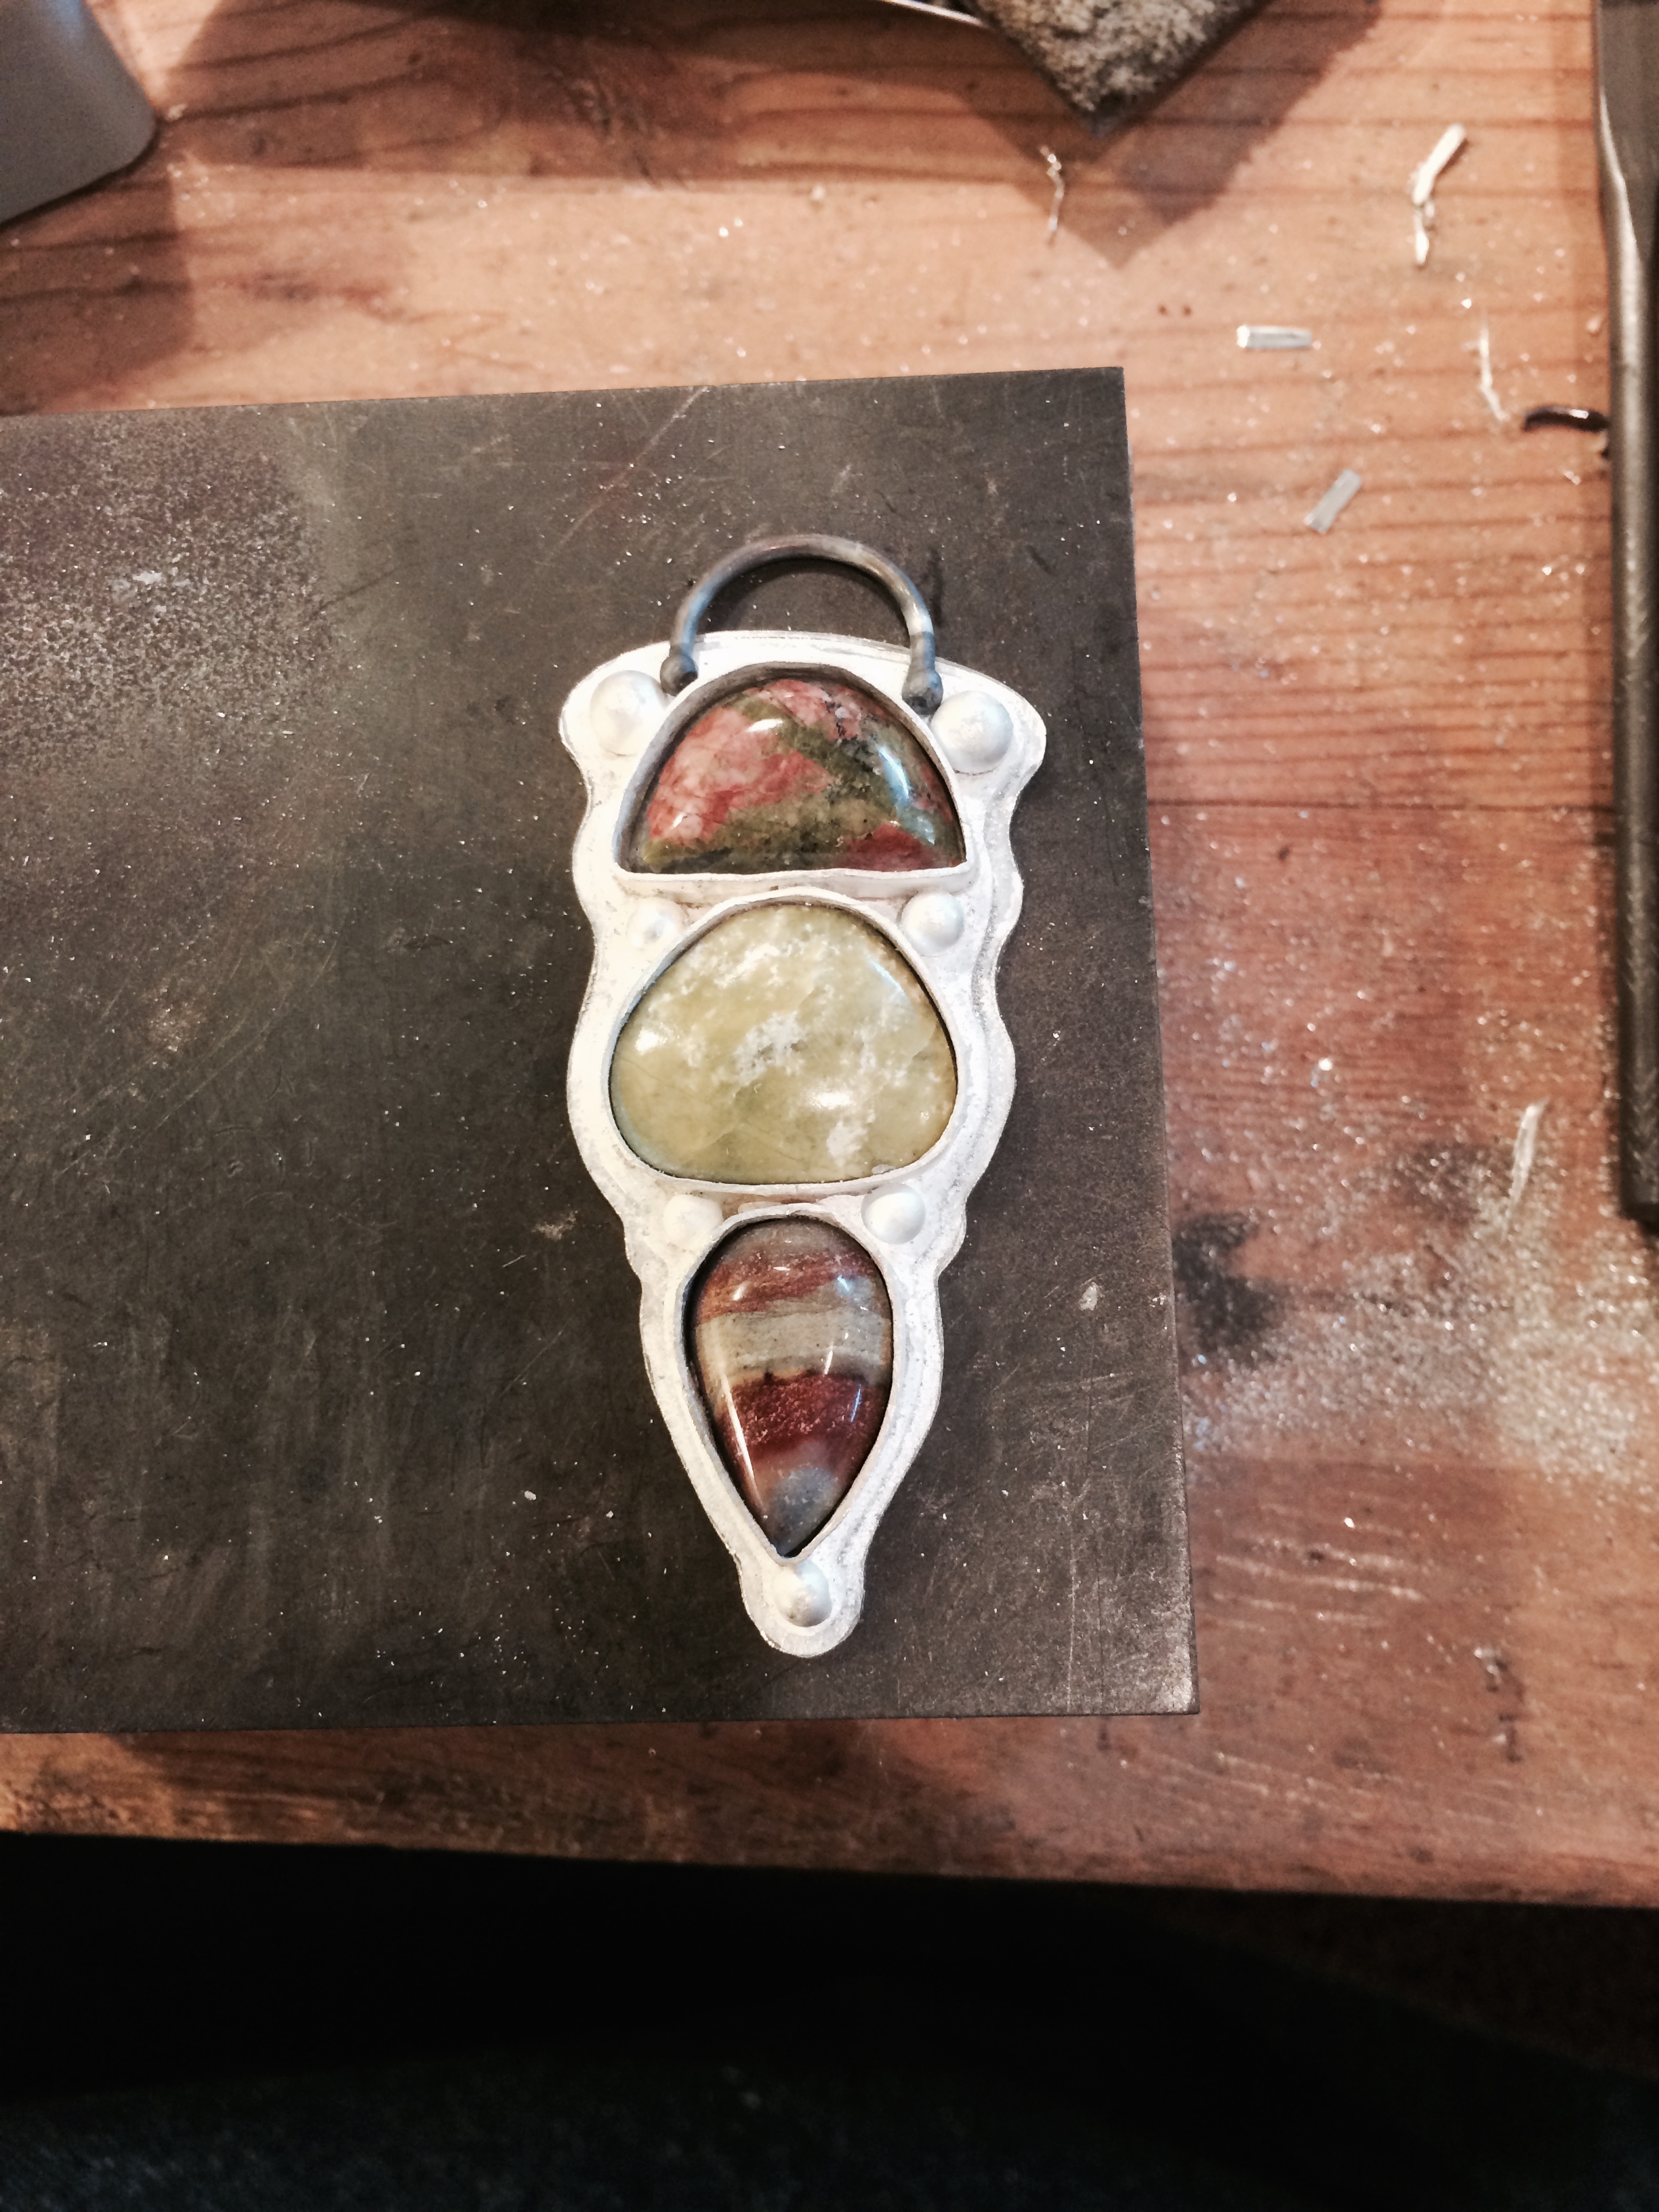
Studio happenings are as follows.
This
Fell apart.
Don’t talk to me about it.
So I threw it around a bit, gave it a good sanding, and re made it.
The serpentine crumbled in the first setting so I had to re make the middle bezel and use his brother.
I can see I’ve still a little sanding to do in between the top two stones.
I’m also in the middle of this
Which I’ll hopefully finish today,
and I might knock up a few of these.

Because I hit the mother lode of Gaspeite…
Exciting times…
–
–
–
I finished the beast by taking out the Serpentine stone after I gouged a great big 5mm wide trough through it from one side to the other and managed to work with it on the Jool Tool (beginning to like this thing) until it was looking better.
I found that Serpentine, at least the ones I have, are very crumbly and I’m not completely sure I like that.
I worked with it as much as I could, but it isn’t one of my better pieces.
I think I set myself up for the fall because in the back of my mind I didn’t think I’d done the best job I could with forming the stones.
You can see from the above that the bottom bezel is too high, and the top bezel is just annoying because the bottom edge of its collar soldered to the top edge of the middle bezel’s collar and I had to saw it apart.
I say I had to. I could have sweated the three bezel collars off and started over, but, as I said, I don’t think I ever thought it was going to be a good piece in the first place and believe I set myself up for sabotage.
Oh the dark inner workings of our minds…
I like the back though 🙂
I’ve been cleaning up my work for the art fair on Saturday and reworking some pieces that I don’t really care for.
I hate cleaning the jewelry, but wouldn’t be seen dead trying to sell it without it being its absolute best. As a consequence I’m probably not taking the beast.
Unless little pixies break into the studio between now and Saturday and work some magic on it.
Could happen.
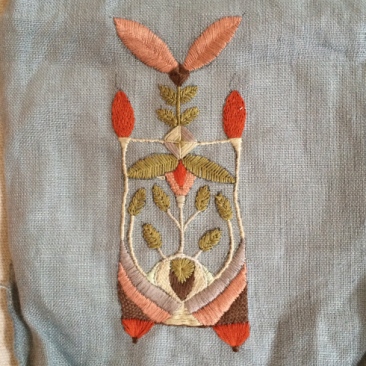
I finished the second needlework piece.
And started another.
And that’s about it really.
Except I’m fiddling around with a new website as, although I like the Wix one I have, I’ve discovered that Indiemade seems easier to use.
I’m not sure about it yet.
And I’m just about to send off $800 to Care for the Nepal disaster so guess what?
$30,000!
Goal reached!
Going for $40,000 next…
Onwards and upwards people
🙂
–
–
–
This week I’ve only managed to make horrible things.
Not only are they horrible, but they took years to make.
It was like drowning.
So I’ve decided to knock it on the head for a bit. For the rest of the week I’m just going to just clean up my jewelry for the art festival in May, work on my embroidery thing,
and I’ve an itch to paint, although we all know how that will turn out.
By the end of the week I’ll have not only drowned in the horror of it all, but sunk to a depth I’ll never be able to rise from.
Again.
Even my woes are feeling woeful for themselves at the moment, and I have injuries.
Deceivingly tiny, but very sore, hand injuries.
That Jool Tool, I’m telling you. I might have to start wearing the little green tape on my fingers that came with it.
I simply just can’t go on like this.
I need my skin.
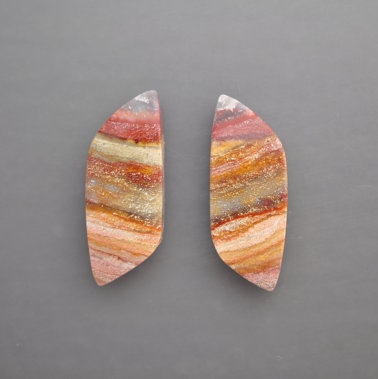
I bought these a while back and, although they’re beautiful, I just wasn’t going anywhere with the shape.
I set one in a bracelet and absolutely hated it.
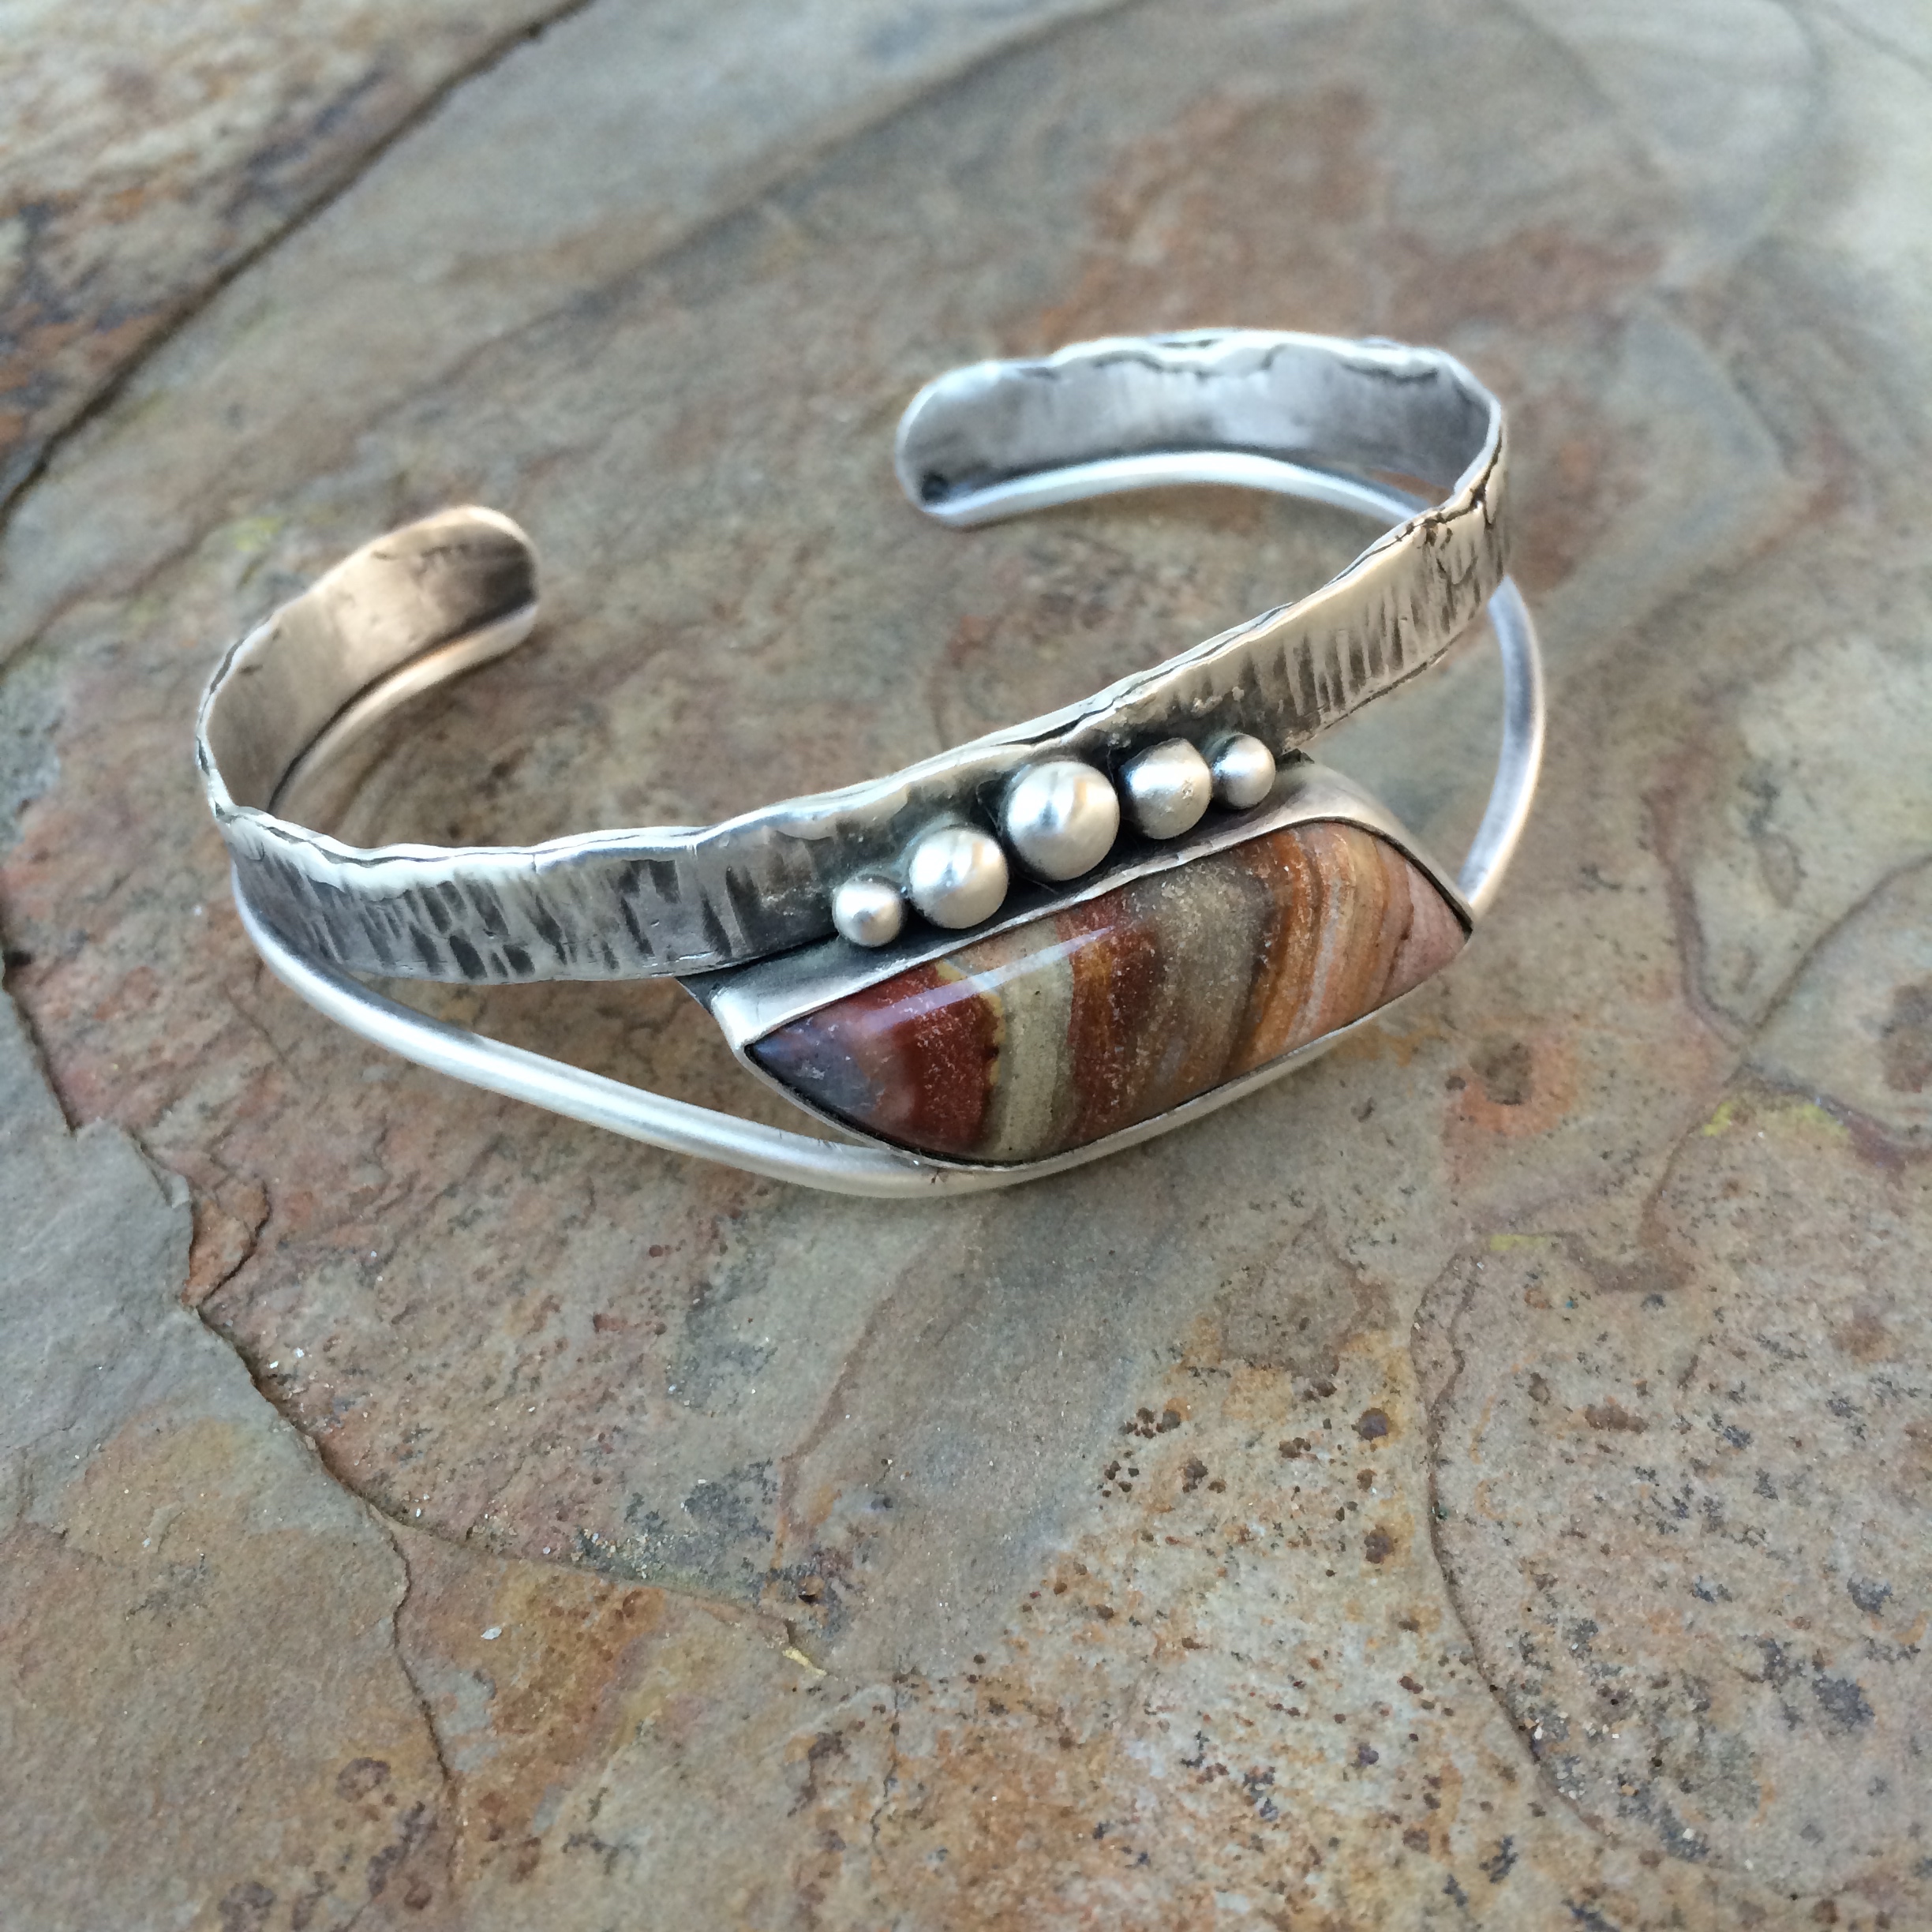
Every time I looked at it, it made me cringe.
In the end I took it out and the relief was overwhelming.
So I decided to cut them up, along with another stone that I’d put in the, nope, don’t like that either, pile.
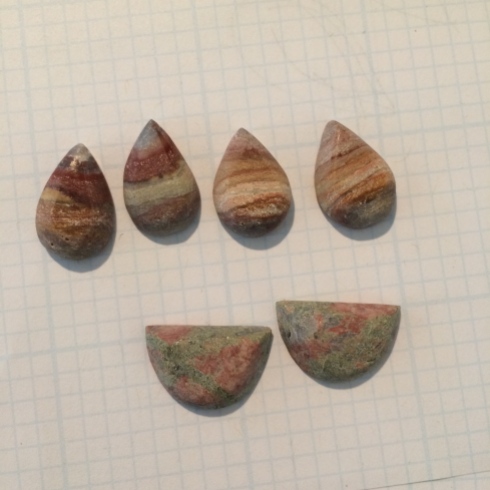
And then I polished them along with my fingers.
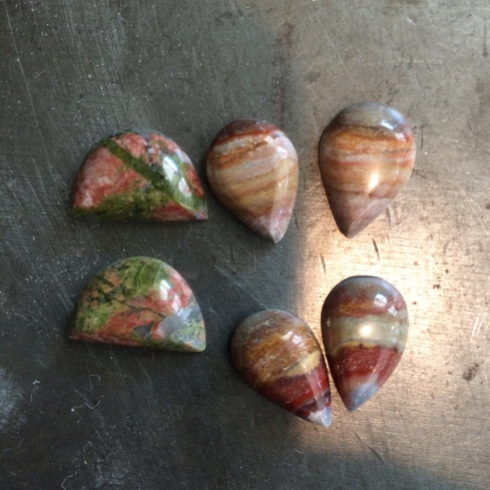
And I thought I’d done a fairly good job even though I hadn’t exactly matched the sizes
🙁
But that was O.K. because I decided that I’d break them all up anyway and use them in different pieces rather than the earring pairs I was initially going for.
Yes it looks fine here, but I should have taken warning from the earrings I struggled with the previous day, which almost drove me nuts and used up a quarter tank of acetylene to boot.
So now all I’m left with are horrific pieces of, dare I call them, jewelry, and a whack to my confidence.
On the upside, however, it will be all fun and games at the immigration center again when it comes to taking my fingerprints for my green card.
Maybe I should take my Jool Tool along with me and they can scrape some of them off there.
–
–
–
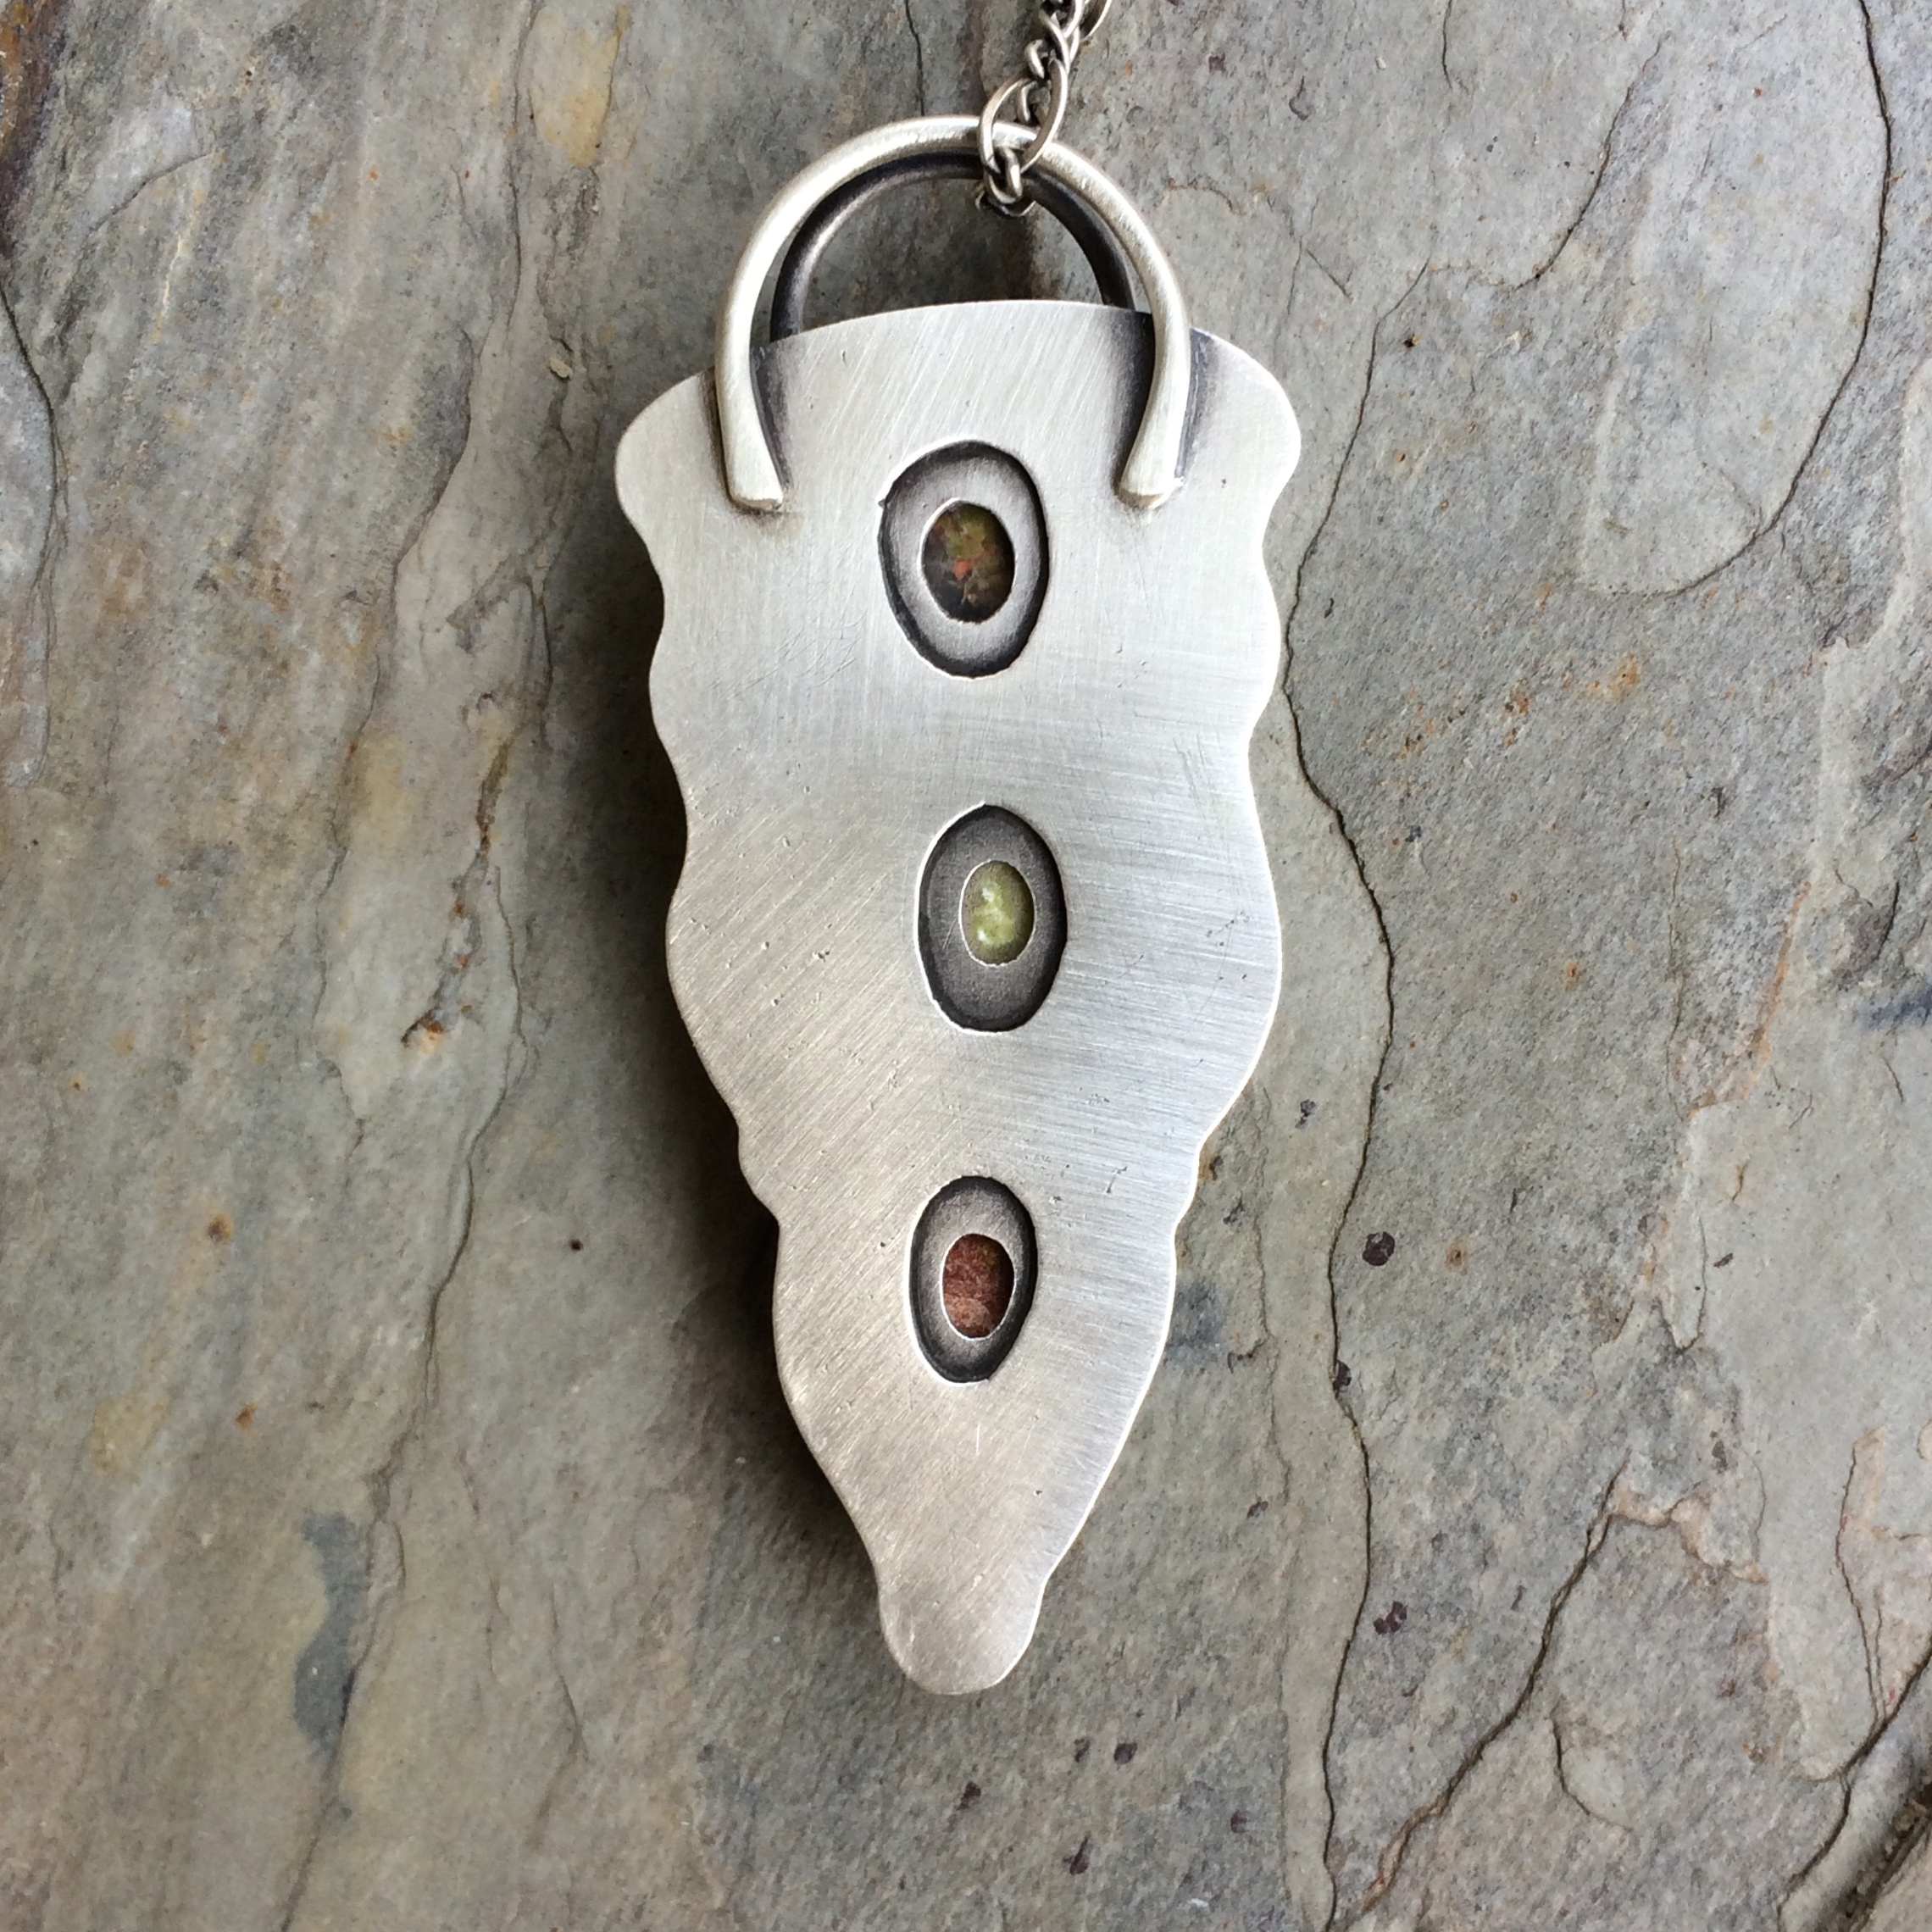
I decided to try something I hadn’t done before.
With a coral fossil, similar to this one, which wasn’t particularly inspiring me.
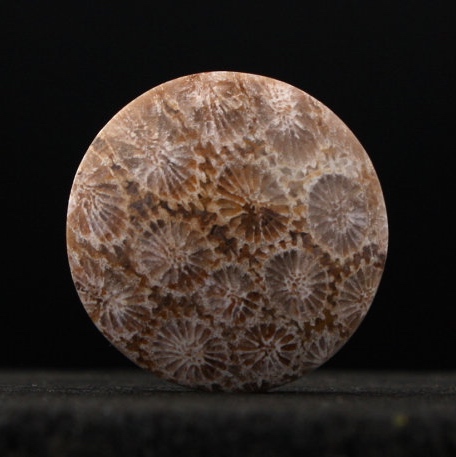
It’s very round and very flat.
So I saw a photograph of a back to front setting and thought I’d have a go.
It’s a little bit boring, but next time I might jazz it up a bit.
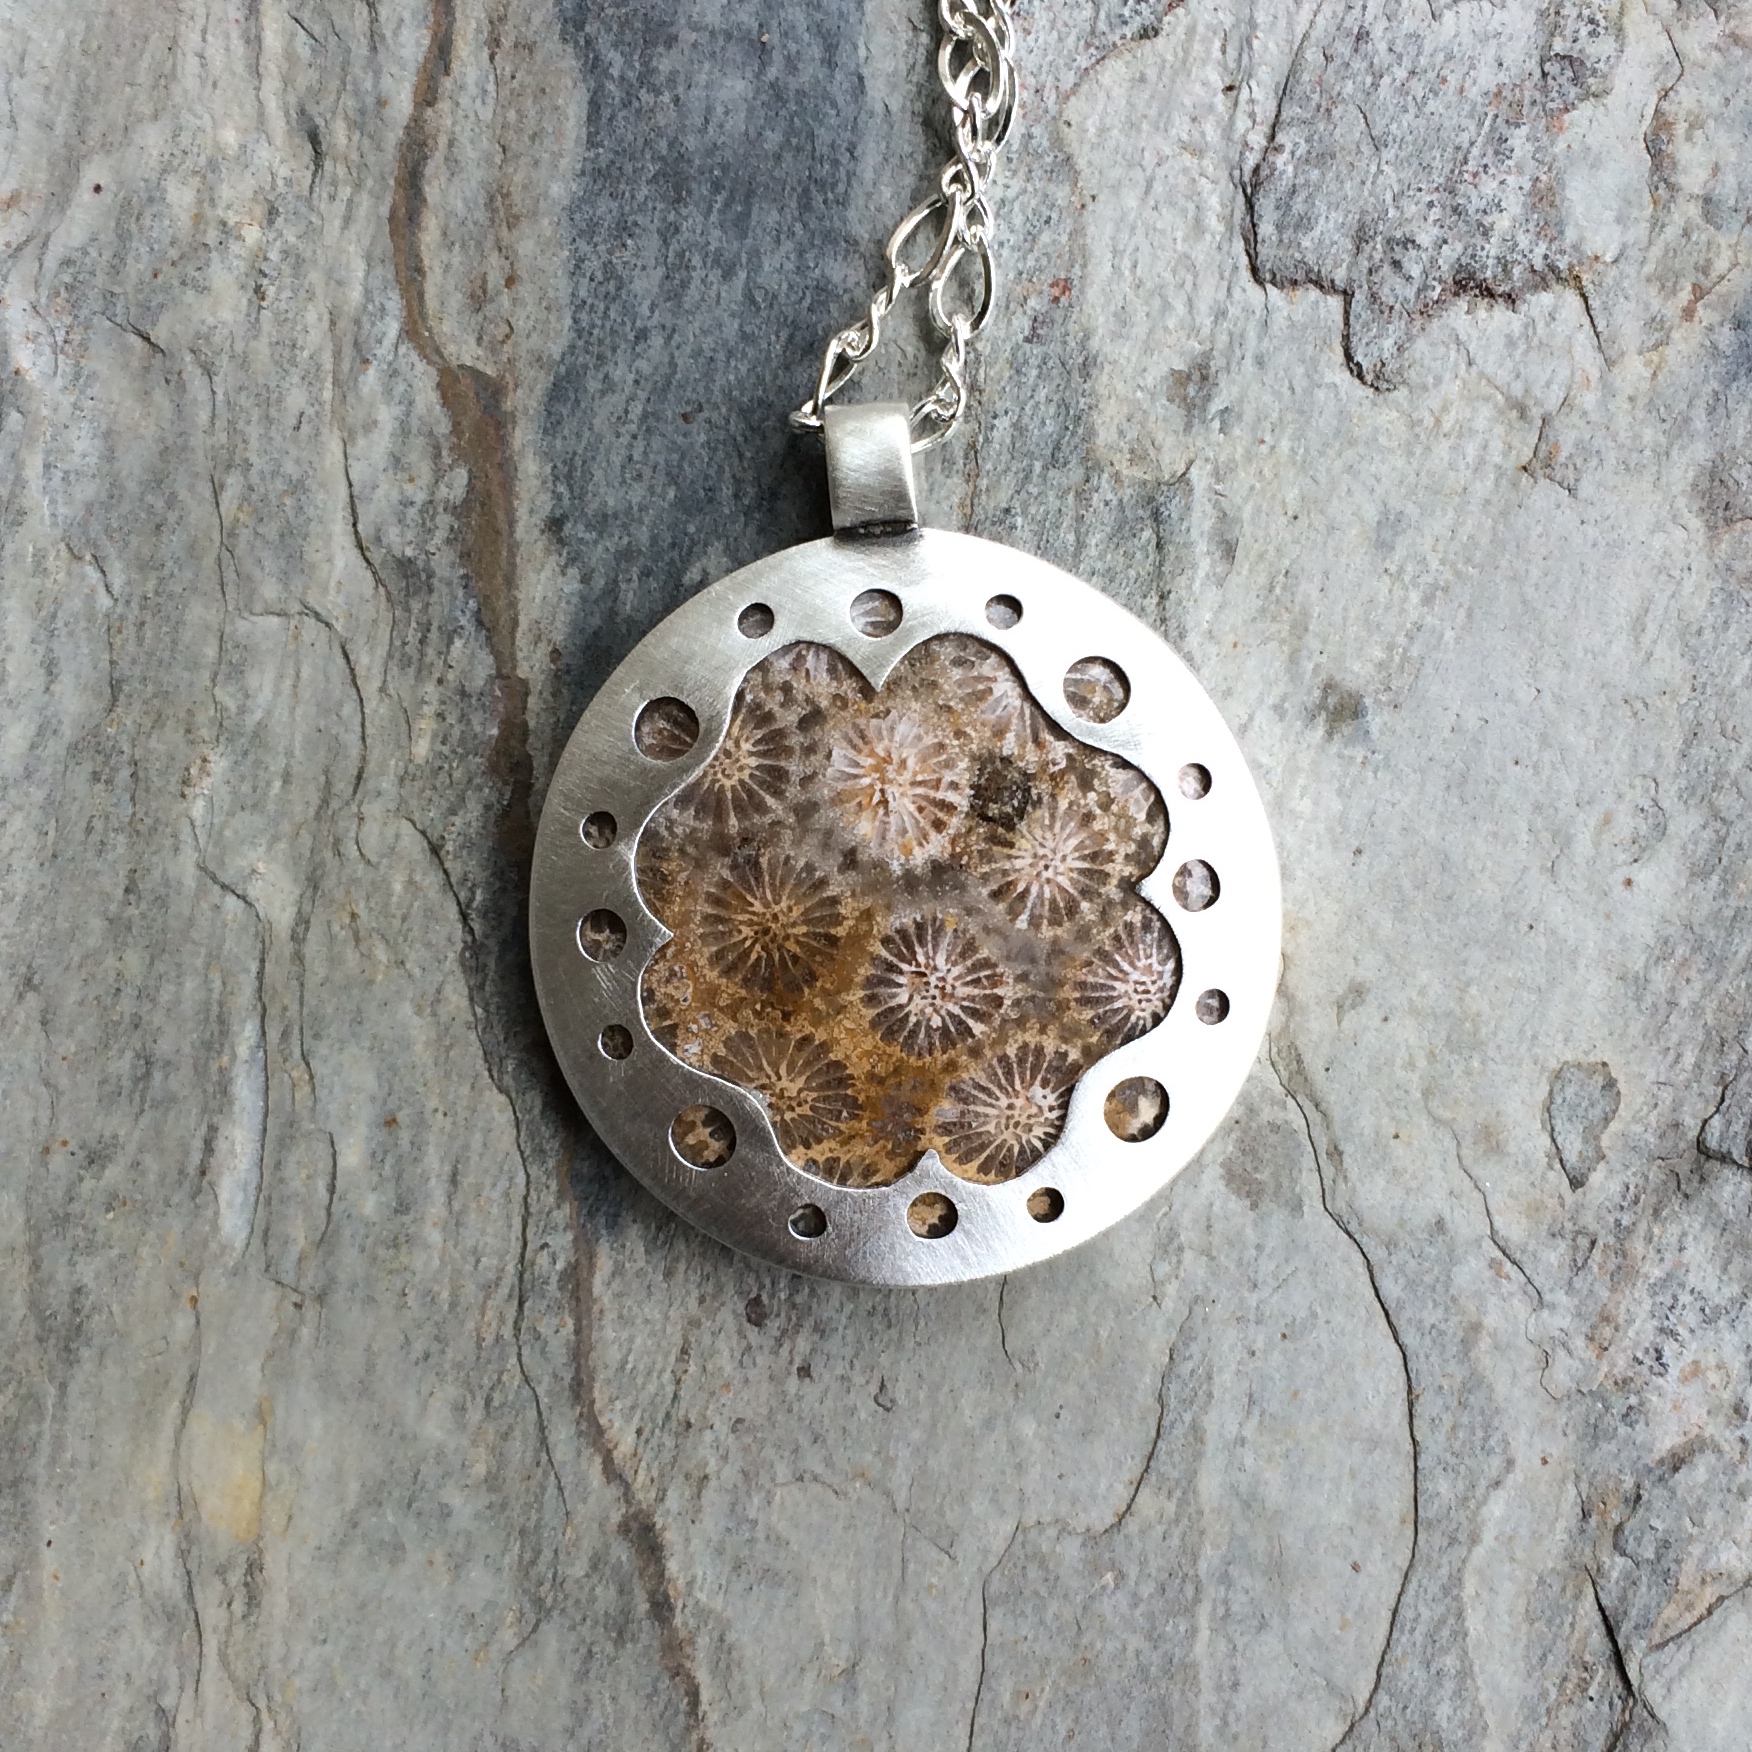
Also I’m going to have to work on the back a little more because I didn’t quite get the rim as perfect as I would like.

But at least I’m excited to have another go, which is good as I’ve not been that excited just recently.
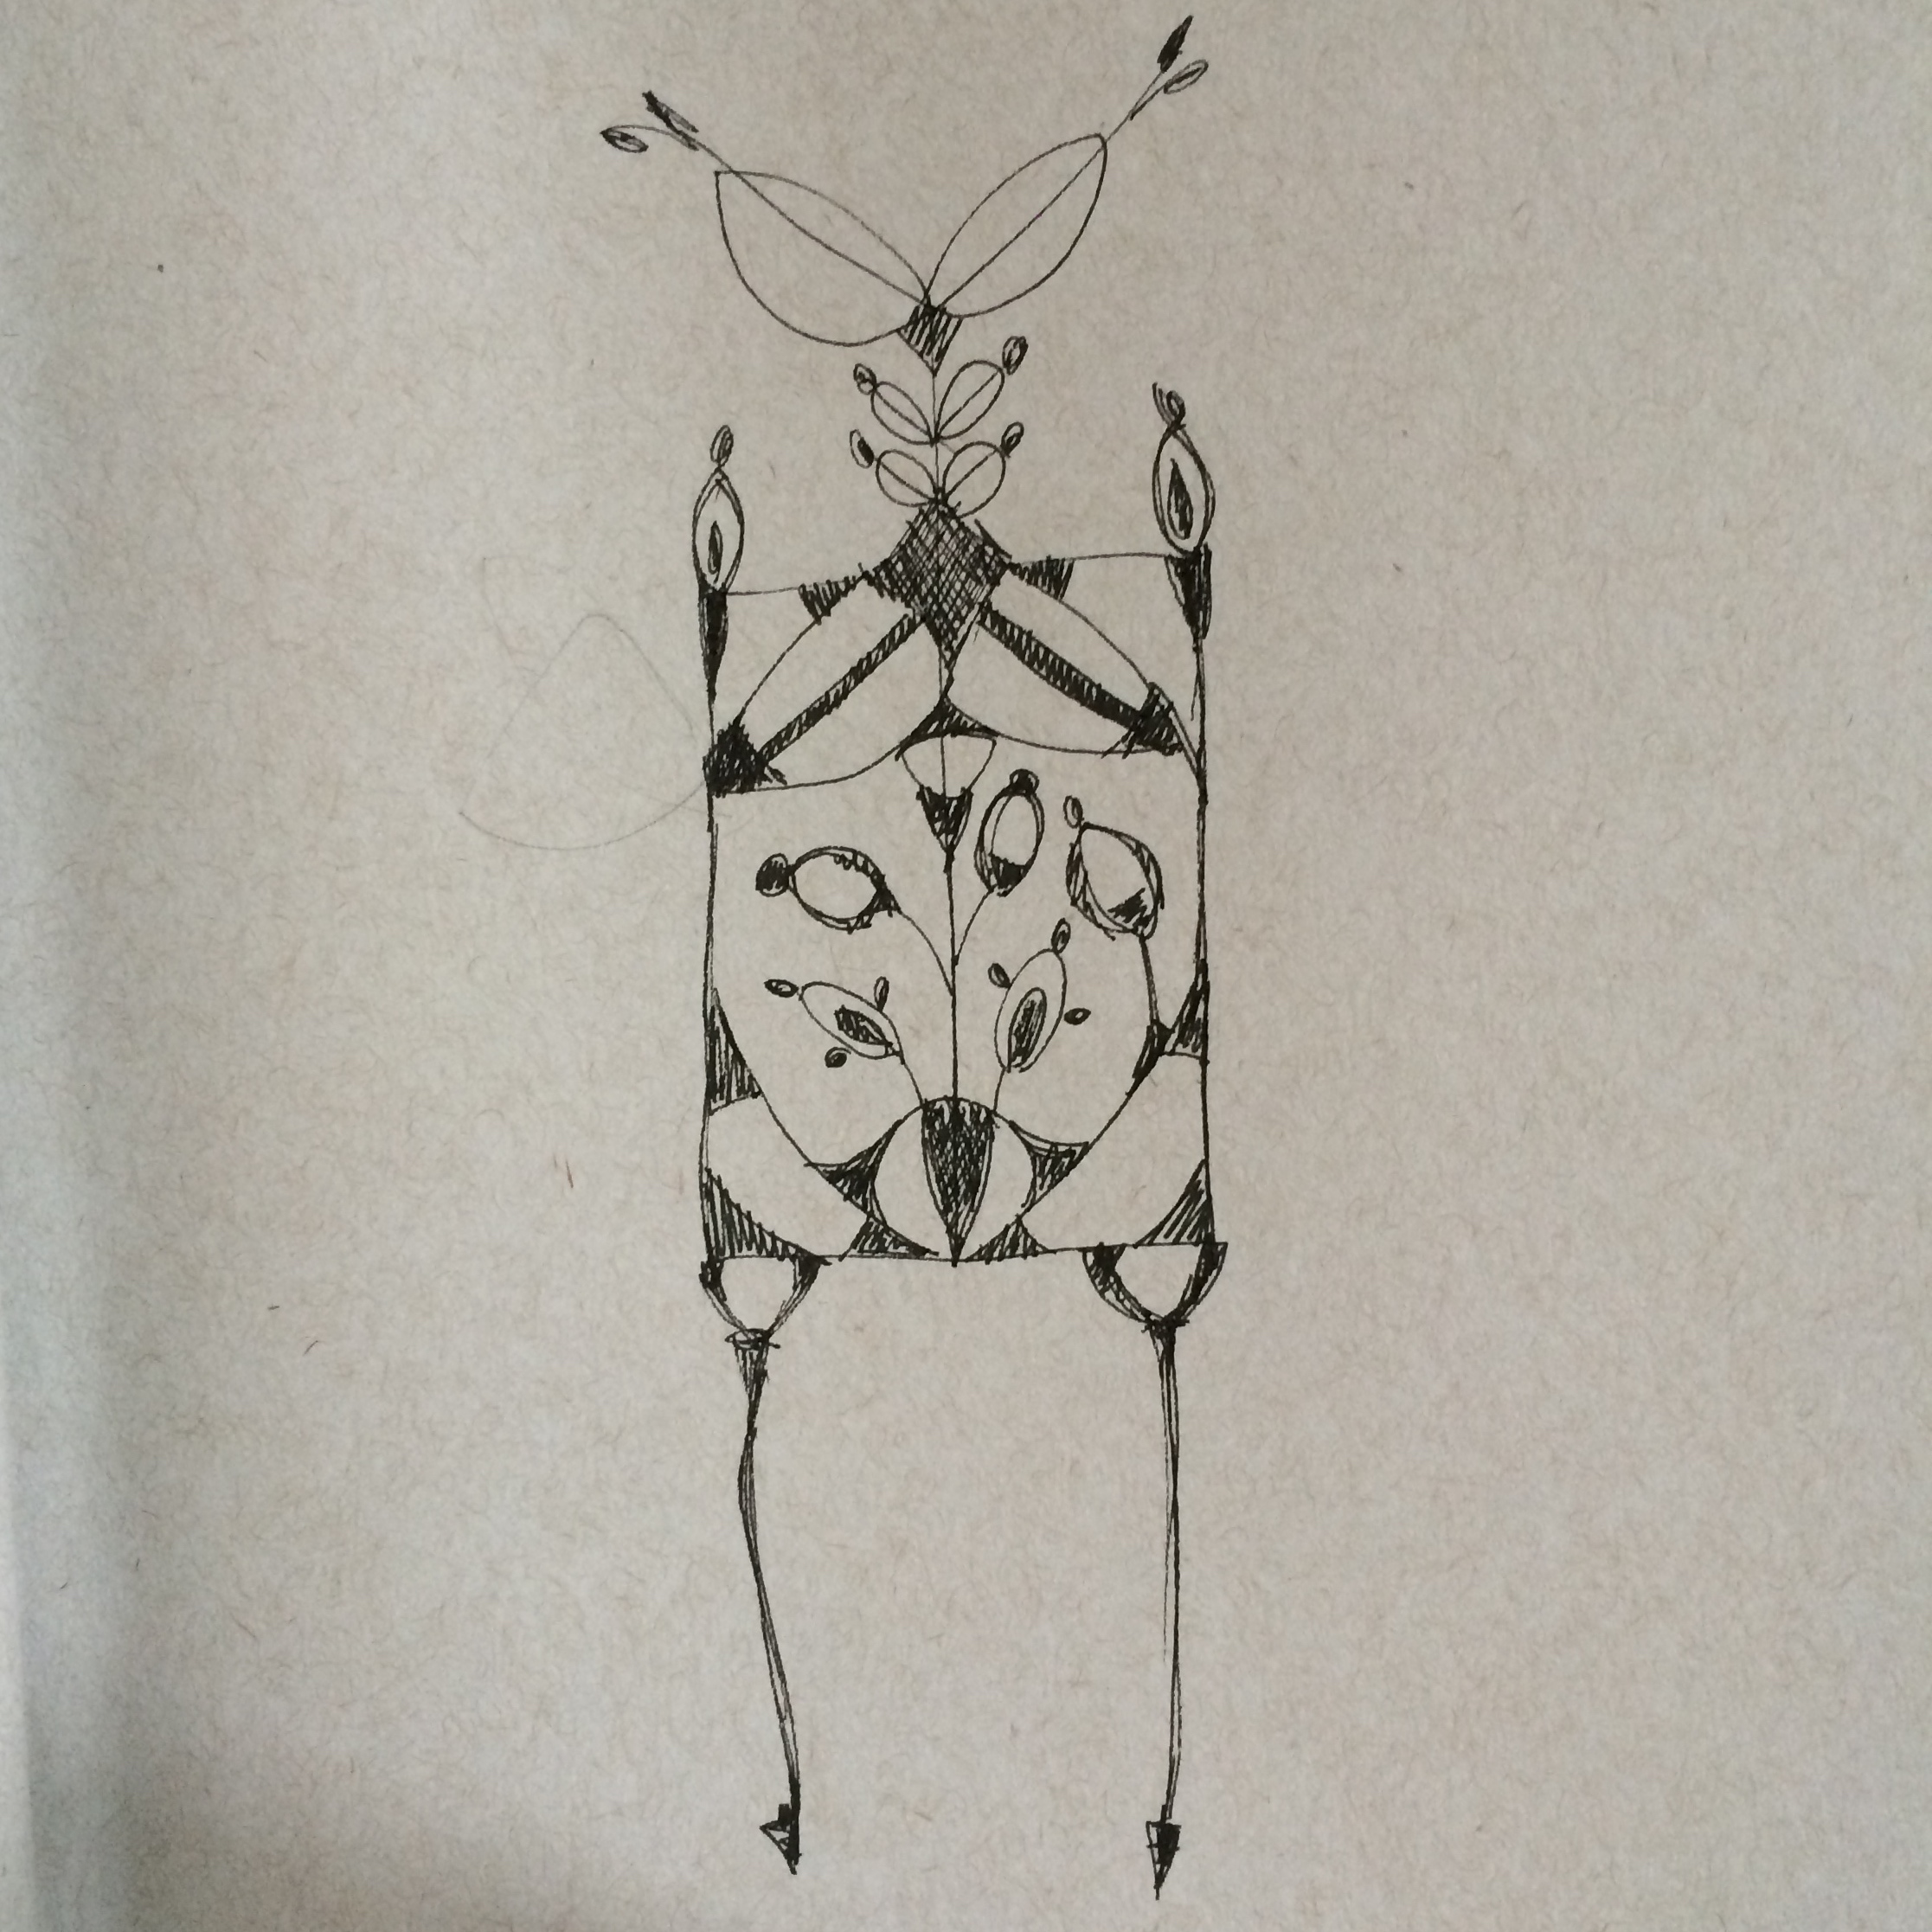
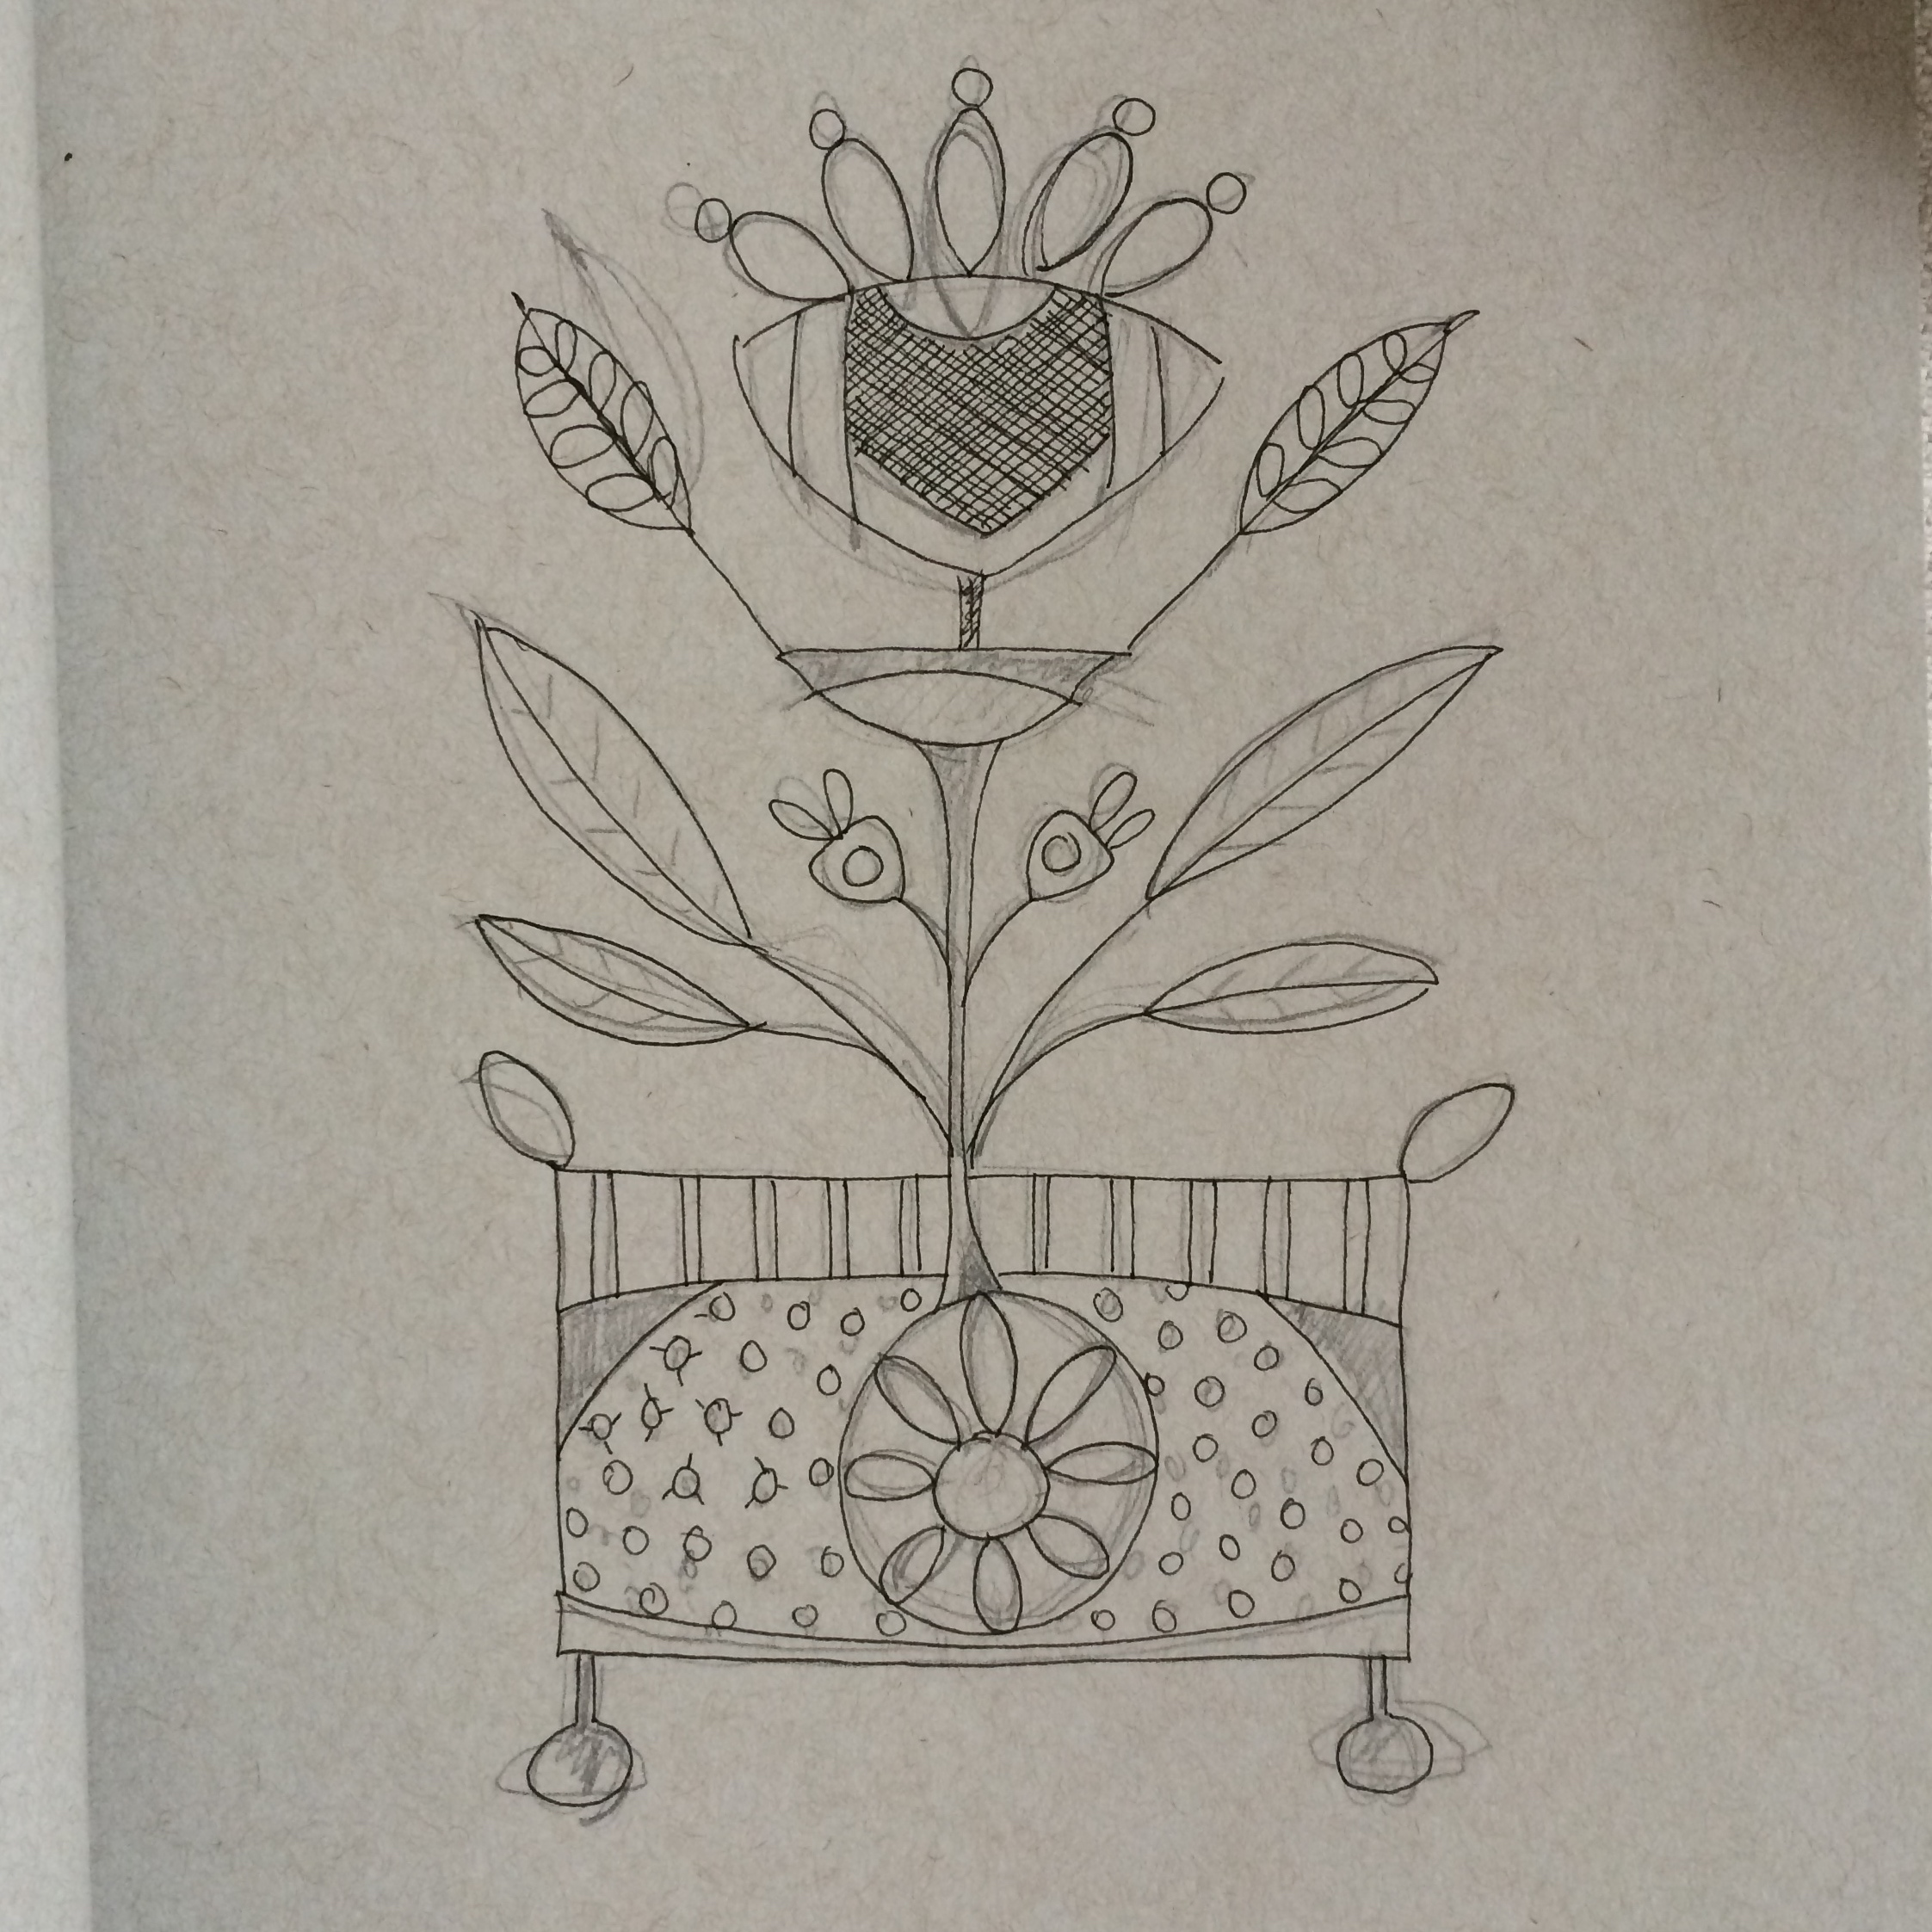
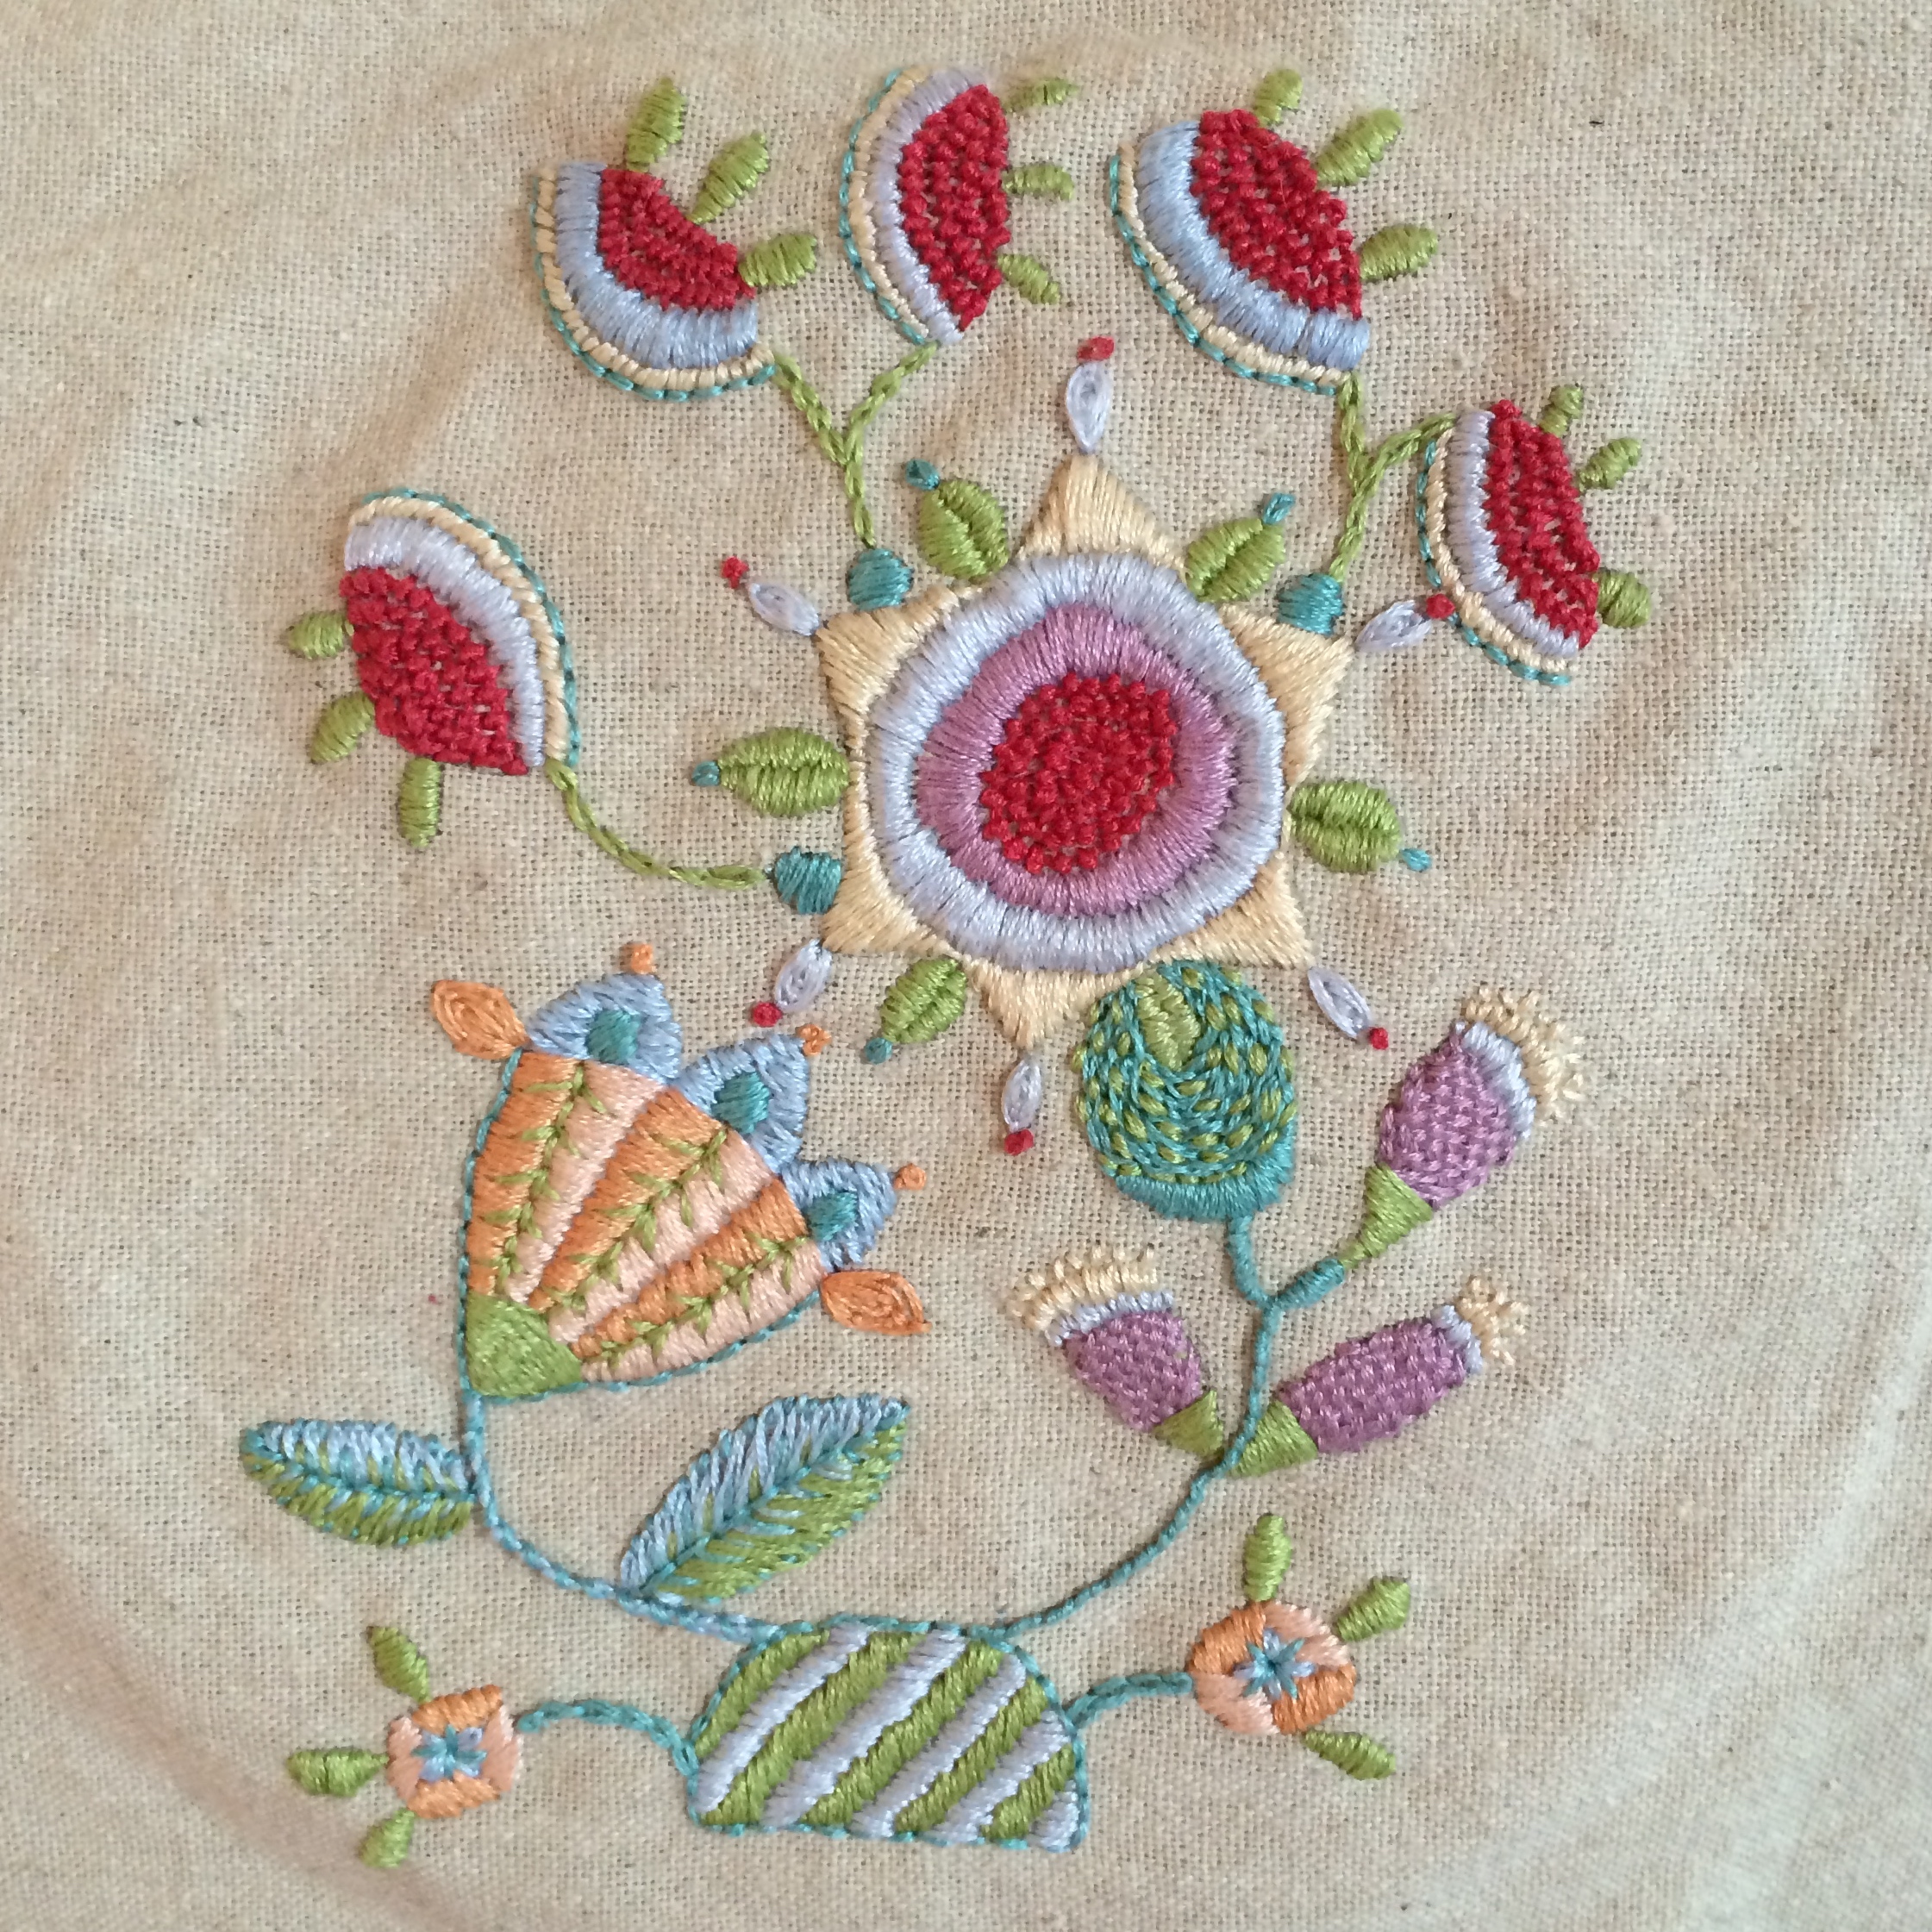
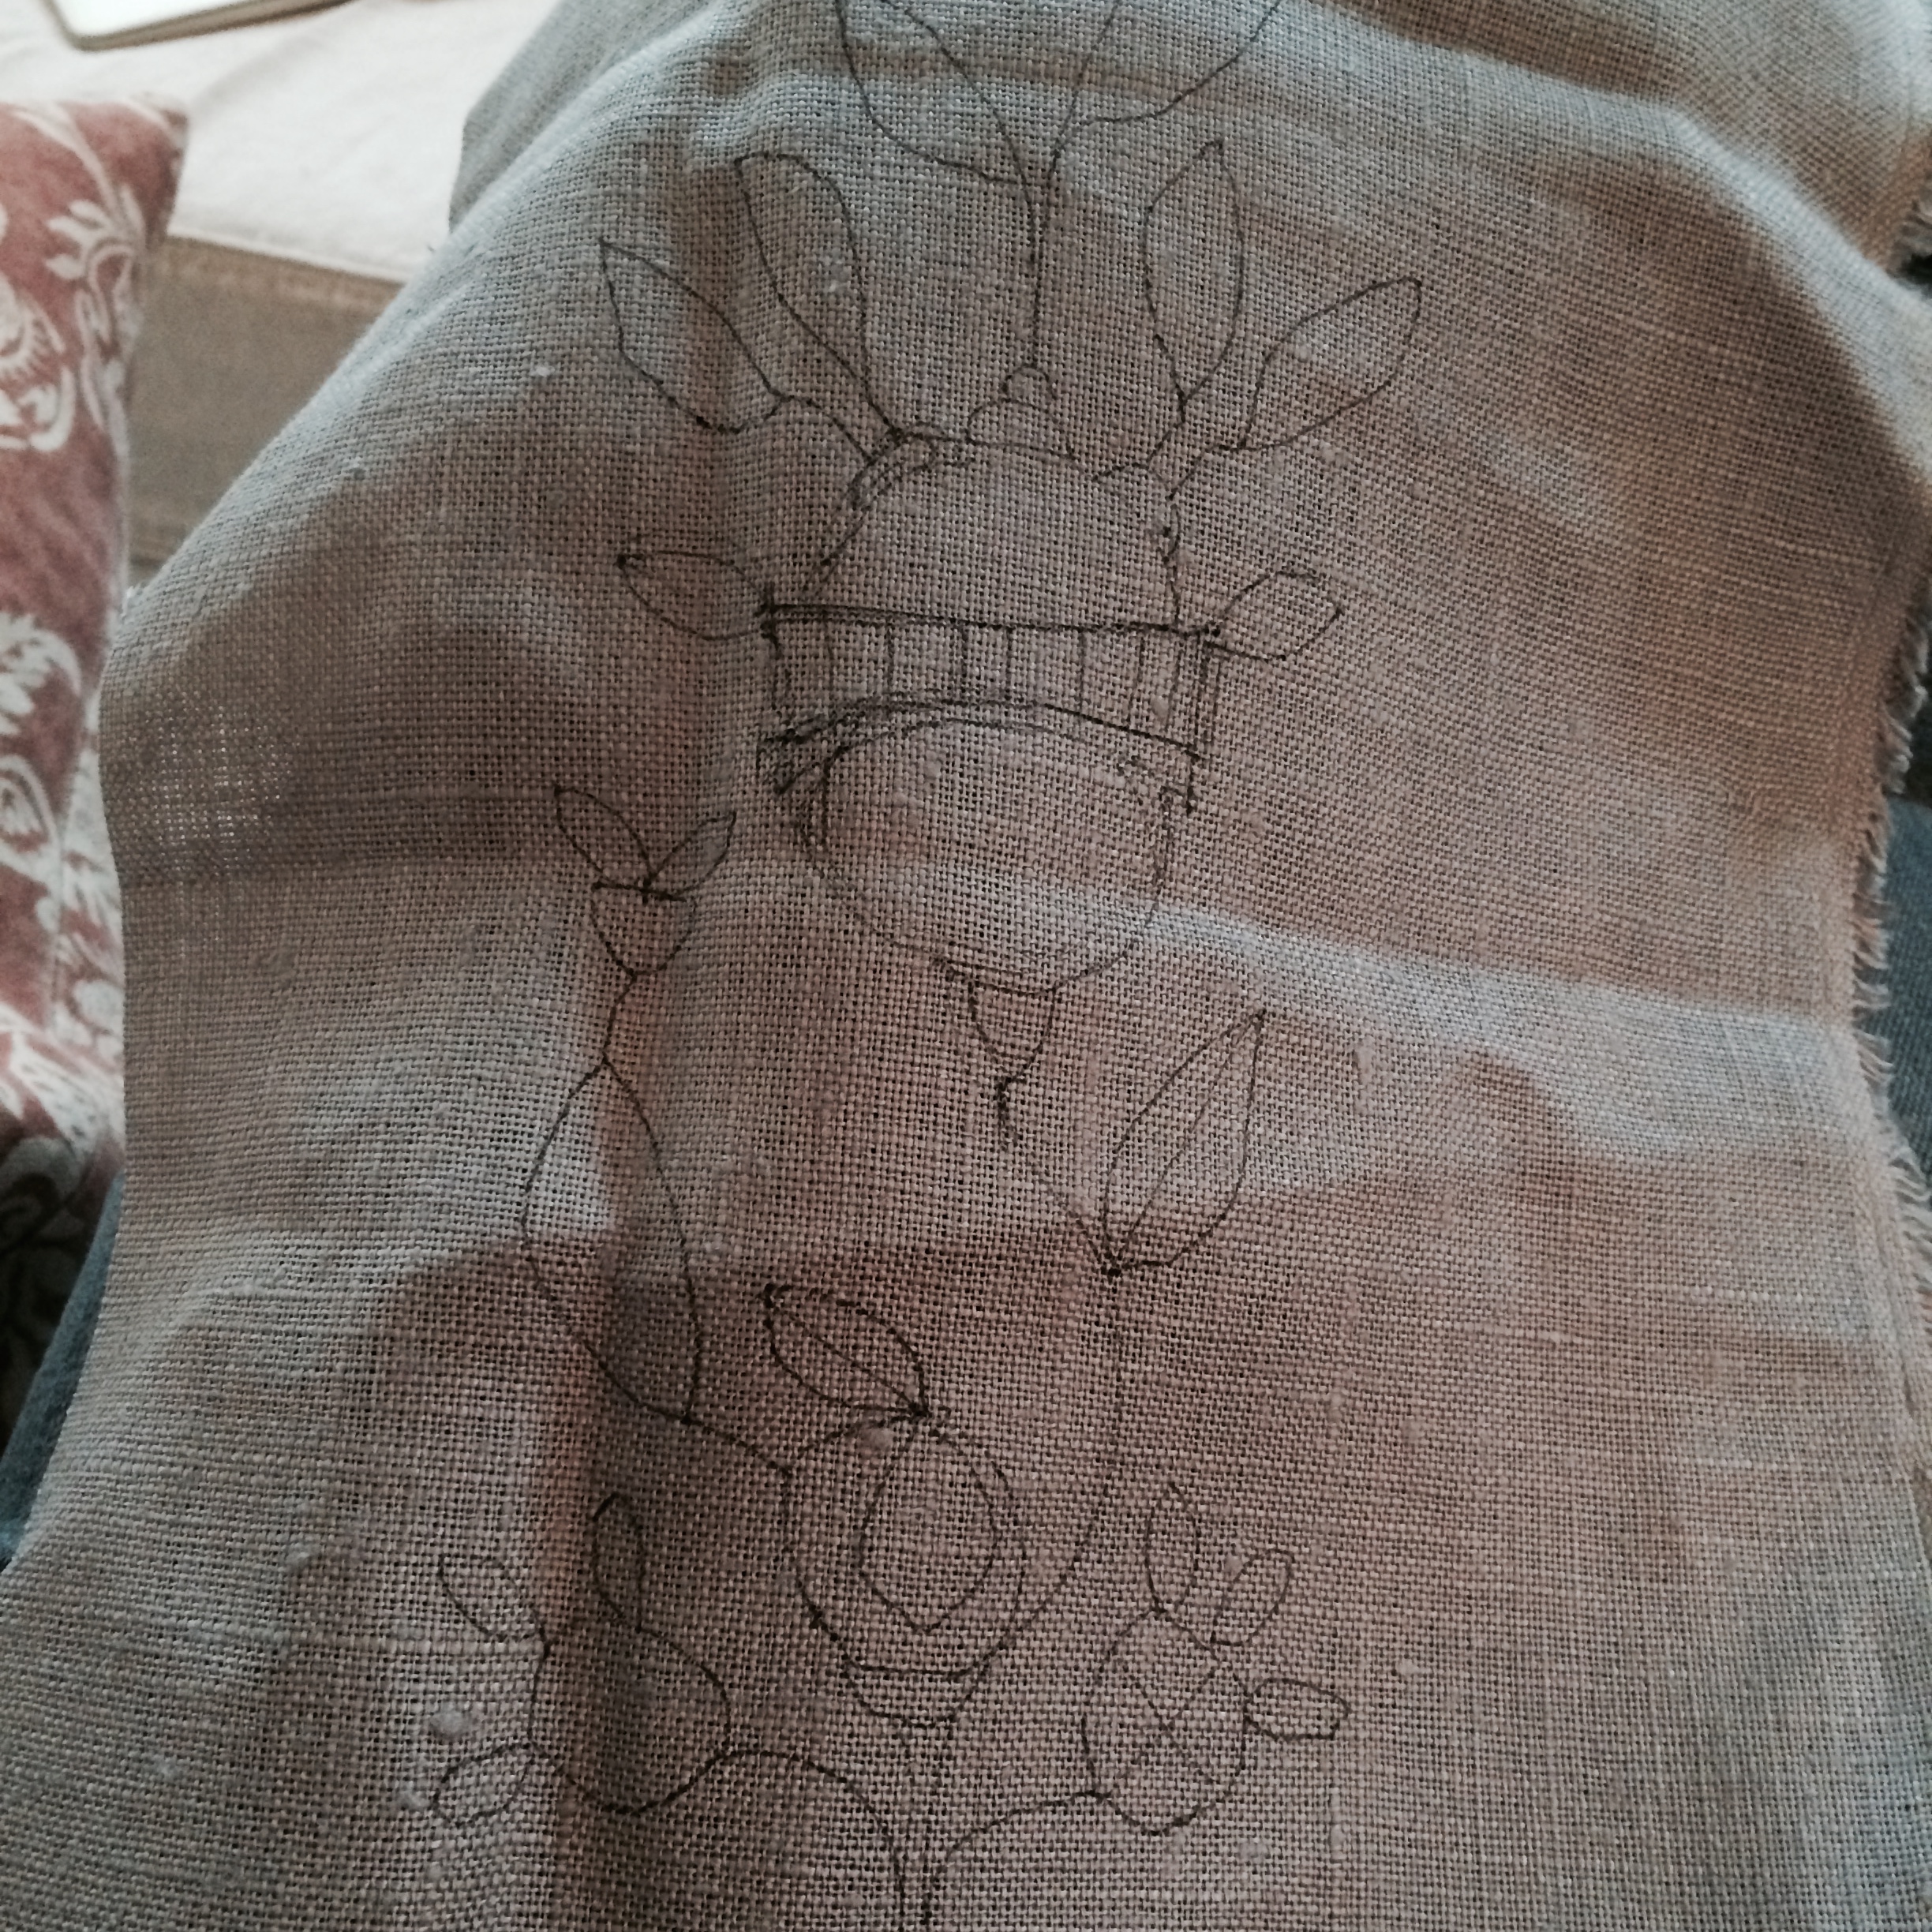
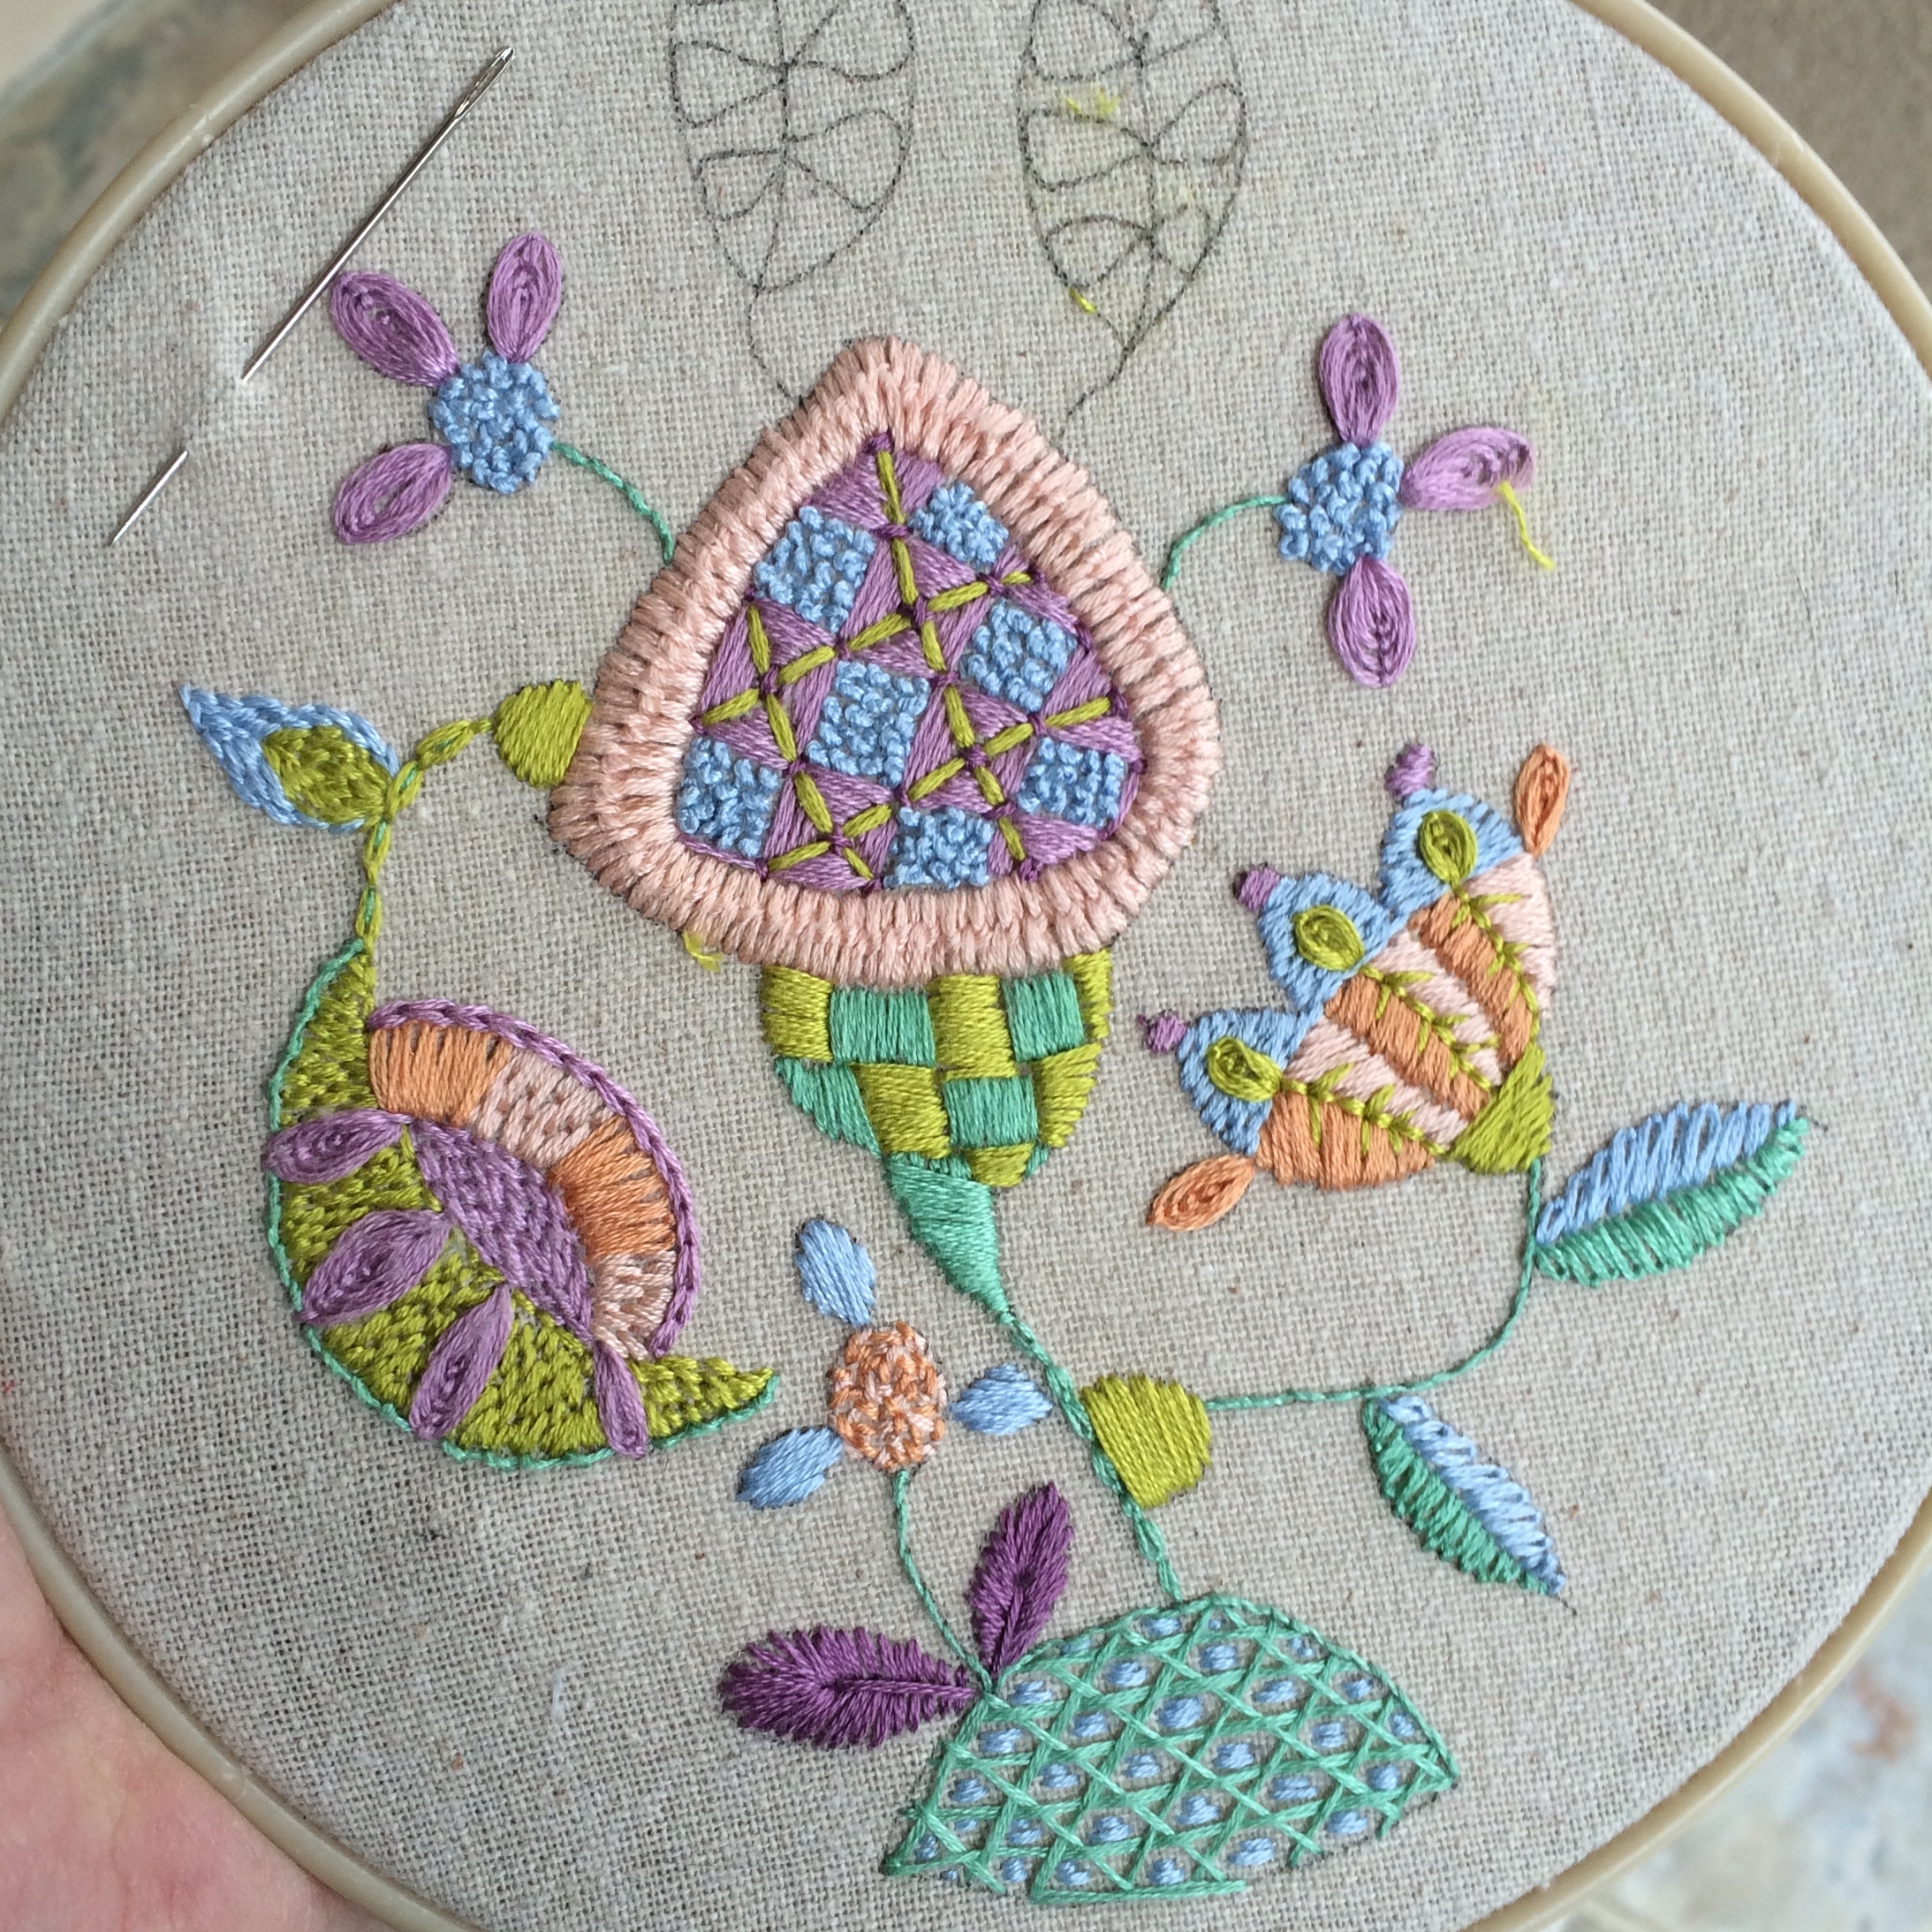
I’ve also been working on my large embroidery pattern.

This, or something like this, will be the top part as I want to make a long skinny one.
I’ve almost finished my second practice one, but forgot to take a photo for you.
Nothing much else happening.
I did wake up this morning thinking I might like to learn Japanese as the characters look so beautiful.
I mean look at this.
「窯を開ける時はいつも驚きの連続」。この言葉に象徴されるように、1995年93歳でこの世を去ったルーシー・リーの生涯は、つねに瑞々しい驚きと発見に満ちた陶芸制作に捧げられたものでした。
It’s talking about ceramics, and someone who died in 1995 I think.
I google translated it.
So I found a website that explained how to pronounce the characters to me.
I watched all five videos.
It didn’t much help because I still don’t know what it all means, but I might go back and try again as the man made it seem so simple. It’s a lot of remembering though, and I’m not that good at remembering.
I might not bother with it, but what if I’m stranded in Japan one day, in the countryside where no one speaks English and I haven’t eaten in weeks and am close to death.
I suppose I could draw pictures, but, I mean, it might come in handy then.
Right?
So I can feel it in my bones that today is going to be a battle between making another piece of jewelry, or cleaning the bathroom – again!
Man the whole bathroom thing is getting old.
But don’t worry, I’ll be o.k….
probably.
So I wish you all a happy Sunday, unless you live in Singapore (Hi Soo), where it’s Monday, then I wish you a happy Monday or any other day that it happens to be where you live.
🙂
–
–
–
I finished the thing.


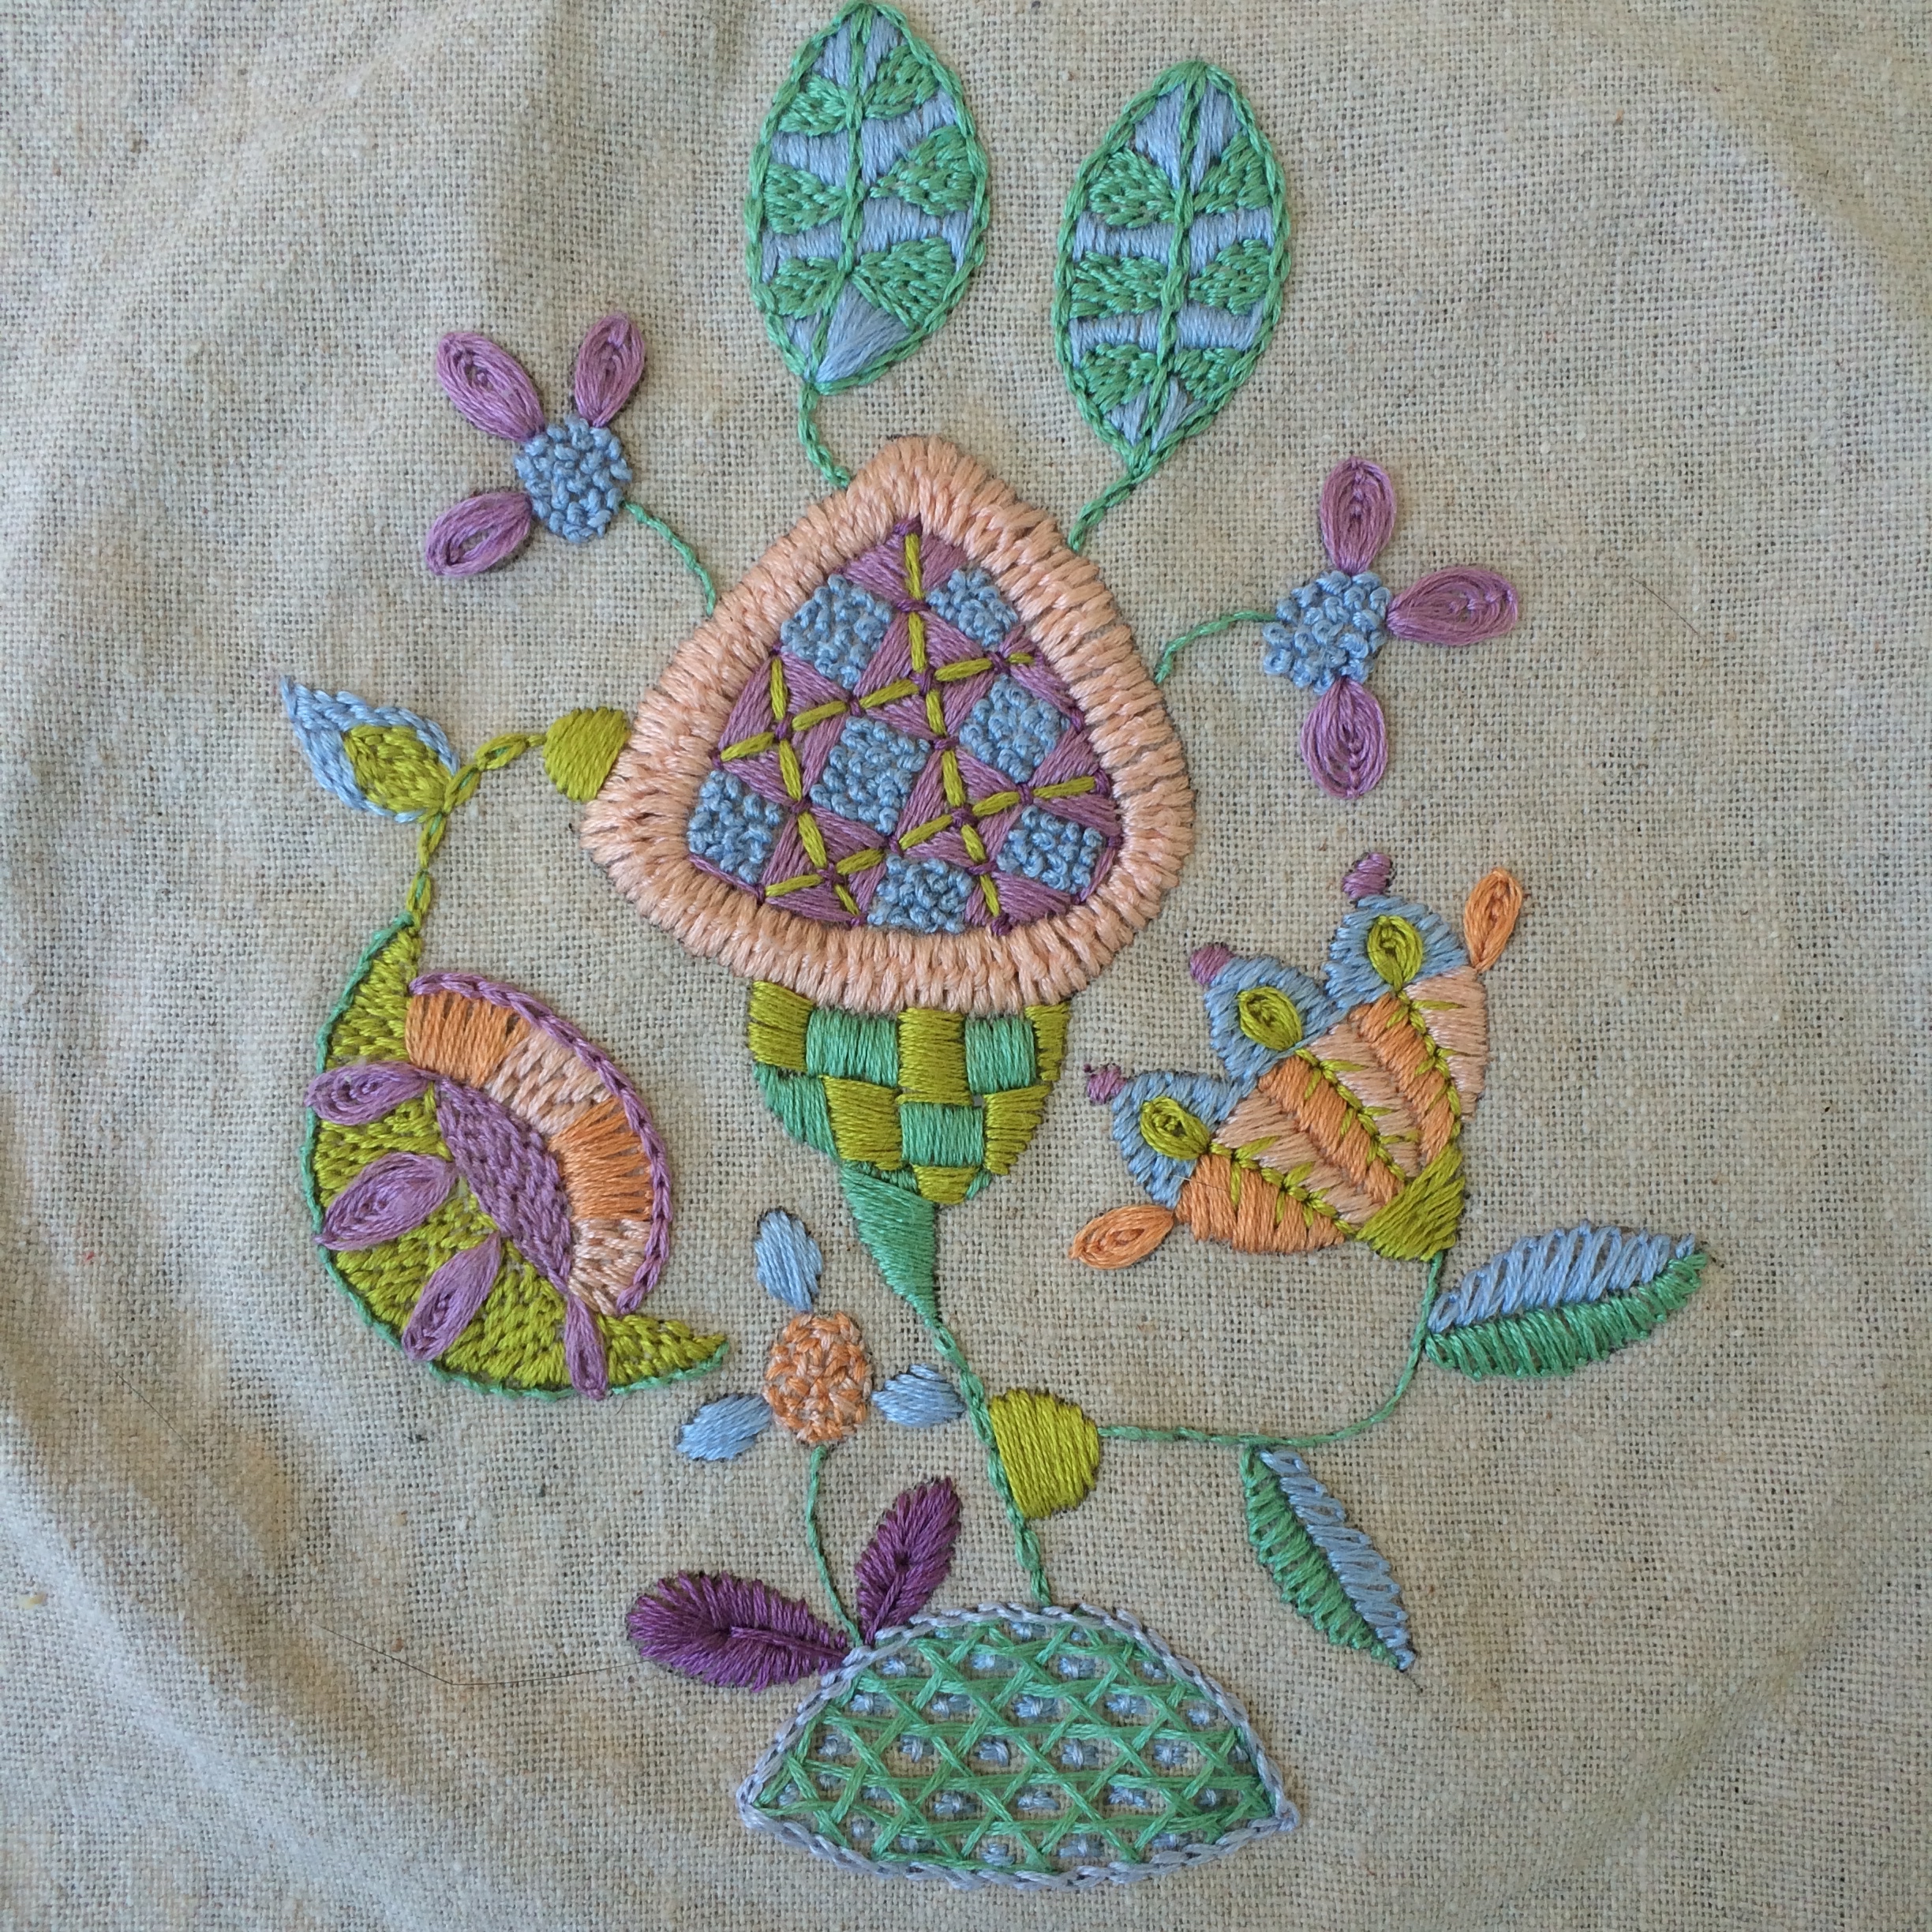
I’ve never embroidered before, just cross stitched, and I must say I’m enjoying this more. I can do it faster and get more detail. I’m half way through another and after I’ve practiced more I think I’ll make a big one.
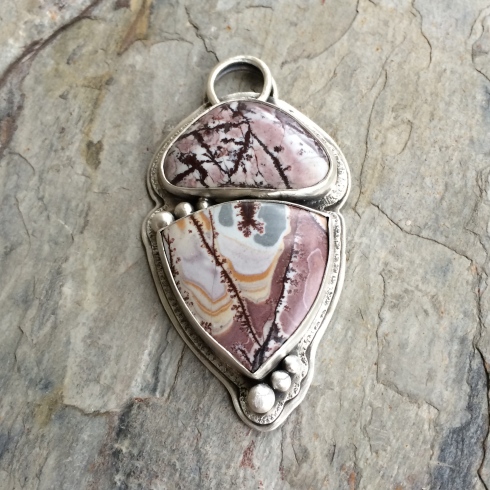
I also finished this pendant.
I bought the bottom Sonora Dendrite, but formed the other on my super duper Jool Tool. Still can’t quite get a good shine yet, but on the whole it’s very exciting.
And now we’re pooped.

I mean really pooped.

–
TTYL
–
–
Yep the ol’ funk still.
If you’ve been reading my blog for any time you’ll know I get them.
I’m a funky kind of person – and not in the good way 😉
Well this one’s just been lingering around trying to make itself more important than it really is, and I’ve been plodding along almost going ‘there’ (yes you know where), but then writing my blog and laughing at it like this,
Hahaha!
It works. I laugh at, and with, myself through this blog, and, for me, that brings everything back to a level I can work with.
So yesterday I was in the studio having one of my, why am I bothering doing this, nothing really matters, I’m just so bored with it all moments.
You know, general wallowing and floundering around, looking at all the stuff on my table and not wanting to do anything.
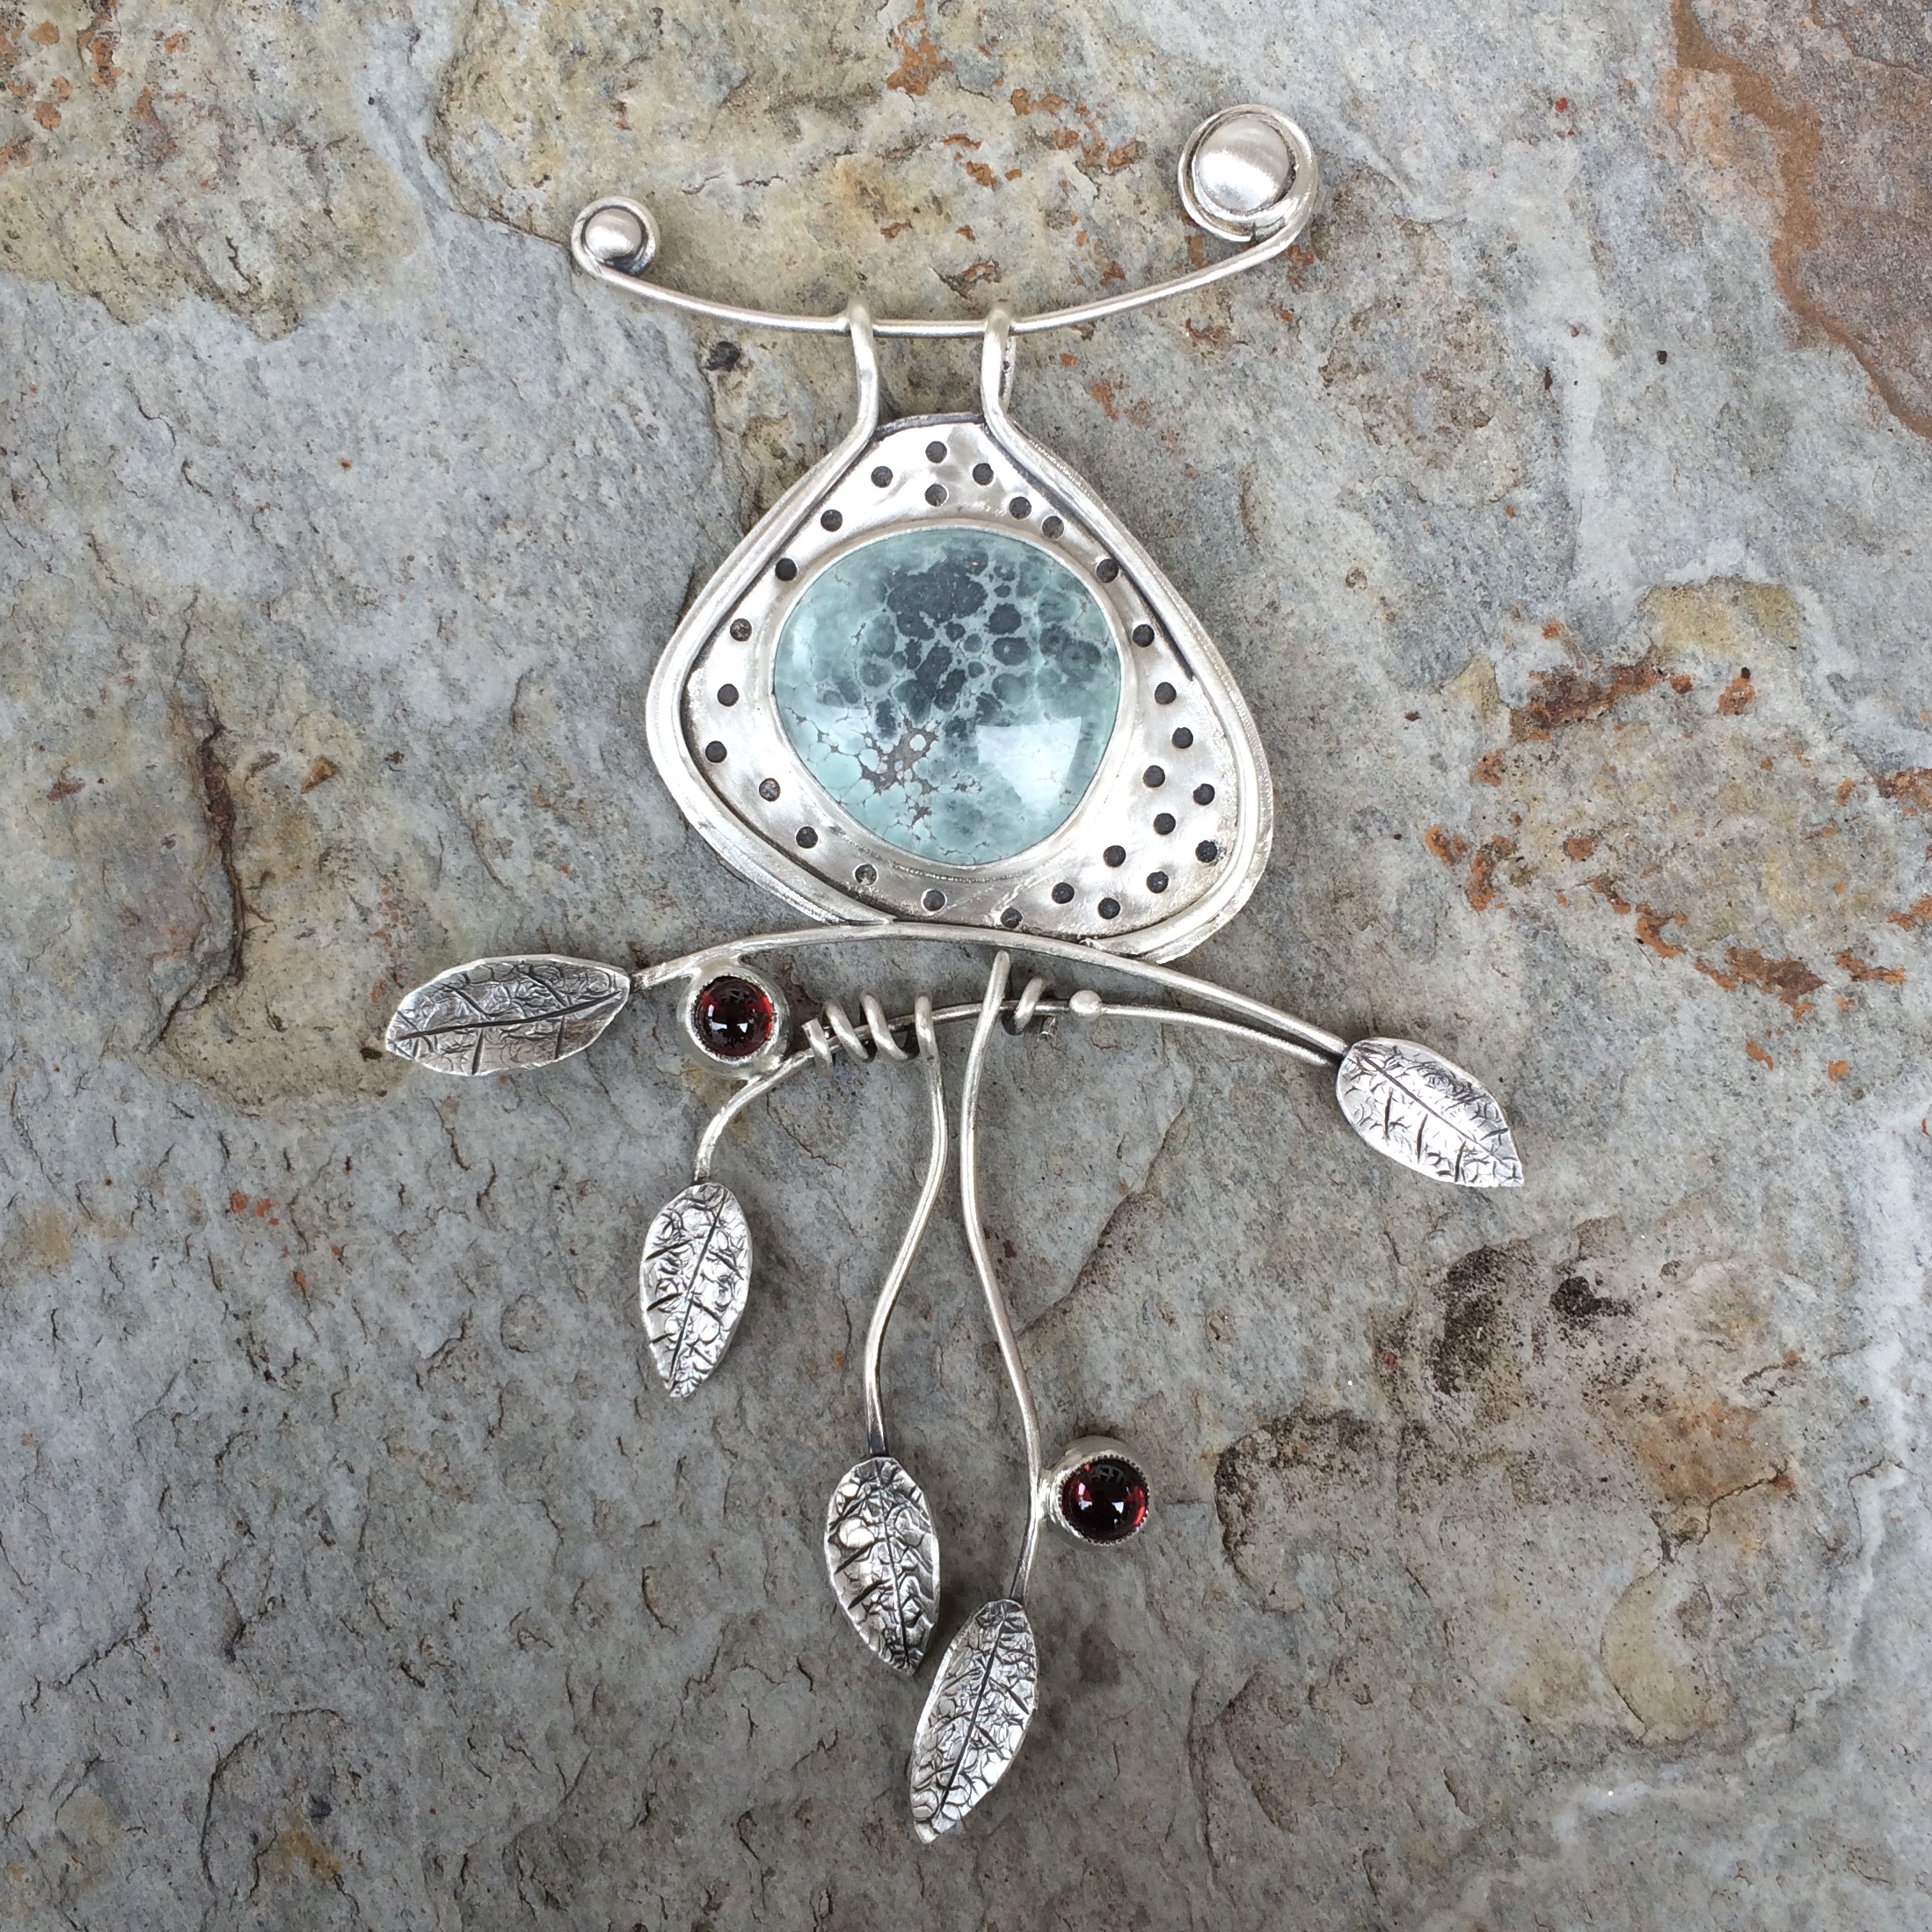
But, knowing that I just needed to get on with something, anything, to work through the funk, I decided that I was going to make a piece similar to this one.

Because I had another of those nice little coral flint whatever stones just left hanging there with nothing to do.
It was one of a pair that were sold as earring stones, but, thoughtless me, split them up and now they’re lost twins.
O.K. So…
No writing now, I think I’ve managed to get all the melodrama out.
Let’s see how long I go without having to say something.
Mwahahaha.


Too pointy so I changed it slightly.


Now I’m playing around with it as I never really do know what I want to happen next.
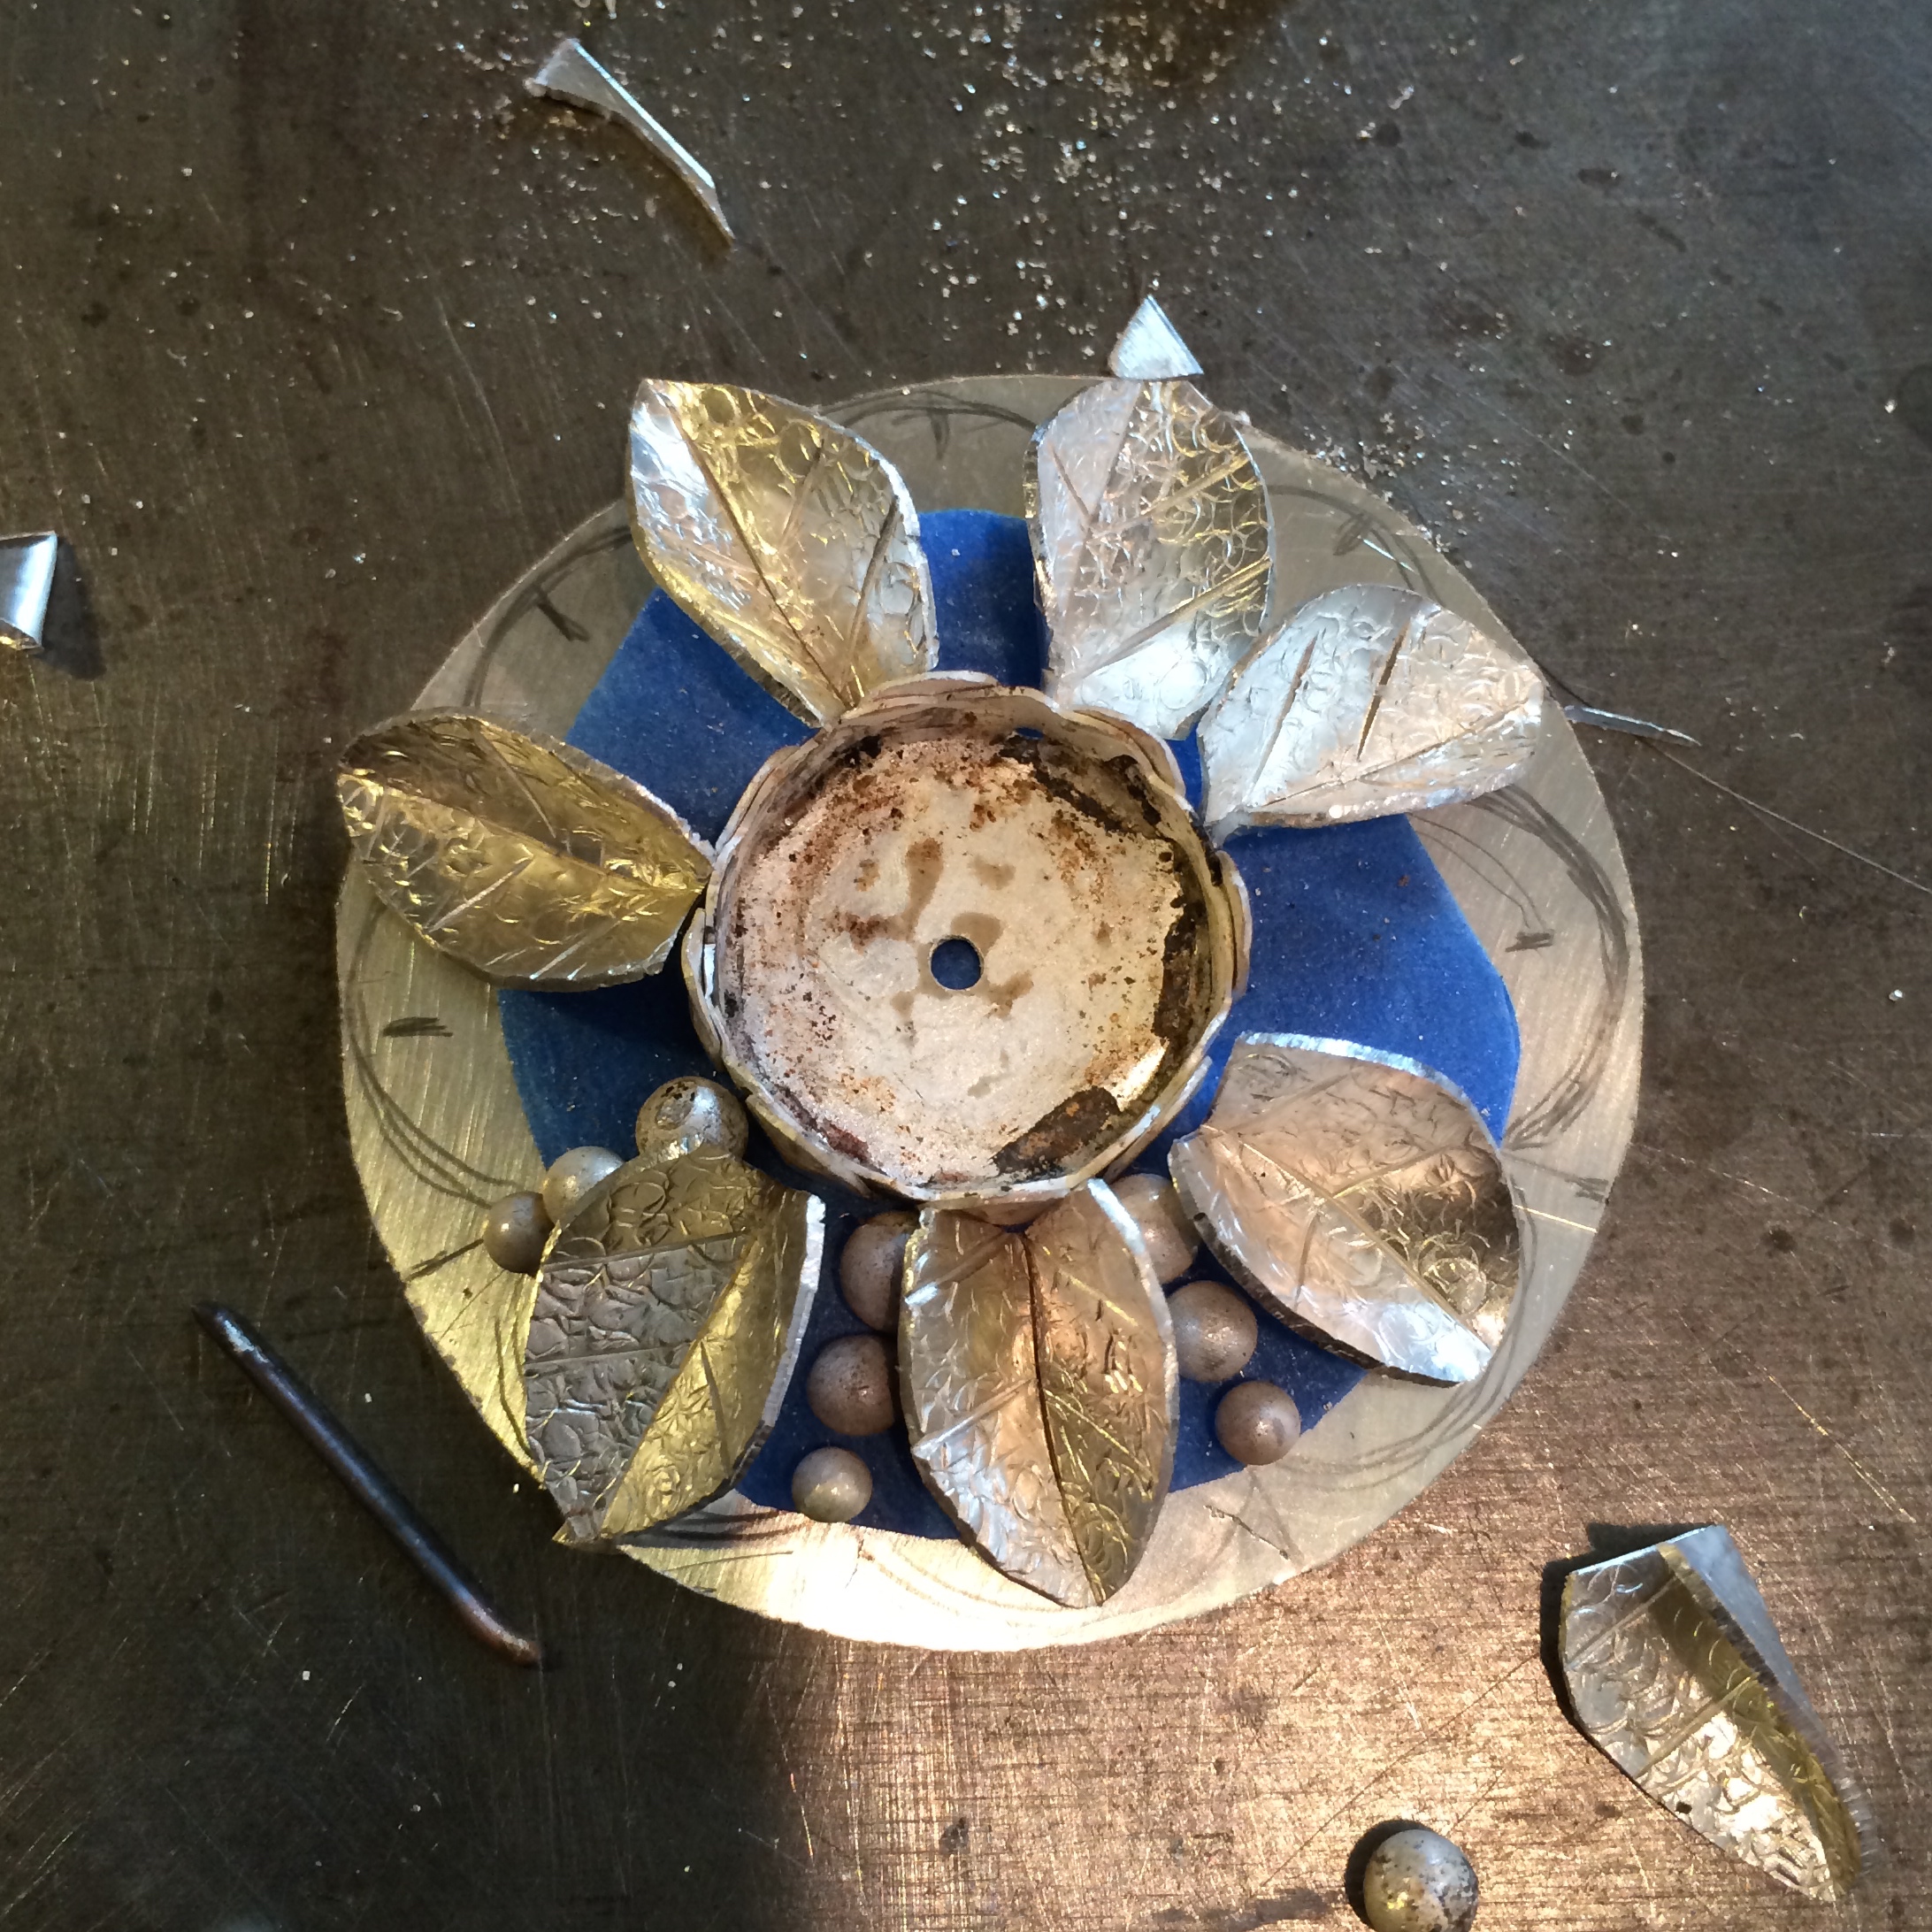
Finally decided.

Added the bail.
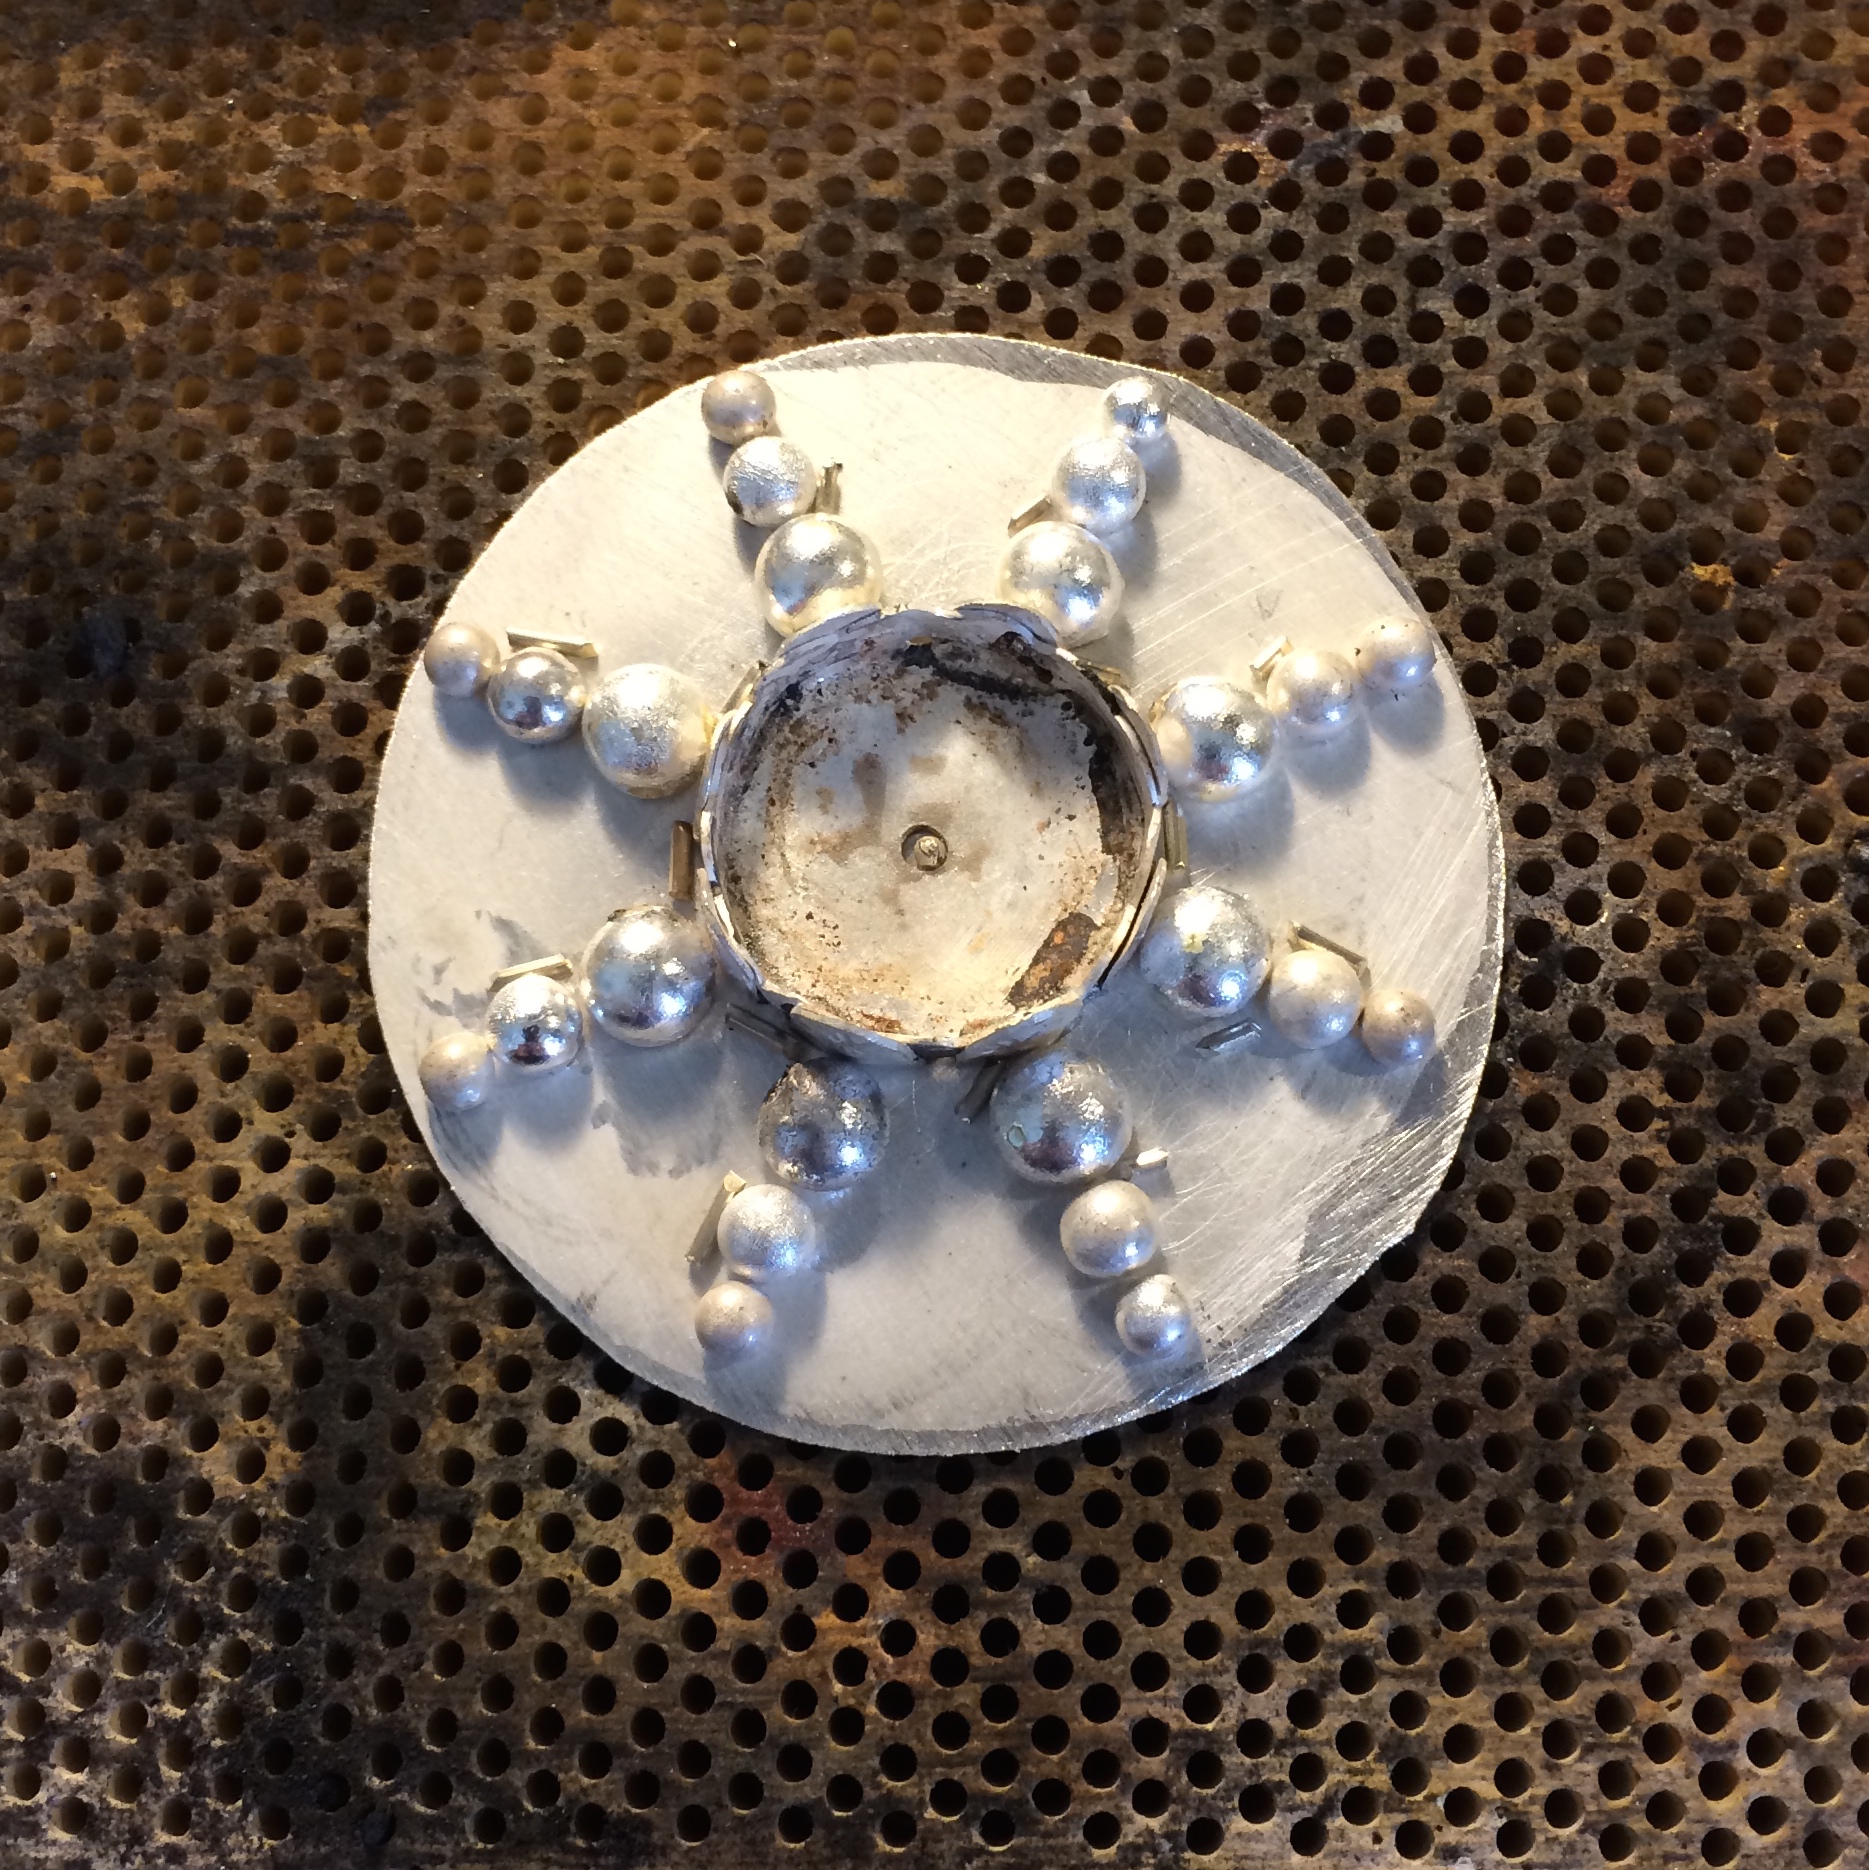
Cut the prongs.

Added some extra little balls along with the prongs.


Not quite like the one I was going for.
The darn prongs got on my nerves a bit, but I finally remembered I had bought some of that Rio Chil Gel a while back and decided to give that a go.
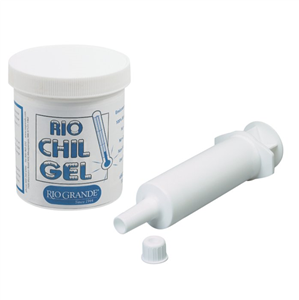
Bit of an overkill with that ginormous syringe though for those tiny prongs 🙂
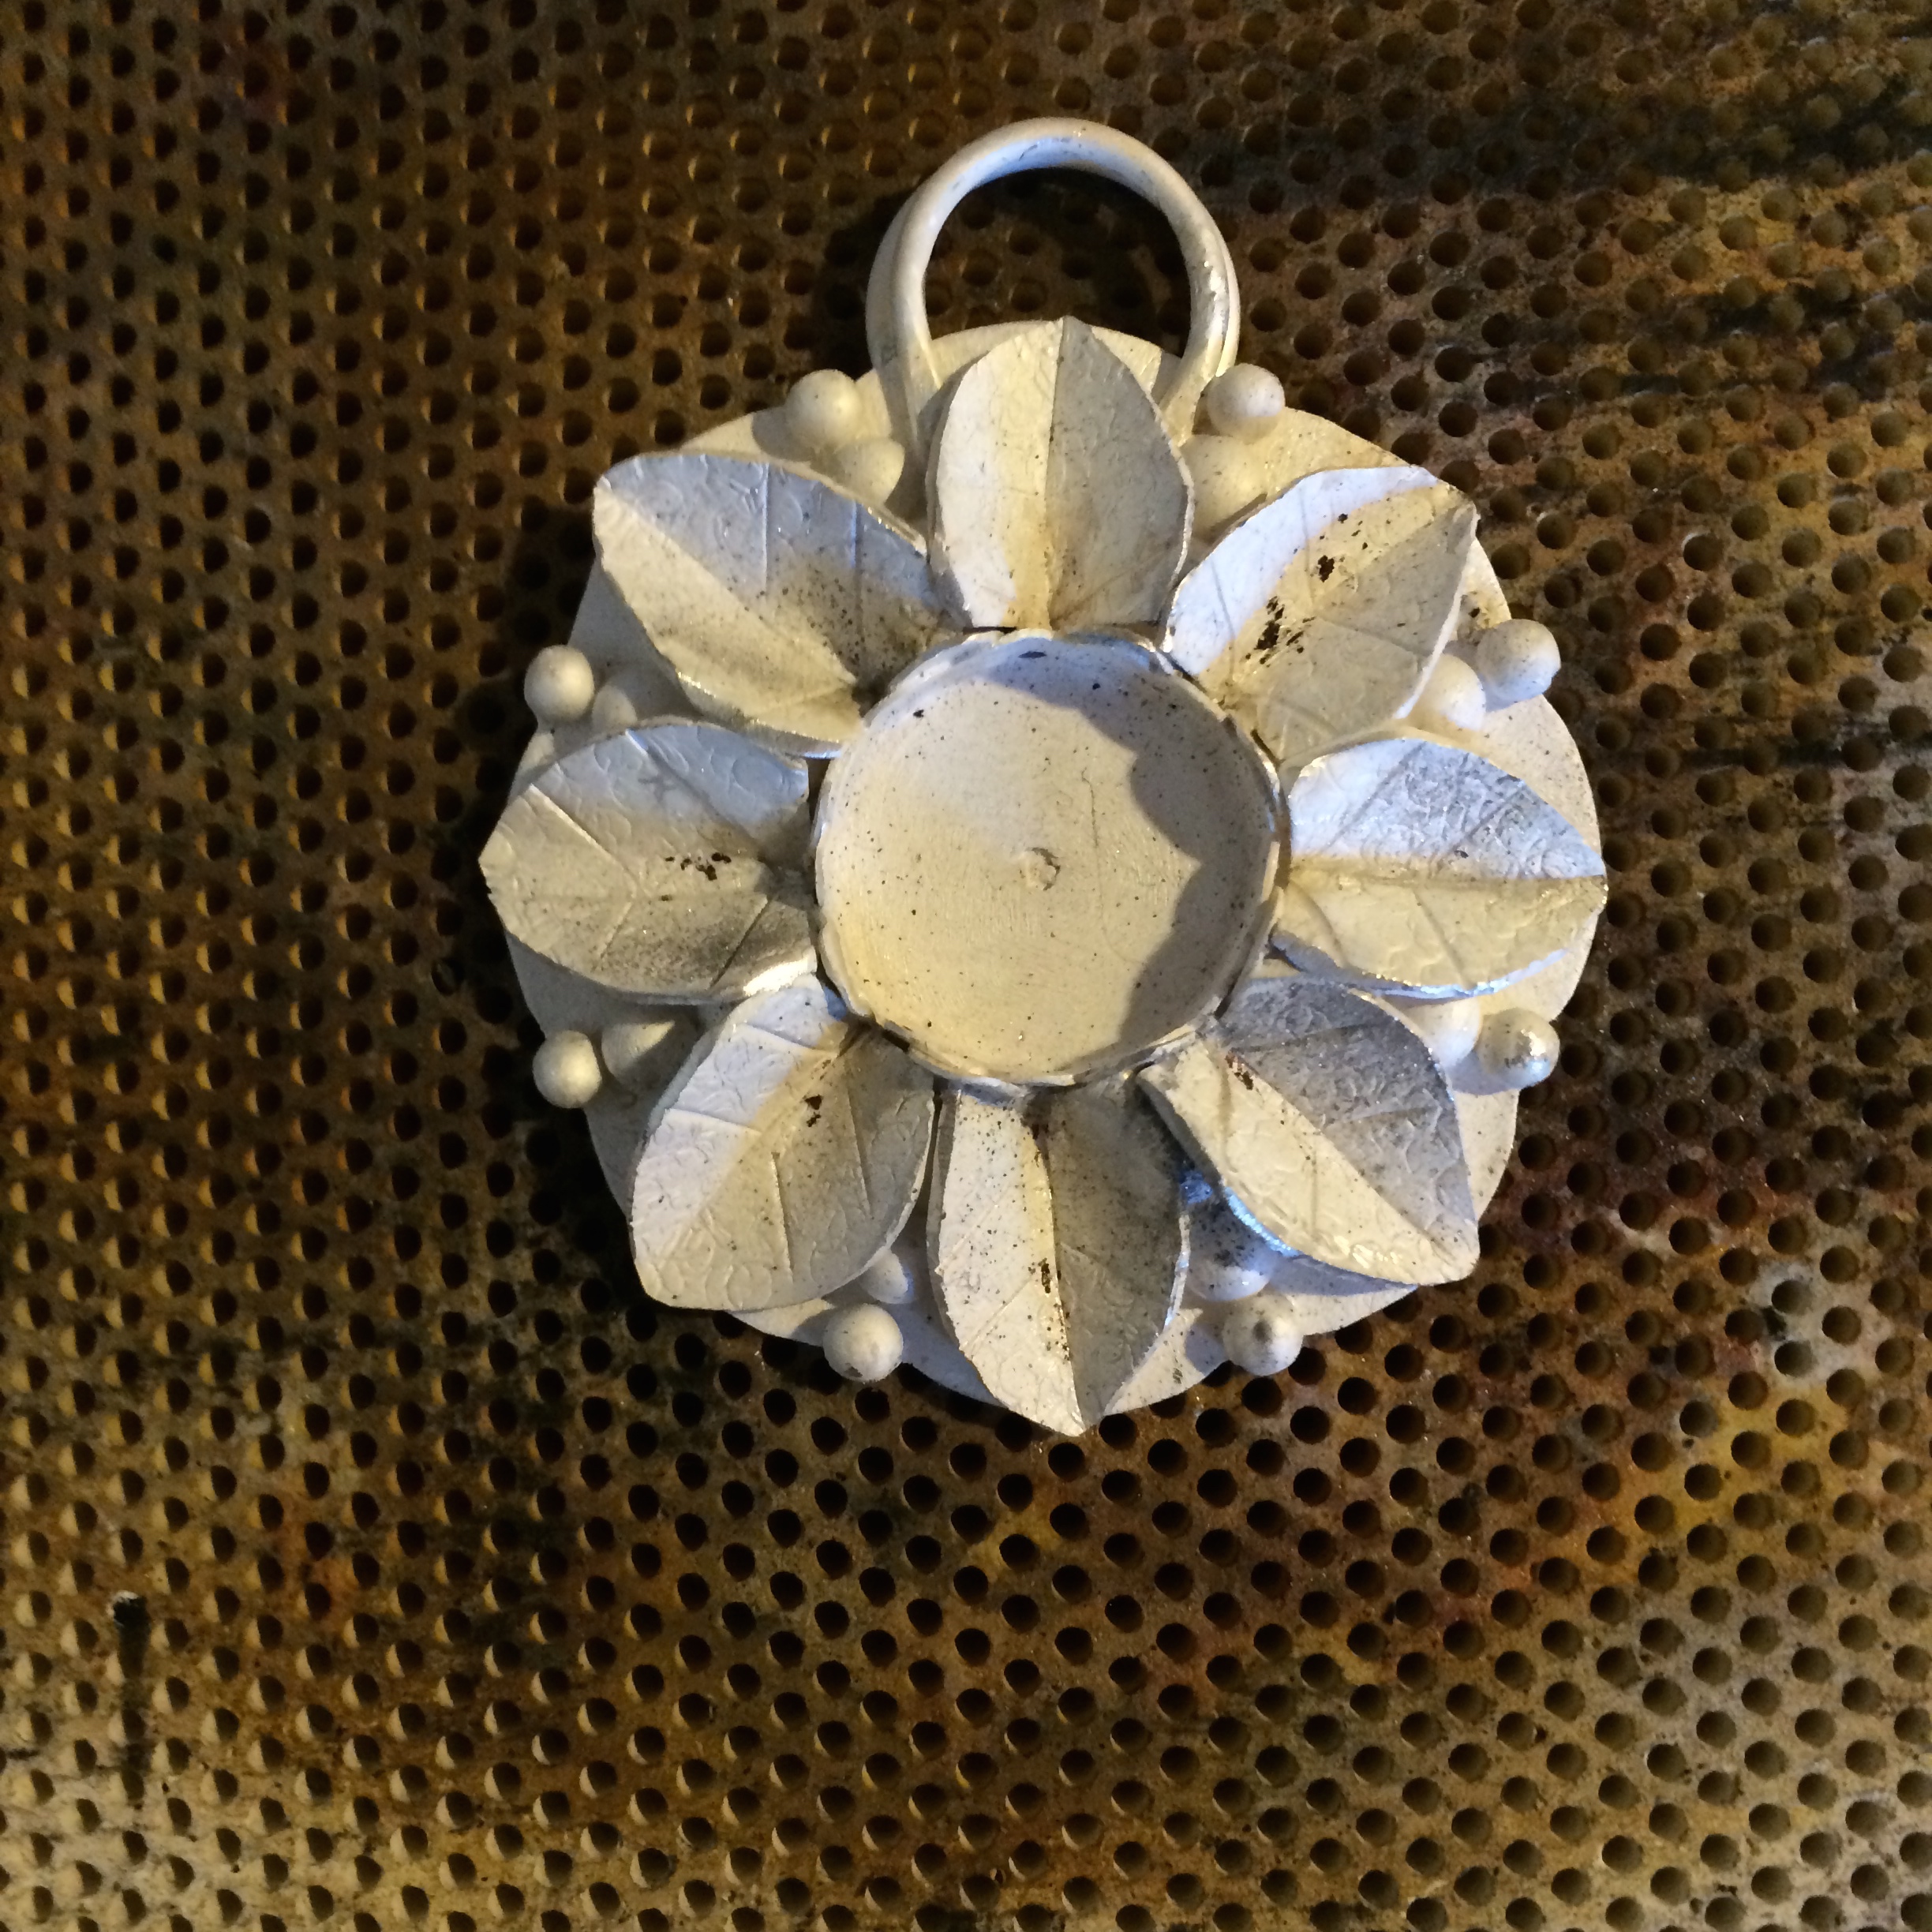
It really works well so try that out if you want to stop something melting five hundred times before you finally clue up.
And that was when the determination kicked in.
Up until then I had been making the piece by rote really, not really putting my back into it. But… when those darn prongs kept melting and I finally decided to walk away and give up because I would never be able to do it, I suddenly felt my bloody minded side kicked in.
Where had it been all day?
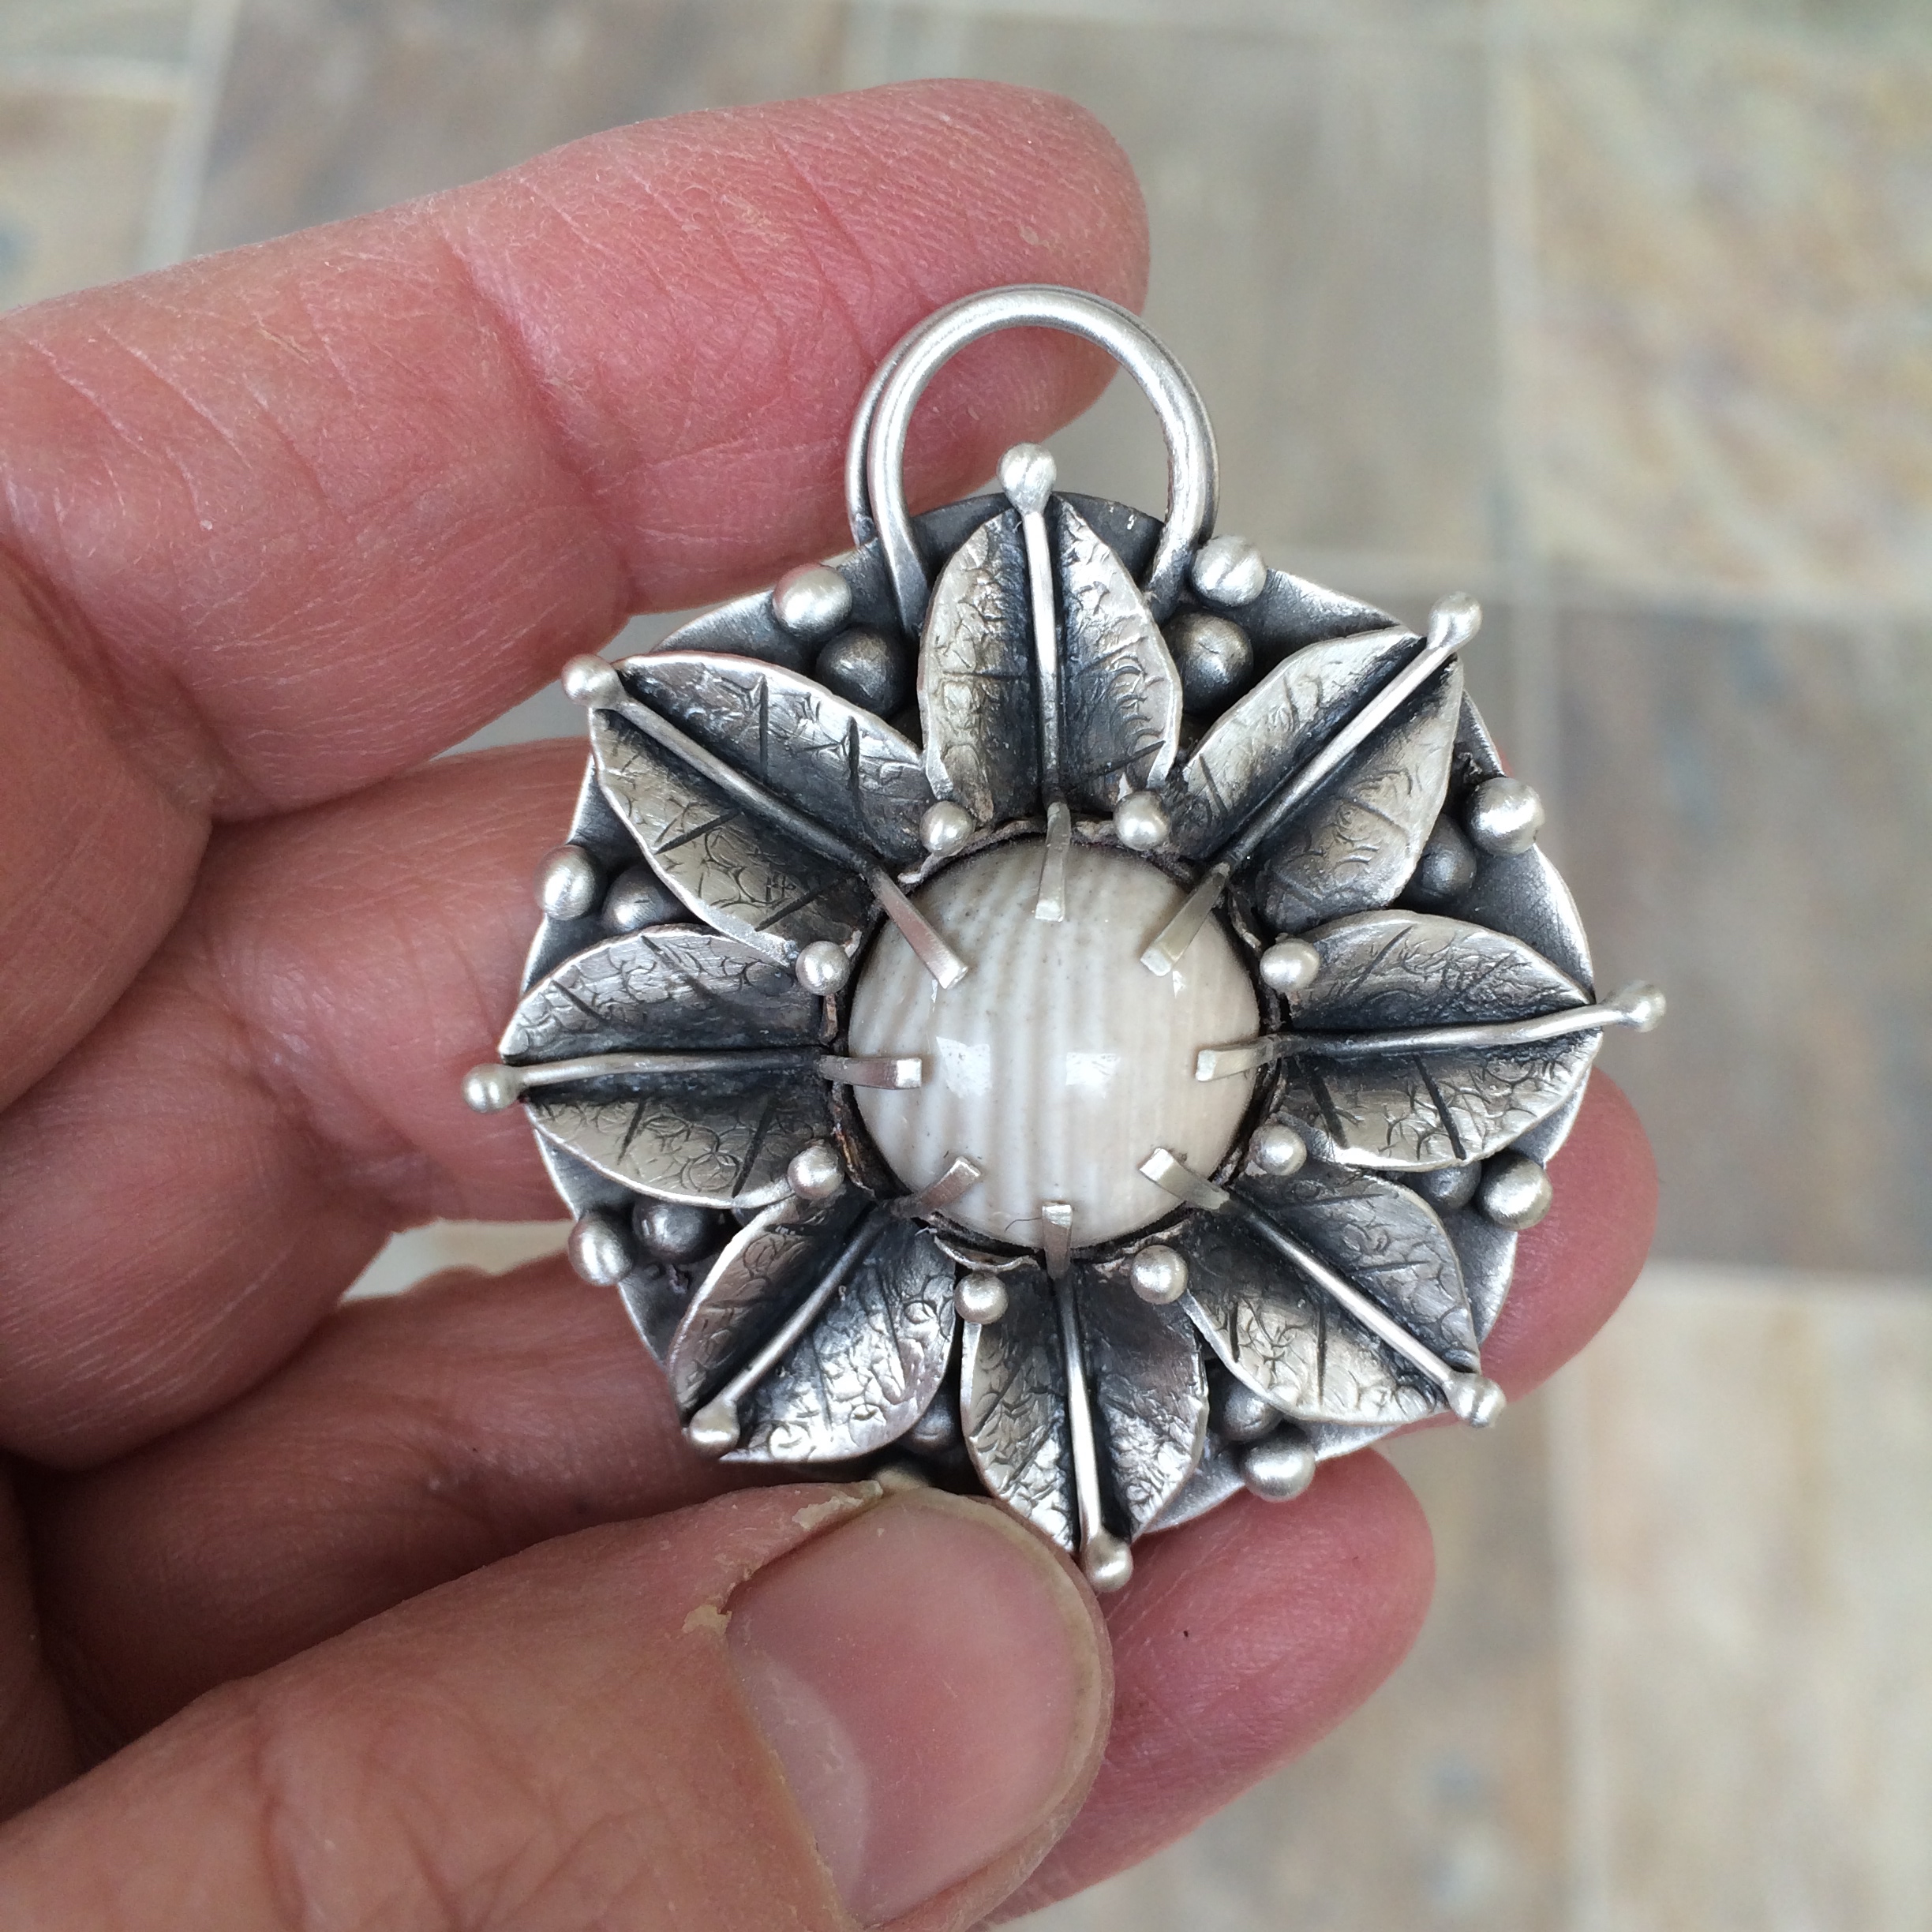
Probably slinked off somewhere to have it out with the funk is all I can think of because it came back with a vengeance and, before I knew it, those prongs were set and finished.
It was a beautiful thing.
😉
Here’s a little video of me making the leaves. Don’t know if you can really see what I’m doing, but hey, I was in the funk at the time, so it’s all I have.
😉
–
–
–
So I made a few tube settings and, although it goes against every grain in my body, wouldn’t you know it, slow and sure wins the day.
Almost.

I also wanted to start using up the huge bowl of scrap silver I have sitting beside me.
Taunting me always in the corner of my eye.
So I used that in the earrings also.

Except for when I used my favourite grey pearls.
Here’s how I made them.
I started by cutting a silver tube which has a slightly larger diameter than the width of the stone, (half millimeter or so), into the lengths I needed to accommodate the depth of the stones.

with this handy, but annoying tube cutting thing.
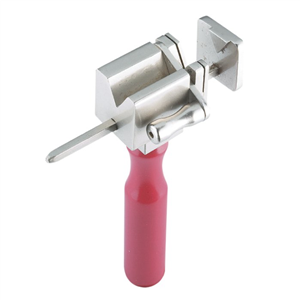
I used to hold it in my hand to cut the tubes, but found that you really need to have hands the size of André the Giant to hold it steady and put your thumb over the lever at the same time, so now I place it upright in my table vise which holds it brilliantly as I saw through the tubes.
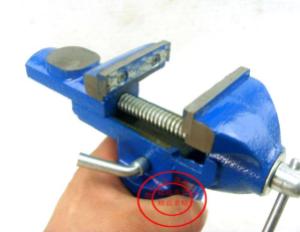
I tell you this only to save you from the inevitable agony of carpal tunnel syndrome and the irritation that goes with taking forever to figure these things out…
or is this just me?
So the second annoying thing about the tube cutter thing is that, however hard I try, I cannot get the edges to cut flush and have to spend loads of awkward time fiddling around filing them flat after they’re cut.

See.
So this time, after I cut the tube to the lengths I needed, I put them in this fine little contraption thing.
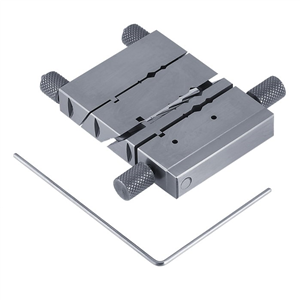
And, once I got the hang of it and figured out that they didn’t just include that nifty little allan key for amusement’s sake, I found I could put the little cut pieces of tube in it and file the edges flush more easily.
So, I know what you’re thinking.
Why, for the love of god didn’t she put the whole darn tube in the fine little contraption thing to begin with and saw the lengths of tubes she needed in that instead of faffing around with the first stupid tube cutter thing?
WELL DON’T ASK ME!
Don’t talk to me about it. Don’t even think to roll your eyes.
I just didn’t is all – because I can’t use that special, I look as though I can do everything easier, fine little contraption thing either.
It’s just too darn fiddly and I can never get the thing tight enough to keep the tube steady even with the nifty allan key thing which keeps eyeing me in that, you don’t really know what you’re doing way.
Guess I haven’t got the touch.
But practice makes perfect and I’m determined to get it down sometime this century.
O.K. so the tubes are cut, and filed, and a little silver disc has been soldered to their bottoms.
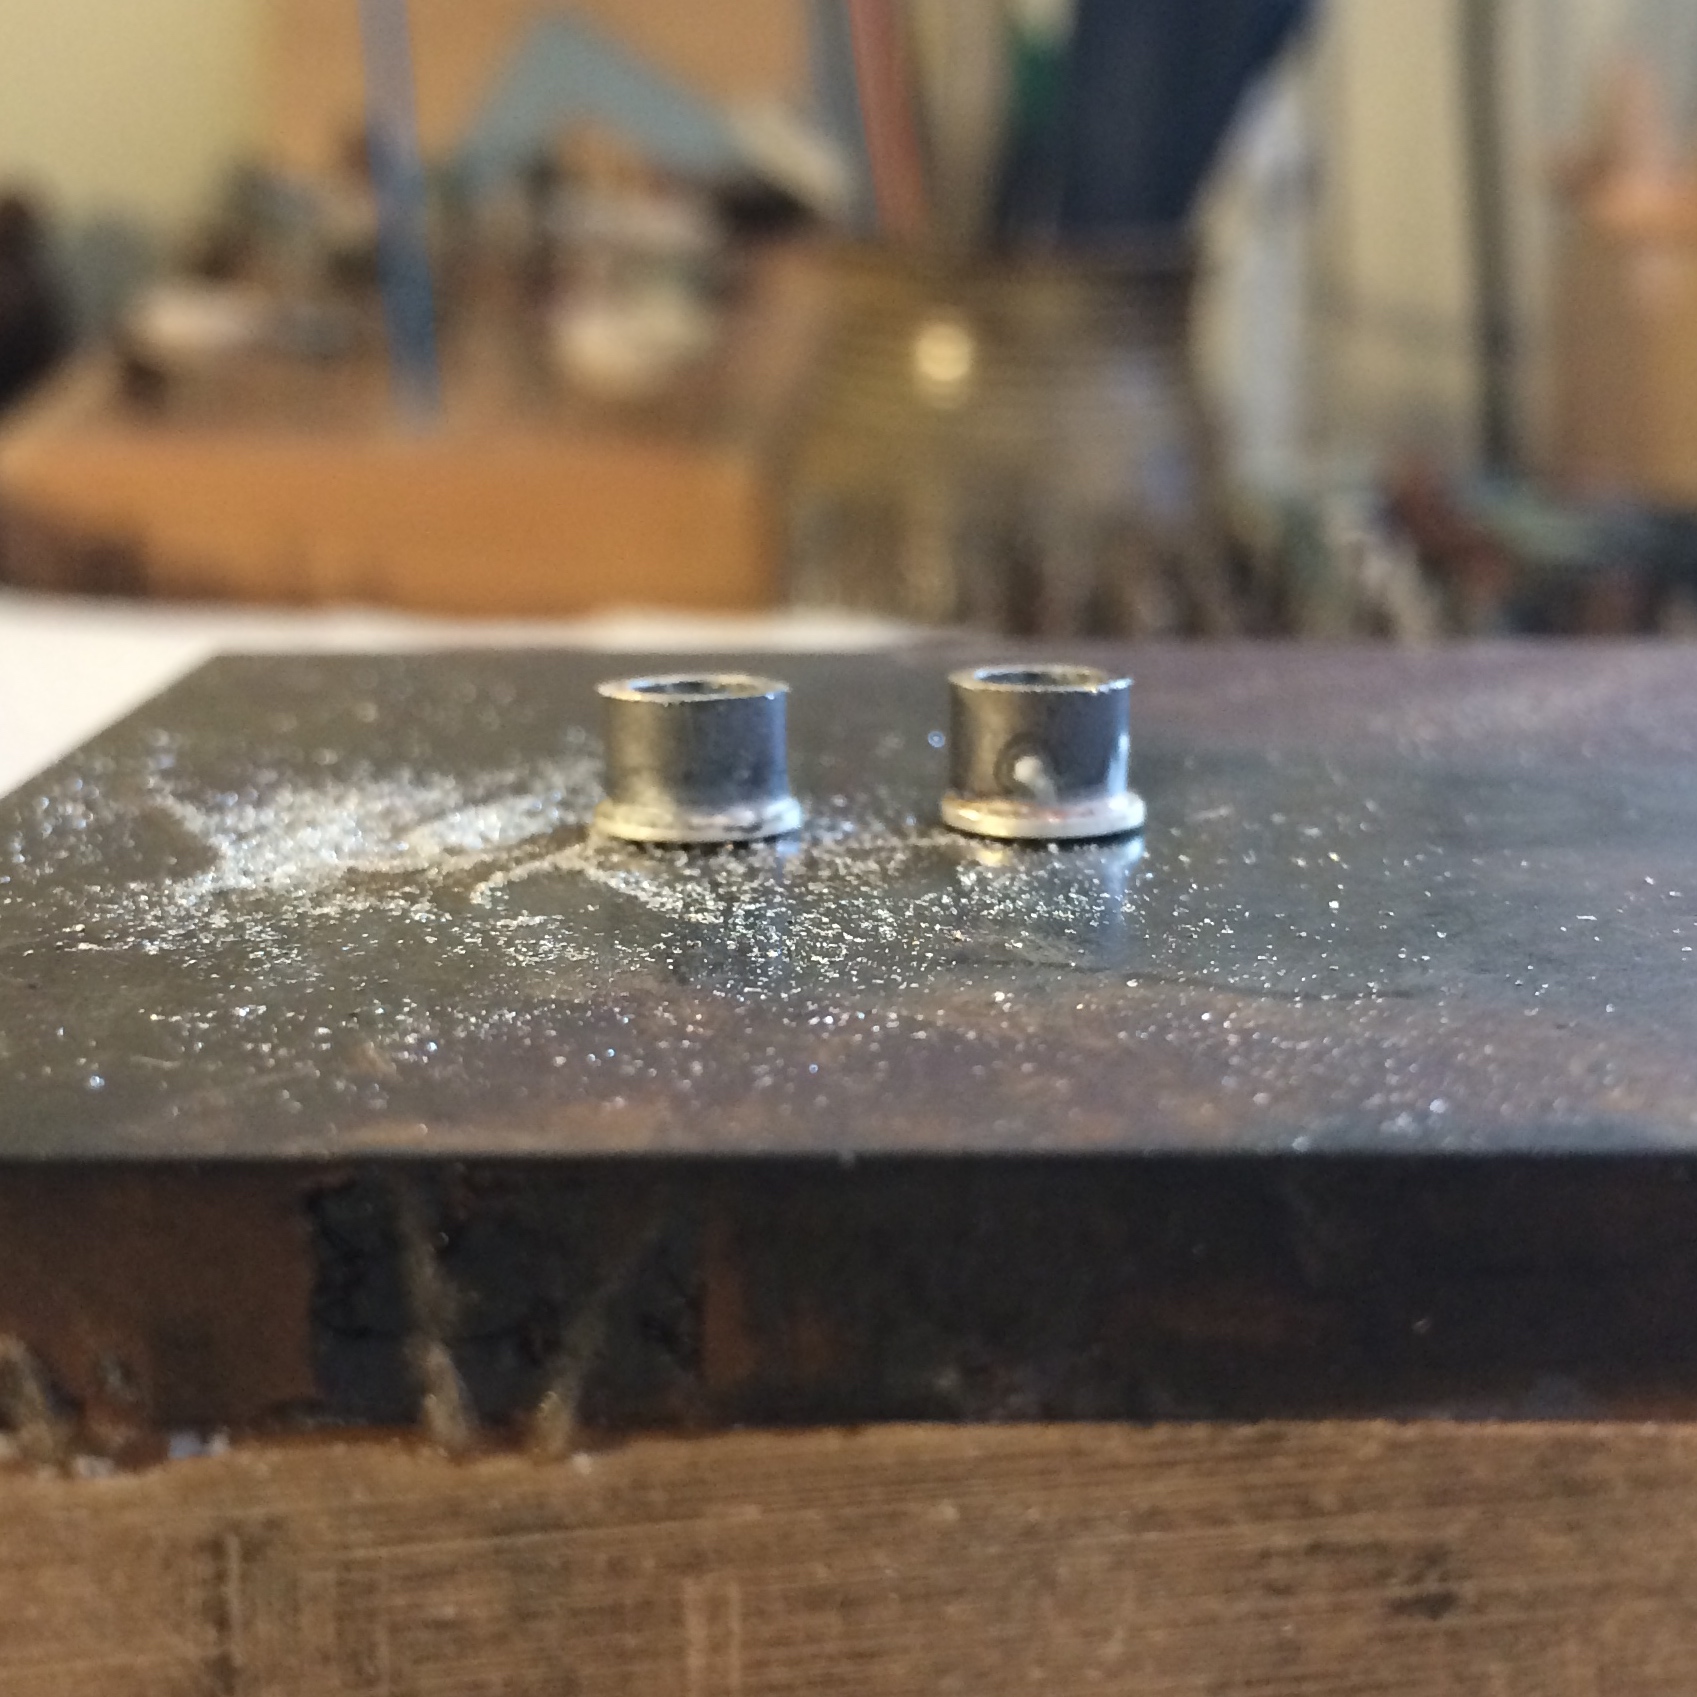
Ready for their next adventure.
And this is the bit that I haven’t quite got down yet.
(Well aside from cutting the tubes…)
(And holding the annoying tube cutting thing…)
(And tightening the nifty contraption…)
I’ve looked at the books and seen the pictures and have a general idea of what I’ve got to do, but I haven’t quite managed to completely figure out how to seat the stone so that it sits absolutely flush when I try to put it in the tube.
I eventually get there, except for the ones above with the pearls hanging from them which annoy me every time I look at them, but I just know that it shouldn’t be as hard as I’m finding it.
I’m determined to figure it out.
One stone setting book said that the method I used above will never work as, however thick the rim of the tube is, it just ain’t gonna happen.
Perhaps I should have believed it.
It says that instead you need a tube for the width of the stone, then another, smaller tube set inside the larger one which will become the seat of the stone.
But I didn’t have a tube small enough in diameter to fit inside the first tube, so I couldn’t do it that way.
I’m going to give it a go as soon as I figure out how I can improvise without having to buy every darn width of tubing that has ever been made.
So up next…
Tube making
Exciting, yes?
O.K. so then I drilled out the tube with my stone setting bur so that the stone could sit in there nicely even though it didn’t really want to.
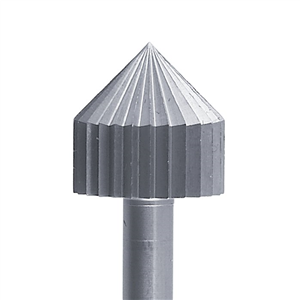
And then soldered all the earring components onto the tubes.
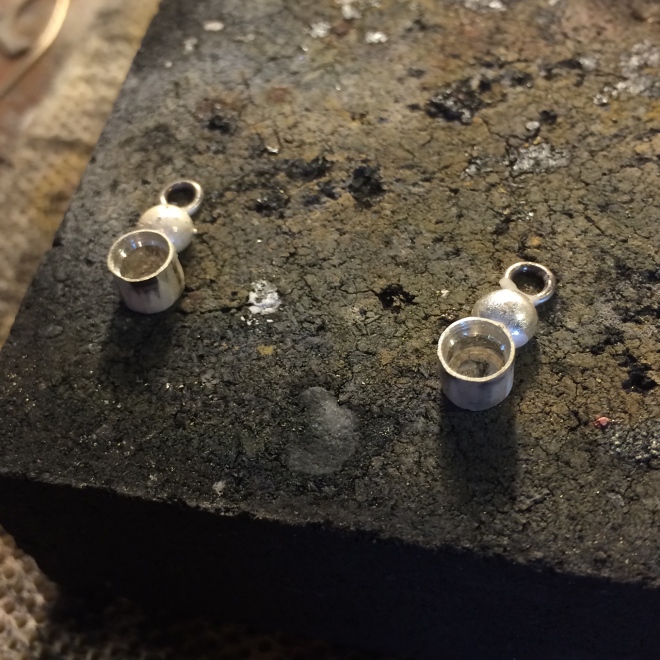
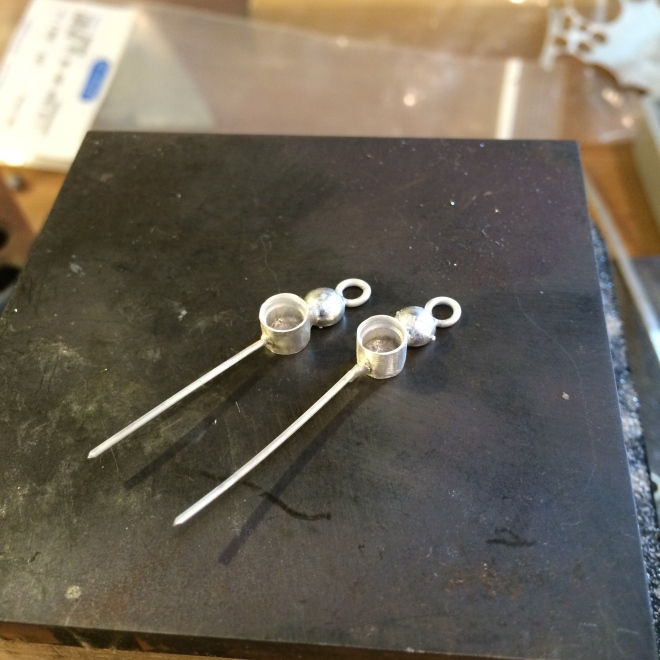
This one is for the last pair. For the top three pairs of earrings I also soldered the silver drops onto them at this stage.
Next I got out my box of special bezel punch things.

Which I really like to look at even when I’m not using them as they look so neat. And I chose the one that fit over the tube I was setting and tapped down on it to push the silver over the stone.
For the first three pairs of earrings it worked fine, but for the fourth I decided to try the old tried and tested way of pushing the sides over with my bezel pusher.

I think I like this way better because I could actually see the rim moving over the stone which gave me more confidence that the stone wouldn’t fall out afterward.
Its a trust thing.

And that’s it.
I’m still not completely happy with them so I’m going to practice some more. I want to eventually be able to make them without having to fiddle around so much, because, as a friend would say,
I ain’t got no time for that!
Happy Sunday
🙂
–
–
–
I thought I’d send you all a pic of my mantle.

Soil crumbs an’ all.

I love all of my mates.

Although P rolls his eyes.
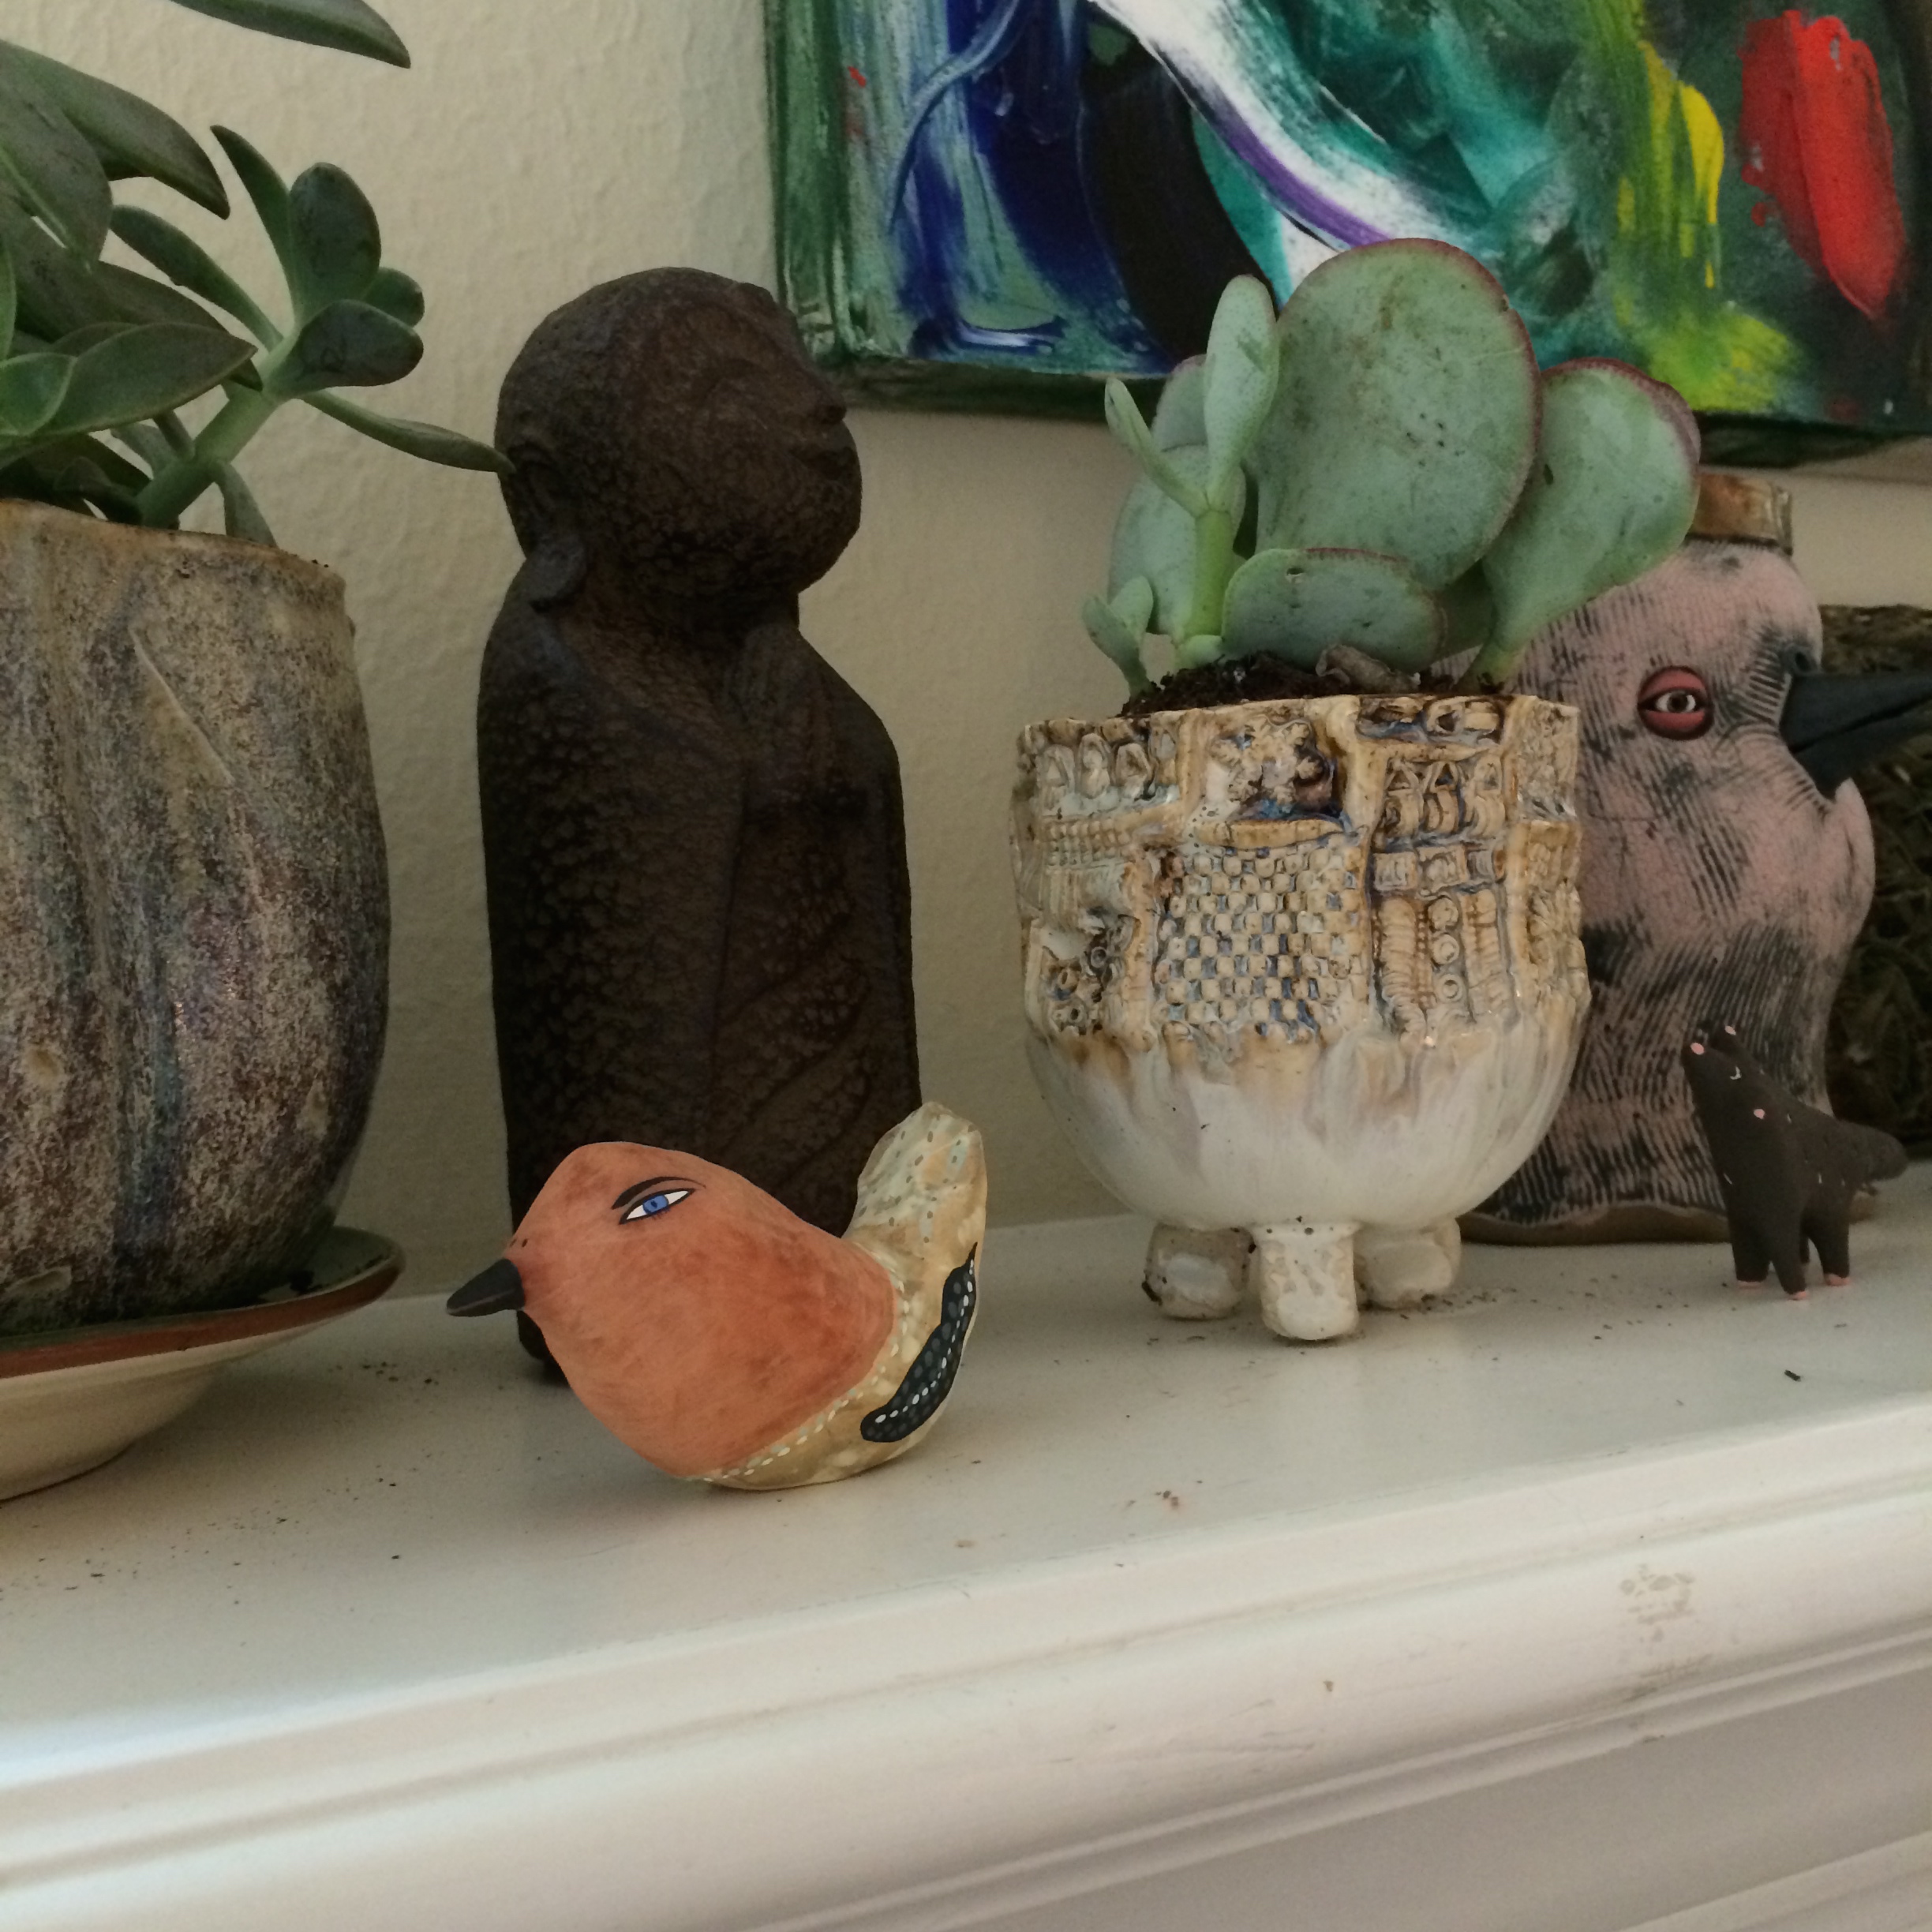
Look at my new bird 🙂

Off to wipe it down now.
Oh, and I’ve been trying out new things with my triffid drawings.

And, the flush setting has begun!
I’ve two little stones in the studio as I write, waiting for me to finish them off.
And yes, that’s probably in the doom of death way.
I’ll keep you posted.
–
–
–
I had a bit of a slow day yesterday, but finally got the half-finished quilt out.
Here’s where I had left off.
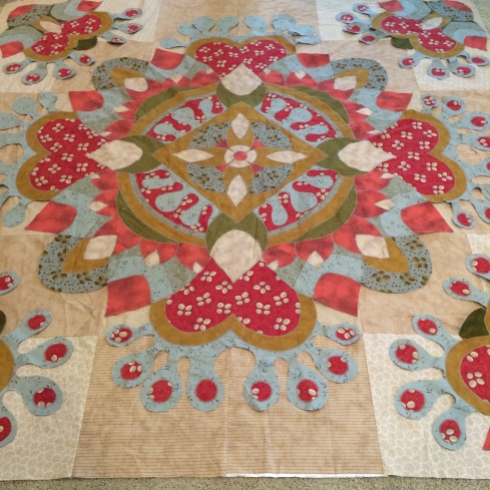
About a year ago when I got bored with it.
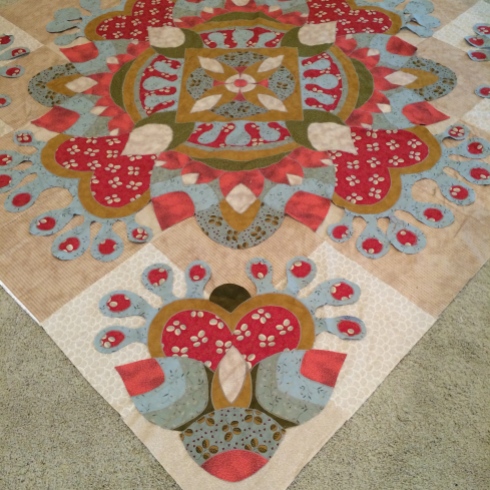
Even though it was practically finished.

Sometimes it goes like that.
So I finished putting the red dots on the blue doowhats and have now baste the large middle part to the backing fabric. I’ll come back for the corners once the main section is sewn on.

I’m thinking about the border as I sew and for some reason am leaning toward big red triangles, but I’ll figure that out later.
The quilt was going to be for B, but I think it’s a bit old-fashioned looking for her. I’m not even sure I like it for me either.
So that’s it.
It’s early days, but… the quilteth is backeth (I think) and not before time either.
–
–
–
I refuse to think that I’m in a funk.
I choose to believe that I need a change of scenery.
(Thank you Cecilia, By the way, did your tank come yet?)
Beginnings…

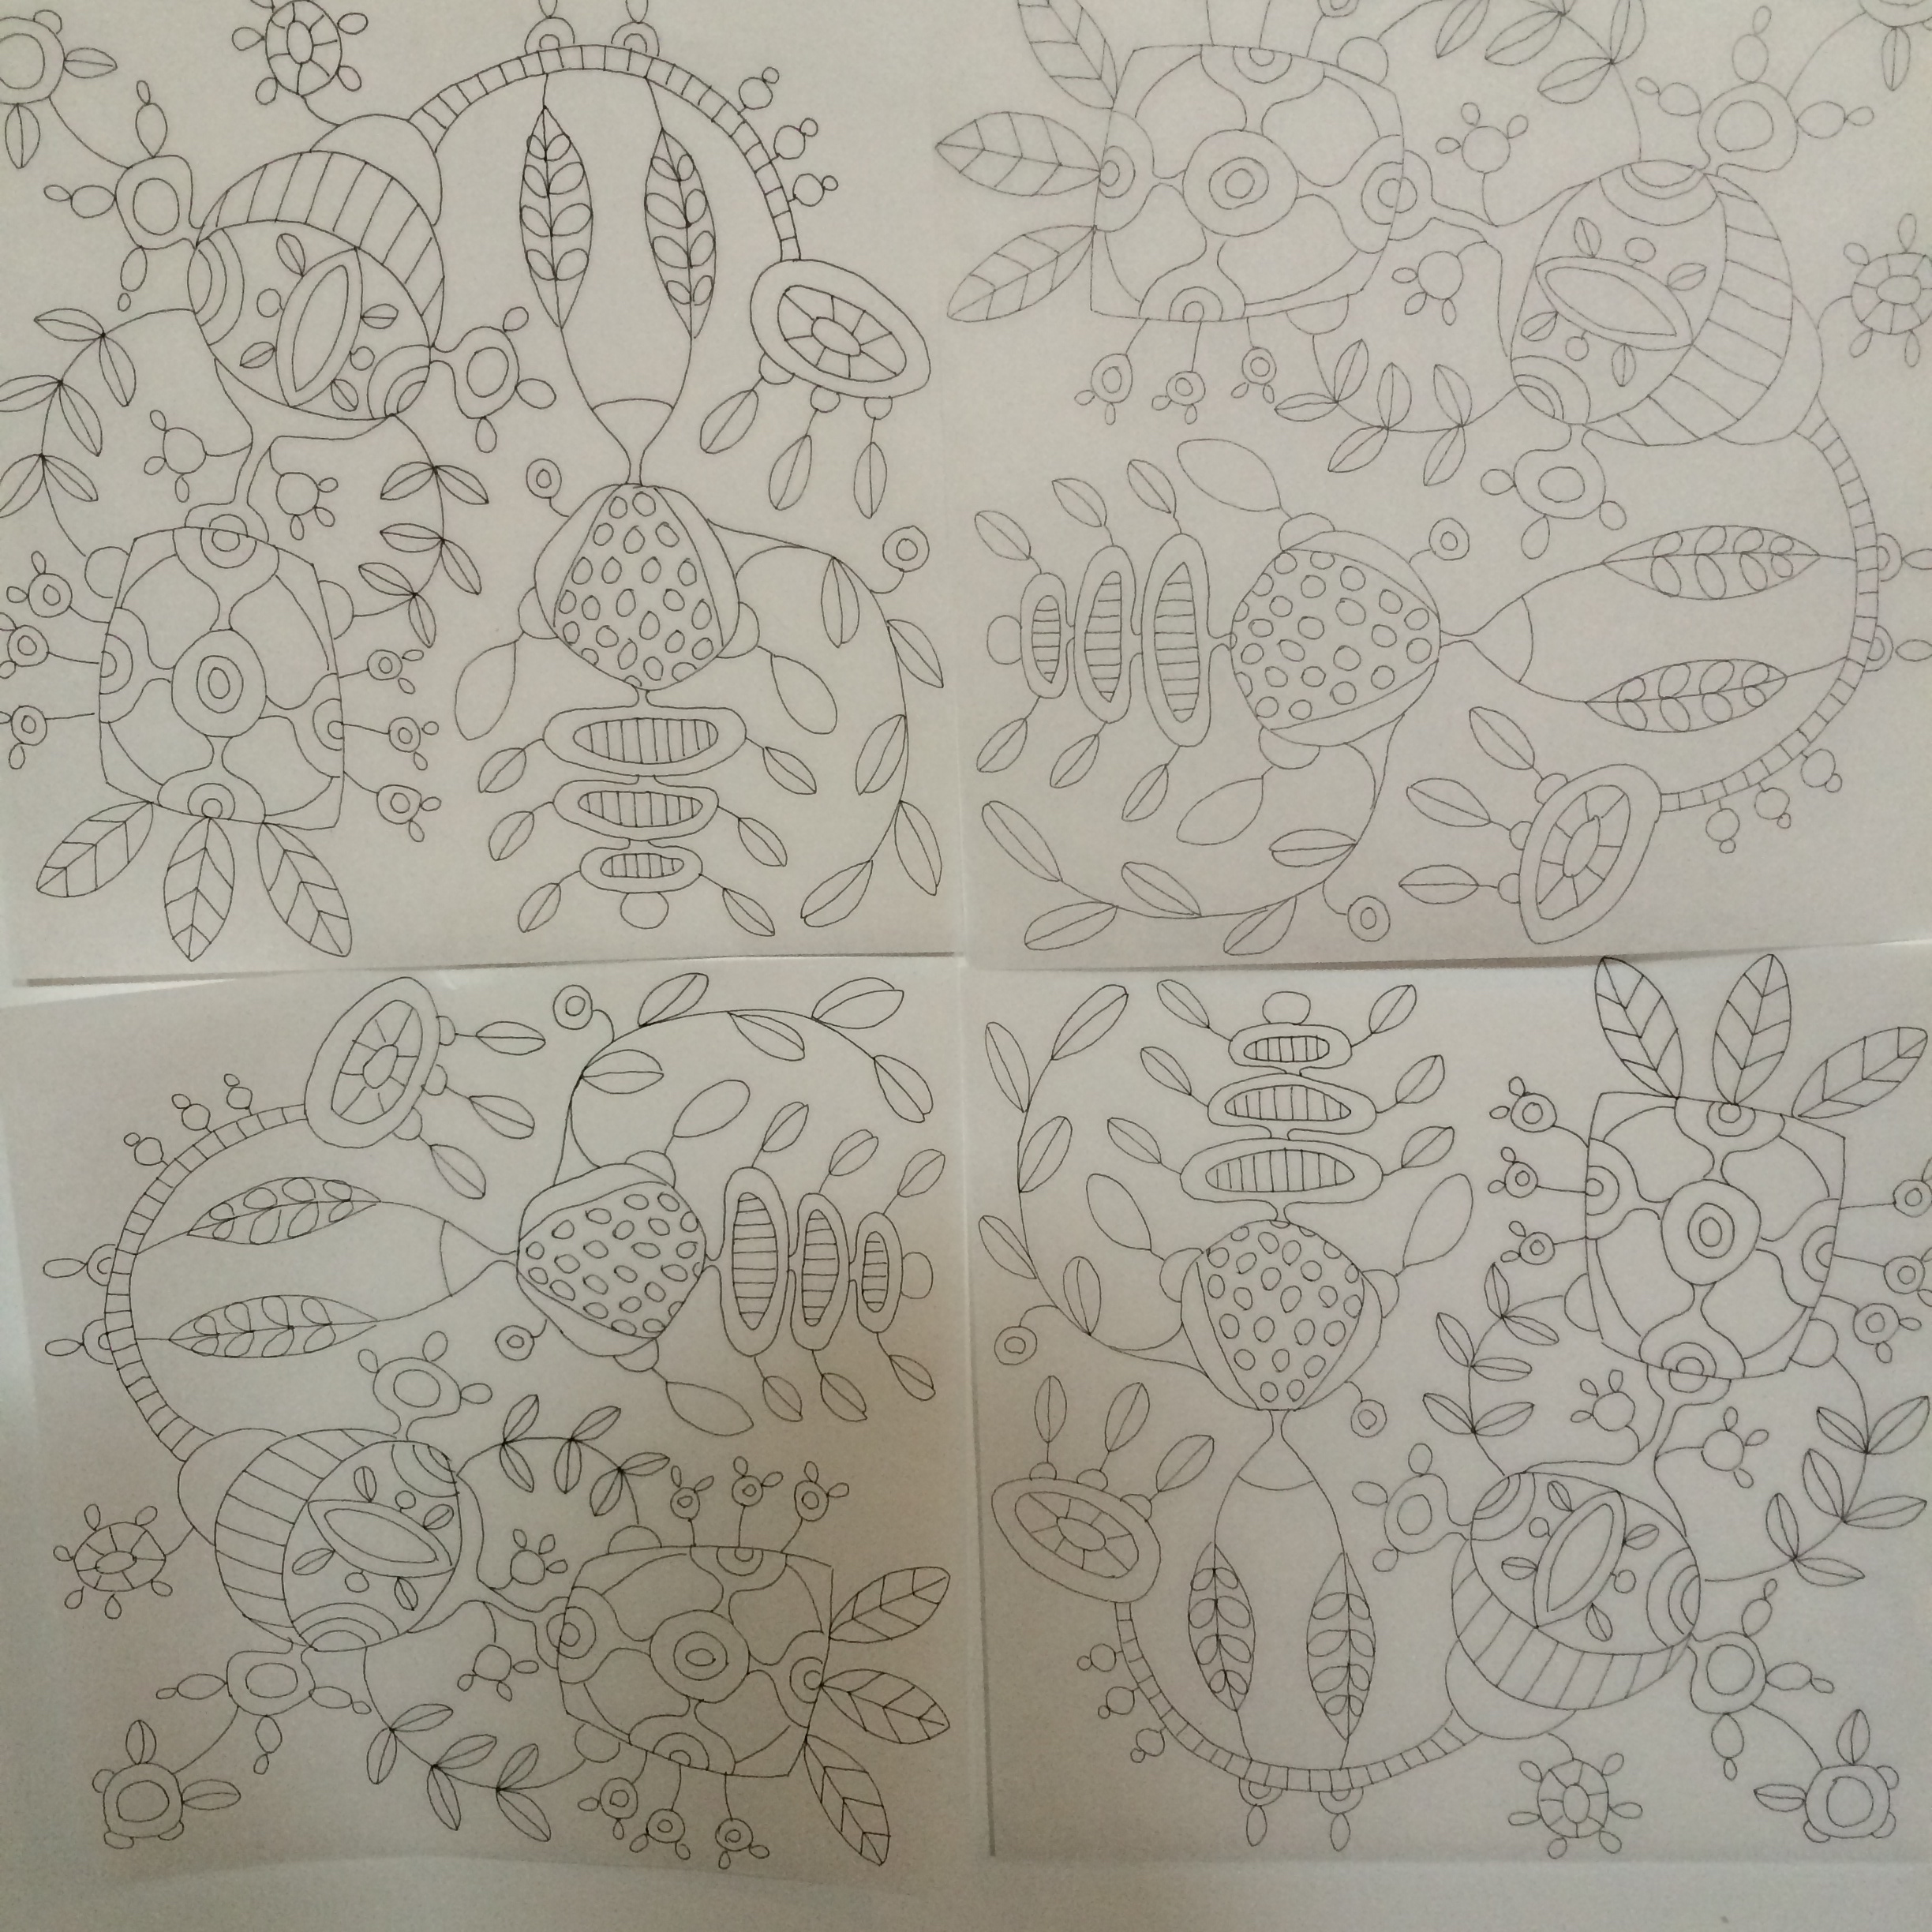
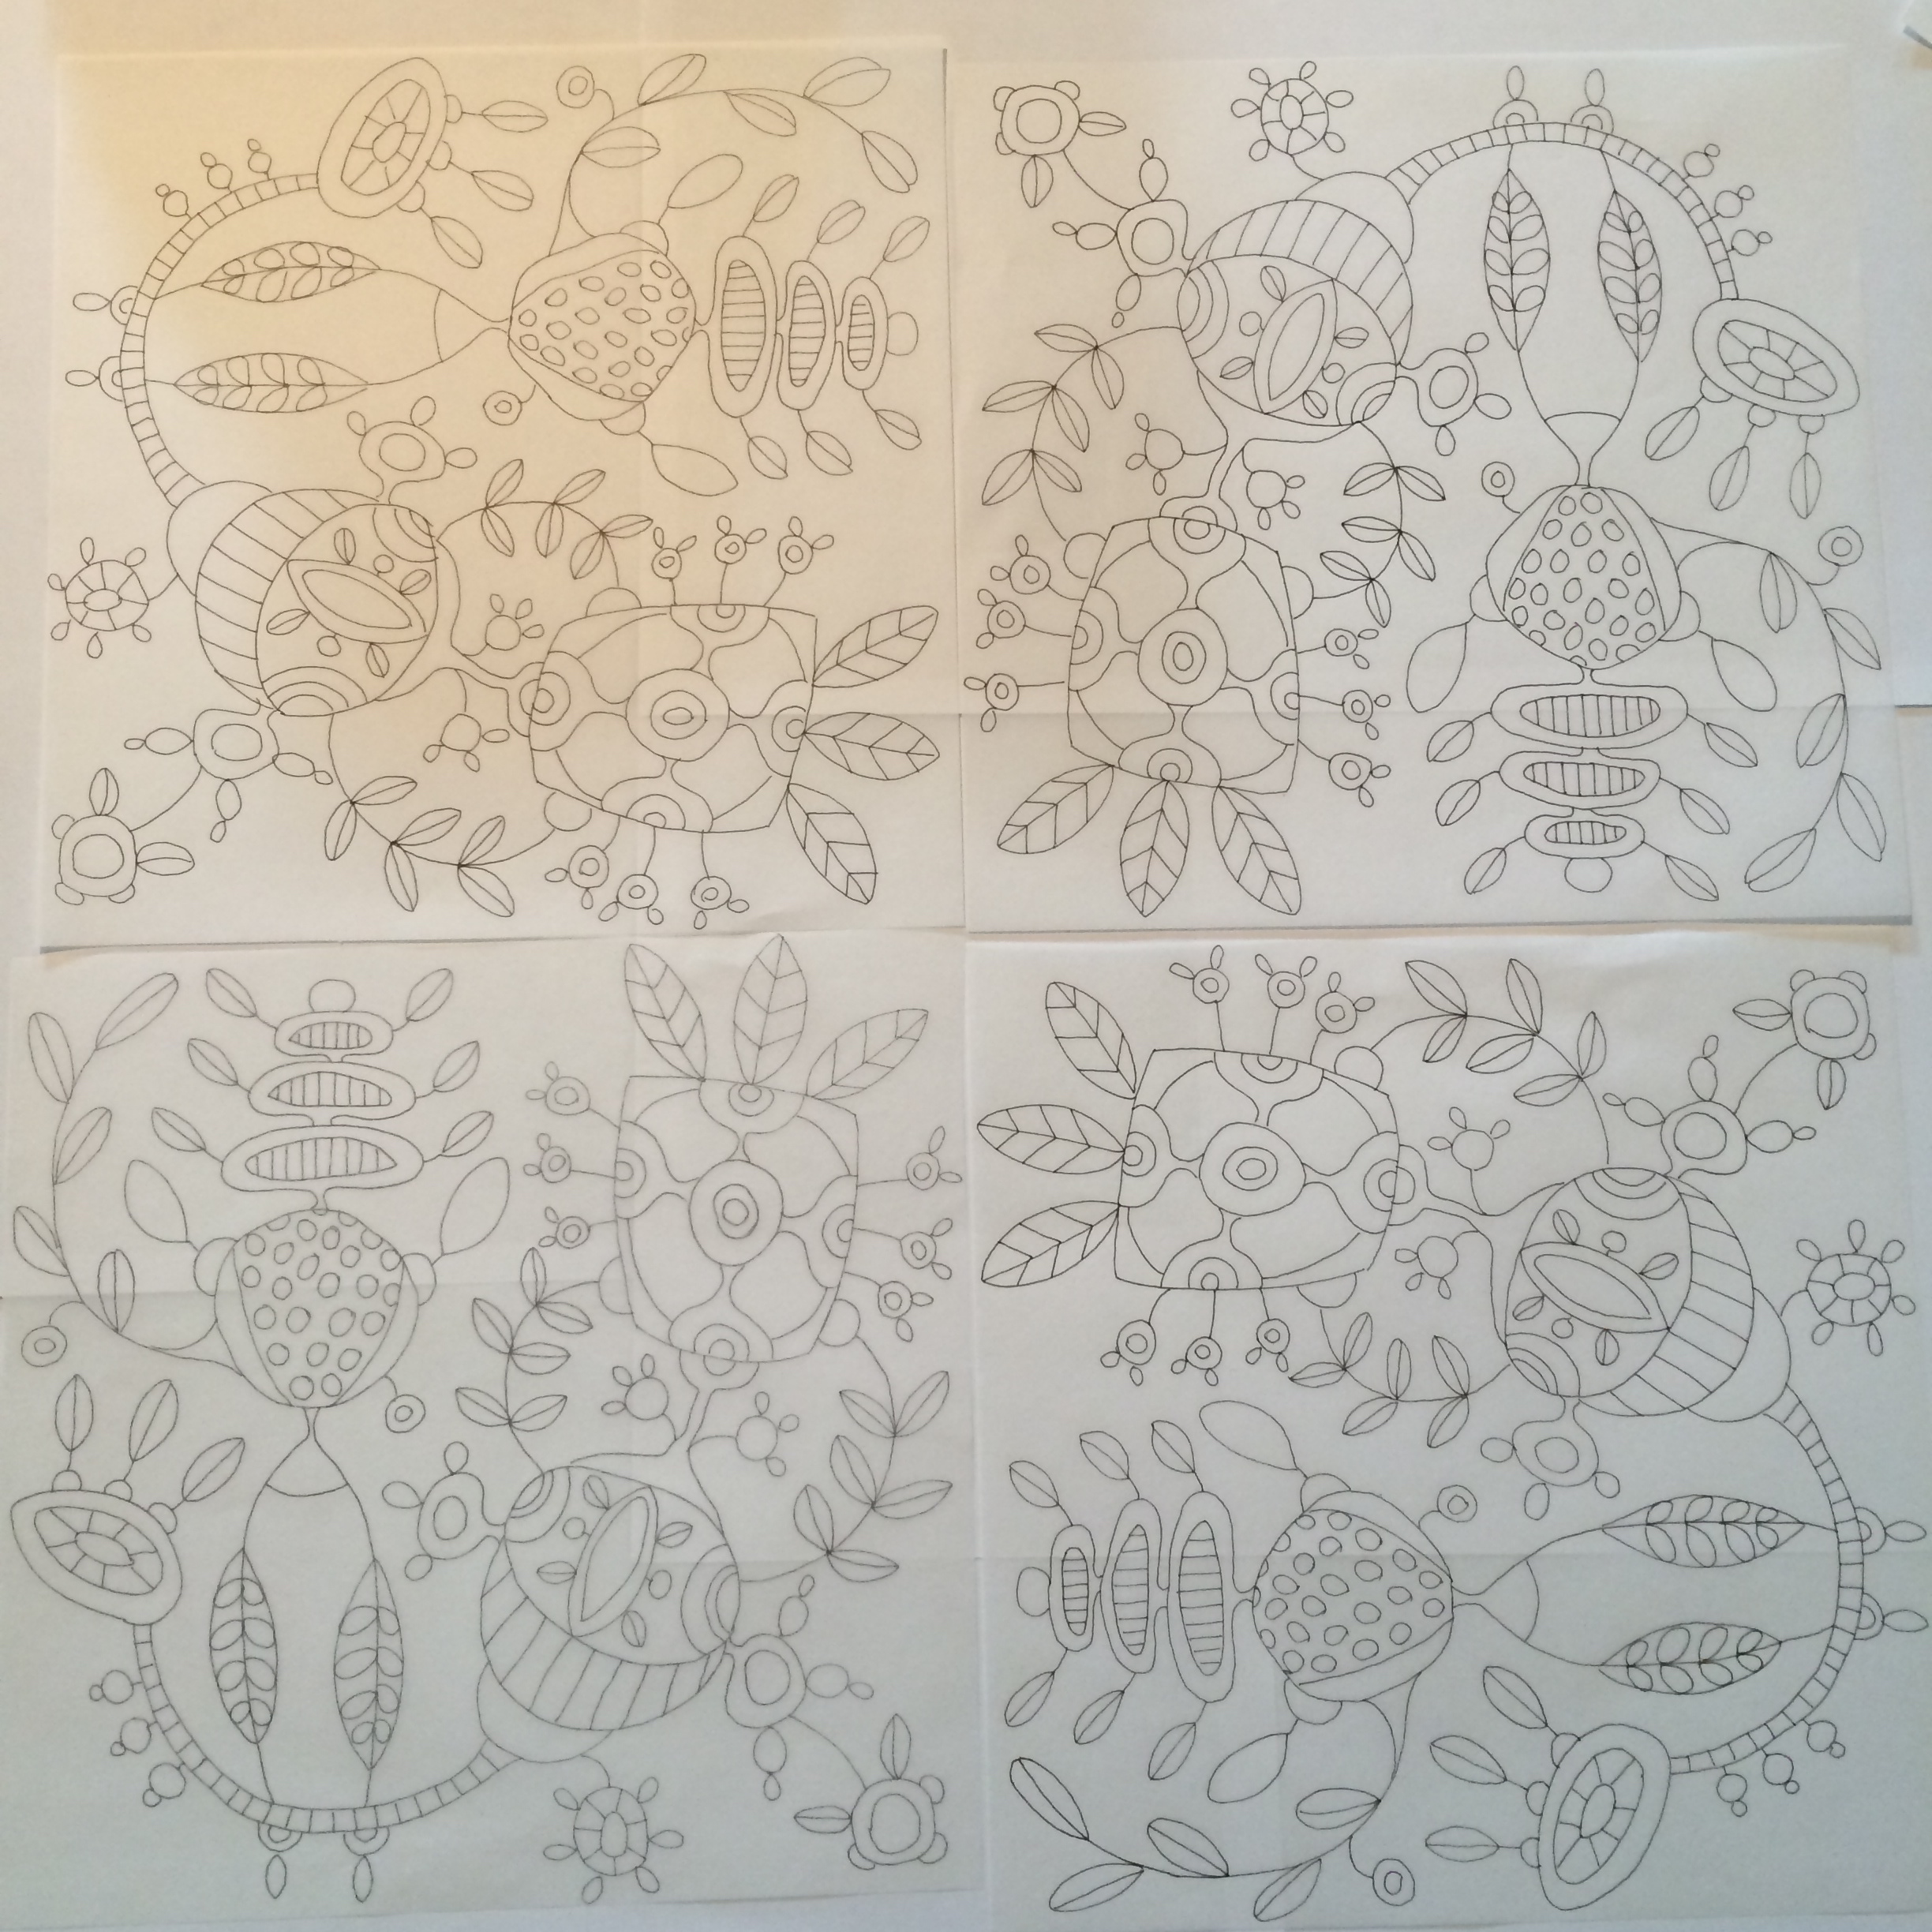


Not sure how far I’ll get with this one for now as I’ve another one half finished, but it has got my quilt juices flowing. I have to admit that I feel as though I’m betraying the jewelry, but I’m just not going to tell it yet.
–
–
–
I made these yesterday and have decided to keep them for myself as, according to P, they go with my black heart.

I rarely wear jewelry so hey for me!
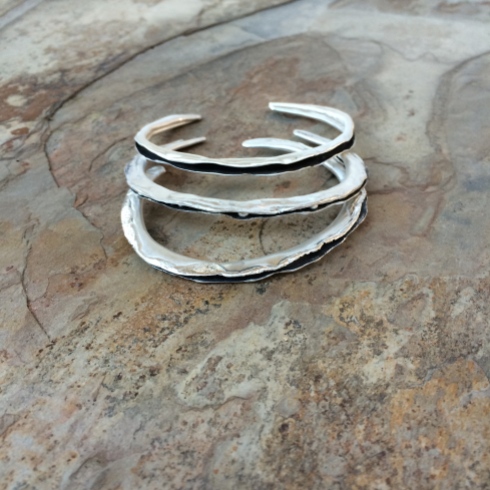
I call the one in the middle, Peas be with You.

So if you want to make one

It’s very simple, and I only got two injuries making three bracelets, so there’s a bonus right there.
Remember those 1 x 6″ sheets of silver I bought by mistake? Well I cut them lengthways so I had two 6 x 0.5″ lengths. (You may need a length longer, or shorter, depending on your wrist size)
Then I heated the edges until they melted.
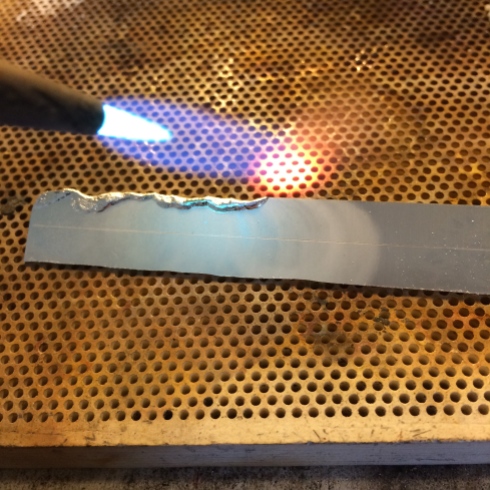
This takes a little time and it seems that the silver likes to melt as the edge is being pushed by the flame rather than heating it face on.
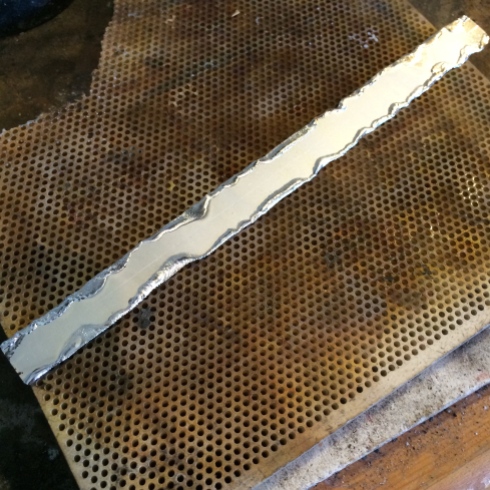
Now bend the piece lengthways over the edge of your block.
Either this way.

Or this way, depending on what works best for you.

And finish bending by gently hammering.
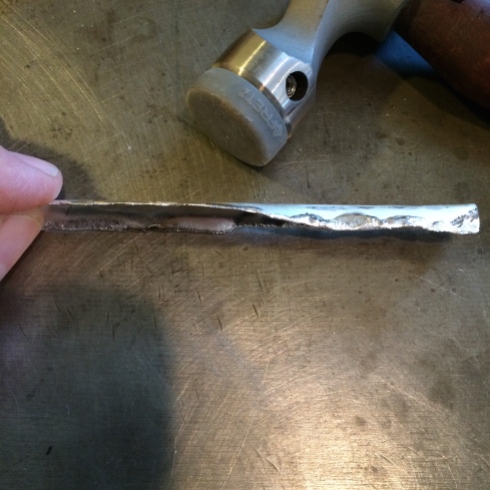
Or squishing.
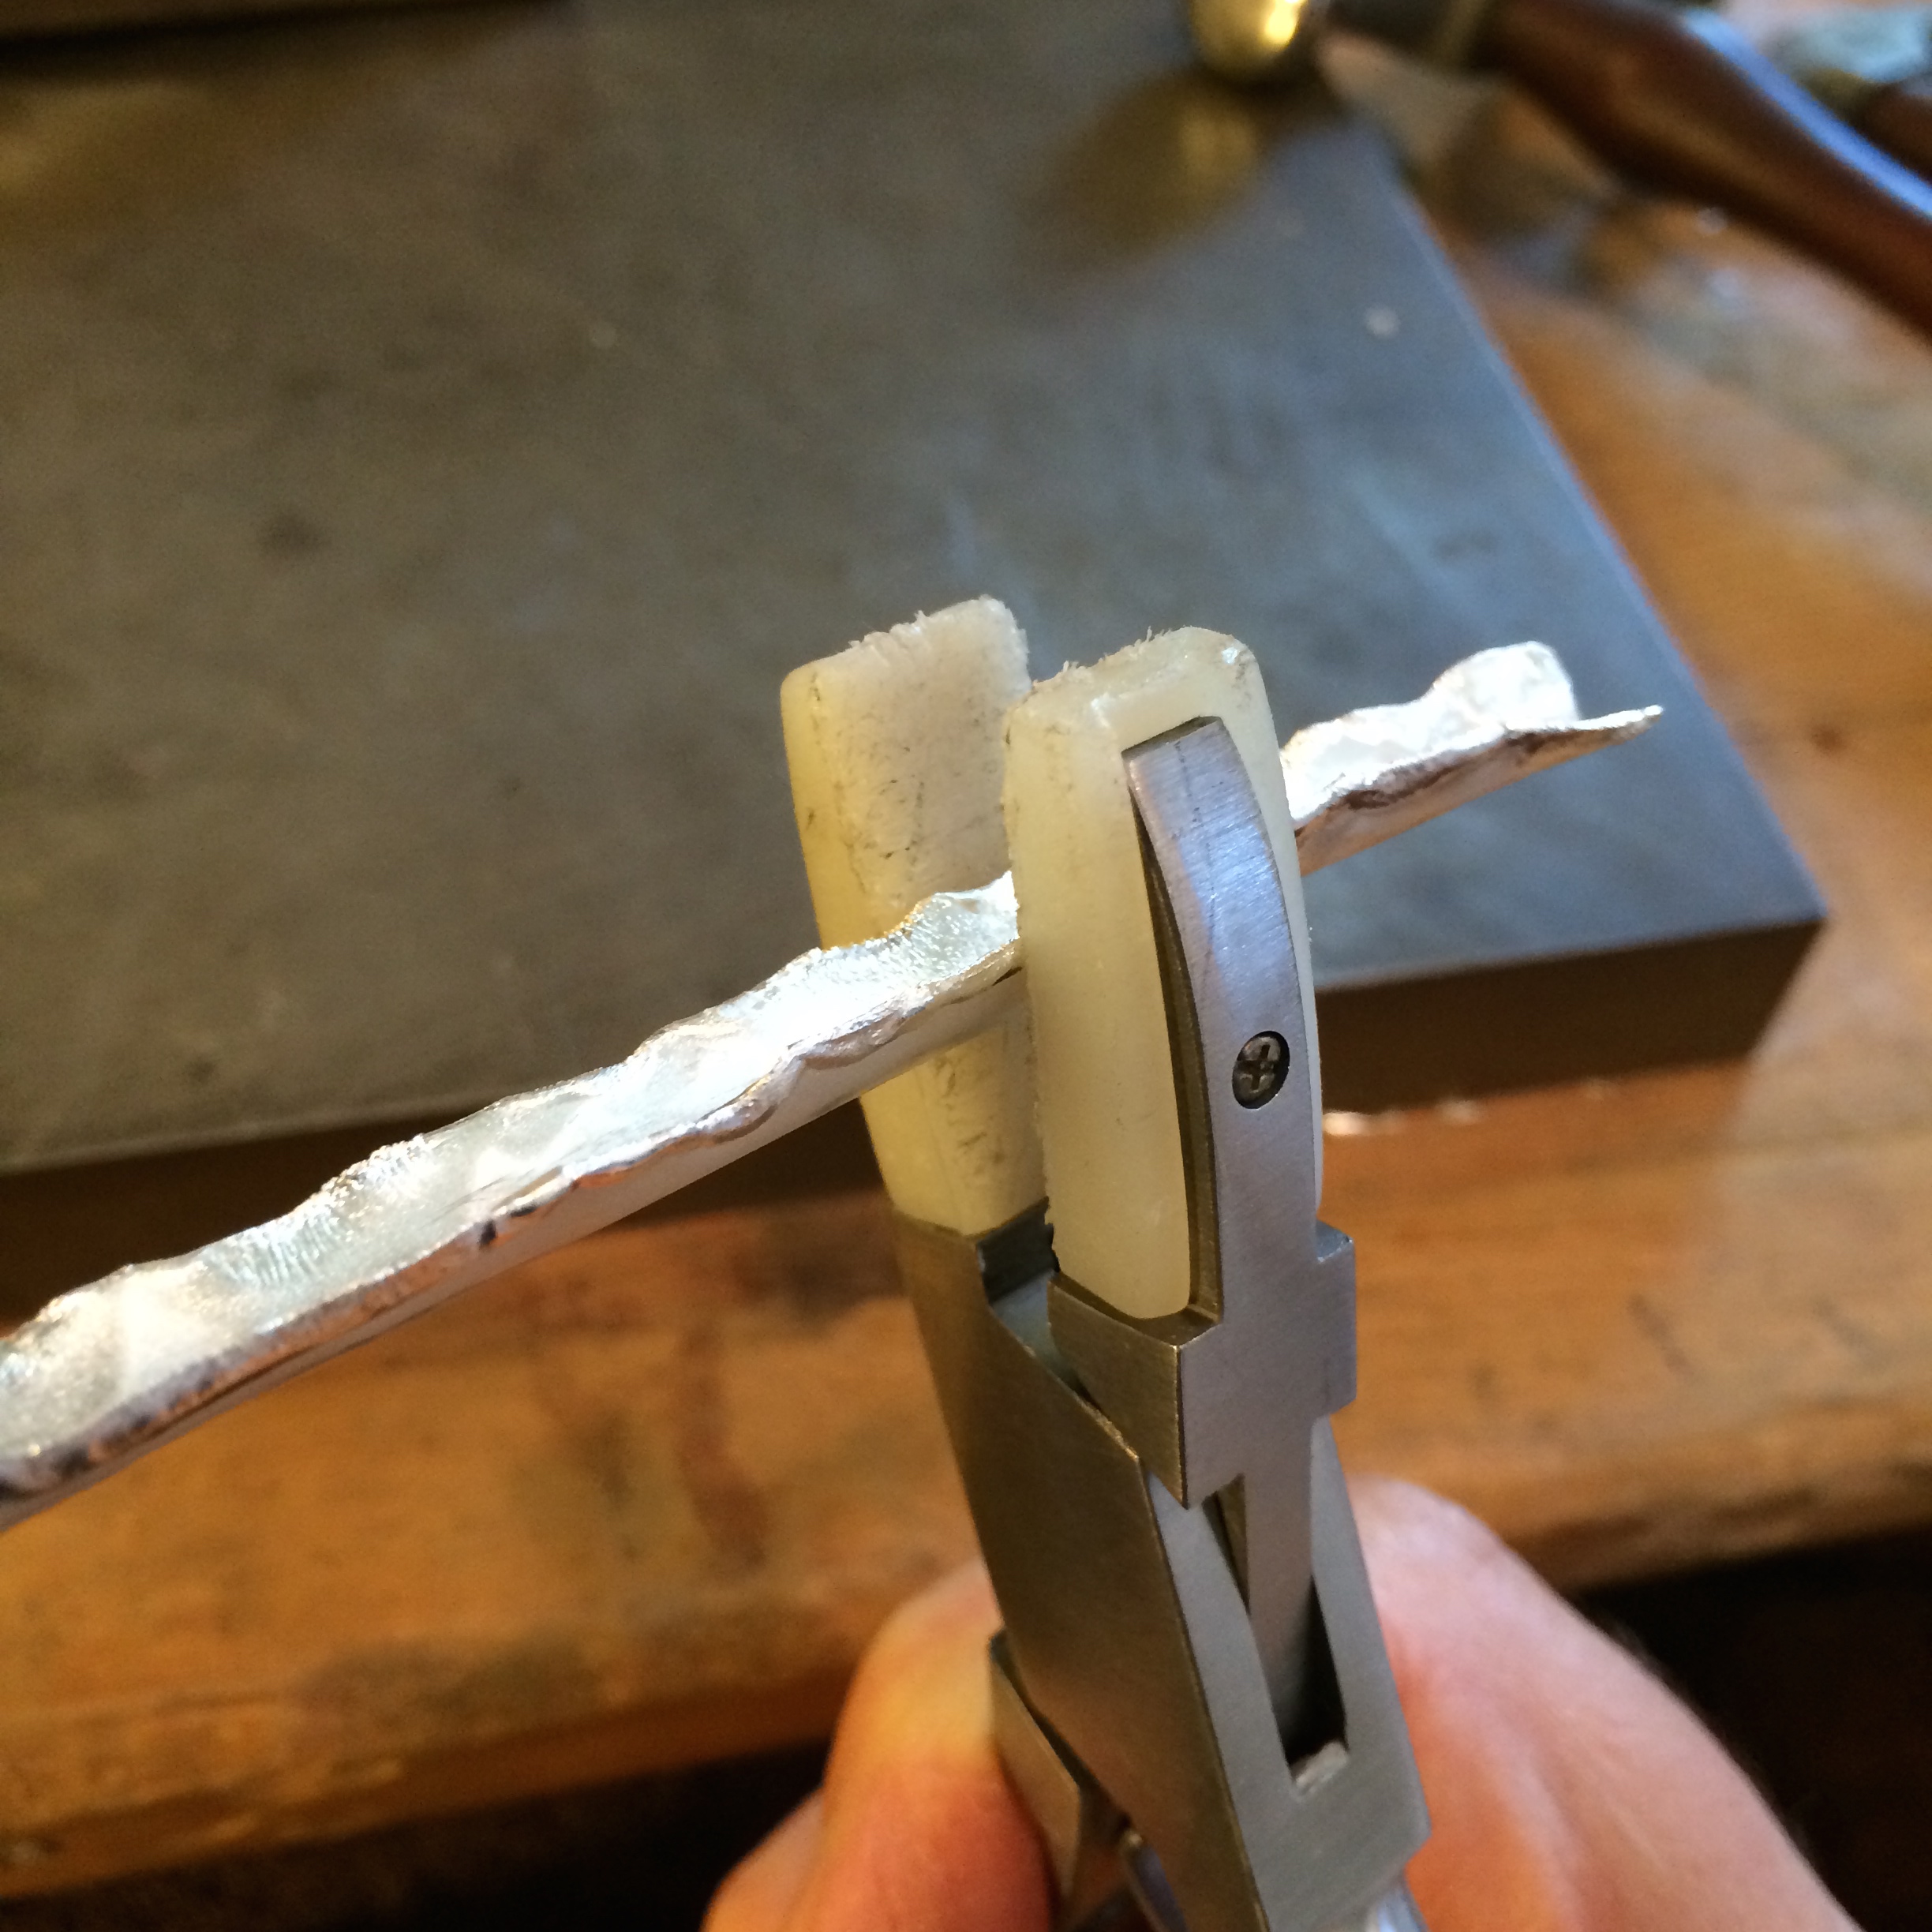
Until you have a folded bar.
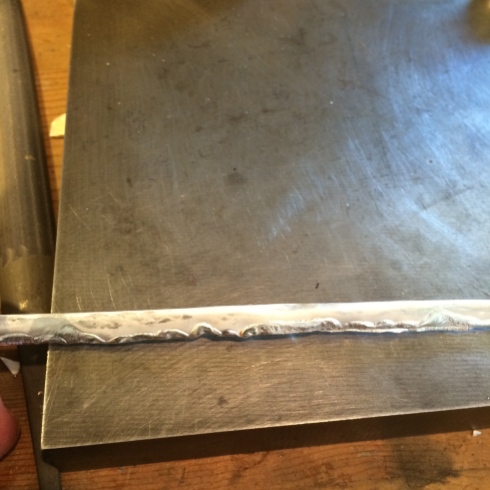
Don’t hammer the fold flat, you’re just bending the edges together.
The trick to making this bracelet is in the annealing.
Each time you work silver it hardens. Heating the silver softens it so that you will find it not only easier to manipulate, but also less likely to split as you bend it.
So now you will gently heat up (anneal) the bar of silver until it turns a dull red colour and you can either leave it to cool on its own, or quench it in water.
For this purpose I’ve found that either works o.k.
Now you can take a bracelet mandrel or anything that you can form your bracelet shape around and, with the rough edges facing upward, gently ease the silver around the mandrel.
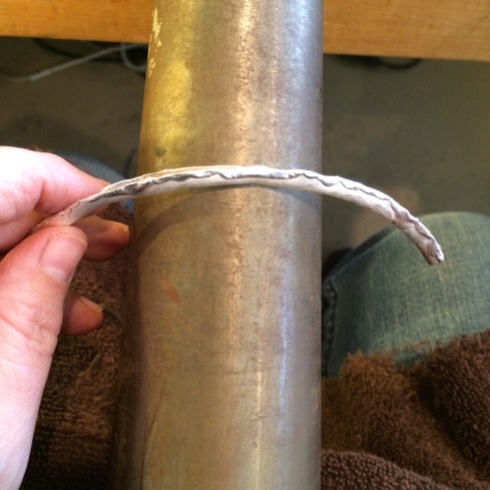
The metal is so soft at this point that you can do this easily with your fingers.
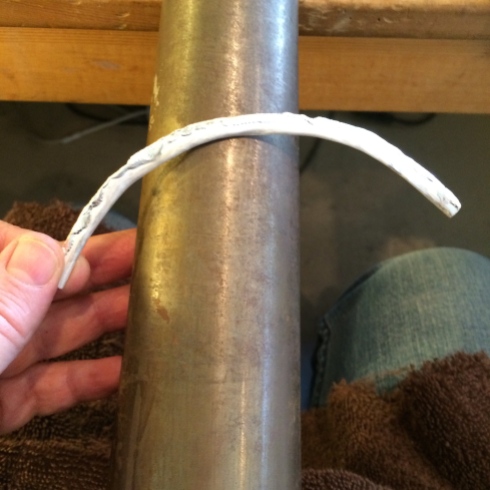
You don’t want to push the metal too much and you will begin to feel when it has started to become hardened again.
This is when you stop and anneal the metal once more.
Continue doing this until you have formed the bracelet shape you want.

This can take three of four goes.

You may need to use a raw hide hammer toward the end of the forming. Don’t hit the bracelet too hard, but gently tap the ends around the form.
If the silver twists just gently tap it back into shape, and anneal when necessary.

When you have your finished shape anneal the piece once more.
Again the metal will be soft enough for you to now open up the bracelet.

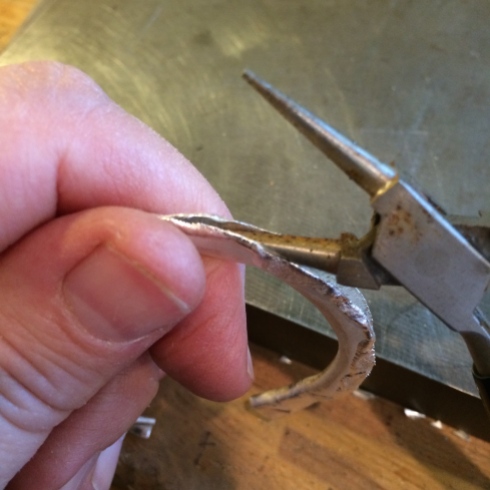
Don’t do this though.
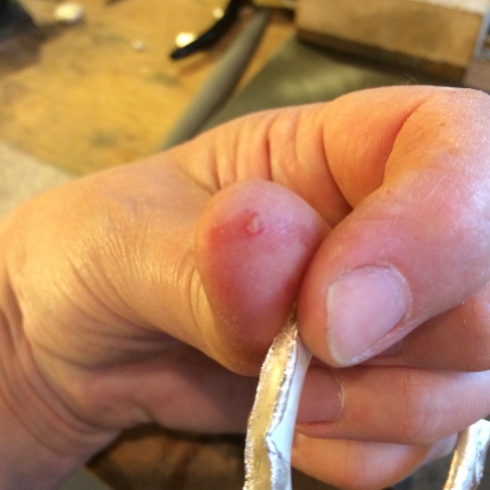
Because it hurts.

Keep about three-quarters of an inch at the two ends closed and snip them into a round which you will sand smooth so that you don’t cut your wrists each time you try it on.

Not that I’ve done that because I’m too impatient or anything.
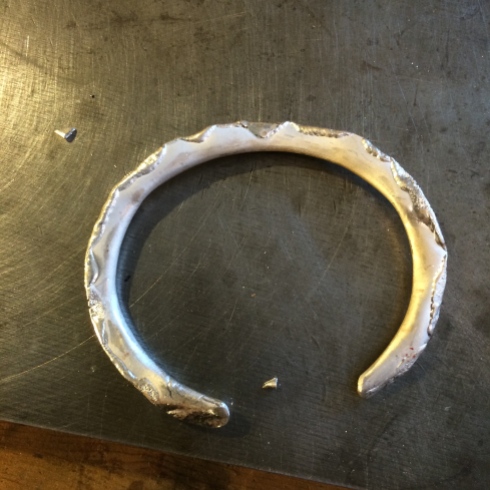
Now take your raw hide hammer and gently tap the bracelet all over.
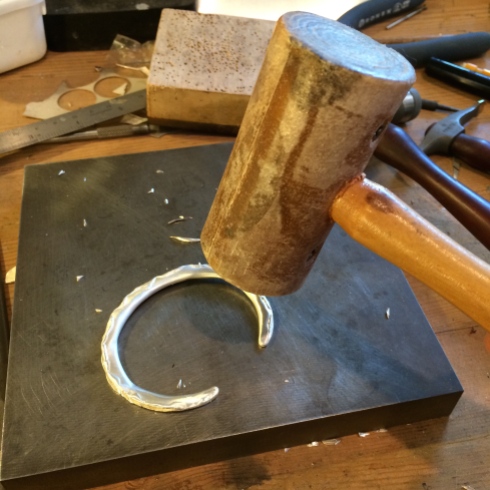
This isn’t shaping the bracelet, but hardening it again so that you can put it on and take it off without the silver bending out of shape each time.
Now fill the inside with silver black.
You can use liver of sulphur for this but I prefer using the most highly toxic chemicals I can find.

Look at that lovely radioactive green liquid. We used to have curry for school lunches on Fridays with a juice that ran out that neon colour. Looks bad but it was my favourite.
Could explain a lot.
So,
Rinse off the bracelet, buff its outsides, and you’re ready to go
🙂

–
–
–
So, this isn’t for all you seasoned solderers out there, but is instead for anyone who is a relative beginner and who feels that they could do with some practice.
To begin at the end, here’s what you’ll accomplish.

Everything on this bracelet is soldered, but you can choose to not solder the connecting rings if you don’t mind being called a chicken…
‘sall I’m saying.
The reason why this is a good chain to practice on is that the solder doesn’t have to be perfect.
Of course, by the end of the bracelet you should have it down pat, but for this purpose, as long as the solder joins the two ends together, you’re good. The annoying lumps and bumps that a beginner may experience won’t be as obvious in the end result because of the nature of the link and so you can still use them without getting upset that they’re not perfect.
By the end of the project you should have the hang of soldering a link together without using too much, or not enough, solder.
NOTE: I’ve found that when excess solder overflows the joint you are closing you often see a slight discolouration at the area it’s flooded on to, especially as the piece of jewelry tarnishes. This is due to the difference in the composition of the solder to the silver. Pickling the bracelet after soldering may help this, but you can also sand the joints to remove some of the excess once the links are shaped, and before the final finish is applied.
This project really is just a good exercise to help you figure out how much solder to use, how it flows, and how to apply it.
Warning:
Prepare yourselves. It really is a fantabulous bracelet and all your friends will want one.
–
Materials:
For a 7.5″ bracelet.
3 ft of 16 gauge sterling silver wire.
1 ft of 18 gauge sterling silver wire.
1″ x 14 gauge sterling silver wire.
1 x 3mm jump ring.
Note: Ideally you will need both medium and easy solder for this project. You will solder the large links with the medium, and the small links with the easy.
By using the easy solder on the small links there is less risk of the medium solder on the large links melting again as medium solder has a higher melting temperature than the easy.
I only used the easy solder, but just wanted you to know that I tend to wing it.
–
Tools:
Jump ring making mandrels – 9mm, 4.5mm and 3mm.
Jewelry saw or flush cutting pliers
Tape
Hammer – I used various head sizes
(The links above are just some of the tools I use. There are many other choices out there).
–
Note:
Depending on the length you want your bracelet to be you can easily add or subtract links to this design, therefore, you may need either more, or less, of the materials above.
–
To make the links.
I used my Pepe jump ring maker, but you can easily improvise by using any type of rod that is close to the sizes needed and that you can wrap your silver around tightly.

The mandrel I used for the larger link is 9mm. (This refers to the inside diameter).
You will need enough coil to make 26 jump rings.
Cut the coil off the mandrel and wrap it with scotch tape. This will prevent the rings moving around as you saw them.
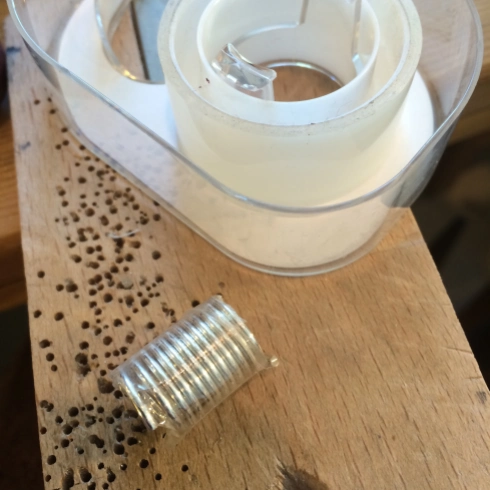
Now cut through the coil either with your jewelry saw.

Or you can use your wire cutters to snip each ring apart. Just be sure to keep turning the wire cutters around so that the flush side of the cutters snip the inside of the jump ring. This provides a flush cut for soldering.
Close the jump rings together making sure that the joins are tight, flush and clean otherwise the solder won’t join them.

(Note: The links are not yet completely closed in the photograph above.)
Now dab a little flux on each join and face the joins in the same direction on your soldering block. This makes it easier for you to find the area you are going to join as the flux will bubble when heated and you may not necessarily be able to see clearly where to apply the solder.

There are many ways to solder jump rings, including sweat soldering, but I like to cut small pieces of solder wire and place them on the soldering block a little apart from the rings. I separate the pieces slightly from each other and they are then ready to heat up as I need them.
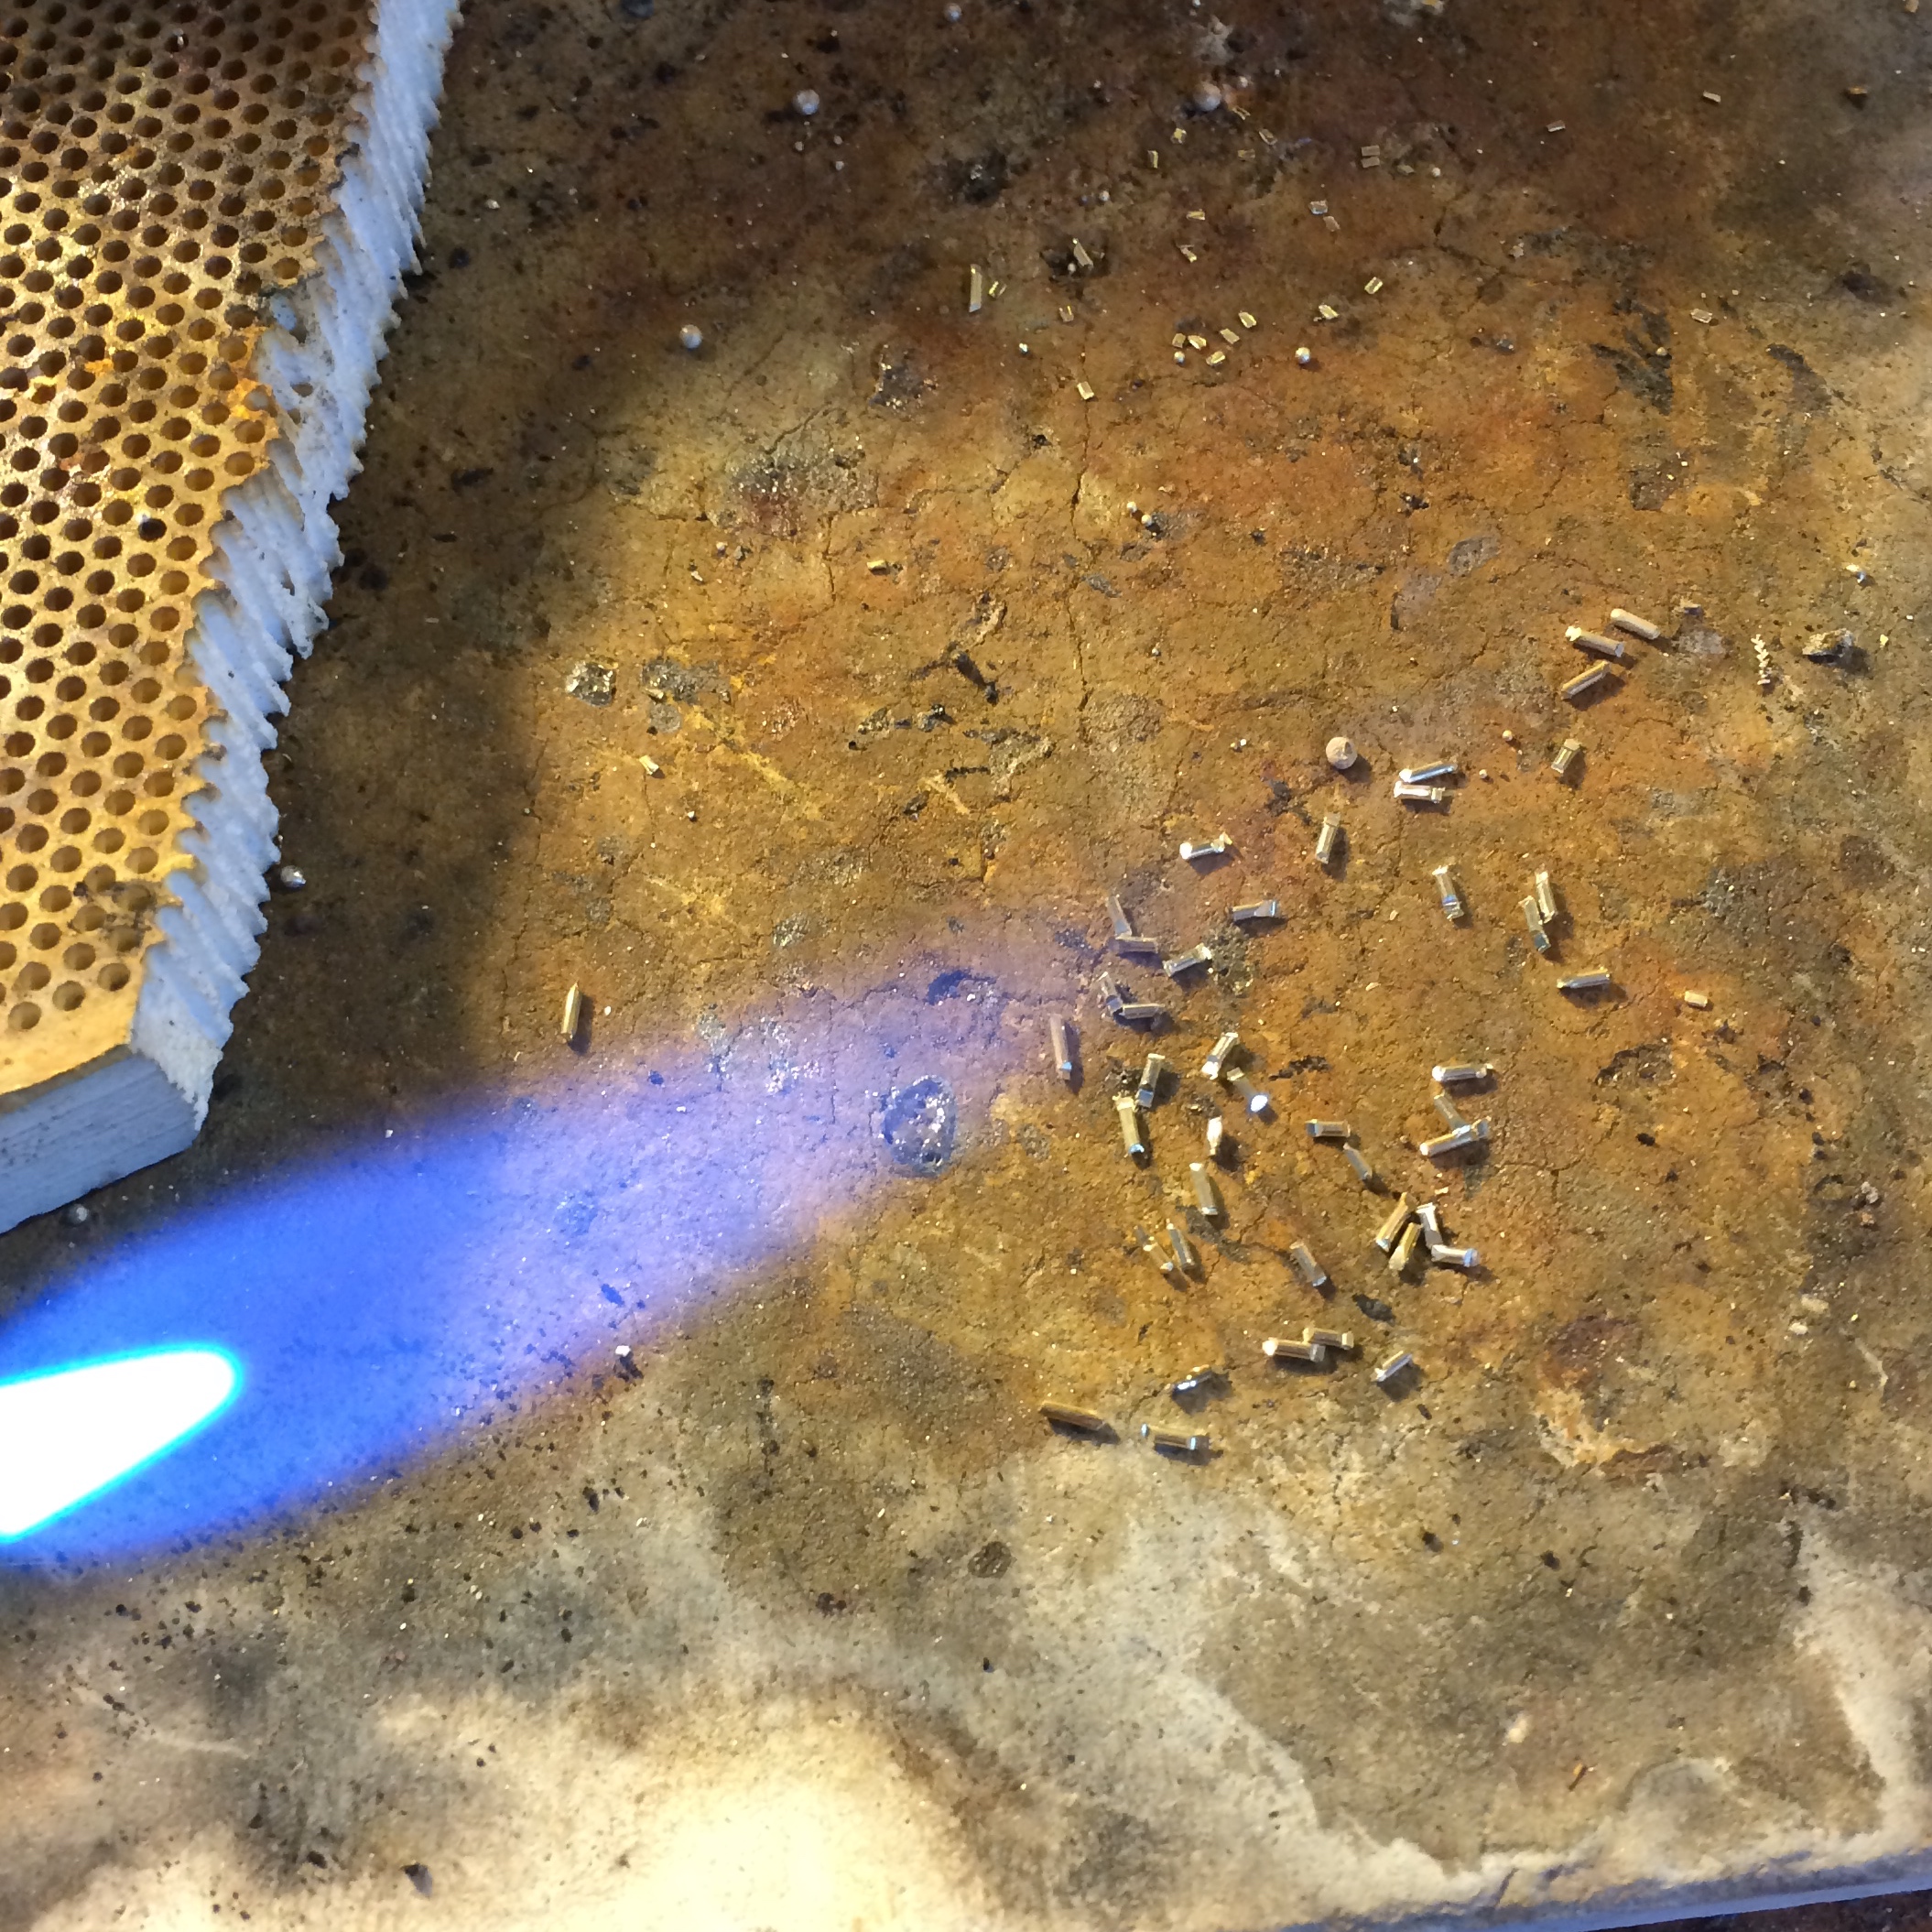
Until you get to know which size a piece of solder needs to be for a particular join you can cut various sizes to experiment with. You’ll find that you really do not need that much solder to join a link. If you were to solder very fine jump rings, for instance, you would find you need barely any solder and that small chips would work best.
Gently heat one of the jump rings by moving the flame around the ring. Now move the flame to the solder pieces and gently heat one into a ball. Heat your pick at the same time. Now you’ll find you can pick up the ball of solder with the end of the pick by simply touching the pick to the ball.

Now take the ball to the jump ring and hover it above the join. As the flame gently reheats both the ring and the solder you can now touch the ball to the join and it should attach itself to the ring. Take the pick away and move the flame around the ring until the solder flows.
Look carefully at the direction of your flame as the solder will want to flow towards the heat. If you are not heating up the silver evenly the solder will move towards the heat and perhaps away from the join. In which case there will be no connection. If this happens just back off with your flame and then slowly re introduce the heat to the other side of the join. Now move the flame evenly around the ring until the solder flows over the join.
You are not heating the solder, but rather bringing the temperature of the silver gently up to the point where the solder will flow over it. The solder has a melting point lower than the silver so it will flow before the silver melts and therefore will, (if the join is clean and flush), fill the join.
Keep an eye of the silver. If it starts to glow, remove the heat as this is a sign that the silver is about to melt. Let the silver cool down slightly and then introduce the heat to try again.
As you come to heat the next jump ring bear in mind that the soldering block is already hot from joining the first jump ring. You’ll find that you don’t need to heat the following rings as much.
By the time you have soldered the 26 jump rings, you will have hopefully become an expert at applying the perfect amount of solder to the join.
If not, you’ll just have to make another one 🙂
Now quench the rings in water.
I don’t clean the rings at this point.
Next I used this small oval mandrel to knock the edges of my rings out of shape. If you don’t have something like this you can keep the links round.
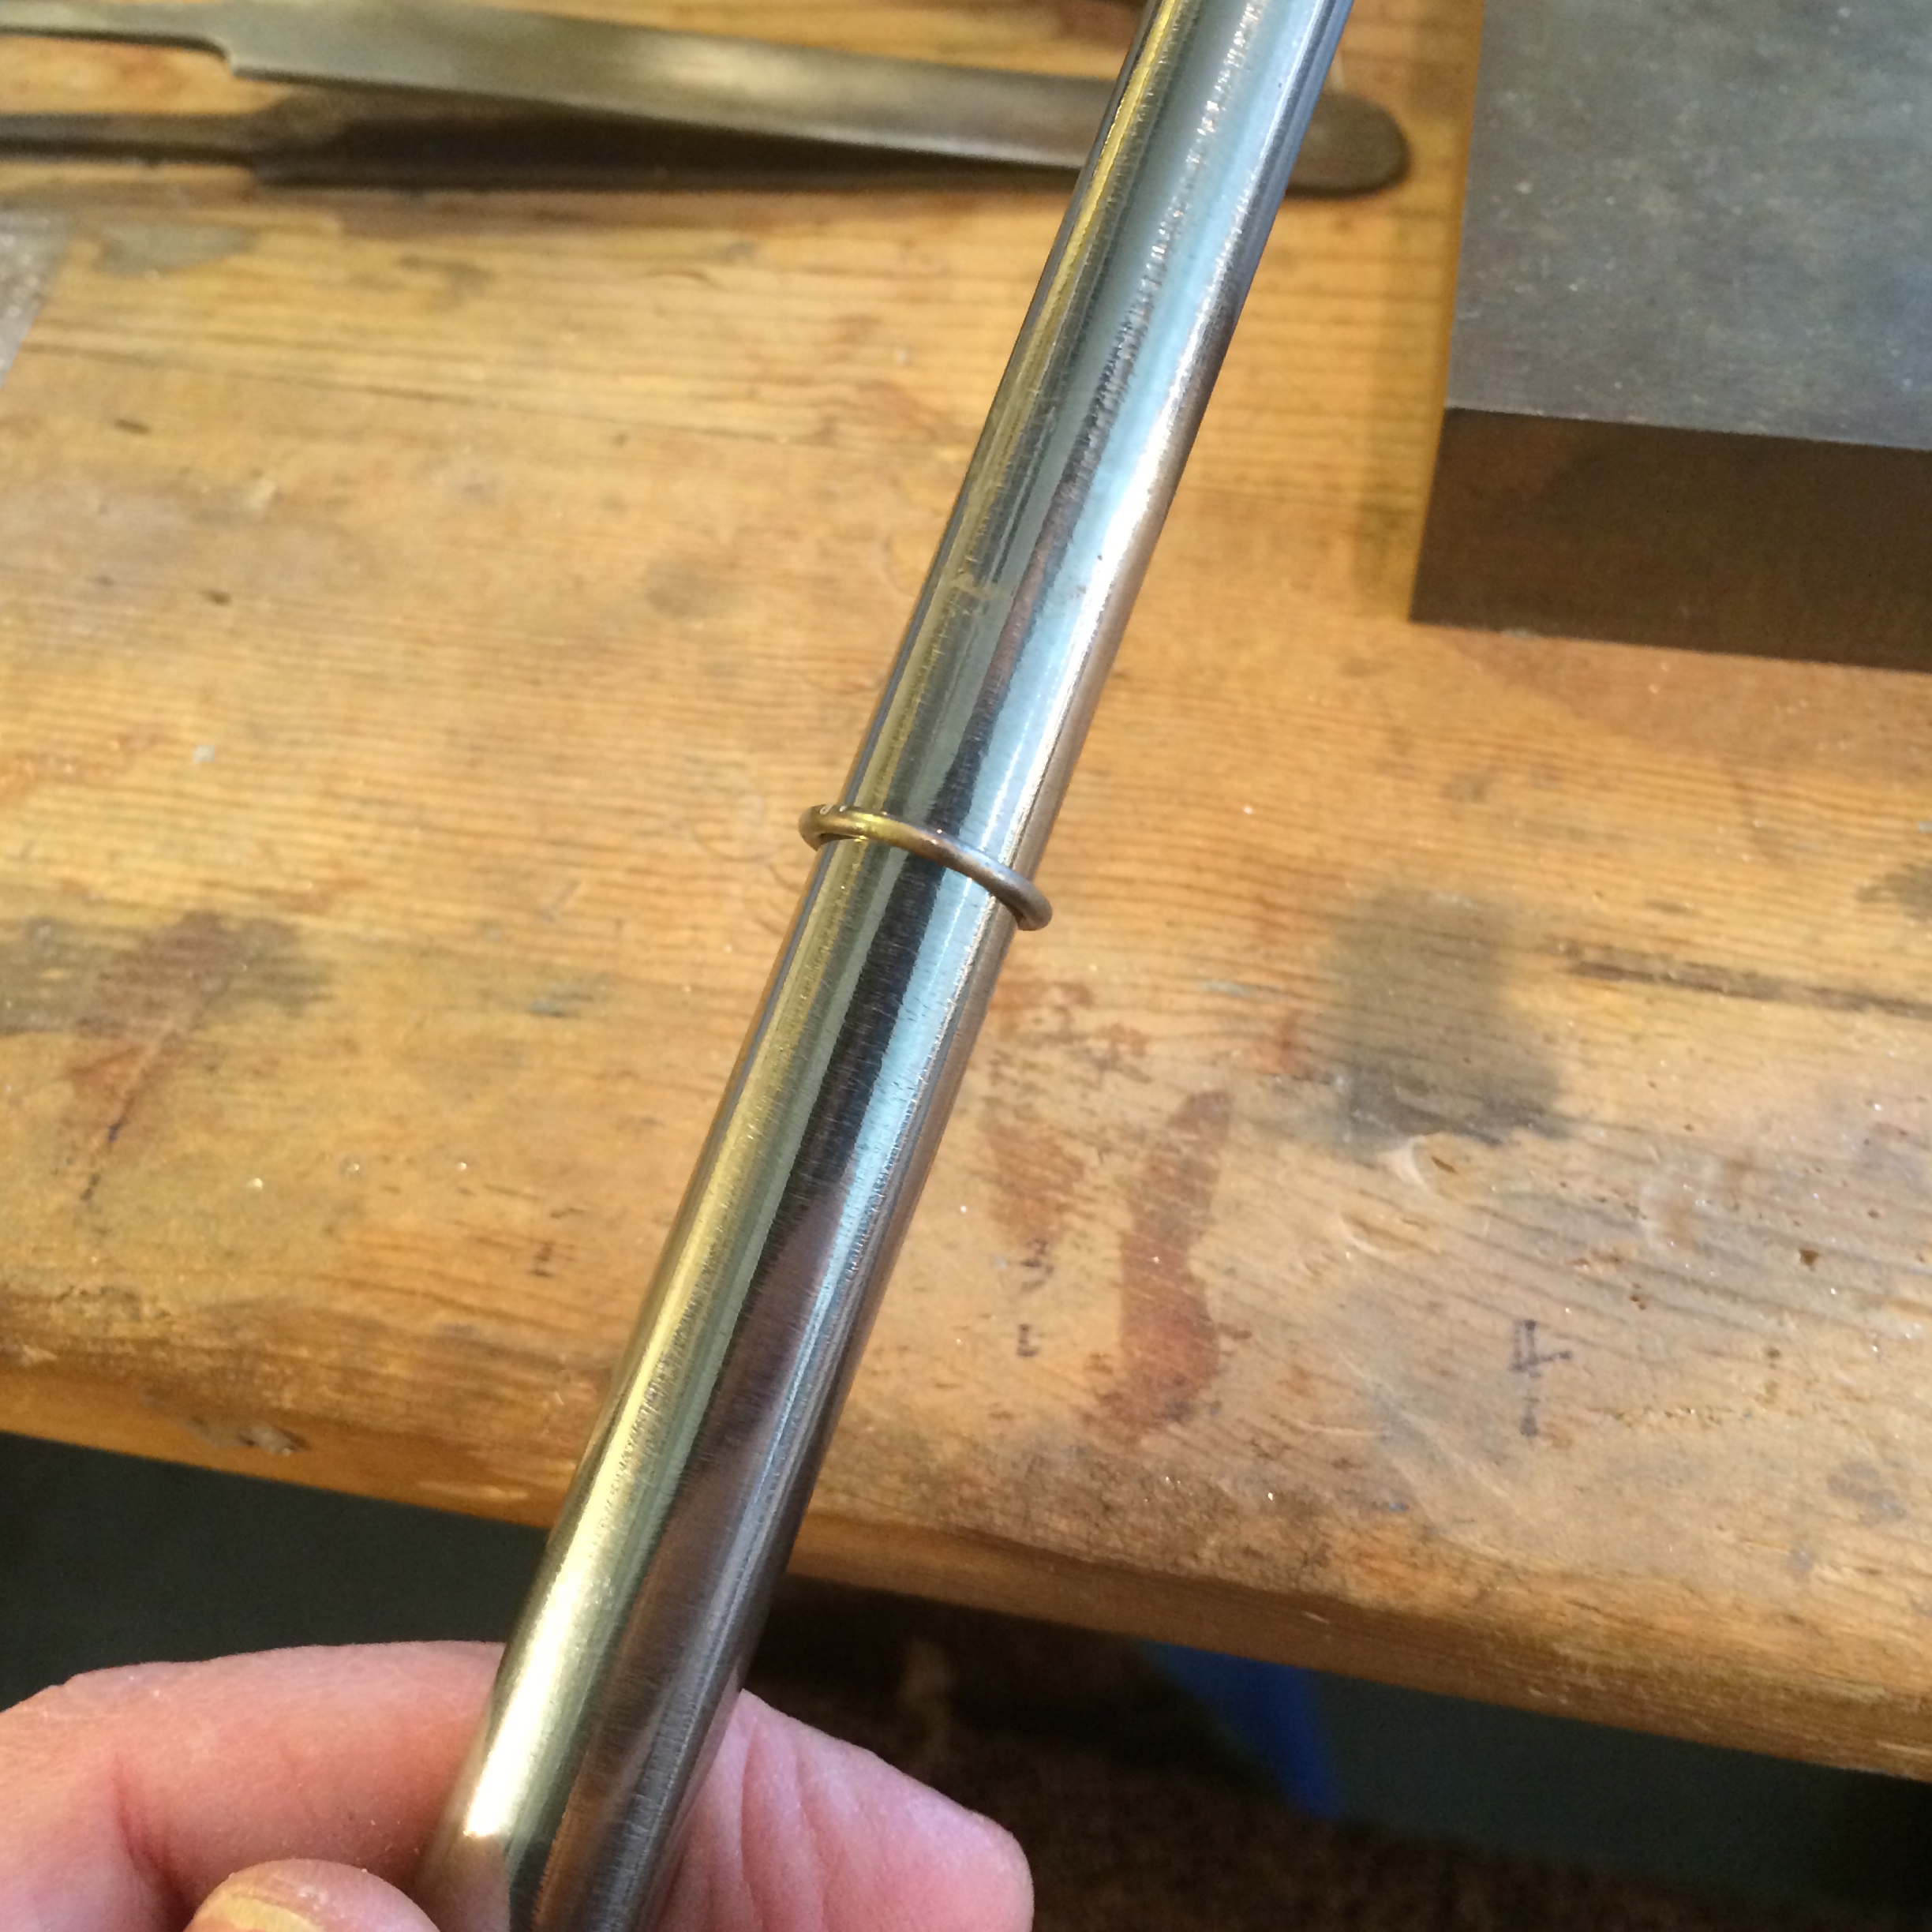
By hammering the link roughly on the mandrel you are creating an irregular shape which will hide any imperfections you may have created with your soldering.

You can skip this part if you don’t have a small mandrel because you are still going to whack the links by holding them flat to your metal block with pliers (to save your fingers) and roughly hammer around the surface.

Do this to each ring and then make the small jump rings, as before, but with your 4.5mm mandrel.
Don’t solder the small jump rings yet.
Close four of the larger links into one of the smaller links keeping the soldered areas on the large links as far away from the small link as you can. This helps prevent the solder on the larger links reheating and soldering each other together.
Now place the small link in a third hand.

Try to keep a gap between the third hand and the join of the small link (which should be at the top) and then solder the join of the small link using flux and the ball method.
Try not to use too much flux. You need just enough for the solder to flow, but too much will just bubble and, (I have found), gunk up in a sticky mess.
Carefully move the flame over the small link. Don’t keep the flame in one place for too long. Soldering this small link can be tricky, but with practice you’ll get the hang of it. Keeping the larger links dirty helps prevent them from soldering themselves onto the small link as solder does not want to flow over a dirty surface.
You can skip soldering the small links if you want to, but then you wont have accomplished the fiddly, I can do it, part of the project.
It’s o.k. 🙂
Once you have soldered the small link you can go ahead and make up the bracelet by adding the links two by two until you have the length you desire.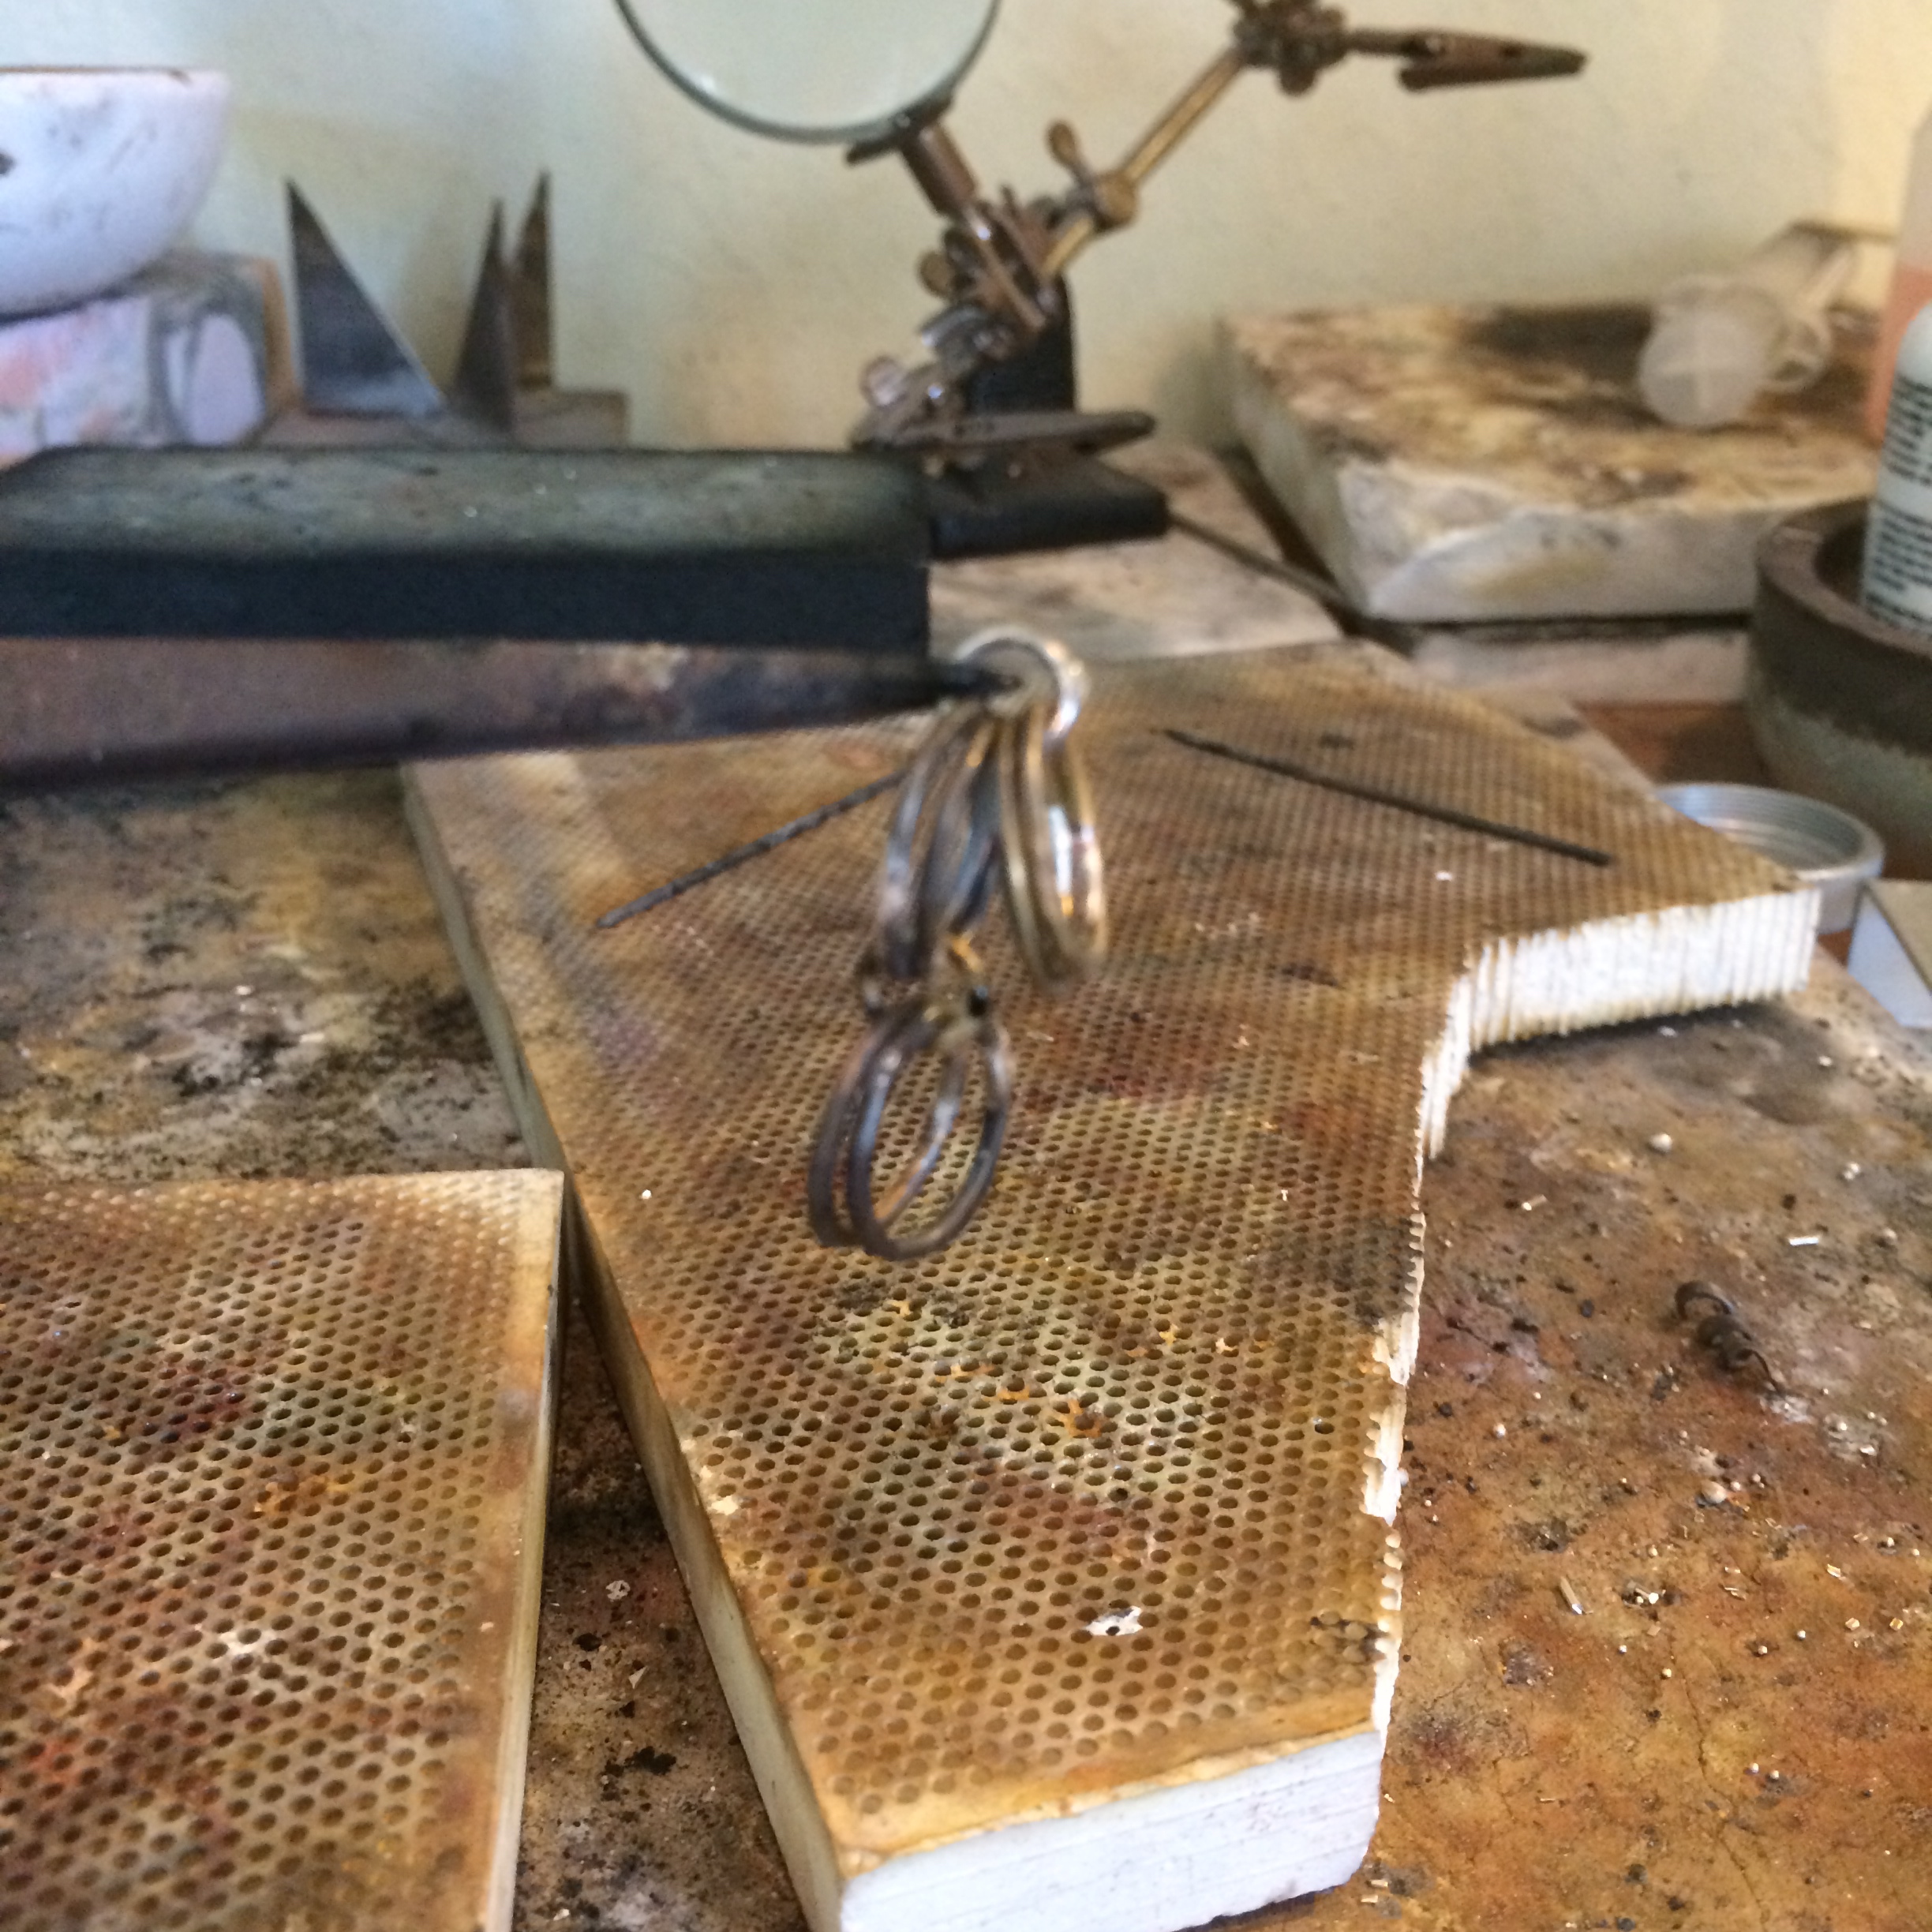
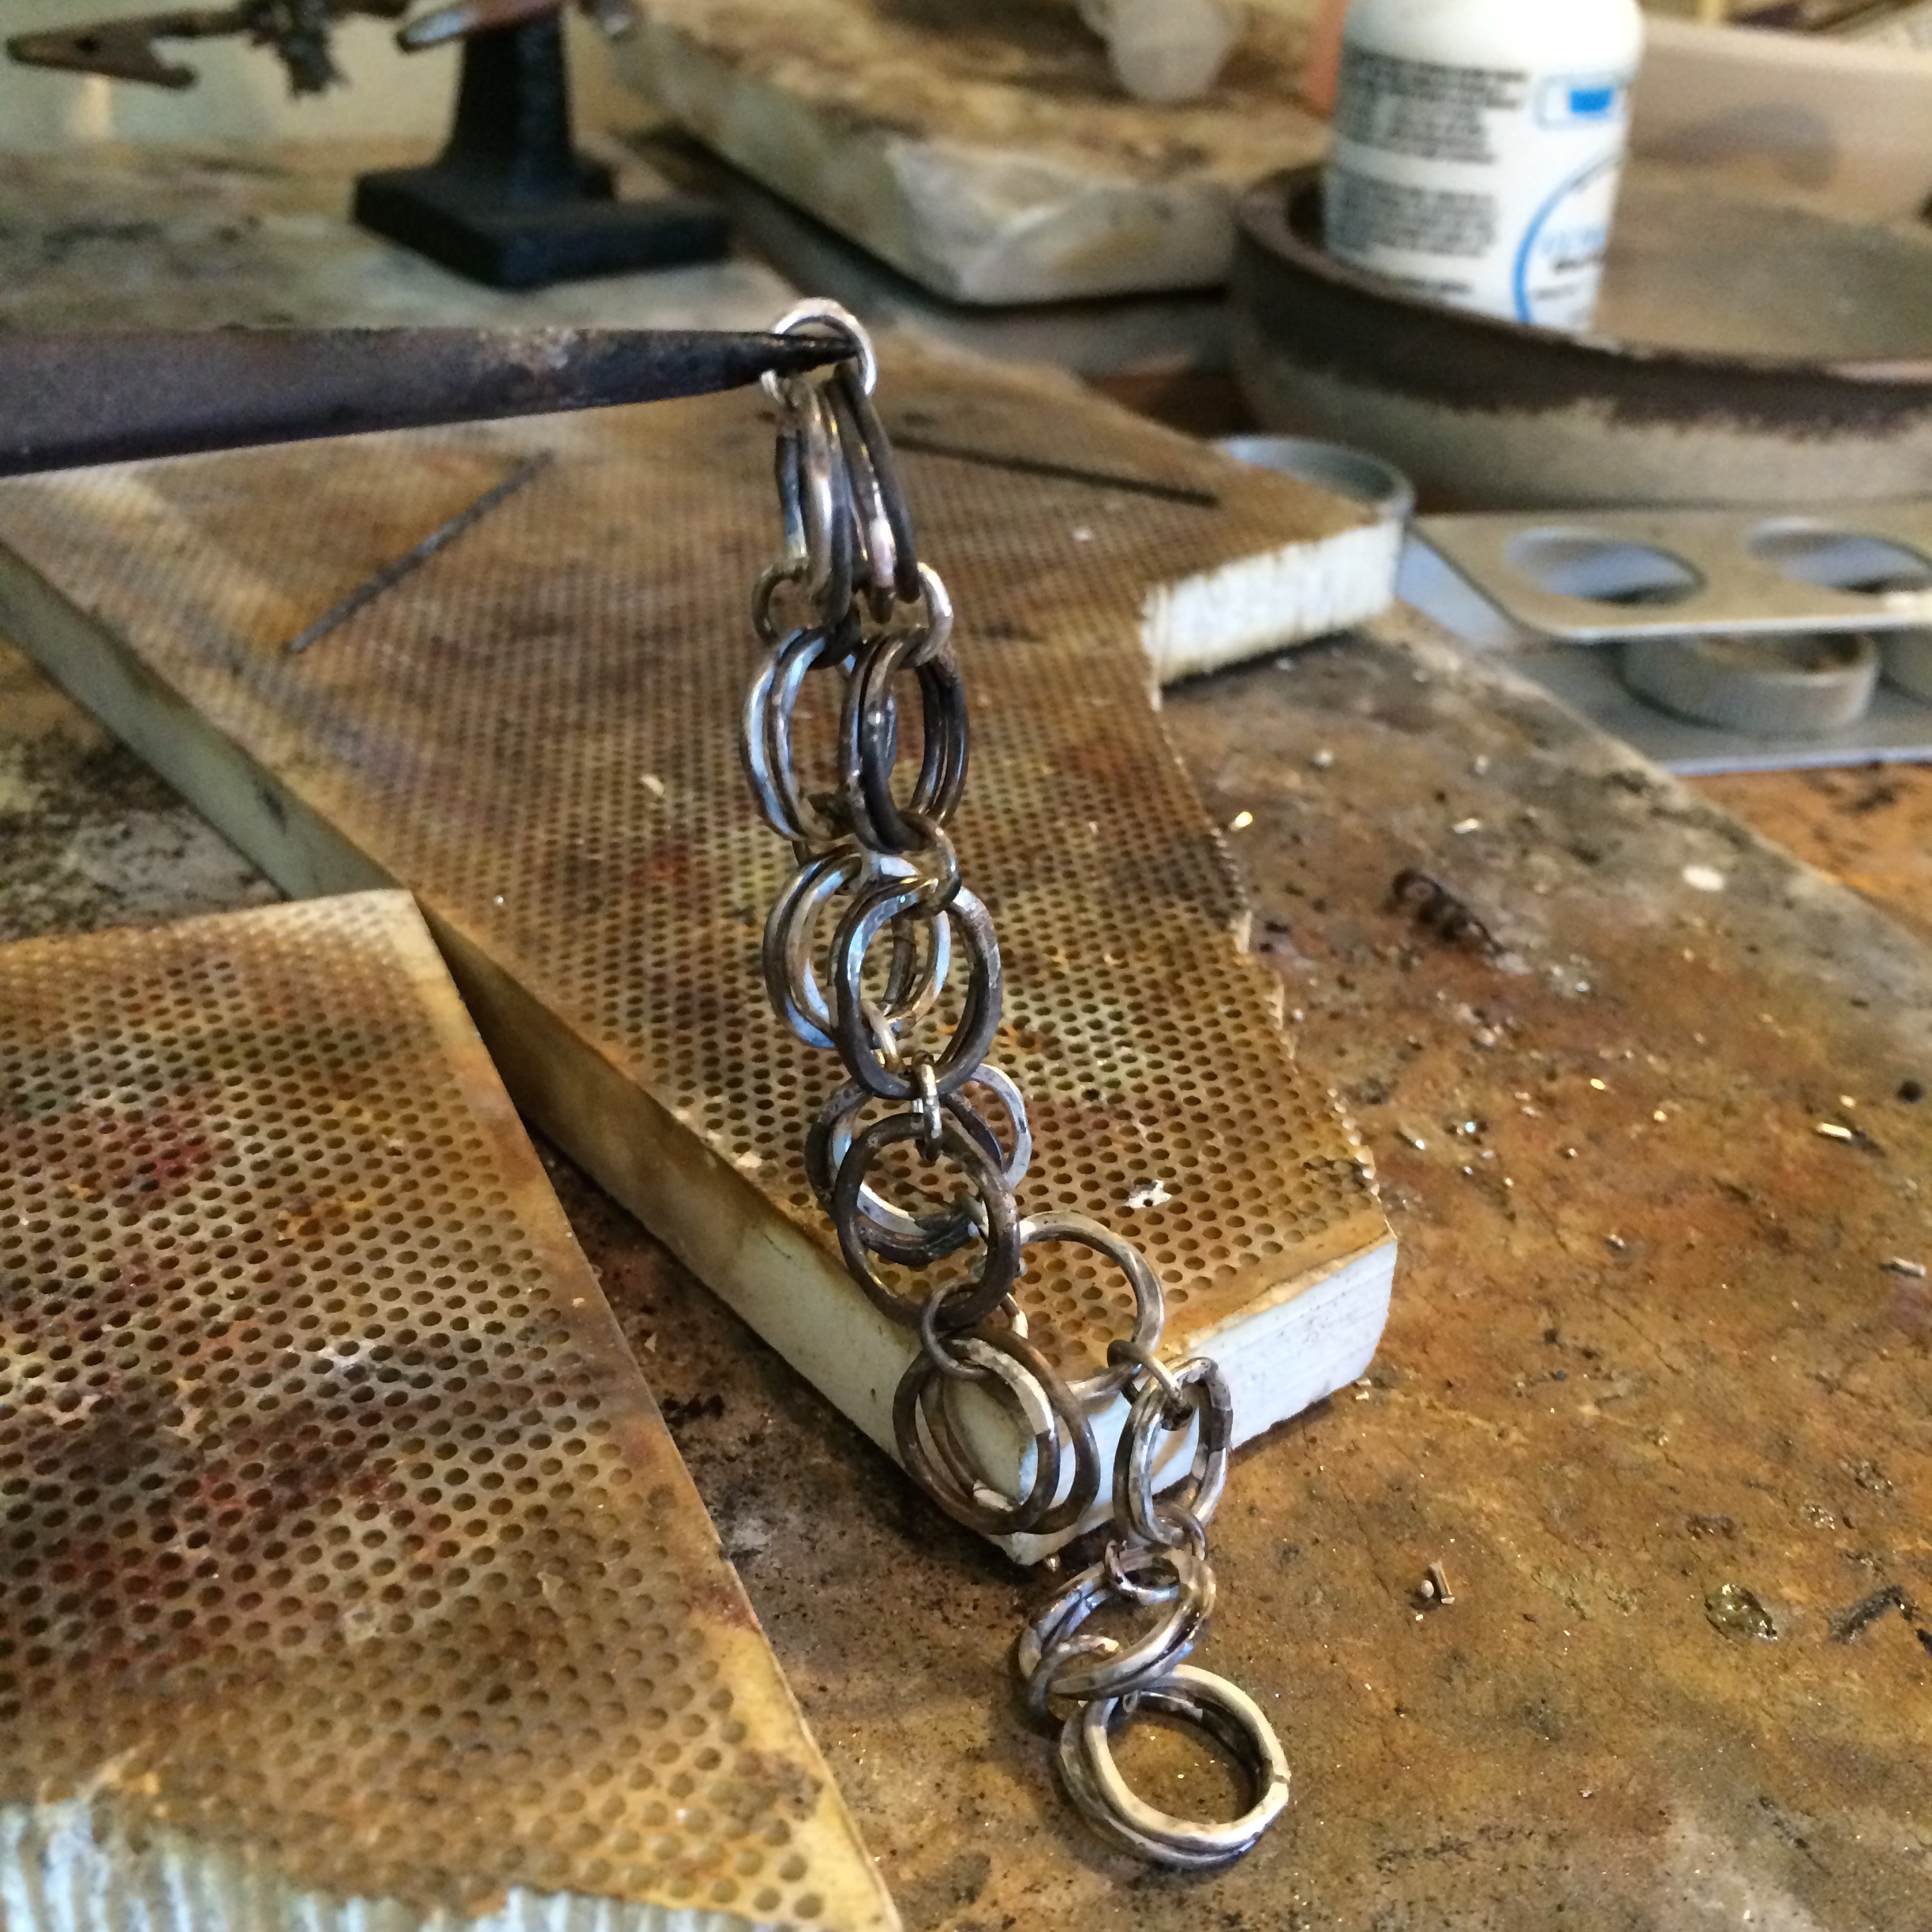
Now you will add two more small jump rings to one end of the chain, and one 3mm jump ring to the last of the small ones. This last smaller link is the one you will add your toggle to.
I forgot to take a photograph of this at the time, but here’s a close up of the finished piece.

Solder each jump ring together.
Hammer your 1″ length of 14 gauge wire to make the toggle end of your clasp.

Then solder this onto the last small link of the chain.
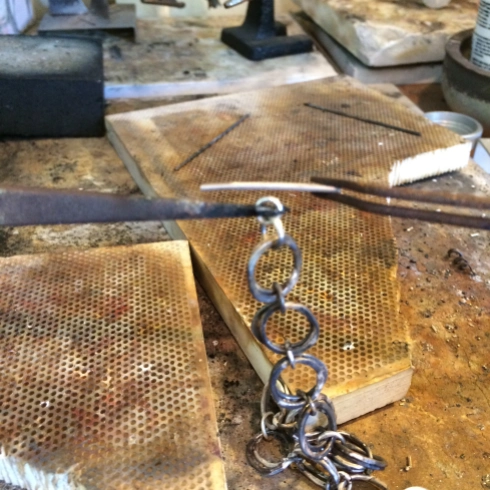
I thought I could get away with one less small link here, but I found that there wasn’t enough leeway for the bar to go through the opposite end link to close the chain.
I deliberately made that mistake so that you wouldn’t have to 😉
Now you can pickle and clean the chain.
For a consistent look you can hammer around the small link with a small headed hammer to match the irregular look of the larger links. Skip this part if you haven’t soldered the small jump rings as the links won’t stay closed nicely once you’ve hammered them.

Now you can finish your chain in the way you prefer, either by tumbling, using liver of sulphur, or just by buffing it as I have done here – and enjoy 🙂

At this point you may never want to solder another jump ring again, but hey, the possibilities are endless…

–
–

–
I think something more to do with the actual making of jewelry rather than just the showing and telling bit, although I never did get to do that at school and am just beginning to see what I missed out on.
I know, poor baby, that was a huge chunk of my childhood down the drain right there.
It happens.
I got over it.
Actually I didn’t because I didn’t know there was anything I had to get over, but I will tell you that I have learned a lot sharing with you here and I recommend putting yourself out there to everyone.
O.K. I’m rambling. You didn’t know I did that did you?
–
Stone Setting…
Ticks me off.
I’m not talking about the cabochon settings I do as I seem to have those down now, but rather the shiny, let’s put one of those in a ring settings.
This is how it usually goes when I want to try something new.
I think about it, think about it, and then I think about it some more. Sometimes for months. The cabs, perhaps a year. And then suddenly, before I even know what hit me, I start making them all of the time and voilà, I’m in the cab club.
Well the other shiny kind of stone setting has been roaming around in the back of my head now for quite some time.
I’ve dabbled, and generally get by, but I cannot tell you that I can wake up in the morning and say, right then, time to set a shiny stone into one of those ring settings, and then go into the studio and set that darn stone with the confidence that it will work.
So this is my mission chaps and chapesses. (Are there really any chaps reading this drivel?). The mysterious world of stone setting.
–
I’ve got a few books on the subject. Well, I’ve got quite a lot really as I love looking at the pictures.
But this time it might actually be time to read them.
Although honestly I’m a visual learner, so I might have to change my mind about this later when all the words start running together and I get brain fog.
I learn by seeing, trying, messing up, figuring out where I went wrong and trying again.
Probably could save a lot of time and energy just by reading the darn books, but where’s the fun and frustration in that?
Here’s one of my books.

Some of you probably have it.
Now, the setting I want to tackle first is the flush setting.
I think that’s what they call it.
Hang on, let me have a look.
Nope, it’s tube setting. Similar I think, but not quite the same.
O.K. I was going to show you a pic in the book, but then I realized that was probably illegal.
I’ll just have to draw my own for you, bear with me a mo…

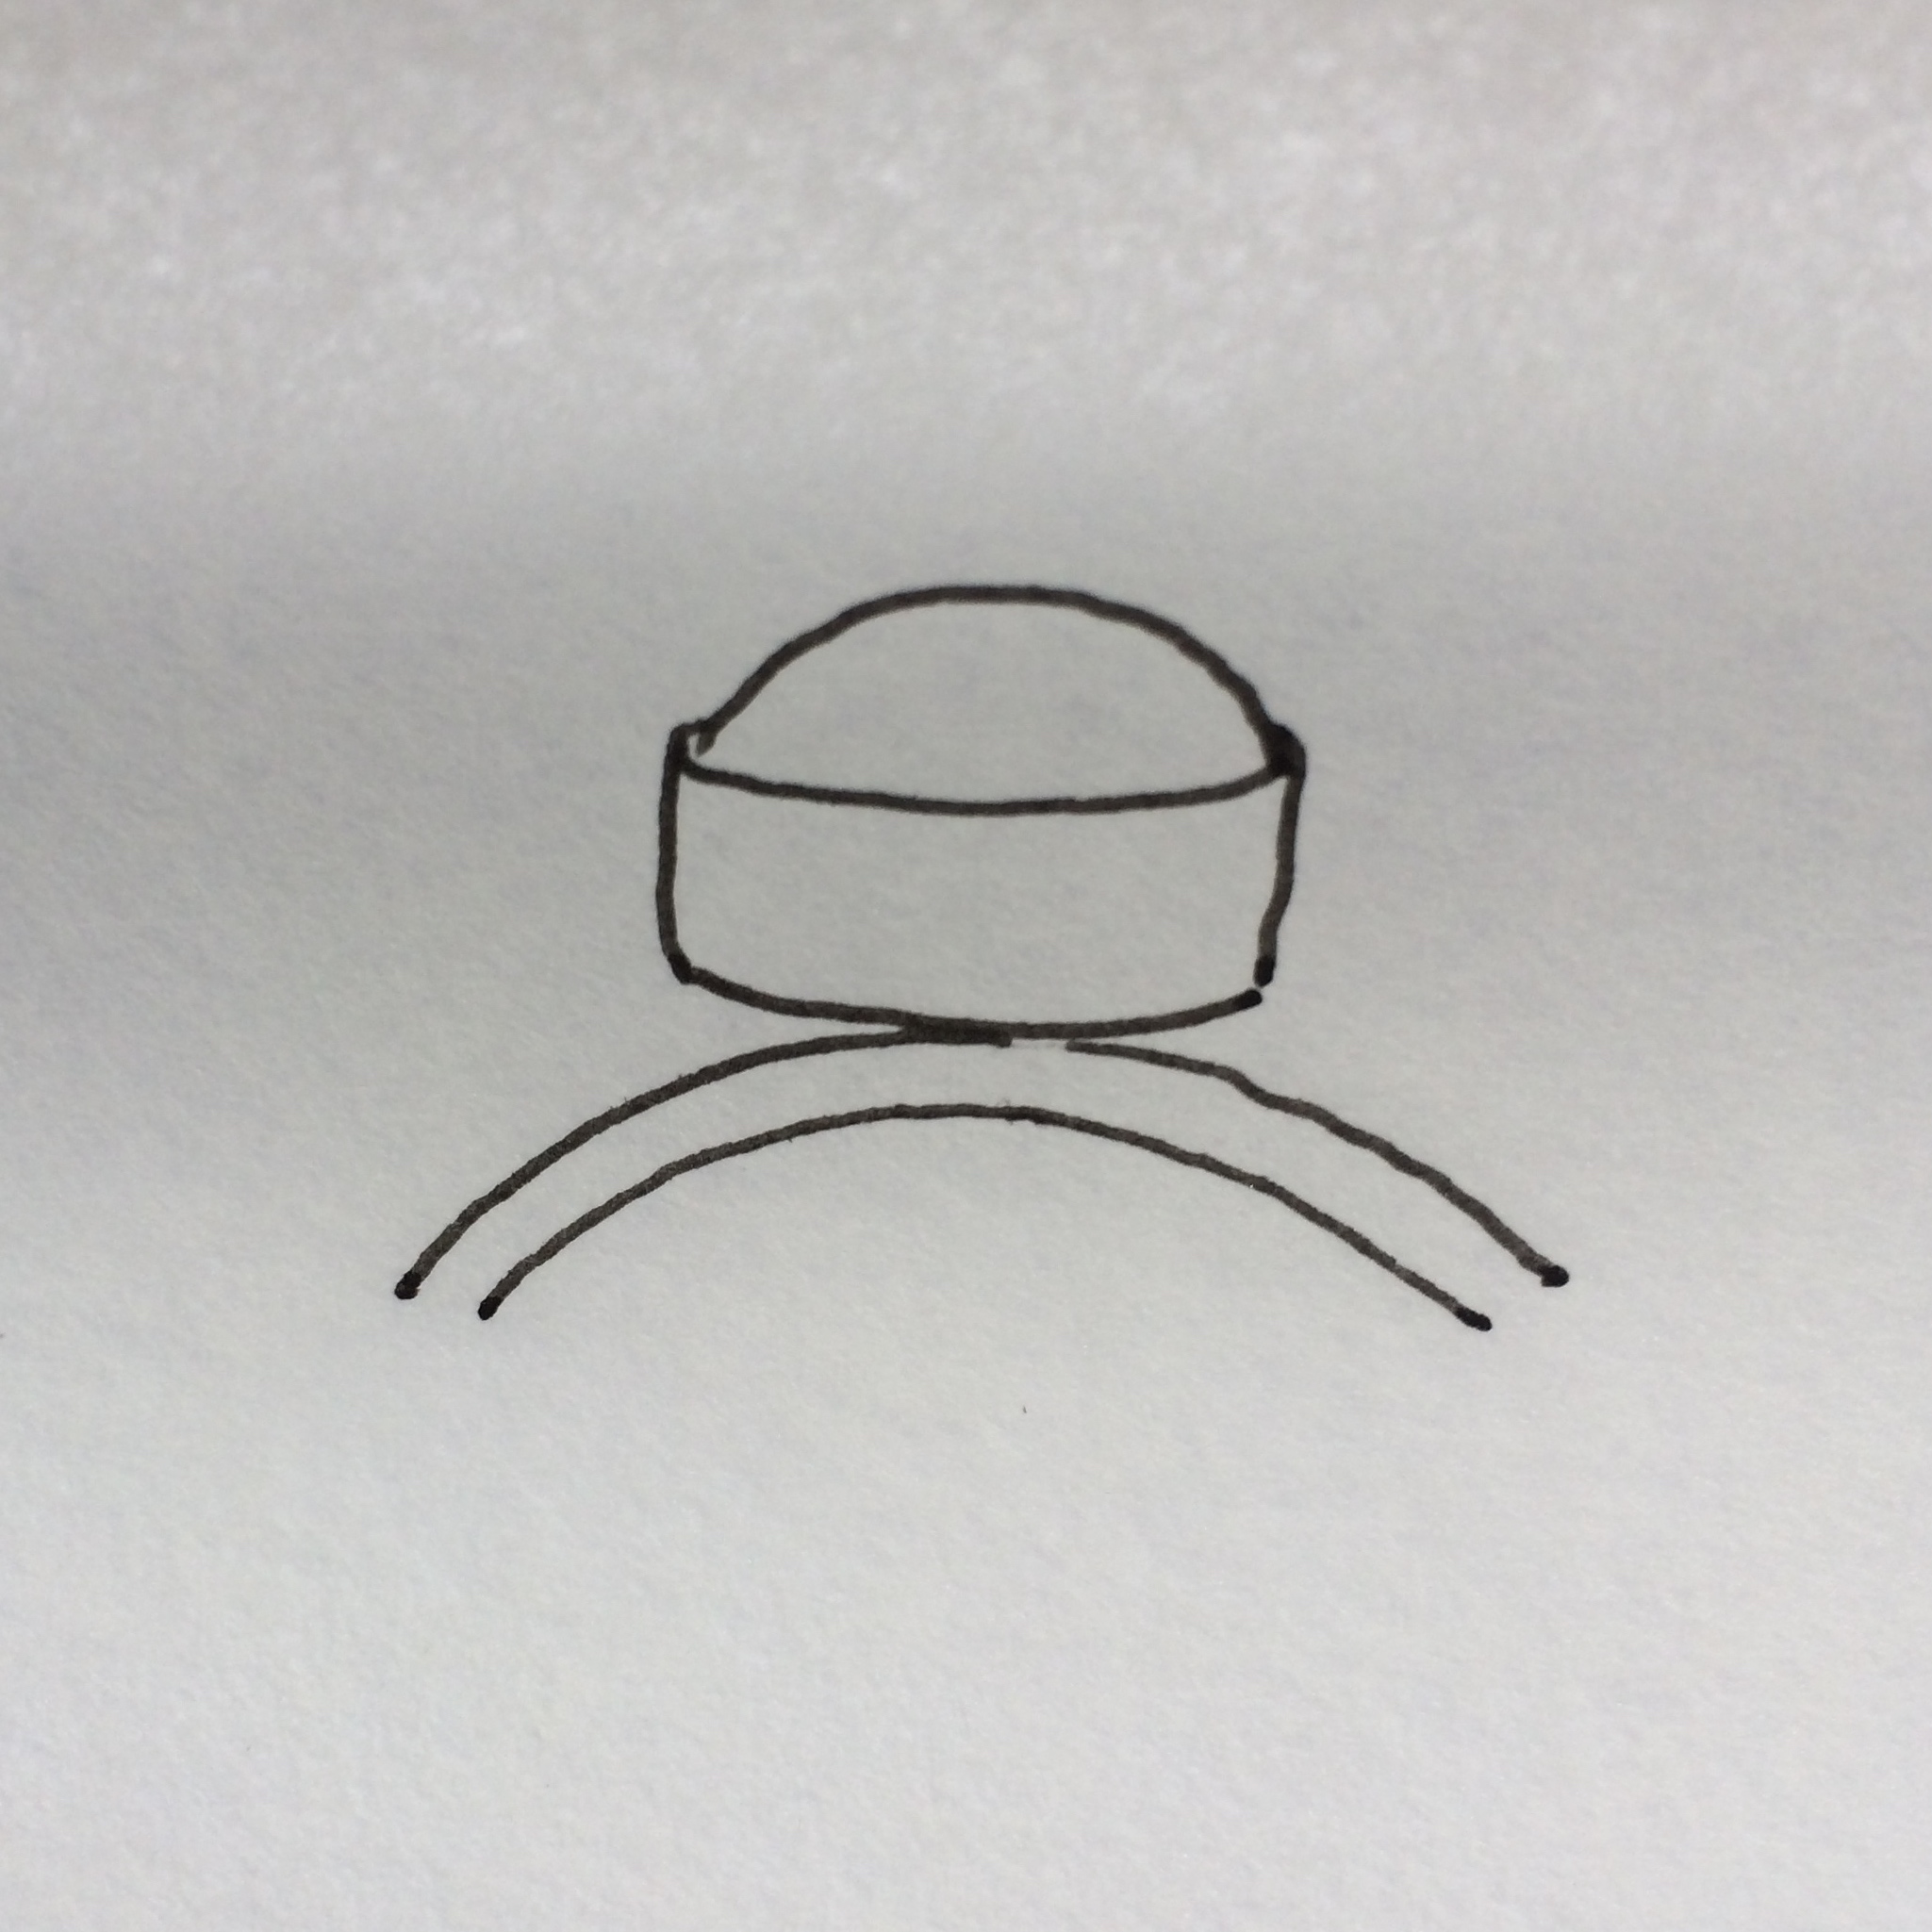
So here’s the plan.
I’ve got some stones which I bought from Rio back when I first starting thinking about it.
I was a little annoyed by this as I was still in the throes of perfecting my cab setting skills, but I went ahead and bought them anyway as I just had to have them.
No hope for me really.
As I said, I have had a few successes, but I really want to get to the place where I have alllllll successes.
I’m needy that way.
I’ll try to walk you through my trials and errors, but sometimes holding the camera while soldering, bezel pushing, filing, etc., can get a bit tricky, but I’m all about overcoming challenges 😉
So watch this space…
–
In other news.
You remember those snipings from the bridesmaid earrings.

There was a lot of them.
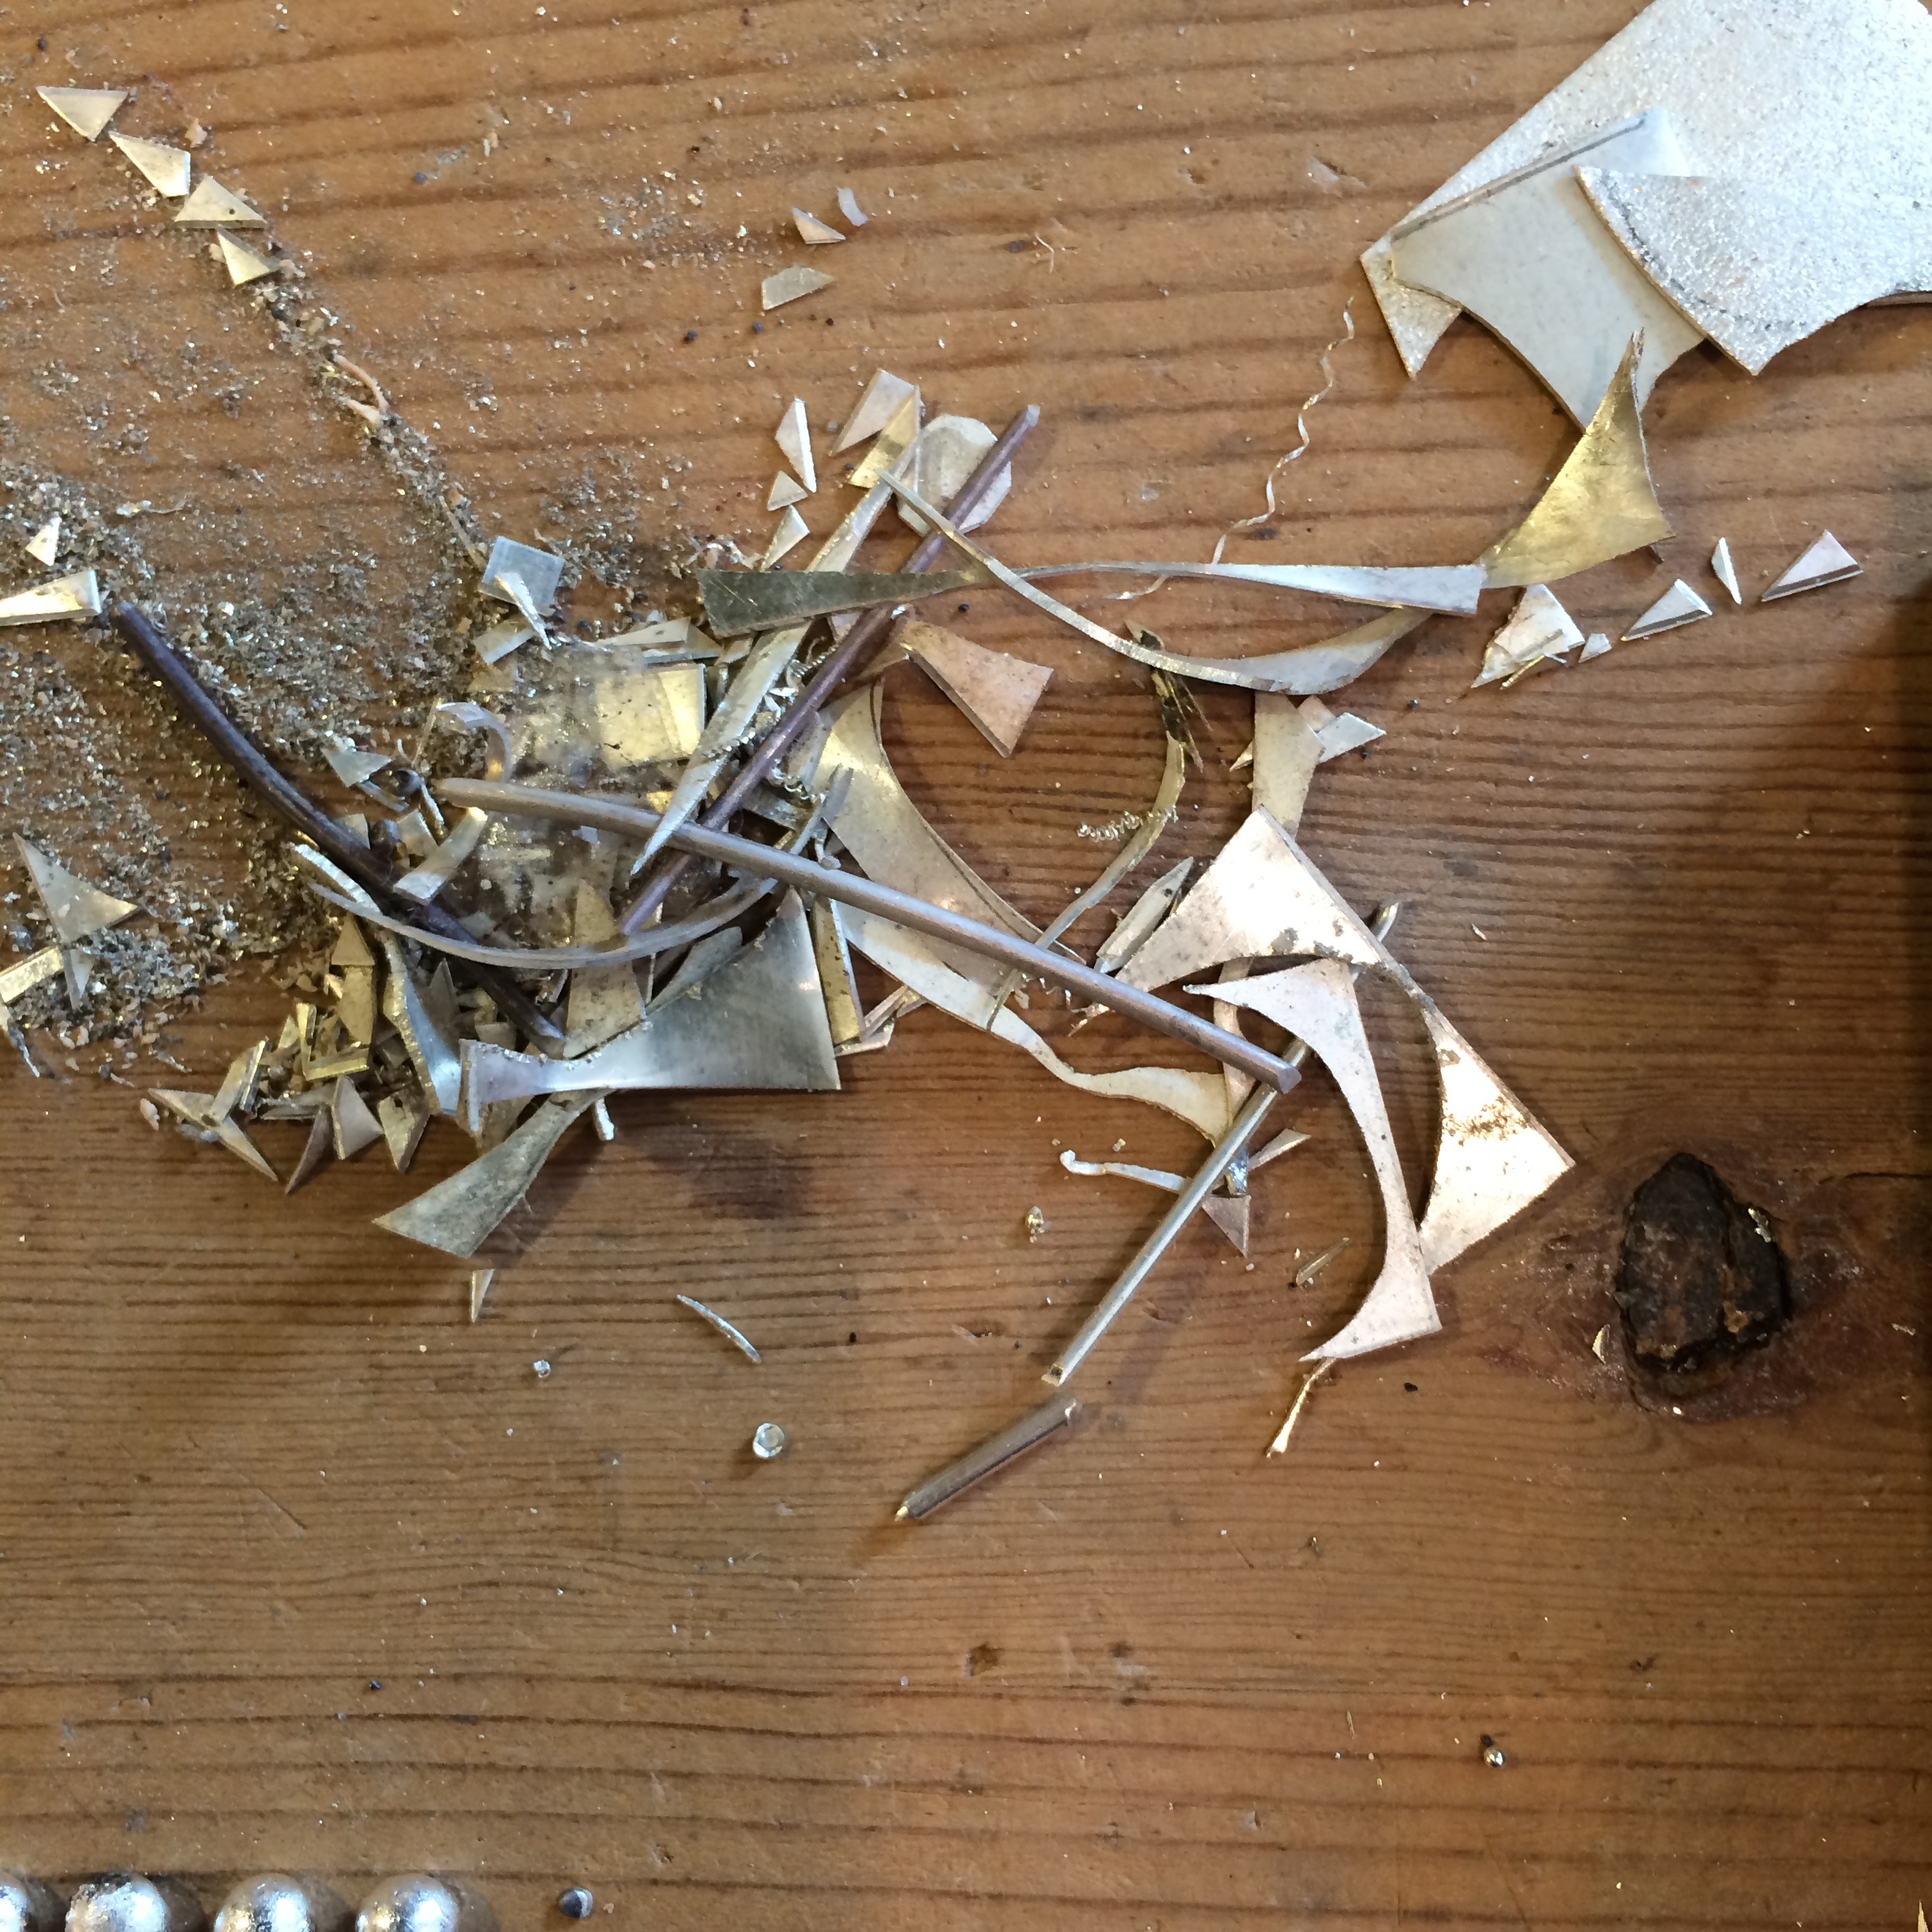
Well they took a holiday at the charcoal block spa and salon.

And now they’re sorted and ready to go party.

Shame I’m doing stone setting now.
And here’s a photo of The Rodent for Angie.

Yes, I know he looks all cute and stuff, but

He’s still a rodent.
Actually there’s a debate as to whether guinea pigs are in fact rodents.
Frankly I don’t care.
He might be cute, but he hounded his poor little black friend to death, literally, by using Thor, RIP, as his sex slave, but that’s another story…
It’s always the good looking ones you’ve got to watch out for isn’t it.
And finally, the show and tell.
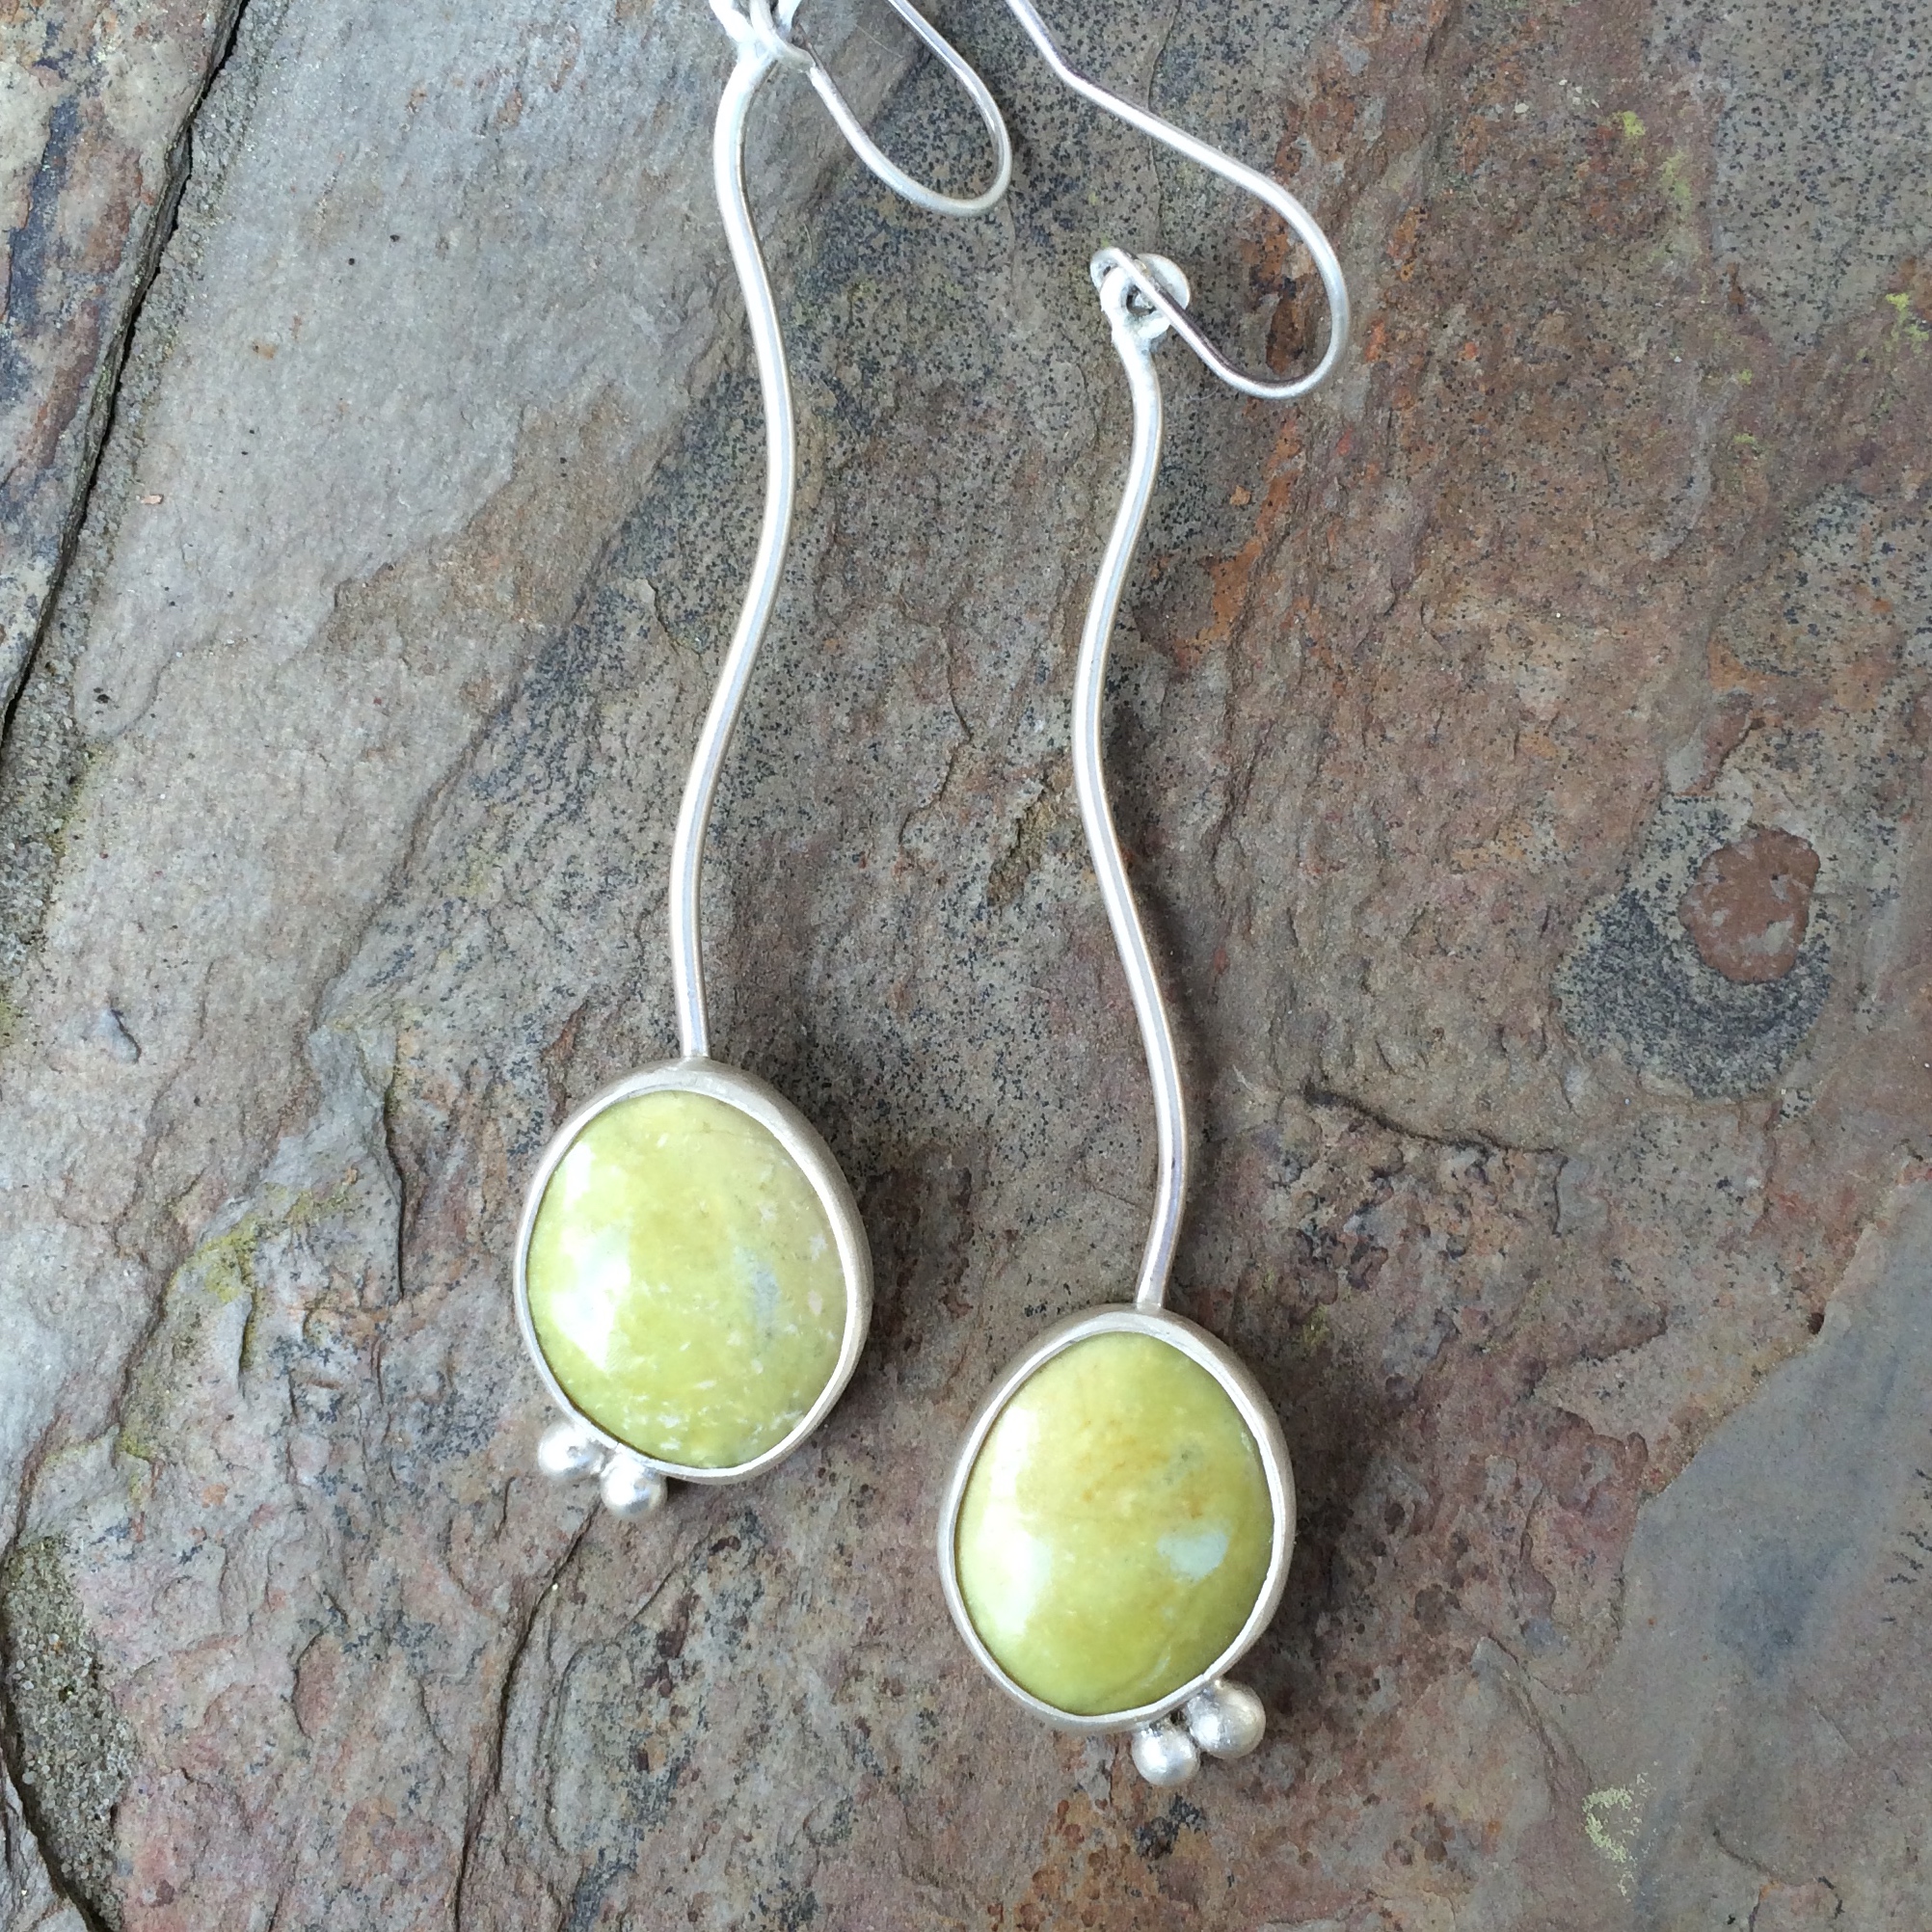


–
And for your continual enjoyment.
(O.K. so maybe the show and tell wasn’t last)
Soldering jump rings.
Exciting, right?
Here’s how I like to do it.
Place all of the jump rings facing the same direction as sometimes, once you start heating them, you can’t find the area you want to join.
This way you have a heads up.
Use a little flux.

Cut loads of pallions of solder wire, or use chips, whichever you prefer.
And heat them gently until they form little balls.
You can then pick them up with your pick (see what I did there), and place them easily on the join to be soldered.
The balls have to be hot, as does the pick, to be able to do this.
I leave you now with your very first look at the top of my head.
Oh, and sorry about the sniff. Got a bit of a cold.
Go on. You thought I had long golden locks didn’t you…
–
–
–
First up, Nutmeg.

Nutmeg isn’t mine, but she sure acts like it taking the best seat in the house and the cosy blanket.
She’s the Boy’s, who showed up with her a few months back when he came home from university.
Like we wouldn’t notice.
Yes she lives with him, but did he not know that when term’s over and the holidays show up he lives with us!
I love cats I do.
I have the fabulous Wally Walnut.
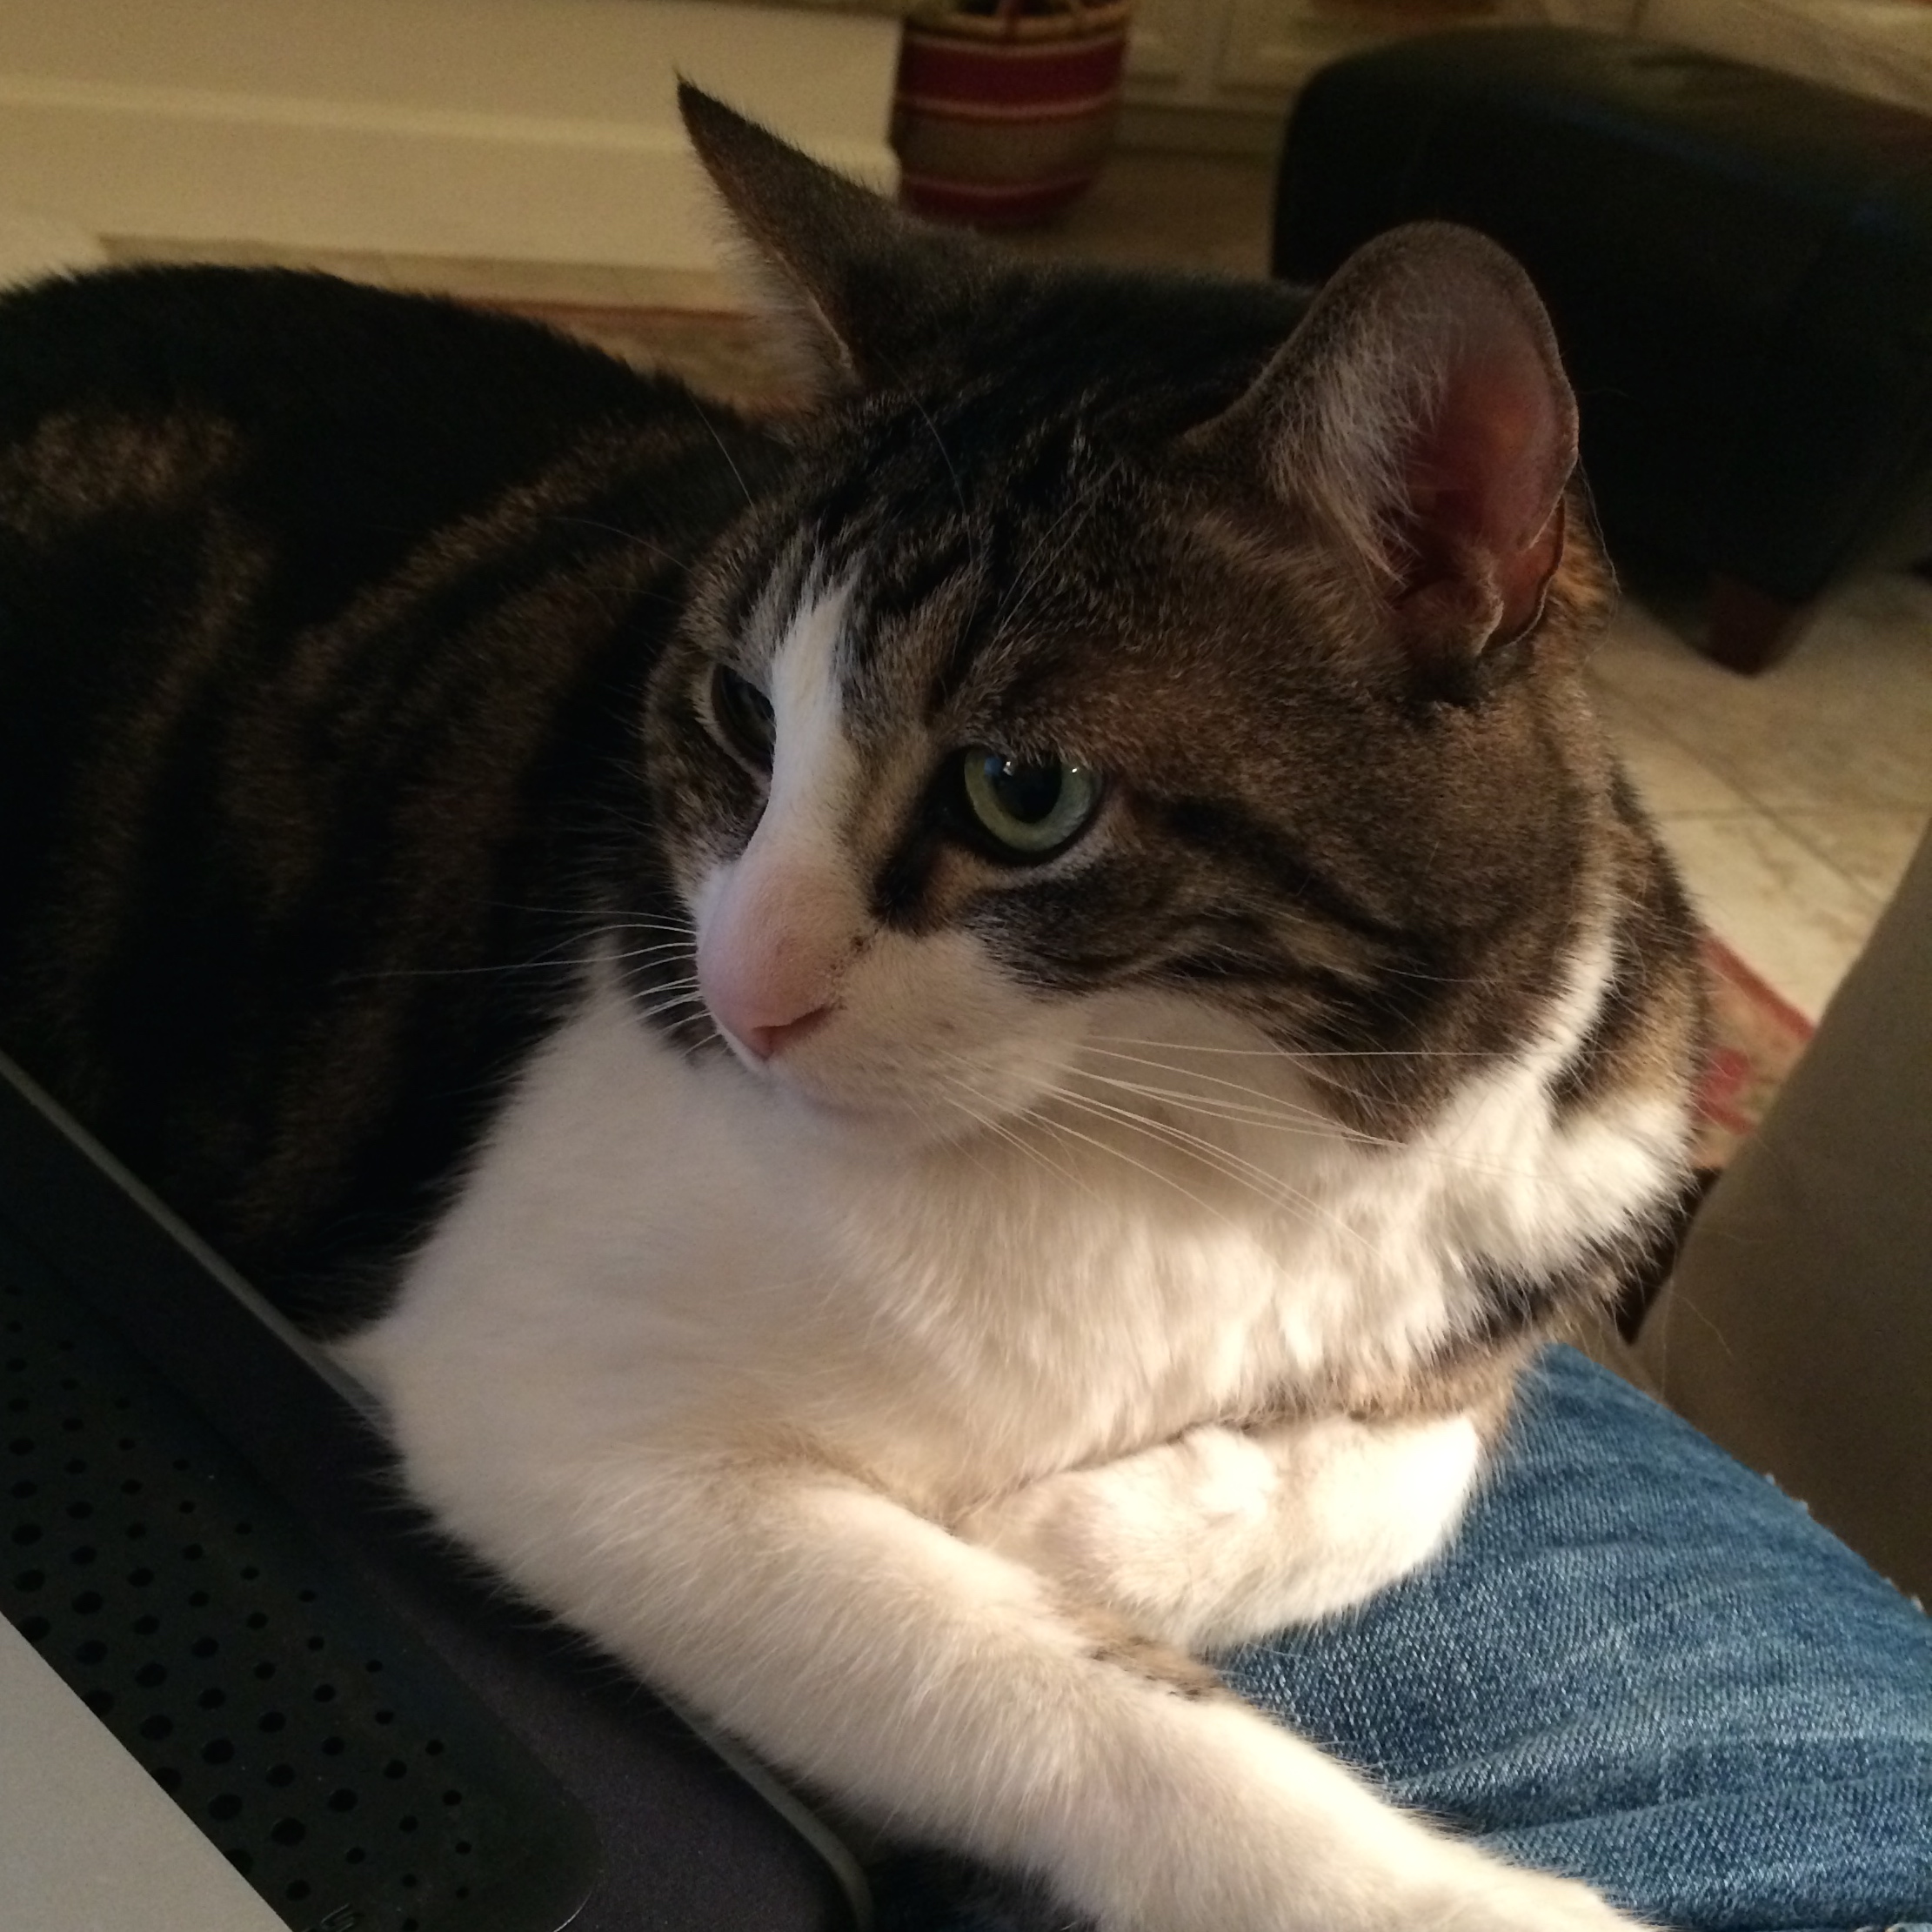
My constant companion, even if I don’t need his assistance all of the time.
And the rather fat, very heavy, but super cuddly Pickles.

Who would lay at my feet over subjecting me to her bone crushing love any day because she knows she could do with losing a few pounds.
I think I told you that one night I was dreaming I had a railway sleeper on my chest (don’t ask) and woke up to find pickles laying on me.
I was almost crushed to death in my sleep.
So despite the danger of broken bones, bruises, and strained backs when you try to lift obese animals, I love cats. They’re my favourite. So much so that P has told me that if I ever bring another one home it will be the last thing I do.
Like he thinks he can take me out.
I don’t think so!
But, I love P and am getting a little tired of the litter box myself, so I was just a little p.o.’d when the Boy brought Nutmeg home, and especially p.o.’d when on his latest visit this spring break the extremely cute, but incredibly clumsy Nutmeg had obviously been having one hell of a time ripping open her body on fences.

But that’s o.k. It only cost me $350 to put her back together because the Boy is broke.
Go figure.
I should get him the collar of shame to wear also, perhaps he’ll think twice next time when he can’t clean those tricky bits and keeps bumping into walls.
And then there’s the guinea pig…
Doesn’t everyone need one for their front hallway.

Needless to say I’m looking forward to the rodent going back to school also.
And then there’s the shoes.

The ones relegated to the studio because they got a bit too grungy for their own good.
Well they finally gave up the ghost and died.

It was somewhat of a relief really as the water was getting in.
So I had to buy a new pair which proved more complicated that it seems.
I wanted a nice, comfortable pair, but I didn’t want to spend too much on them as they would soon look the same as the old ones.
I’m a bit hard on studio shoes.
So I finally settled on these.

Which are definitely comfortable, but make my feet look stubby and my ankles fat.
🙁
Oh well we can’t have everything.
In other news, the studio looks like a bomb hit it.

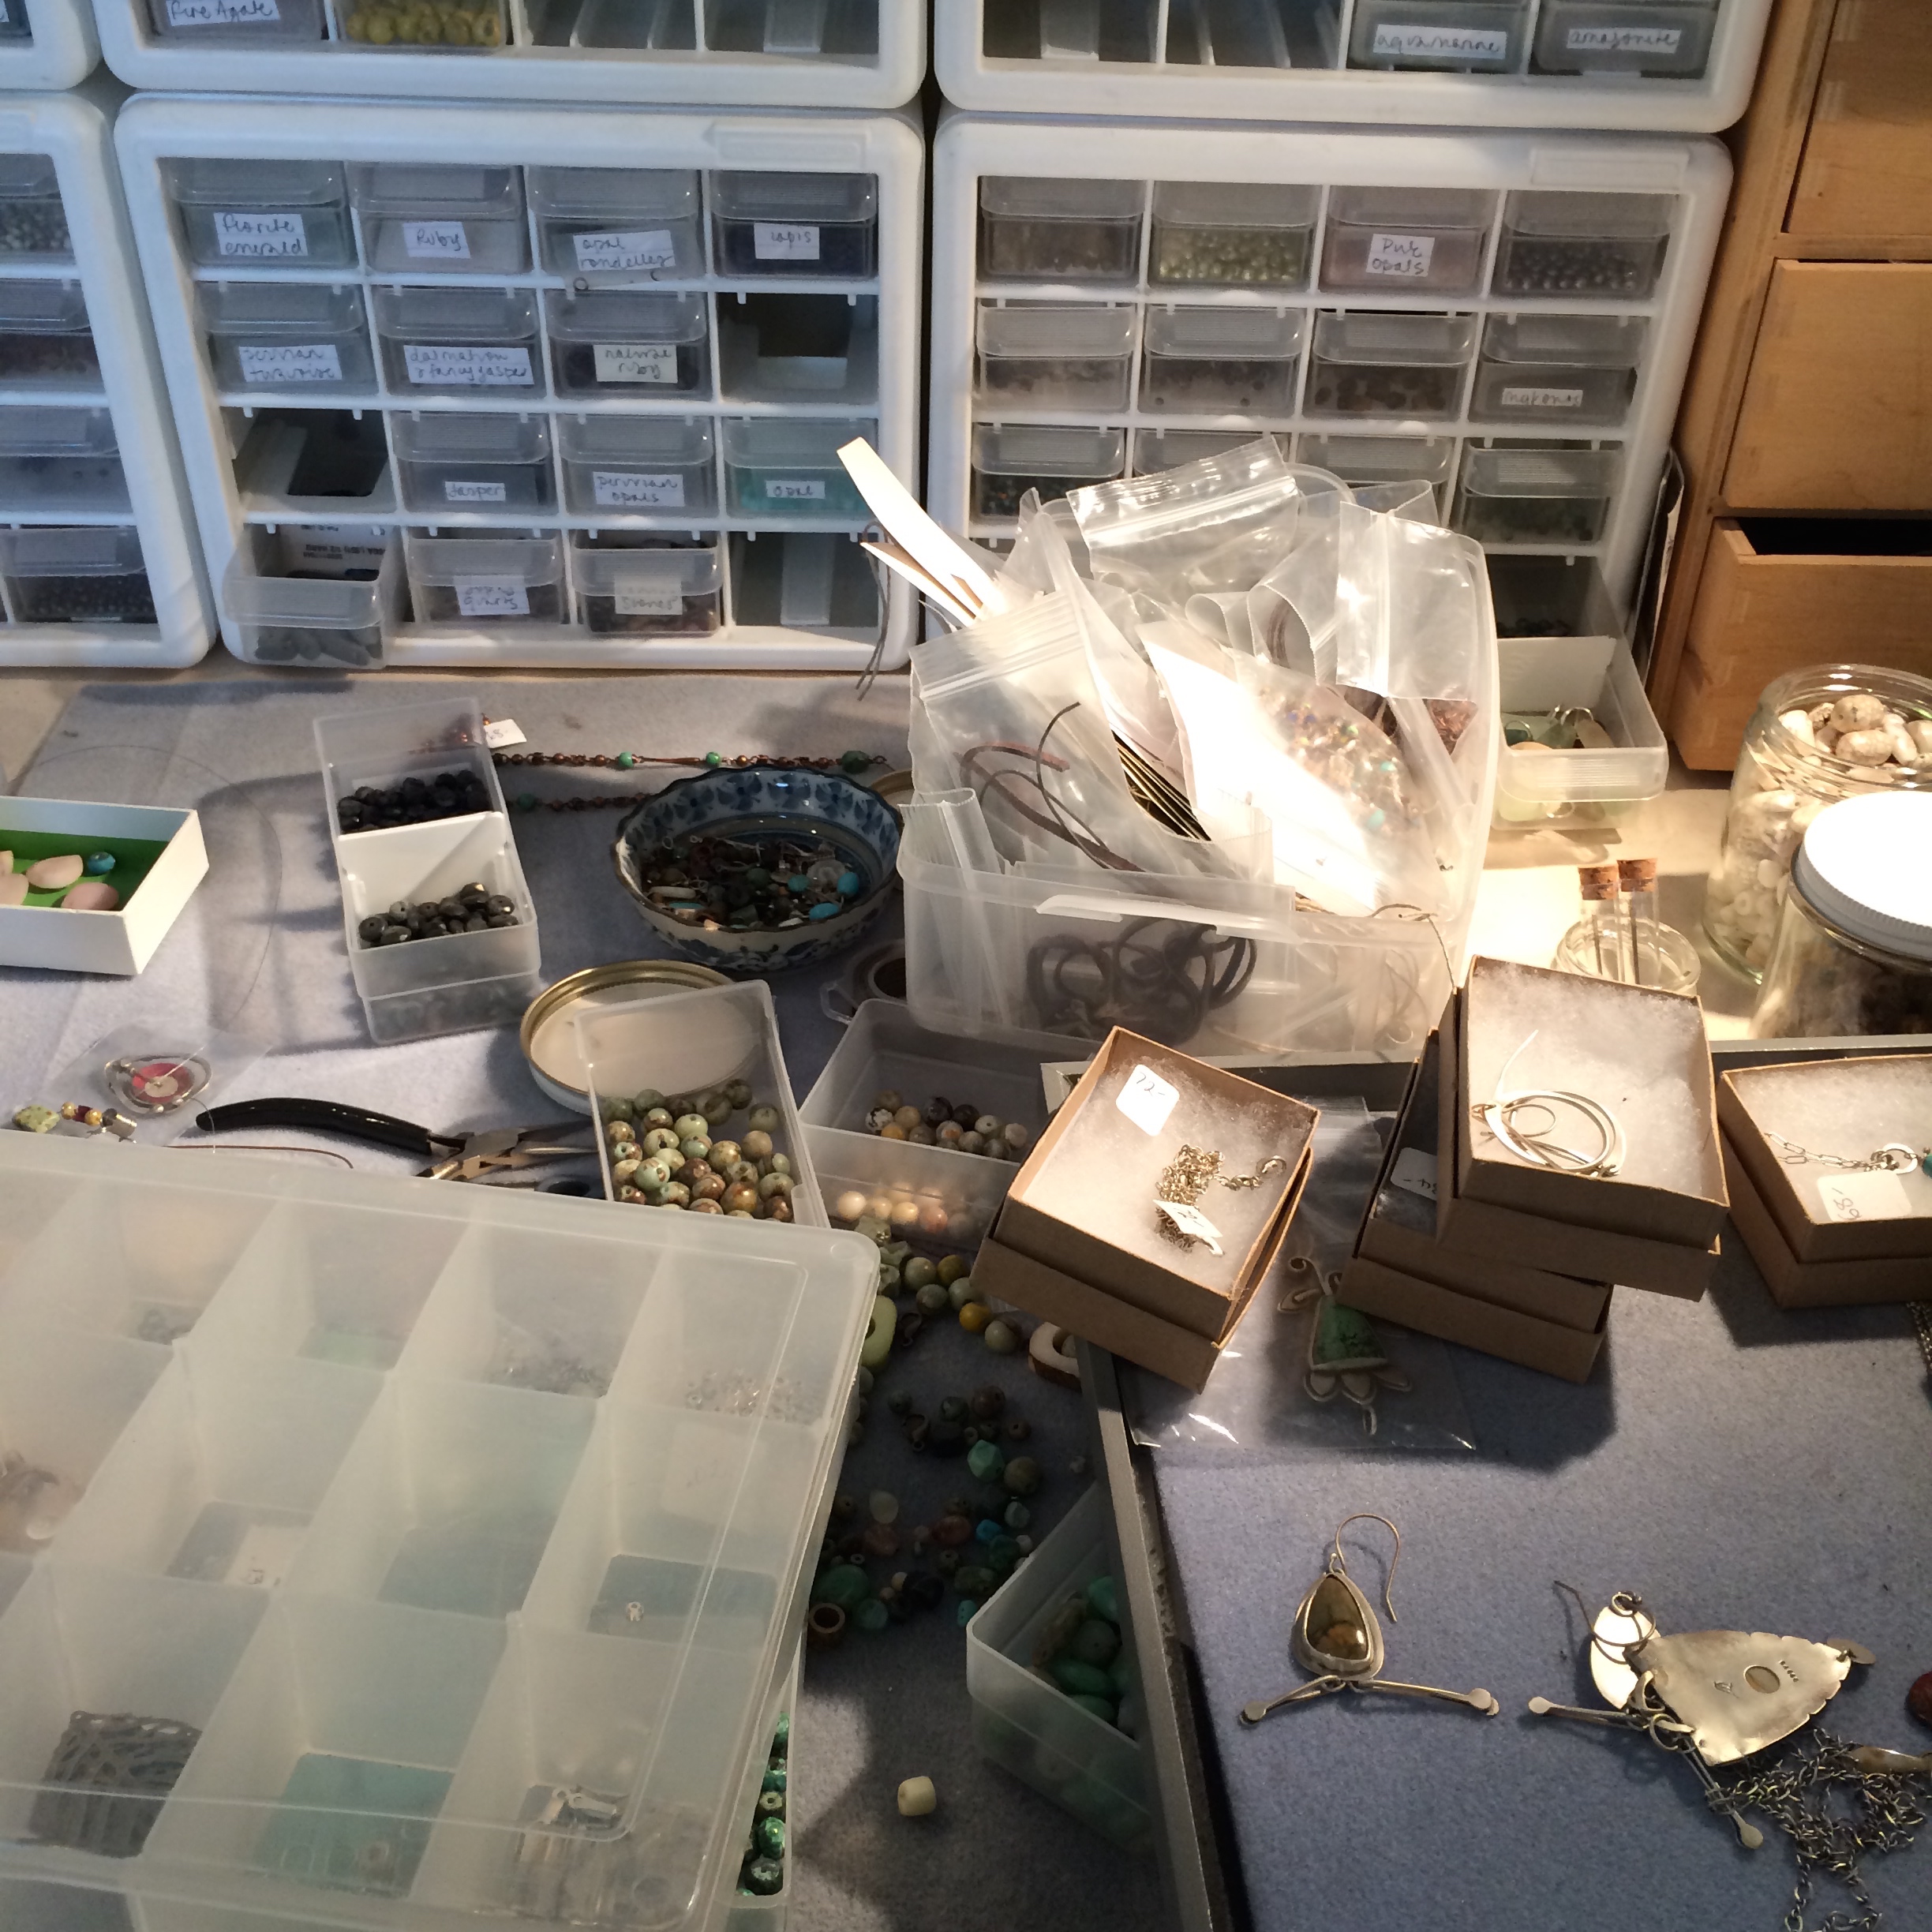


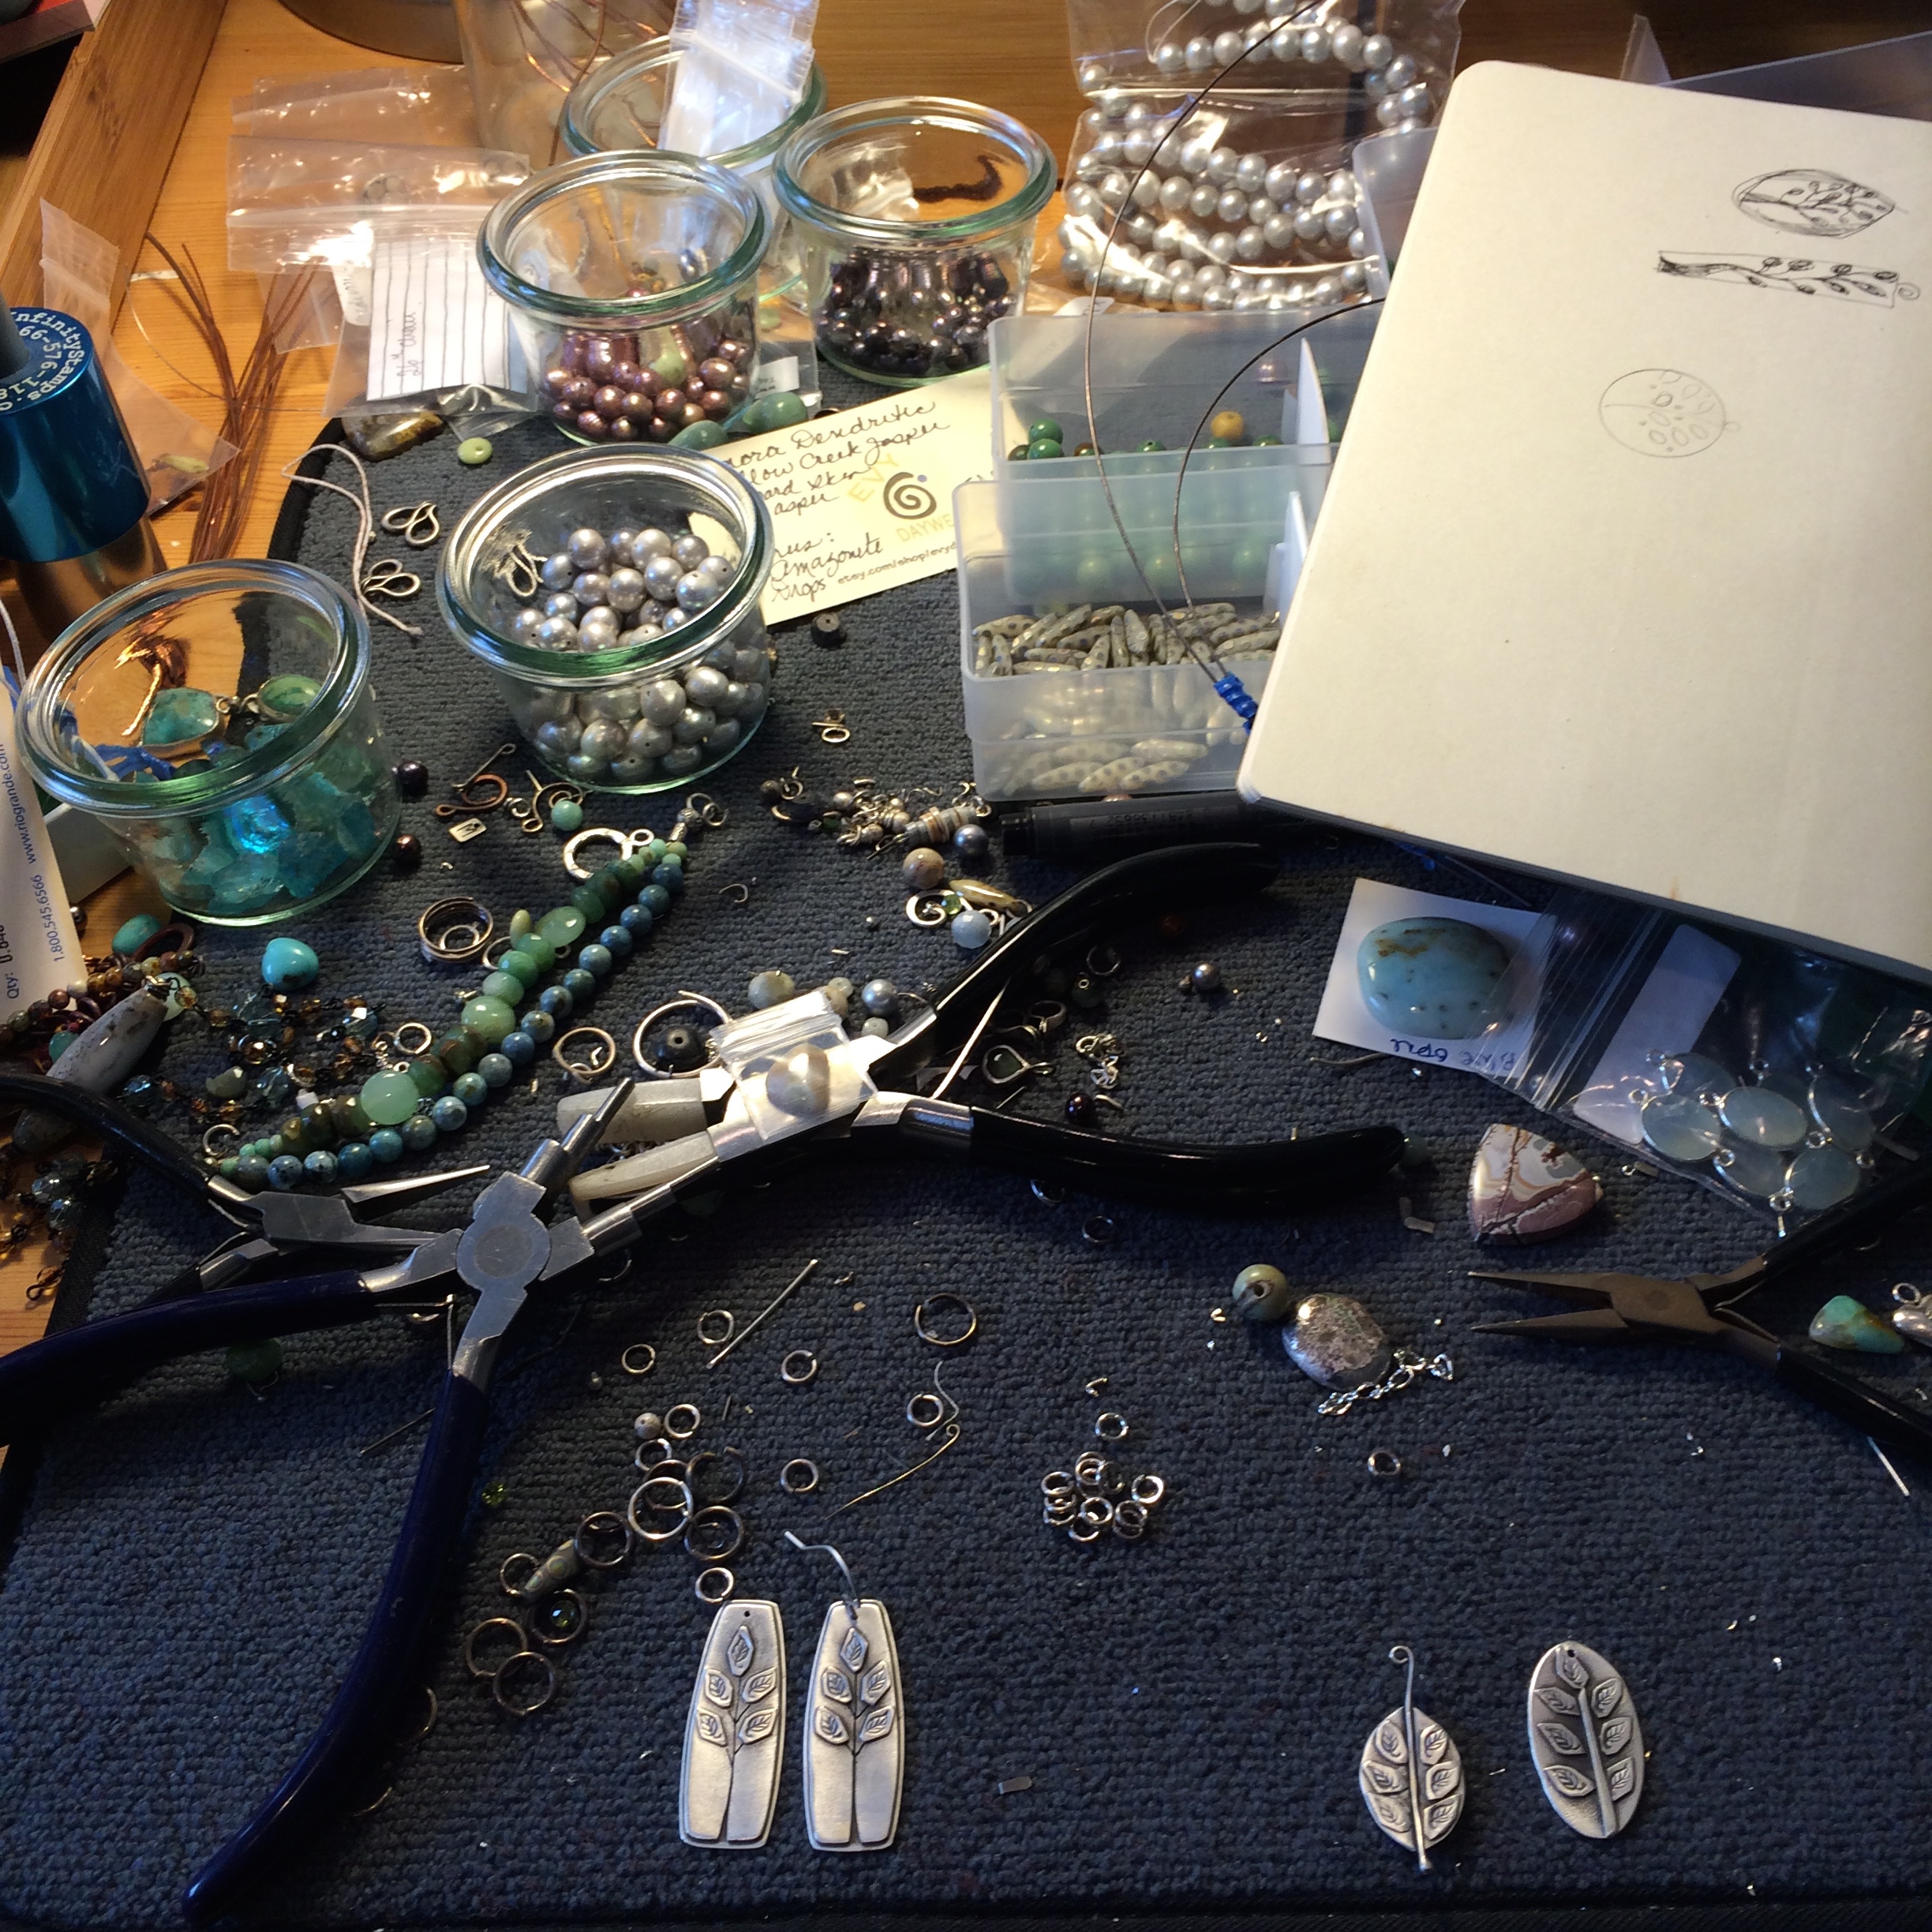

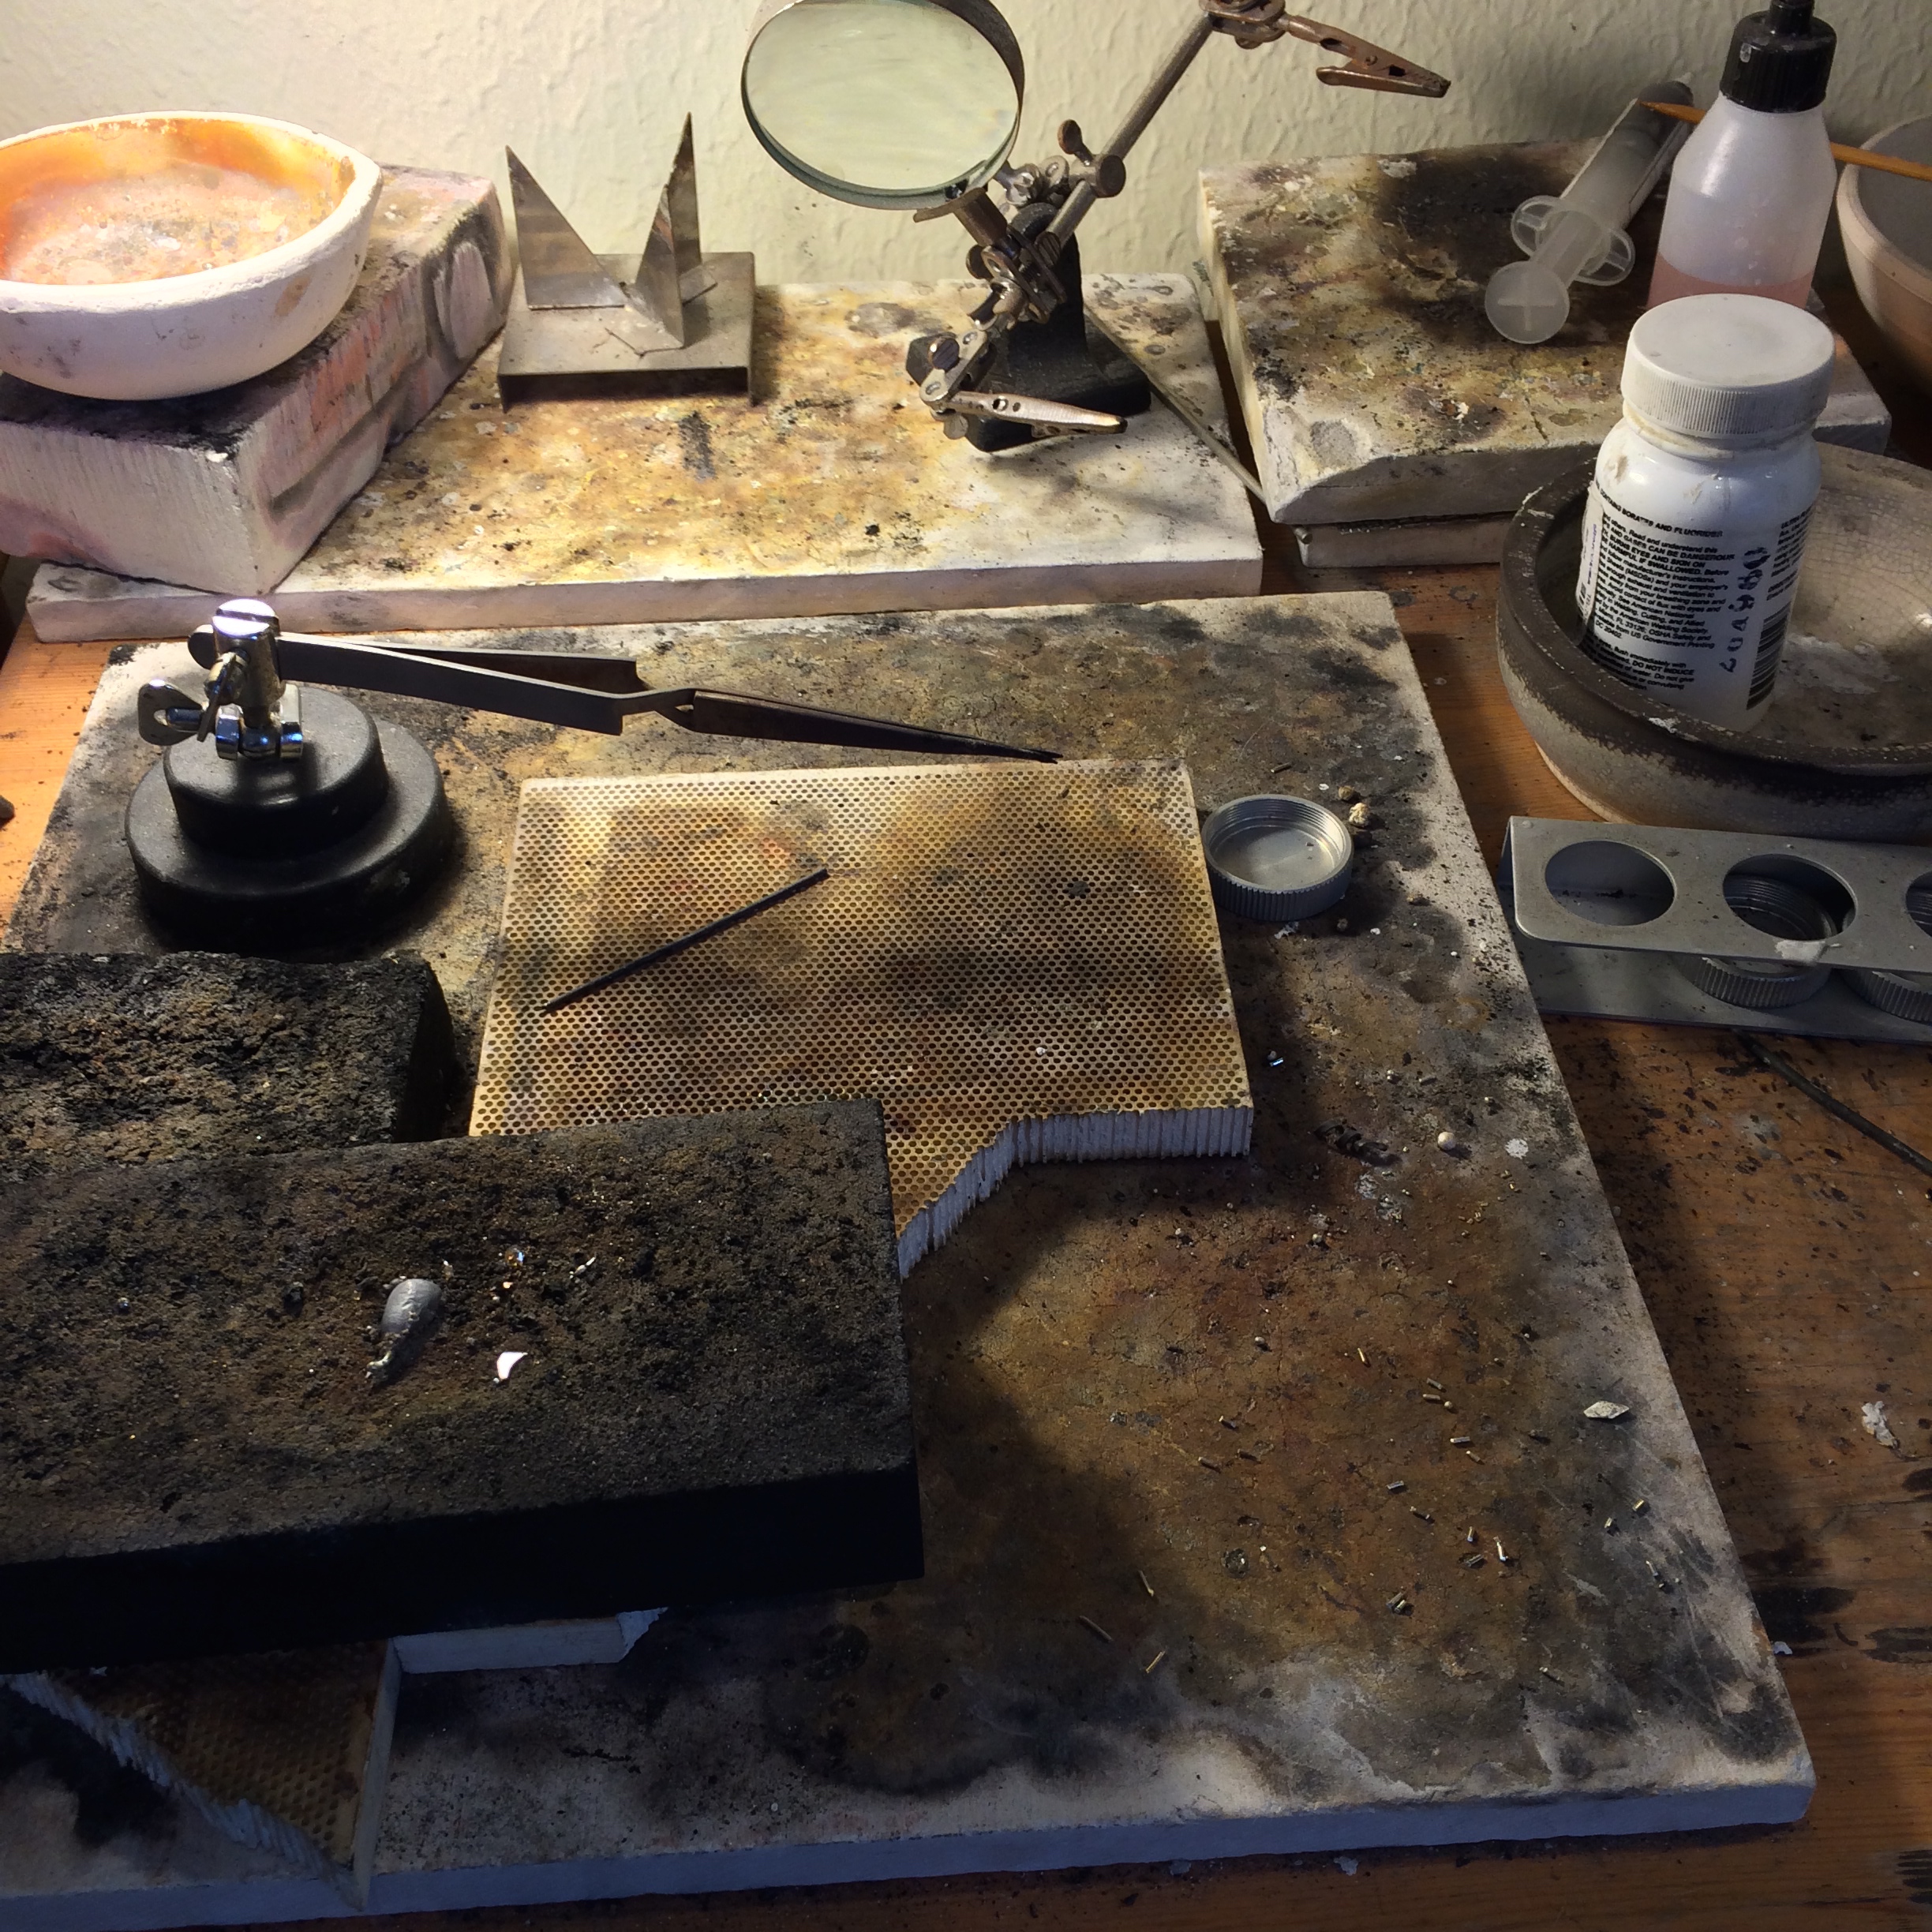
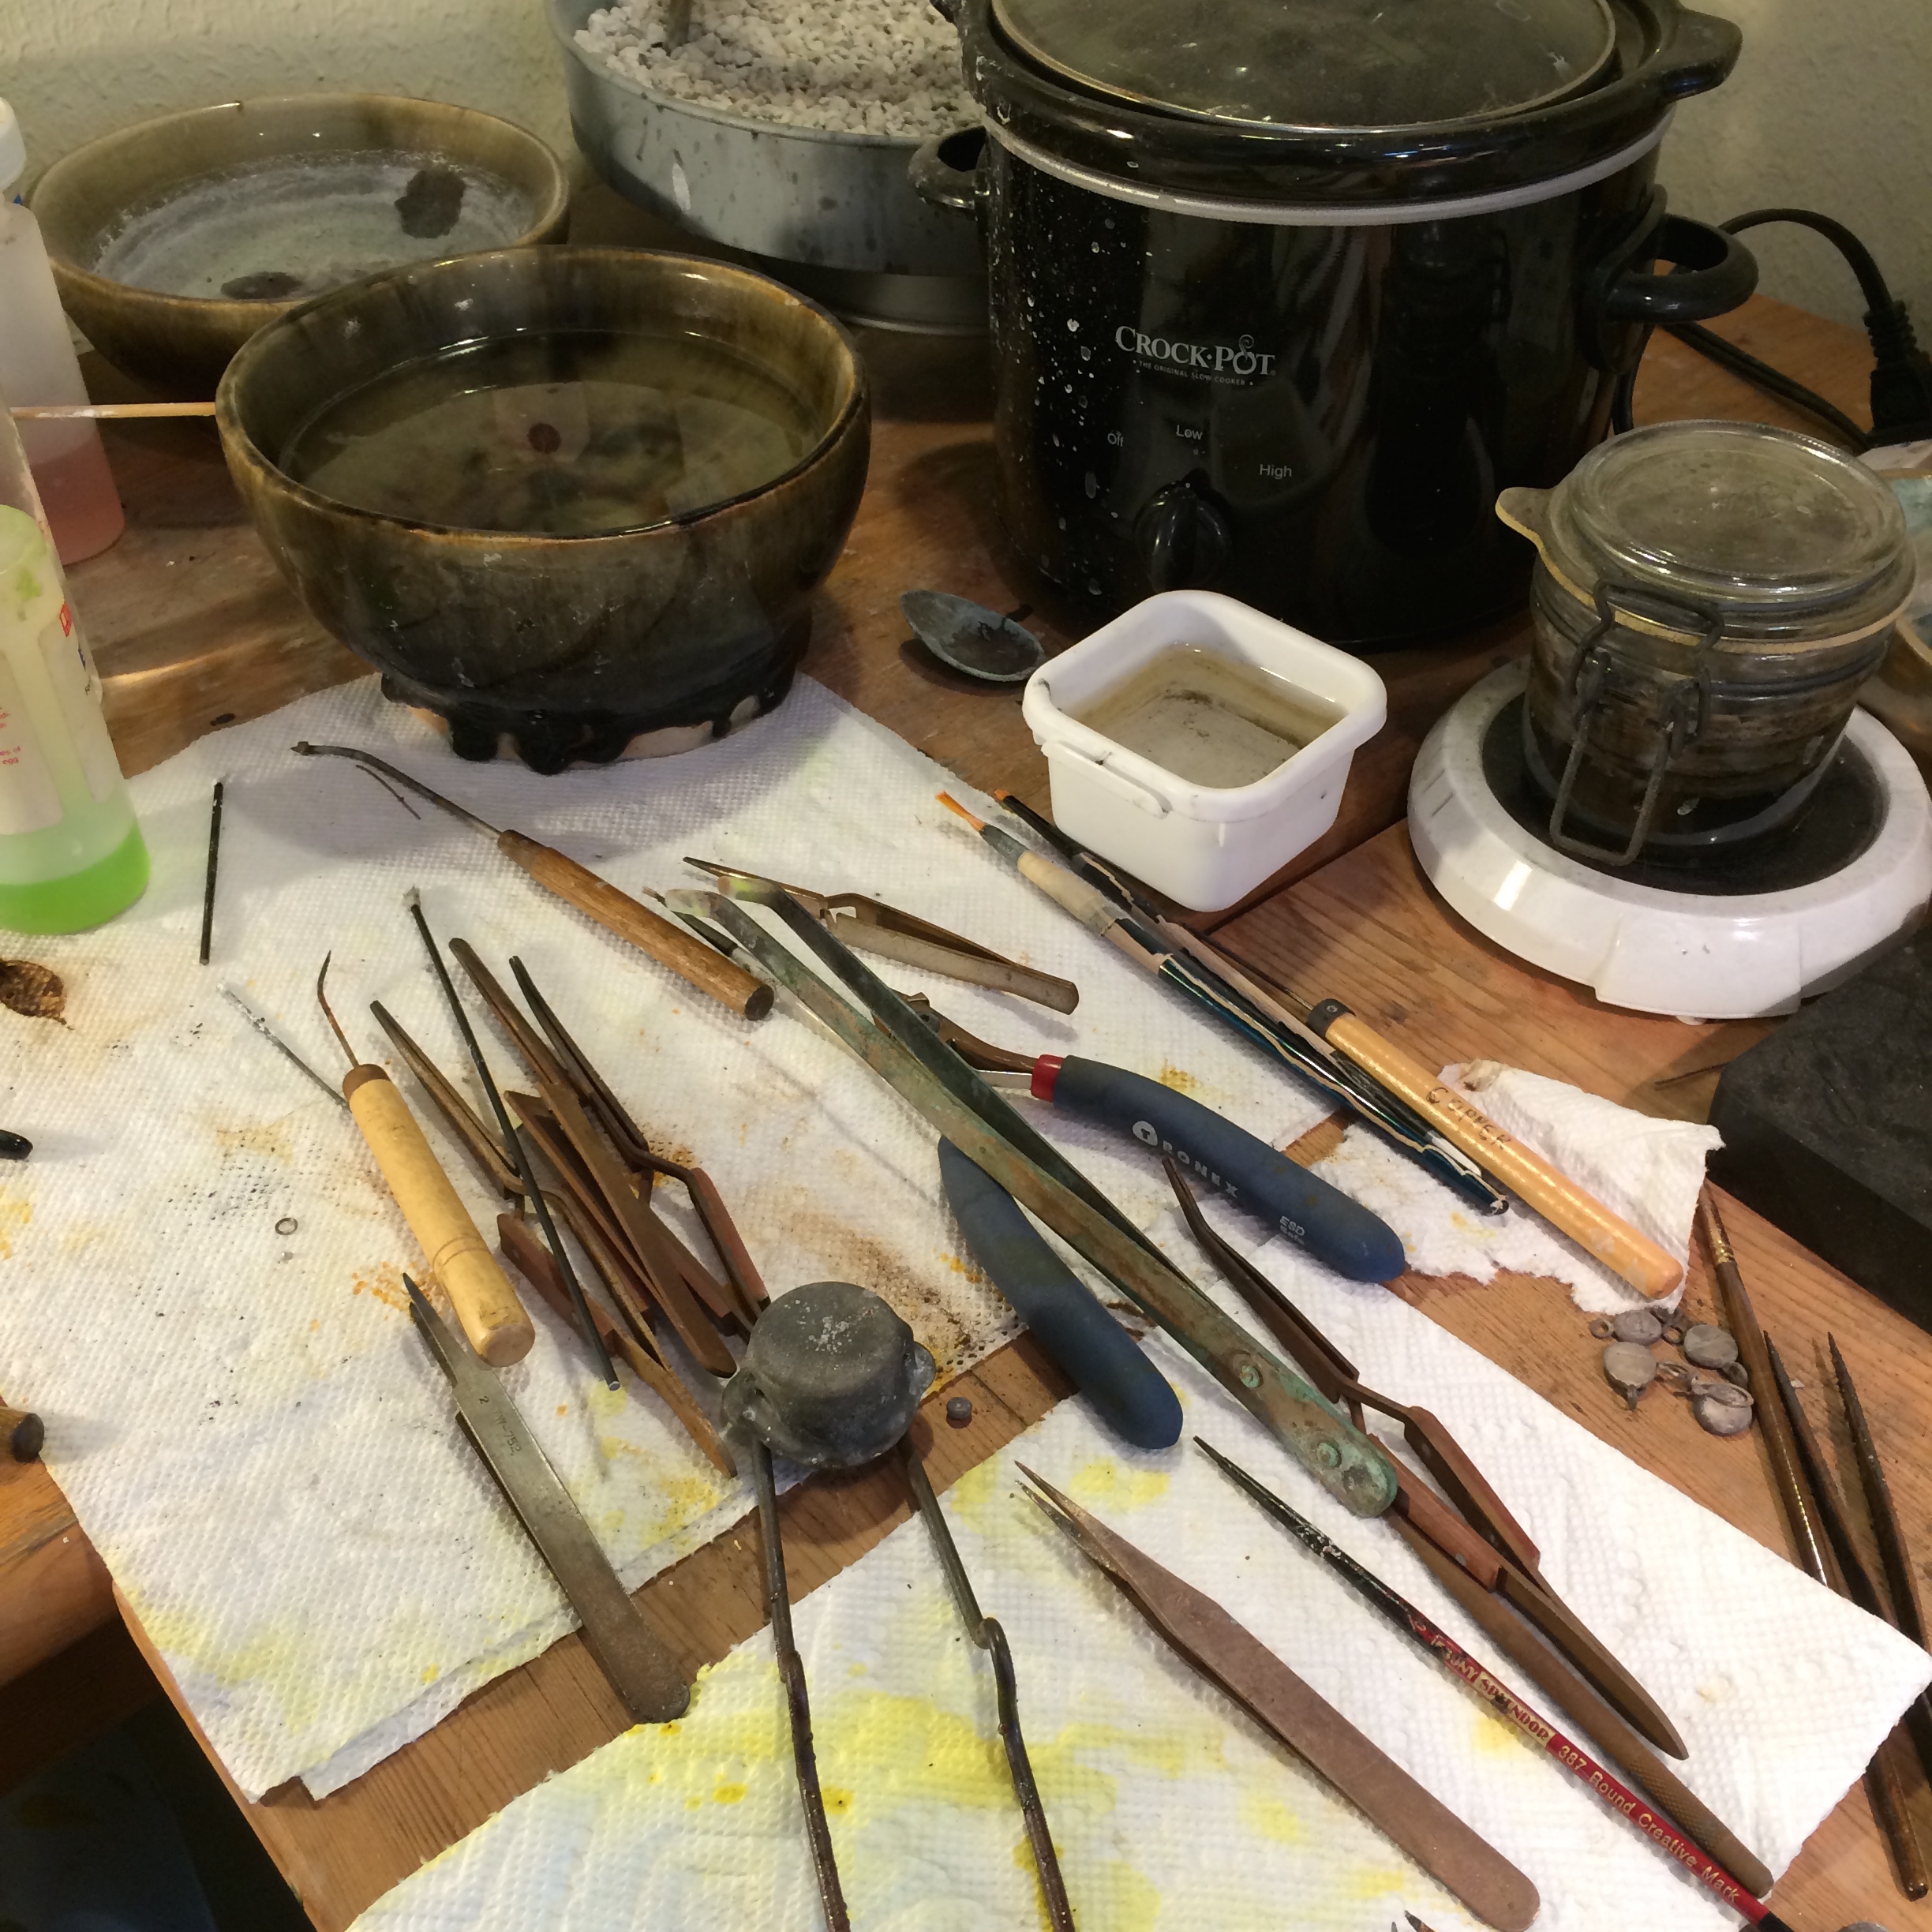


That’s a lot of mess for just five pairs of earrings.
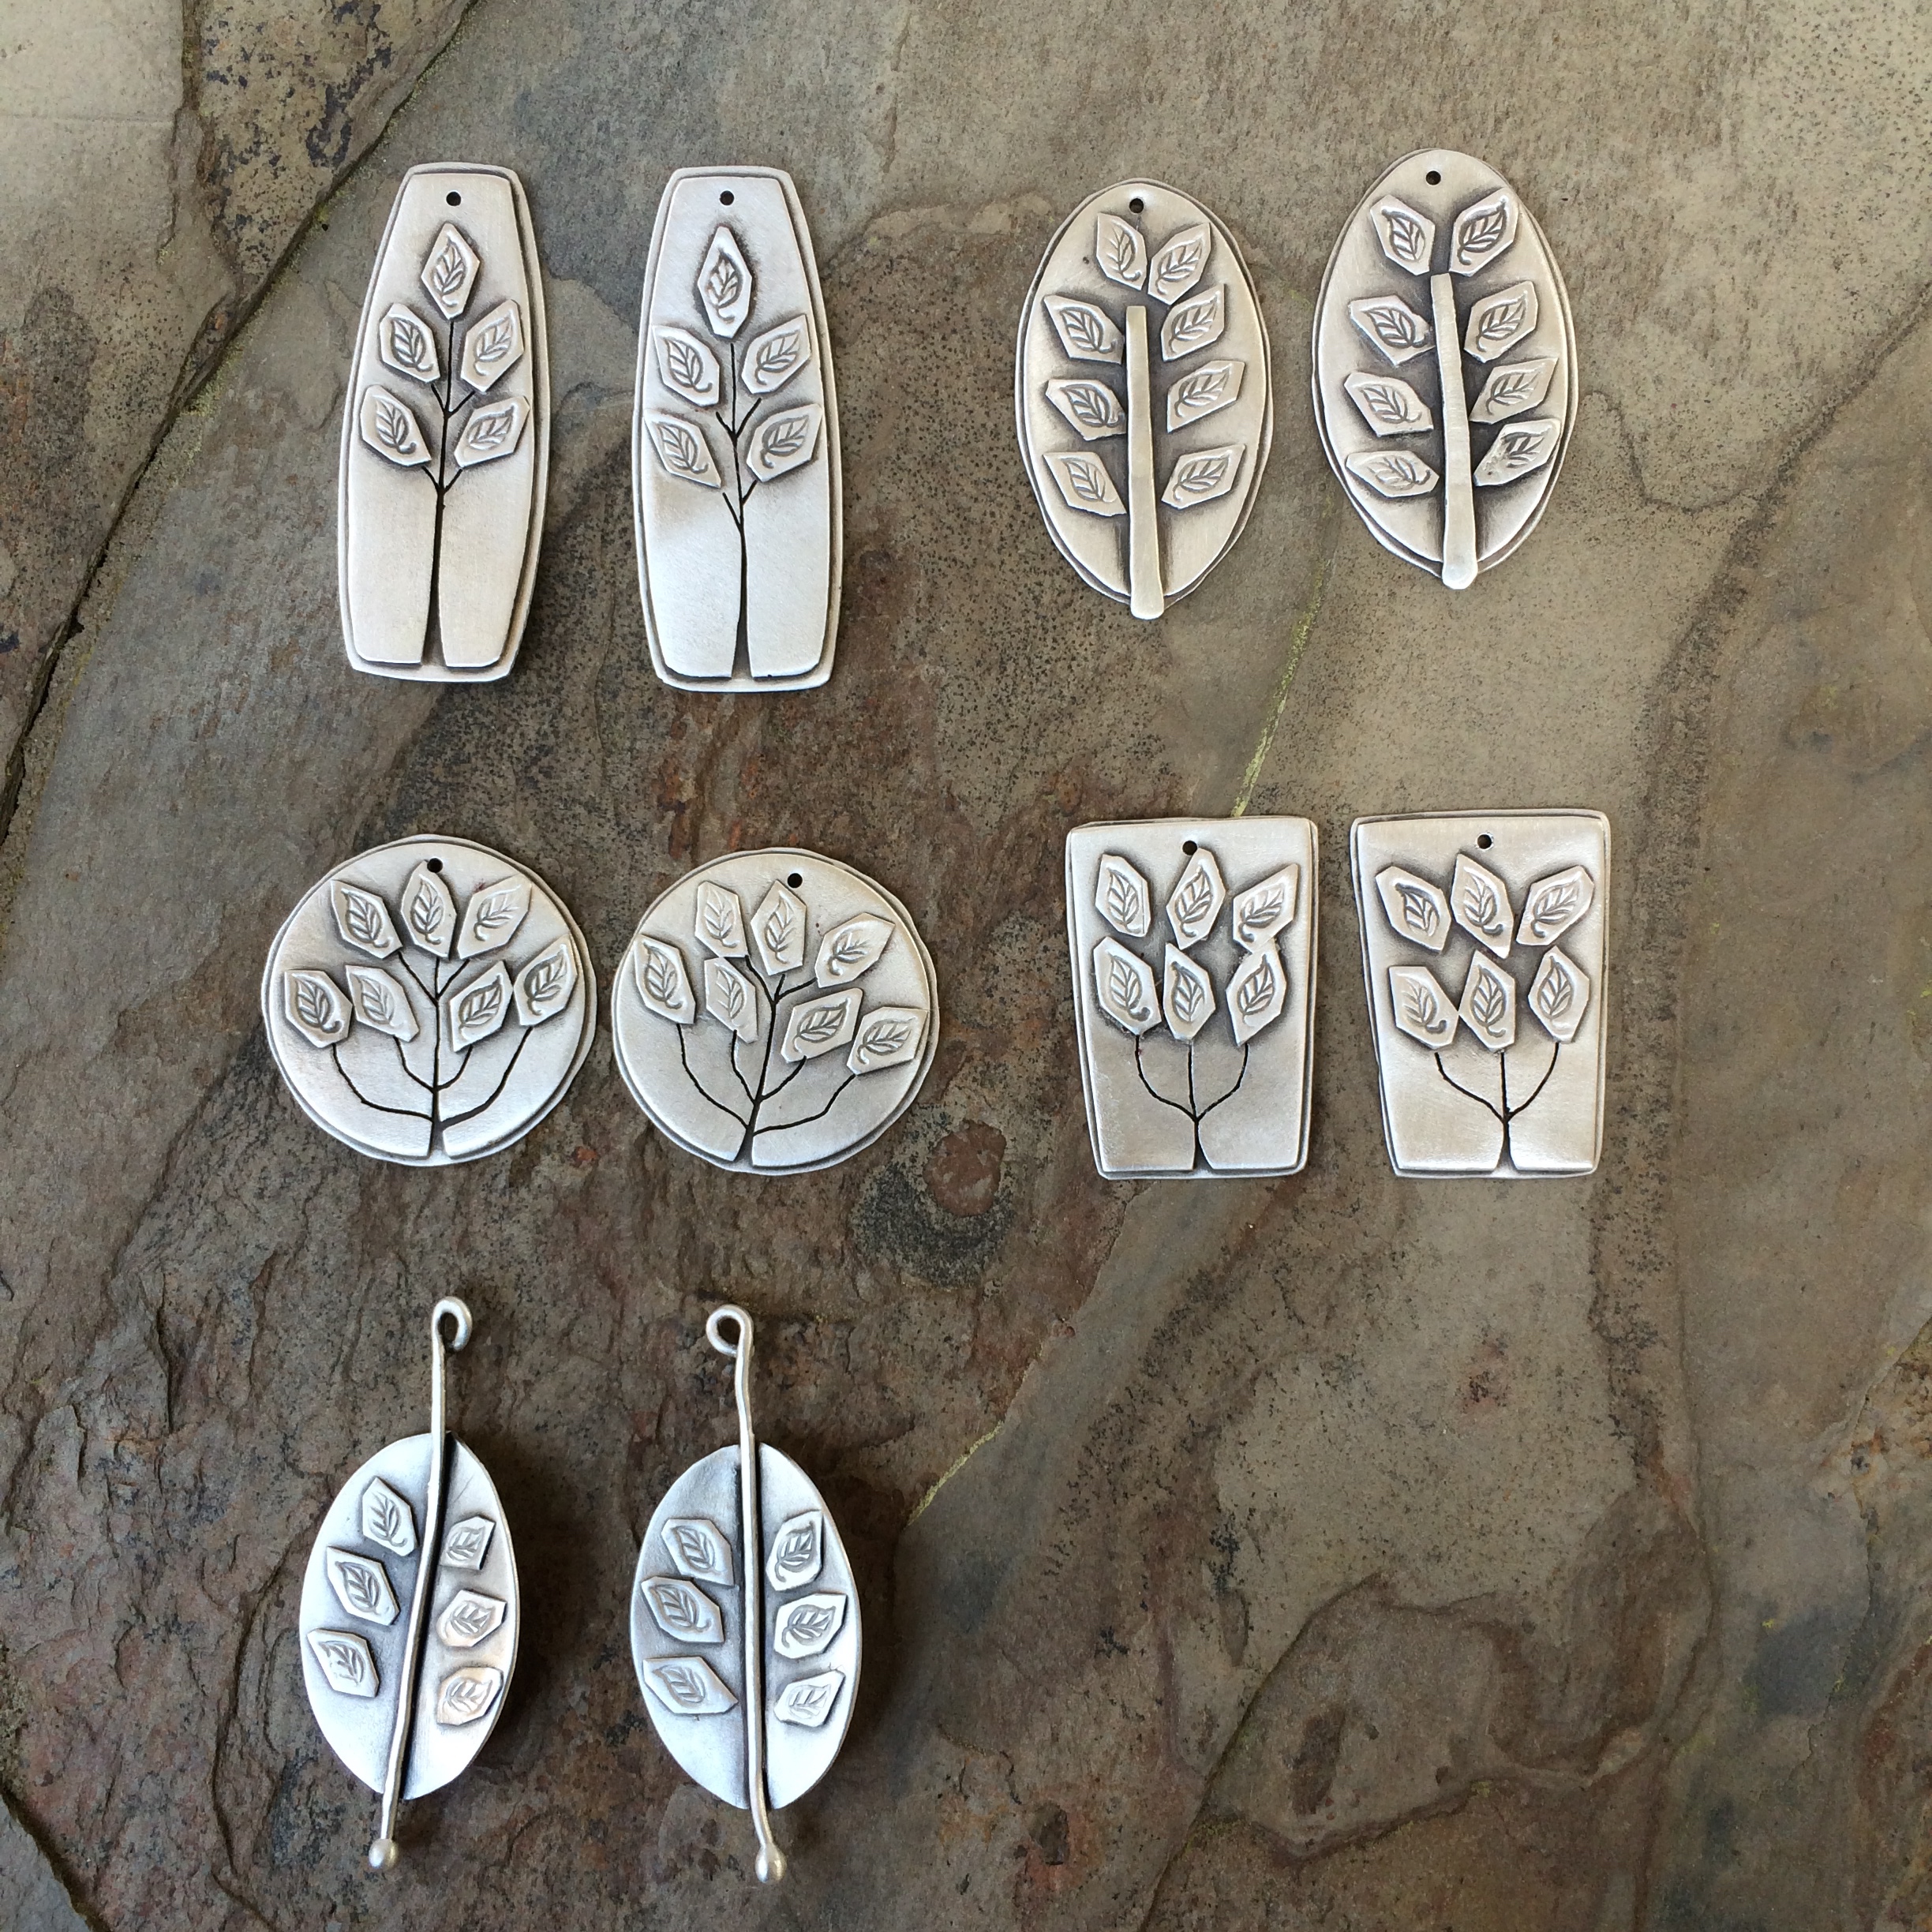
Actually I made this also,

This is the back, which I’m kind of liking, but kind of repulsed by as it looks like the alien face thingy.

And, lastly for Cecilia.
I’m still doodling. I’m thinking of making some cross stitch patterns, but can’t make up my mind.

That might just put me over the edge completely.
😉
–
–
–
It seems that I can’t handle too much internet at one time.
Something had to give.
Either that, or I’ve hit my boring stage.
Whichever it is I’ve got nuttin’ except a few pieces of jewelry to share and I’m even beginning to bore myself doing that.
Hang on, let me think…
Nope, still nuttin’.
Oh well, here’s the latest.
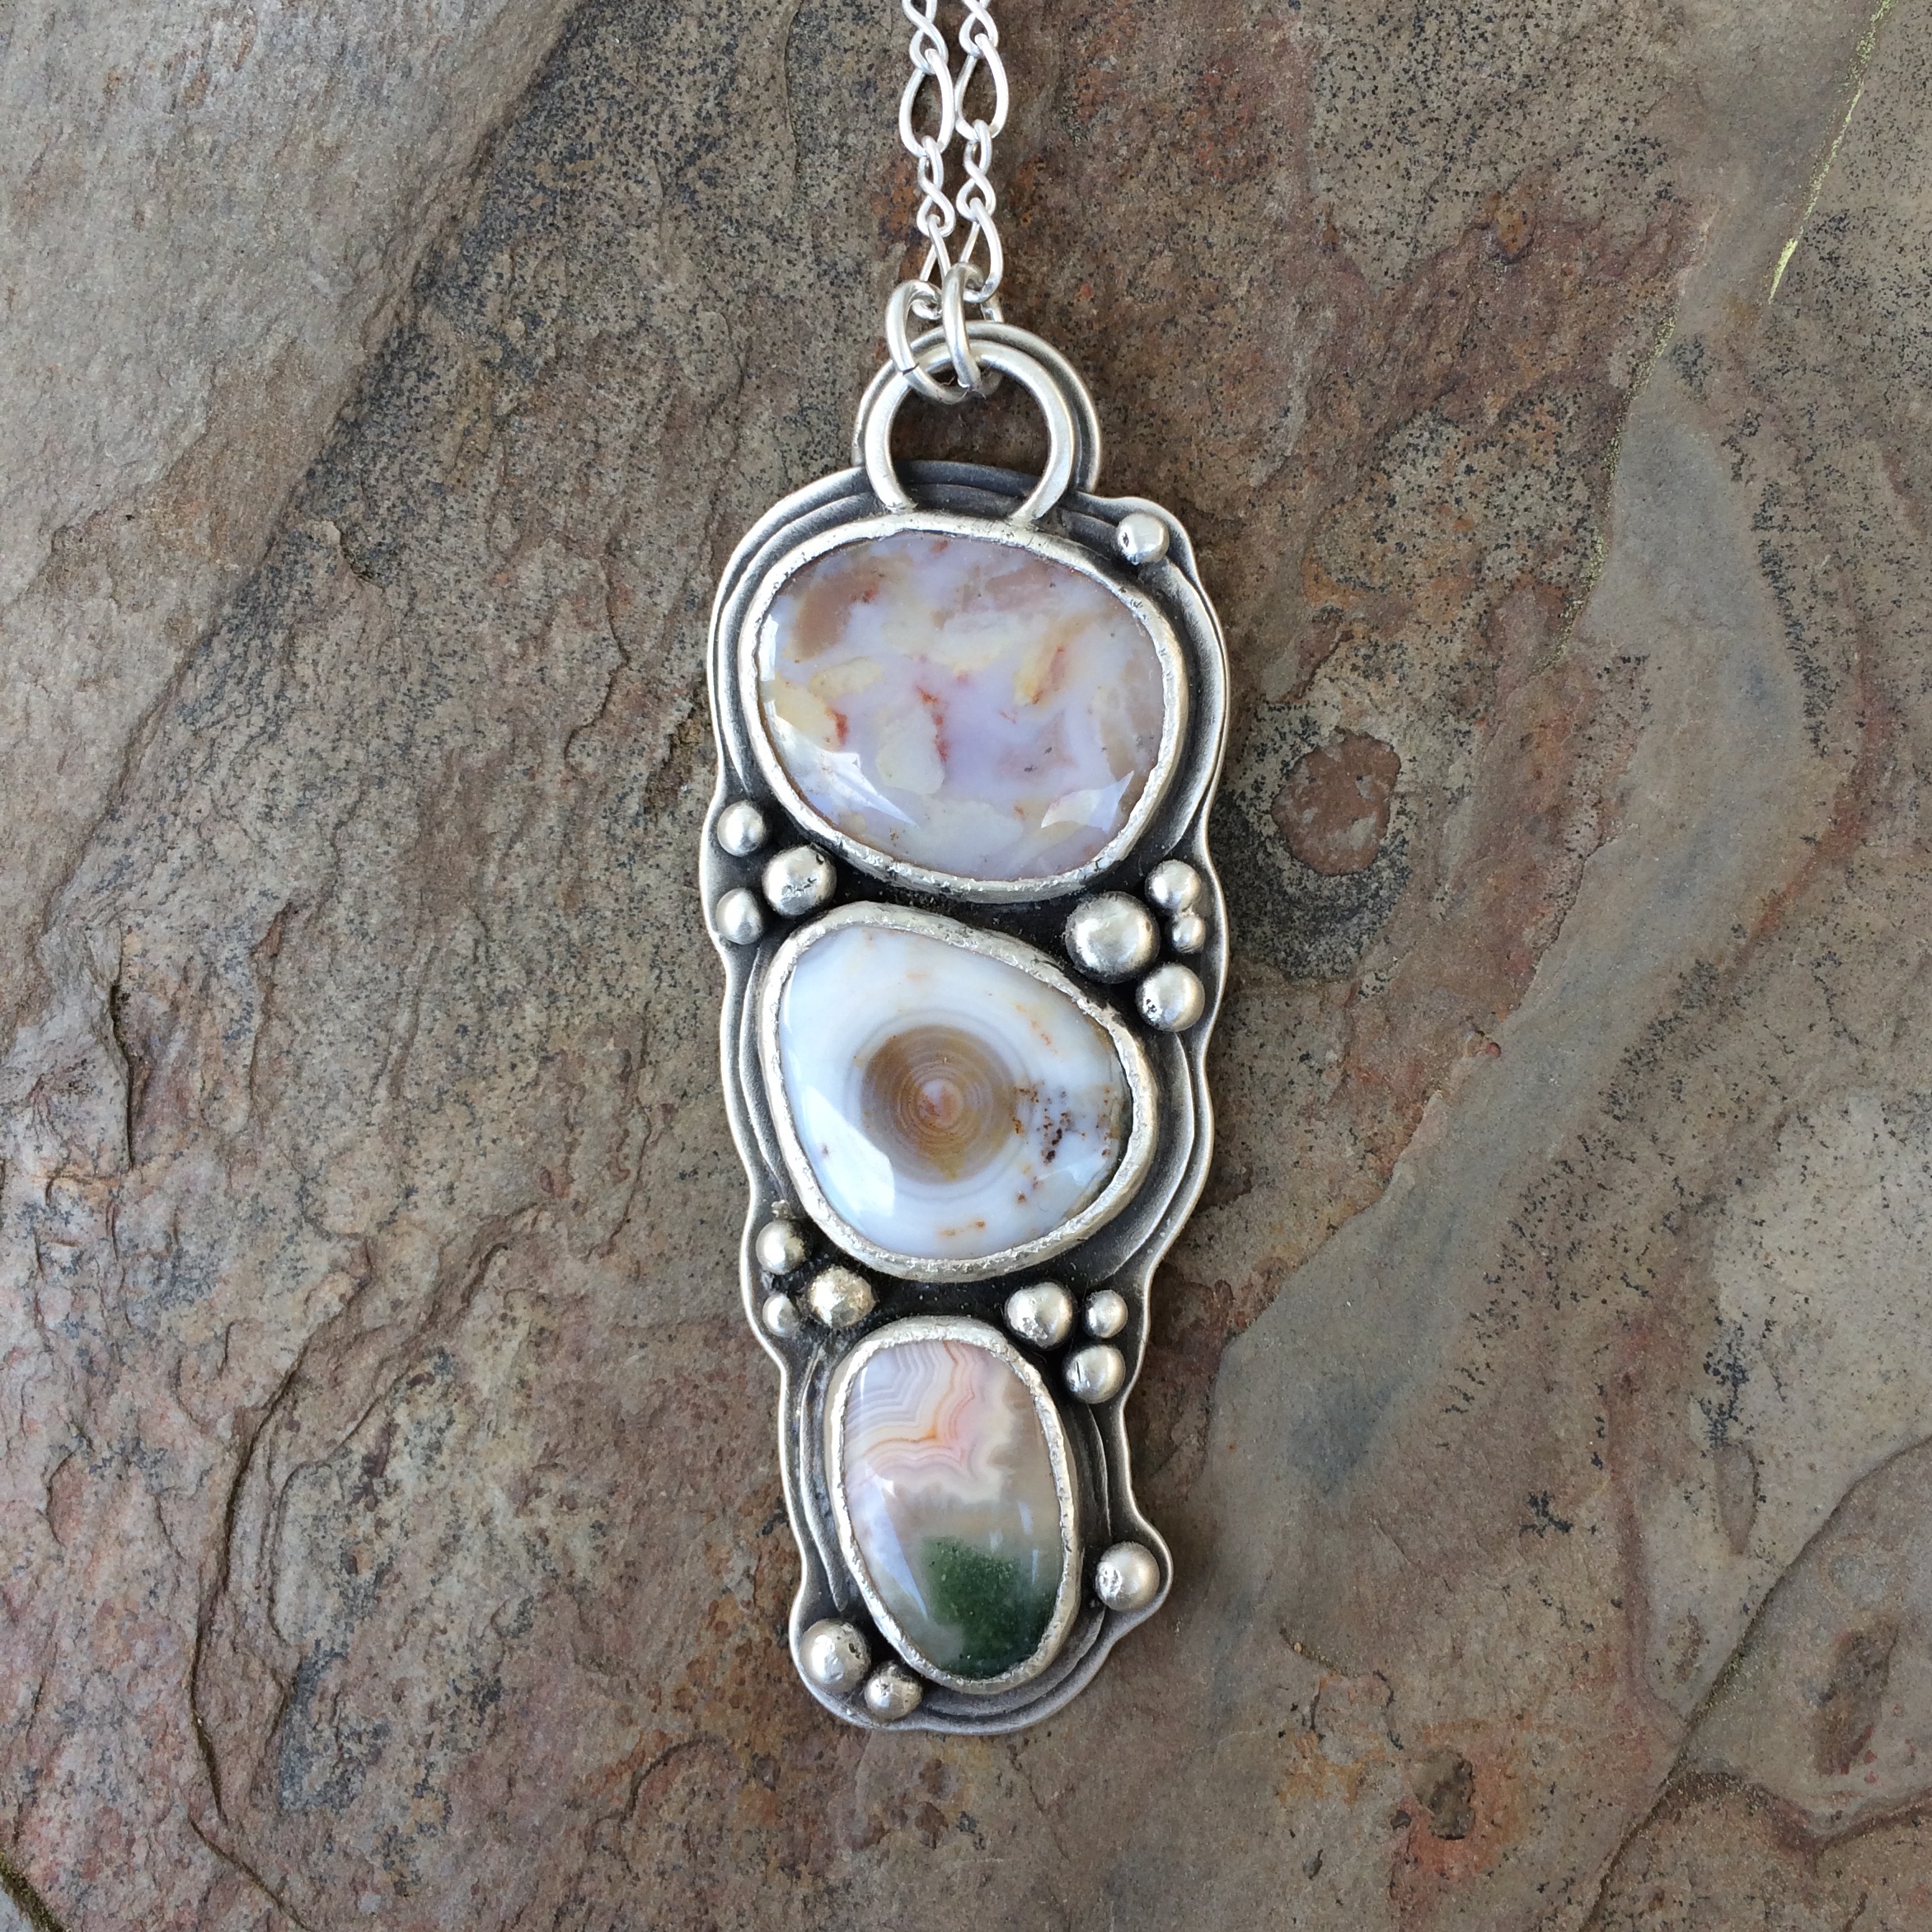
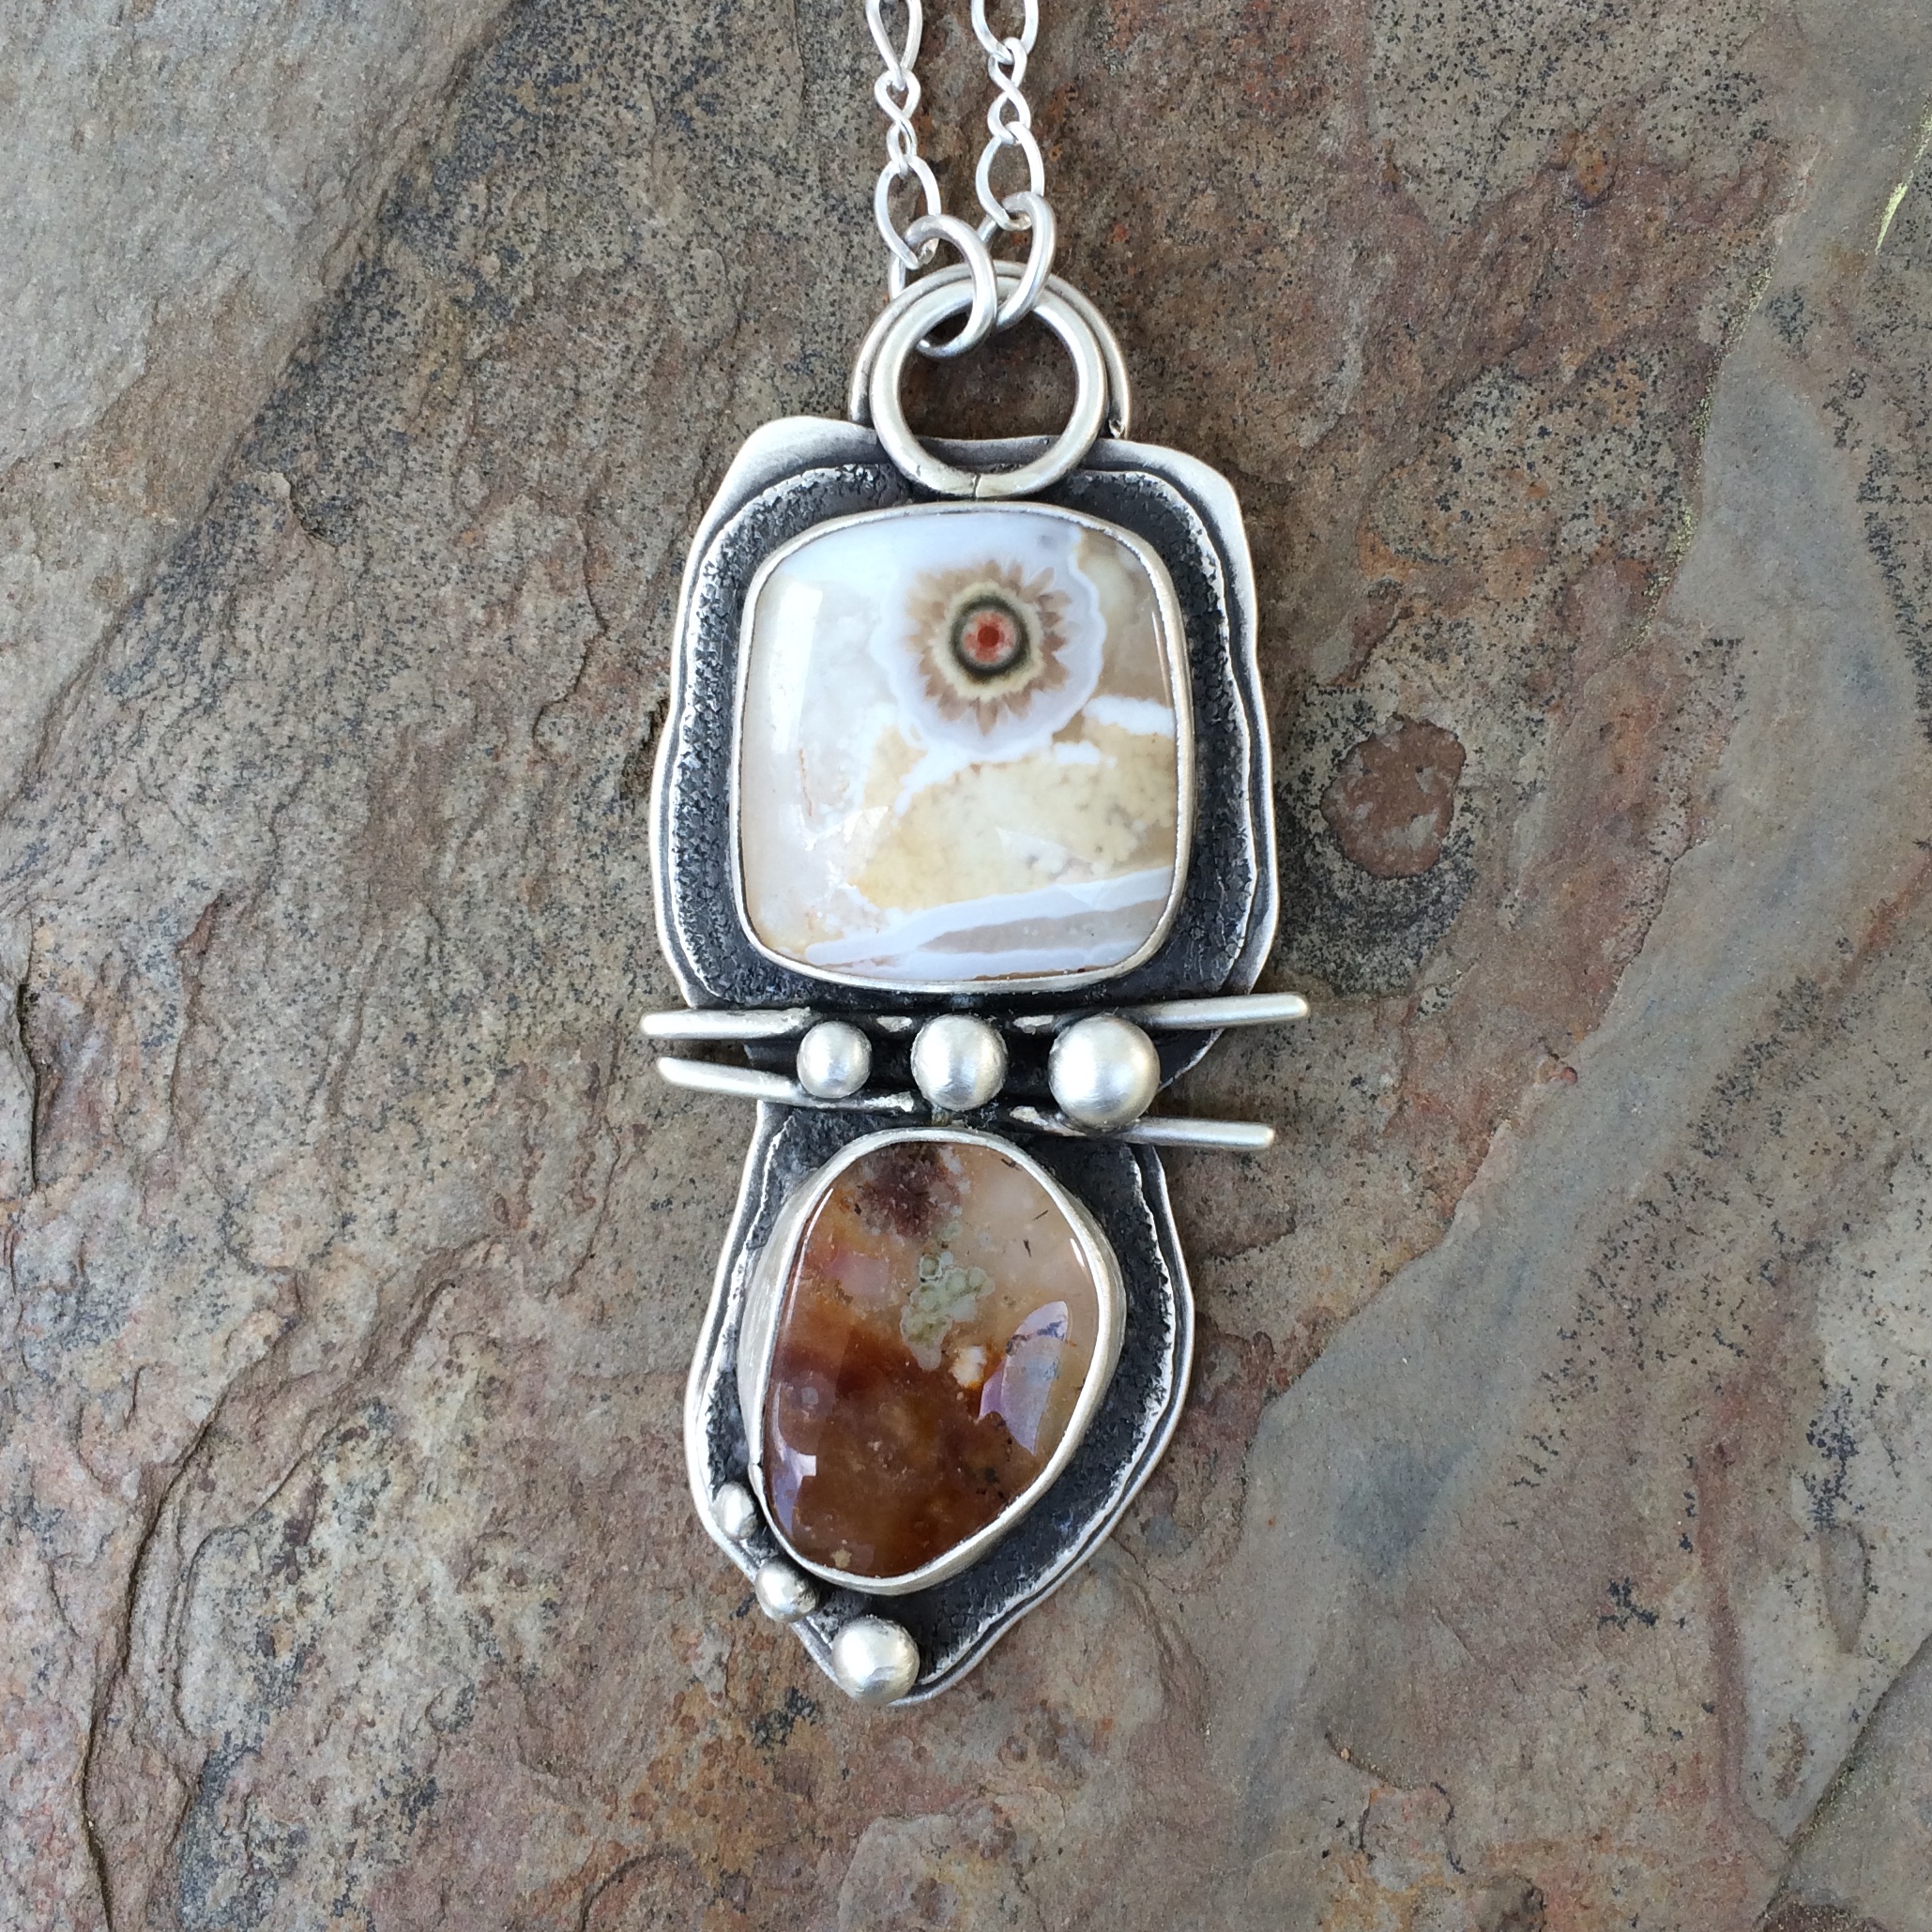
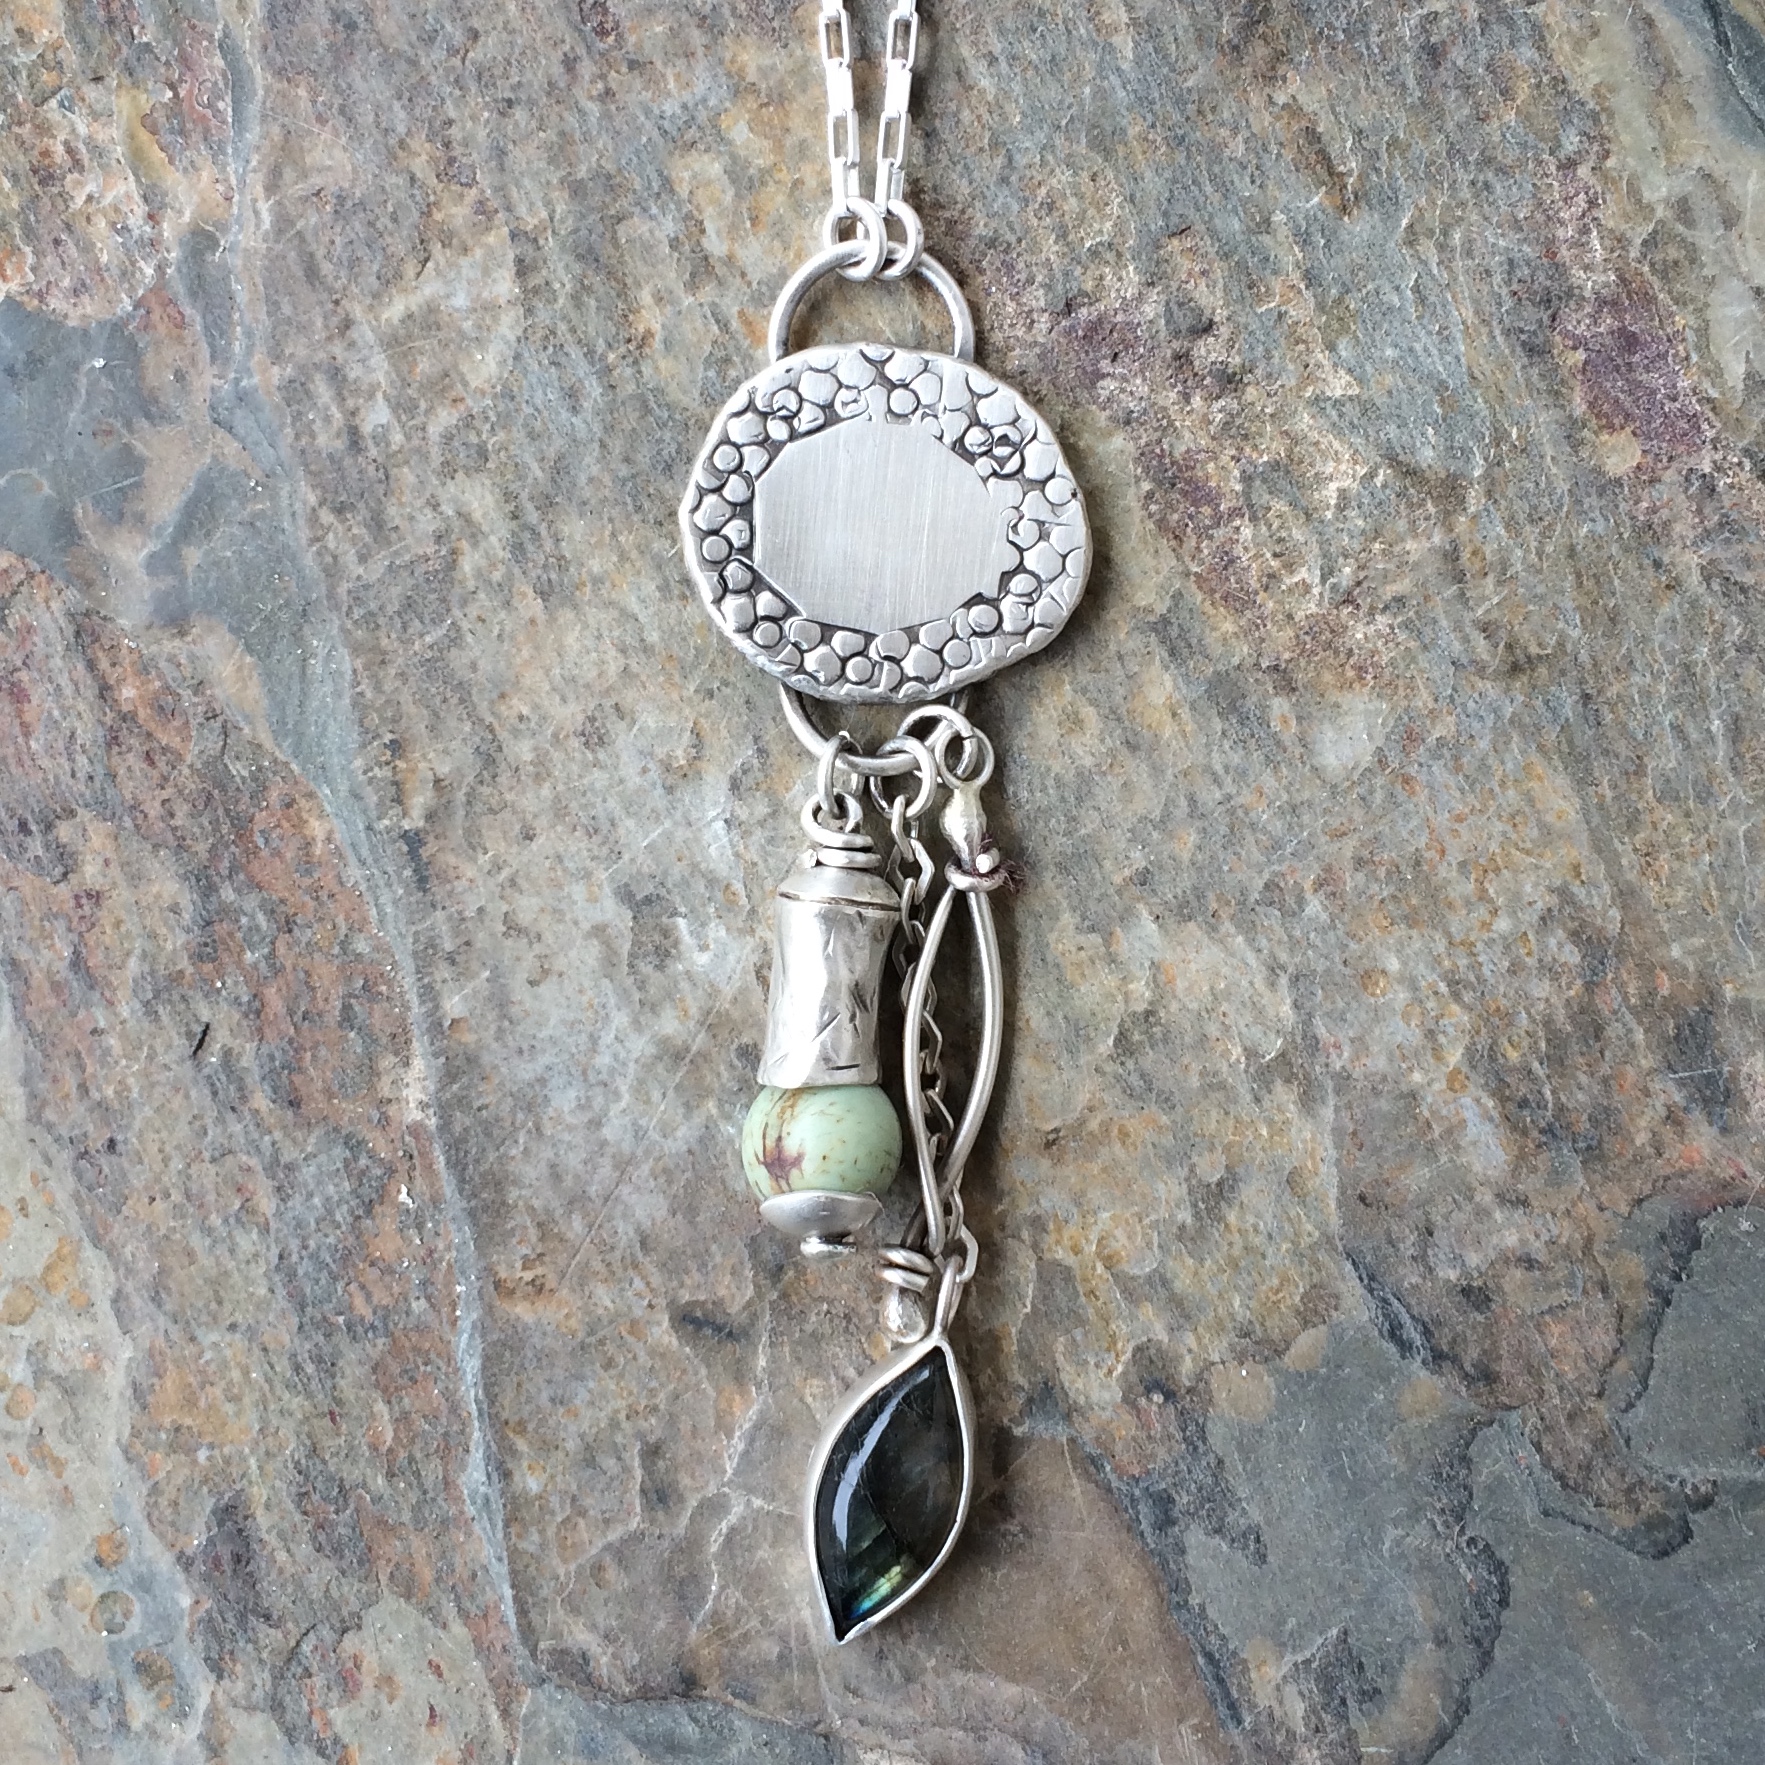
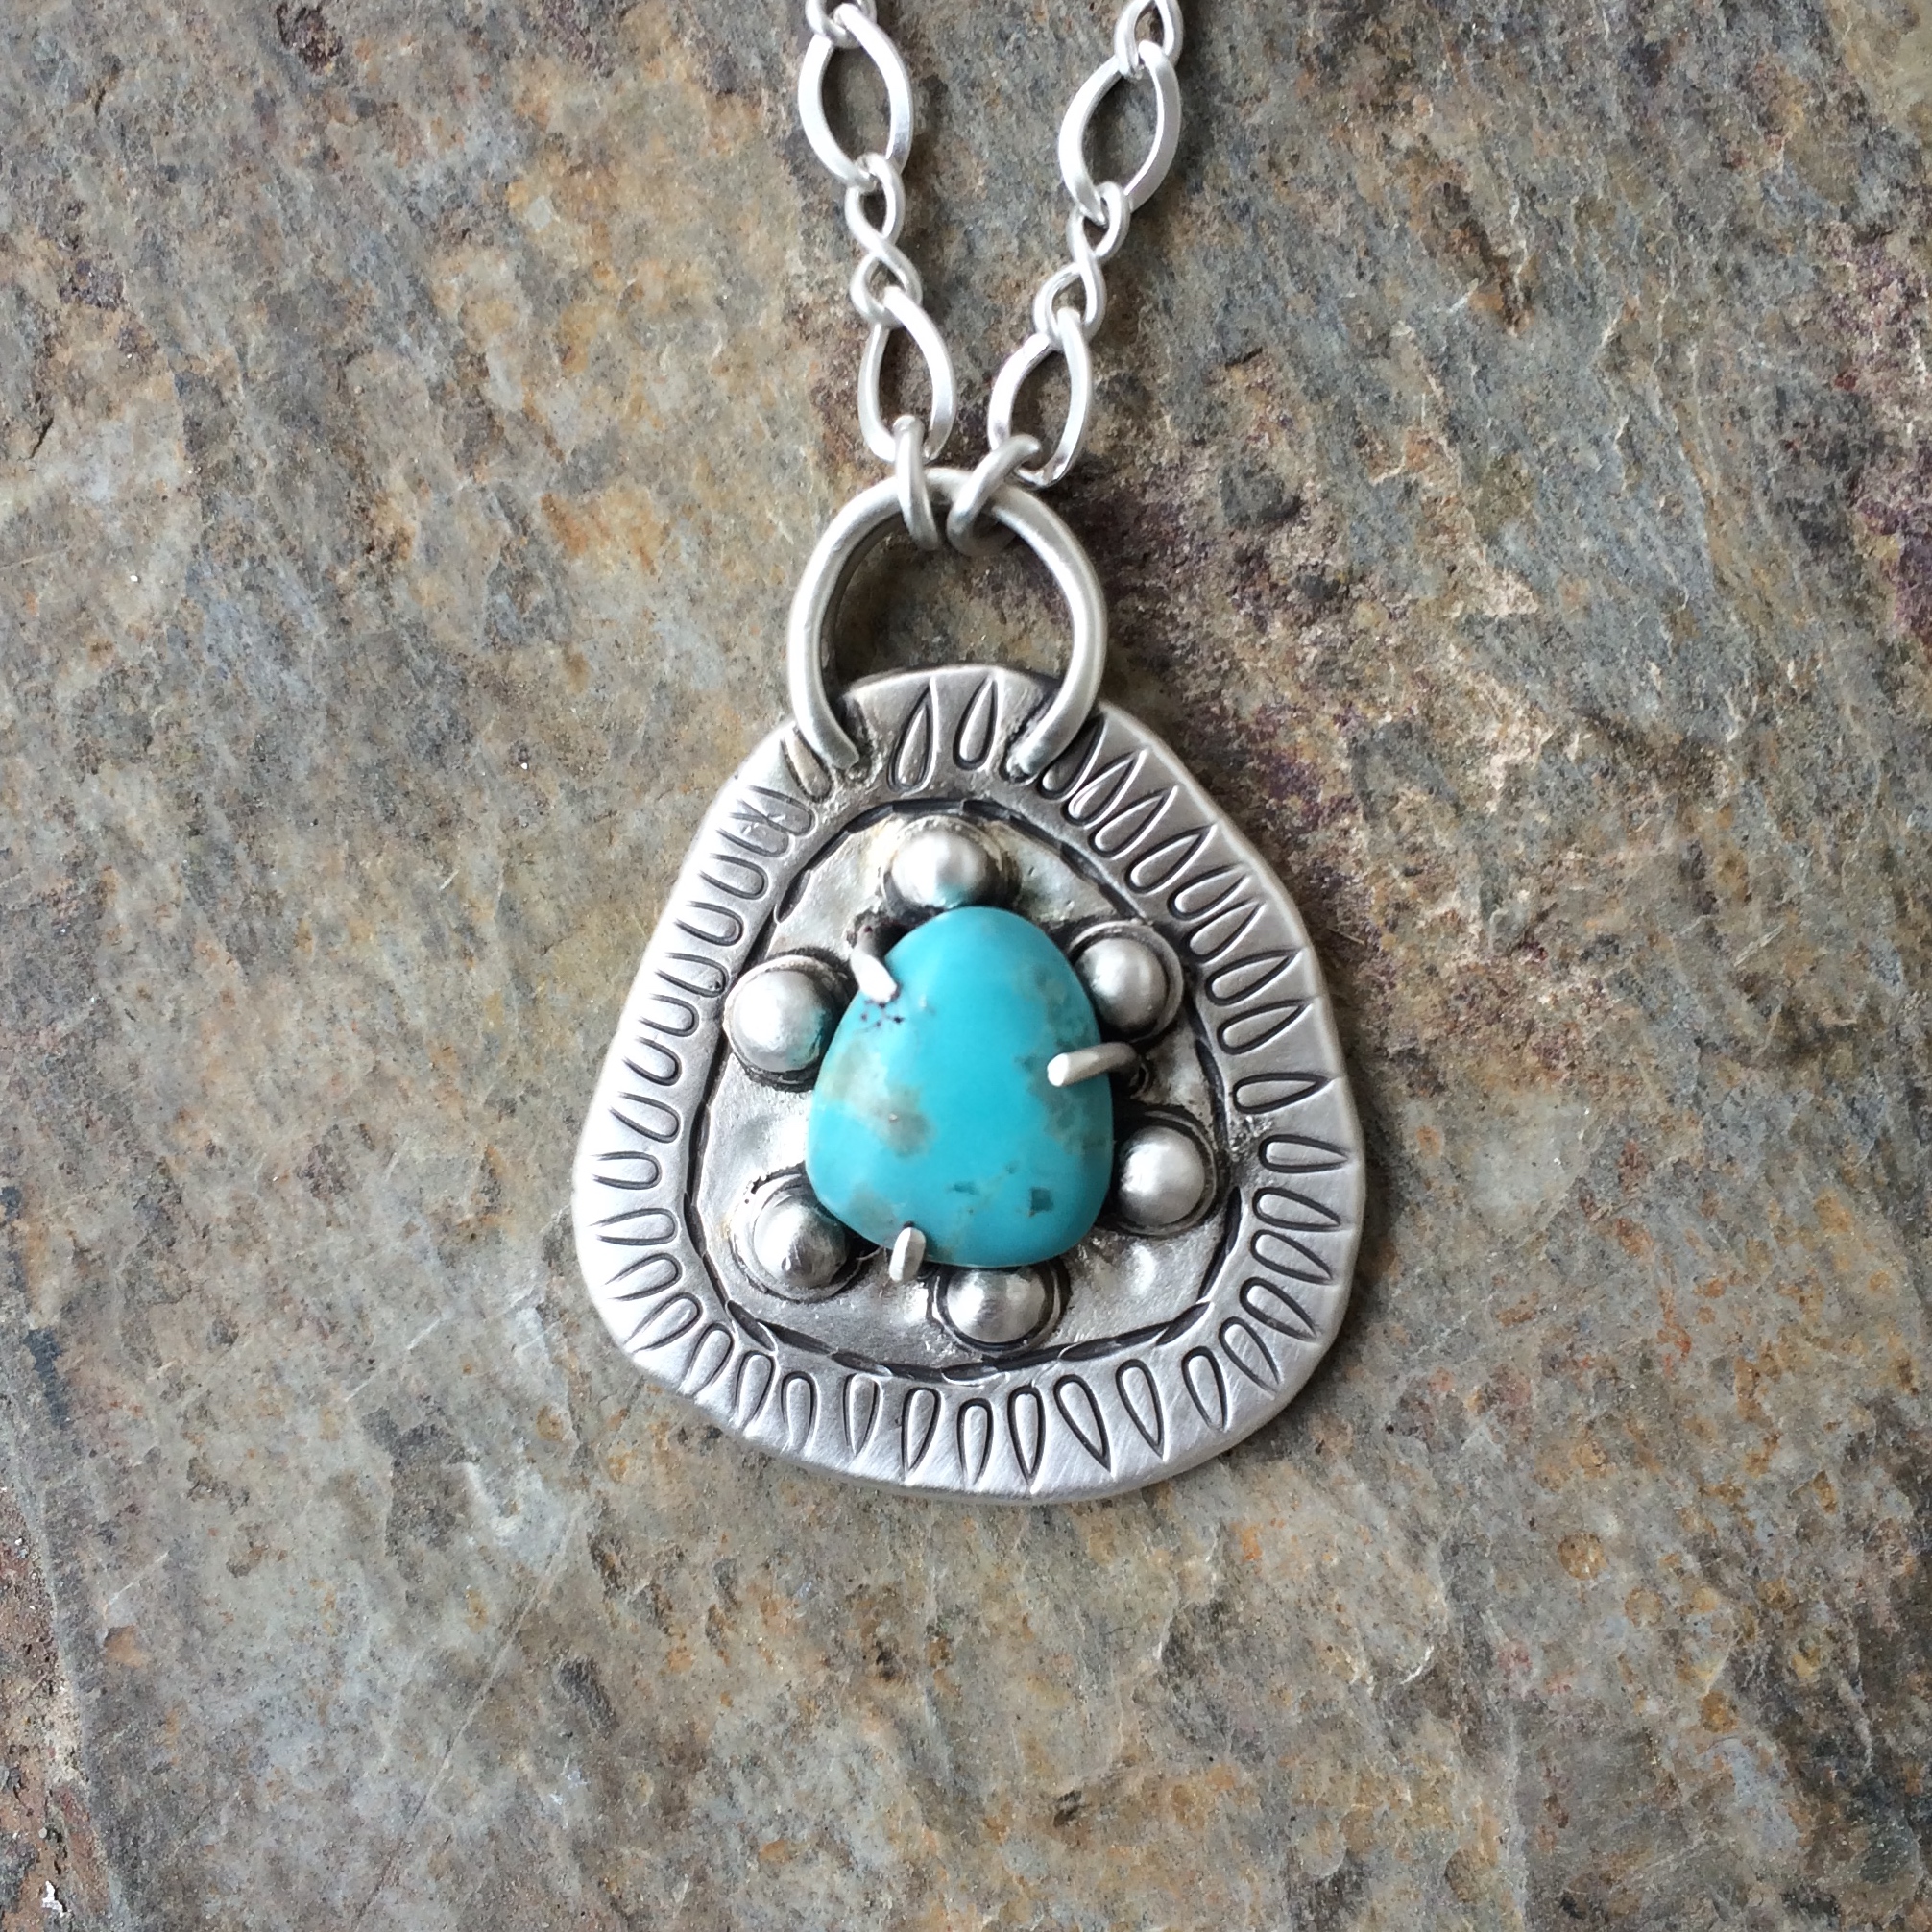
Something’s up.
Every day I wake up excited to go into the studio, and then I can’t be bothered
🙁
I think it’s a phase.
Perhaps it’s because I just had a birthday.
Again.
Man they’re coming fast. And don’t get me started on Science Friday. I like listening to NPR as much as the next person, but every time I turn around it’s Sci Fri on the radio and another week has simply poofed into extinction.
I’m beginning to dread it.
It’s like I can’t keep up any more.
On top of that it seems that the Flourish and Thrive course has finally bored me to death, I’ve yet to even look at the last week.
I’m all flourished out.
So, that’s it I’m afraid. I’m off now to plod through today which will soon be tomorrow, and then Ira Flatow will be on – again – telling me about birds drinking deer tears or something equally fascinating but with the terrible finality of life floating away into a sea of intriguing information.
Drowning in ….
Too much?
So. All that’s left to say is that I will see you on the other side of the boring place my friends…
May the force be with you.
–
–
–
Is it still raining here!
Is it not aware that we are Houston?
That, yes it can rain, but not all of the time…
I mean, I like a good downpour as much as the next person, but I want to take some photographs and, although the dark depths of doom sky is pretty cosy in my book, I just can’t operate under these conditions.
I’m telling you now, when I go outside in a minute if it’s cold as well, I’m going to be completely fed up.
I’d have lain down and died already if I was living in the snowy parts right now.
I don’t like to be cold.
I shut down and wither away, in that brittle kind of way you do when you’re freezing, and that might very well mean no dinner for P.
Yes, and I’m not going to be the one to tell him.
In other news…
I made a nice pair of earrings, but they took me THREE hours!
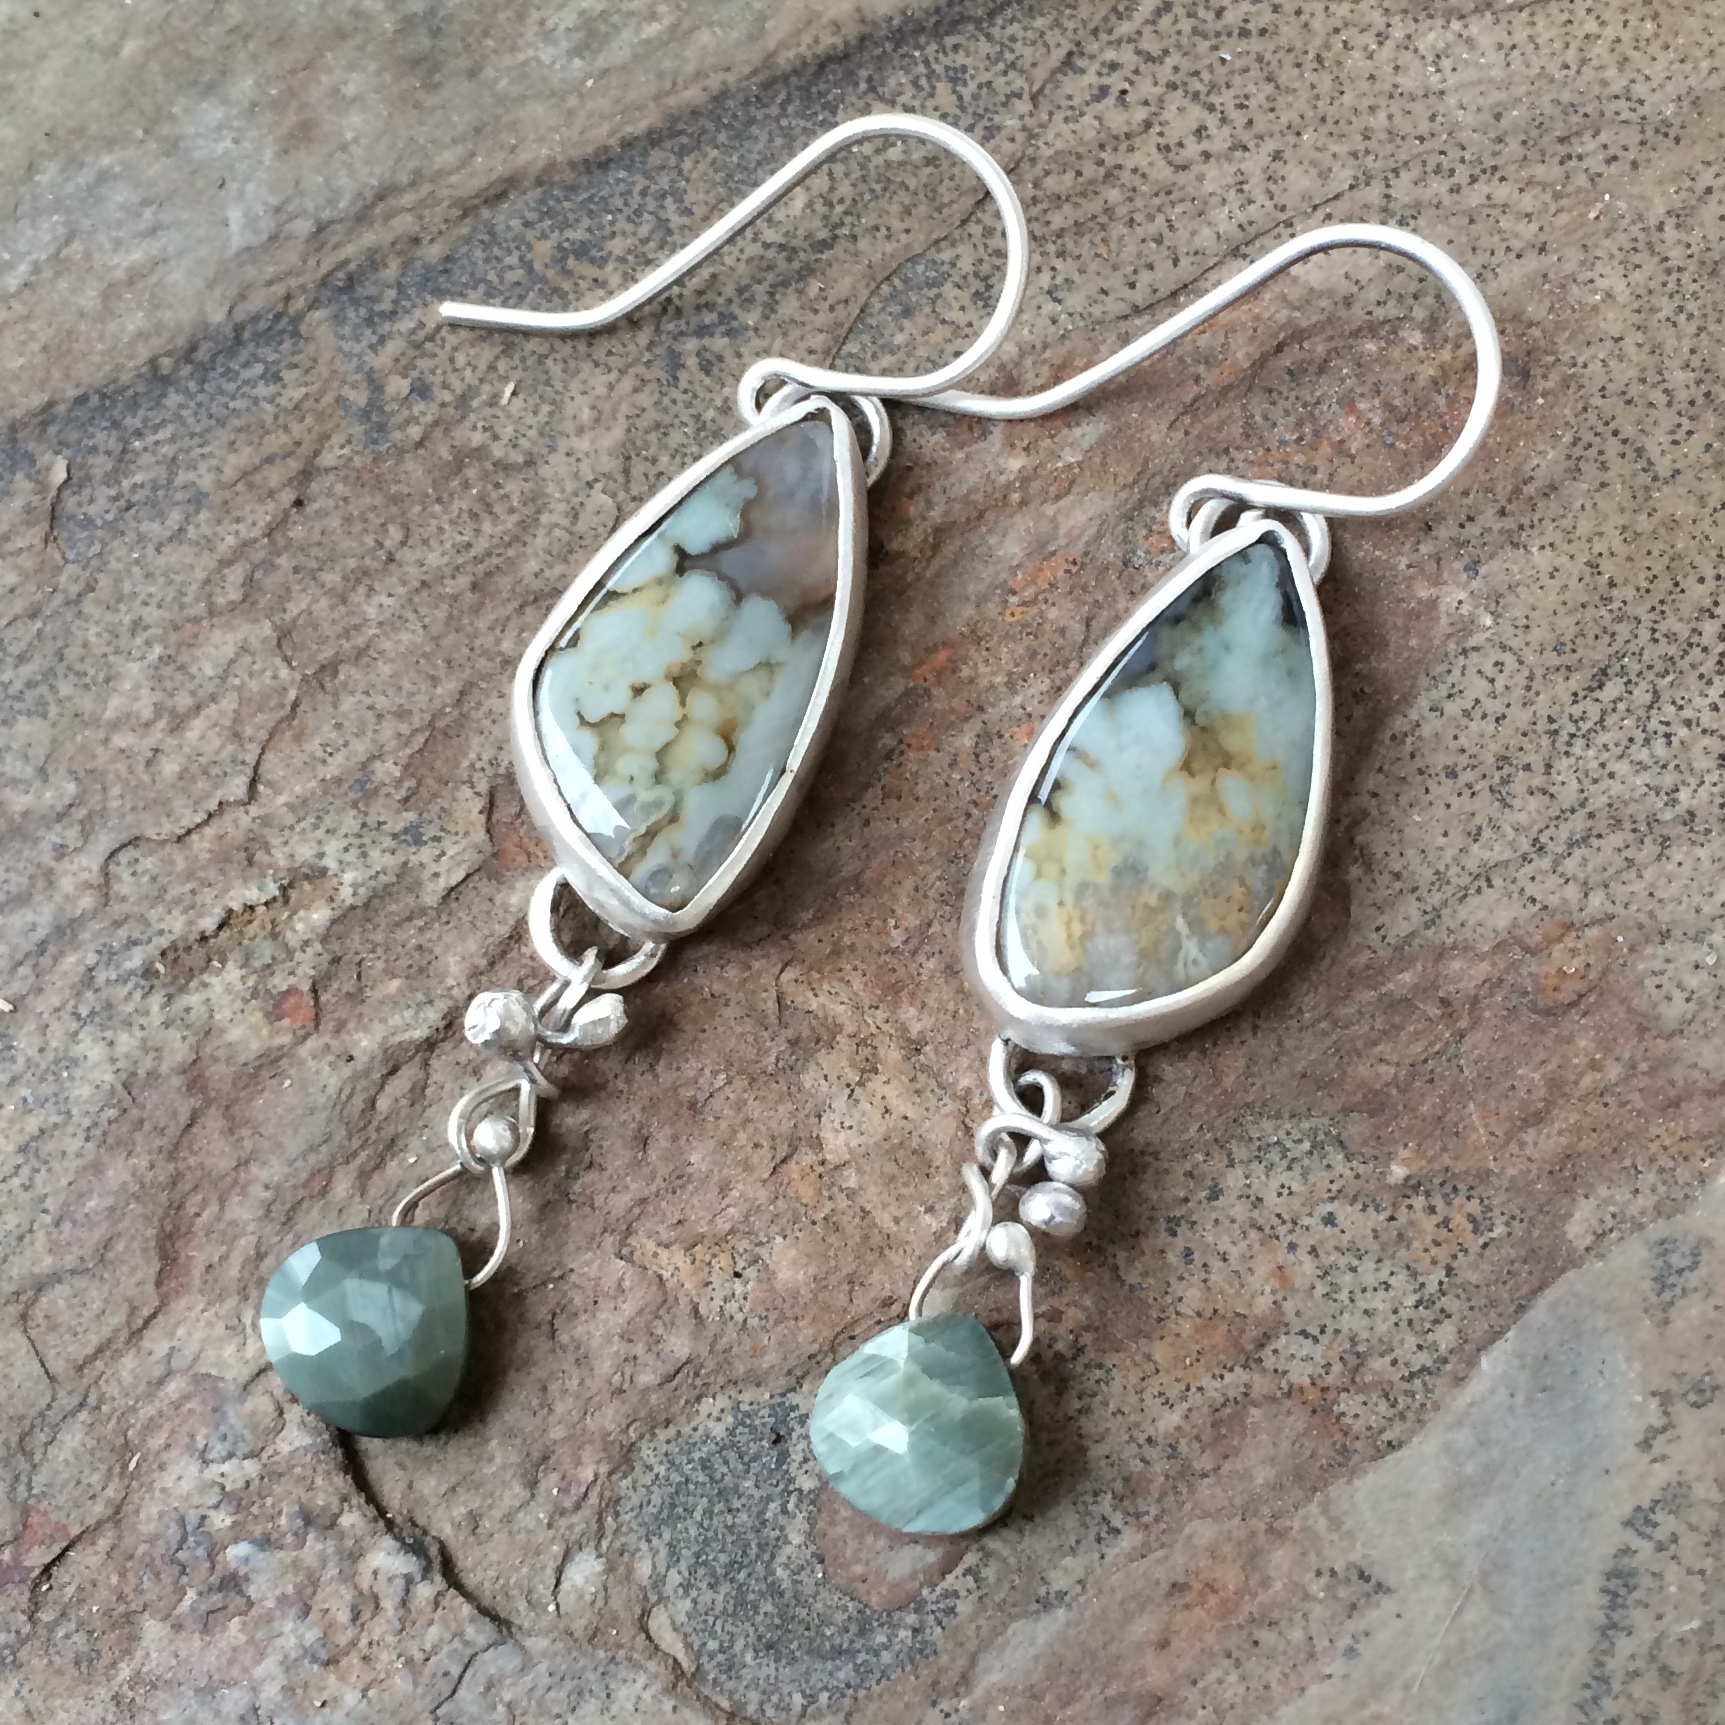
Yep, you read that right, THREE hours!
Just when you think you’ve got it down, that you’ve turned a corner, hit a milestone, become invincible…
It all goes to pot and you have to kick yourself in the head.
To be honest I wanted to encase the bottom bead in bezel wire so that you could see it on the front and the back.
Like this.
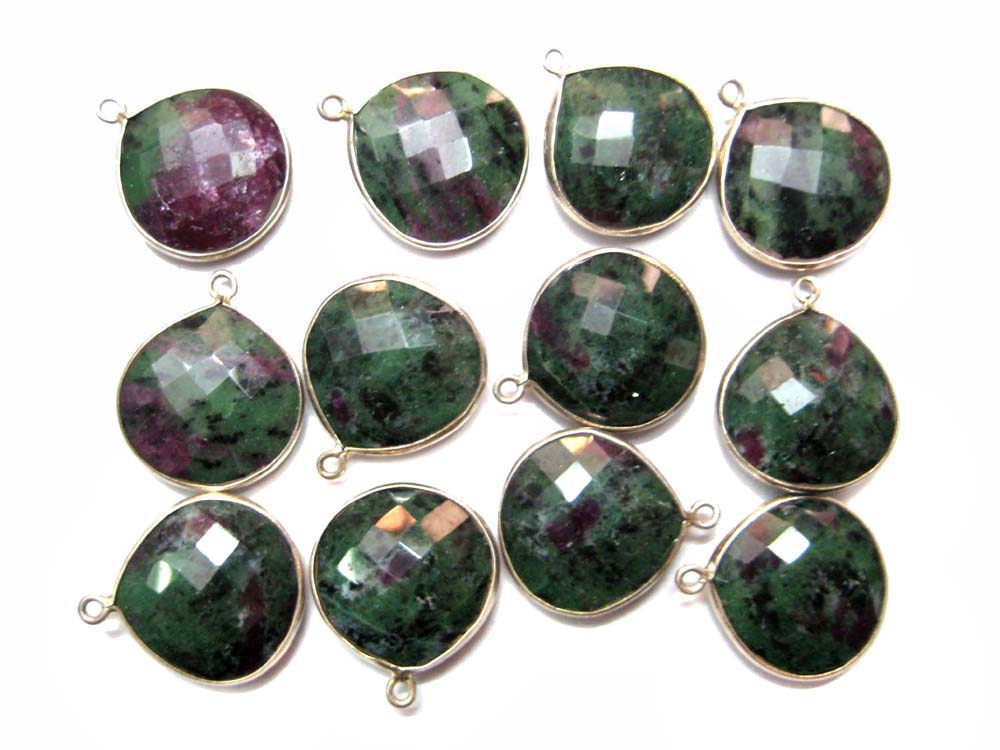
But with a little thicker wire round it.
You know, like a regular bezel, but not.
And I did manage to make one without too much trouble.
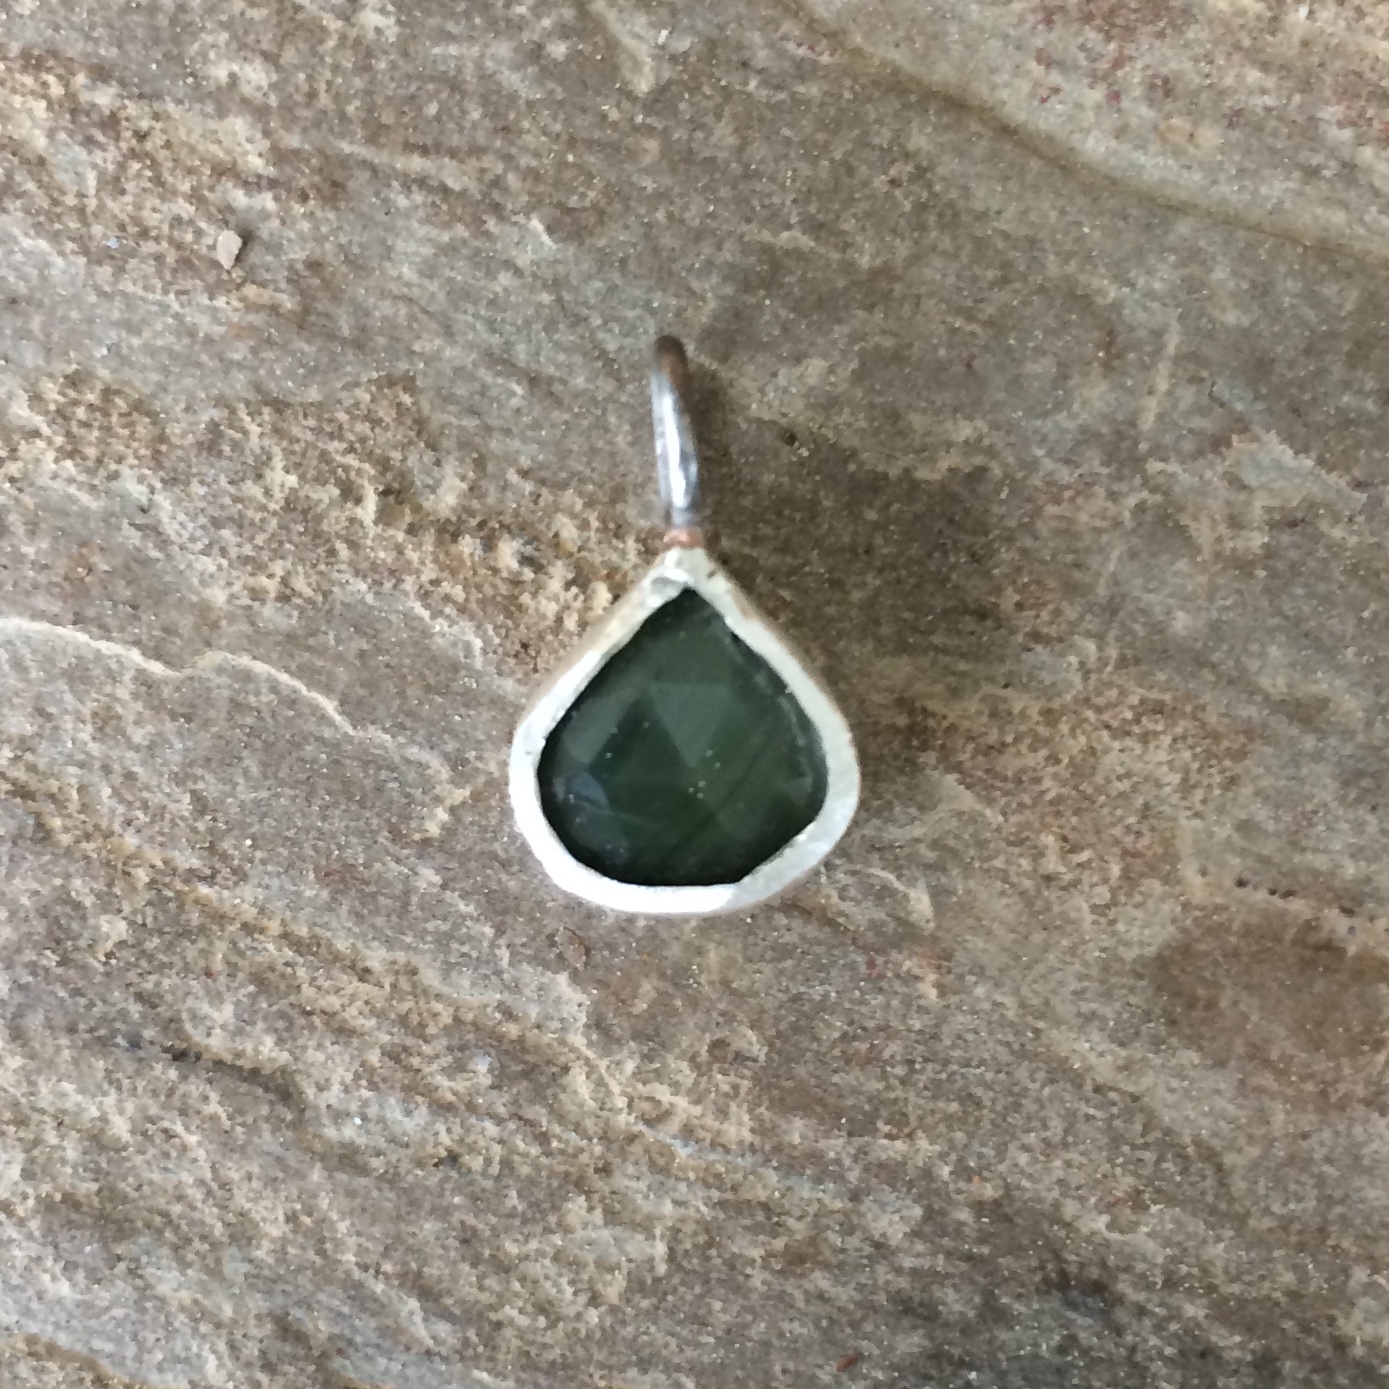
Don’t look at it, it’s annoying me.
But do you think I could make the second one?
Nooooo.
So two hours in I threw it on the floor and settled for just the beads
I hate to settle but I was getting depressed.
I was just as depressed the next day when it took me a whole year to make these two.

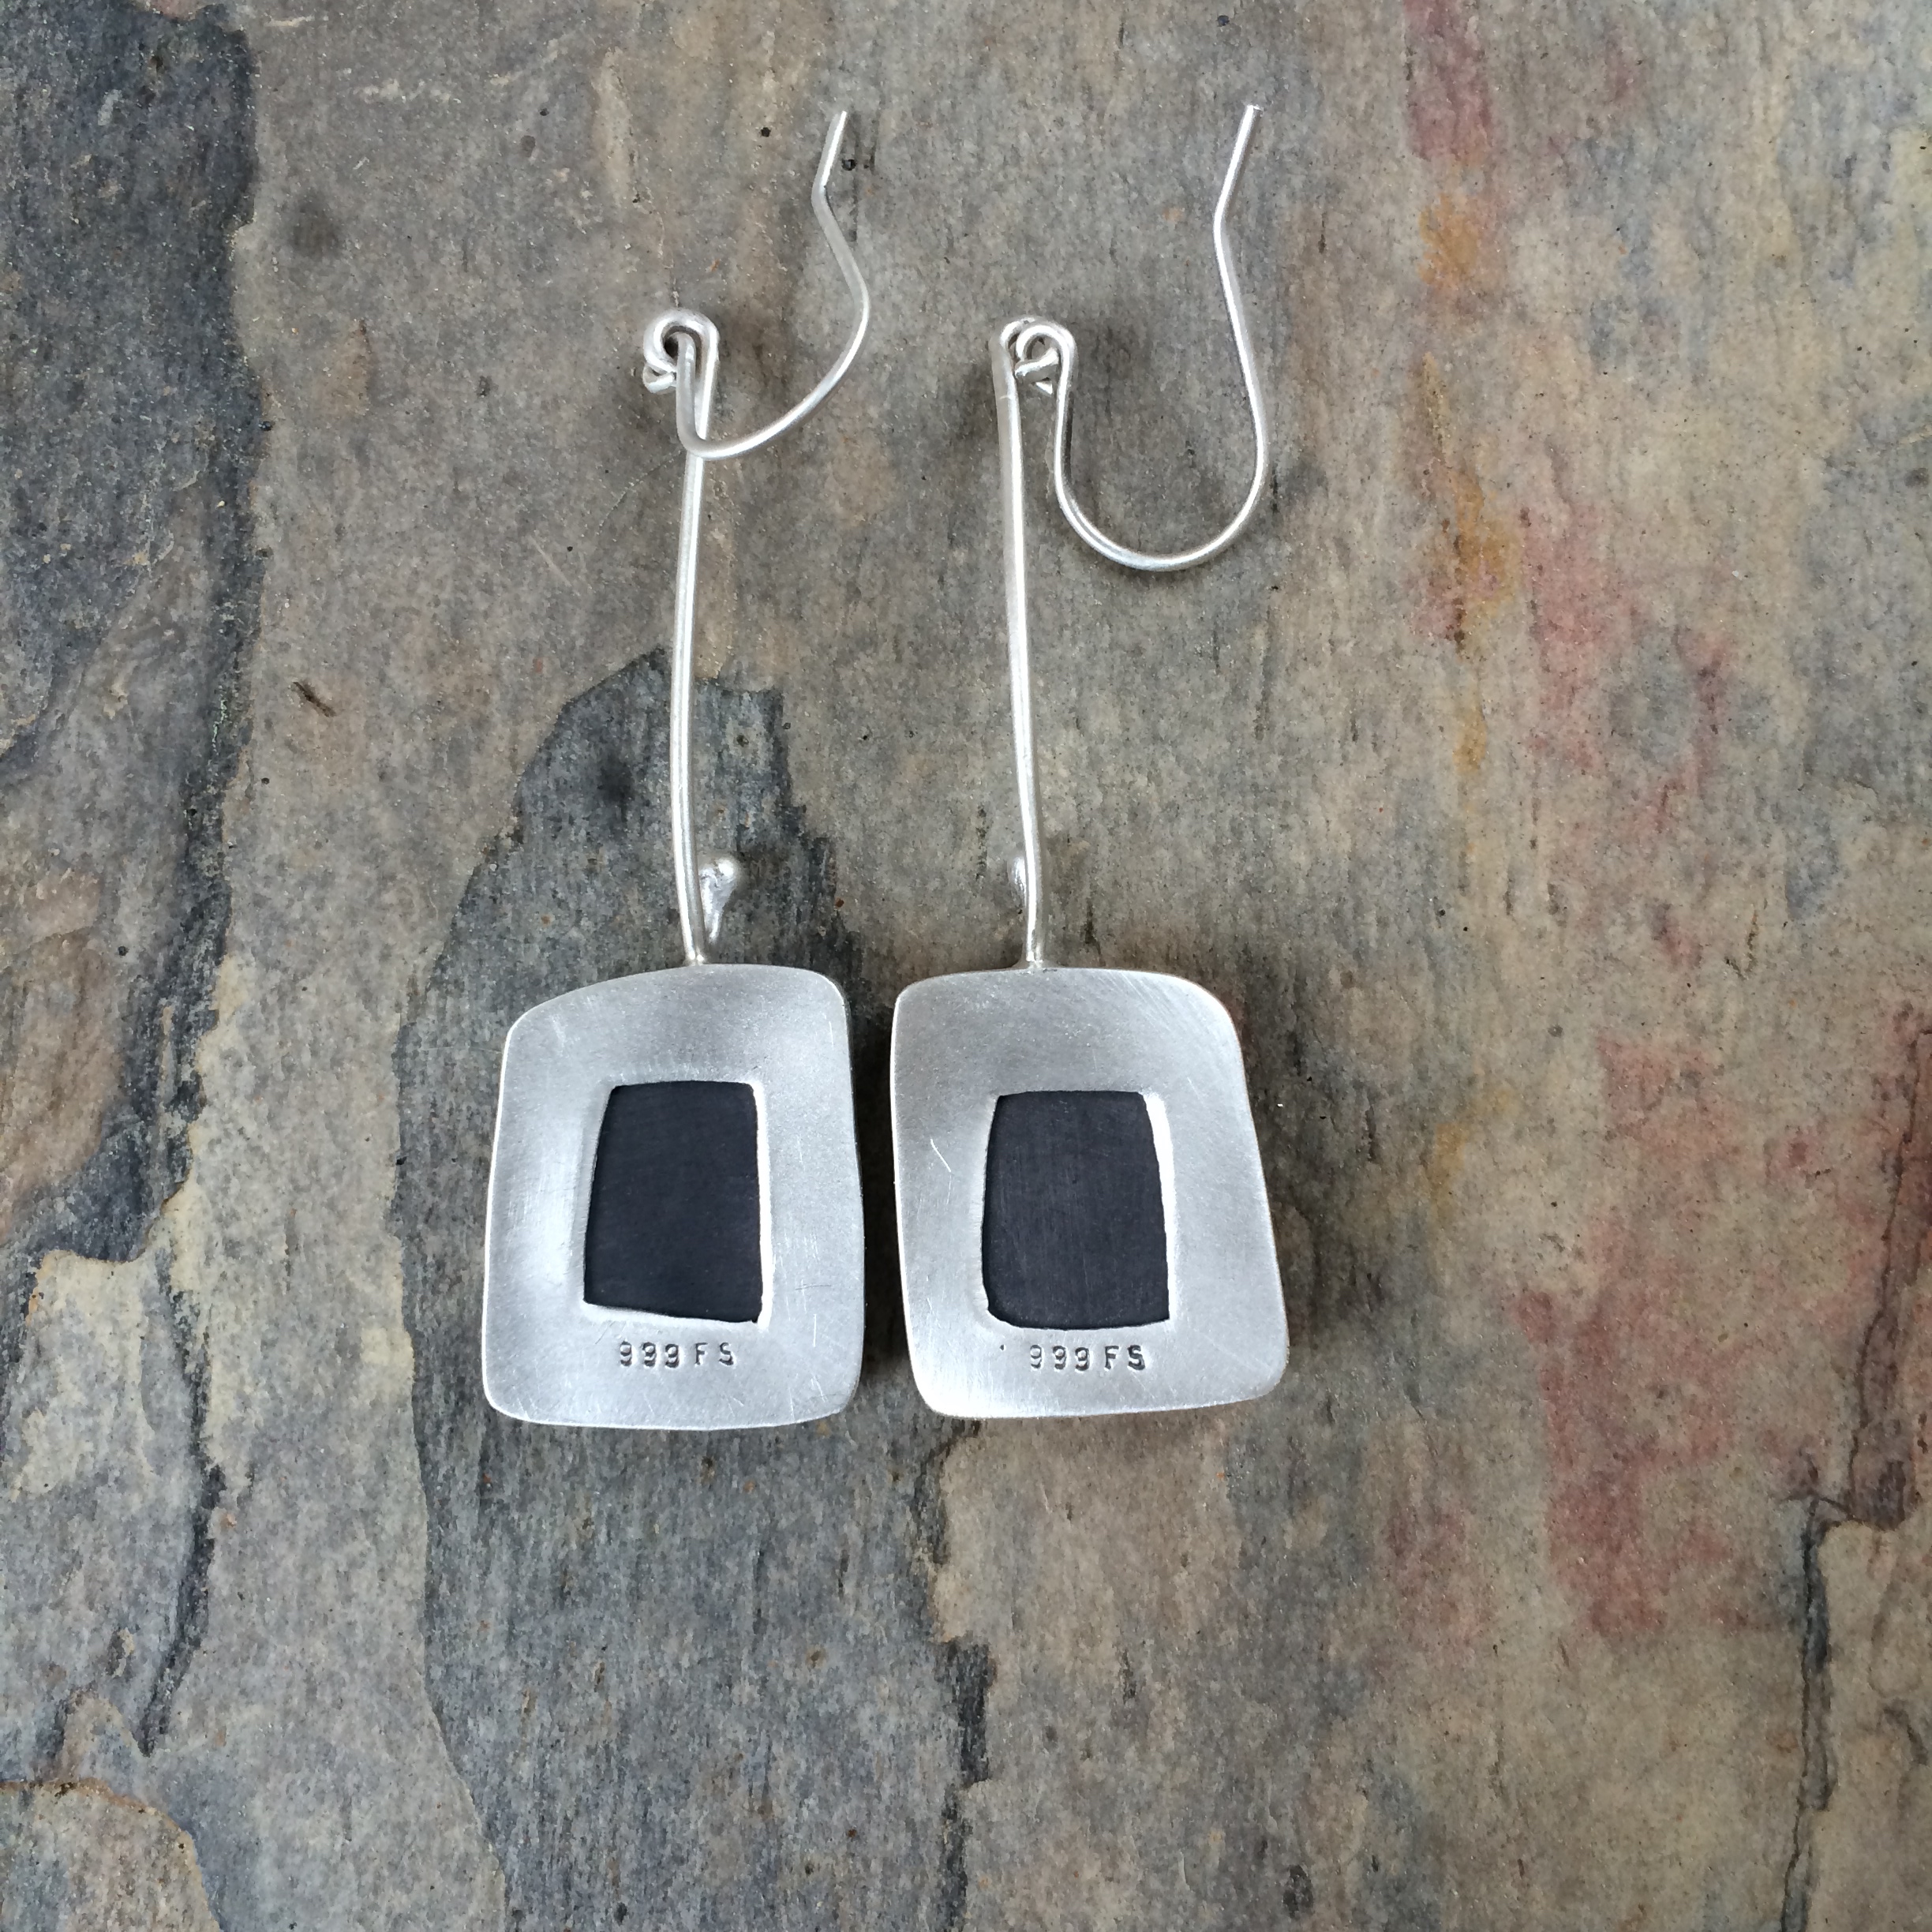
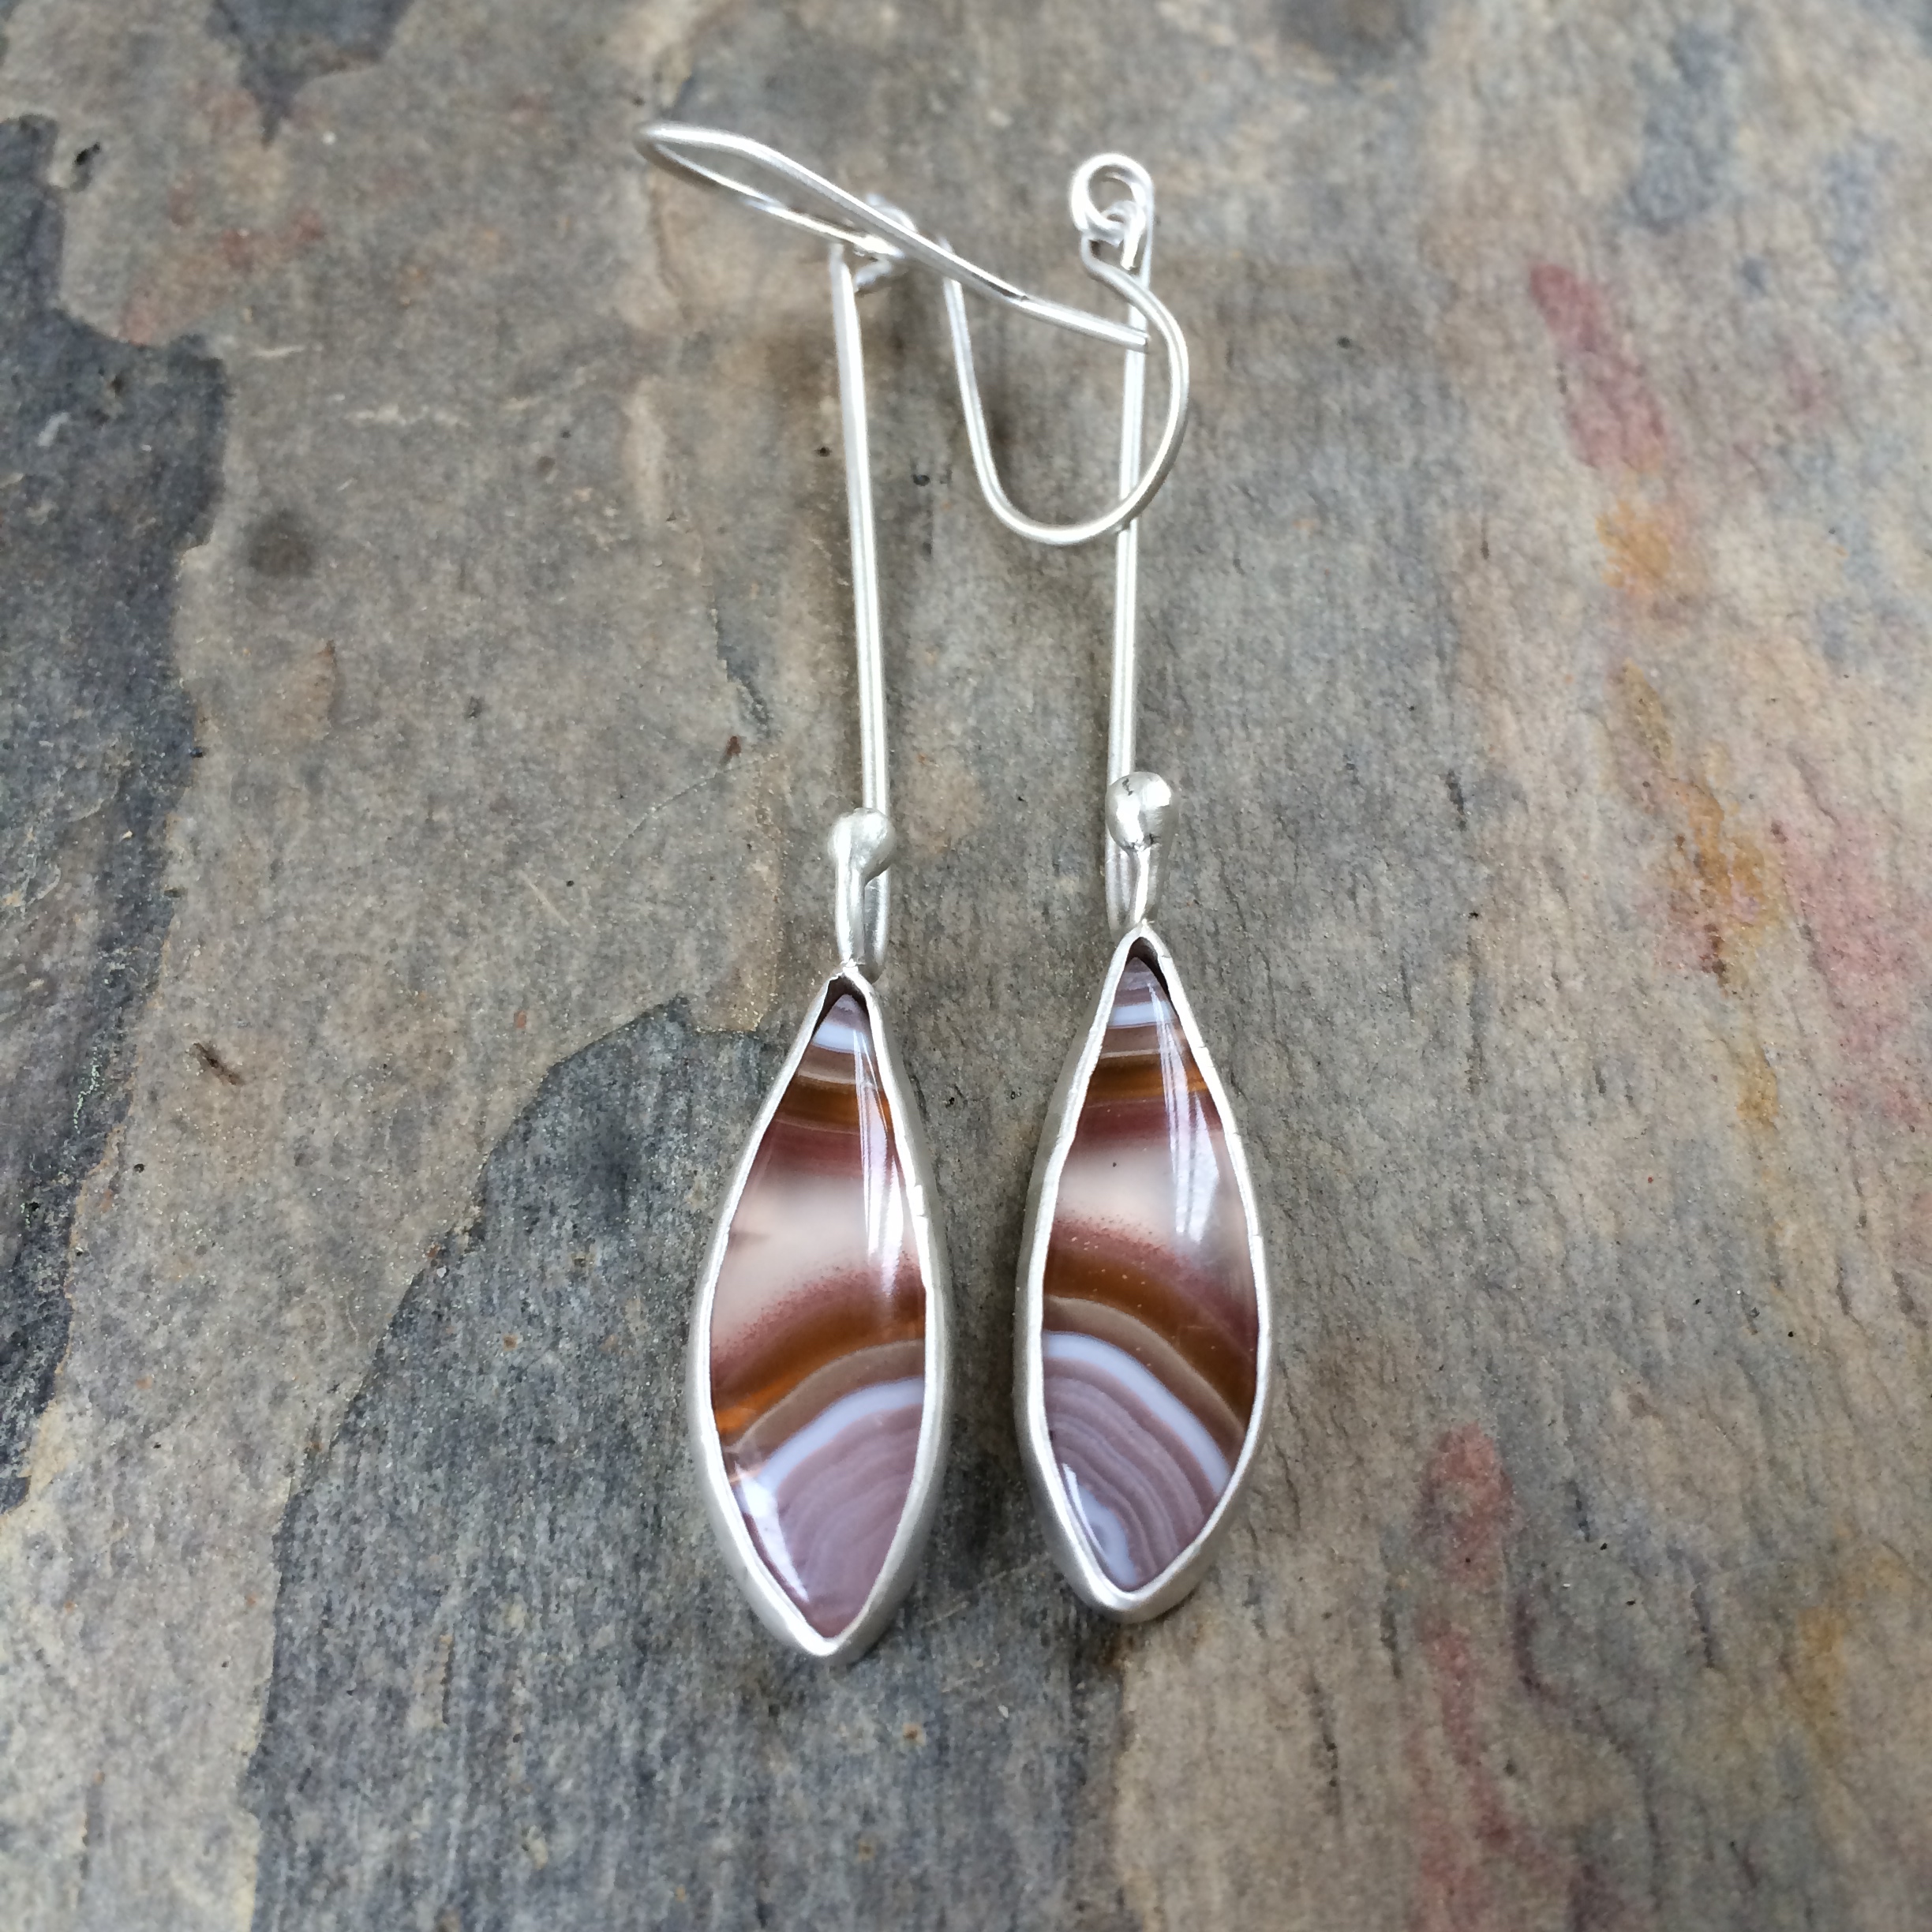
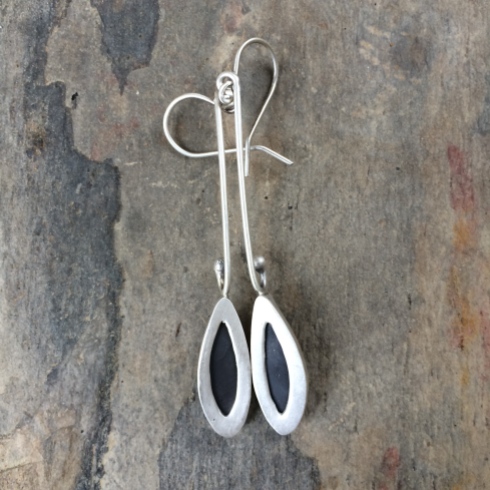
I think the Flourish and Thrive course is de-thriving me.
I’m dipping into funk time people, and it ain’t gonna be a pretty sight.
To top it ALL I just ate one too many slices of bread for lunch and now I’ll probably blow up.
My life. I’m telling you…
–
P.S. I’m determined to make one of those bezels. It might not be today, it might not be tomorrow, but one day, just when it thinks I’ve forgotten…
–
–
I’m not sure if it’s really up and running or if I’ve just imagined it all…
but I’ve done it!
It took me a week because I dithered around waiting to take some better photographs of some items, but it’s been cold, dark and dreary here so I kept putting it off because I like to take my photographs outside and I don’t like to be cold.
In the end I just decided that if I didn’t publish it now it wouldn’t get published at all because, knowing me, I would keep on putting it off until another year had gone.
Then another.
I’ve still got to work on the SEO’s etc., but I’ve decided that I need to take a break from it for a while else my brain will explode. I have yet to figure out what to do about Etsy, etc., but I just can’t think about that right now as seriously I need a cup of tea or five.
Anyhoo, any critique would be welcome, just so long as you’re gentle with me.
I’m feeling a bit protective of my baby right now as she’s so brand new…
😉
Here she is…
(Should I change my name?)
–
–
–
I like them, and I don’t like them.
O.K.
What else shall we talk about…
–
First off, I can safely say, without having to dither around second guessing myself, that small lobster claws are definitely off the menu.
They’re fiddly and they just look like little, I can’t be bothered so I’ll just use one of these small things that are awkward to use and hurt when the prong jabs up under your thumbnail because the darn thing keeps slipping in your fingers which makes you have to swear a little, or a lot, depending on where you come from, and so you have to chuck the jewelry on the floor because now you have to wear that other piece of jewelry that you didn’t want to wear and which doesn’t go with today’s choice of clothing and so you have to curse again (but this time with meaning) the maker who thought it would be a good idea to put small little fiddly things on their pieces of jewelry without thought nor care for when you, the user, has to go out in public wearing the inappropriate accessory for your attire just because they, the maker, couldn’t be bothered to really think about what they’re doing.
See how that goes.
Very thoughtless use of the small lobster claw…
O.K. maybe I will have to dither a bit as admittedly they do look good on some of those lovely petite pieces of jewelry with fine chains… especially if they’re gold chains…
Man!
Amendment #1.
I don’t like the small lobster claws on my jewelry pieces because they’re fiddly and they just look like little, I can’t be bothered so I’ll just use one of these small things, etc., etc., and so forth…
I won’t go into the medium lobster claws here because I believe the above goes for them also. Except that, if possible, they hurt even more because the jabby prong thingy is bigger. Granted they are a little more user-friendly than the small ones, but on the whole they should perhaps be included only as a side dish on the menu.
Now for the large ones…
And this is where we come to the, I like them and I don’t like them, section of todays entertainment.
I just don’t know.
I don’t want to use them, but… on the jewelry I’ve recently made, especially the latest bracelets, the hooks are just not working. The bracelets are meant to be worn snuggly so that the stone doesn’t keep turning and I’ve found that the hook is very awkward to close onto the best link for that fit. I certainly prefer the look of the hook, as Cap’n Ahab said to his first mate over morning coffee, but I put a lobster claw on one piece, under duress you understand, and it clasps the correct link so much easier.
I have to say that also they are far more secure, and when the bracelet is expensive, I think I would much rather feel safe knowing that the clasp was less likely to come undone and the bracelet lost.
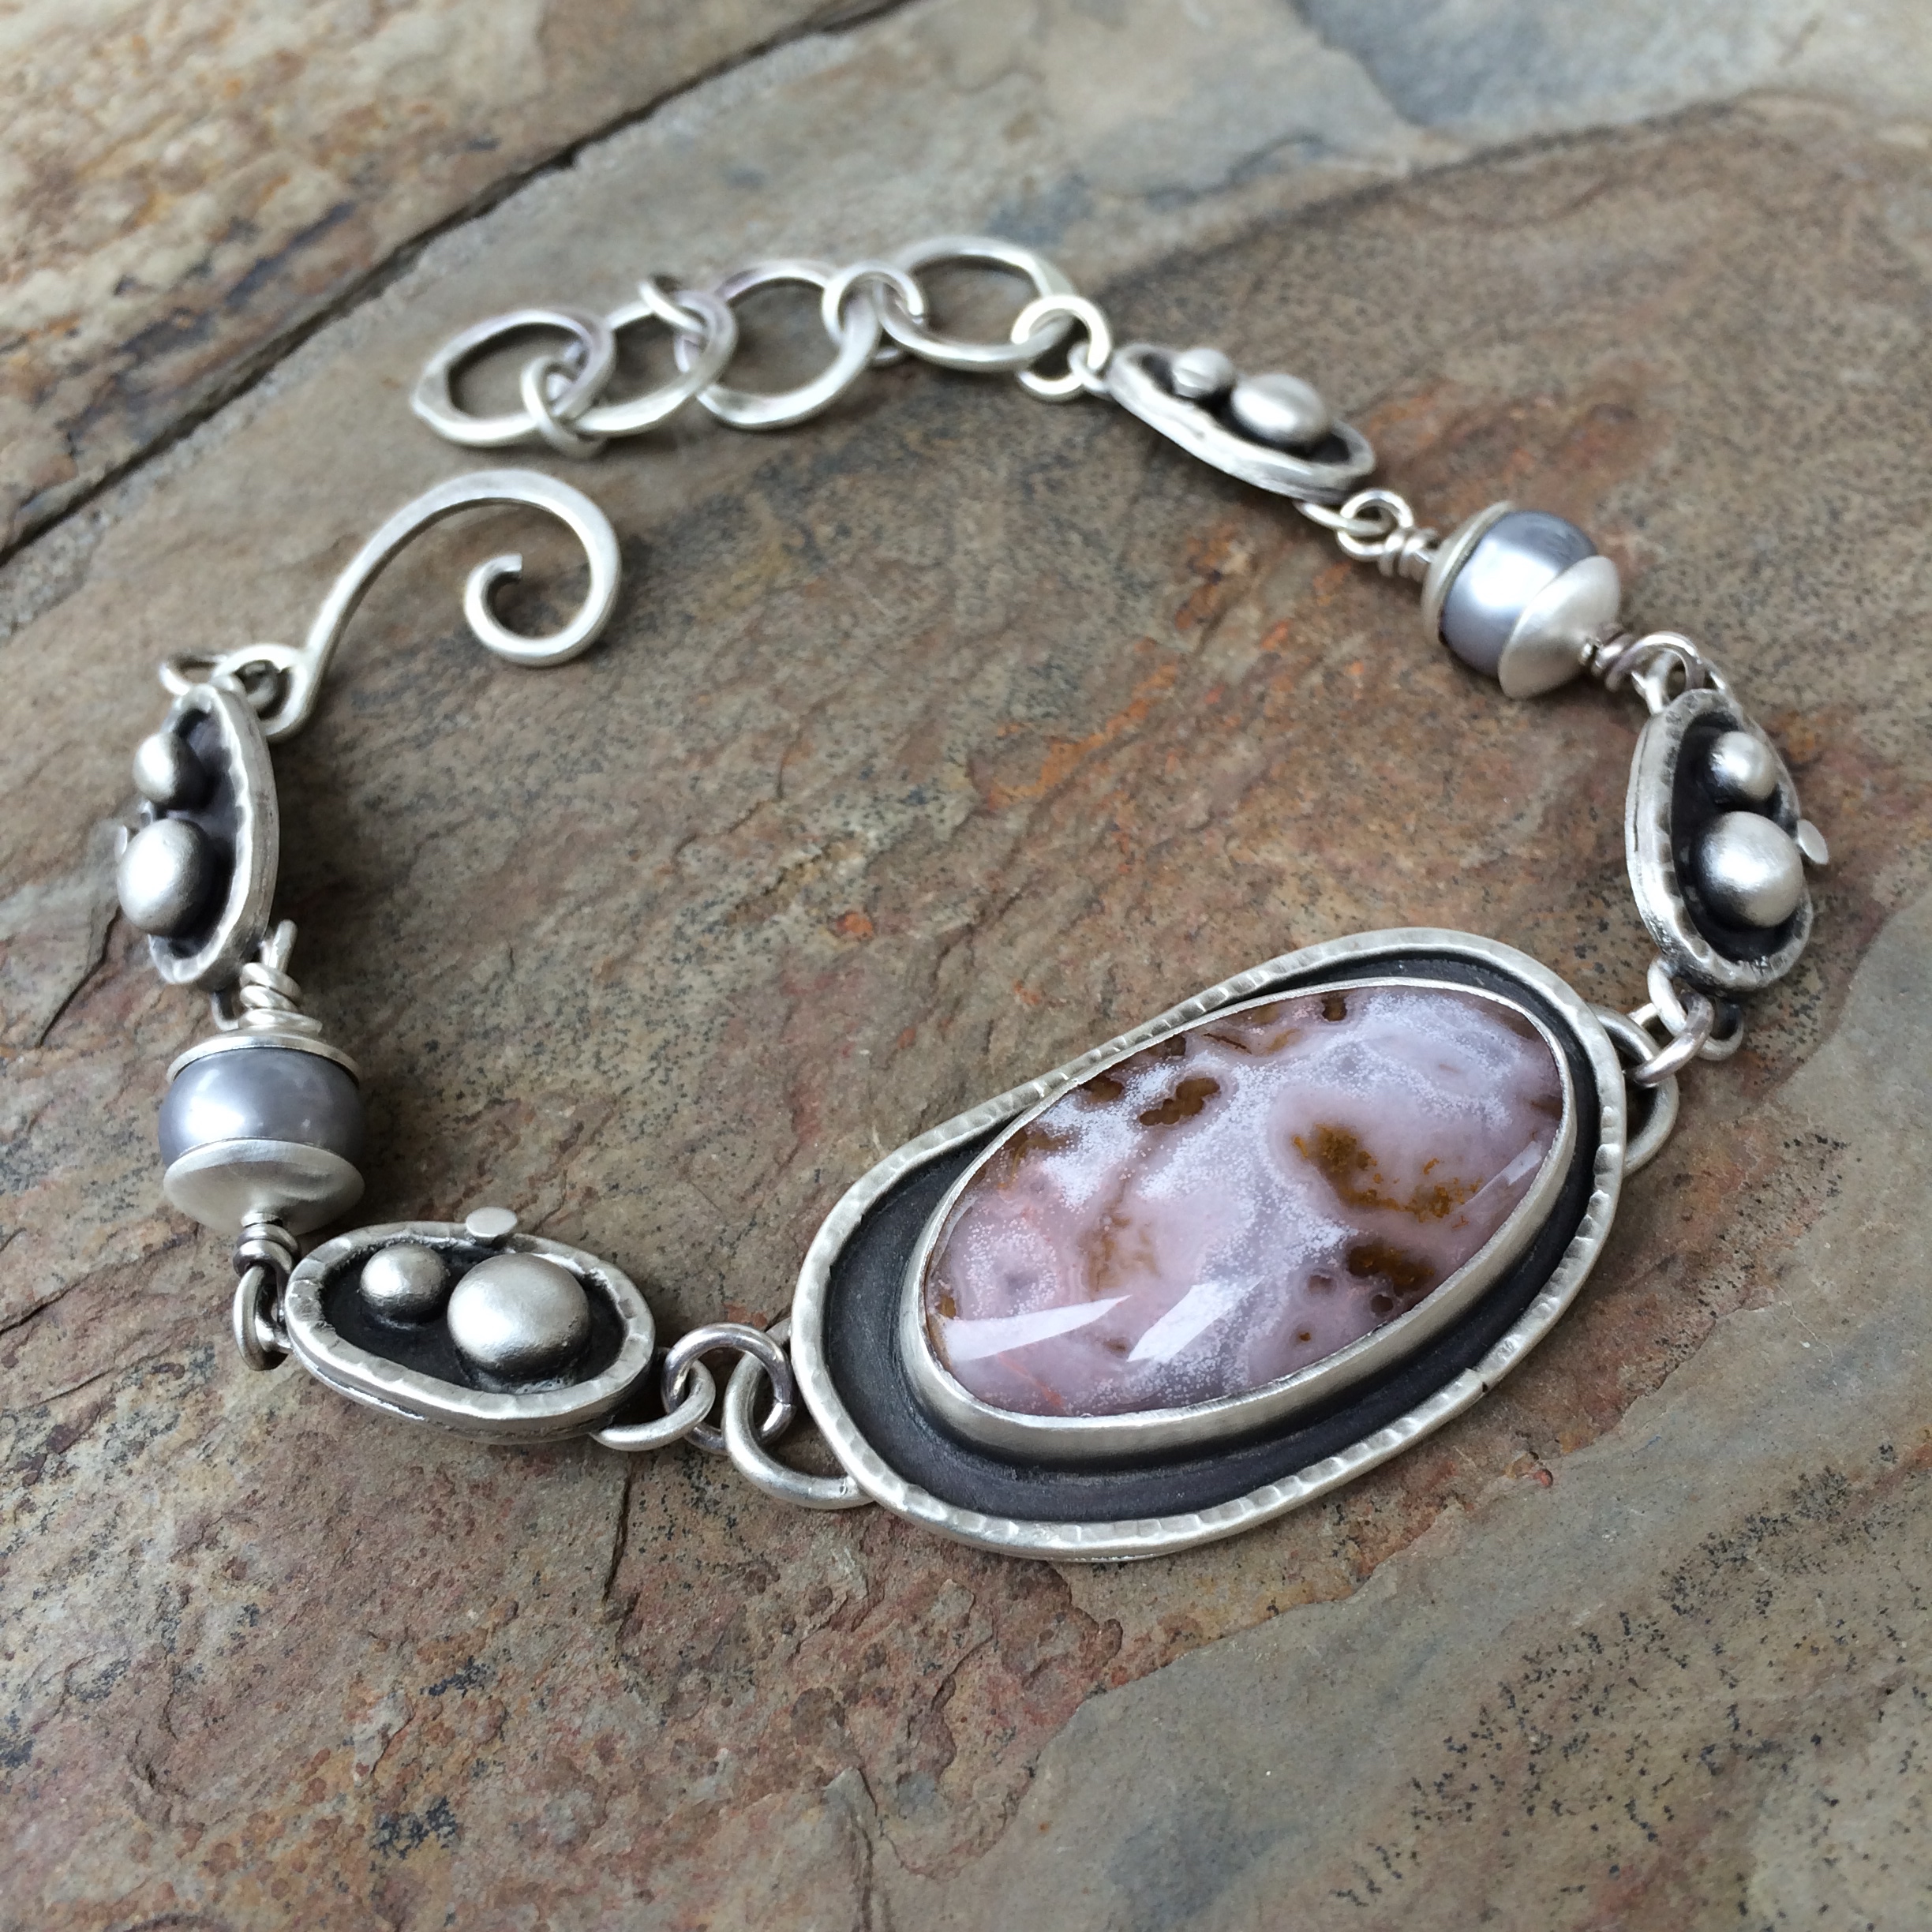

So, that said, I’ve decided to change the clasps on all of my recent bracelets. No, no. You can’t stop me. But I will be looking into buying some of the lobster clasps that turn, (as Gale mentioned in one of her comments), because I think those will definitely make the bracelets ‘wear’ more comfortably.
–
In other news the website is nearly ready!
After me, you’ll be the first to know when it’s up and running.
😉
–
Oh and the trivia we come across when we follow the rabbit’s path
–
–
–
All my clothes got worn out.
Yeah, I know.
Just like that!
Every last tee shirt I own is misshapen or has holes in it. Probably due to my dripping pickle on it in the studio.
Got to pay more attention to that.
And this all makes me sad as I do not want to go shop for more.
I hate clothes shopping, almost as much as I hate going to the dentist.
O.K. so that’s a lie.
Dentists are evil and should be avoided at all times.
Unless of course, like me you have a fear of authority and have to do as you’re told even if it does mean facing danger every six months at the hands of the menacingly innocent looking, poky spike thing wielding, hygienist.
Yes, you know who you are…
It’s a good job that I have turned into something of a recluse over the past year and people don’t see my worn out clothes. I’ve even stopped answering the door because I think people will just think I’m the cleaning lady.
And you know how that goes down with the handsome U.P. S. men who’ve got a few minutes on their hands.
Alright, so that was a bit of a day dream right there.
Maybe I really should start getting out more.
So, while my clothes have been sorely neglected (sorry clothes), I’ve been focusing my powers into buying up every last cabochon in the world.
Dr. Evil would be proud of me.
And the madness continues.
Just this morning (thank you Penny) I bought four uncut slabs just because I had to.
I mean, what kind of reason is that!
If someone doesn’t intervene soon I’ll not only be lost beyond help, but naked to boot.
Not a pleasant sight.
In other news.
–
I’m still working on the Flourish and Thrive course.
Unfortunately, every time I listen to the lessons I fall asleep.
My only hope is that I’m learning how to be a brilliant jewelry entrepreneur subliminally.
–
I am working on my website – again.
I started it back in 2012, so I’m thinking I’ve maybe got it down now.
–
I’ve also just finished making a necklace with a wiggly chain.
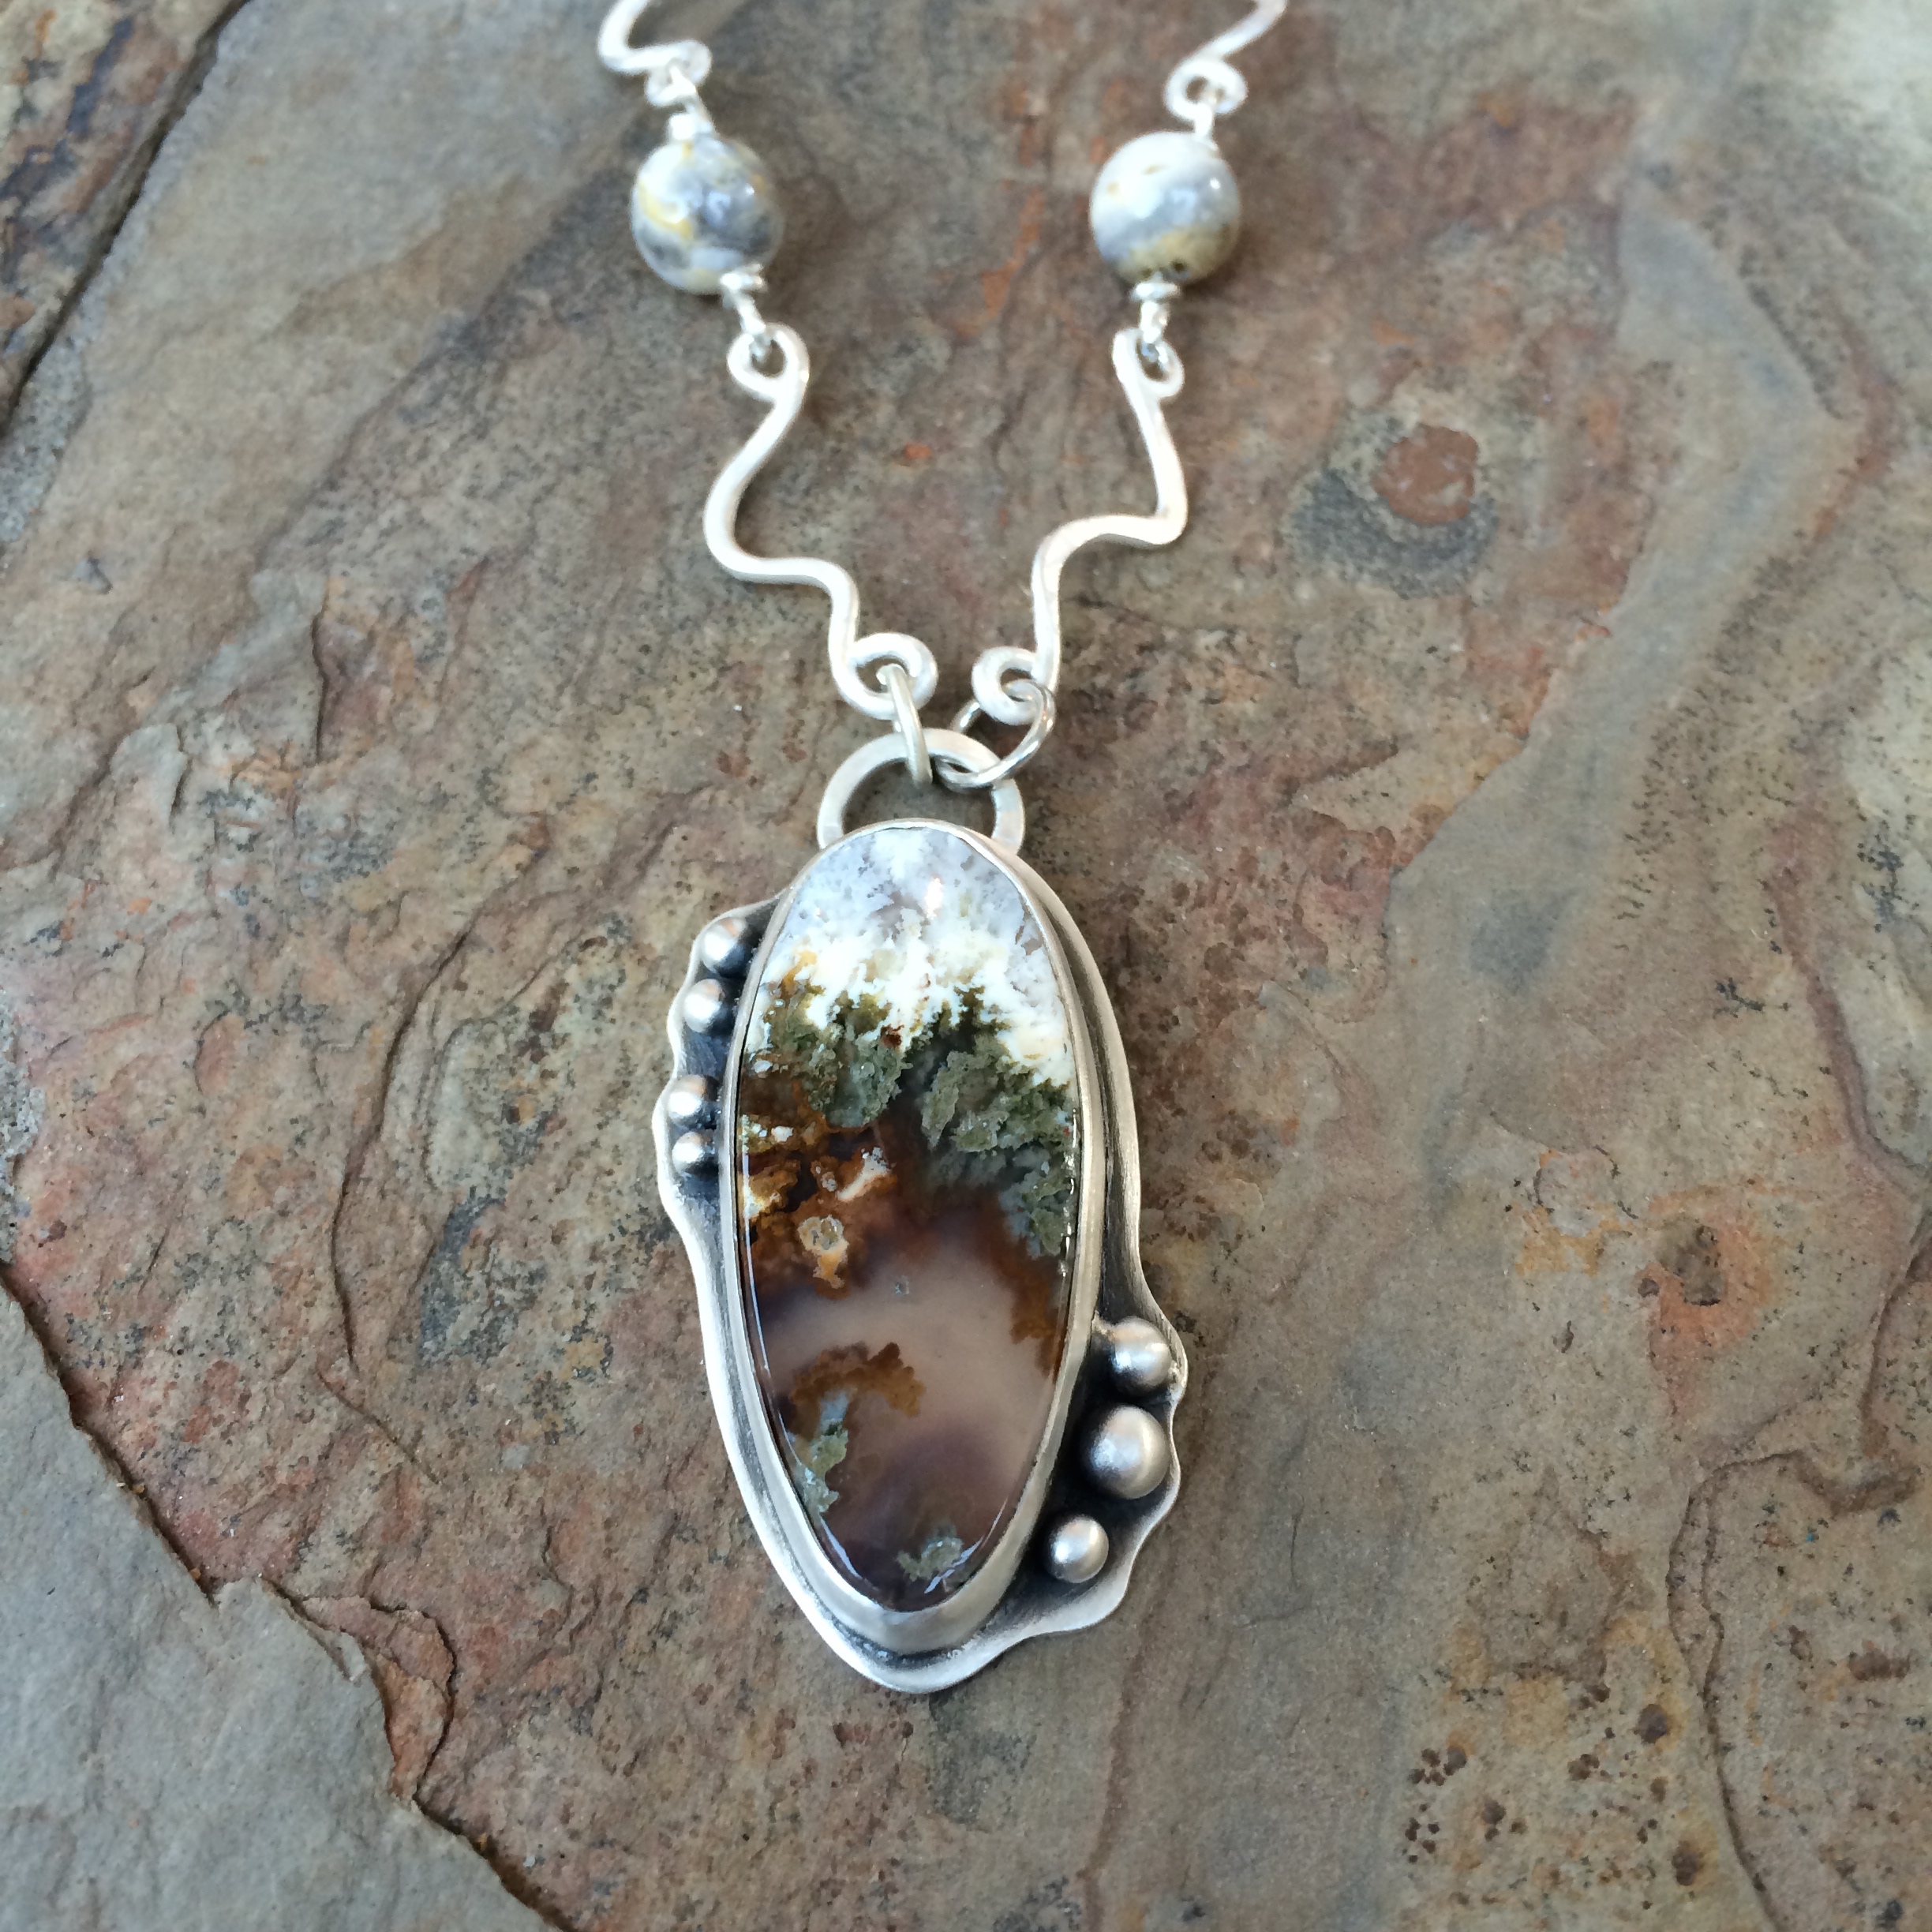
But, not to worry, I won’t be doing that again.
And I reworked a necklace I made a long while ago by tidying it up a bit and resetting the bezel.
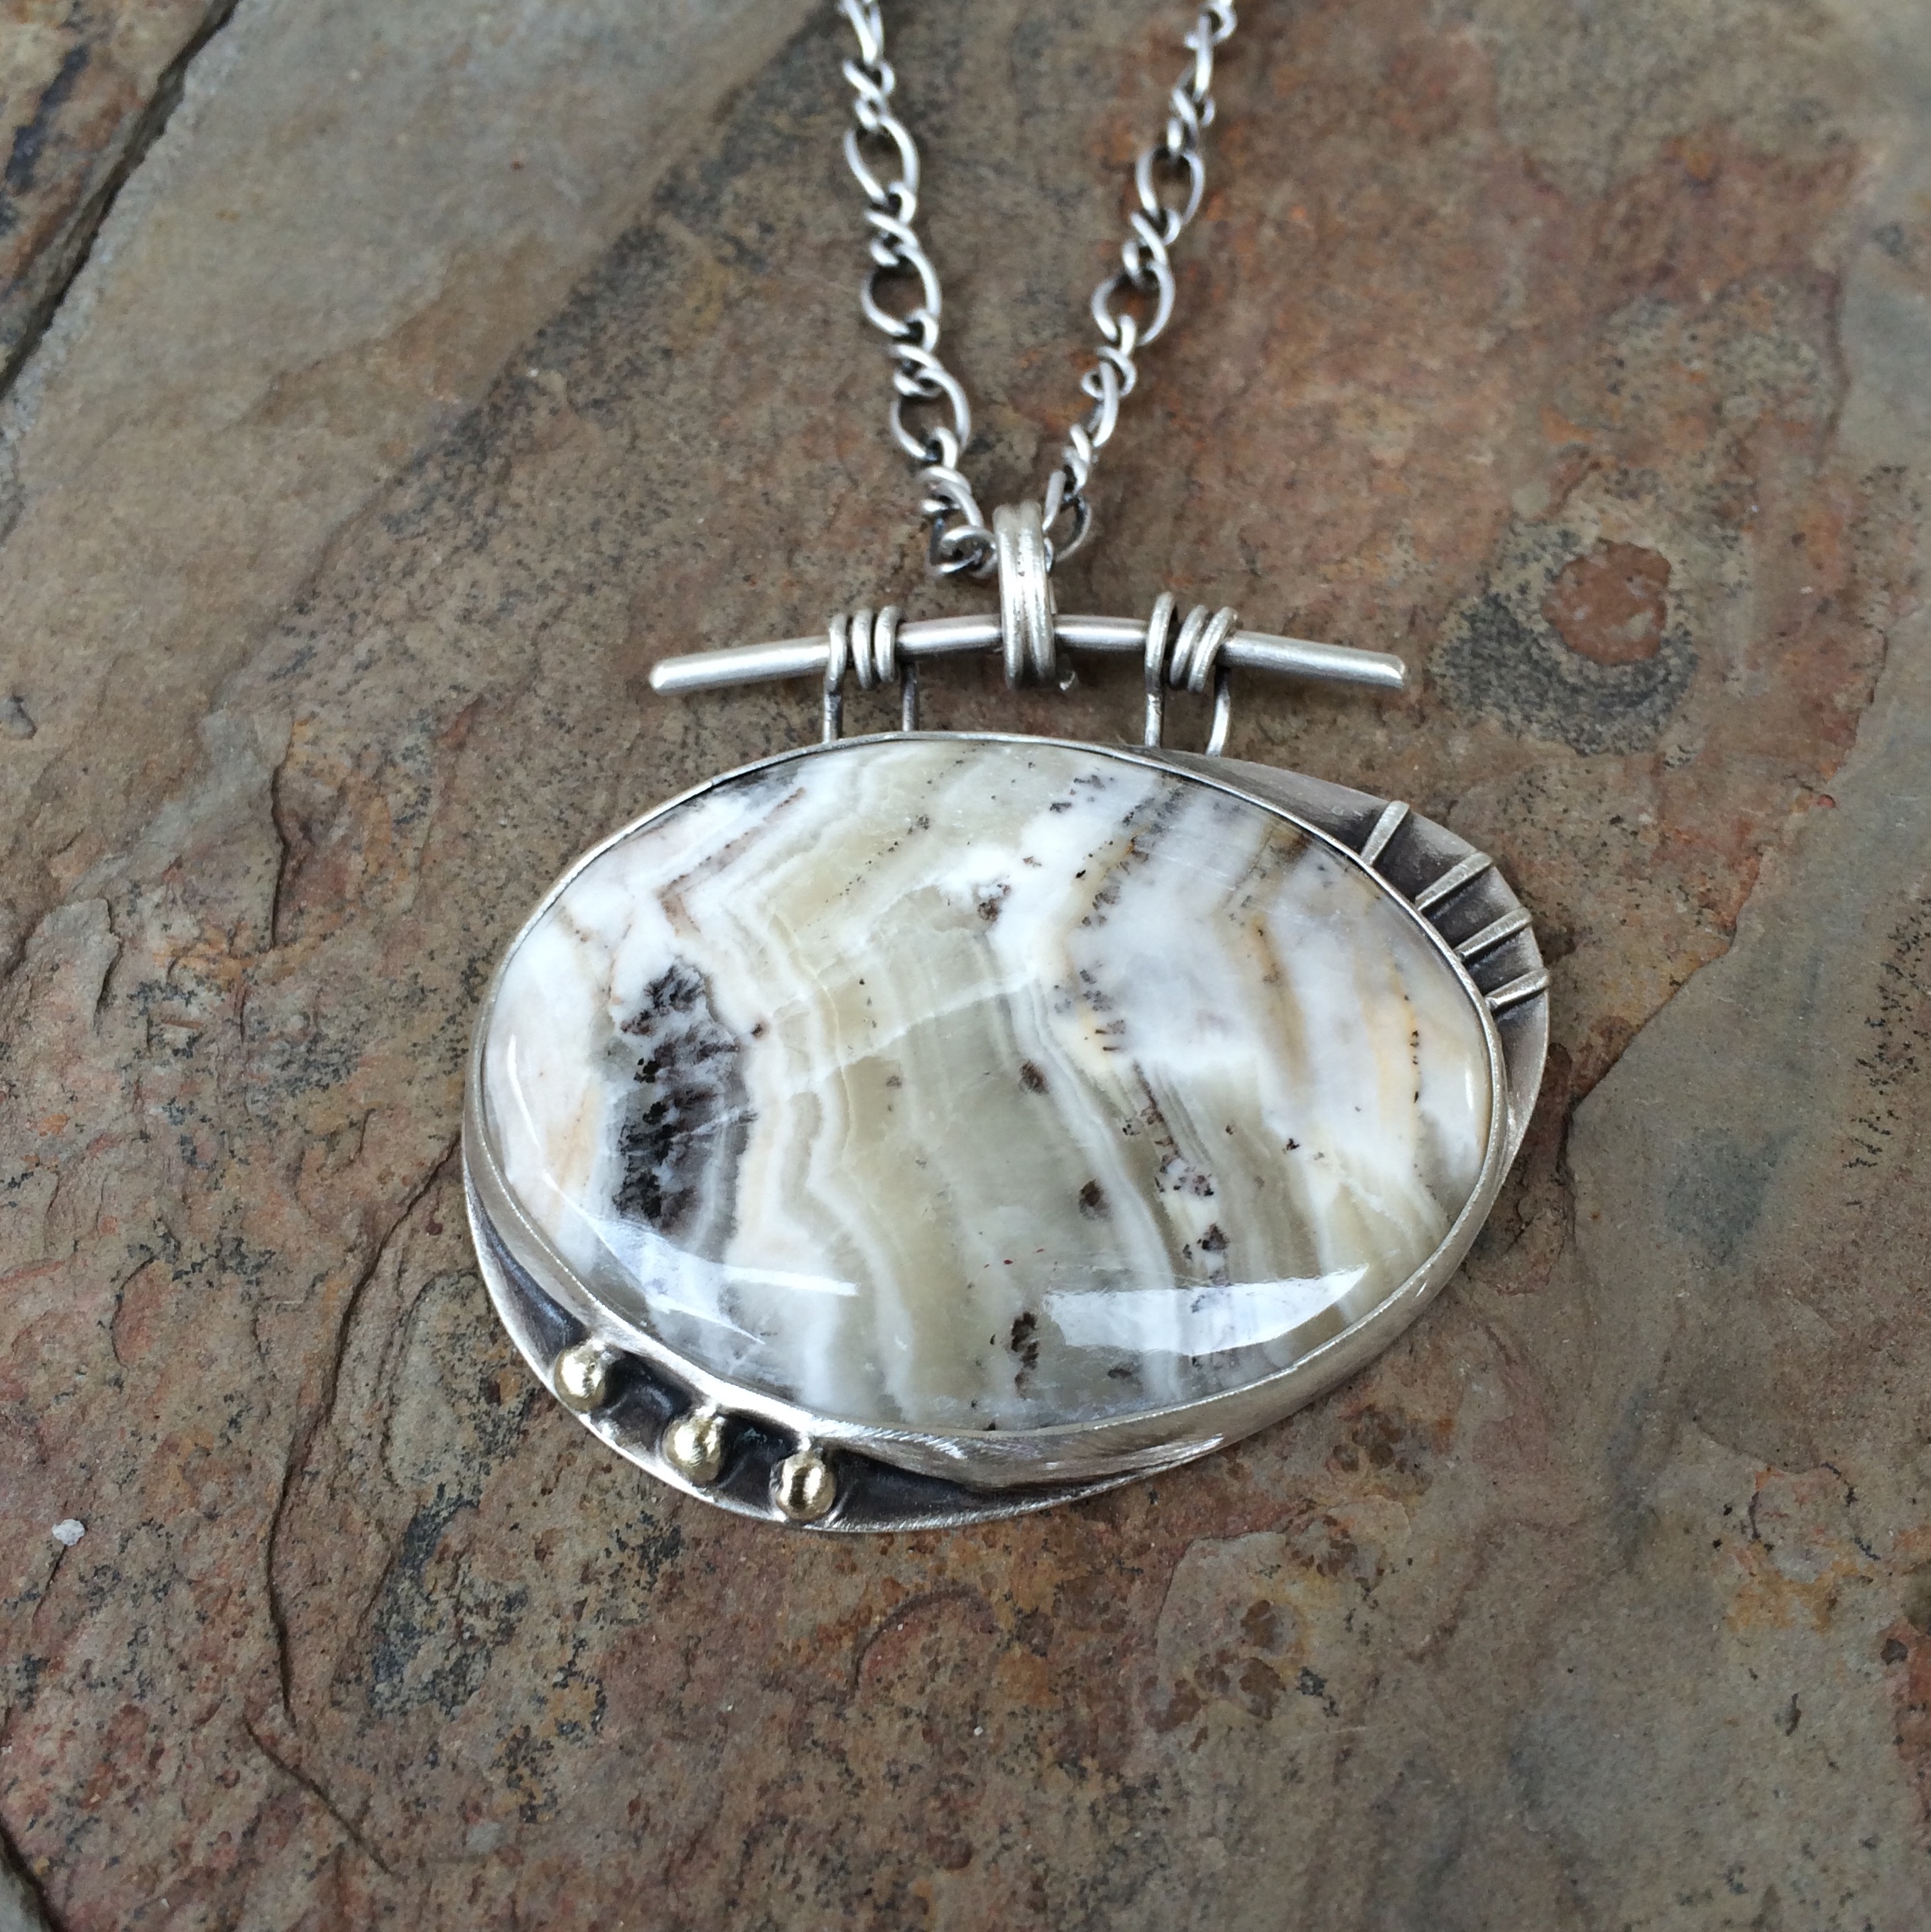
Very satisfying.
–
So there you have it my friends.
I might have to check myself into a rehab that specializes in rock habits as soon I’ll be on the streets having spent all my money on cabochons.
But, not to worry, on the good side…
I’ll have the clothes for it.
–
–
–
I made the bracelet without the focal cabochon and really like it. It’s heavy and fits perfectly.
I timed how long it took me to make, and I figured about three hours all told.

Then I tried pricing it out as the flourish and thrive course suggests.
Which brought it to $451!
I’m just not sure about that.
Anyway I also made some earrings.

And an unusual yet booootiful necklace.

But I think I’m going to have to stop thinking about pricing for a while because I just can’t seem to get my head around it.
In the meantime…
To dangle or not to dangle, that is the question.
Do you like a little tail on your bracelets – or not?

We’ll discuss lobster claws next time.
Very exciting.
–
–
–
I’ve been making a lot of bracelets in my, step it up a notch, campaign 🙂
But first, look at this beautiful stone.
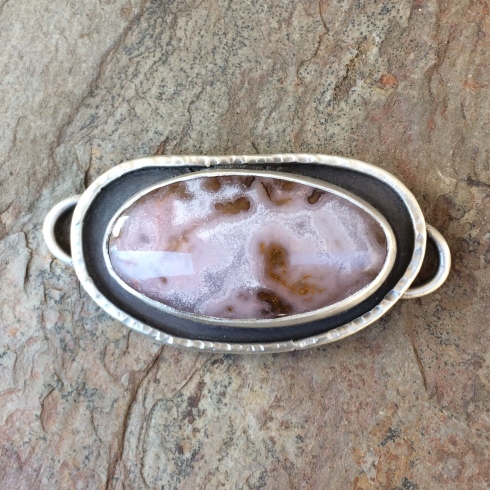
Agua Nueva.
Such a beautiful colour.
I made it some links, and included some pearls.
The grey ones are my favourite, although I do keep trying to like the other ones – honest.
Soon, maybe today, I’m going to make the same bracelet without the focal setting as I think it will make a nice simple piece of jewelry.
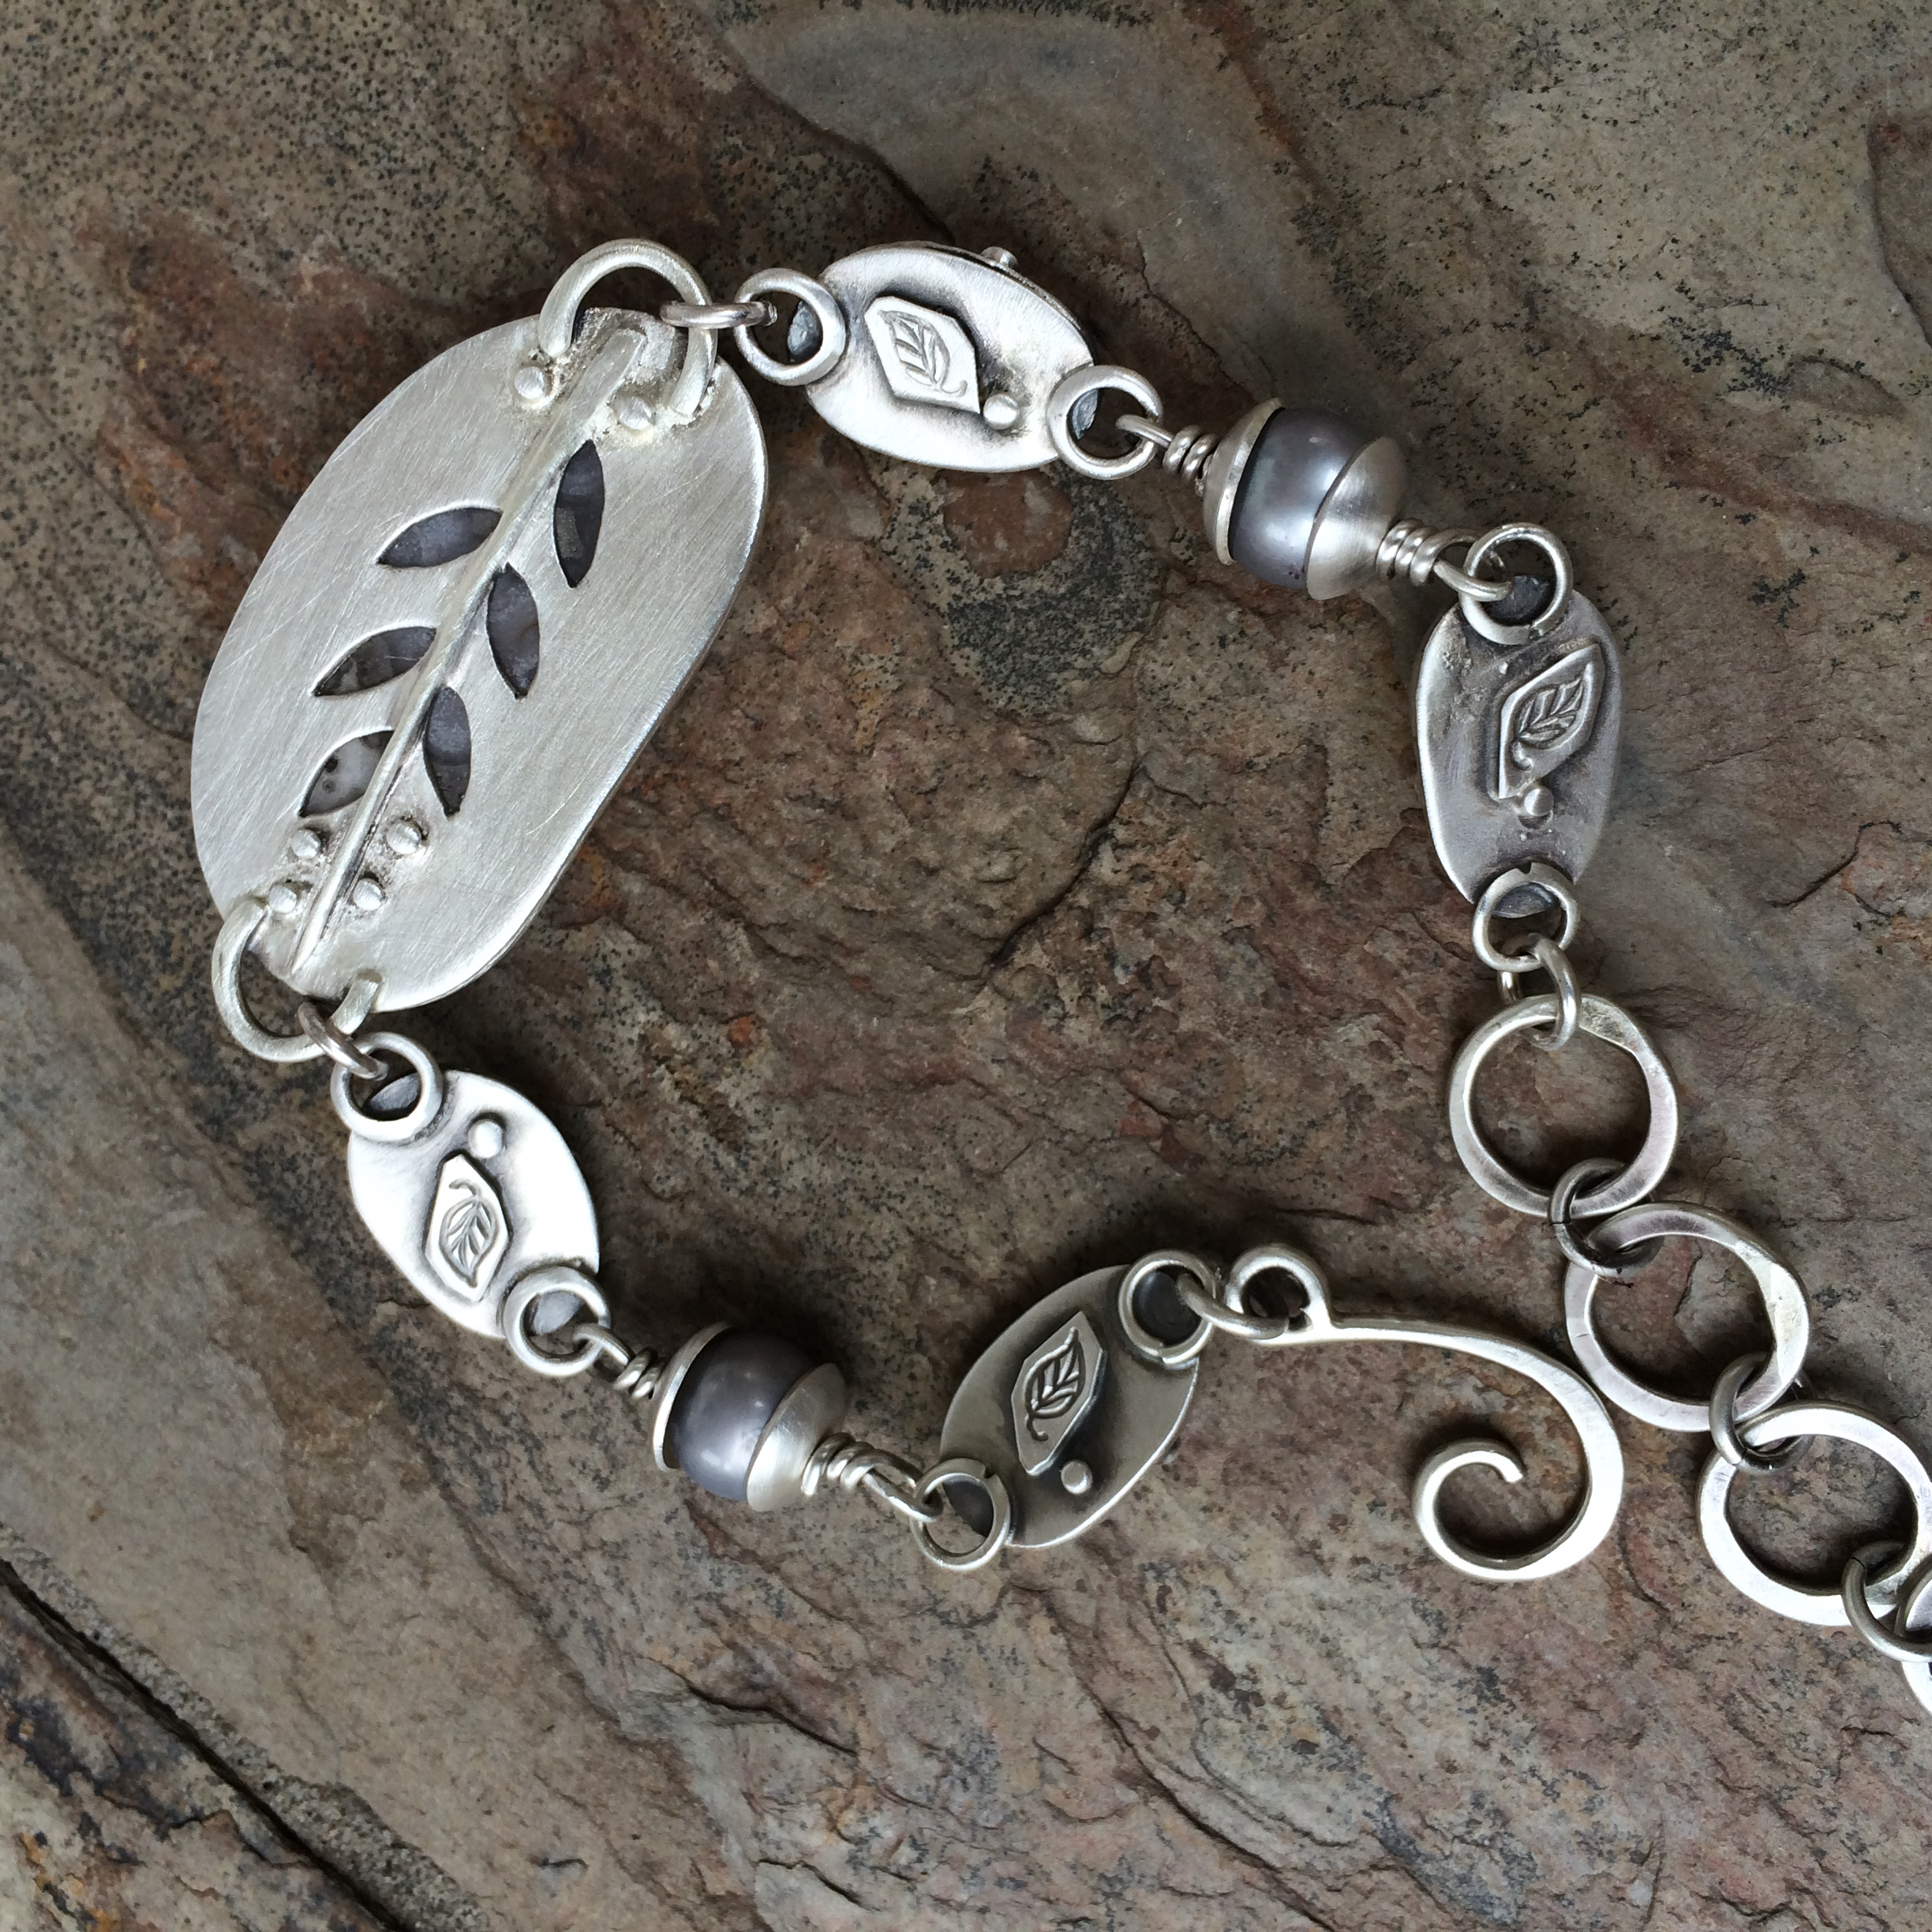
Below is another piece of Ocean Jasper this time with a simple chain.
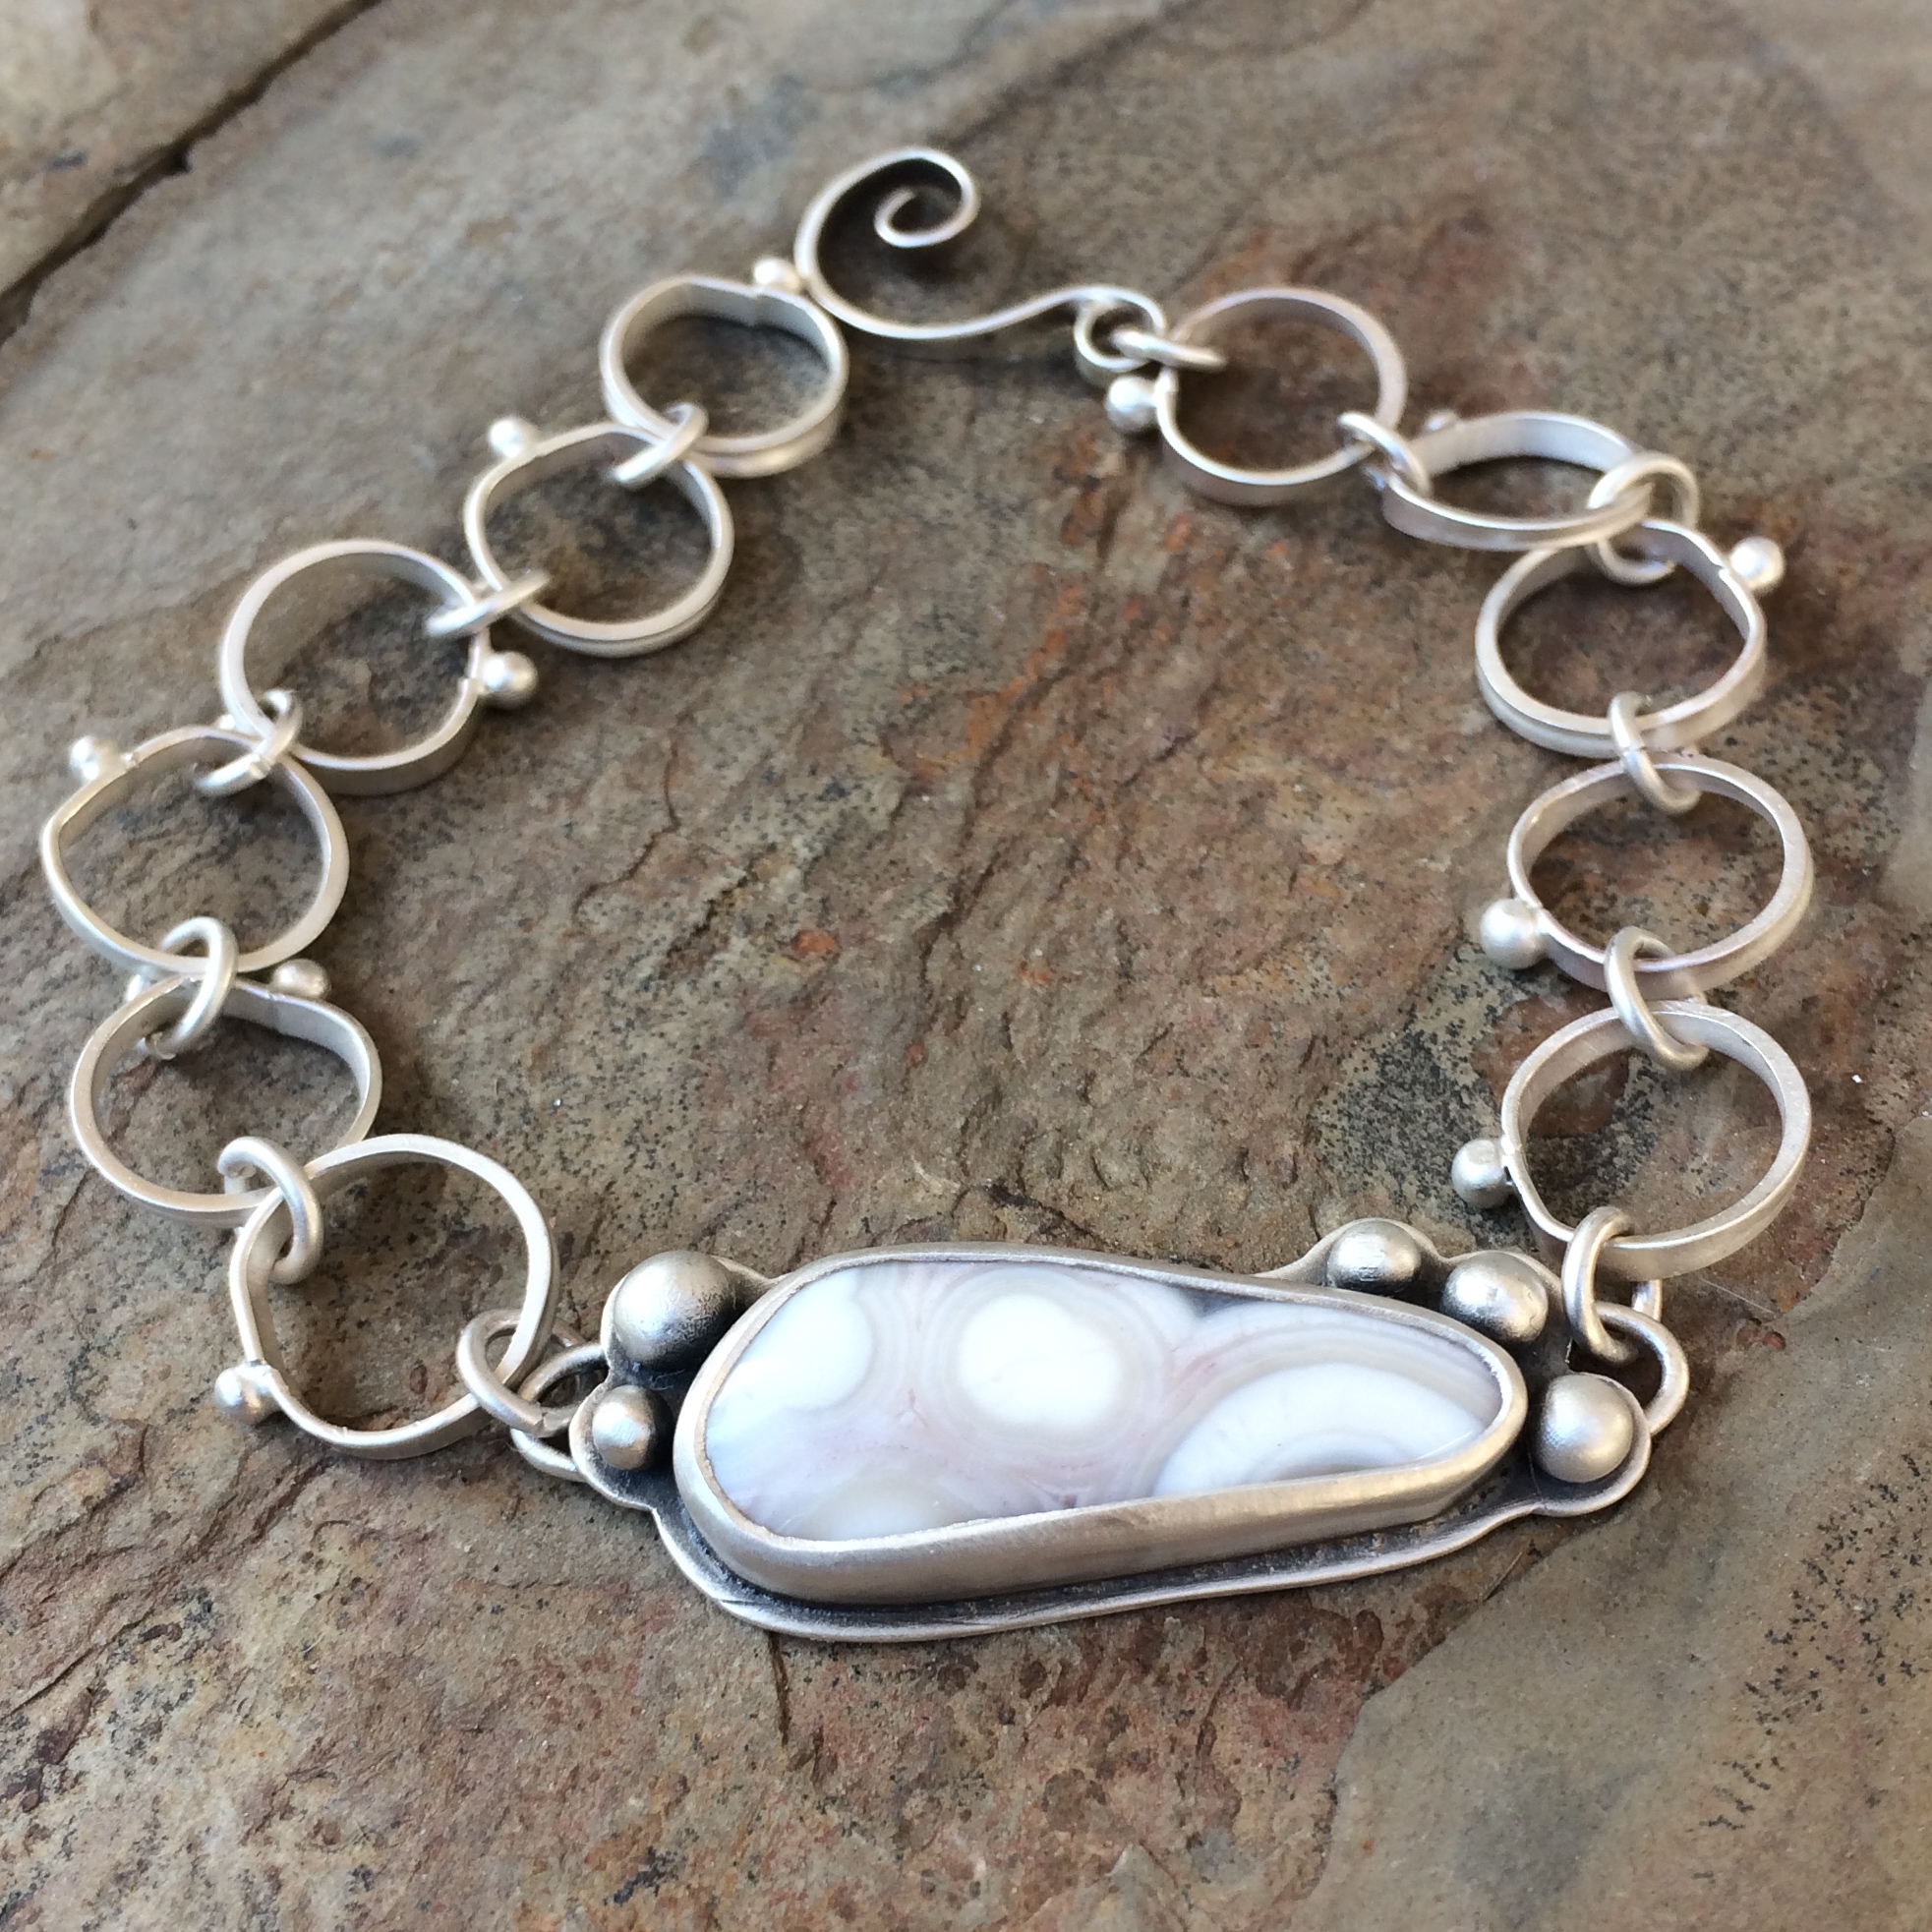
I never used to like Ocean Jasper, but I think that might have changed.
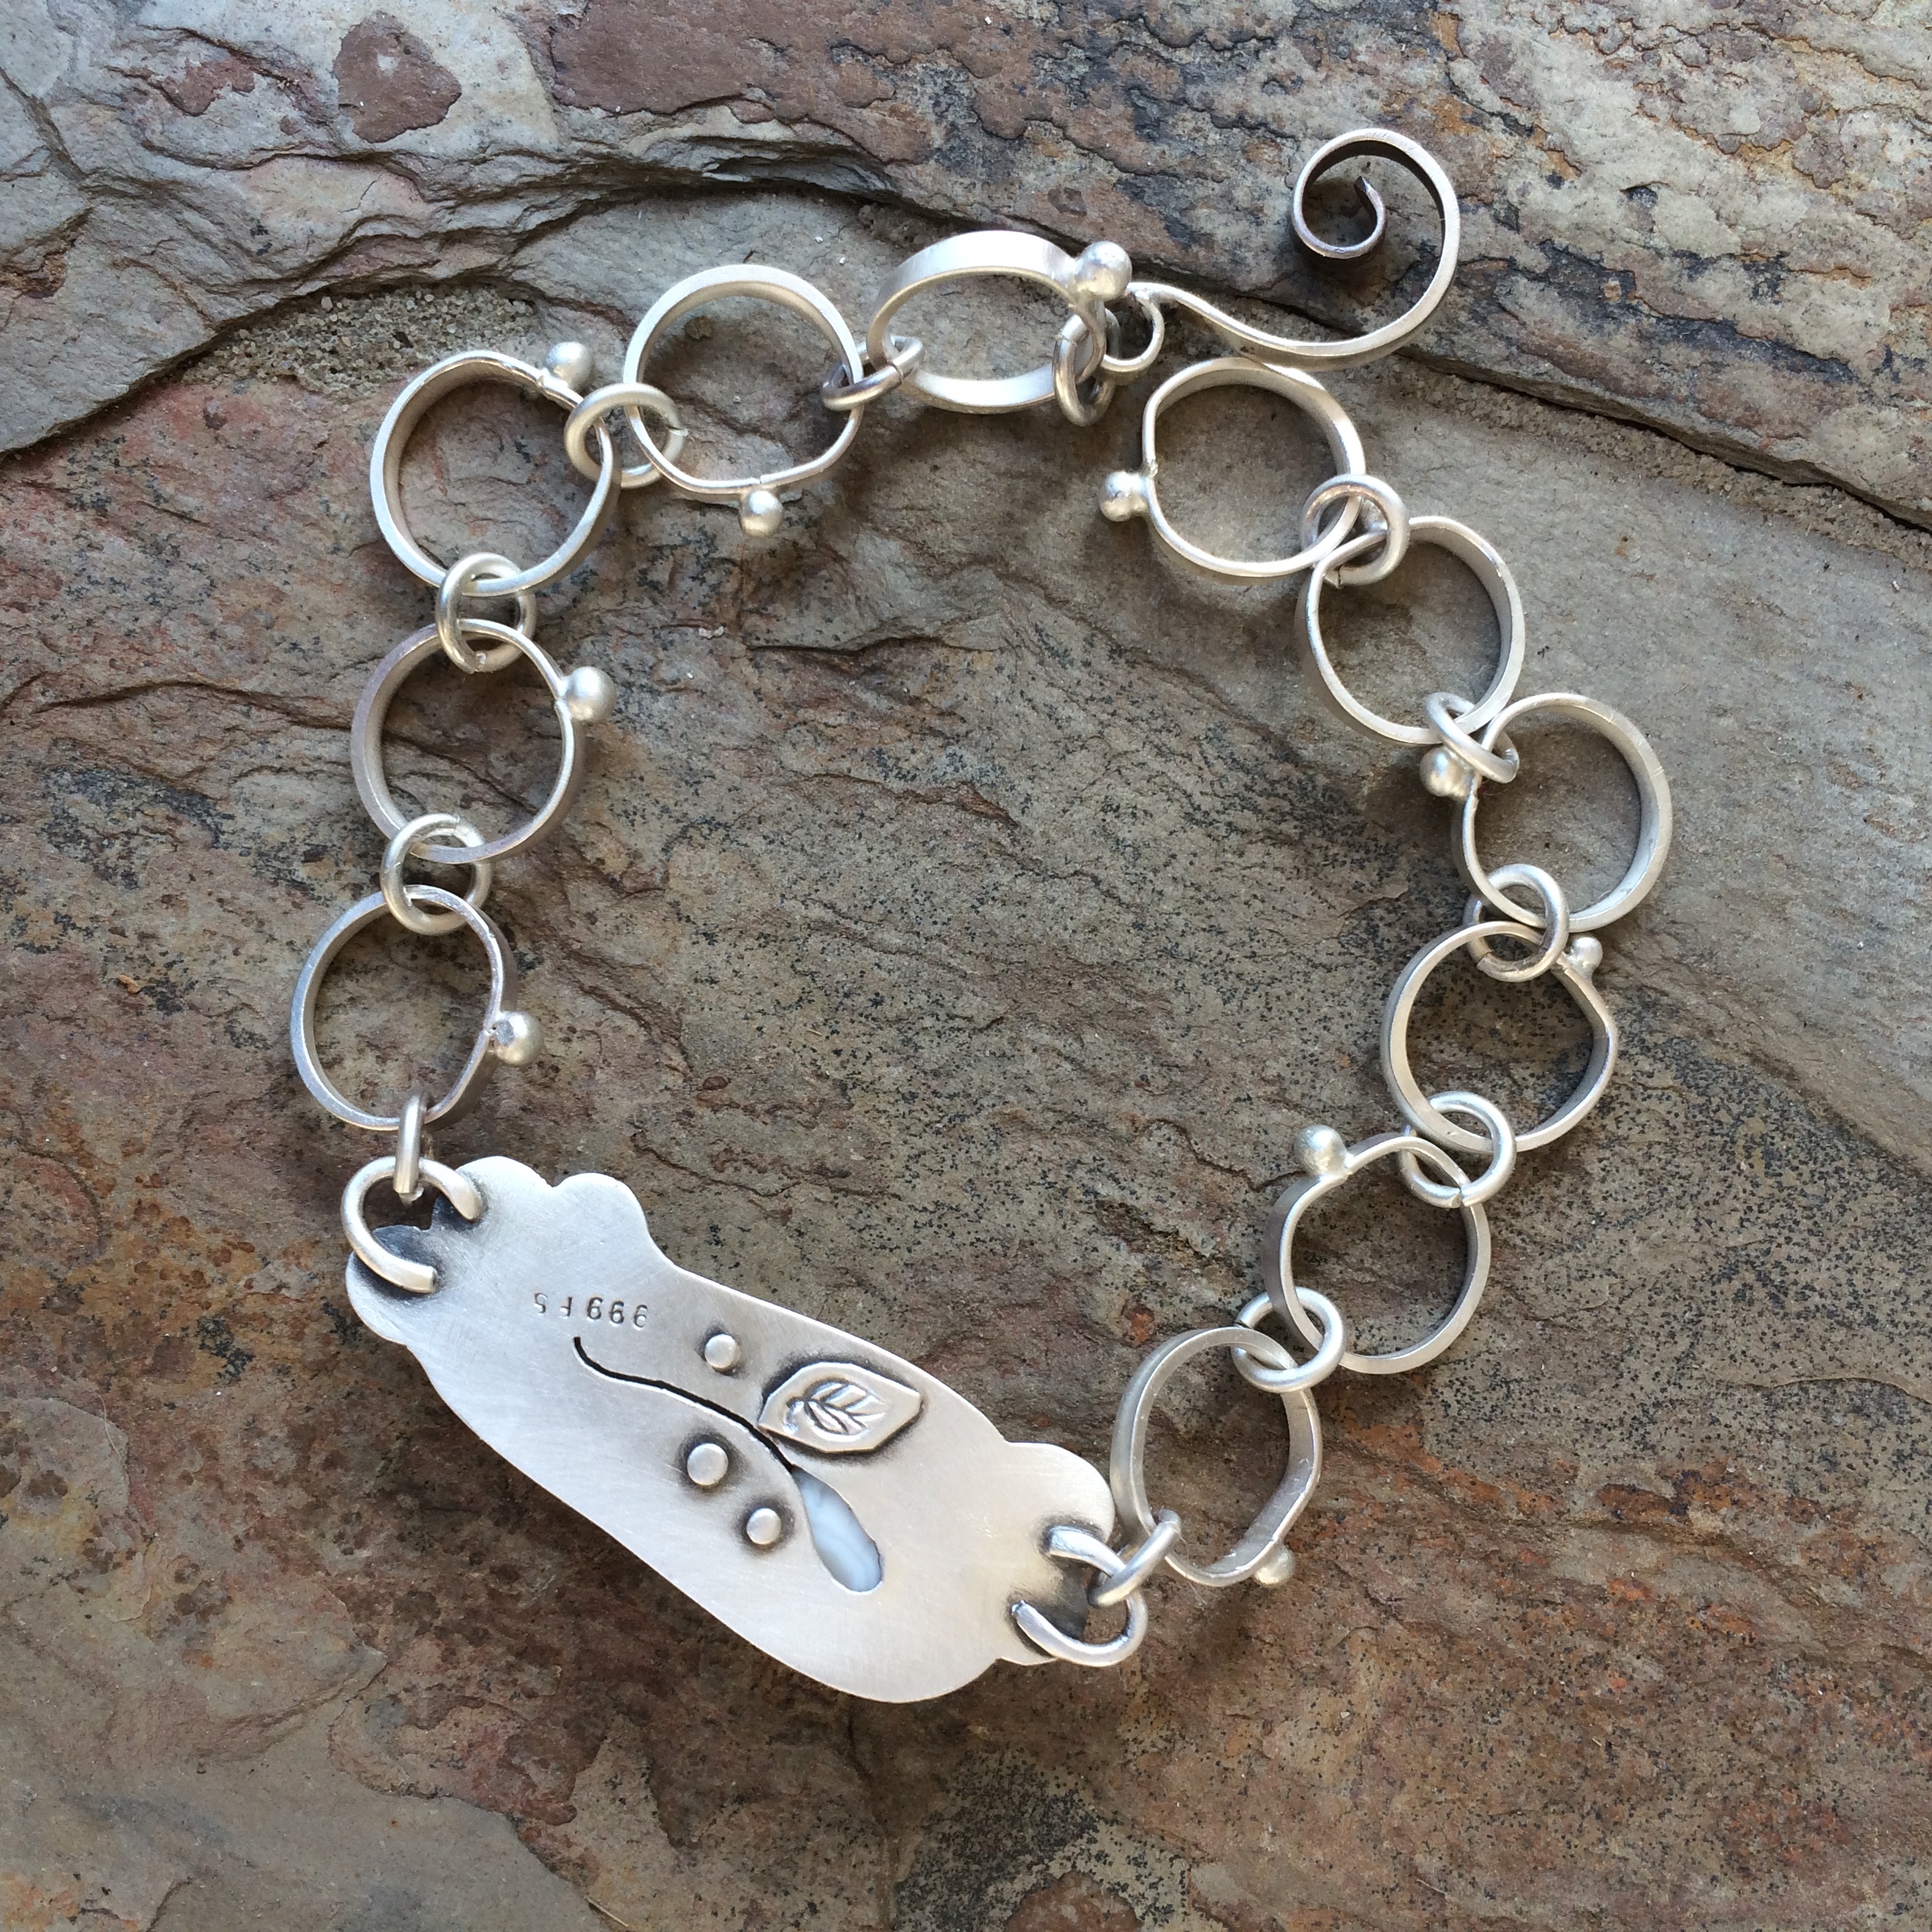
Because recently I seem to be using it a lot.
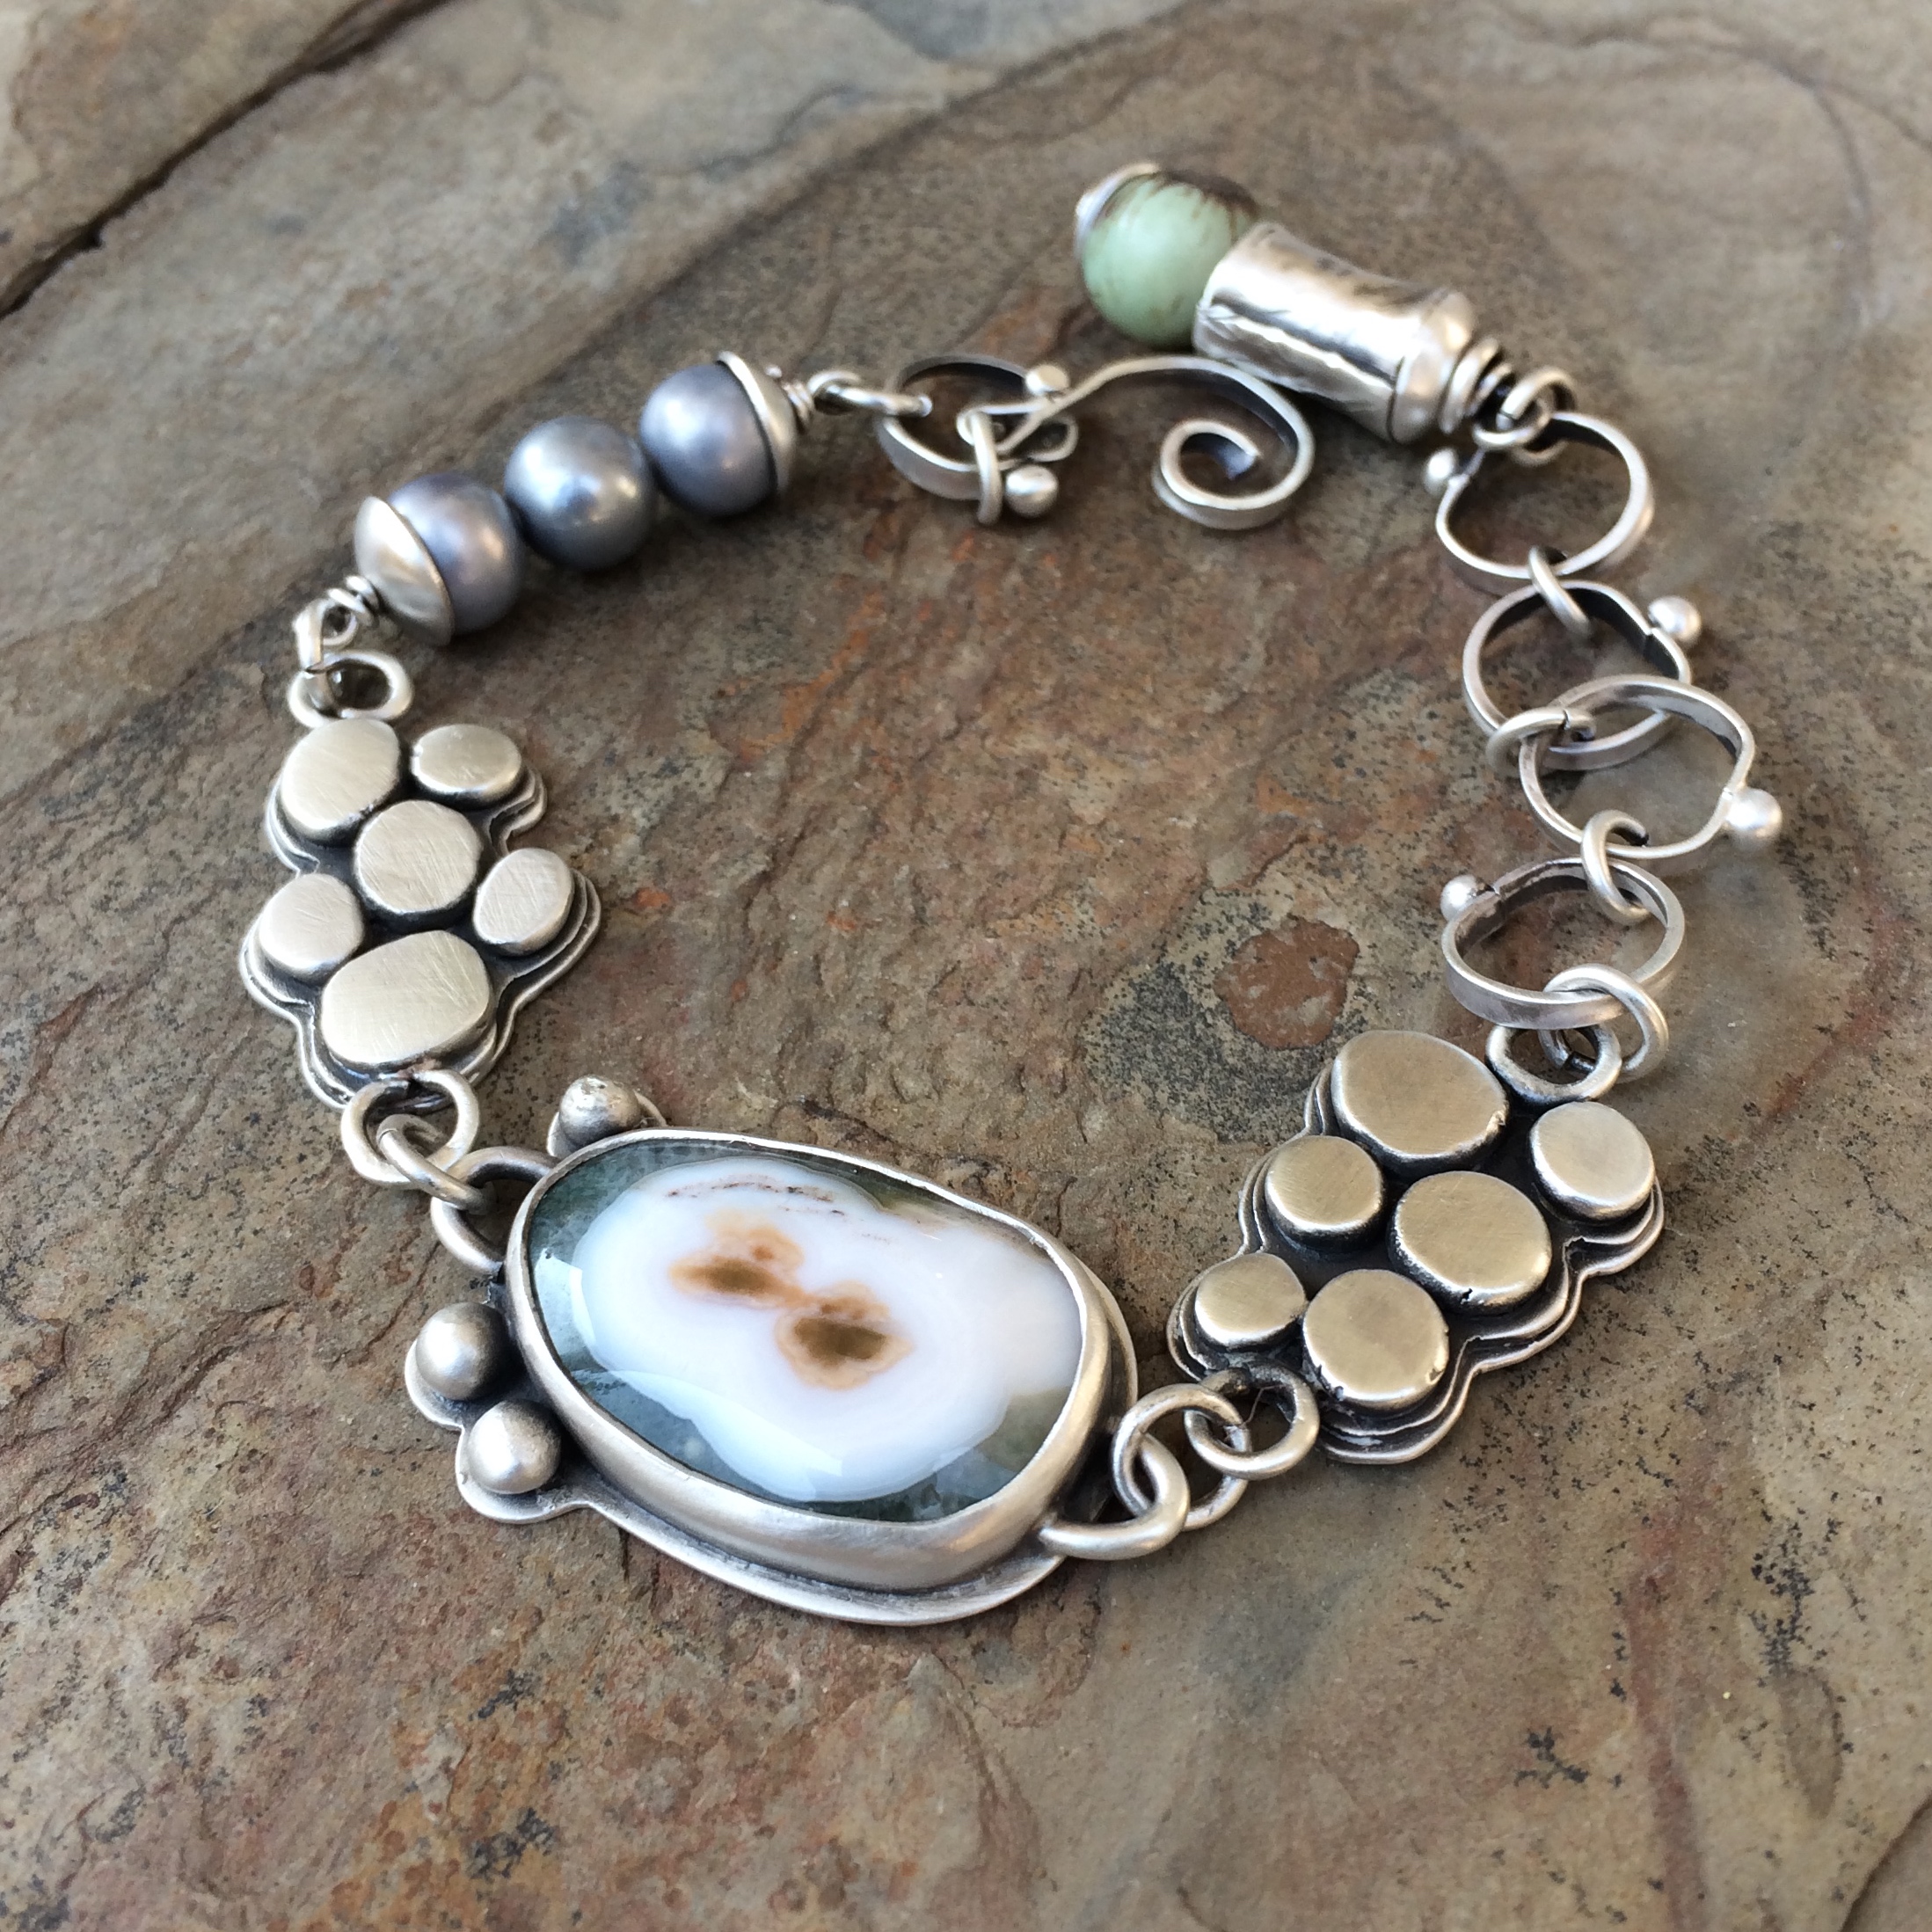
Again with the grey pearls and that strange little acai nut thing.
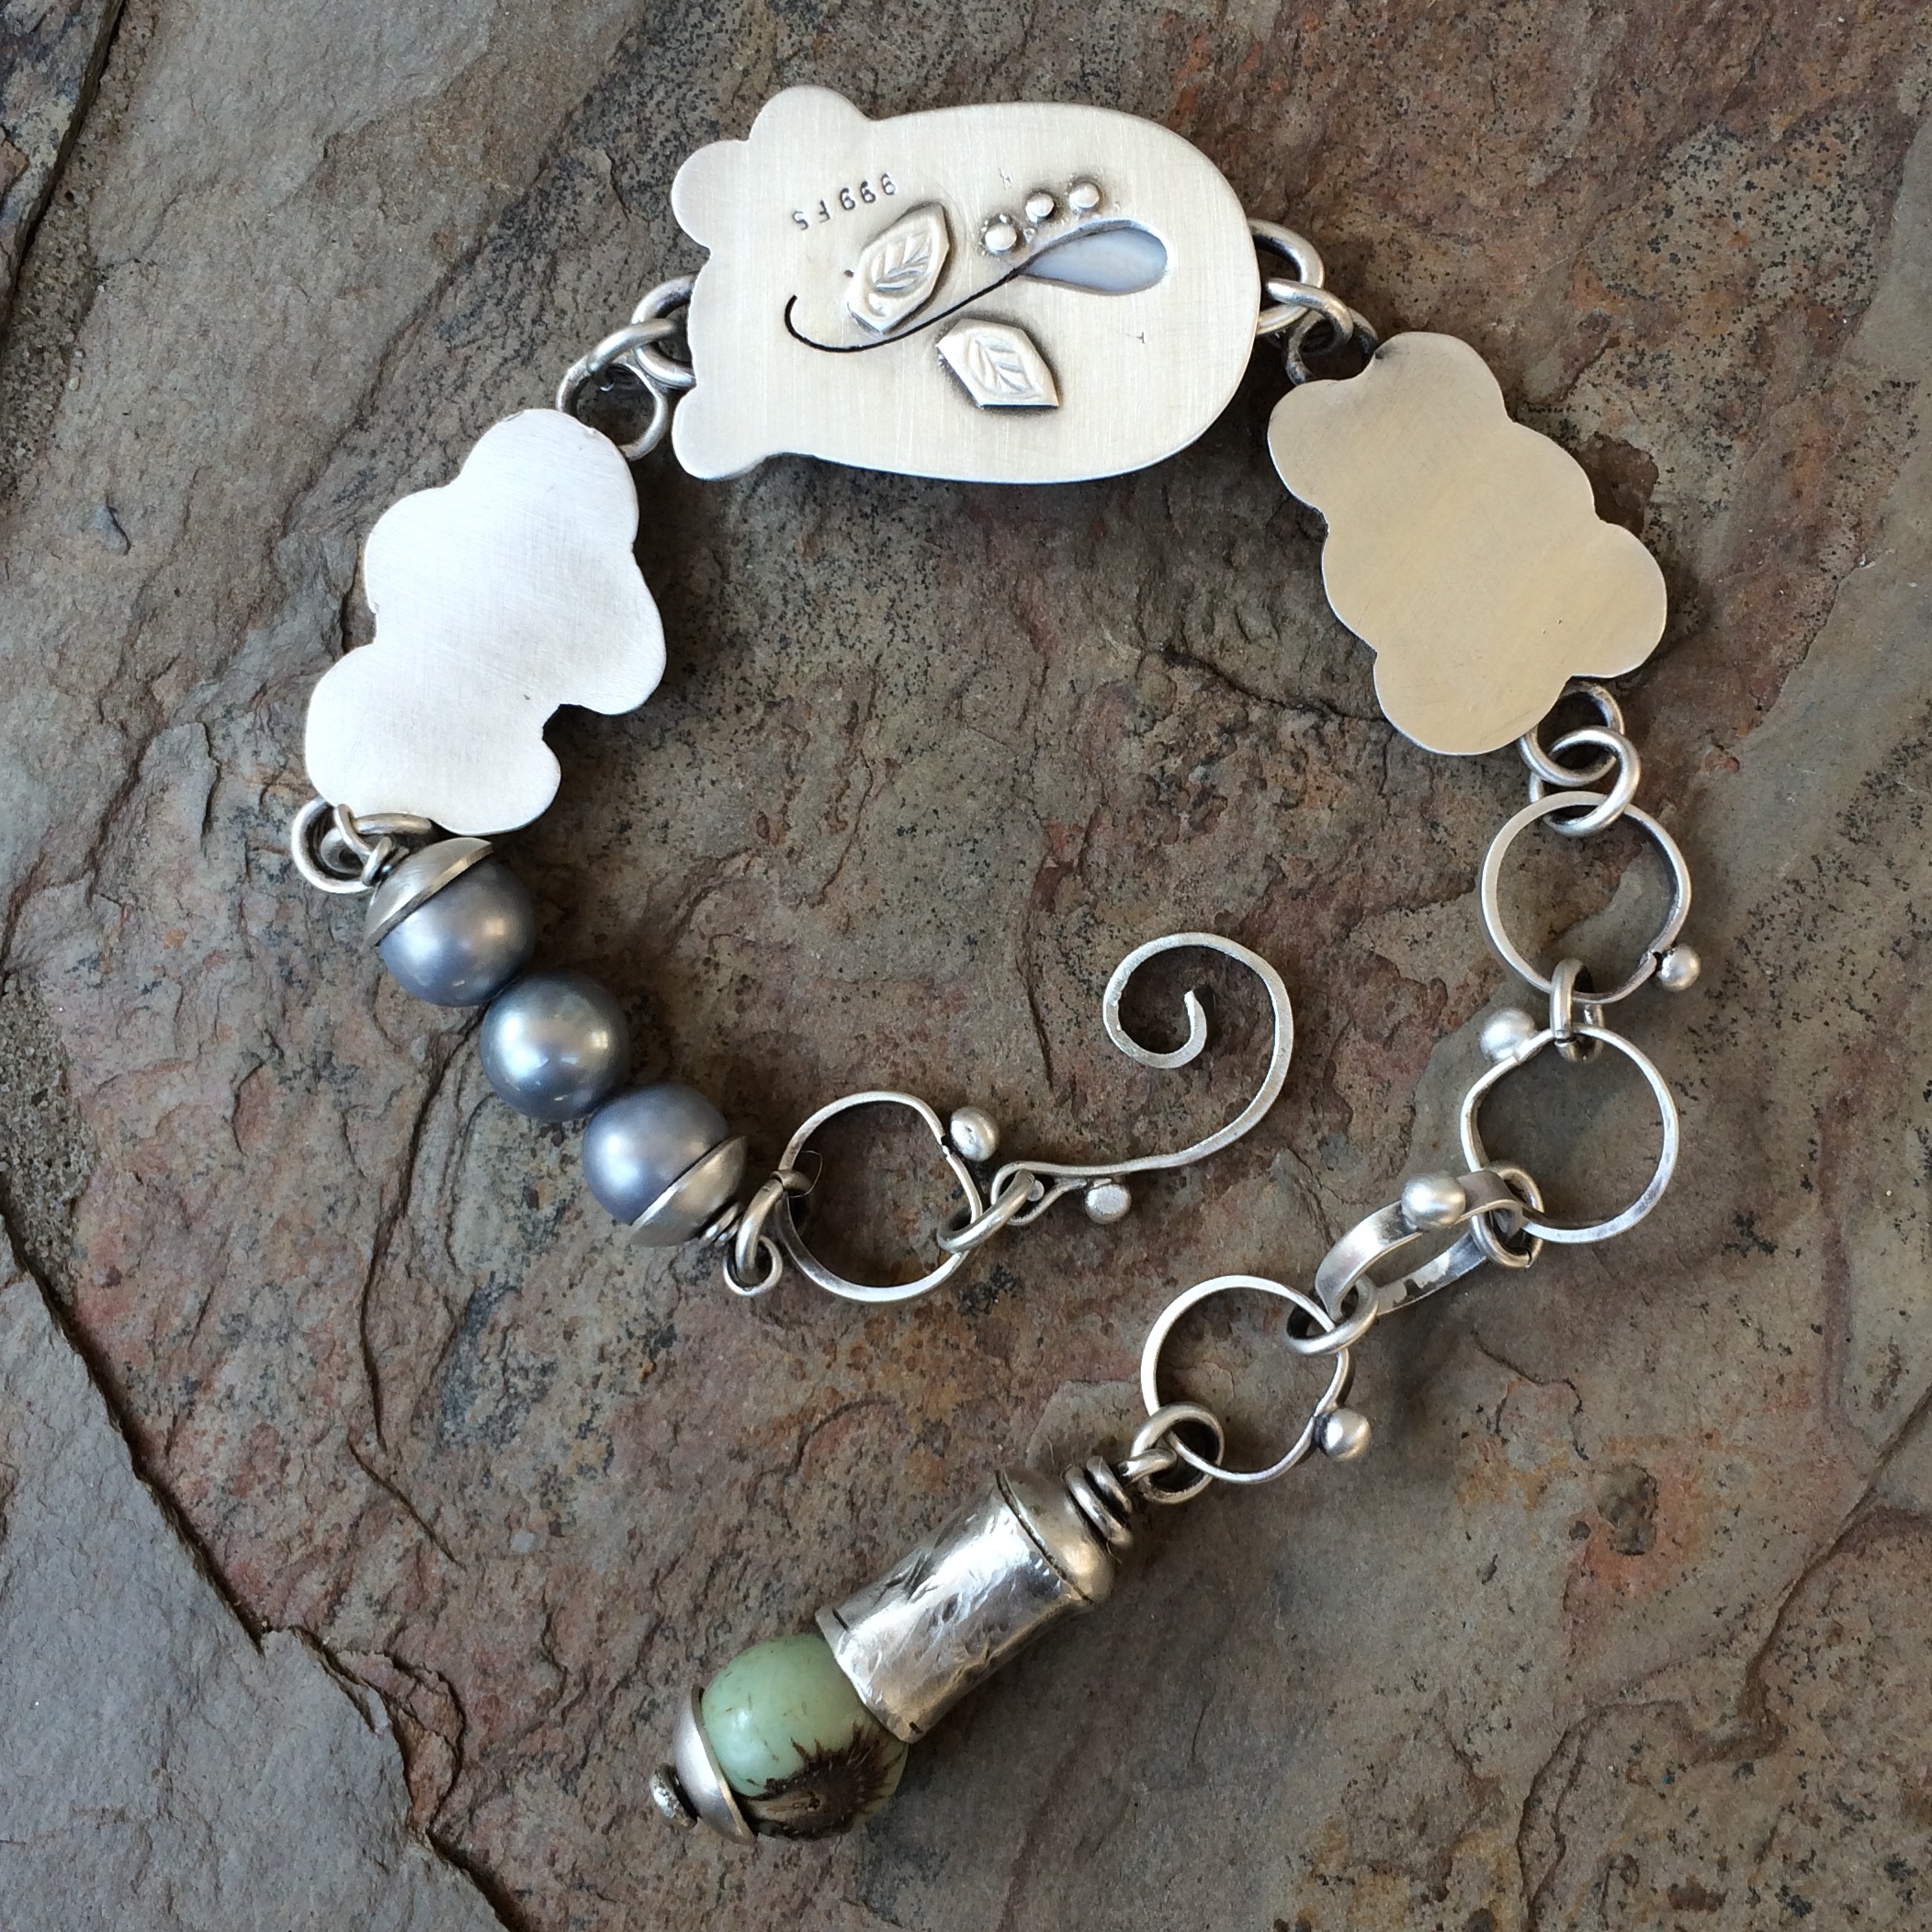
I’ve also been working on how the bracelets fit and seem to be getting better at that.
Now I’m on to earrings…
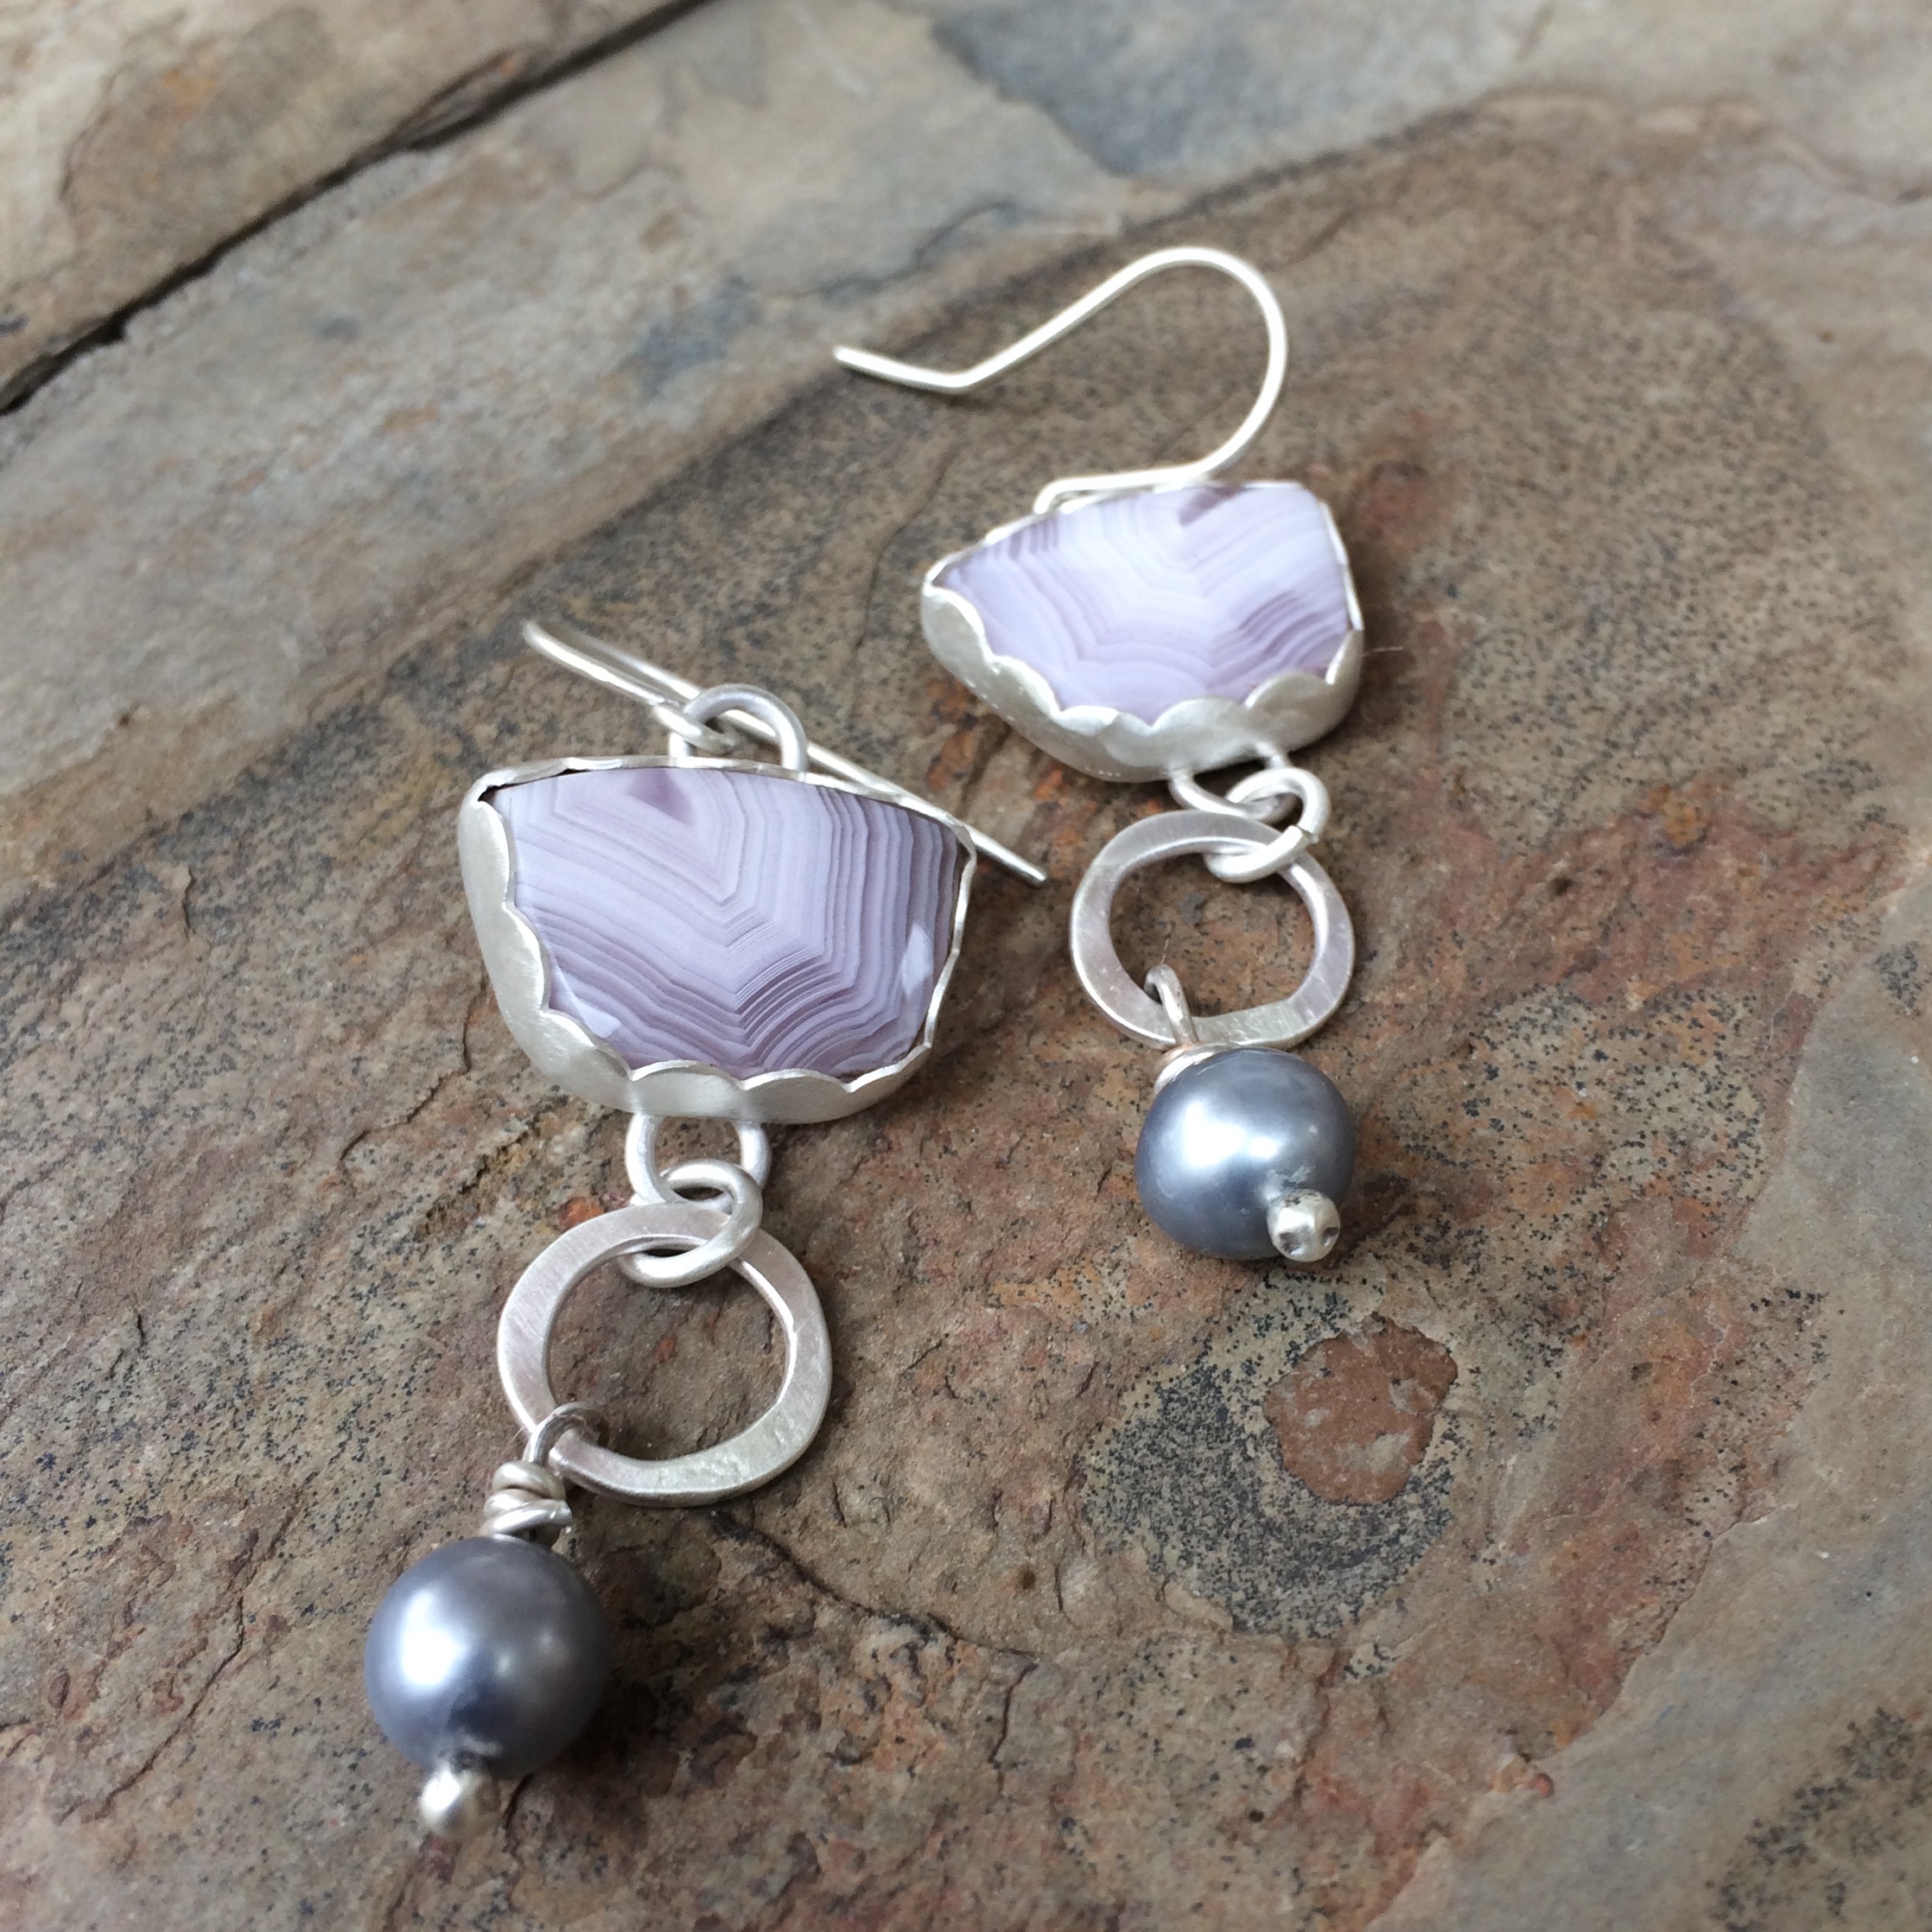
This is Laguna Lace Agate.
Other than that I’m still practicing for my operatic career while I’m in the shower.
I get a little light-headed when I try to hit the high notes, but other than that I think it’s going pretty well.
–
–
–
Between you guys (sorry been in Texas too long) and the Flourish and Thrive course I’m really beginning to sort myself out… I think.
Either way I’m enjoying myself.
In January I decided to take my jewelry to the next level.
To Infinity and Beyond.
It started out a bit boring and at first I thought it weren’t possible capt’n. Also starting the course put me in a little funk and I kind of lost all my umph, but suddenly I got right back into the groove again and I can see some improvements now.
I’ve really enjoyed making these bracelets, however I worry about how they fit on the wrist.
You have to wear them snuggly otherwise the stone flips or slides around to the other side of your wrist.
It just can’t be simple can it!
I worry too much about the people who buy my jewelry, but I really can’t let it go. I can’t imagine someone spending money on something that isn’t just right.

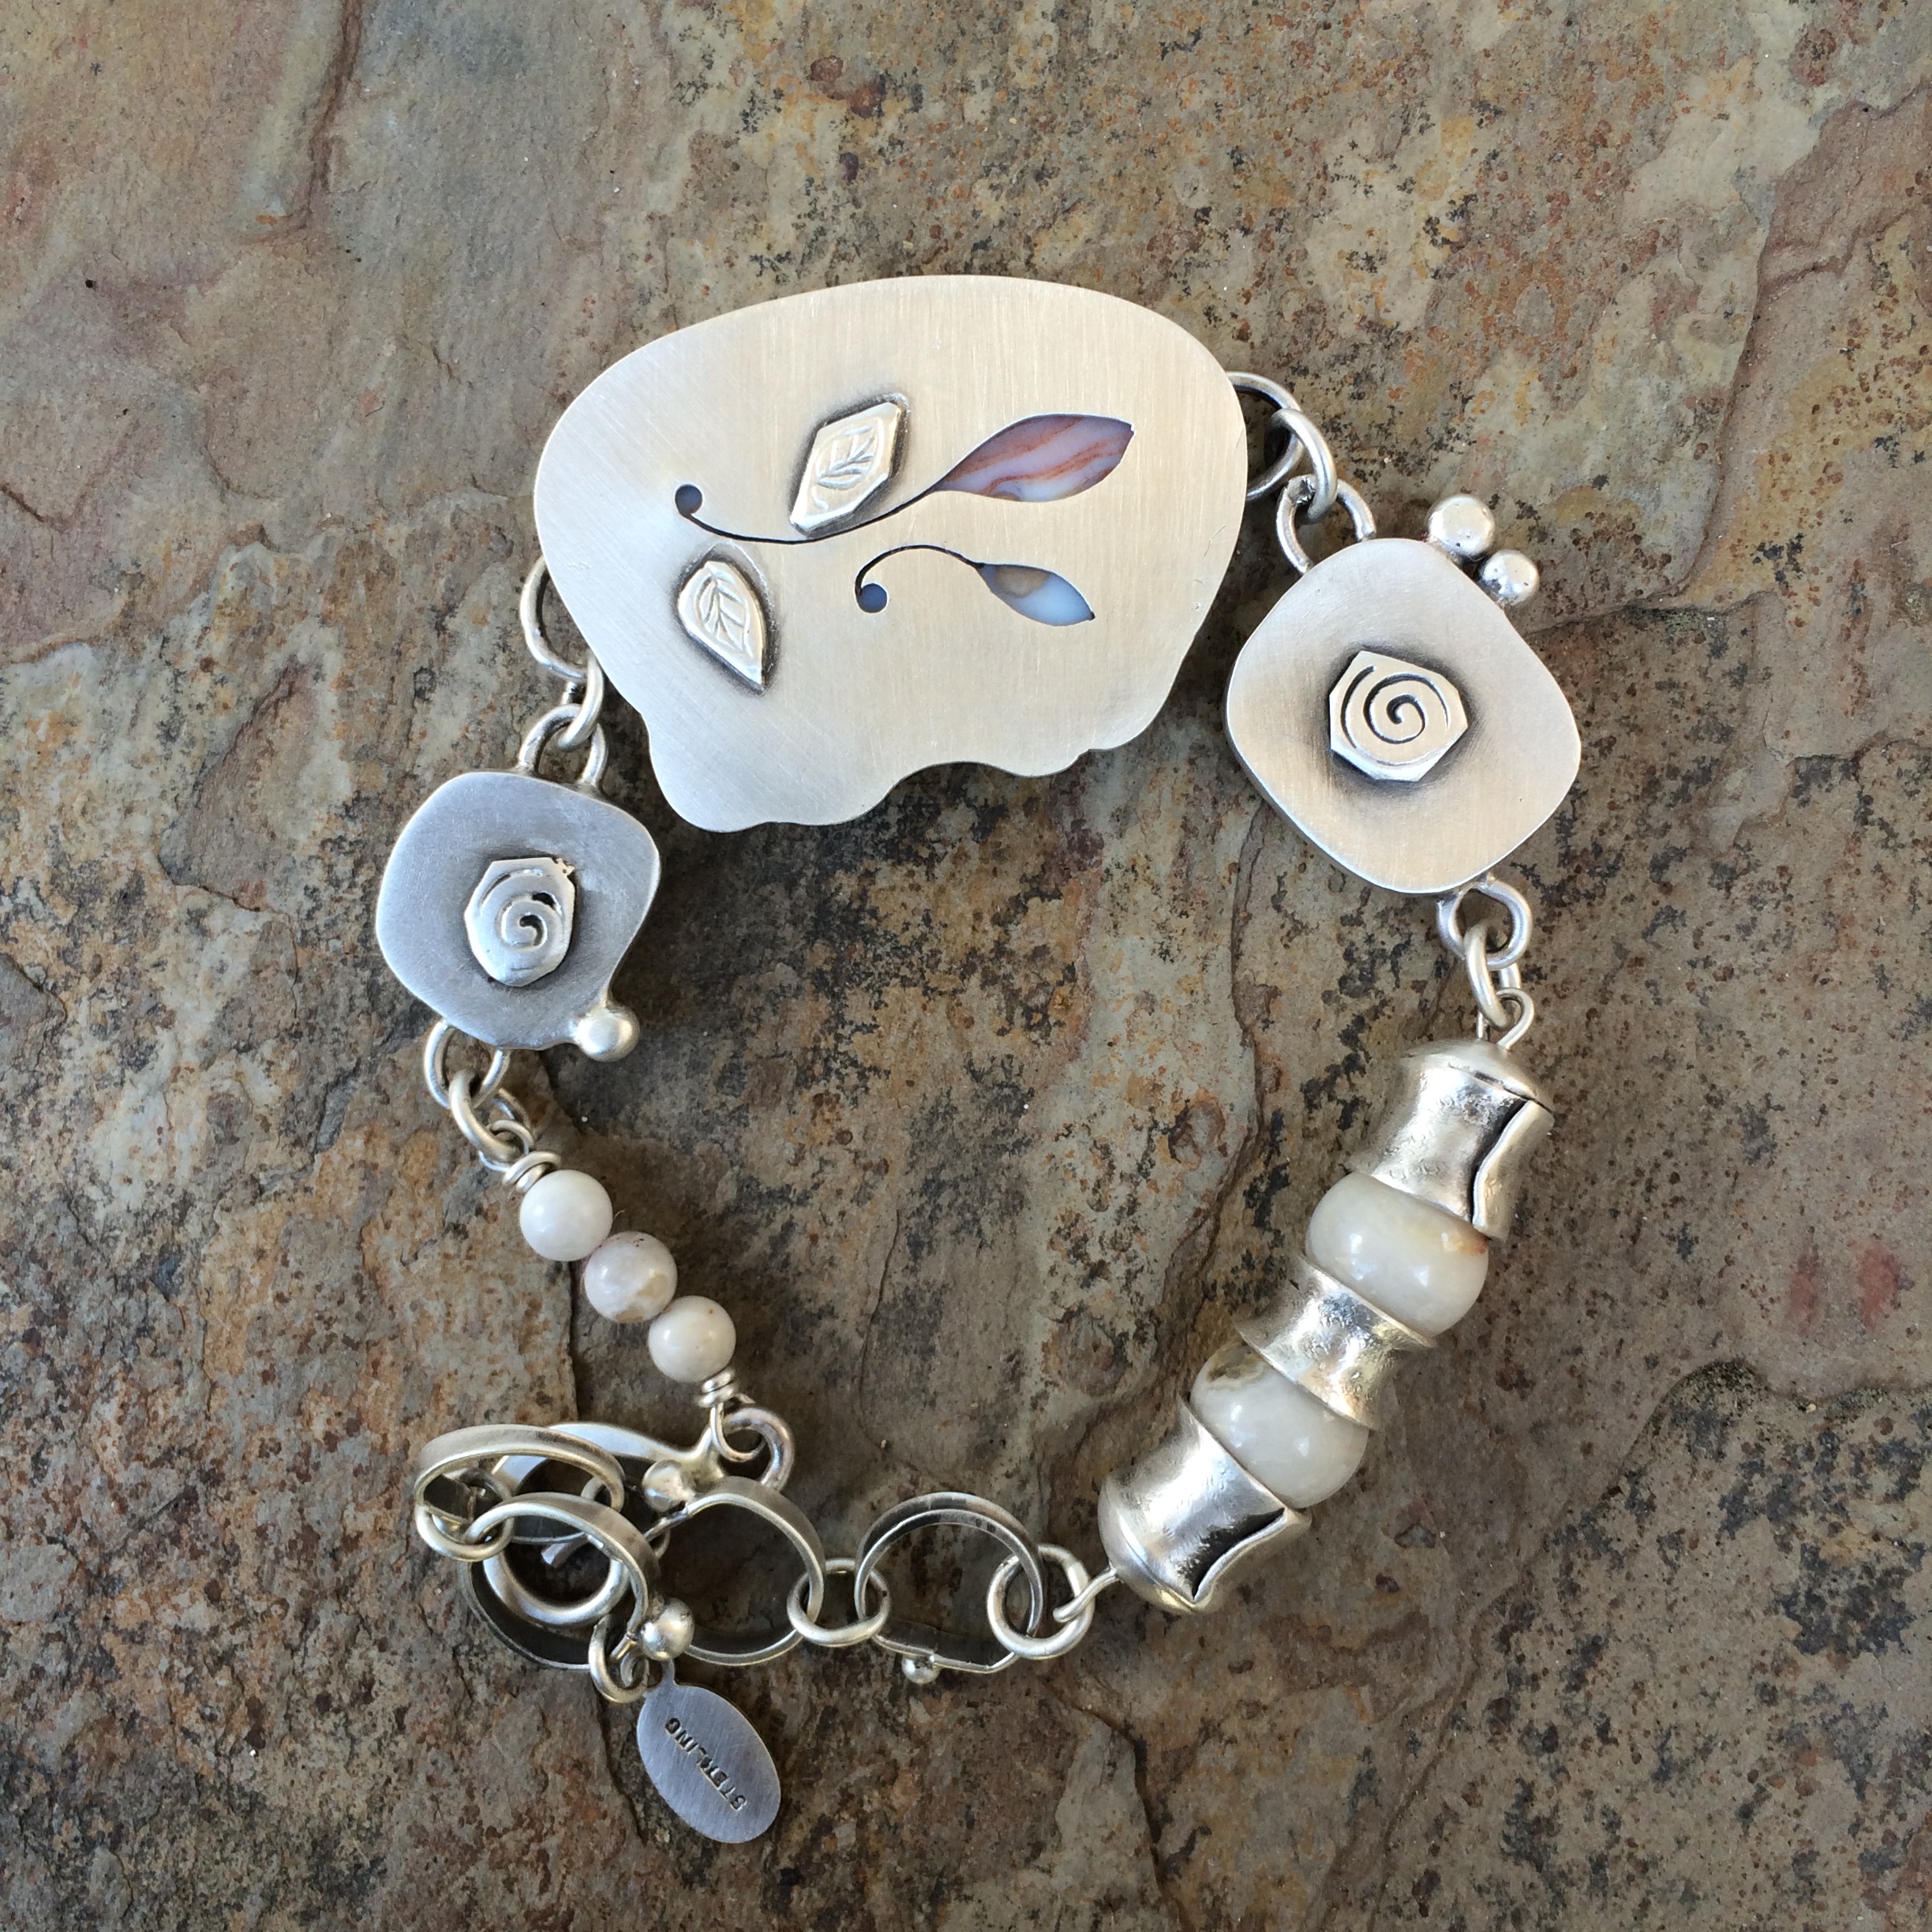
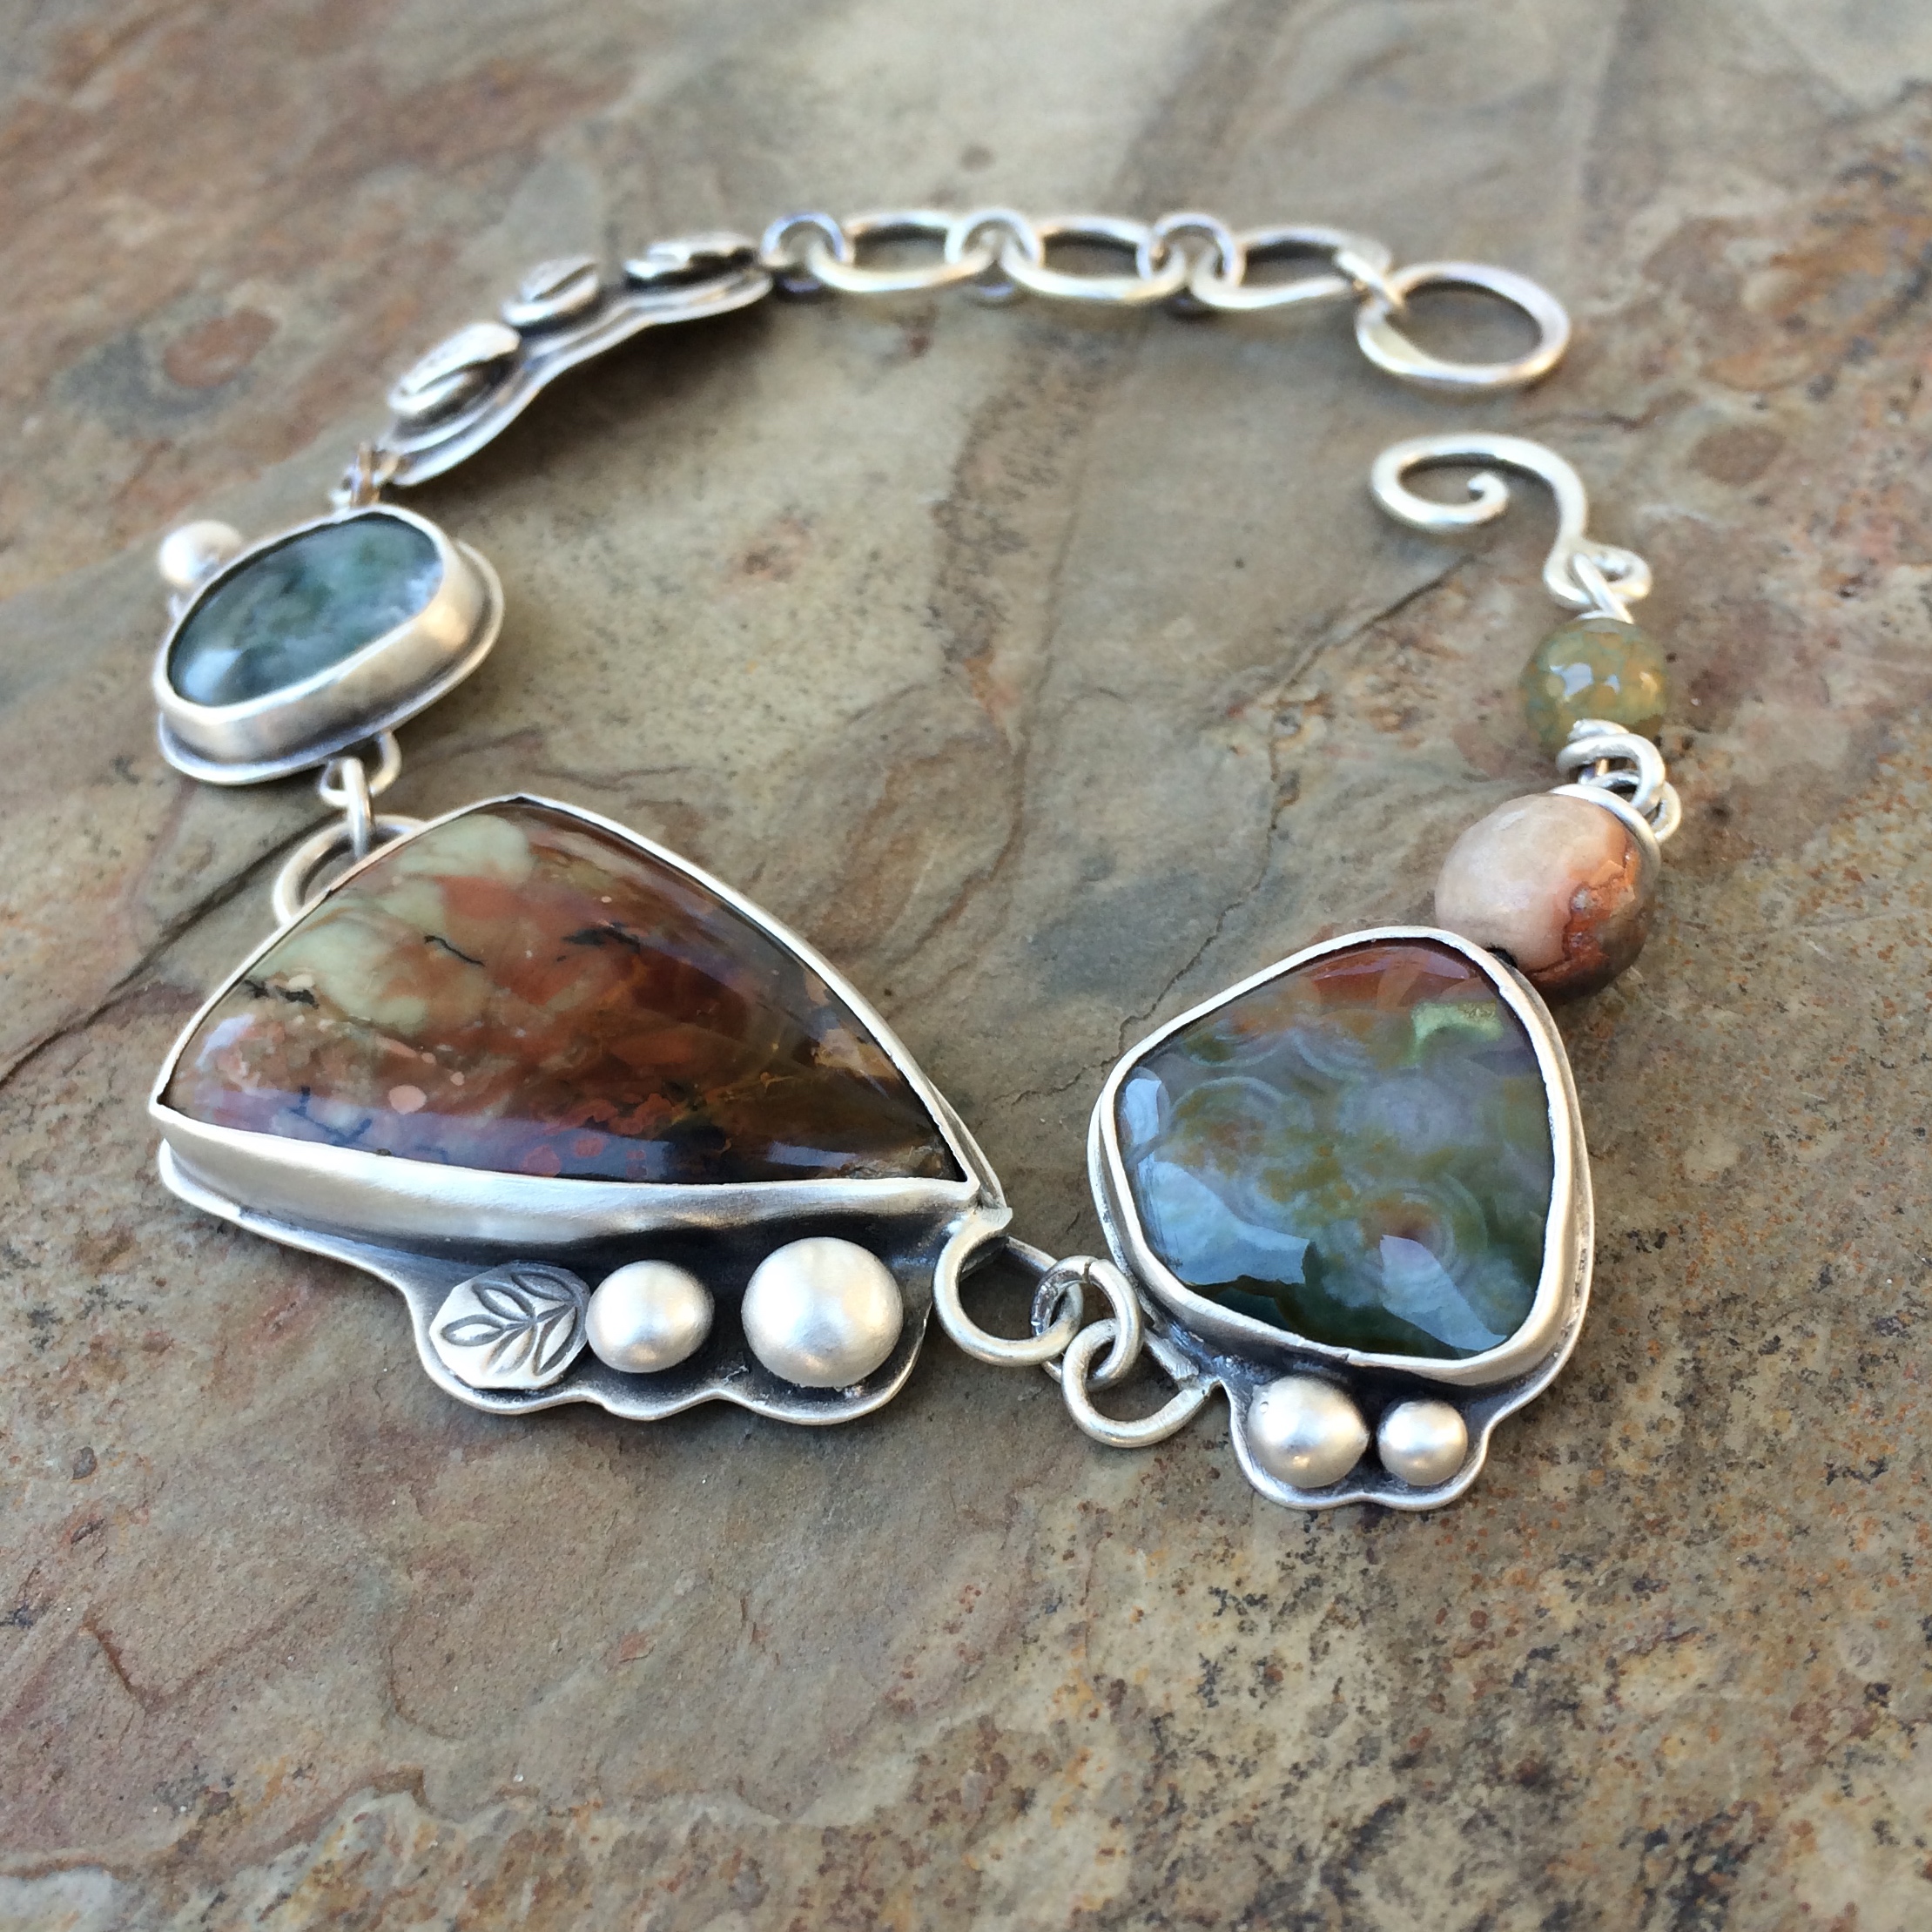
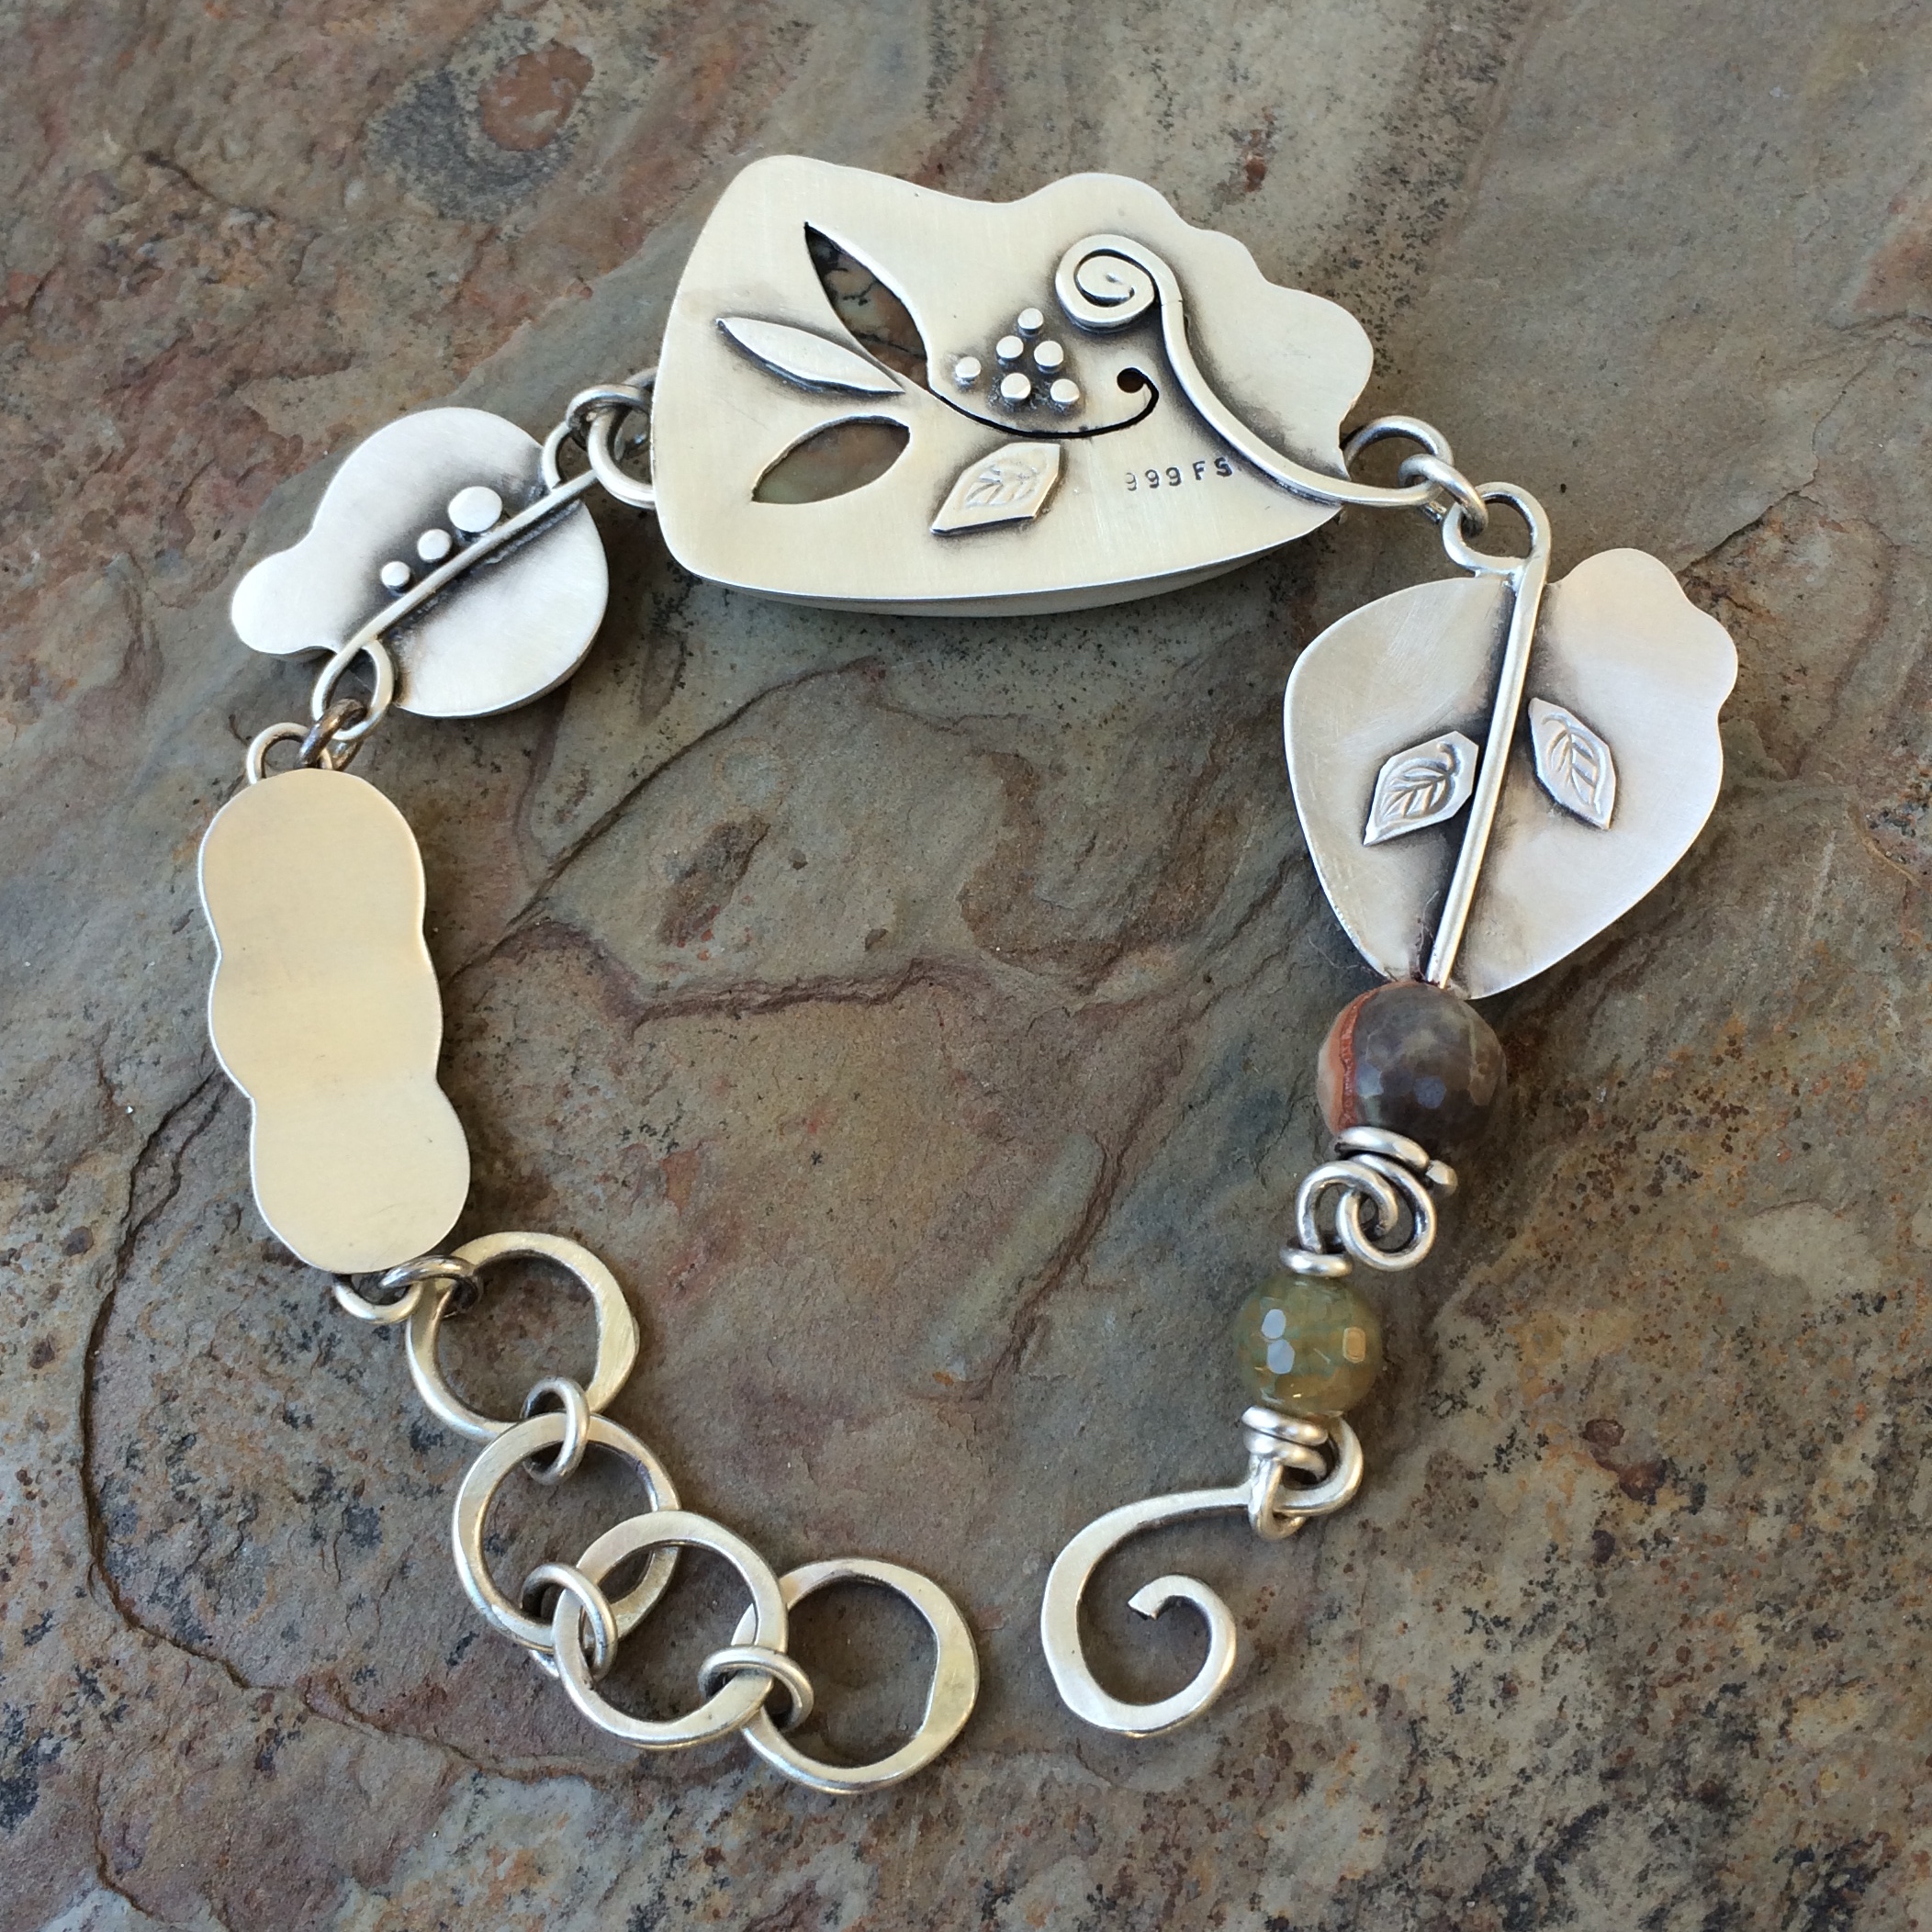
Oh and I forgot to show you my very first cabochon.
Remember this
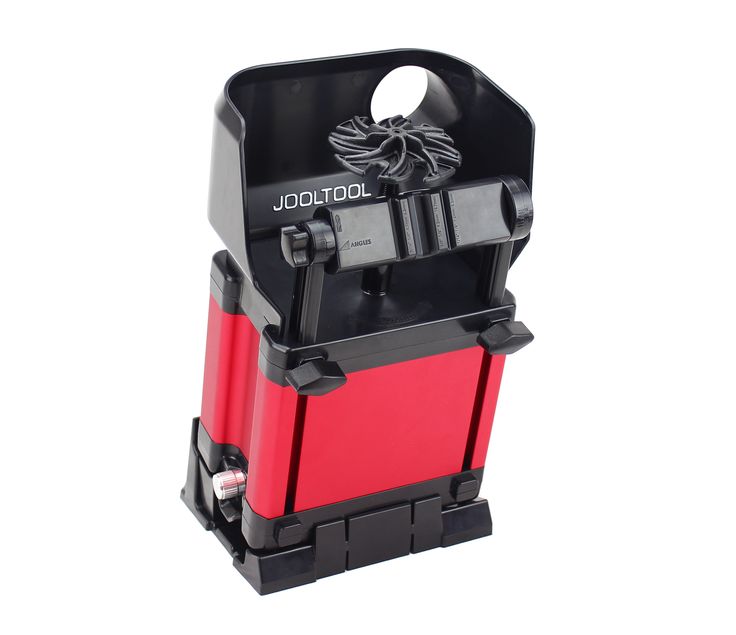
Well I took a piece of this

Actually this isn’t exactly the piece because I forgot to take a photo before I cut it up, but it was very similar.
And I used this,
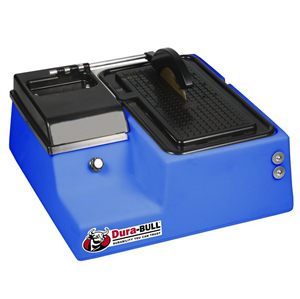
And made this.
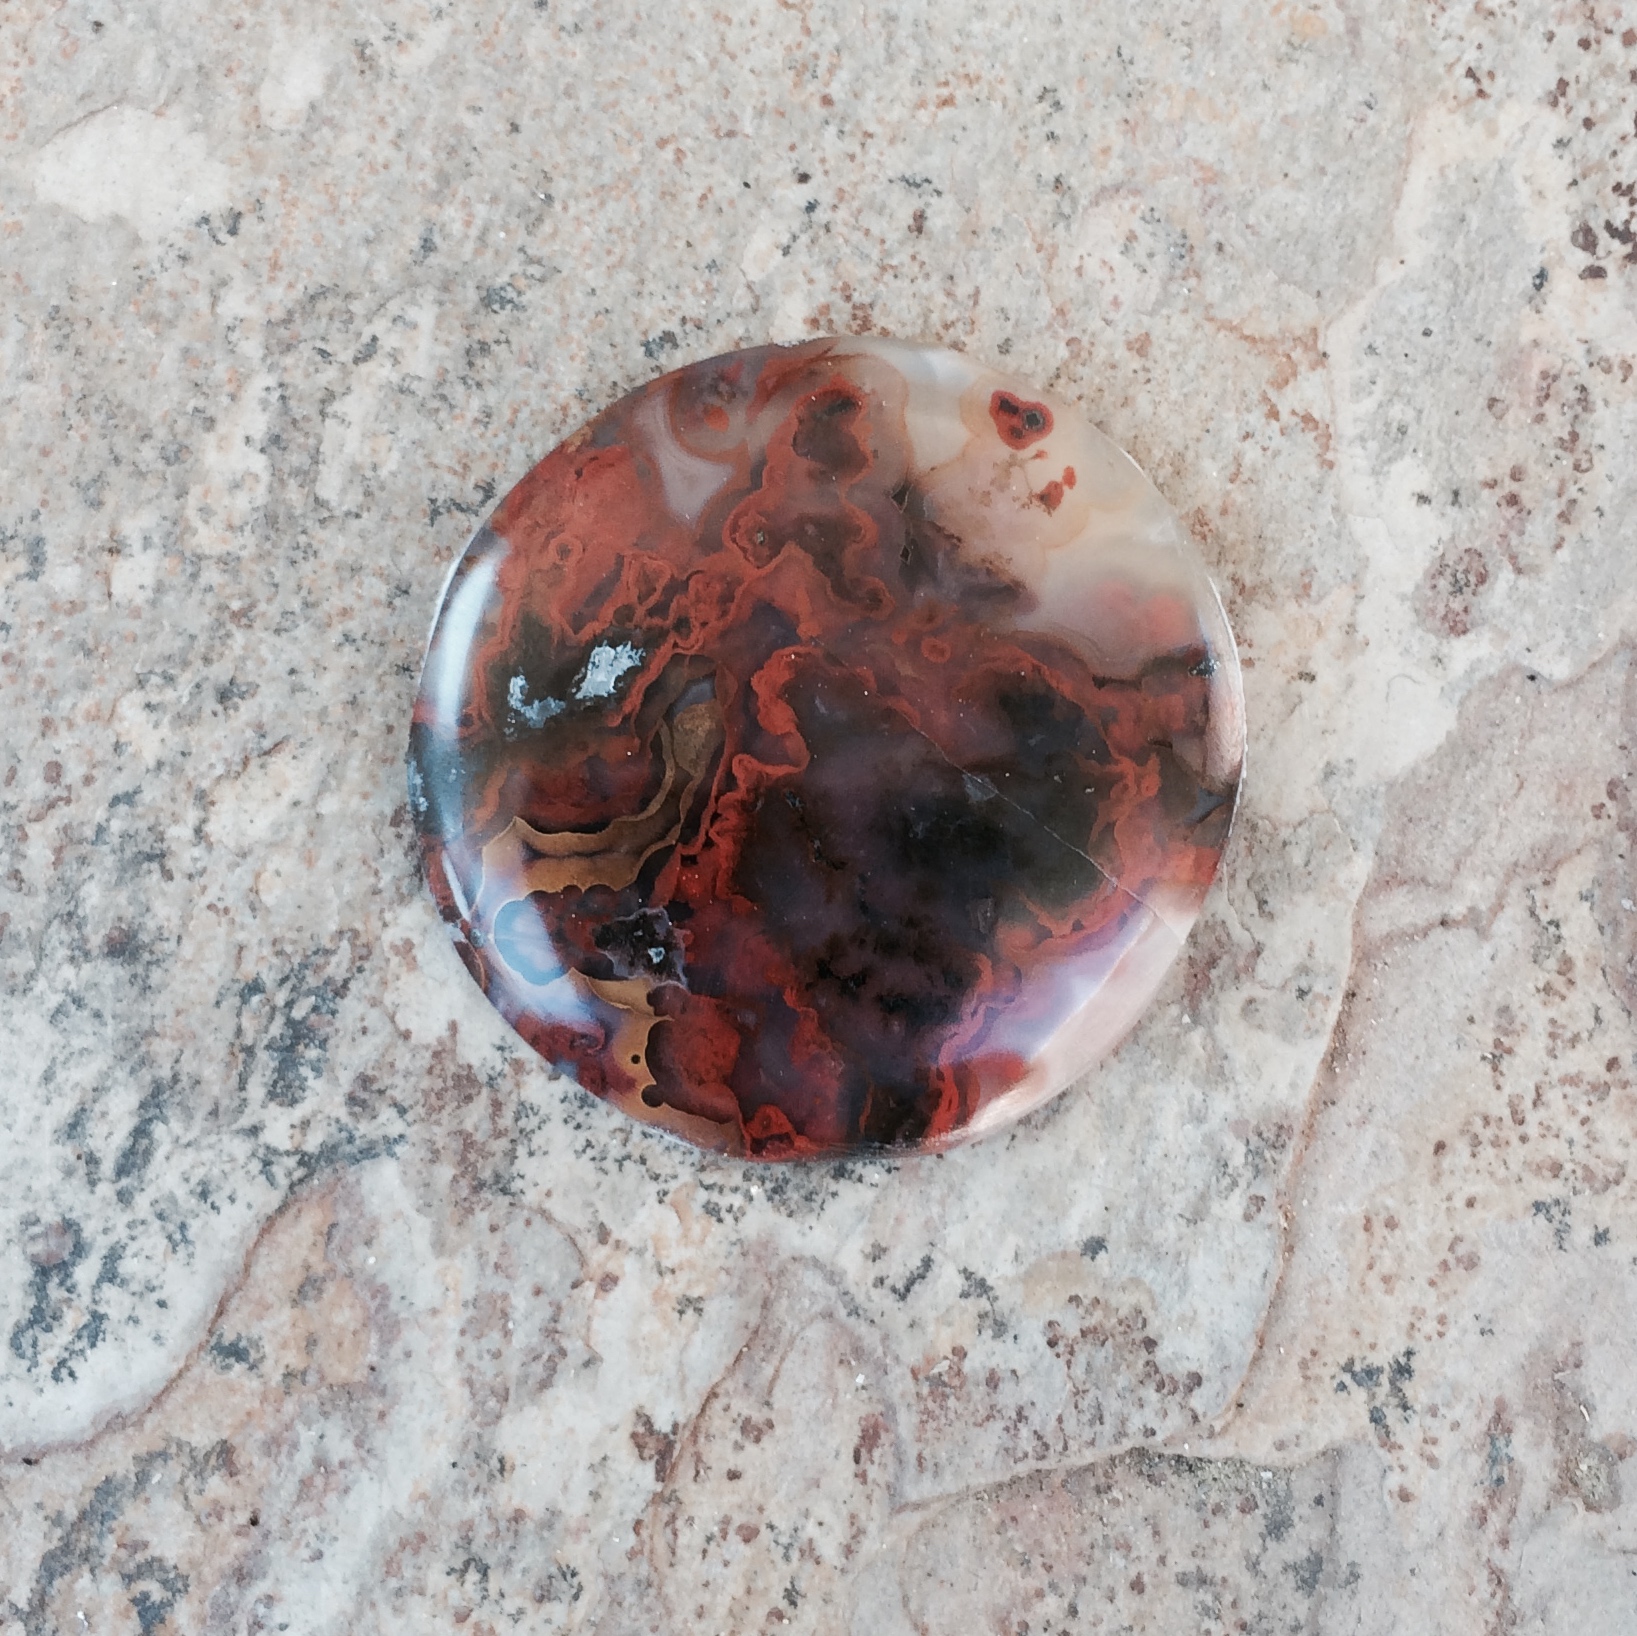
It’s my very first one.
The most difficult part was getting the shape perfectly round, and getting a brilliant shine on it.
Both of which I haven’t quite mastered yet.
I’ve got the compound and the wheels, but used my felt on metal first and think that’s why.
Ani said sometimes tiny metal fragments can bed themselves in the felt wheel when polishing silver and in turn they can scratch the surface of a stone when you come to polishing one.
I knew that, but was too impatient not to try it on both metal and stone.
It was too exciting.
Now I’m going to have to buy myself a separate felt wheel just for the stones.
Still exciting though 🙂
I can see it’s going to take me some time to see the inner beauty of a stone also.
I’m not particularly fond of the off white opaque part of this one.
Anyway, I have a few more slabs to experiment on so I’ll keep you posted.
–
In other news I watched The Quartet again over Christmas.
Do you think it’s too late for me to take up opera singing?
I think I have the lungs for it.
That is if the pickle hasn’t got to them first.
–
–
–
You thought I’d forgotten you hadn’t you 😉
Never.
I’ve been trying to figure things out.
I’ve just finished the first week of the Flourish and Thrive course, which has made me sit down and really think about my jewelry making.
Of course this has brought out all my ambiguity issues.
Do I want to take my jewelry seriously, or do I want to keep it as an expensive hobby?
–
In the Hobby Corner.
If I don’t try harder to get rid of the stuff it’ll just keep on piling up and when I die the people who live with me will find billions of pieces of jewelry stashed away in every nook and cranny.
Could work. They could sell it all and retire to Hawaii.
–
In the Serious Corner.
But I want to see if I can do it. I want to feel successful, and make money, and feel grown up.
But. Do you really want to work that hard?
–
Hobby Corner.
It’s fun, you get to make what ever you want, when ever you want to.
But, you’re always wondering… what it.
–
Serious Corner.
You might end up investing in it and then you’re stuck. What if you can’t do it. What if you have to actually go out and talk to people, and do the sales pitch stuff.
–
Hobby Corner.
You take yourself too seriously. Get over it.
–
Serious Corner.
What if you find out that you’re lazy or if as soon as you decided to make a go of it, you get bored and flunk out?
Am I a flunker?
I hate that I might be a flunker…
–
I tell you this only because my brain will explode otherwise.
Also, I know there are others of you out there who think the same as me and hopefully you’ll find comfort in knowing you’re not alone.
(Please tell me I’m not the only one)
Bottom line is I think that this is all fear and no confidence, and so I’m just going to know it’s there and let it go already.
The good thing about the Flourish and Thrive class is that it has made me think about it and sort out in my mind how I can accommodate my fears.
It really doesn’t have to be that hard.
Of course, I haven’t done all of the homework yet, because it’s too hard.
😉
The hardest thing I’ve come up against so far is discovering who my dream client is. And that’s the first darn question in the course!
Frankly I just don’t know what ‘type’ of person wears my jewelry, and this is important as then you know who to target. If it’s just a hobby I guess this doesn’t matter as much, although it still helps you when you come to selling it.
I can’t believe that I’m still stuck on Monday’s paper.
Not going to worry about it. I’m just gong to let it hang out with me for a while.
Hopefully it will smack me in the face soon so I can move on to question two…


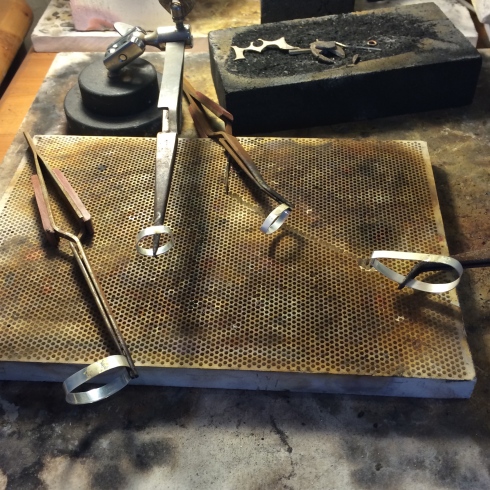


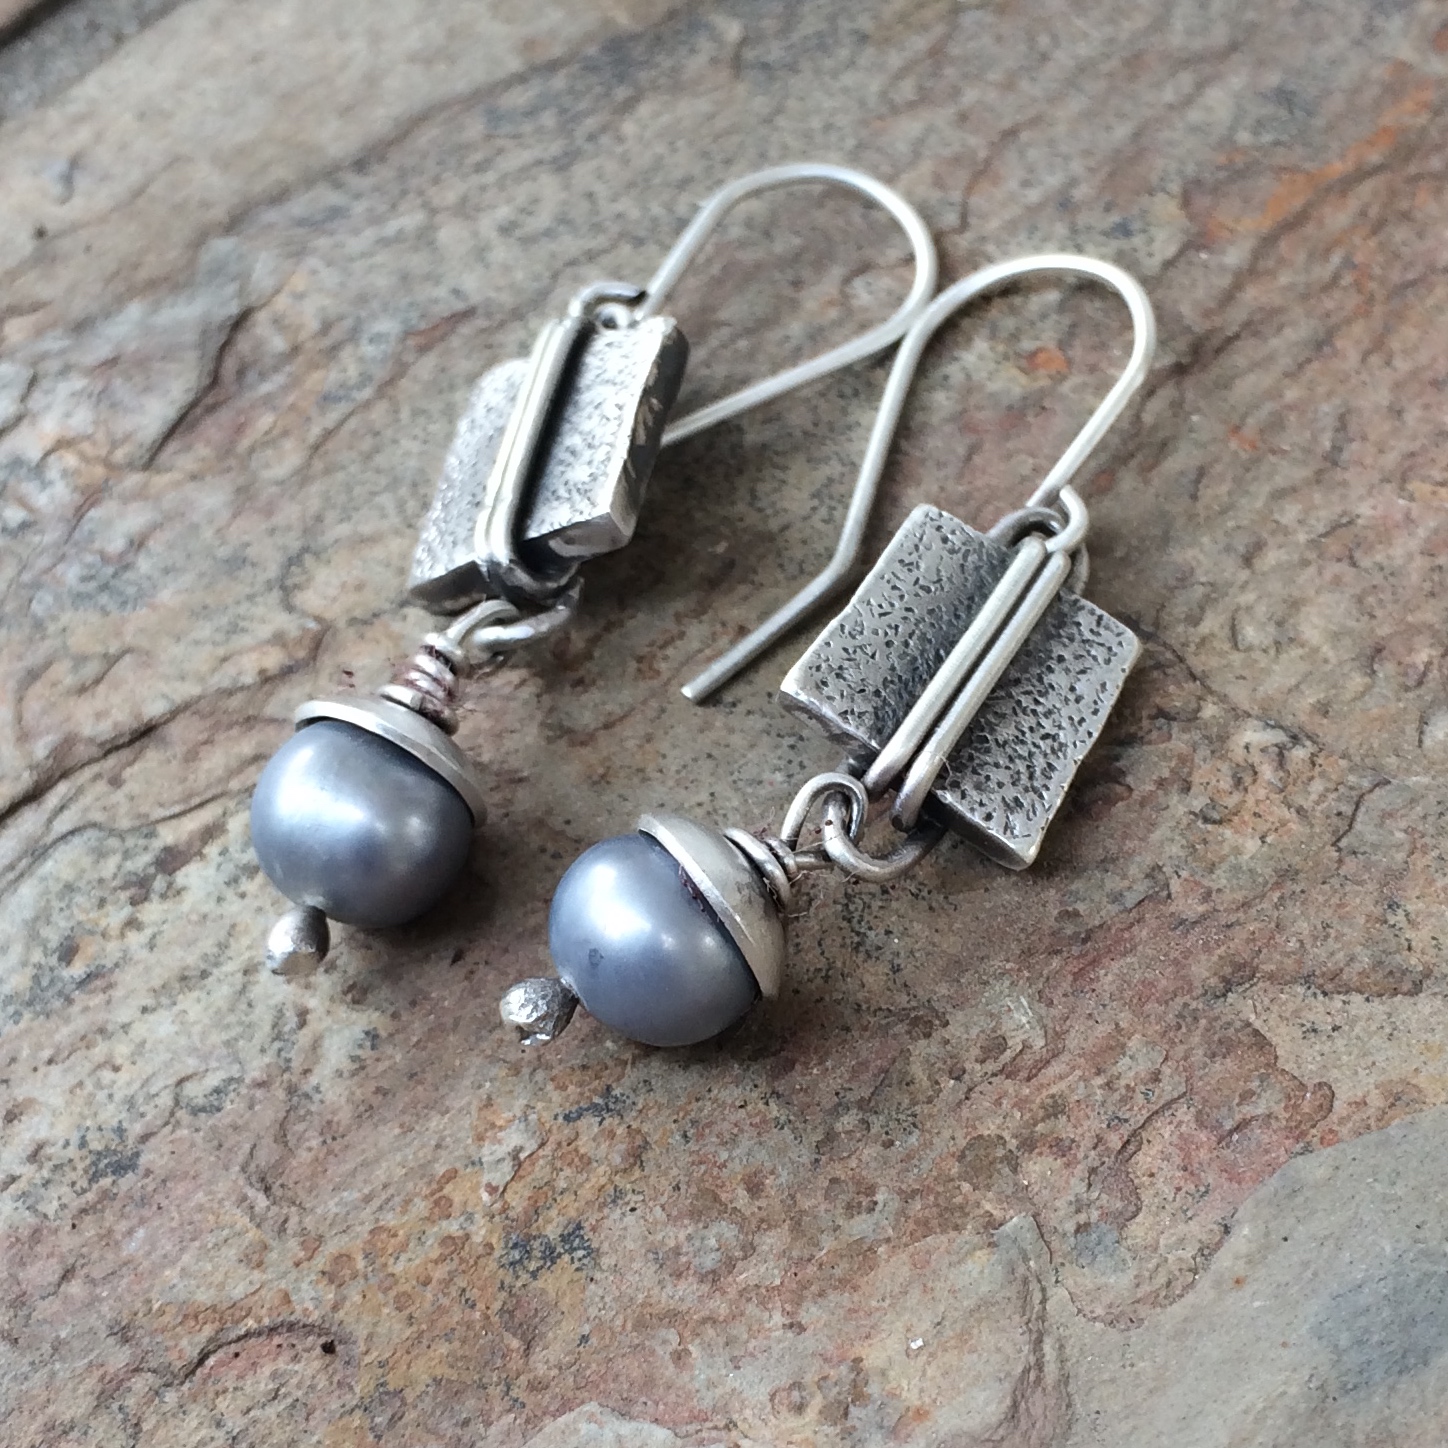

Man!
What am I going to do with it all…
–
–
–
But I’ve thrown caution to the wind and joined Flourish and Thrive.
So far I feel that I’ve been working on perfecting my jewelry making skills, but (scary but) perhaps now I’m ready to take another step.
I’m trying to concentrate on the idea that you won’t die just by going up to your comfort line and take one tiny step over it.
A tiny step can’t be that bad can it…
I think that the problem I’ve always had is that I’m never that sure what to do with my jewelry and where it fits, but I can’t be the only one who worries about that… can I?
There are thousands of billions of people out there.
I can’t be unique in my worries… can I?
So it starts today.
At 11 o’clock.
I’ve tried checking around to see if my jewelry holds up to some of the other member’s work.
Still not sure about that, but I’ve paid now so too bad.
However,
I expect over this next six weeks to transform into a wonderfully confident jewelry maker who is ready to take on the world.
I’ll keep you up to date with how that’s going…
:/
Some newbies
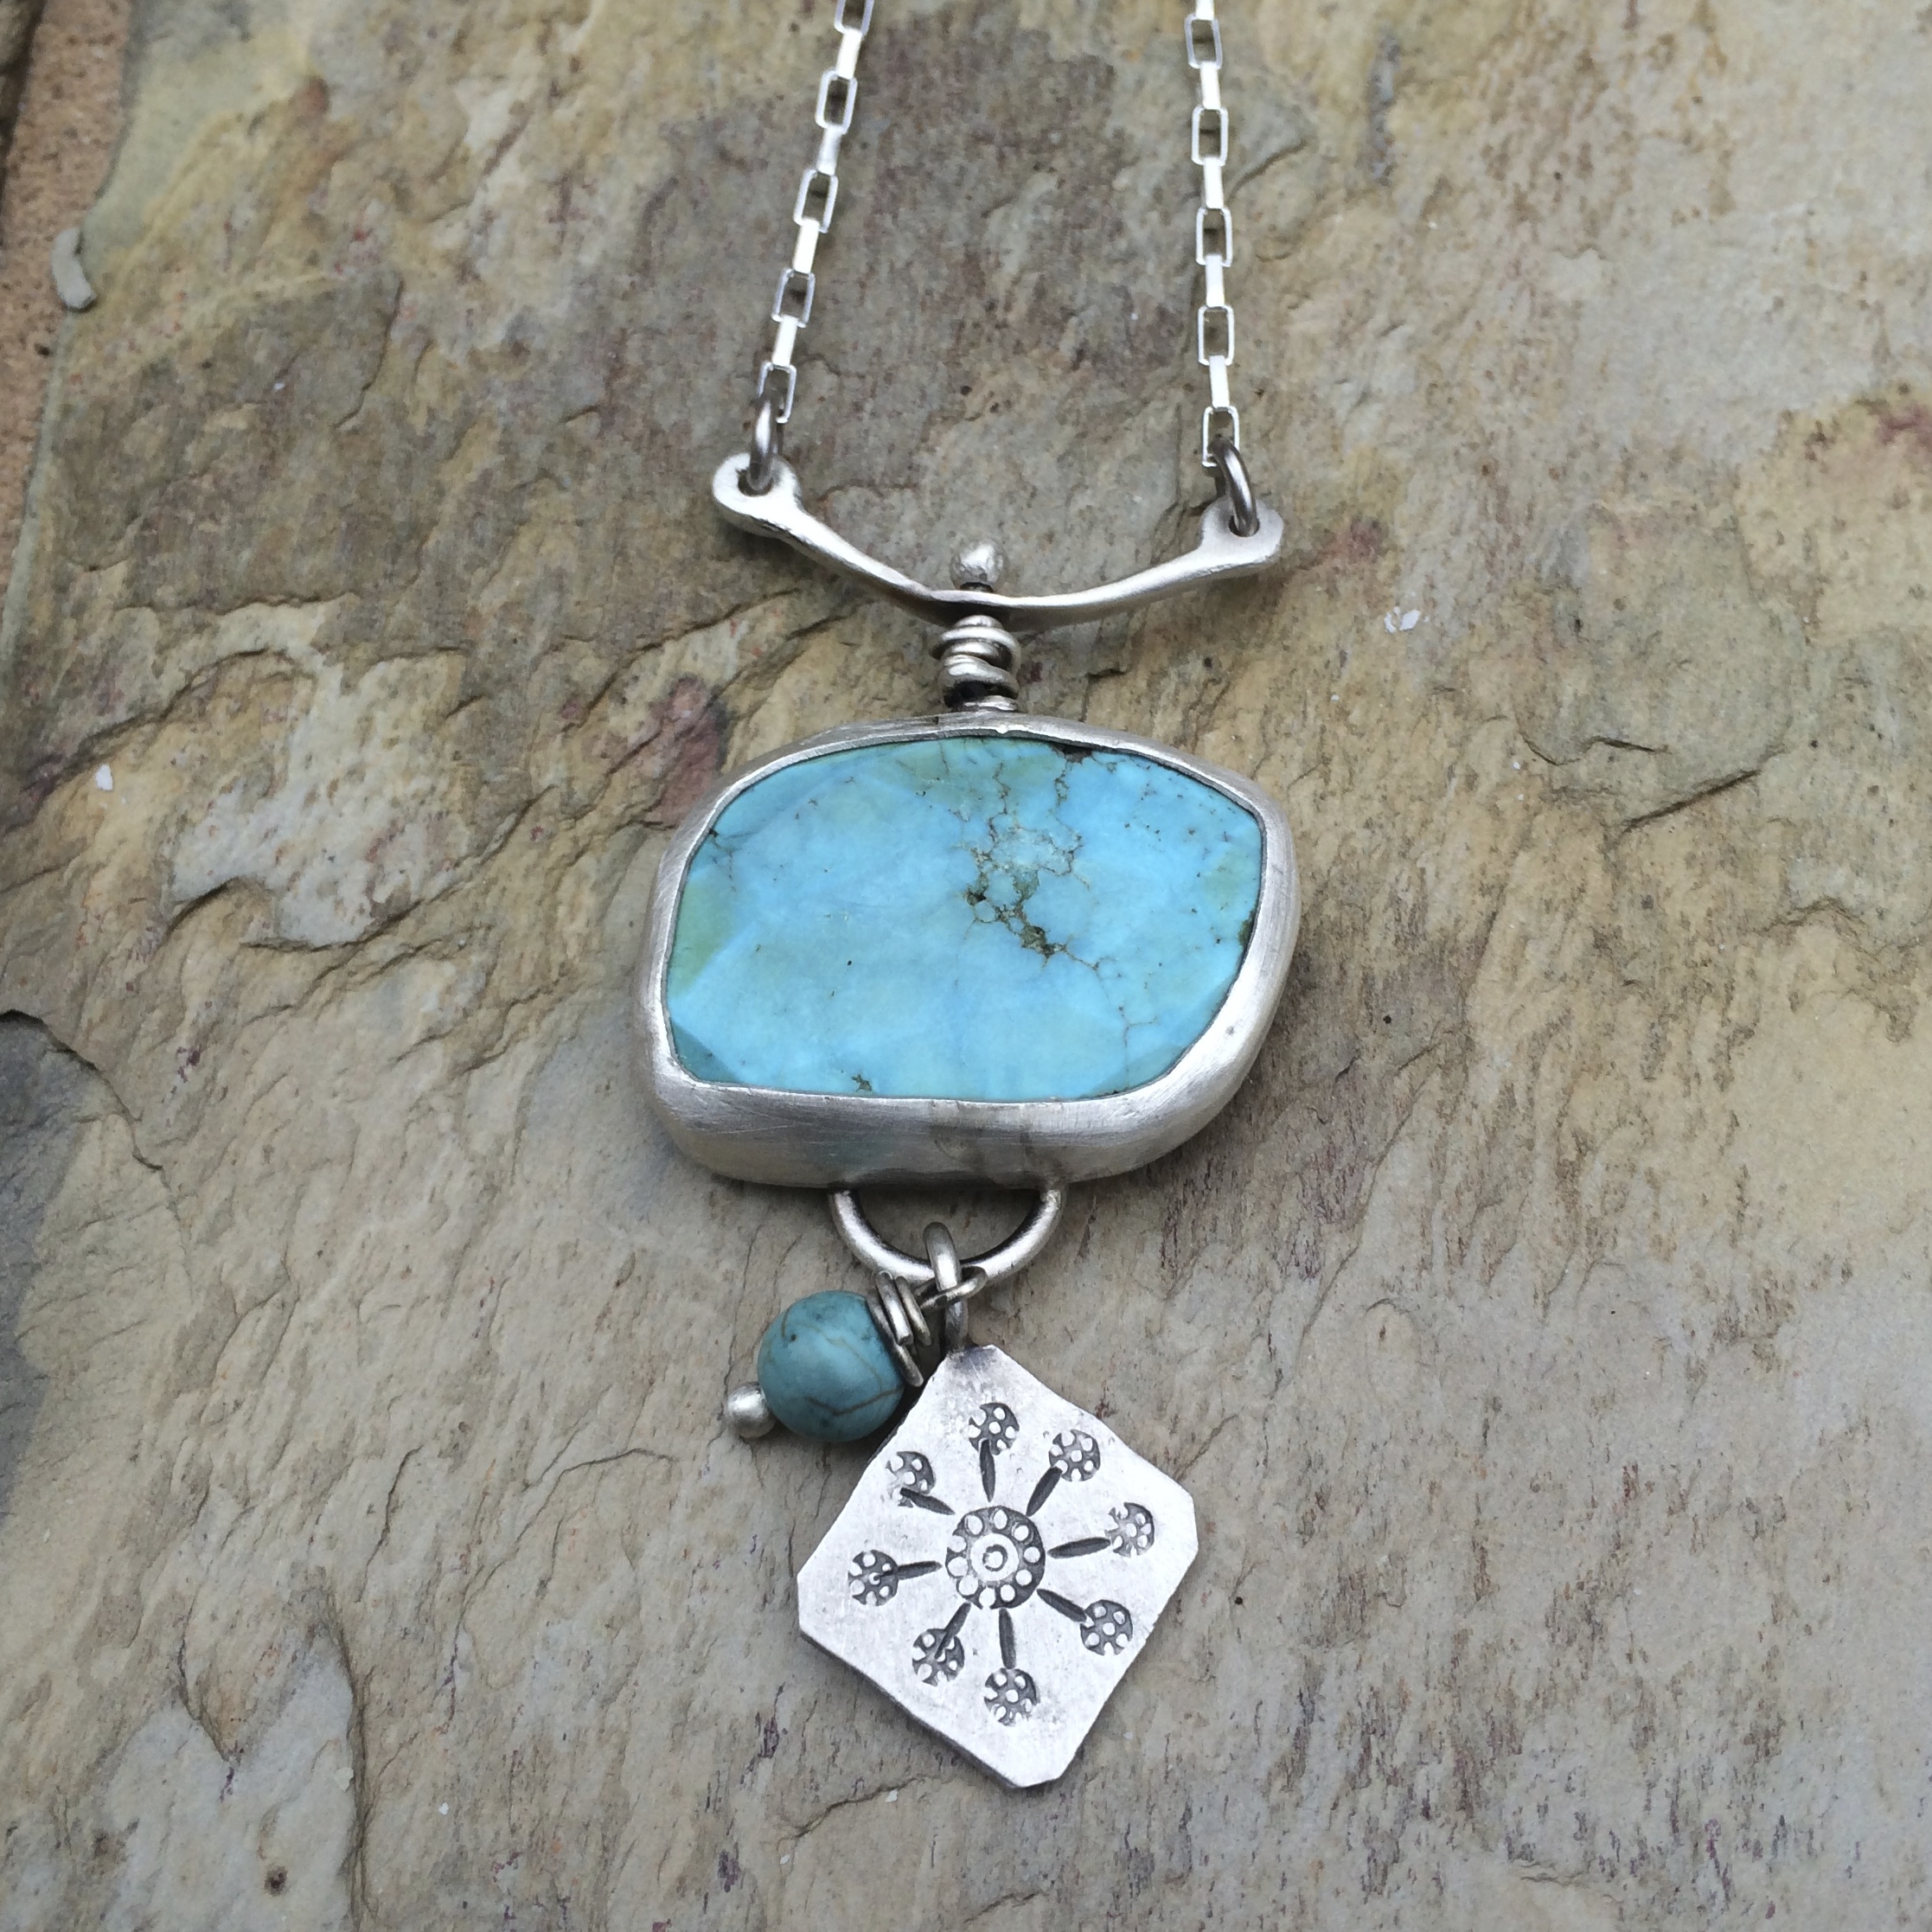

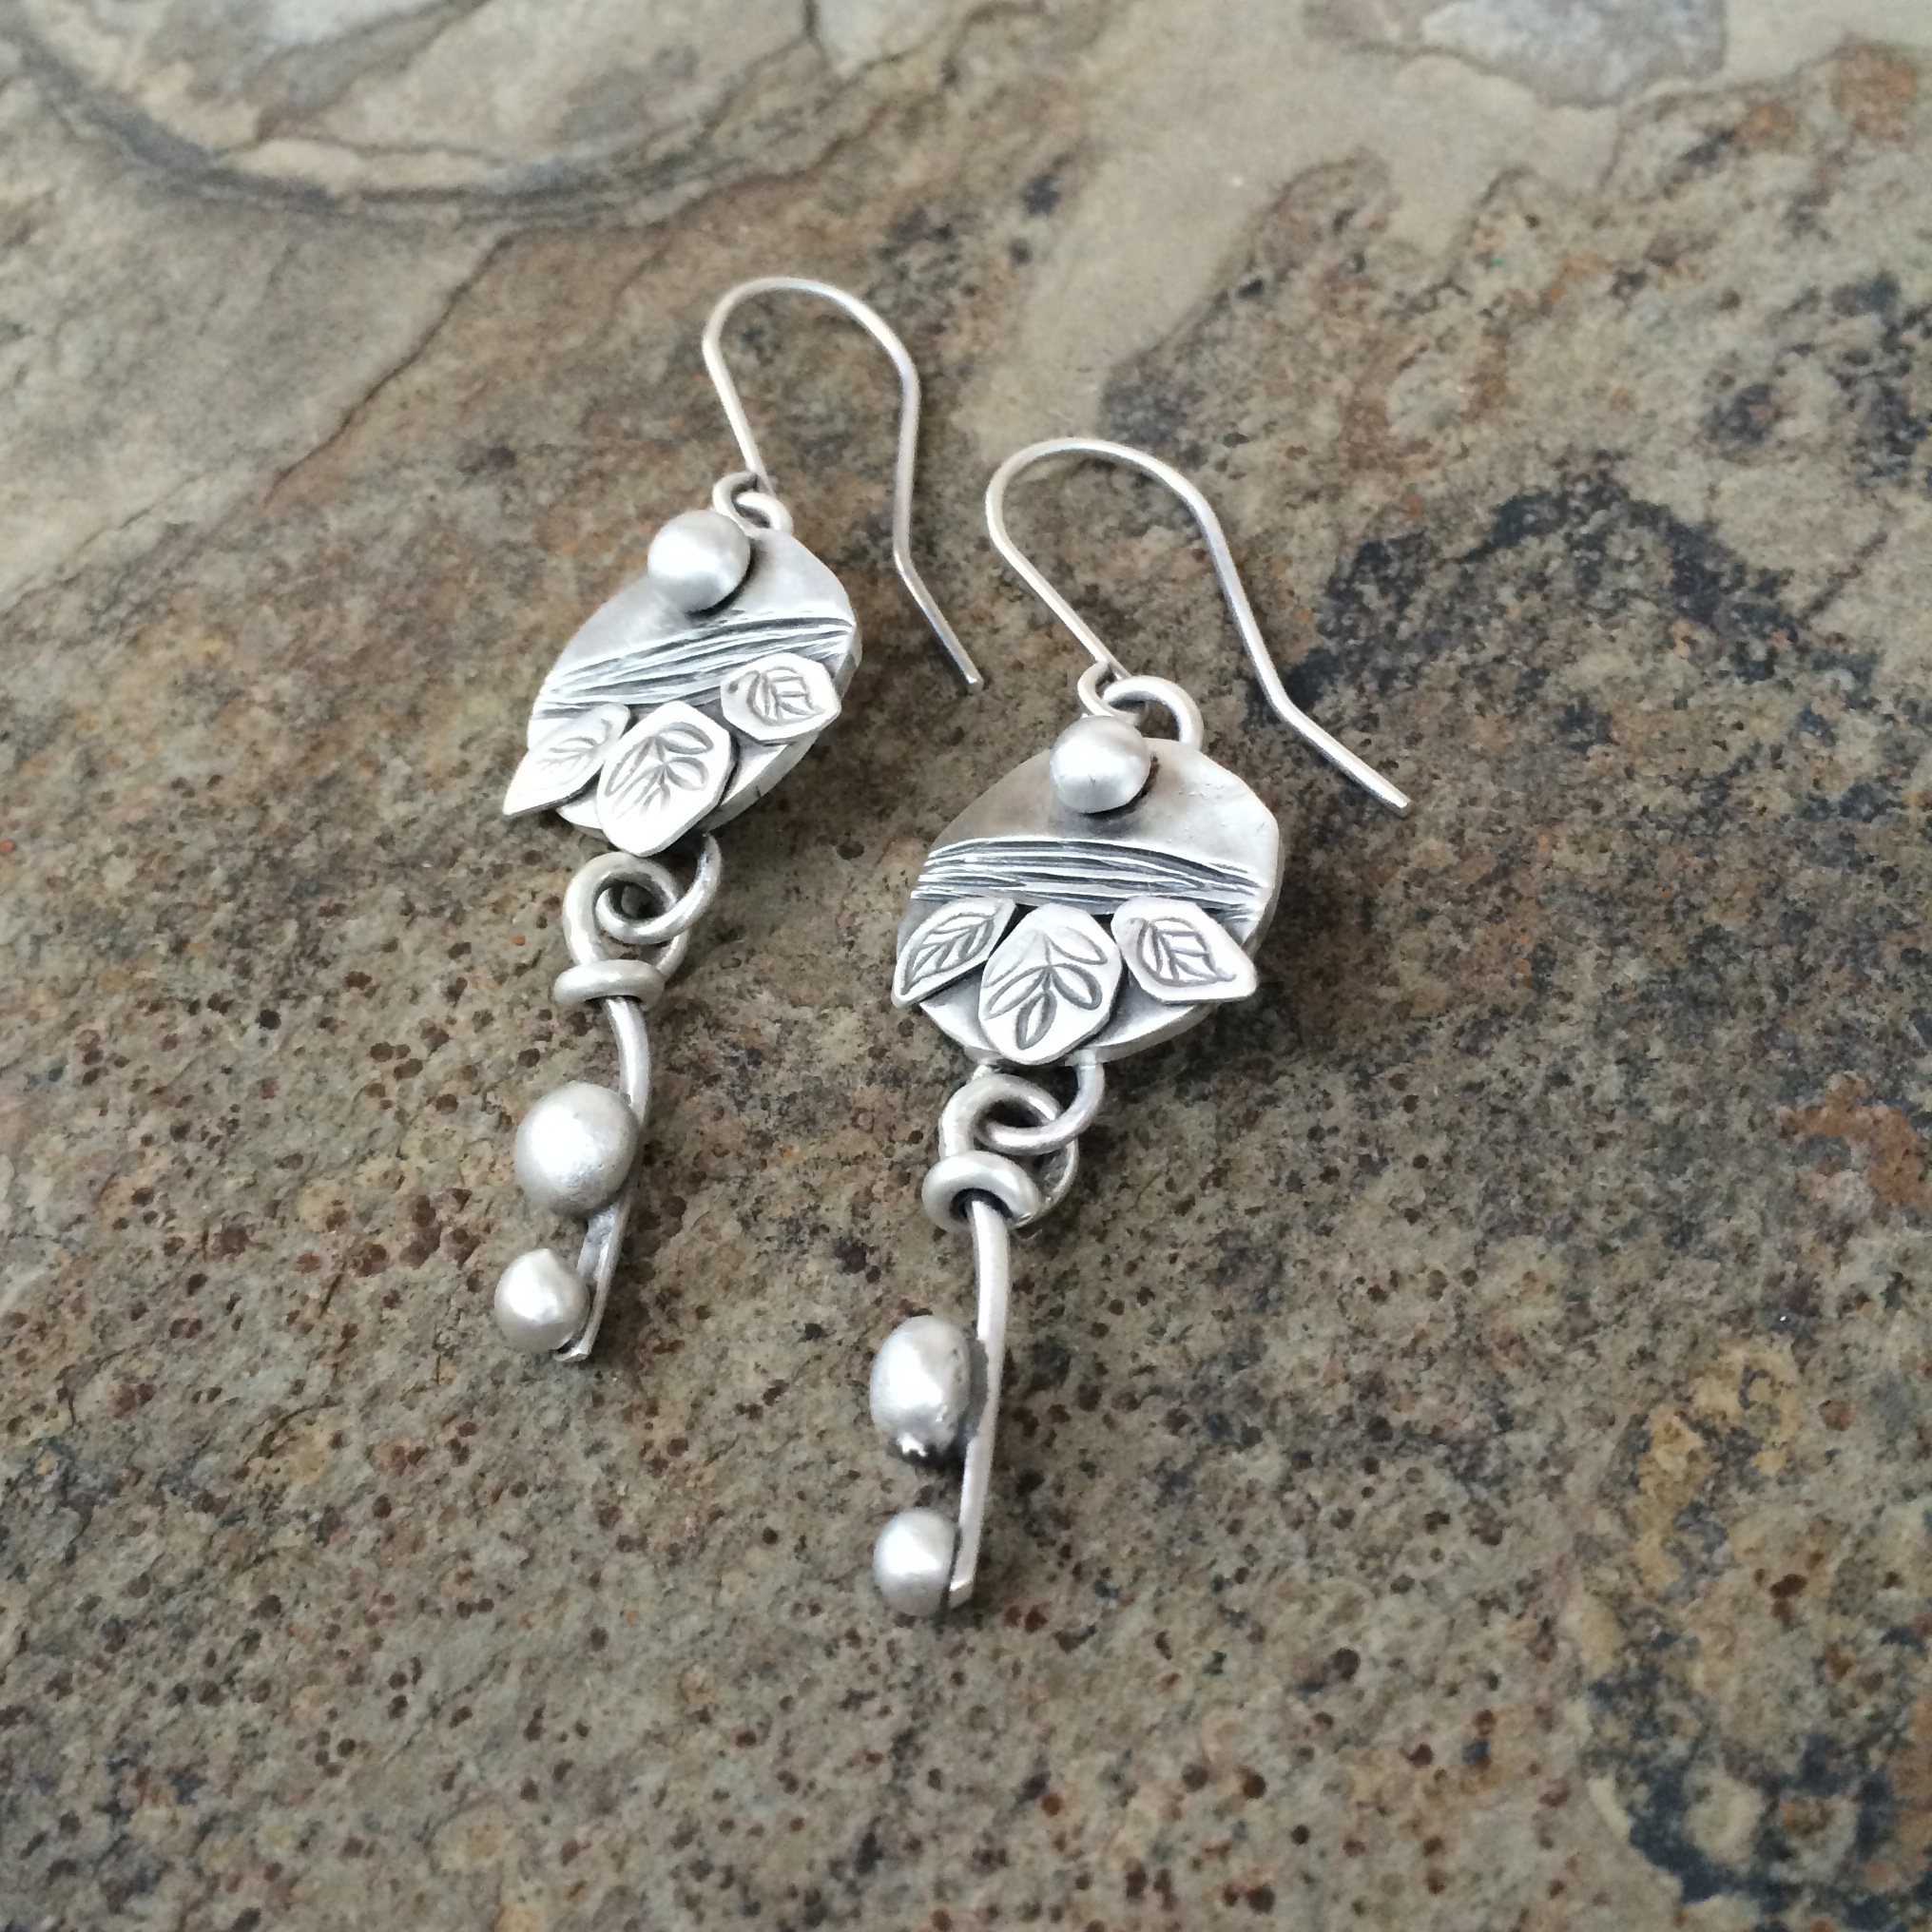
So I’m off now to start my new adventure day.
I think I’ll be alright…
–
–
–
Minding my own business.
When in the space of one swallow I had a sore throat.
Add that to the constant runny nose and it’ll not be long before I need my face mask for more than just keeping the dust out.
Actually I’m wondering if I shouldn’t put my pickle farther away from me as I work. I think I’m going to try that because I think the fumes might be getting a little too intense and perhaps it’s burnt my throat and soon my lungs will drop out.
Just another studio freak out waiting to happen.
I had a great week last week, in spite of the runny nose and burnt lungs.
I made over $1,000 and I’m still wondering if it hasn’t all been a terrible mistake on the part of the people who purchased my things.
Here’s the run down.
I sold this.

And this.
This one.

And this.
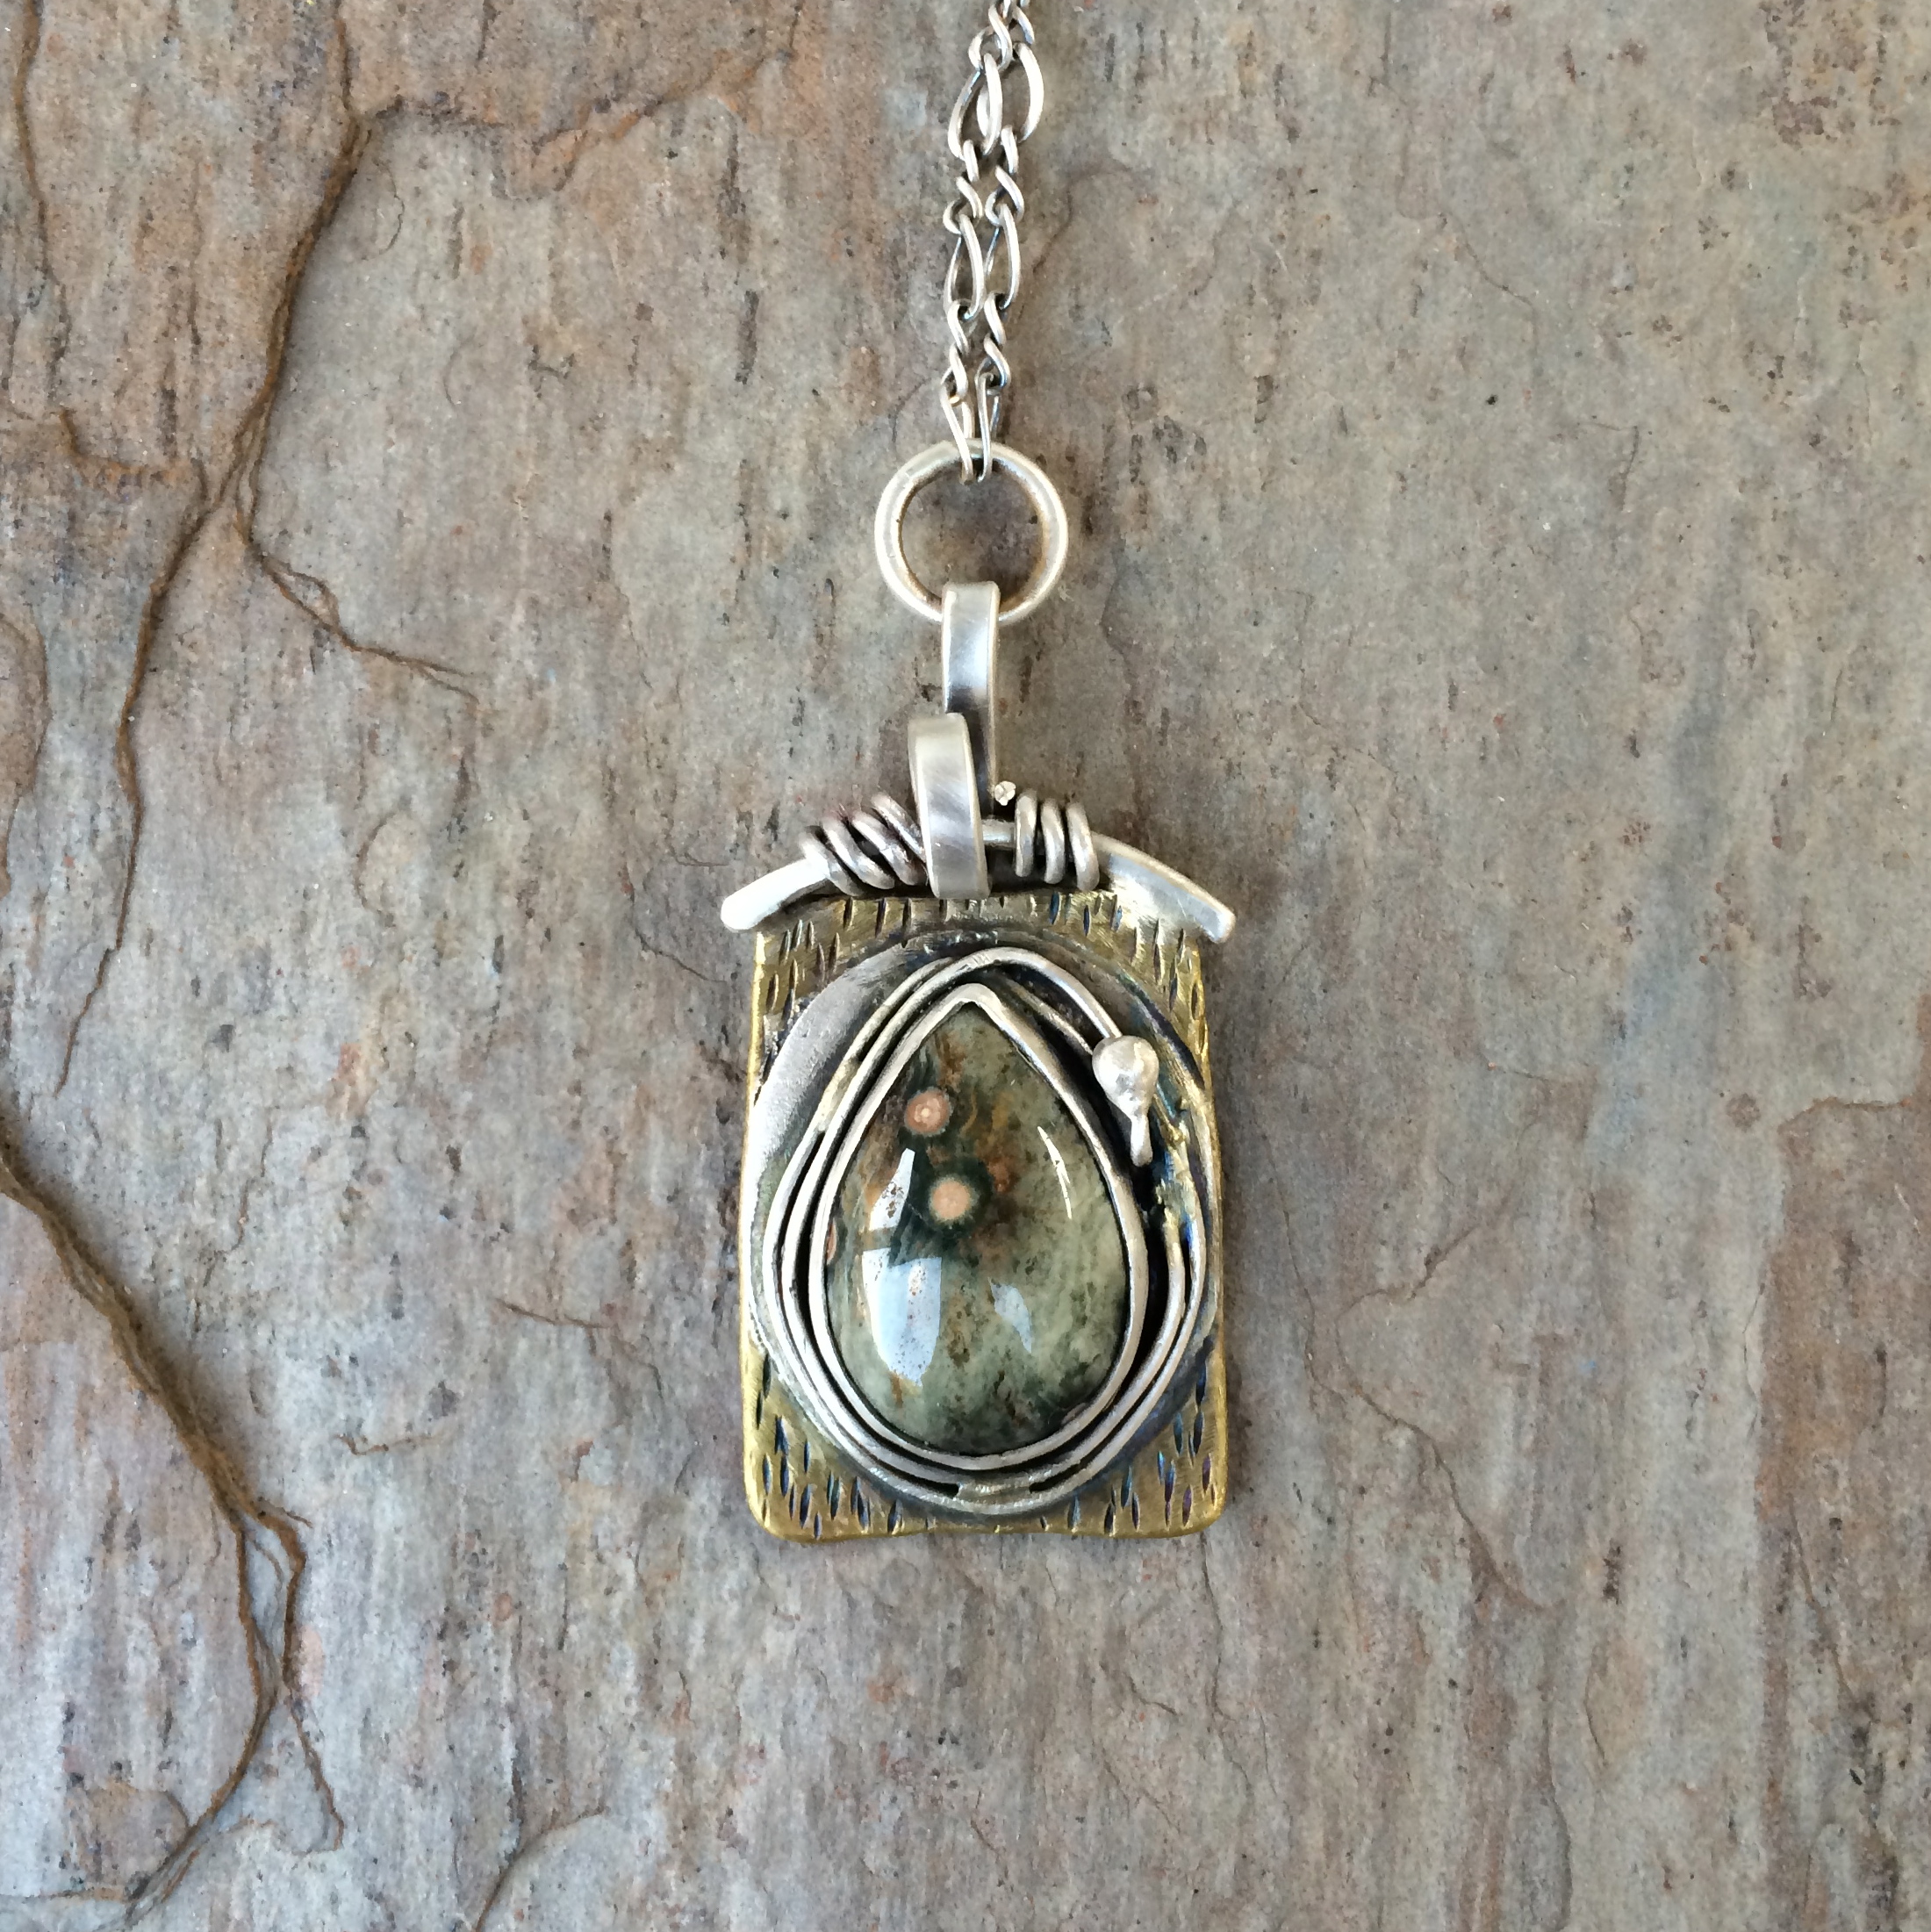
This.

This.

And two charms!
See.
That’s a little too good for anyone to not feel worried about.
I am very grateful for all the people who did buy my jewelry. I hope that they like it when it arrives.
Anyway, yesterday I made this.

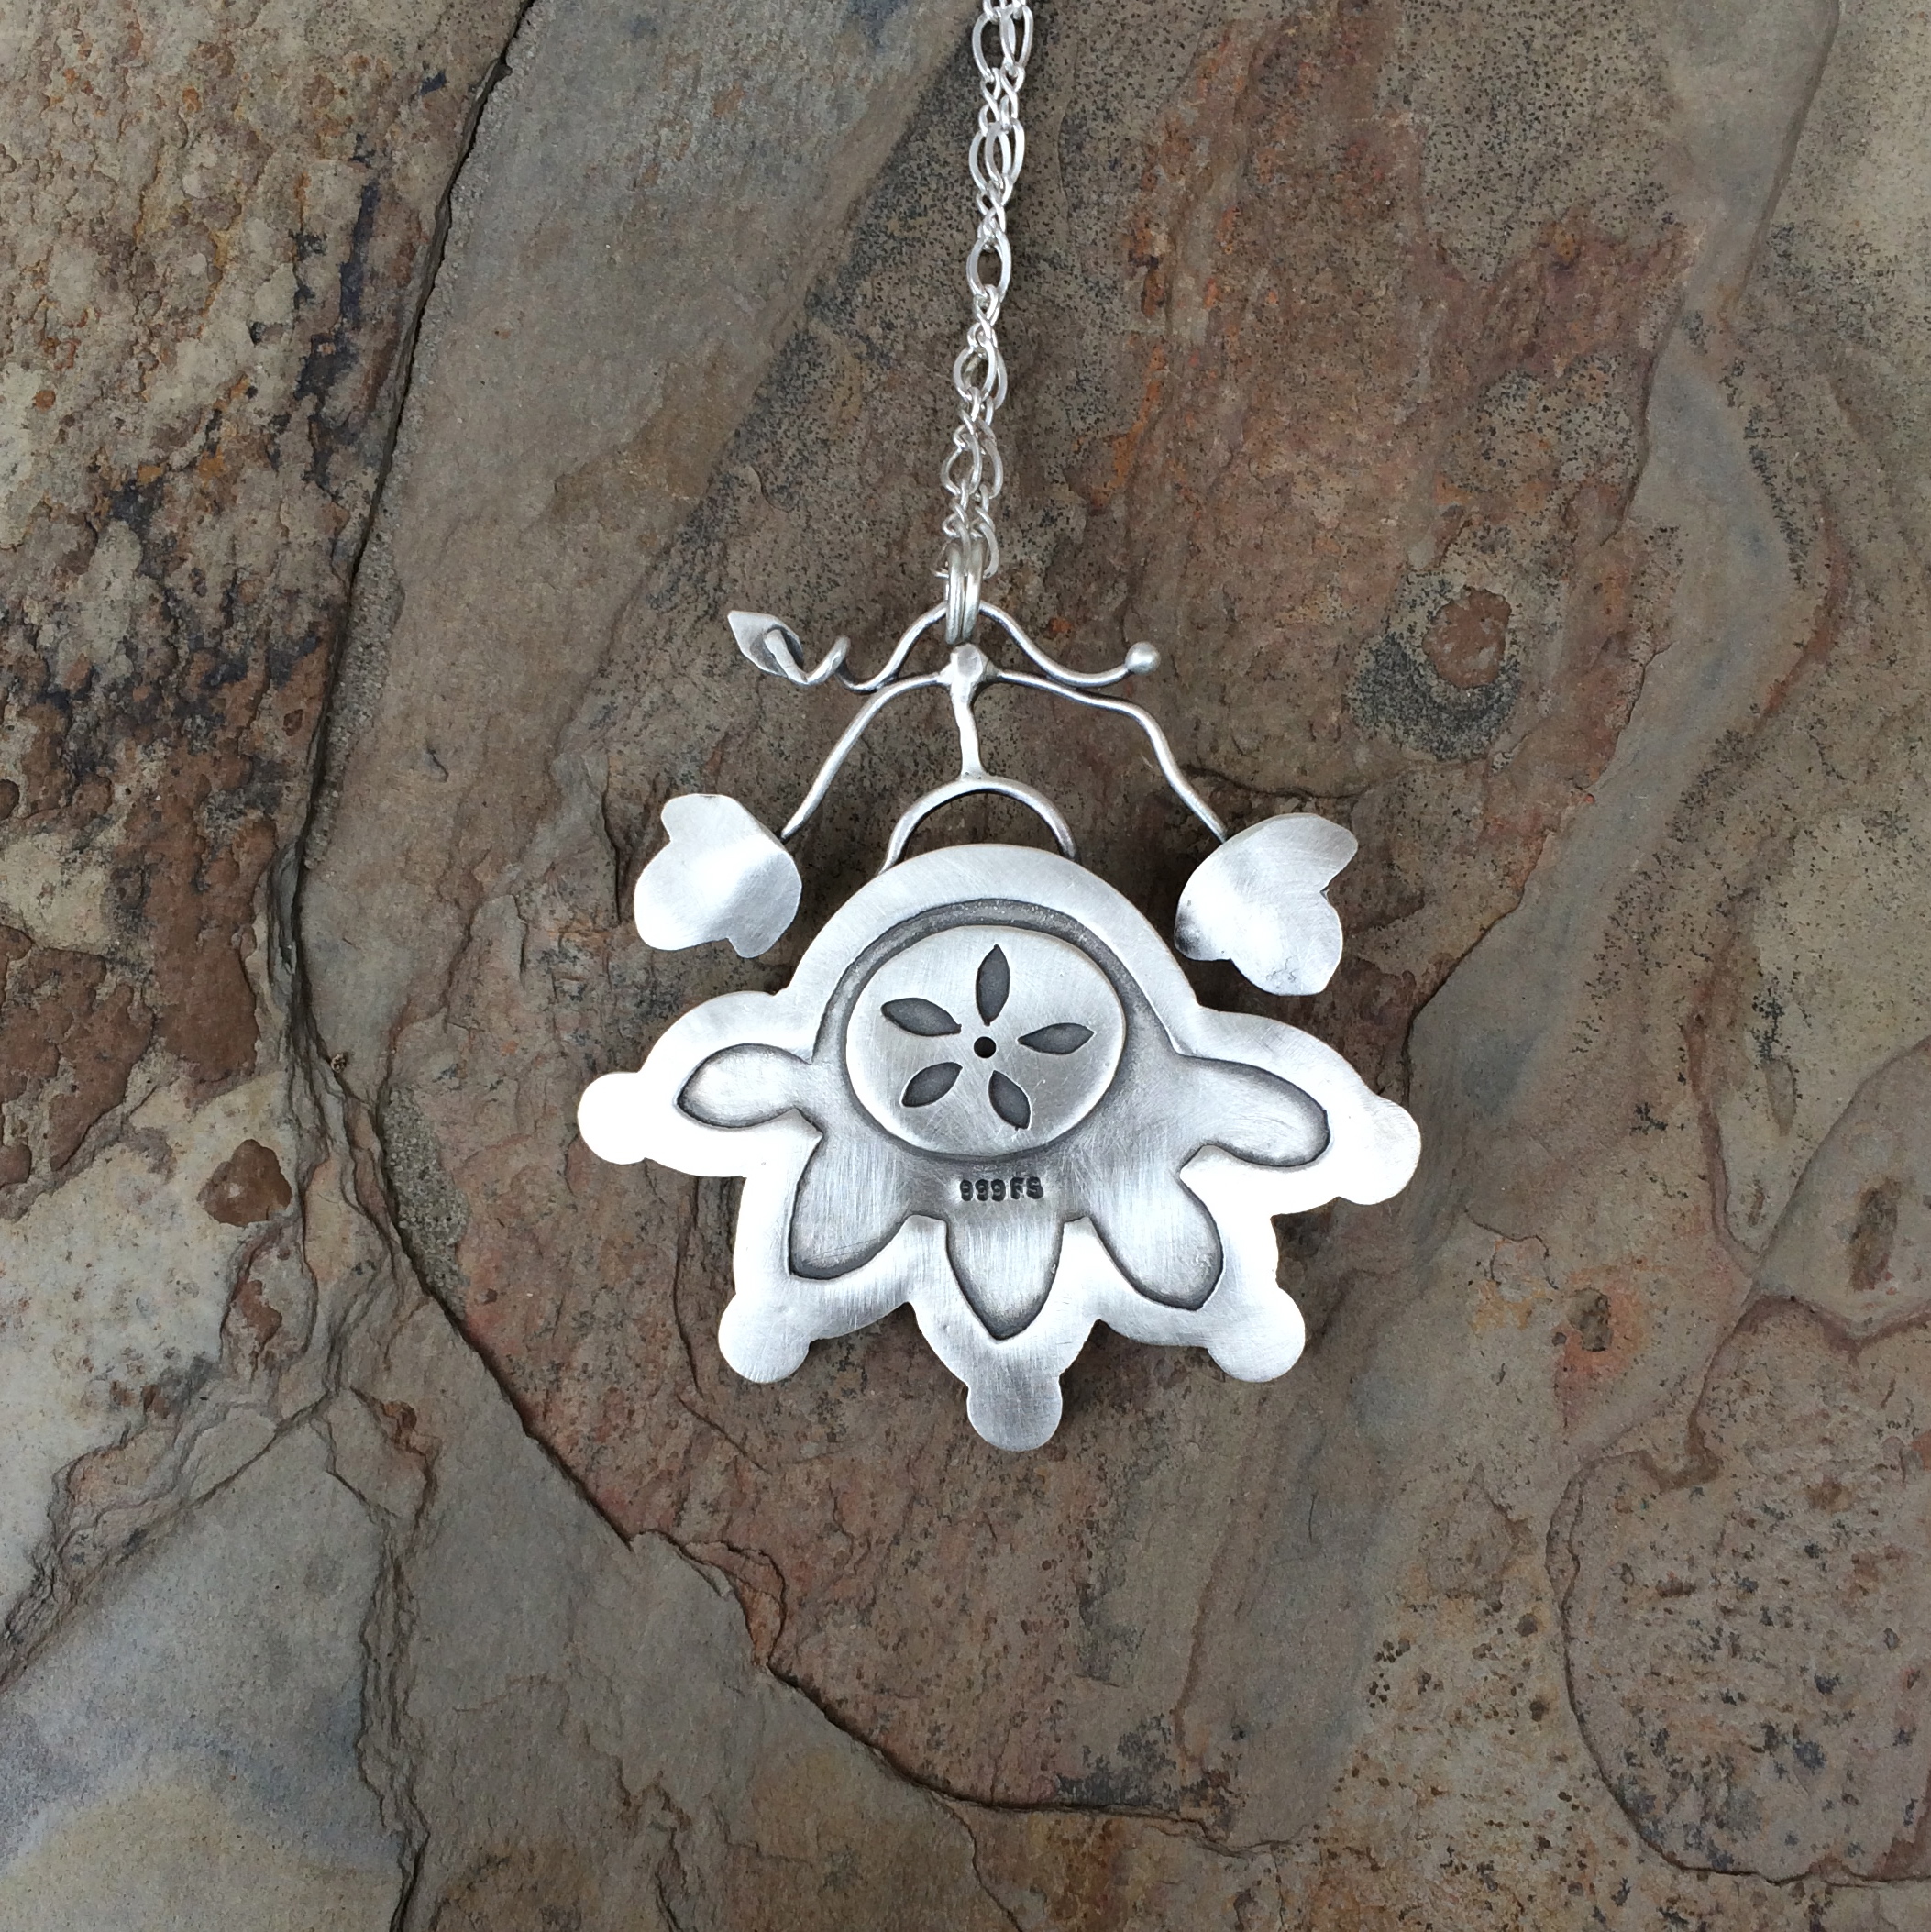
But I am beginning to wonder if they aren’t all a little too much.
I love making them though.
And I sketched up a design because I’m thinking maybe the quilts are calling me again.
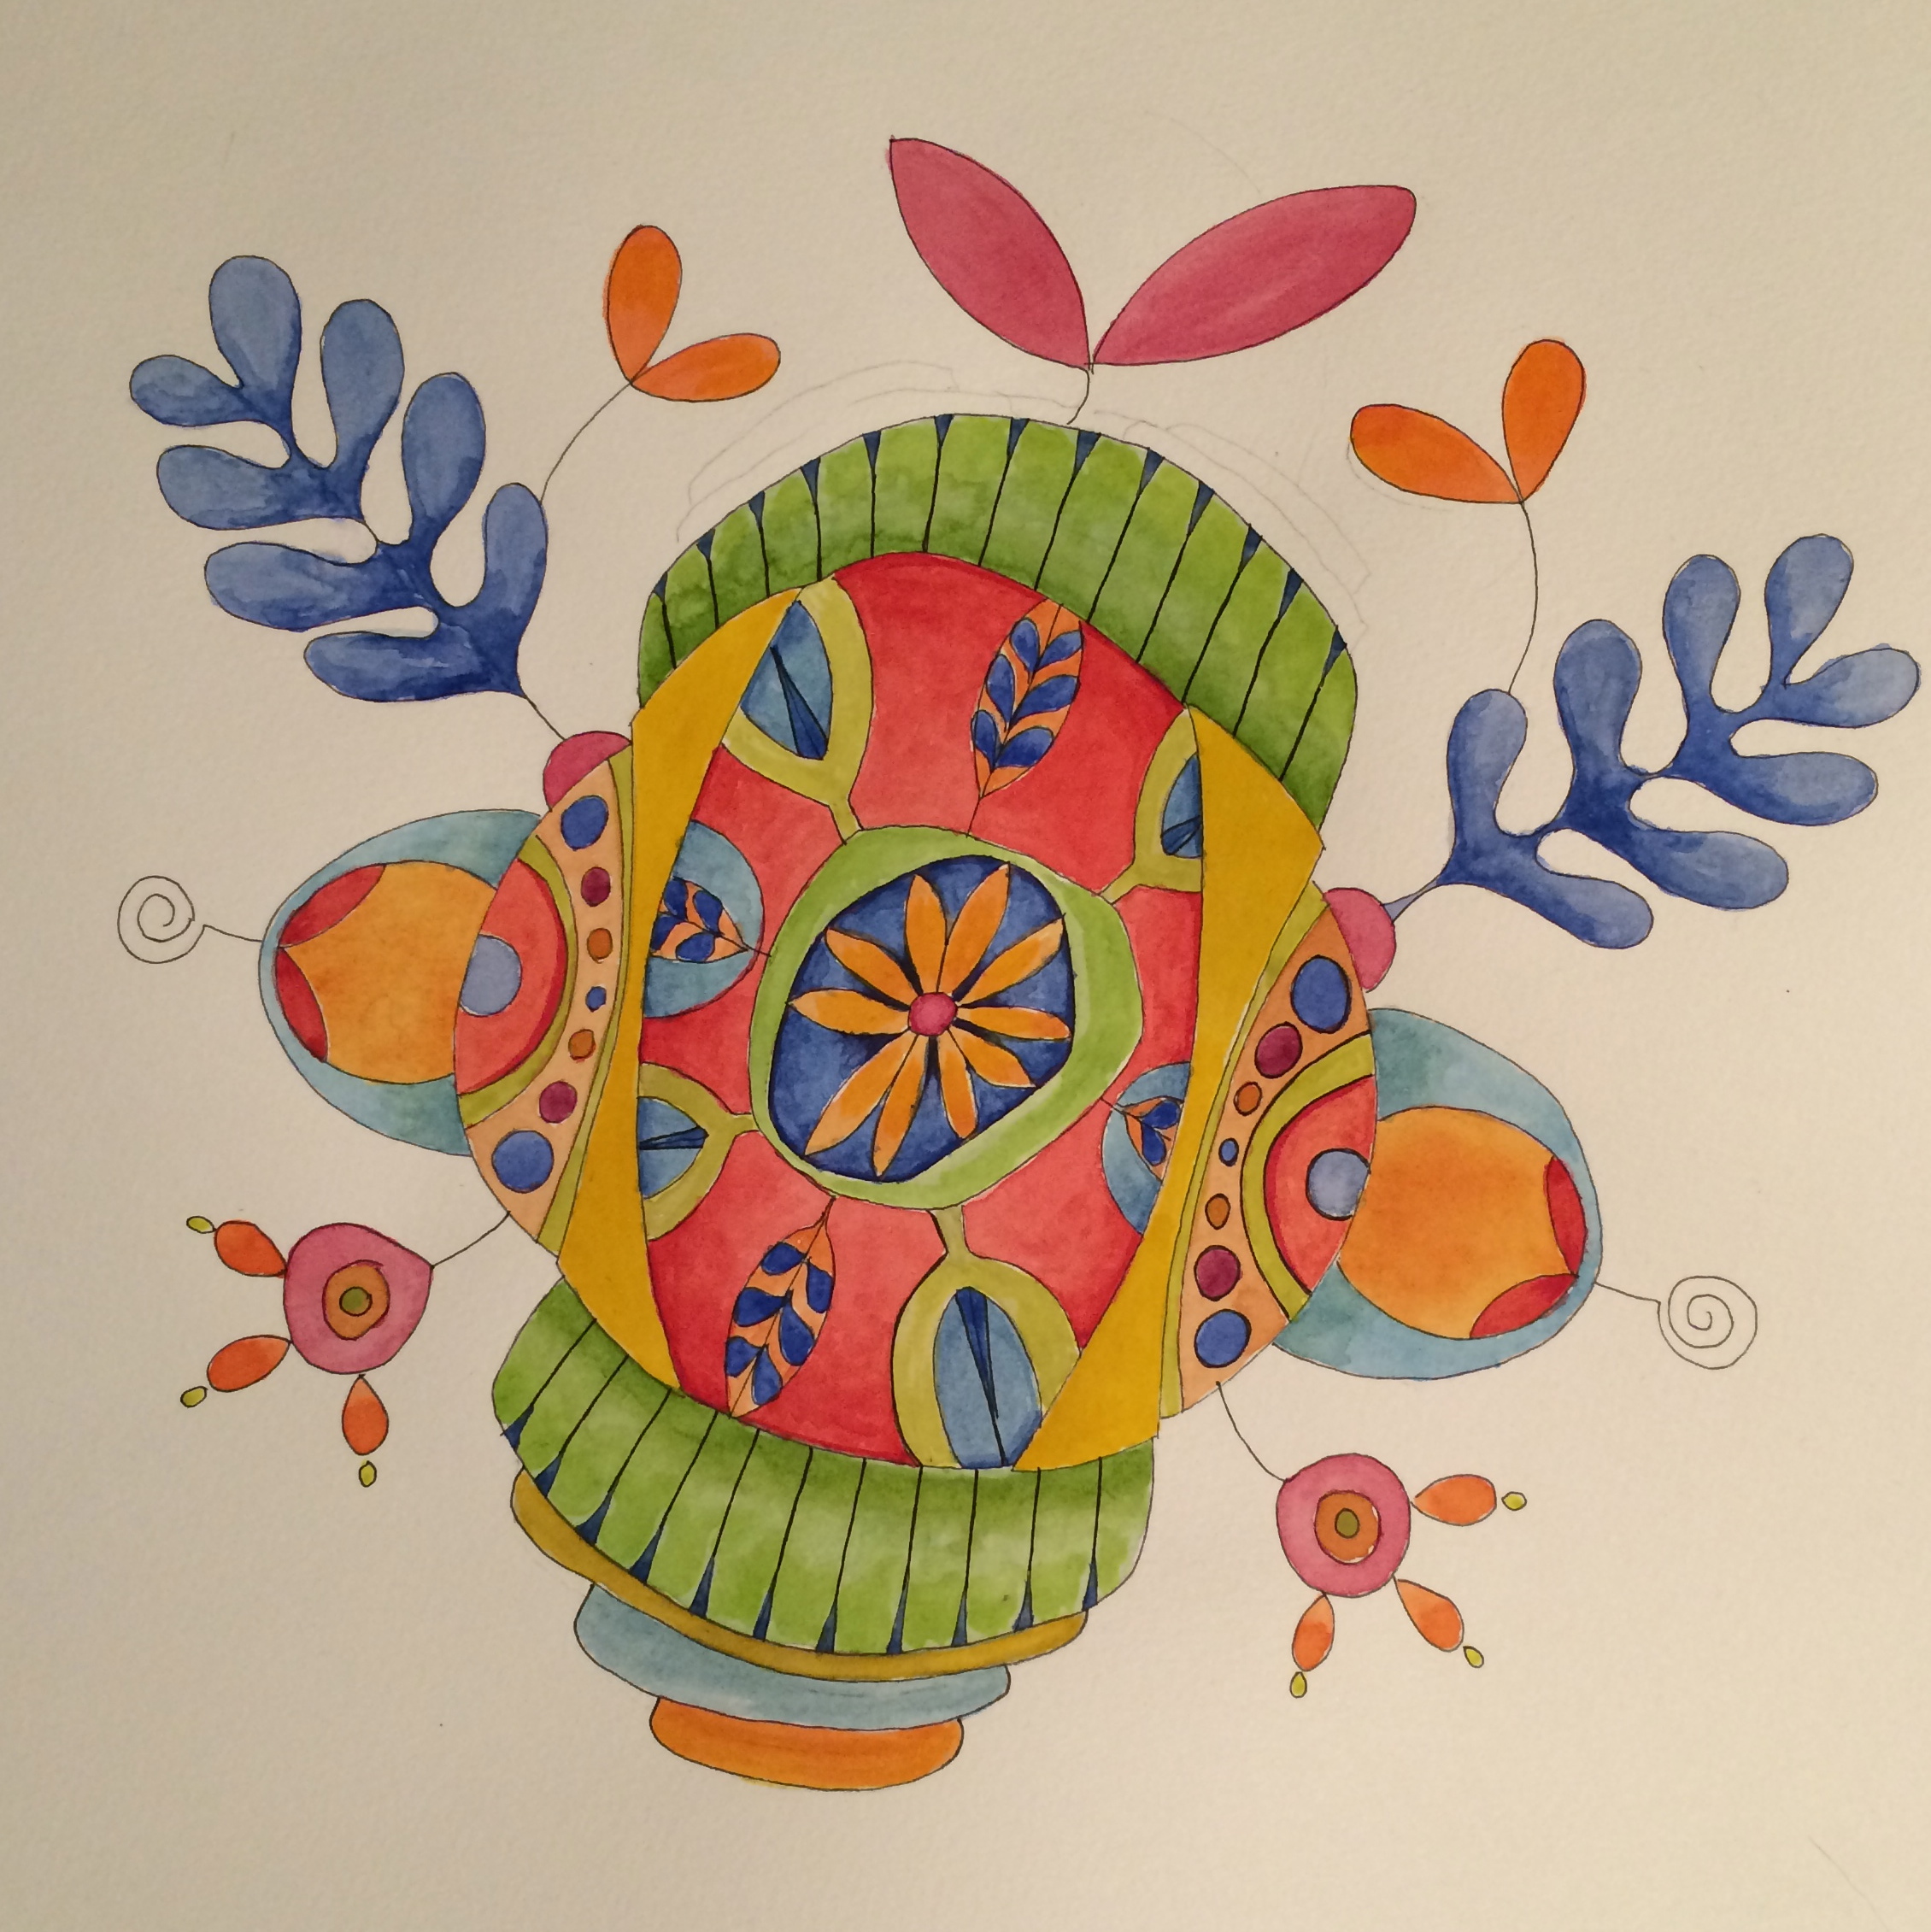
But again.
Even the quilt designs are getting a bit out there…
It’s all making me feel a bit like Willow did yesterday.

Bless her.
–
–
–
The other day I had a bit of a moment with tool buying.
It was just me, Ani, and paypal, and we had a whopper of a good time.
Well, it was good for me anyway.
I finally broke down and bought me a

With which I am hoping to do a bit of this
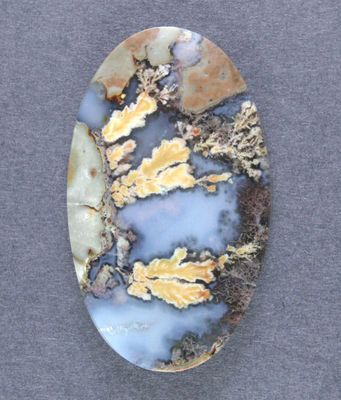
Starting from a bit of this

Of course, to do some of that I also needed one of these
But that’s just between you and me.
Of course I told P first, but as he was rushing out of the door at the time I think he just said o.k. to shut me up.
A girl has to do what a girl has to do…
–
–
–
The joy and anguish of my life.

In all its grubby self.
To take my mind off it being in the same room as me I bought it some new friends.
The Optivisor…

I got a 2x and it’s brilliant.
I was a bit doubtful at first, but it really is cool. I have to take it off when I’m soldering because it bumps into the fume extractor, and once or twice I pulled it down over my cheapo target magnifying glasses and had a little vertigo moment, but I’m sure I’ll get used to it.
Warning!
Don’t buy one if you don’t want to see every single mistake and botch up you’ve made on your jewelry.
It will send you into a funk.
I’m too excited to get the funk right now, but I’m telling you, at any other time I might well have given up making jewelry forever – again.
I also got a pair of half round pliers.

A special little wax stick thing for picking up stones.
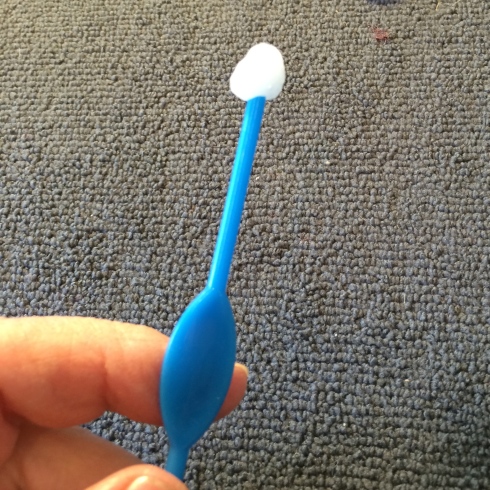
A different kind of ring clamp.

Only it wasn’t the different kind of ring clamp I wanted.
I wanted a different kind of different kind of ring clamp.

One that holds the ring on the inside.
I’ll be checking out where to get this little gem later.
I also got a few different sizes of bezel wire to play around with, and some chain.
So that was my excitement for the day.
Here’s the better photograph I told you I’d take of my latest piece.
All finished and up on Etsy.

And a little something else I’m interested in doing.
Remember those charms I made using some of my left over silver.
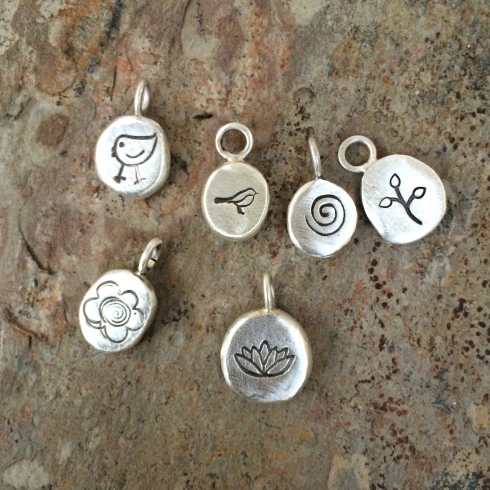
Well, the left over silver just won’t stop coming.
I’ve a whole bowl of it just hanging around waiting for something to do.
I knew I could send it back to Rio for their recycling programme, but I wanted to do something special with it and the charms seemed perfect, but I also thought the charms needed their own role in life.
I’m happy to say that they have finally found their purpose.

A little school in Kenya 🙂
So while I’ll continue to send the money I make from selling my jewelry to the larger charities, all I make from the charms will go to the Roko 20 Academy.
🙂
–
–
–
Yesterday I told my dad about my scary torch adventure, and wouldn’t you know it, he had a better one to tell.
First off you have to understand that my dad is a 1930’s Londoner, and we all know that back then, in the dark days, things were a little different to how they are now.
But, really!
O.K. so he wasn’t exactly a Londoner, that was my mum, but he was a Dagenham boy, which is as close as maybe.
He told me that when he was 14 he started work at Samuel Williams, a dock distribution company on the River Thames, just up the road and round the corner from where we grew up.
His story was that one day he was told to get a new oxygen tank for a job he was doing. It was a big bottle, about six feet tall, so a little bigger than my 40 cubic foot bottle, and that he had to roll the empty one all the way to the storage shed to get a full one.
What?
And there I was worrying about keeping mine upright in the car.
So I said,
‘Noooooo’,
And he said,
‘Straight up. I do not lie’.
And I said,
‘O.K. go on’.
So he told me that he rolled it all the way to the shed, got a new one, and then rolled that one all the way back to the workshop.
So I said,
‘Really? And they let you do that?’
And he said,
‘Well you know, back then they didn’t care as much about all this safety stuff.’
You think!
But that wasn’t the best bit.
Then he told me that at one point during his rolling the full one back he had to roll it over a railroad track. They had these tracks around the dockyard to carry coal, etc.. When he got close to the track the cylinder started to roll as the ground sloped slightly at this point.
He had to try to keep up with it and was nudging it along the way with his foot to try to keep it level!
But this wasn’t the best bit.
He went on to tell me that as he’d been kicking it, he had inadvertently opened the valve slightly and that the oxygen was escaping.
It was at this point that I called liar on him only as he’s my dad I said it a little more respectfully, like,
‘you’re pulling a fast one on me dad, it’s all porky pies’.
But he swore it was true.
But that wasn’t the best bit.
The best bit was when he told me that he managed to get the bottle over the first rung of the track, and was struggling to get it over the second when a locomotive started to come down the track.
I was like –
‘WHAT! NOOOOO! You’re making it up’.
And that he had to leave it there in-between the tracks as the locomotive and about six cars went over it.
Come ON!
This time I did call him a straight up liar.
But he swore it was true.
I said,
‘Isn’t oxygen explosive under those conditions, or at least can do the projectile missile thing?’
And he said,
‘Well, I don’t know, I don’t think so’,
And I said,
‘What about the sparks from the locomotive wheels against the track?’.
And he said,
‘Don’t know.’
‘Or if the underneath of the locomotive had caught up onto the valves?’
I could hear him shrug, so I said,
‘You’re having me on,’
But he swore it was true and went on to tell me that the bottle didn’t last very long after that as most of the oxygen had escaped.
He laughed when I said, so I might not have been born then with you blowing up and everything.
Like that wouldn’t have really ticked me off.
Even if oxygen bottles don’t explode, which I’ve read they don’t, I still can’t get over how blasé the whole thing was.
One thing’s for sure, he won’t be helping me refill my tank if he happens to be here next time it’s empty.
–

–
–
–
–
I found a welding shop a little closer to me and bit the bullet.
Before I left I did find an online shop which would deliver a tank of acetylene to me the next day. I didn’t use it as I’d lost my wrench (i.e. someone took it) and couldn’t get the regulator off. As it happens the man in the shop had a lot of trouble with it also so I doubt I would have been able to easily exchange my empty tank with the delivery man anyway.
They appear to deliver to most places in the U.S. (sorry back home folk and other not here people) and they don’t charge for shipping, just a $10 handling fee. Which seems a pretty fair price to pay for them to possibly blow up instead of me.
So to all my soldering friends out there who are weenies like me here’s the link.
This just takes you to the acetylene page, but I’m sure they have other exciting inflammables also.
And I’m sure there are many more companies out there willing to risk the lives of their delivery men if this one doesn’t work for you.
Here’s what I learned from picking the brains of the nice acetylene shop man.
The acetylene is mixed with acetone and if you let the tank run empty there’s a risk that the acetone will be drawn from the bottle.
Apparently this is bad.
So, I won’t be doing that again, and perhaps neither should you Penny 🙂
Another thing he said was that after soldering you should turn the tank off and run the gas out of the hose. You should also open the pressure thing completely until the next time you use it.
I usually run the hose empty by lighting it and using the flame to ball up small pieces of silver to use later. I do this until the flame just goes out on its own, but I haven’t heard that you should open the pressure gauge before, and although I listened very carefully I’m still not completely sure why.
Sometimes I don’t even run the gas out of the hose :/
Here’s another compressed gas safety link.
Here.
I might have to stop reading all this stuff now as it’s beginning to make me feel nervous.
Things I did know are.
Don’t run the thing with the pressure above the red danger line.
I did for my first tank because I didn’t really think the red line was talking to me.
Sometimes ignorance is bliss, but not any more.

See that big, obviously important, red line there on the left dial. The arm shouldn’t go beyond there. In fact the man said that I shouldn’t need for it to go beyond the 5, but I found that the flame wasn’t doing its job at that pressure so I upped it until it was soldering better.
Not above the red line though.
When the arm is at the bottom as shown in the right dial, it’s empty, and not just pretending to be, so get it back to the shop before you blow up.
Or have the nice delivery man come.
If you do have to take it in your car, keep the tank securely upright and crack your windows slightly as, according to the shop guy, sometimes the gas can escape,
and. you’ll. d.i.e…..
(O.K. so he didn’t say that but I thought I’d add a little more drama as I’m sure we haven’t had enough. Something equally bad will probably happen though, so crack your windows…)
Oh, and don’t flip the car over or smoke while you’re driving home.
I thought that was his best tip.
Thoughtful though.
End result after a fraught day.

Just a little more cleaning up and on to the next thrilling adventure.
Maybe cleaning the microwave…
–
–
–
Again with the empty tank!
Just when I finally seem to have recovered from my last, fraught with danger, danger, Will Robinson, acetylene tank refill trip, the darn thing’s empty again!
What’s up with that!
Surely I only just changed the old one out for the nice fire truck red one.
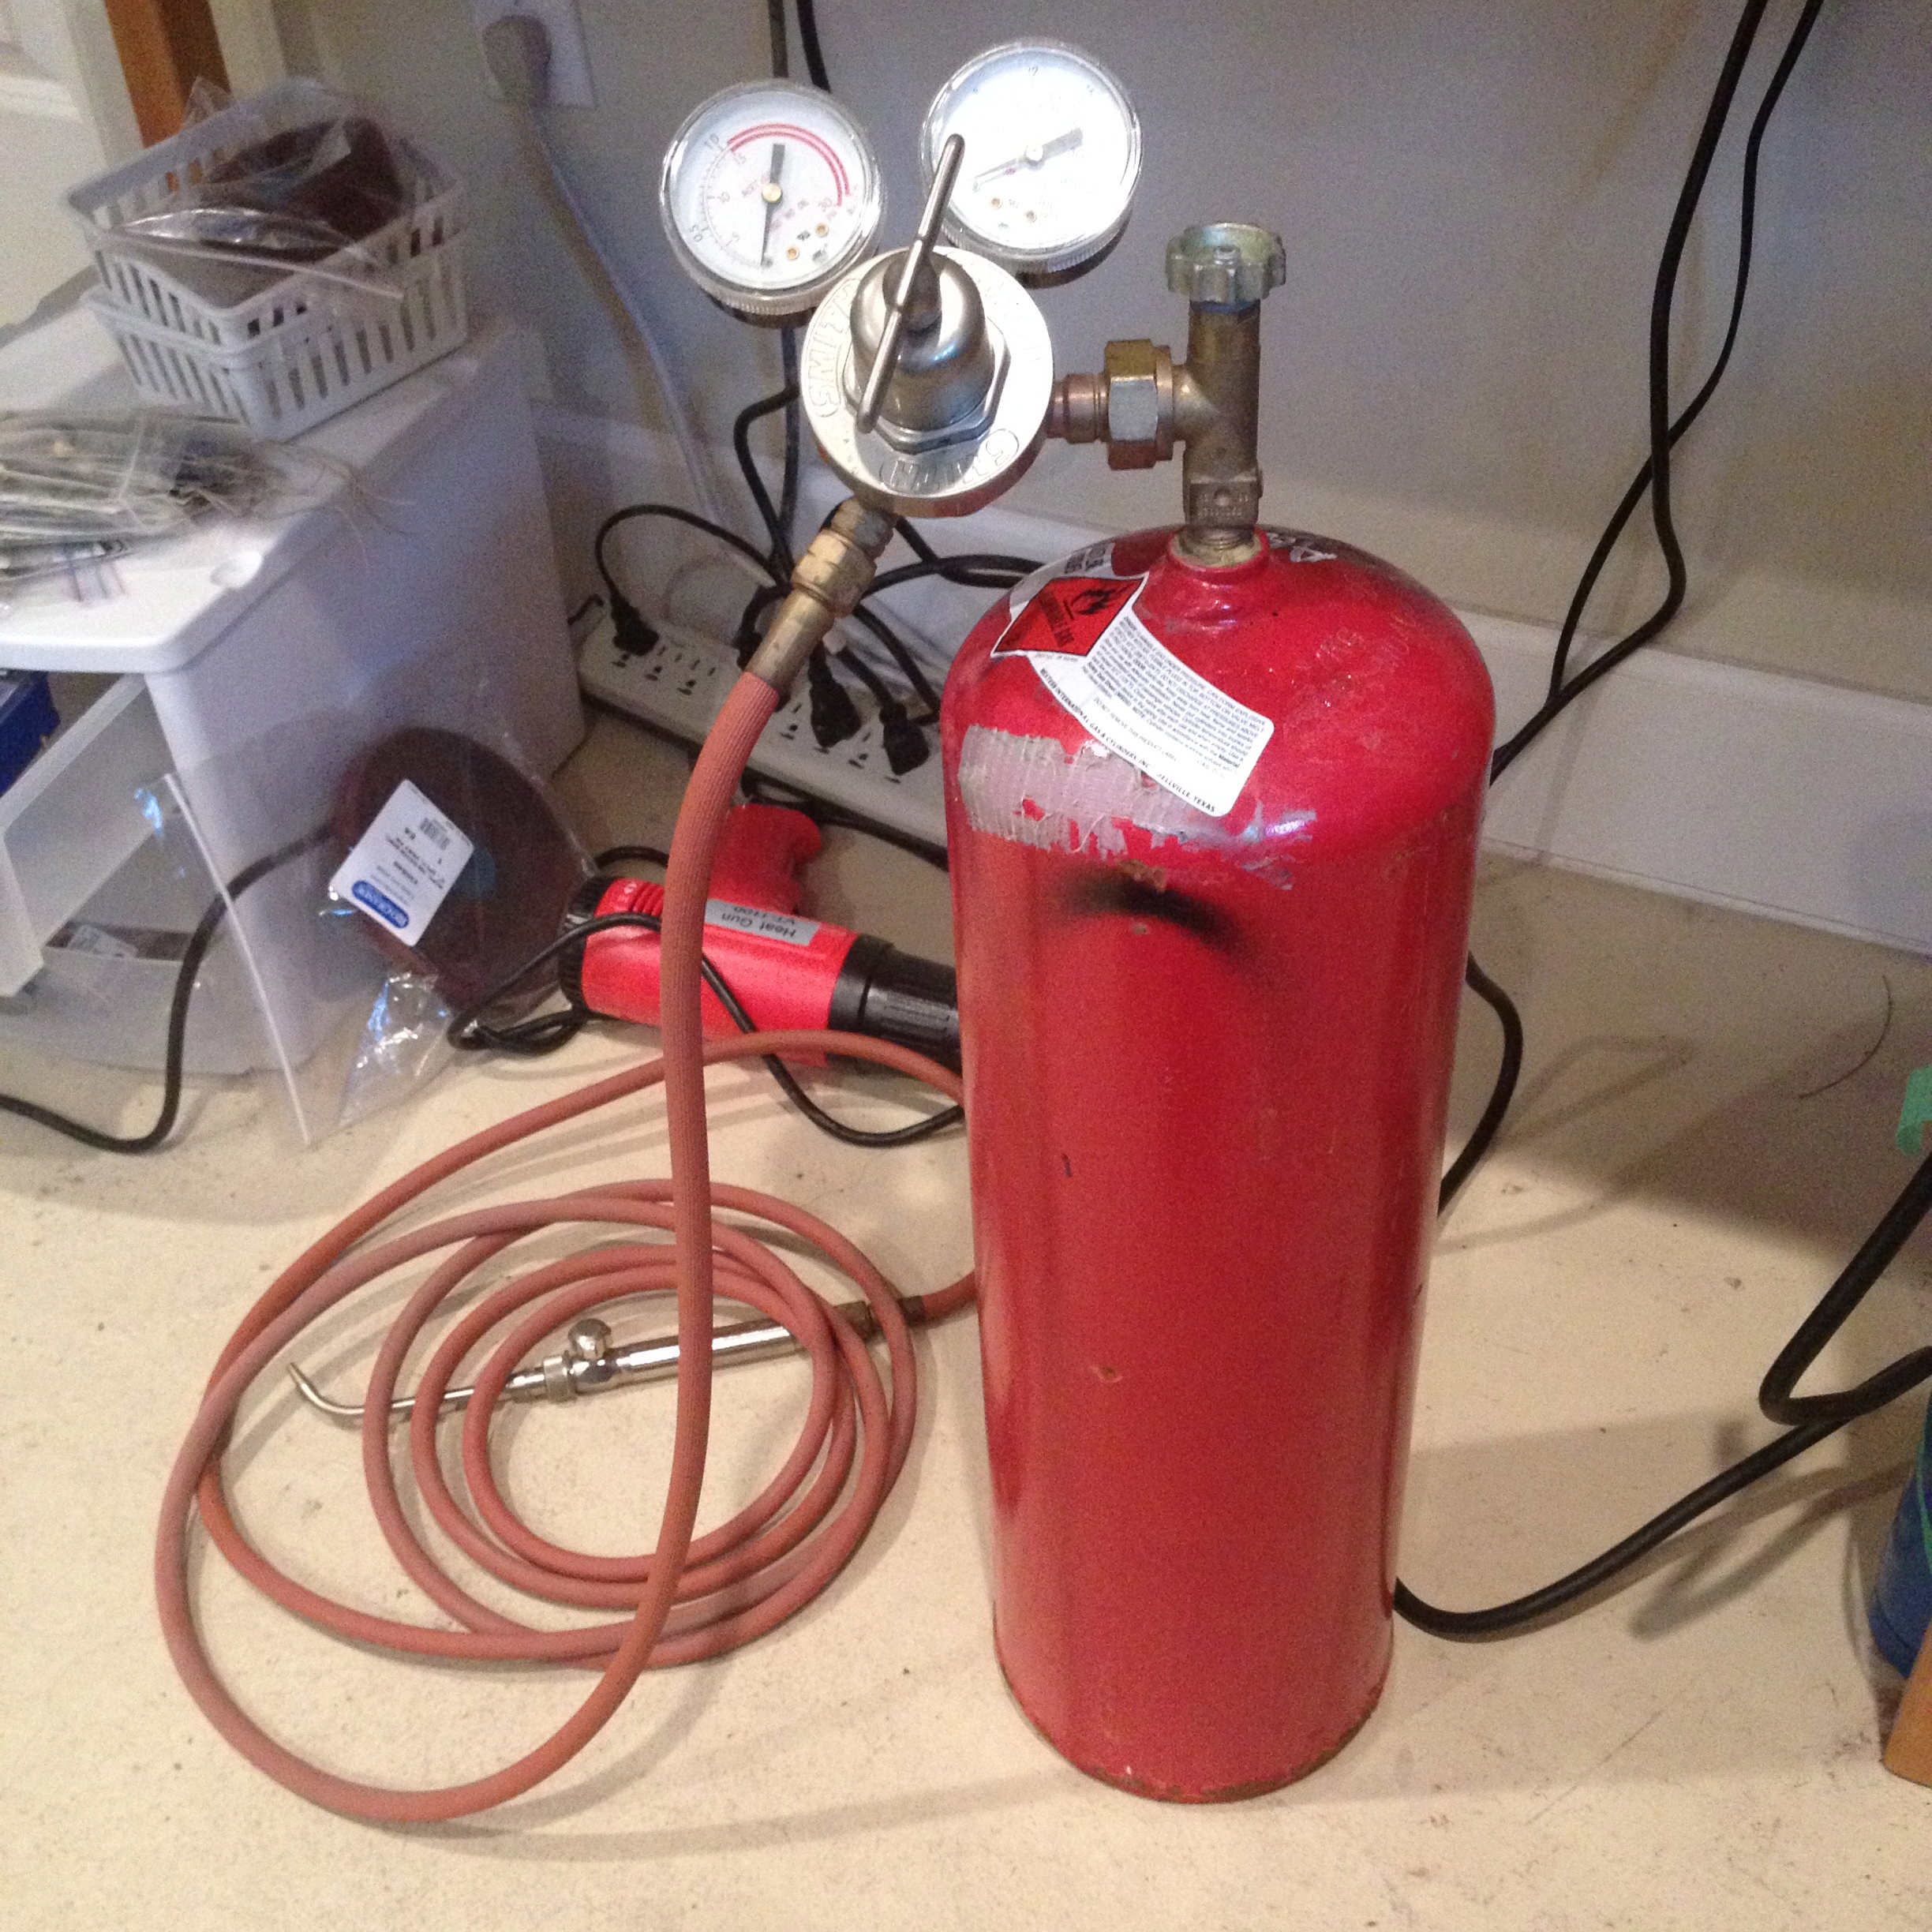
I thought I was safe for at least another six months!
Yes, there was a slight indication before Christmas that it was empty, but I just couldn’t believe it.
I thought the gauge was wrong. That just because it read empty it didn’t really mean it. That it was just playing with me because it knows how distressing the whole driving it down to the gas shop is for me when I could almost nearly blow up driving there, but more likely probably blow up getting home.
In my itty bitty Mini car which, let me tell you, doesn’t like it either.
Now it seems that I have to be even more super duper distraught because apparently you should NEVER (getting a bit distraughtier now) EVER run your tank when it says empty.
Why though?
The flame is still burning. How empty can it be?
How?
What the hell is burning when I turn it on?
So things came to a head yesterday when I was trying to make this.
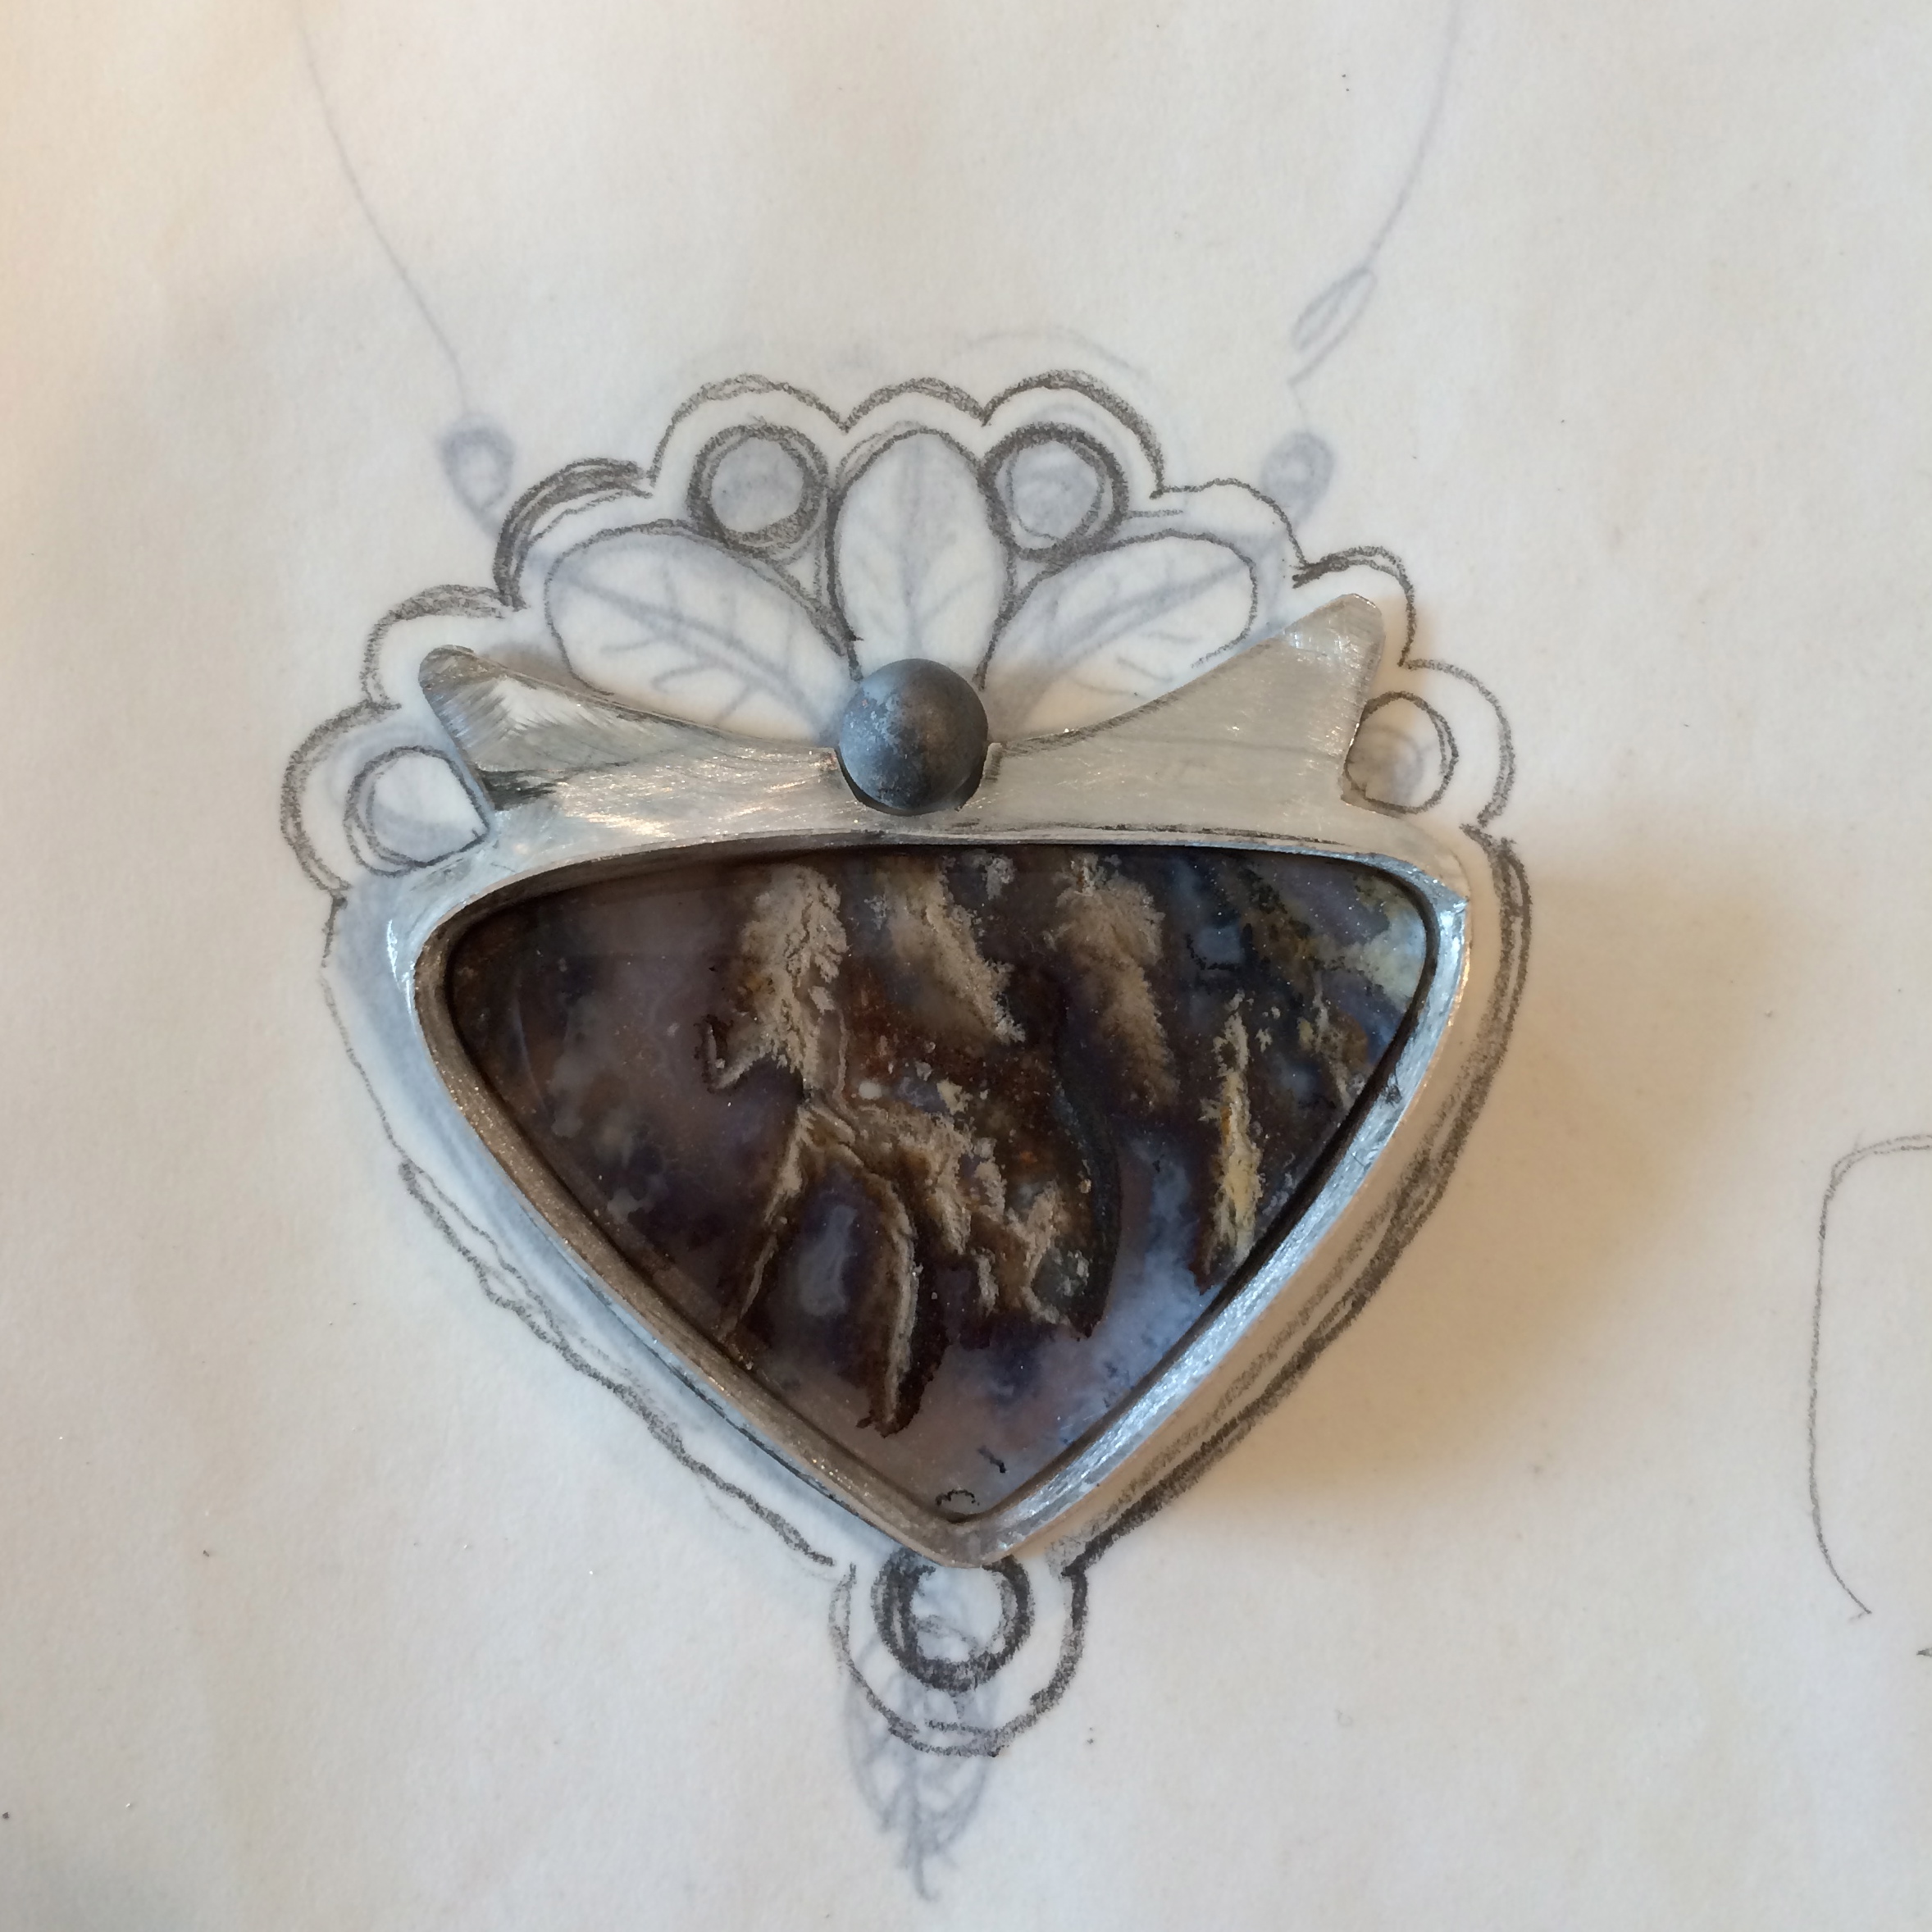
Remember.
And the soldering was just being completely, annoyingly, uncooperative.
I could have listened.
I could have saved myself a whole afternoon of trying to ignore the signs.
But, and let me ask you.
Why, if you’re heating the silver, and in fact you’re even keeping the flame exactly on one spot for the whole time and nothing’s happening, would you stop?
Why, when ordinarily the silver would melt into a blubbering heap just for even looking at the flame, would you say to yourself, hang on, something’s not right here?
Why wouldn’t you just give it up and save yourself a whole bunch of frustration and anguish of just knowing that you’ll never ever be any good at this whole soldering thing anyway so why not take up mahjong instead.
There must be a mahjong club somewhere nearby.
Why!
Because I’m bloody mindedly stubborn is why.
So this is where I ended up.
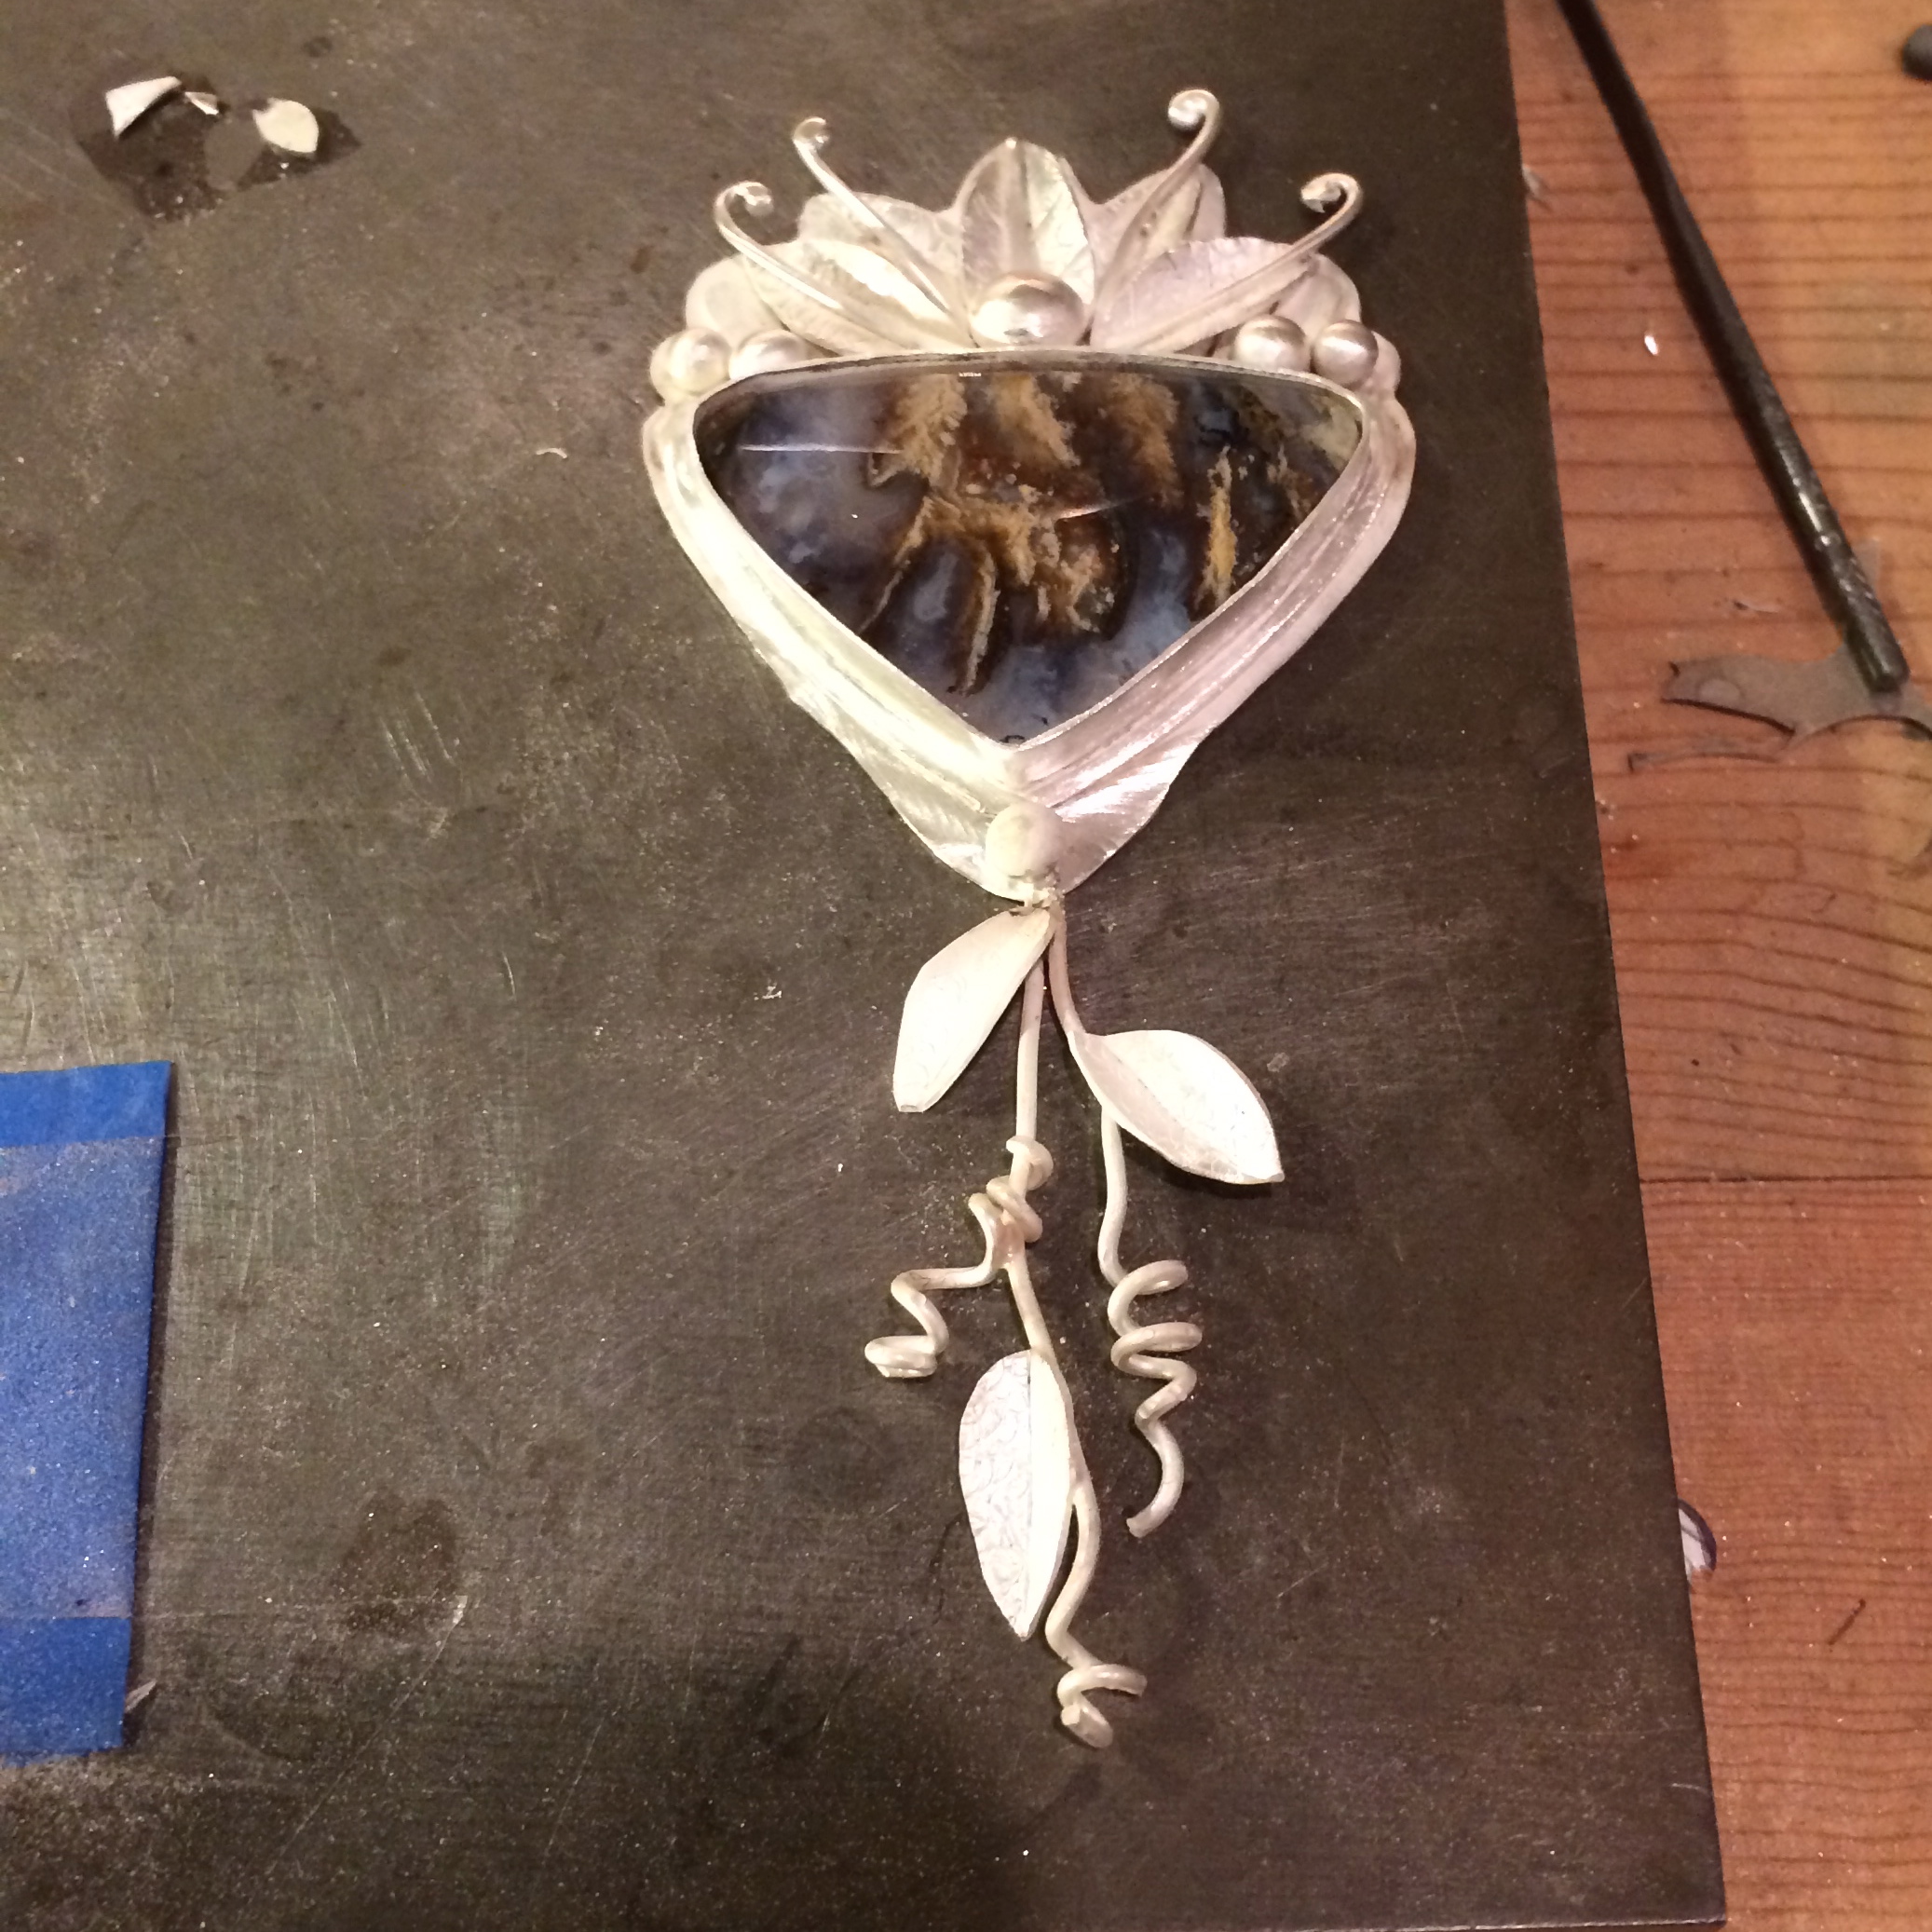
The bottom is not attached yet because of the small problem with the tank, and I’m not so sure I want to put it on there anyway as I feel I’ve taken a beautiful stone and surrounded it with my hideously bulky bezel design.
But that could just be my imminent death issues talking.
Why didn’t I think to make more friends with benefits instead of shutting myself away in the studio. Surely there’s a nice one out there with a truck who’s willing to risk their life for me.
Maybe that neighbour man with the car shop in his garage, won’t mind me giving him a quick chat up.
He knows who he is. I’ve seen his tank…
So again I say my farewells, my nice knowing yous, and I know that you’ll share my regret that even though a lot of the gadgets on Star Trek are now in popular use they never have yet caught on to the notion that a beam it up machine would be particularly handy for some of us, let’s say, more fragile souls out here.
🙁
–
–
–
But that I was afraid your computers would explode as I doodle all of the time.
Well buckle up, and perhaps you’ll want to steer clear of any electrical outlets…


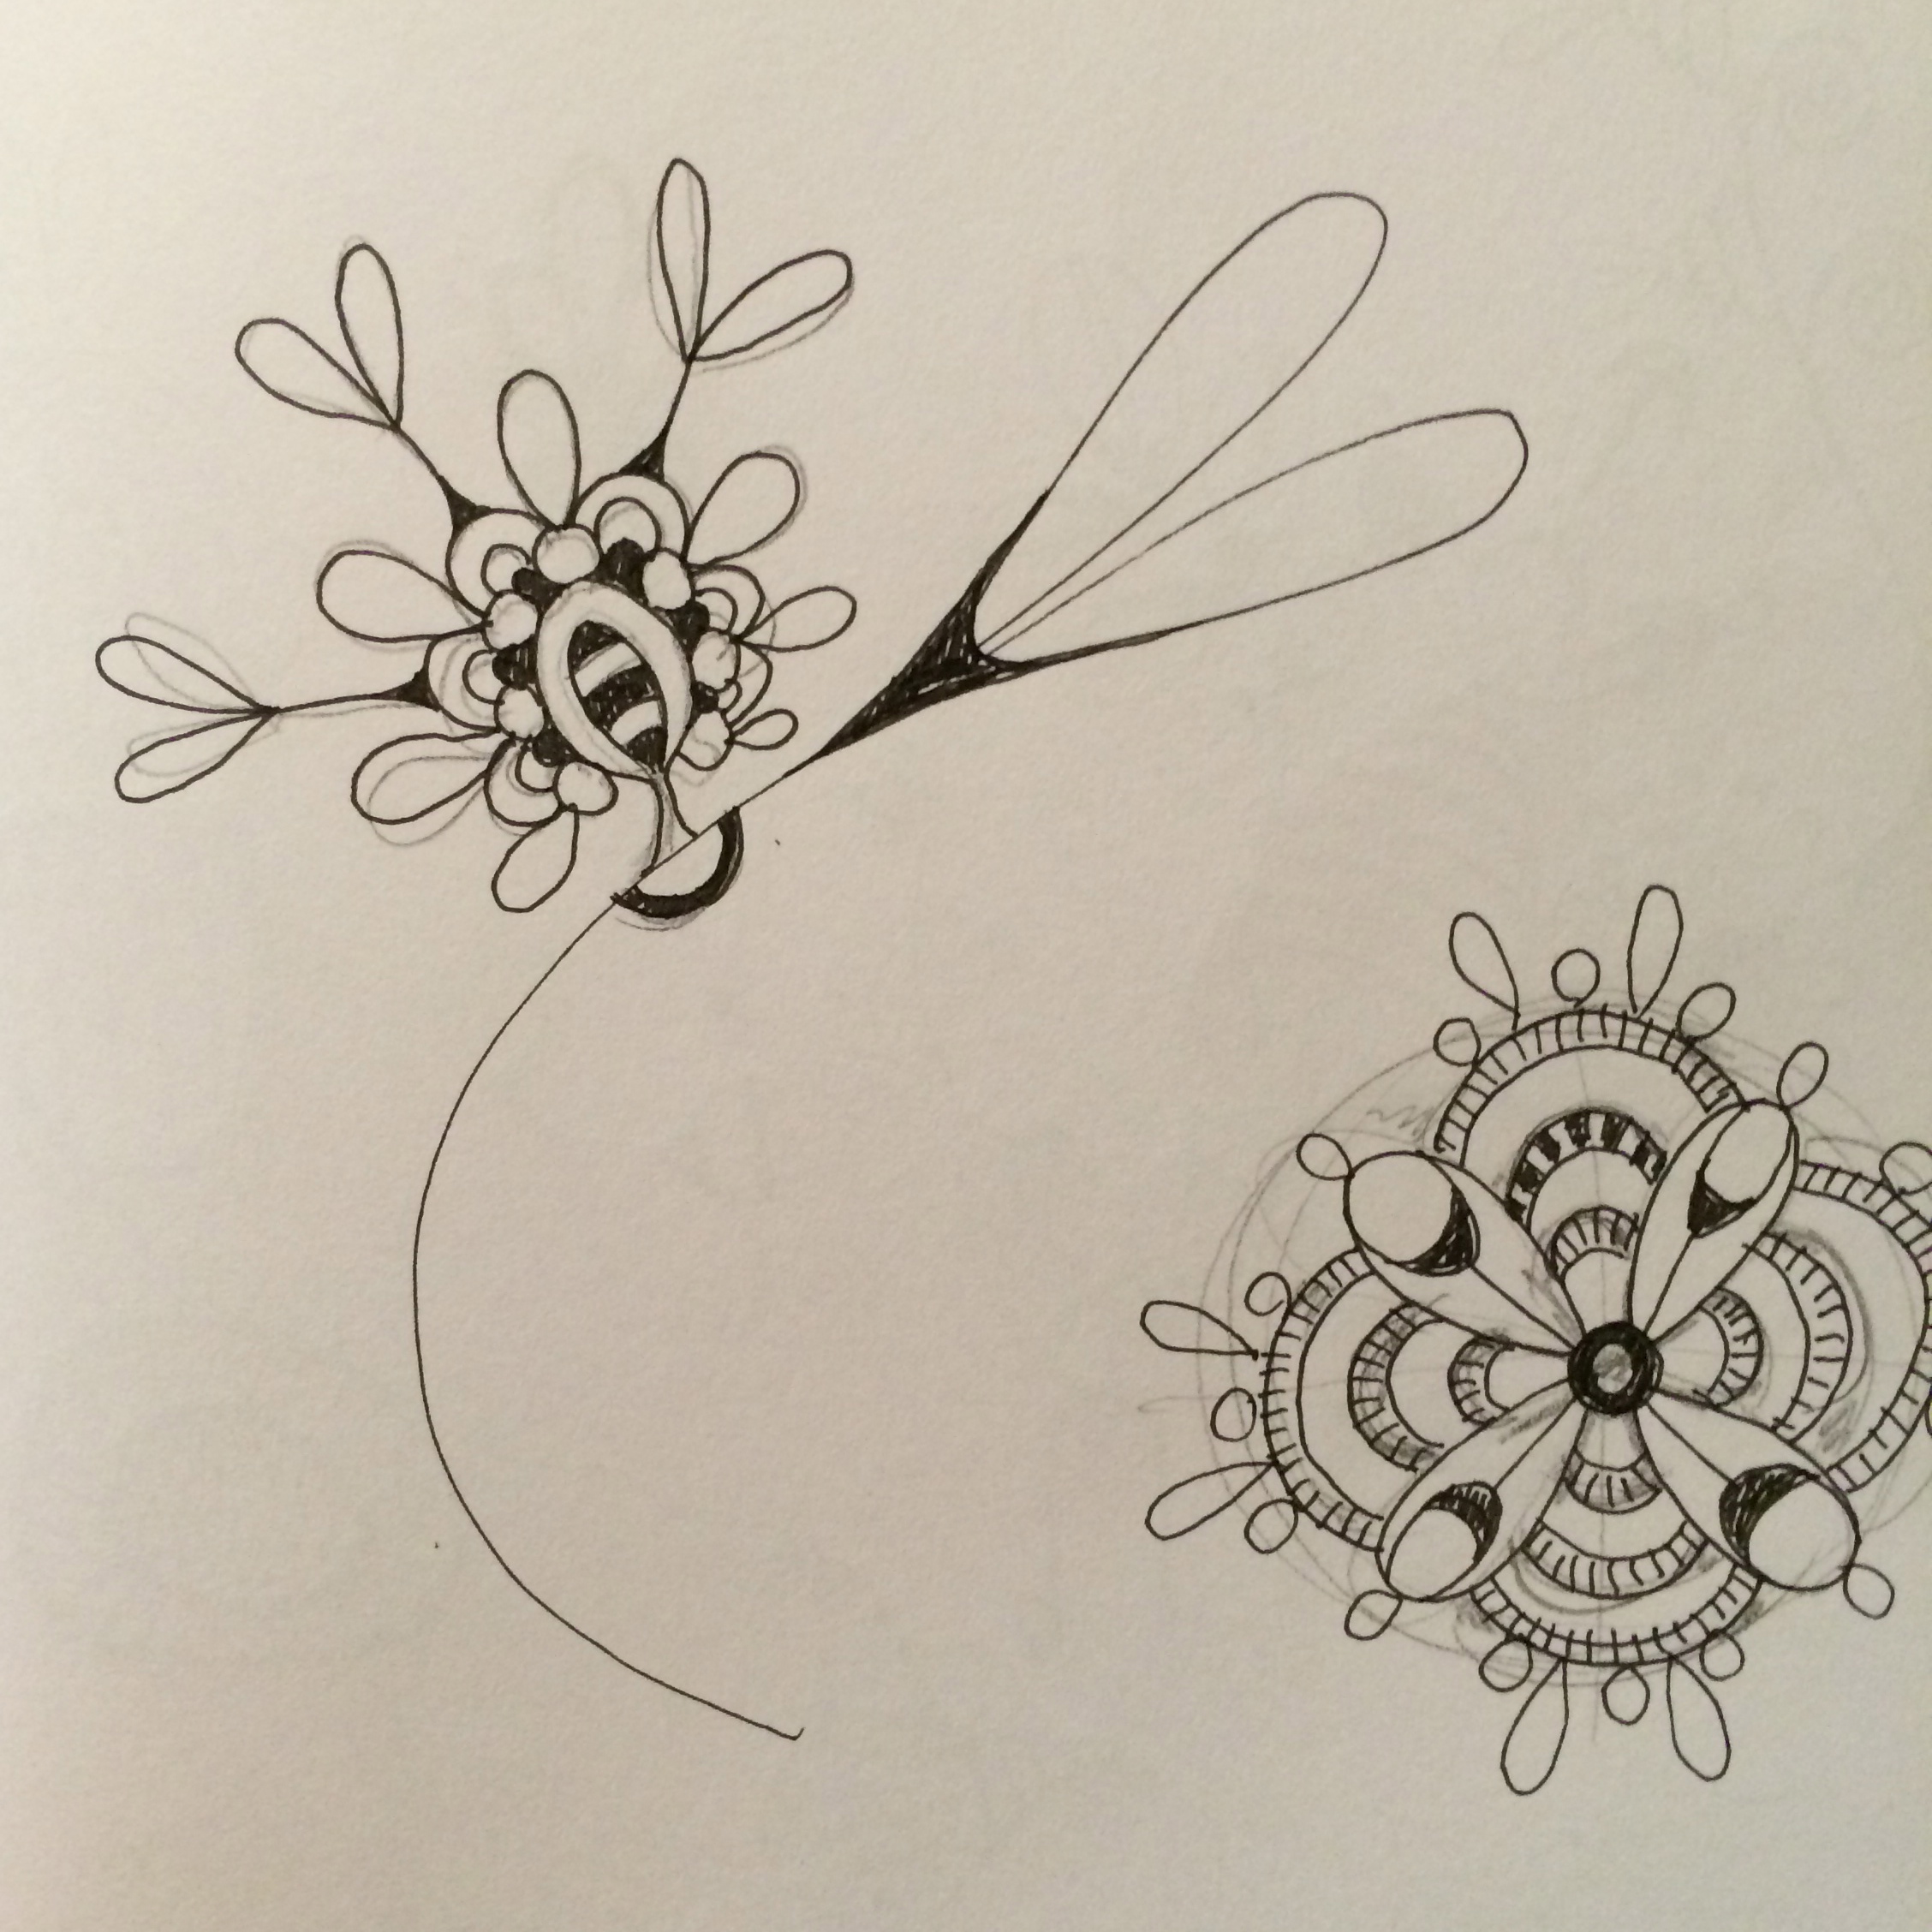

This was when I was having a little brain funk.


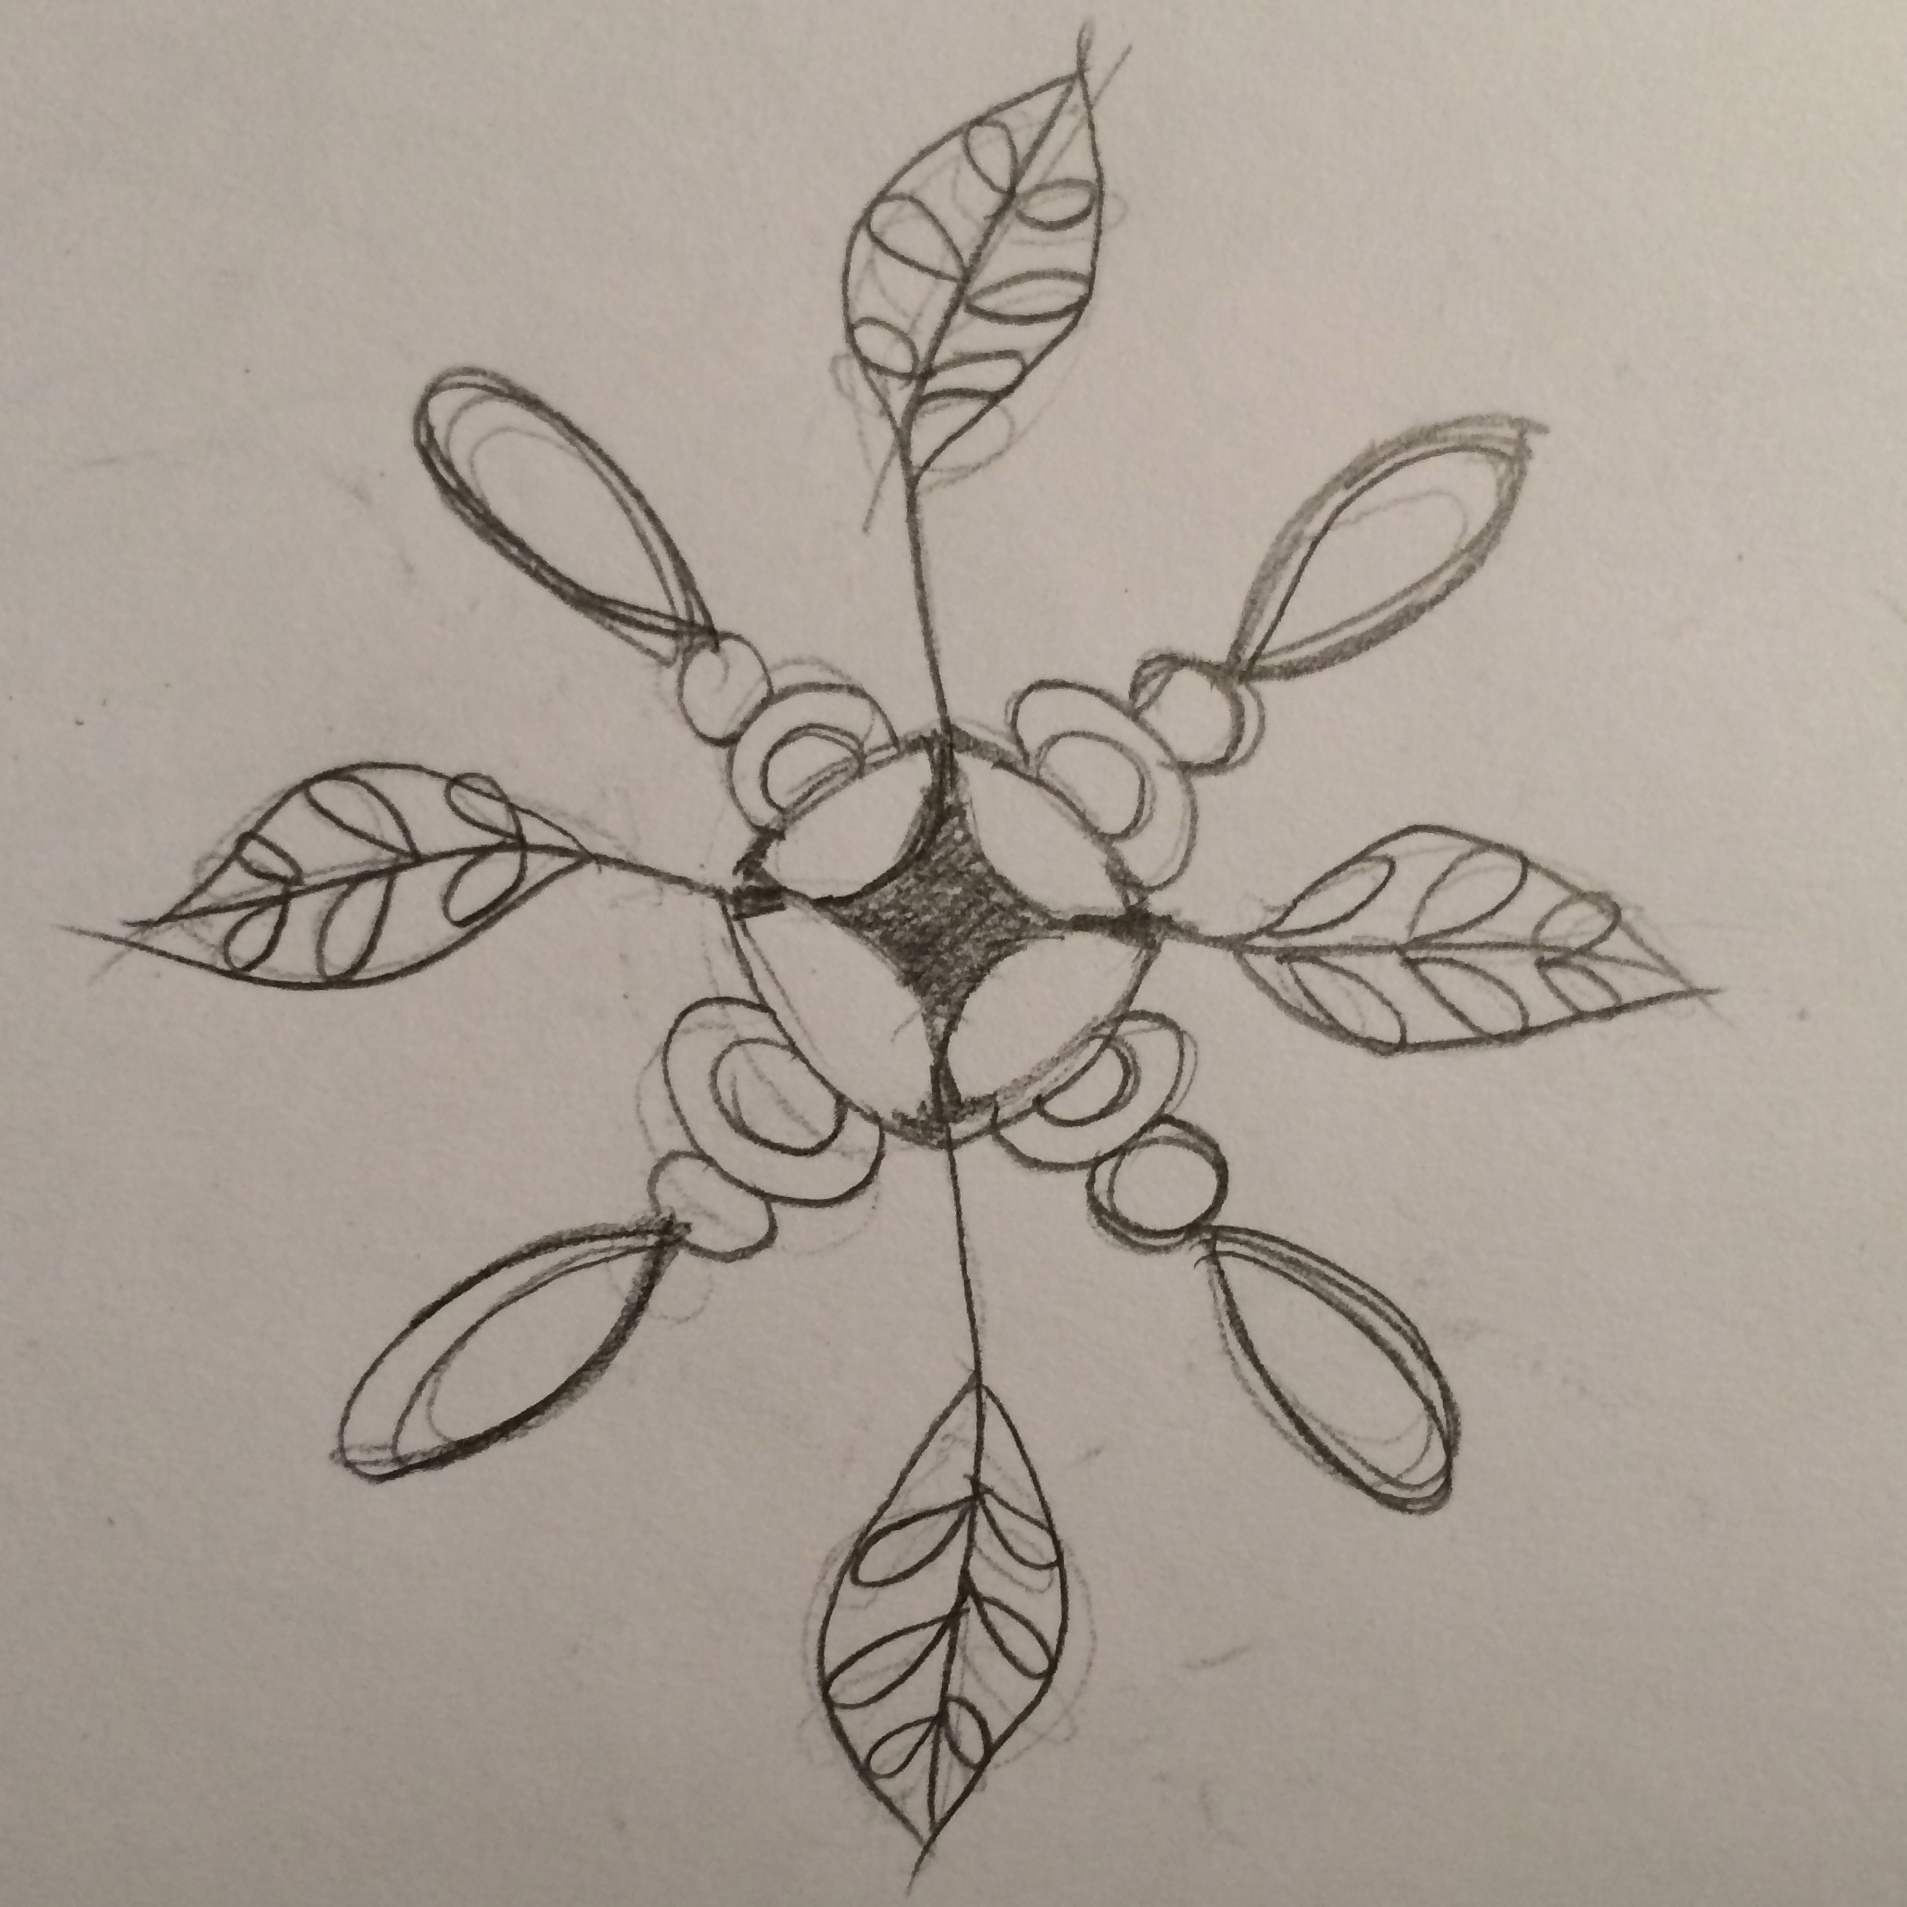
Working on my font skills.
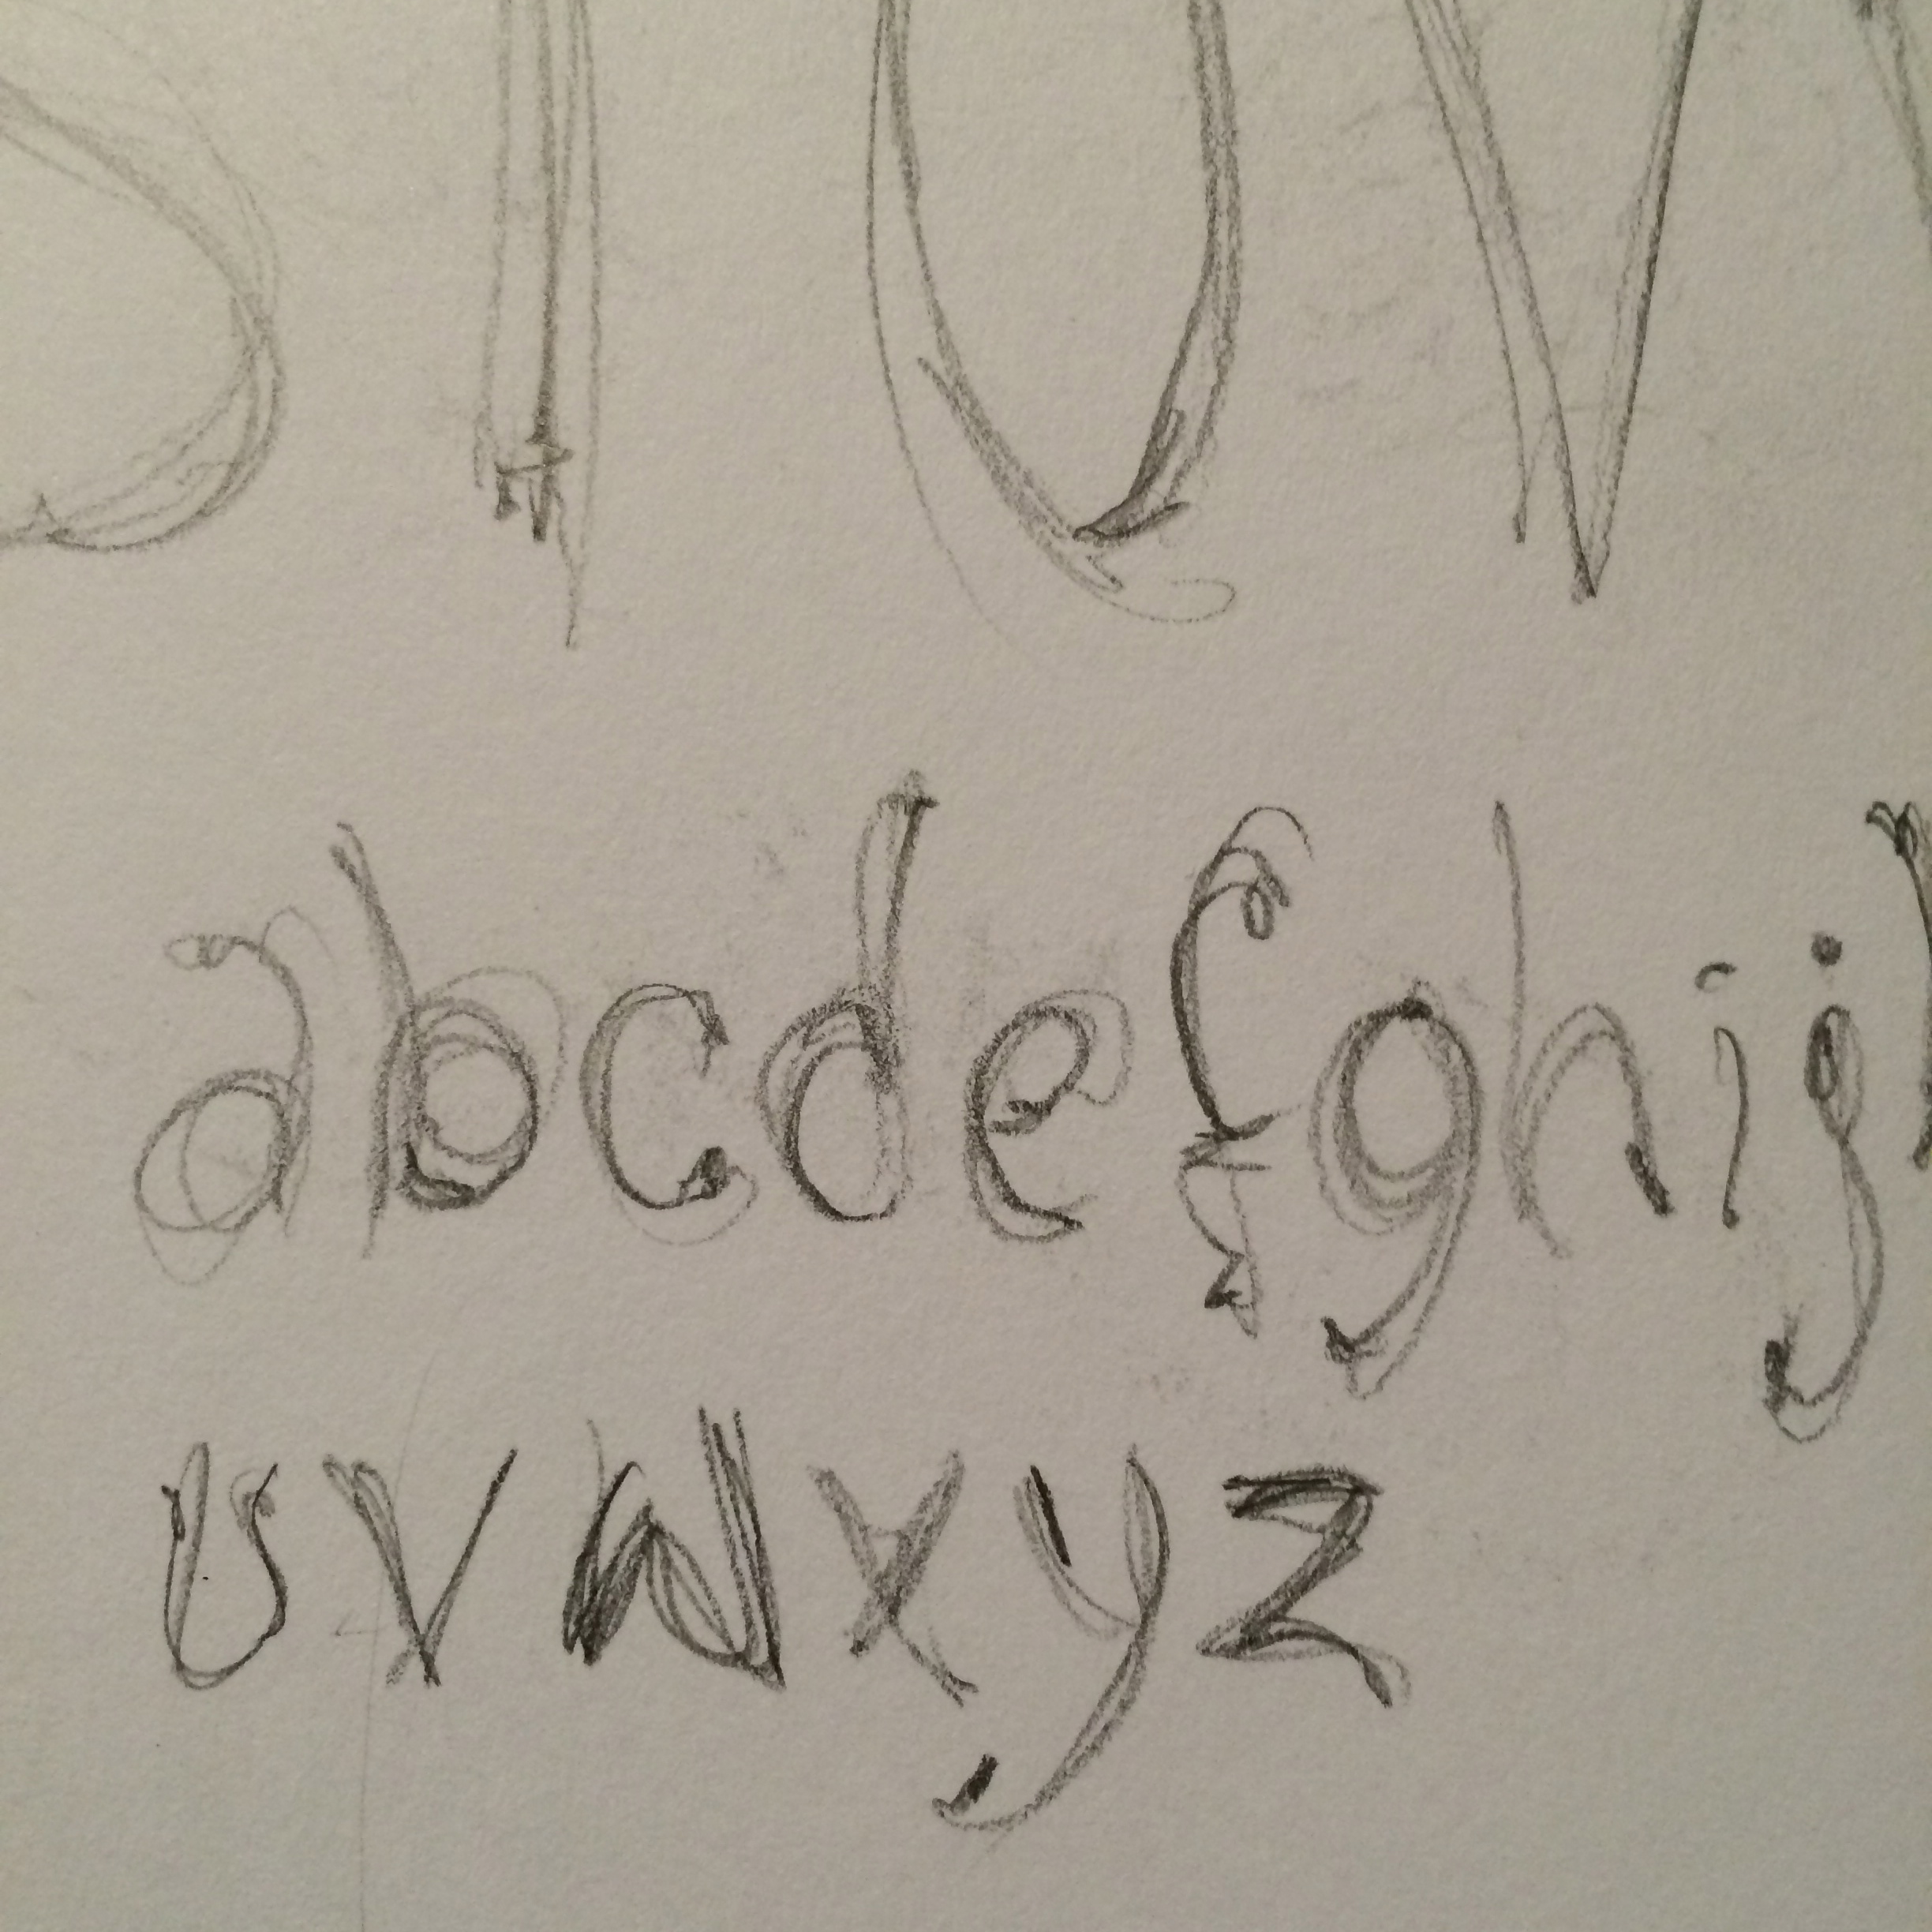


Now, you might say that they’re all the same, and you’d be right, so I don’t have anything to say about that, except that this is just a fraction of a fraction of doodles in about a couple trillion sketch books.
Before the jewelry was the pots.
Books and books of ceramic doodles.
And yes, even those doodles were similar to the jewelry ones.
It’s kind of nice to see a thread through all of my work, jewelry, pots, quilts, etc., even if they are all of these strange wacky images.
So I think you can see some of my jewelry in these doodles.
This is going to be today’s attempt.

Oh, and this was yesterdays.

But I’m hoping not to make anything like that one again as it’s horrible.
Onwards and upwards people.
We have a world to save…
–
–
–
I am back in the saddle.
If you’ve forgotten, here is a view of the central control station.
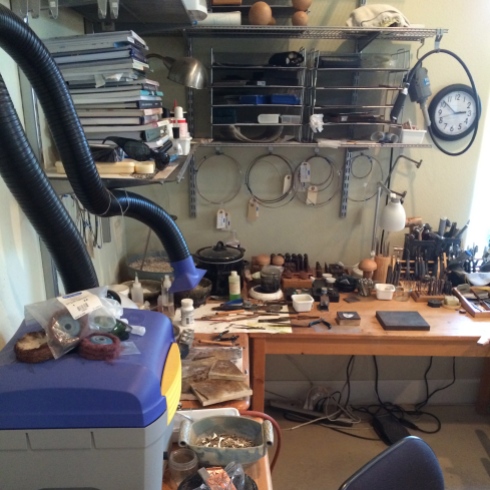
Where all of the good stuff happens.

And some of the bad.
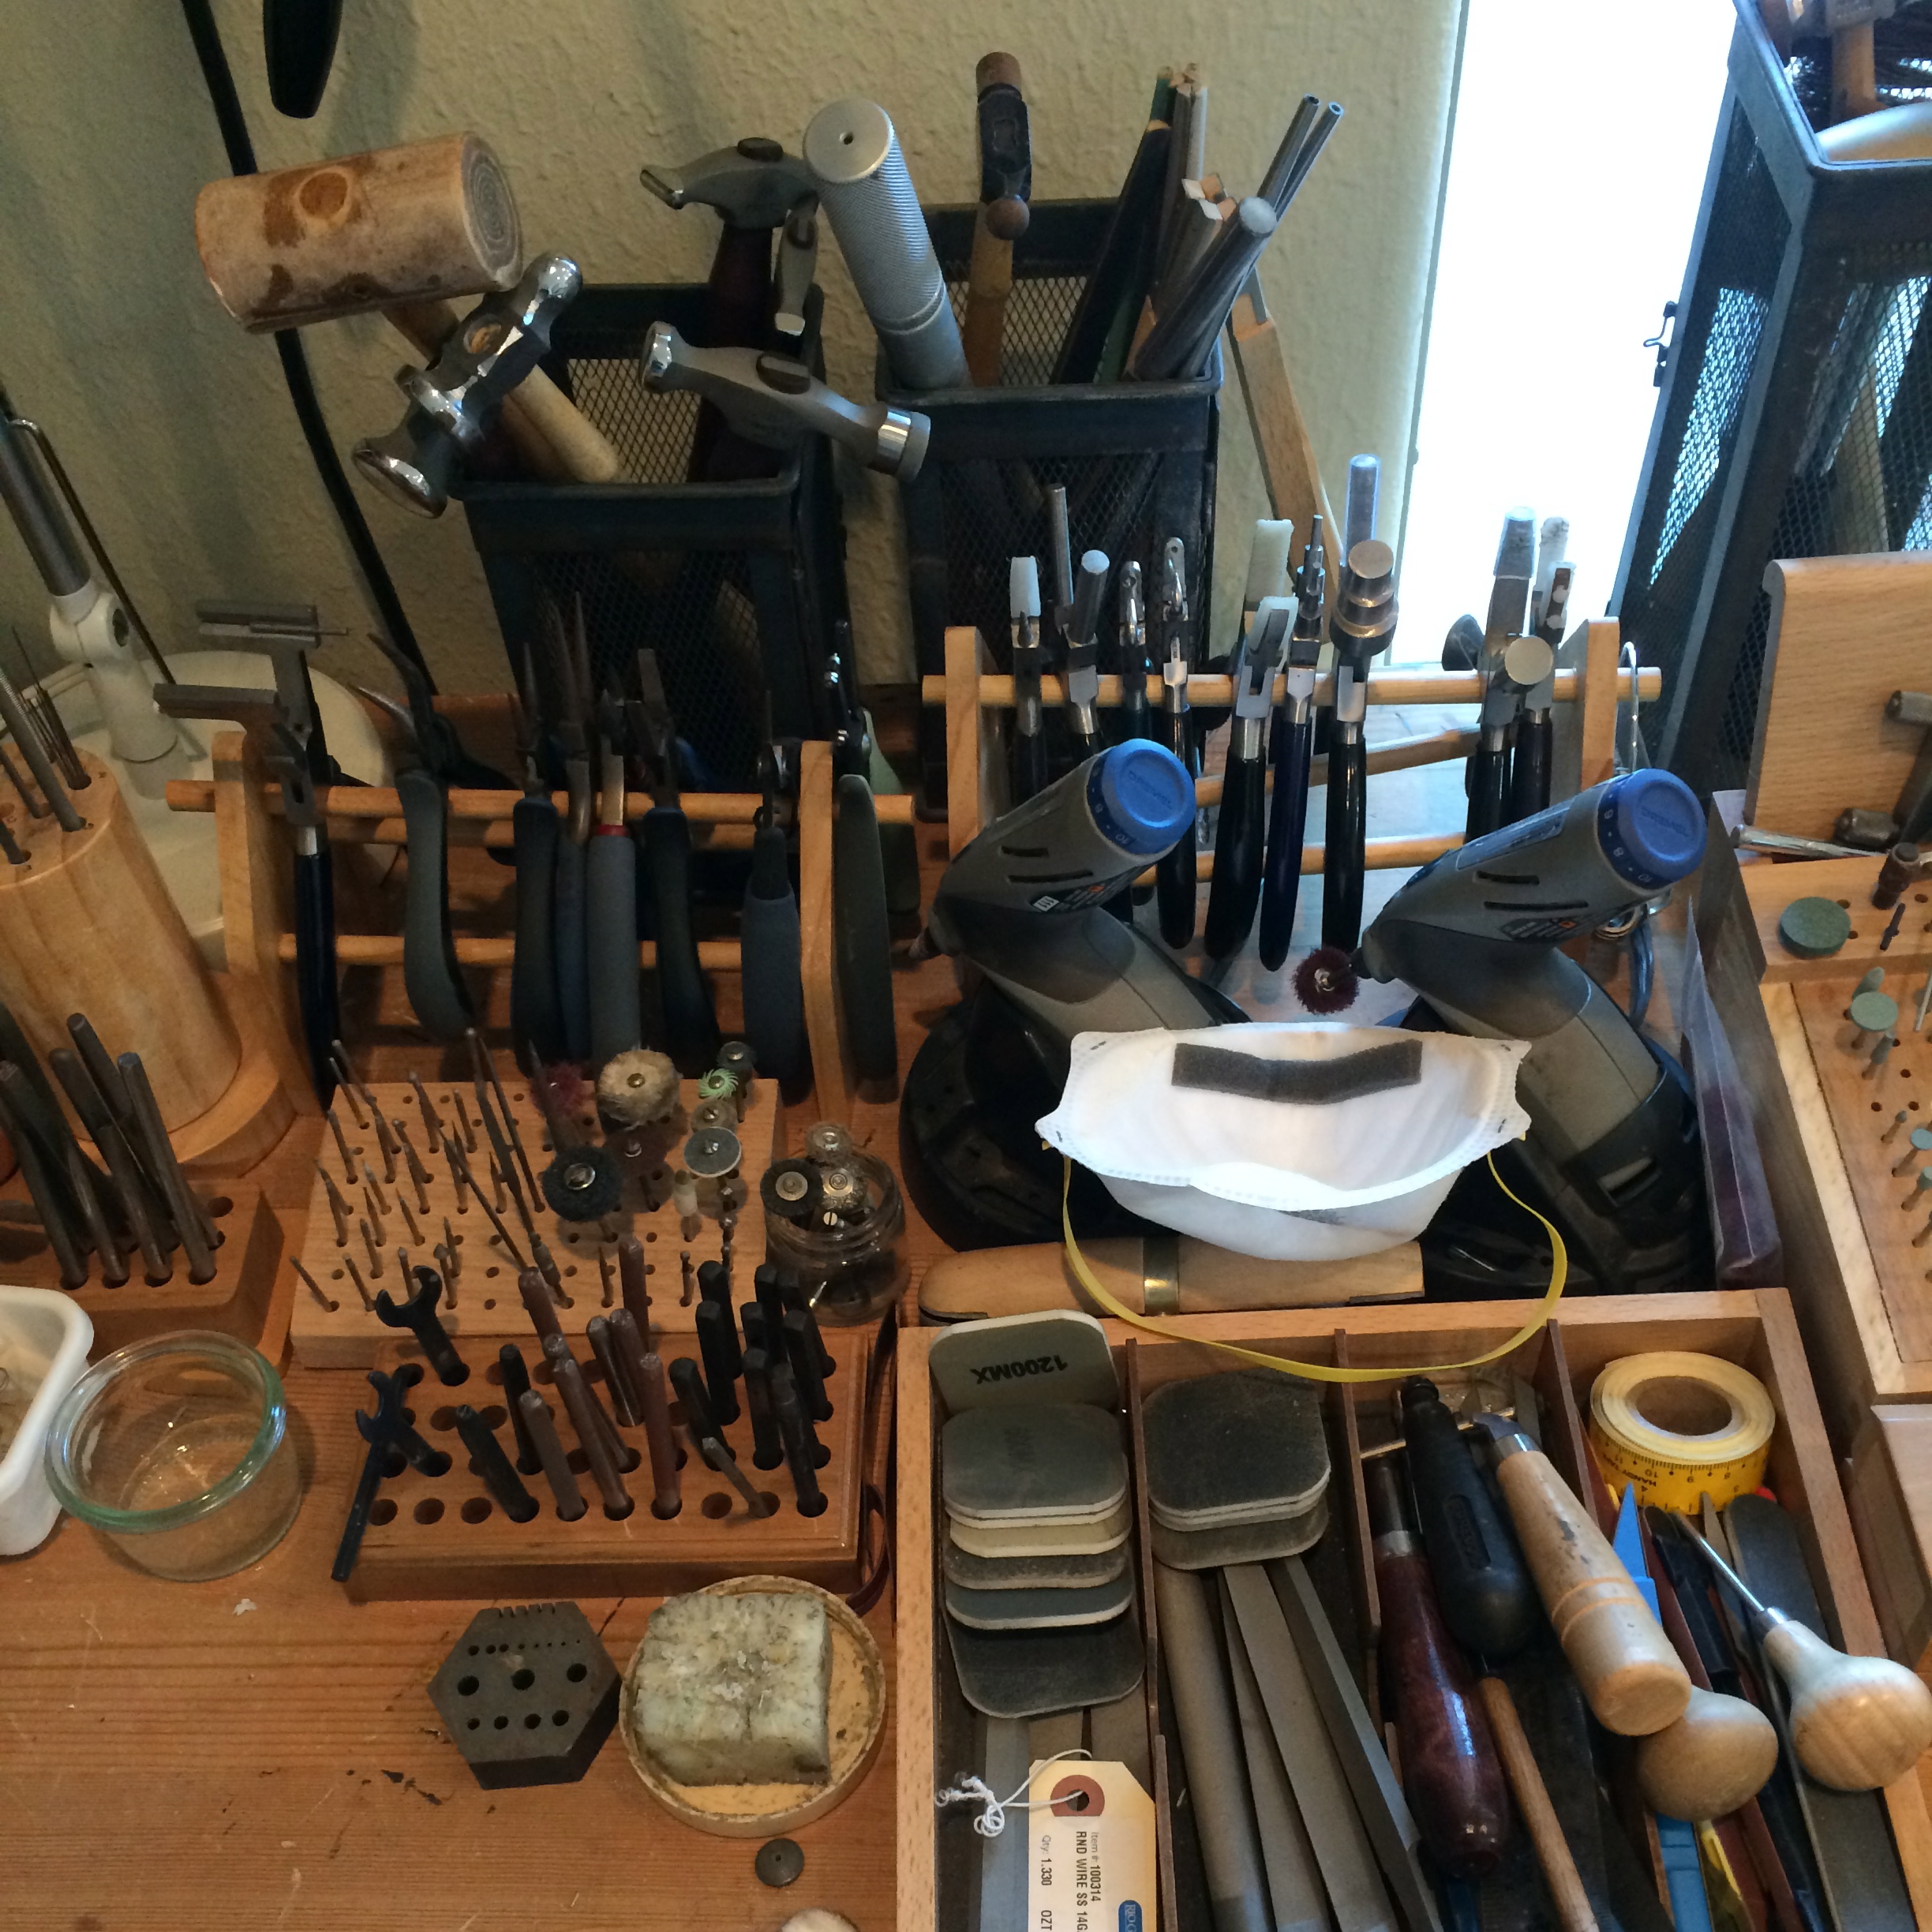
All nice and tidy and ready and waiting.

I keep thinking I would like to get myself a proper jewelry bench.
I like the idea of getting a benchmate system, and having my work right there in front of me with an area to catch all of the droppings.
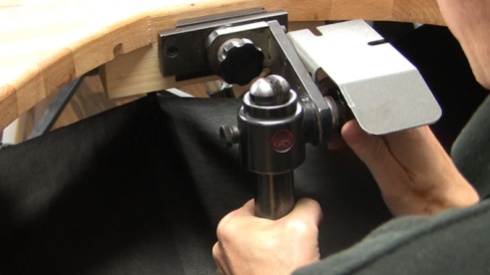
But, I like my table, and I don’t think I necessarily want to do everything at shoulder height.
When I do want to do things more at eye level I have my super eye level descending chair to fall back on.

With its cunningly clever descender lever which can instantly take me from this

to this
in the blink of an eye.
A much cheaper solution.
However I might soon have to invest in a more expensive super eye level descending chair as the one I purchased from target for $25 is beginning to adjust itself whenever it chooses to, and I find that unbeknown to me I’ve gradually been lowered at an imperceptible rate until I’m at a, hang on what’s happening here, height to the floor.
Which always surprises me that I haven’t noticed until either P comes in to bring me a cup of tea or, more likely, ask me when the h*@# I’m coming in for the night, or suddenly something just doesn’t feel right.
It’s at this point that I feel either supremely proud of my clever improvisation, or slightly embarrassed as it seems I’ve unwittingly become the height of a small elf…
Here’s the run down on my first day at my table.


If you’re wondering, I’d put too much flux on the piece here.
Veritably flooded it actually.
Oh well… life goes on.


🙂
–
–
The MIL has gone.
She left on Saturday and has returned home to the freezing cold and fog of London, but at least we had half prepared her for the weather as even here, in Houston, it’s been a bit chilly.
By the way, fog is one of my favourite weathers.
I love it.
You feel all safe and muffled.
Well I do anyway. Of course, you wouldn’t want fog all of the time, but it is kind of comforting, walking around in your own little bubble of nothing.
In my book fog is up there with mushrooms and parsnips.
That’s as far as my cold riddled brain can think right now, but I think I’ll compile a list of my all time favourite things.
Just so I know.
Yep, I have my yearly cold.
It’s been lingering for over a week now, but I’m only feeling a little sorry for myself as half the time I can’t be bothered to be bothered about it. I’m looking forward to too many things to do much wallowing right now.
What else?
The Christmas decorations went down yesterday with some lingering on for today. The MIL, P and I were arguing about exactly when they should come down. P and I said the 5th and the MIL said the 6th. Somewhere in there the 7th was bandied around, but I can’t remember why although I think it might have something to do with the Wise Men getting lost.
So I looked, and what’ya know the MIL was right.
Hate it when that happens.
Turns out I was including Christmas Day when we should have started counting from the day after, on Boxing Day.
Unless you’re Church of England when the twelfth IS considered the 5th – (or vise versa). In which case she was wrong.
Love it when that happens.
AND she was double whammy wrong as she’s Church of England also.
Not cool MIL. Not cool.
Well, as it happens, I’ve been taking mine down on the 5th ever since I’ve been decorating, because, and don’t ask me why except the nice people on Wikipedia know but aren’t telling, it’s bad luck for them to be up for even one day over.
And I’m not into bad luck, but…
and I’m very sorry about this for all concerned, getting back to the 7th, it seems that, according to one telling, all this time I’ve been hindering the Wise Men from finding their way home…
Man!
Not that wise then, if you ask me…
–
–
–
I had to have a bit of a tidy up yesterday as it was all getting out of control.
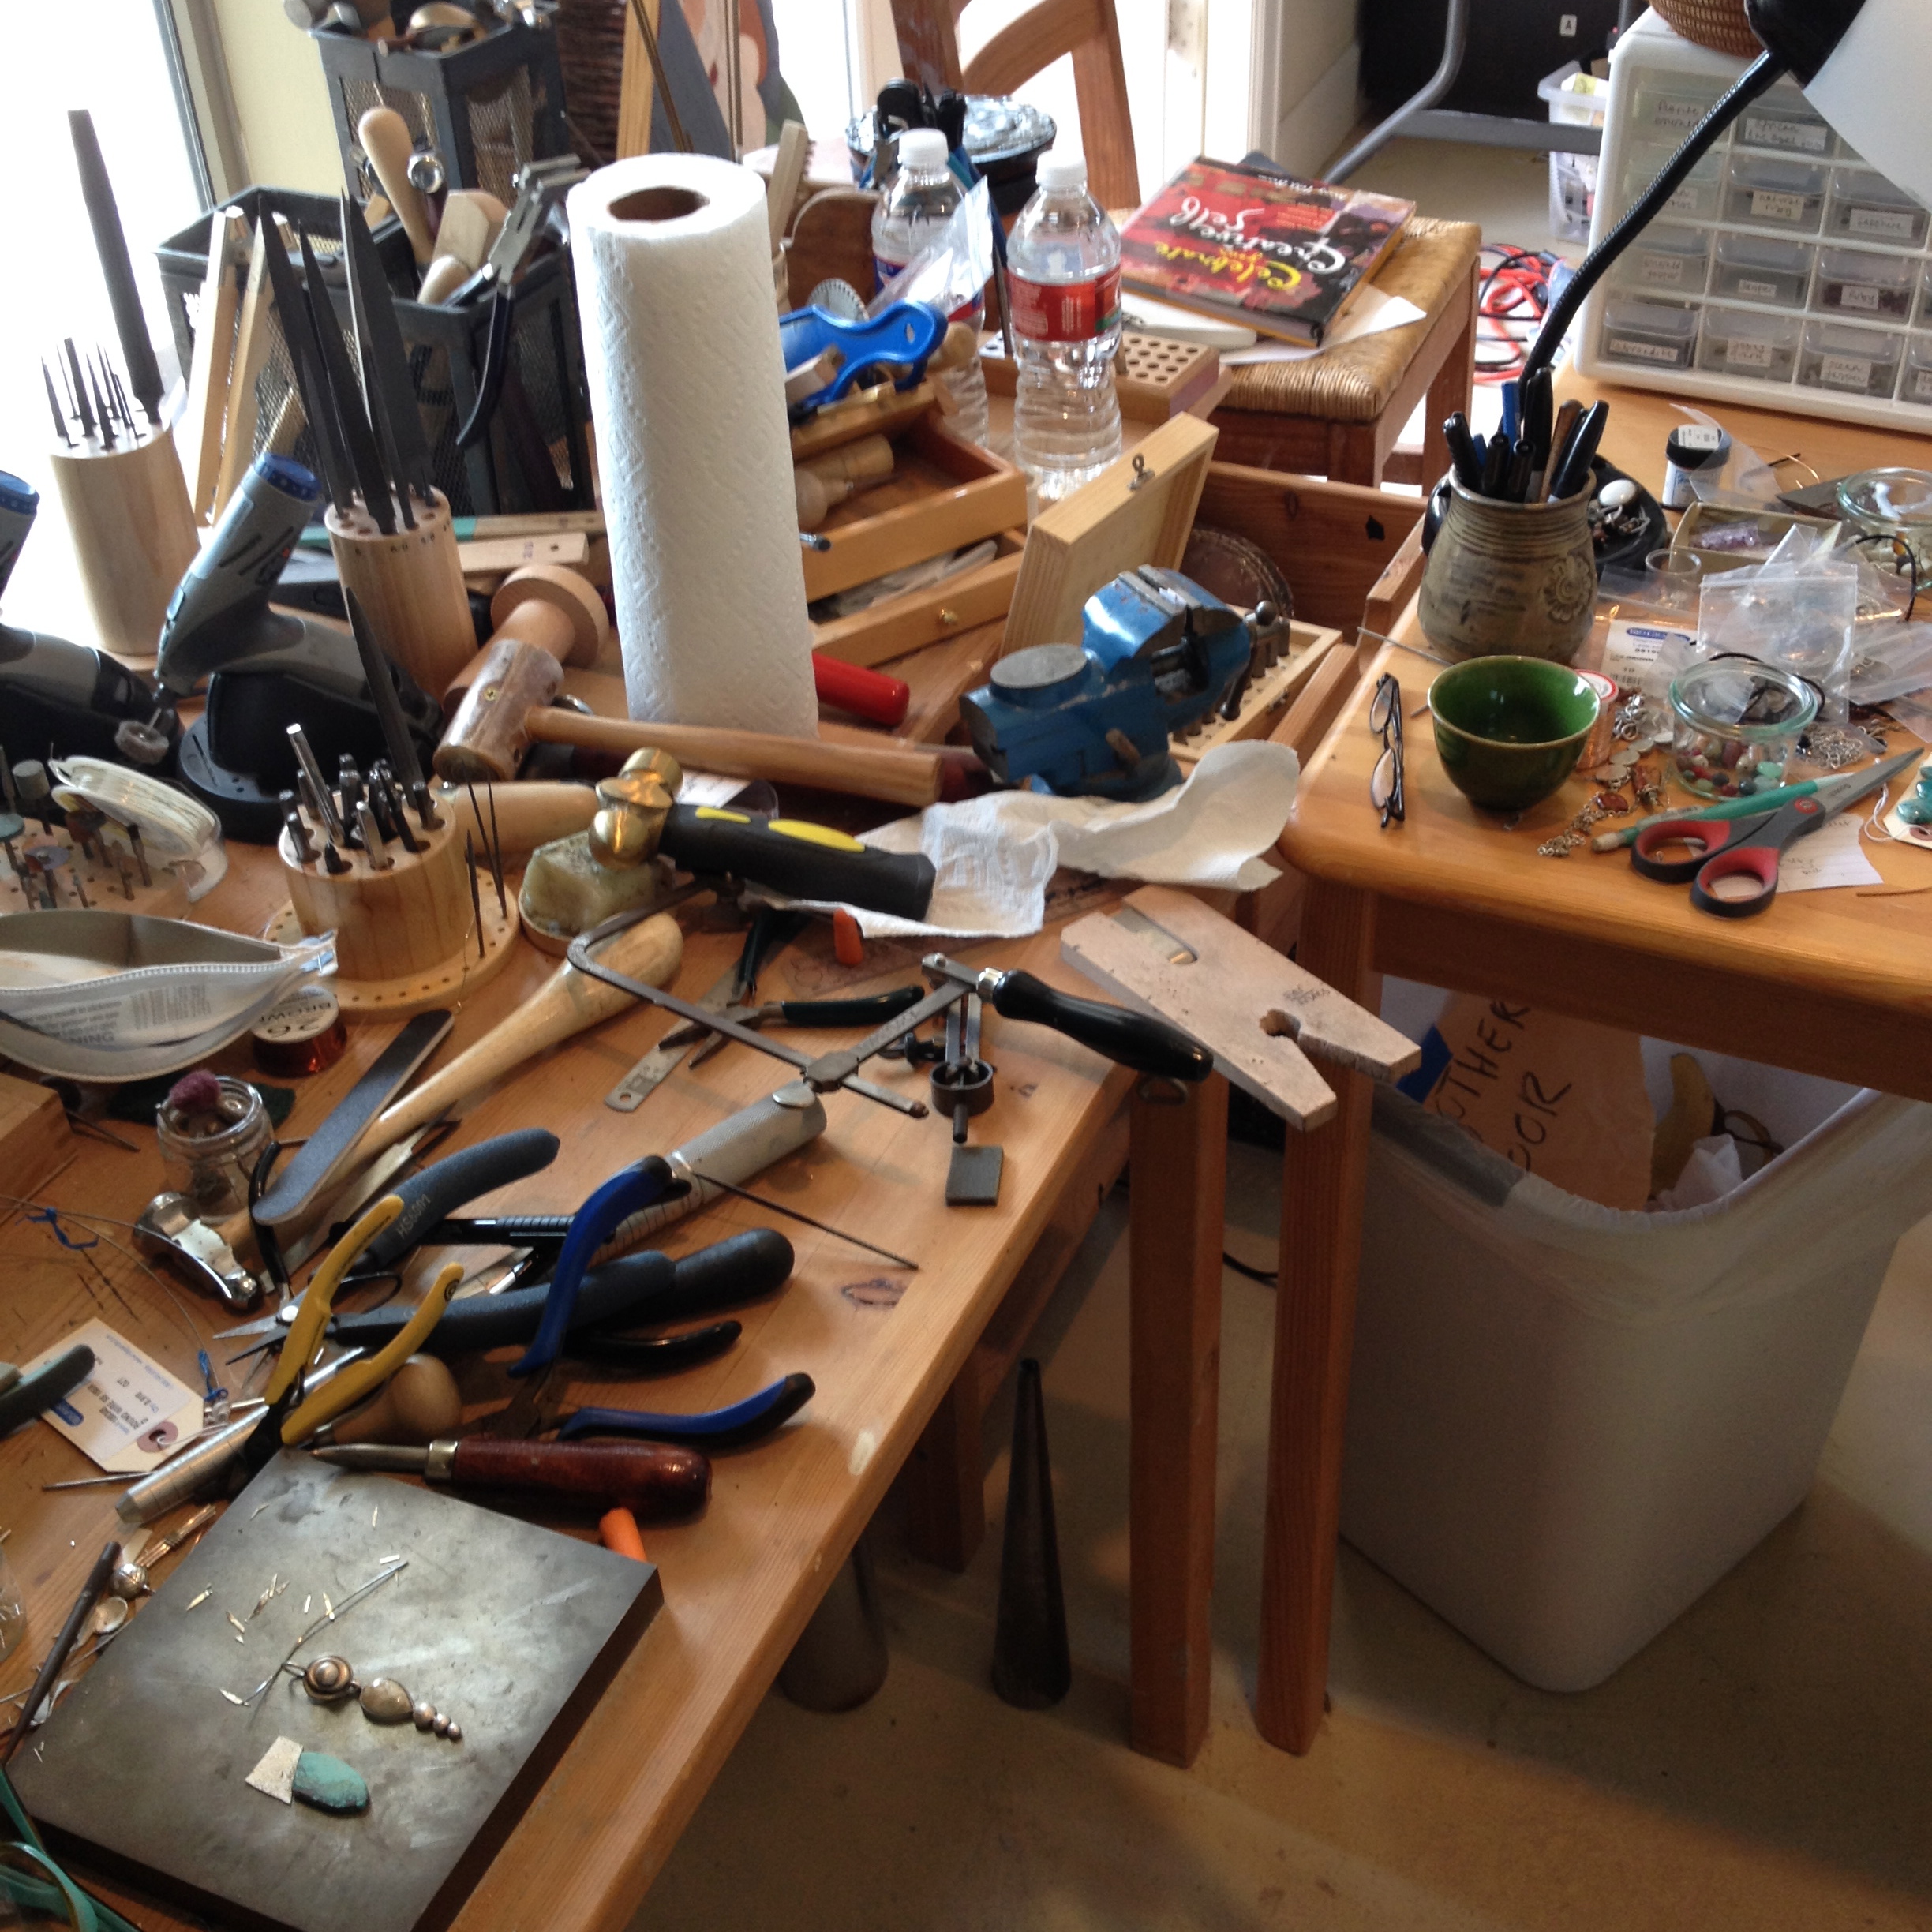
Even I can’t operate under these conditions, and, believe me, I tried.
I truly think that this is what my brain looks like. Cluttered with everything going on at once. No wonder I get nothing done.
I have to ignore the outside world just to survive.
Now it looks a little calmer.
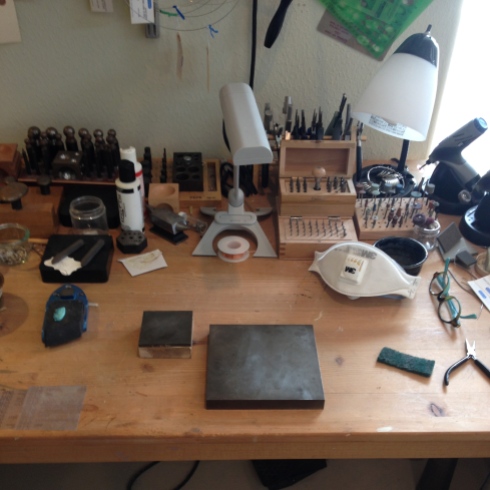
I can feel my anxiety settling down as I look at it.
A couple of deep breaths and now I’m ready to perform surgery.
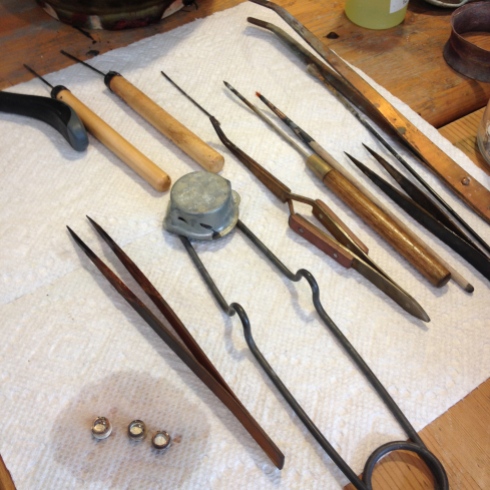
God that’s organized!
Even the, lets pile everything on here because I don’t know what to do with it, table is looking spiffy.

I’ve almost frightened myself now.
Except for this complete and utter mess I could almost consider myself cured.

Oh well.
(No hope for the wicked).
P.S. Just so you know, the turquoise is causing trouble.
To be fair, the turquoise is set nicely, but the design just isn’t doing anything for me.
Have to have a rethink.
However, I did make a nice pair of earrings which I also had a lot of trouble with but I enjoyed figuring out.
I’m never going to make any money from doing this stuff as it takes me all day to make anything worthwhile.
It’s all in the process though, and, (thank heavens), I enjoy that.
–
Here are the earrings.

Every time I soldered something new onto them, something else popped off. I really should start using the medium solder as well as the easy solder. I have it but … (I was going to give you a reason for not using it but honestly don’t have one. It’s hanging on its hook all ready and waiting).
Also, one of the gems popped out when I thought I’d finished with them. I think I’m a little too gentle with setting them. It worries me that I’m going to scratch them. I think the more I do it the more confident I’ll get, however, so I’m not too concerned.
Practice, practice, practice …
–
I’m going to try to make this today.
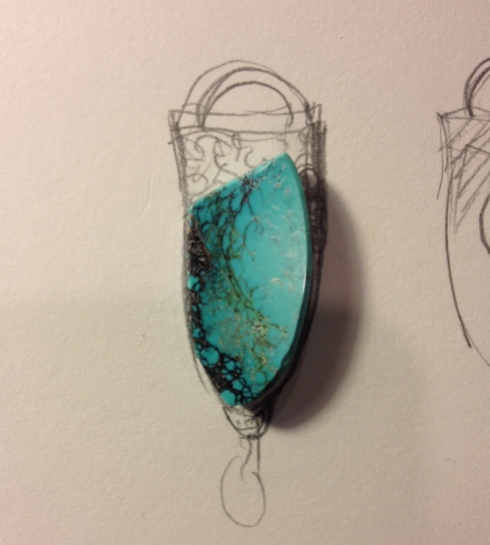
I started it last night, but it all started to go to pot and I decided to call it a day.
It’s a beautiful piece of turquoise. The colour is just stunning. Seems a shame to mess it up with my design but, as usual, I just can’t help myself.
I’ve made a few other pieces, but have yet to take some pics of them so I’ll get back to you on that.
I’ve started taking Willow into the studio with me because she just barks and barks when I leave her in the back garden, and I can’t trust her alone in the house because Pickles hates her and is on a mission to kill her. But I don’t think she likes it. I don’t know if it’s the noise I make, or that she’s simply bored, but she just sits and stares at me the whole time.
It’s not very relaxing when the dog’s not relaxed, and because she sits so close to me I get worried that I’m going to roll into her with my wheely chair. It’s all worry.
I’ve taken in her bed. Her chews. Nothing works.
It makes me feel bad.
And this cat, one of four strays in the back garden, just sits and looks at me also.
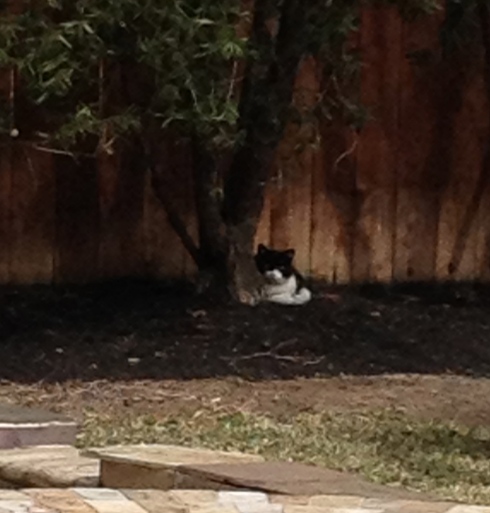
It’s a getting a little freaky.
Look at him. This could easily be a Stephen King moment.
Sooo,
That’s what I’m off to do today. Hopefully the soldering won’t be as completely disastrous as it was last night and I’ll be able to set the turquoise. If not, I’m just going to have to give it up and join the freaky cat and sit in the corner of the garden until my frustration dissipates.
If he’ll have me that is.
Btw. Don’t look him in the eyes …
–
–
I thought I would show you a pic of Wally Walnut.
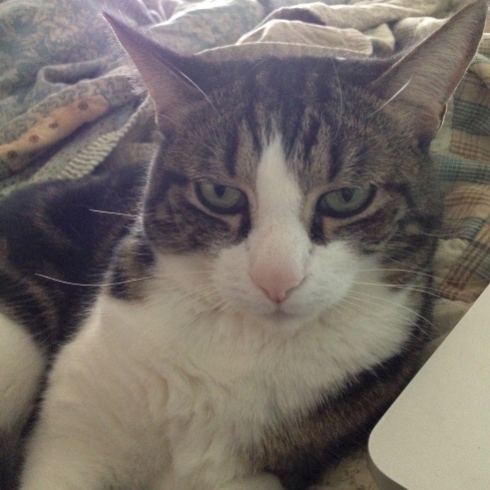
See. Depressed.
P says he always looks like this, but I know better.
Here he is in his go to, I’m feeling low, place.
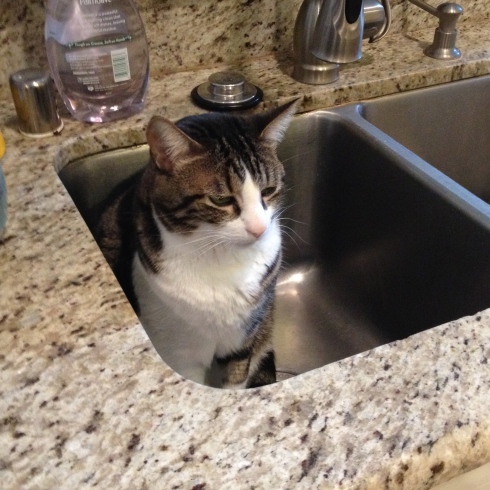
Here he is looking after his old pal.
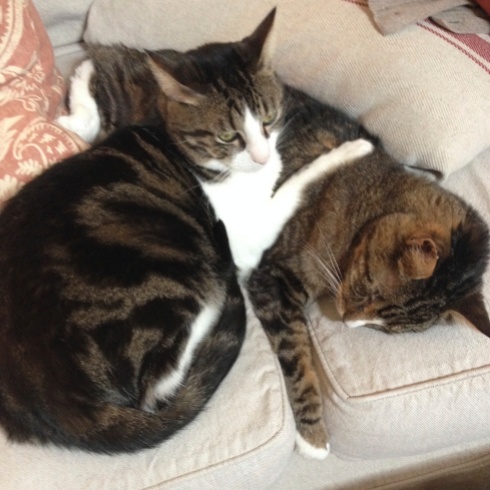
Whether he wanted looking after or not.
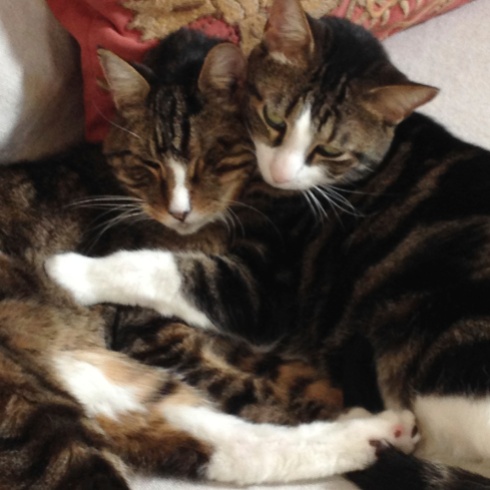
Now he’s just got me …
And Pickles.
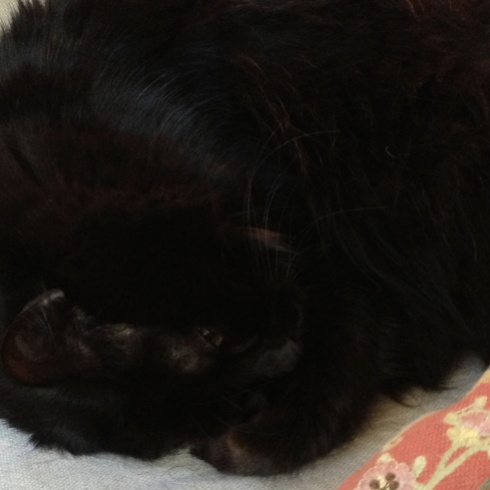
(Pickles doesn’t like you looking at her because she’s a bit fat, but we don’t talk about that.)
Which brings me to.
Don’t you think this looks a bit like the Predator?
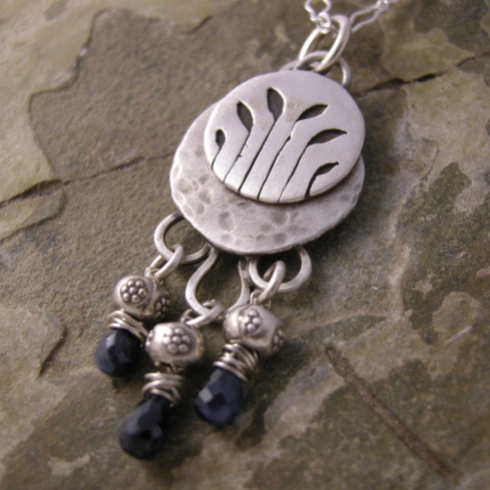

Or is it just me?
–
I’ve been cold.
Not quite as cold as some people here in the U.S., but cold enough for me.
I don’t operate well in the cold. I tend to sit and stagnate, and get colder and colder, and more and more paralyzed.
I really wouldn’t survive the End of Days when the ice covers the earth and all that terrible stuff that happens in The Day After Tomorrow. I would just lie down in the middle of the road and die.
Probably get eaten by the starving wolves first.
And then, the very next day, the sun would come out again and melt all of the ice, and if I’d only just hung on, one more day, everything would have been alright, and I would be warm and get on with my life and lived to see my grandchildren, and lived peacefully until the next disaster happened, at which point I would probably lay down and die again.
I’m a bit of a defeatist that way.
What is happening with the weather anyway.
We’re freezing. California’s droughting, and England’s sinking. And that’s not including the rest of the world.
Really best just to stay in bed.
Other news.
I had to say goodbye to Spencer the One Eyed Wonder.

He had a good life.
Look at that eye. He might just have had one, but it was a beautiful one.
And I’ve been painting.
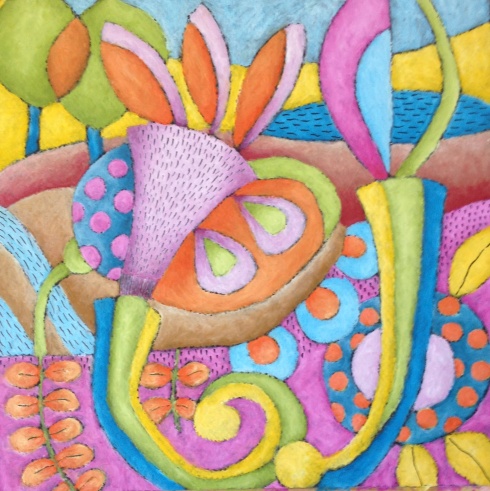

Most of them aren’t finished because I’ve given up painting again.
I’m not good at it.
But look at this one by Jean Miro.

Why is this one good 🙁
I do like Jean Miro though.

Big difference here.
So, it’s back to the jewelry for me.
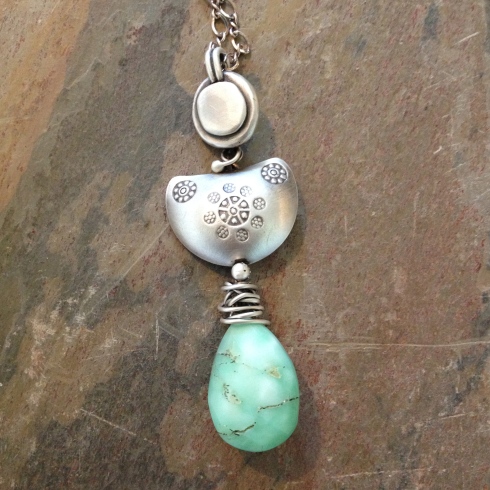
This is Chrysoprase.
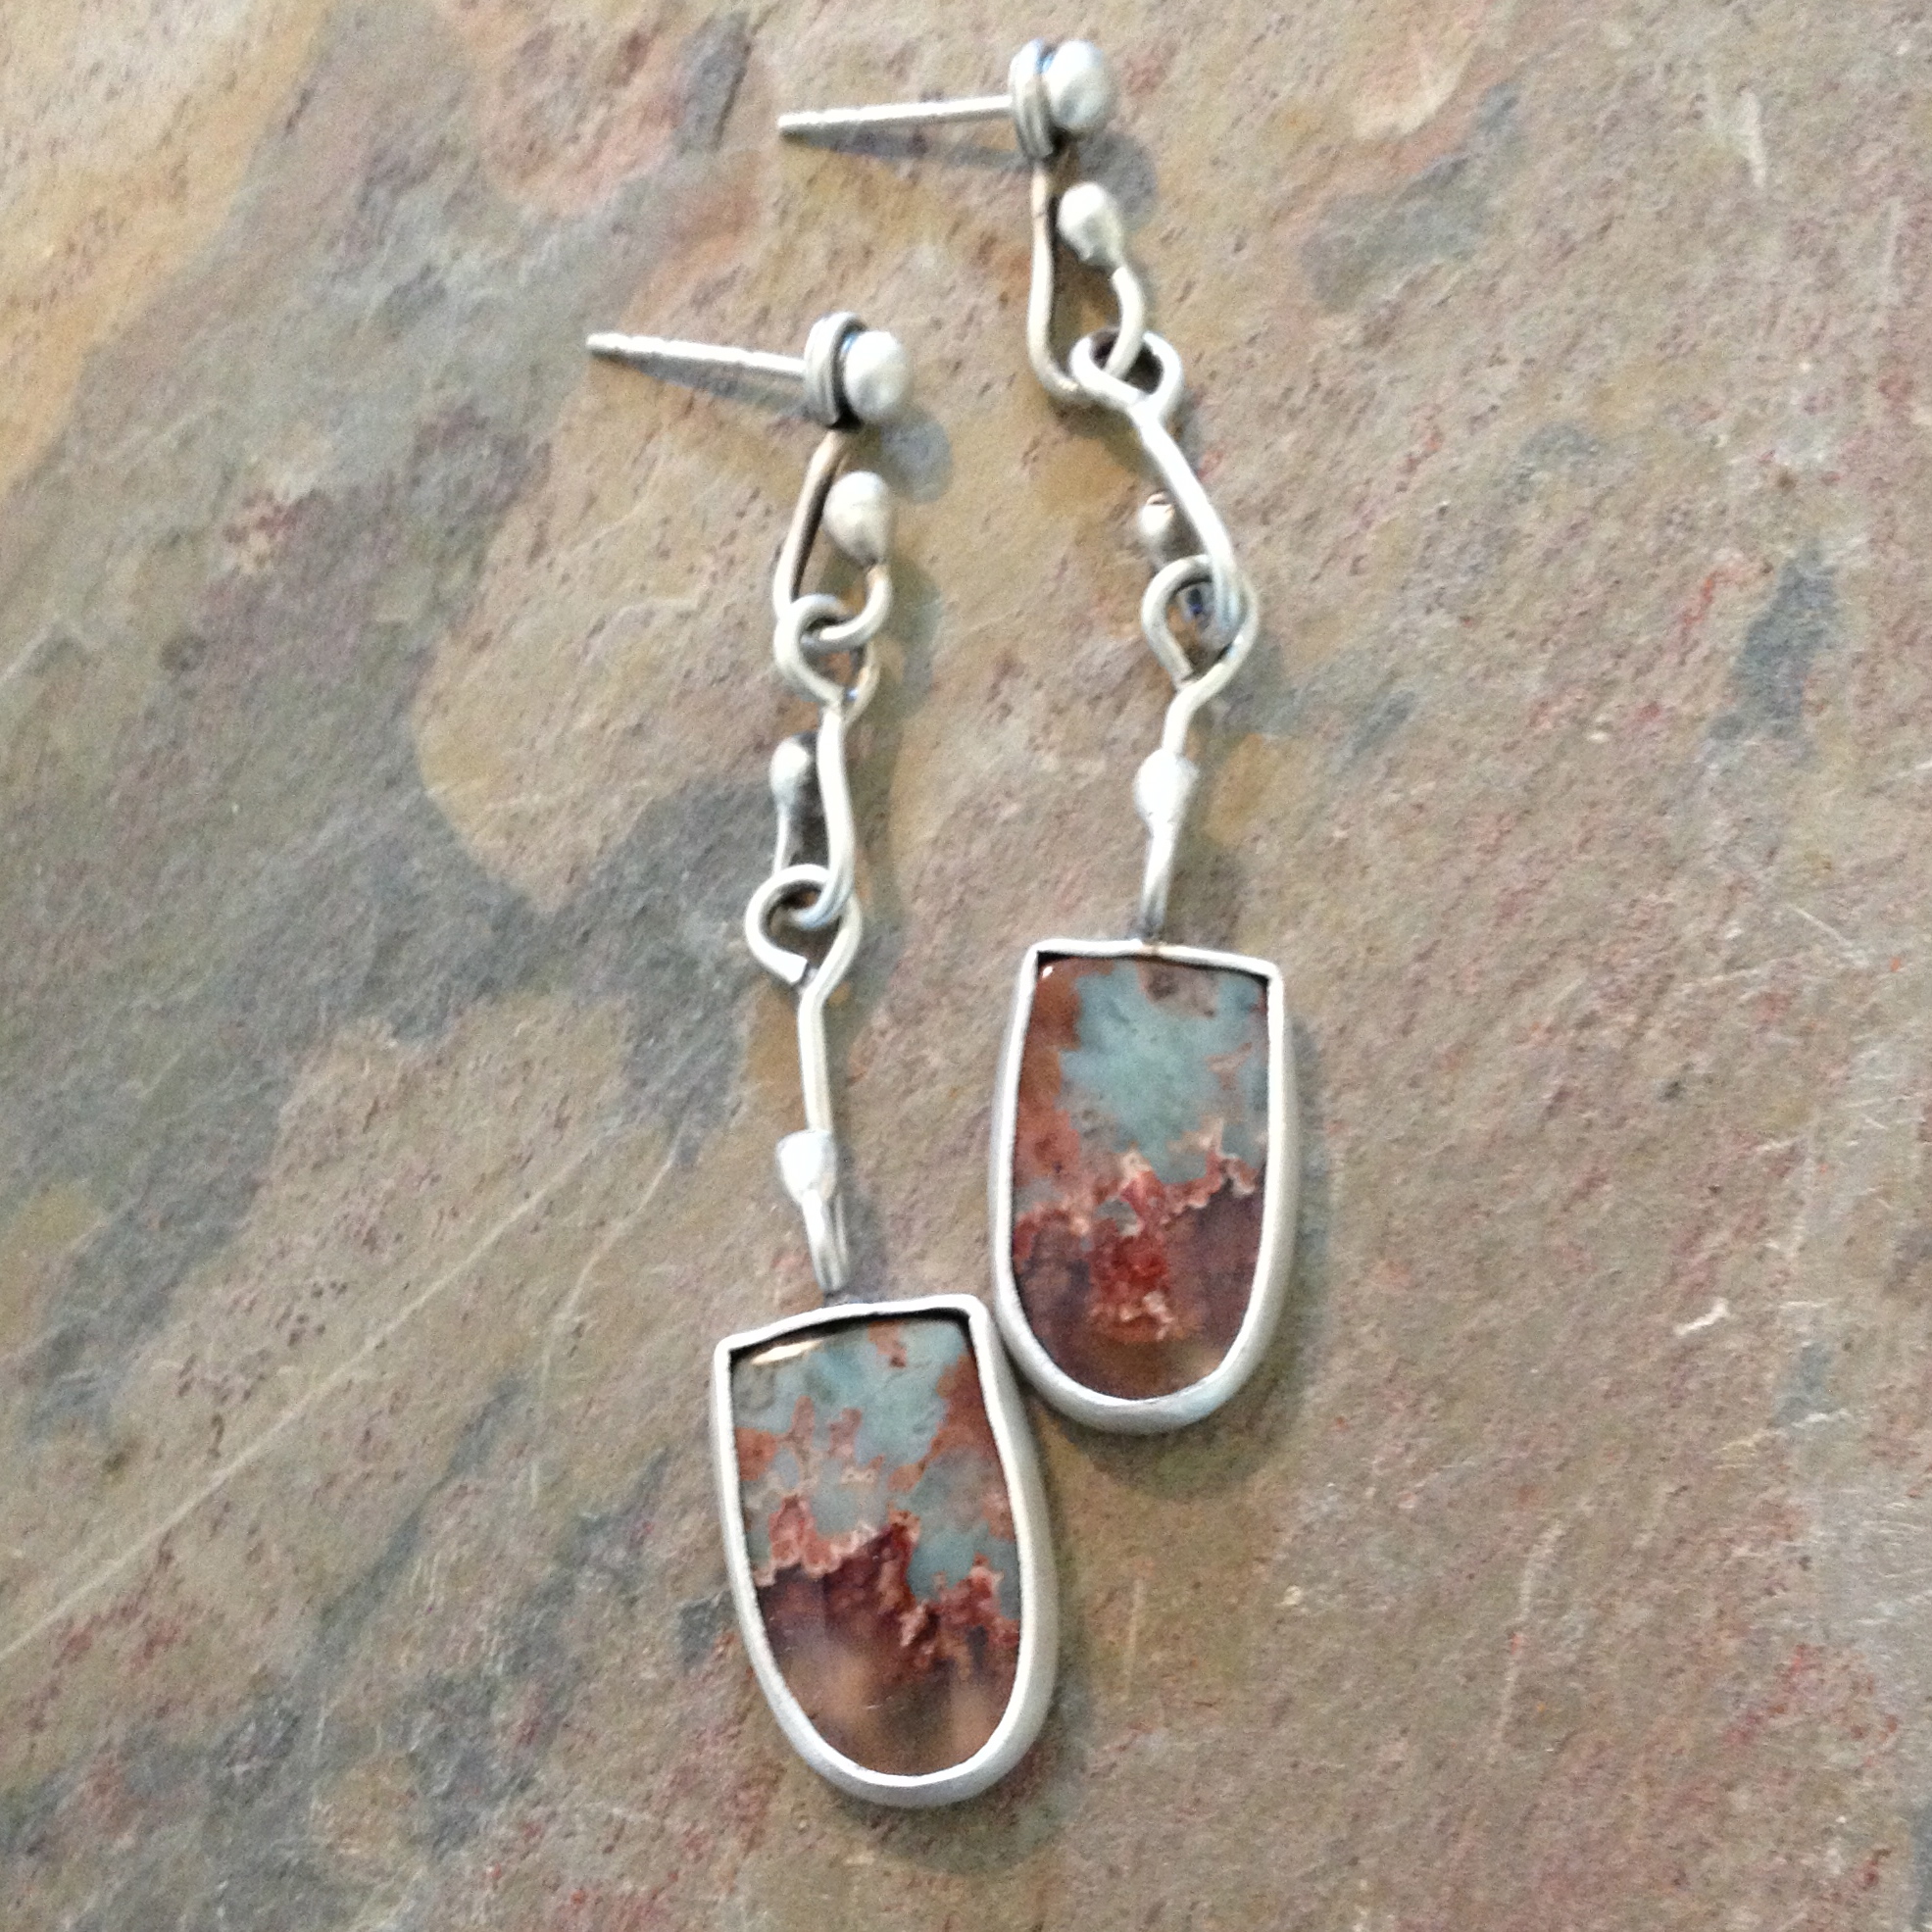
And this stone is Prudent Man Plume Agate.
Great name.
If you don’t hear from me for another long while it’s probably got cold again and I’ve lain down with the wolves.
No worries though …
–
–
O.K. So perhaps I haven’t really been gone. Except to the land of Complete. And. Utter. Boredom!
I’ve been bored and lonely as P went to England again – without me (again), and I was left behind with only the cats for company. And Willow.
Who’s been a nightmare.
A nightmare!
I’ve taken her for walks.
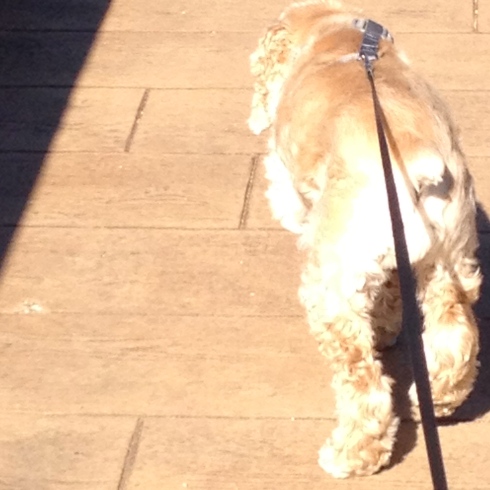


(She was a bit hard to catch with my super photography skills being hampered, as they were, by my also needing to hold onto the leash for dear life.)
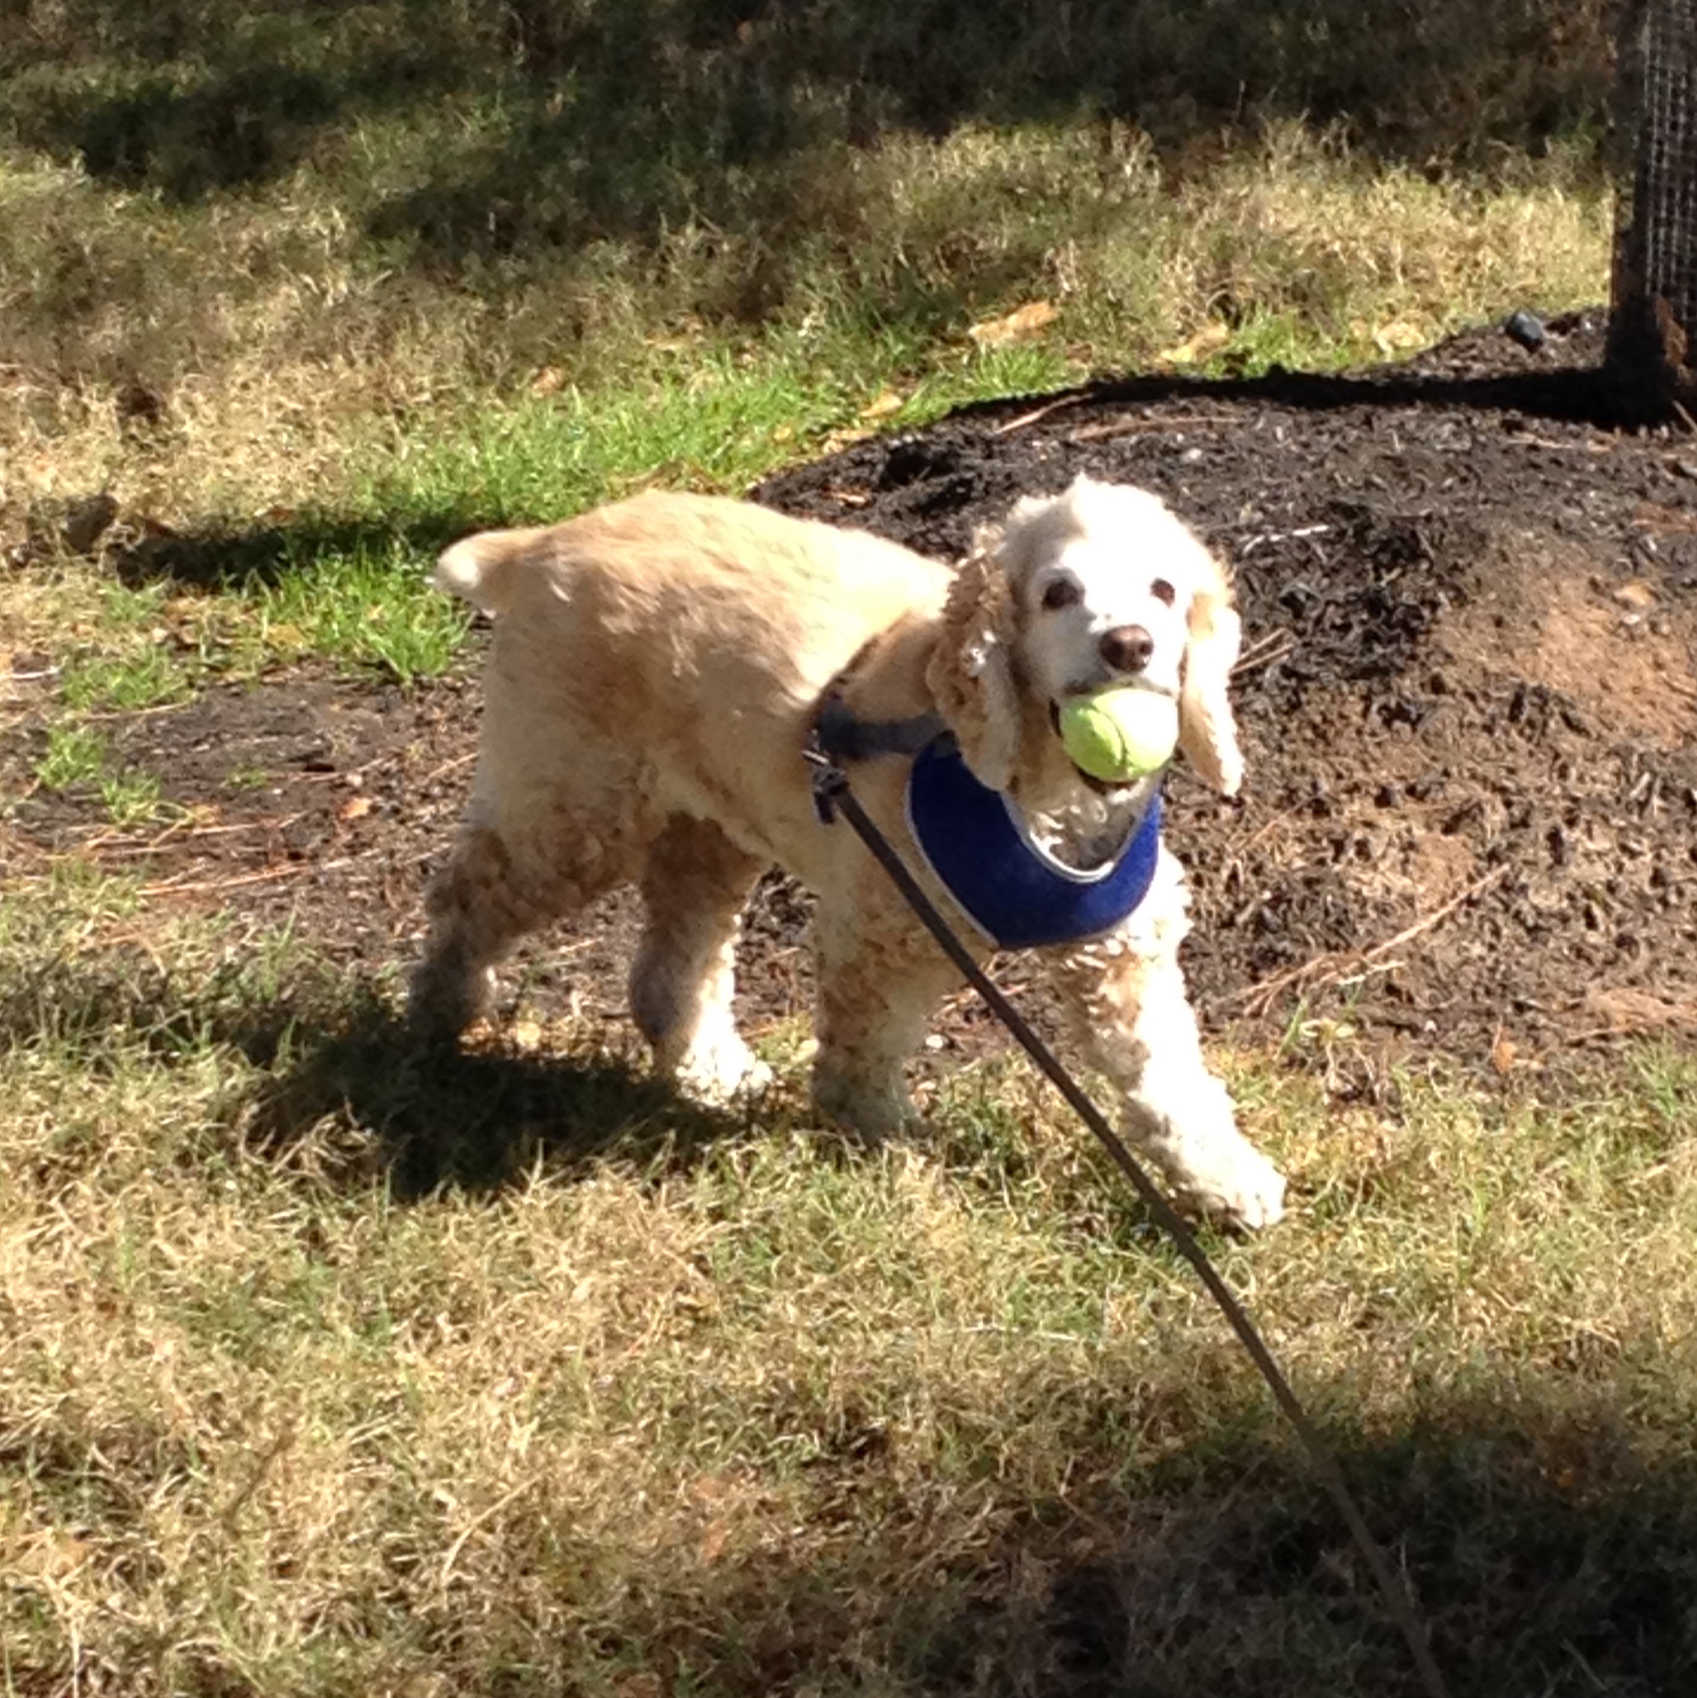
Oh yes, she looks all innocent here with her, look at me I’ve found another tennis ball to add to my collection pose, but, let me tell you, in those peaceful and joyous recreational times I nearly took a dive in the ditch with the snapping turtles, (that have grown rather too big and ferocious if you ask me). Involuntarily chased all the ducks on the planet. Been almost very nearly killed by a very sweet, calm, and extremely beautiful killer husky type something or other dog. (O.k. maybe that was the other way around). Had several touch and go moments when Willow decided to also try to kill all the other dogs in the neighbourhood. Listened in anguished humiliation as she barked at everything that came within five hundred and fifty three feet of us. Watched as she very nearly choked herself to death until I wised up and bought her a harness collar, and finally, was completely mortified when she terrorized two sweet little girls playing with their huge and rather ugly doll by the lake. Hopefully they were trying to drown it so that they could plead sorrow and entrap their parents into buying them a new, not quite so Chucky-like, one. Or perhaps something more practical even, like a light saber, or the Holy Hand Grenade, to ward off freaky, go for the throat, Willow dogs in the park.
Told you.
Nightmare!
–
–
Again.
The people who live in this house with me have coughed, and spluttered, and sniffed their germs with abandon throughout this holiday. Now they are up and running and happy and have left me behind in their wake of illness.
I have now pulled every muscle in my abdomen through coughing and am feeling thoroughly sorry for myself.
And, to top it all, P won’t give up working so we can live our lives together without him having to leave the house every day. He says it’s something to do with having to pay the bills, but I’m not sure I believe him.
I think it’s possible that he just doesn’t want my germs, and there I was thinking we would share everything through this journey called marriage.
Well blow everyone. I will be sick, here, alone, with only Sid, my trusty computer, to keep me company, and work on my plan for world domination.
That will teach them.
I’m not too sick to go into the studio you understand. Just too sick to do housework, or anything like that.
Housework is not good for my health anyway, so I wouldn’t want to make myself worse.
So I will leave you with something I am working on.
A little something that Felicity Windthrop has been arranging in her floral studio for the upcoming banquet to celebrate Queen Significanta’s fortieth year on the throne.
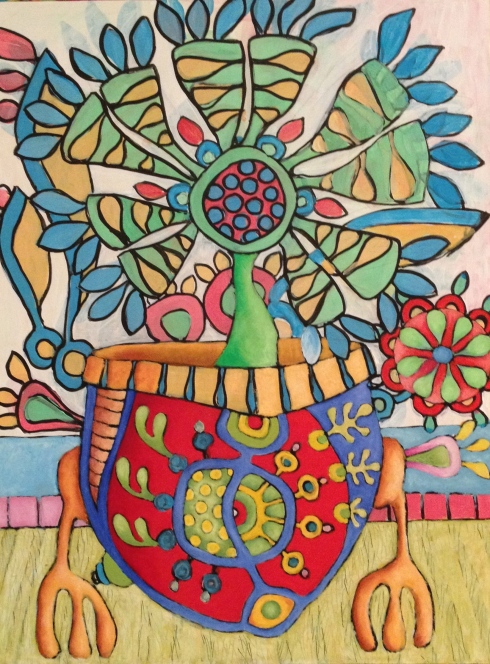
The pot was made especially for the occasion by Charlie Smithfield. Charlie has been making what some might consider to be ‘rather outlandish’ pottery for close on fifty years now in his small studio just outside the city walls, and has recently been knighted for his consistent contribution to the advancement of the arts.
–
May your tea be ever strong and flavourful.
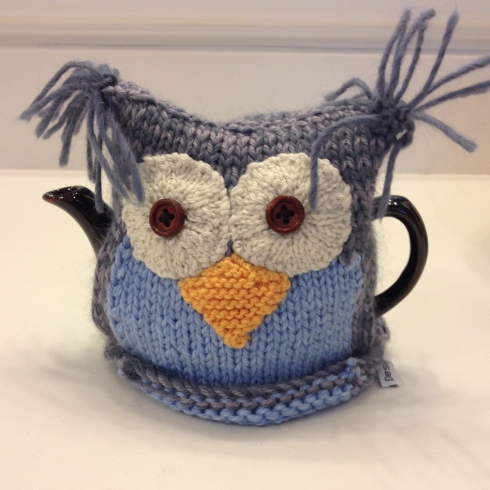
If you ask nicely, maybe Judith will make you one 😉
–
Beginning.

Middle.
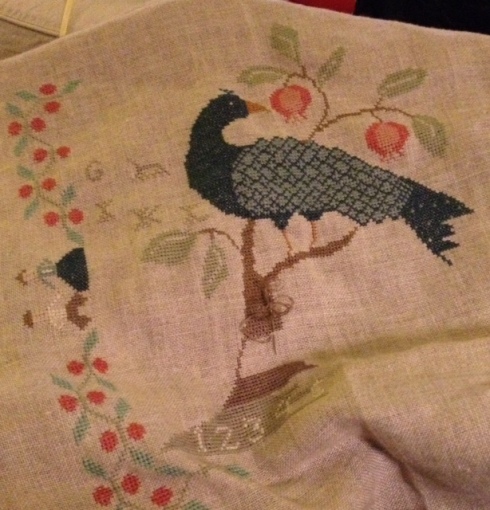
End.

–
I had a little run of sales just before Christmas.
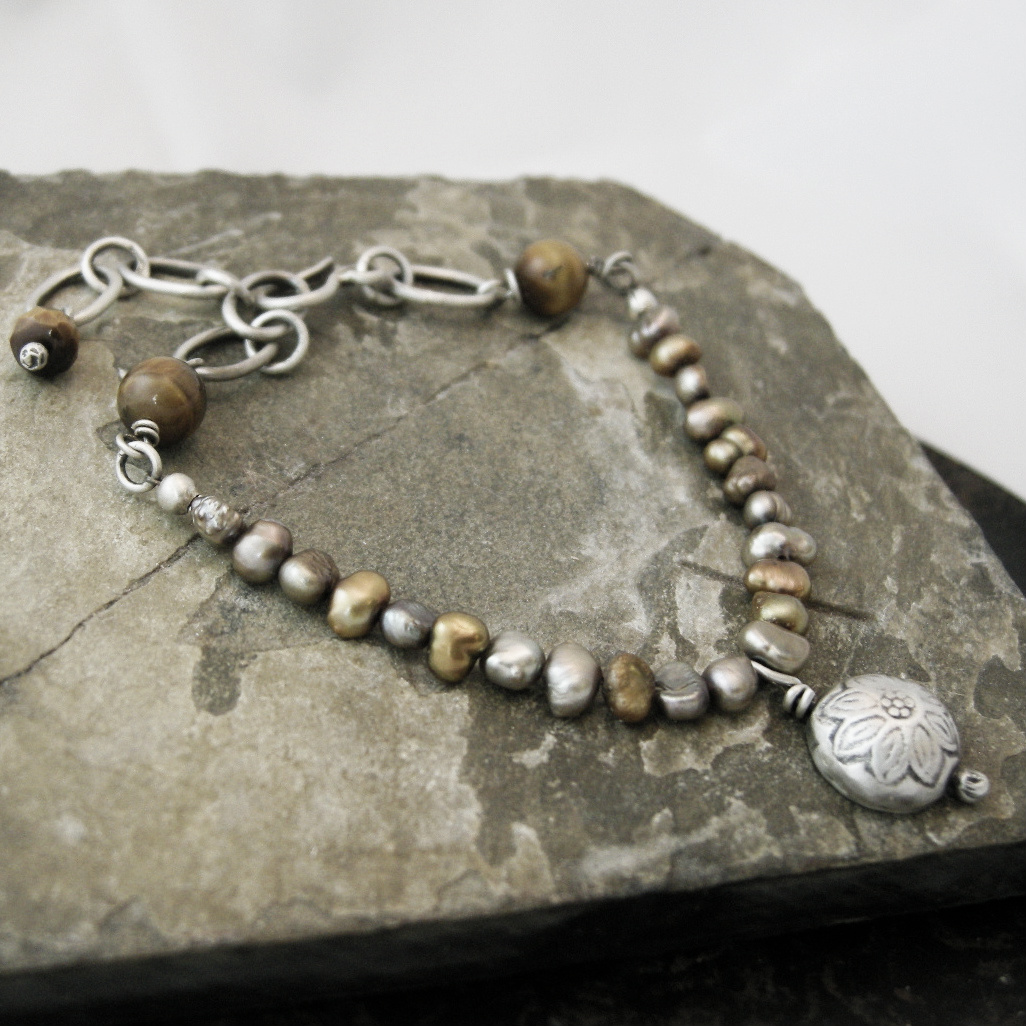
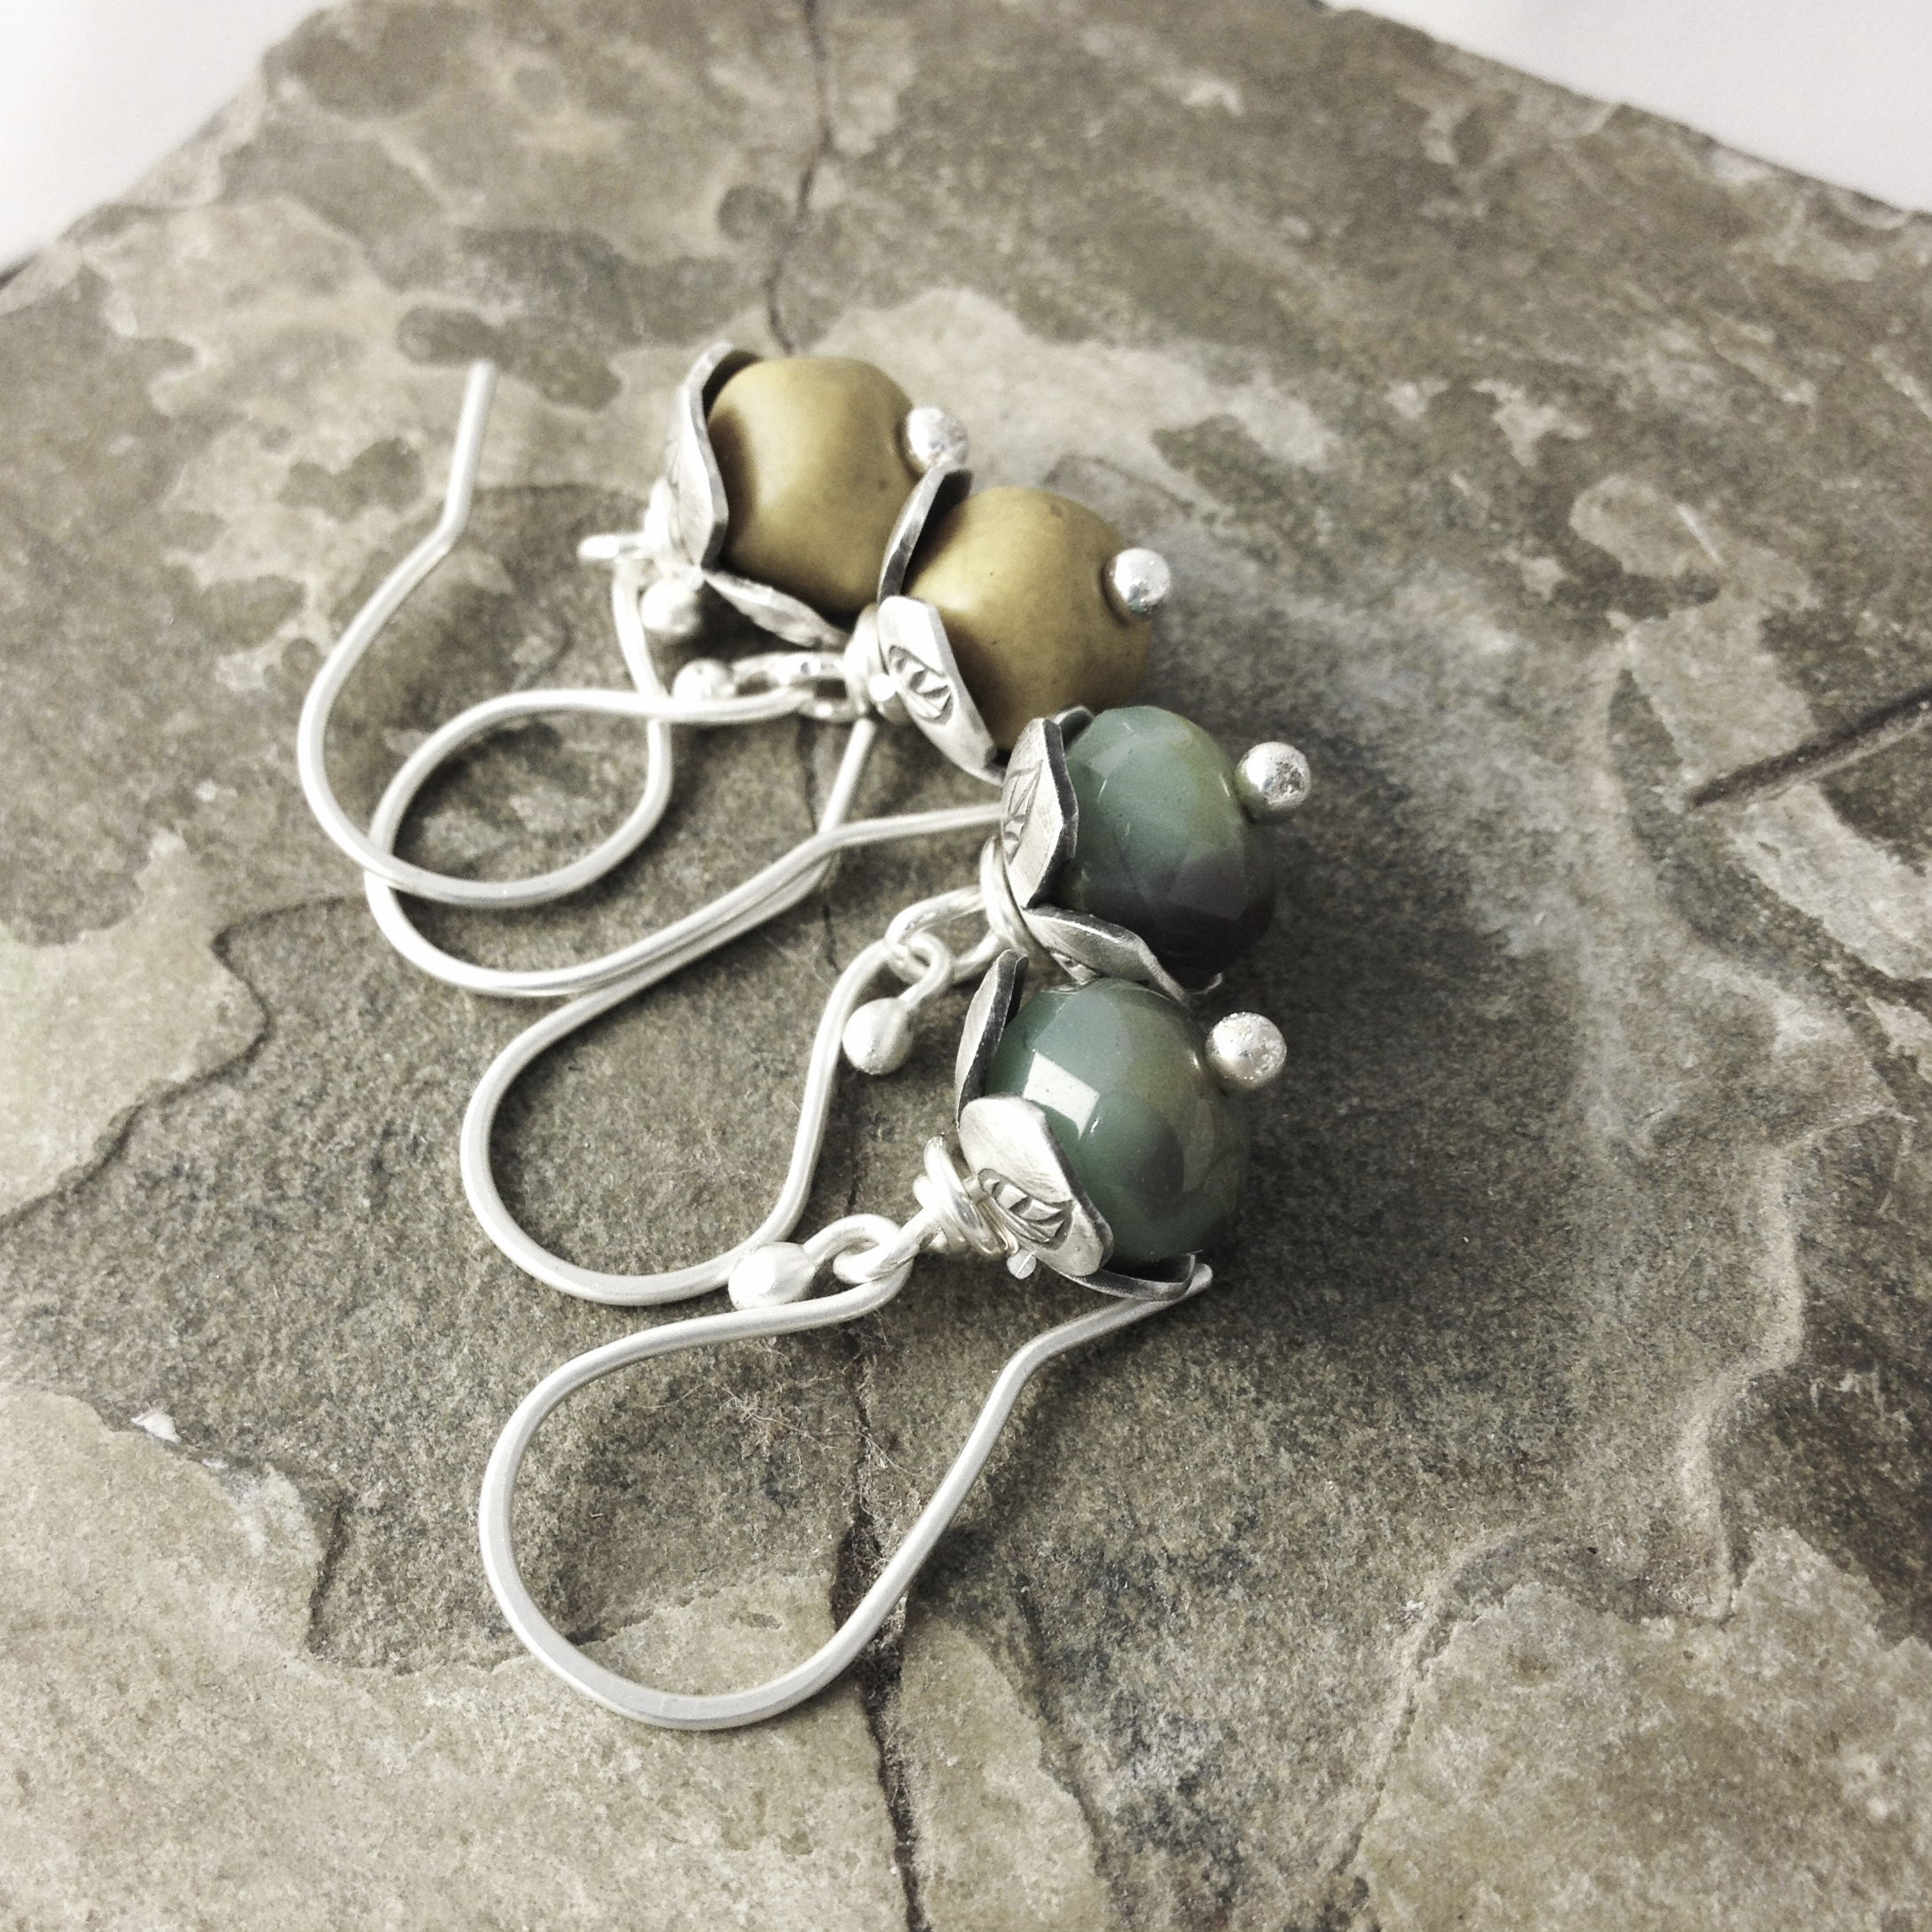
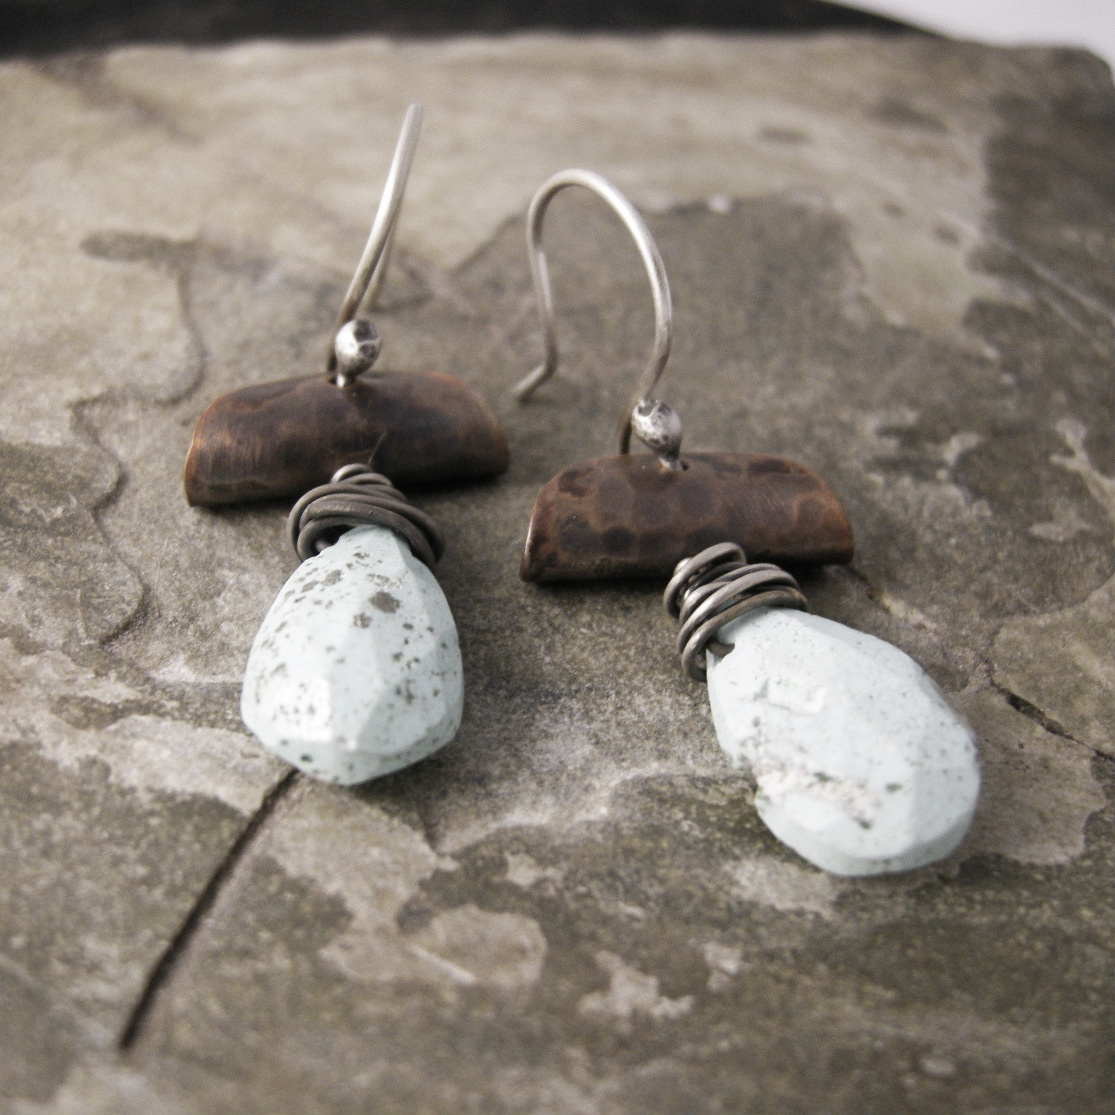
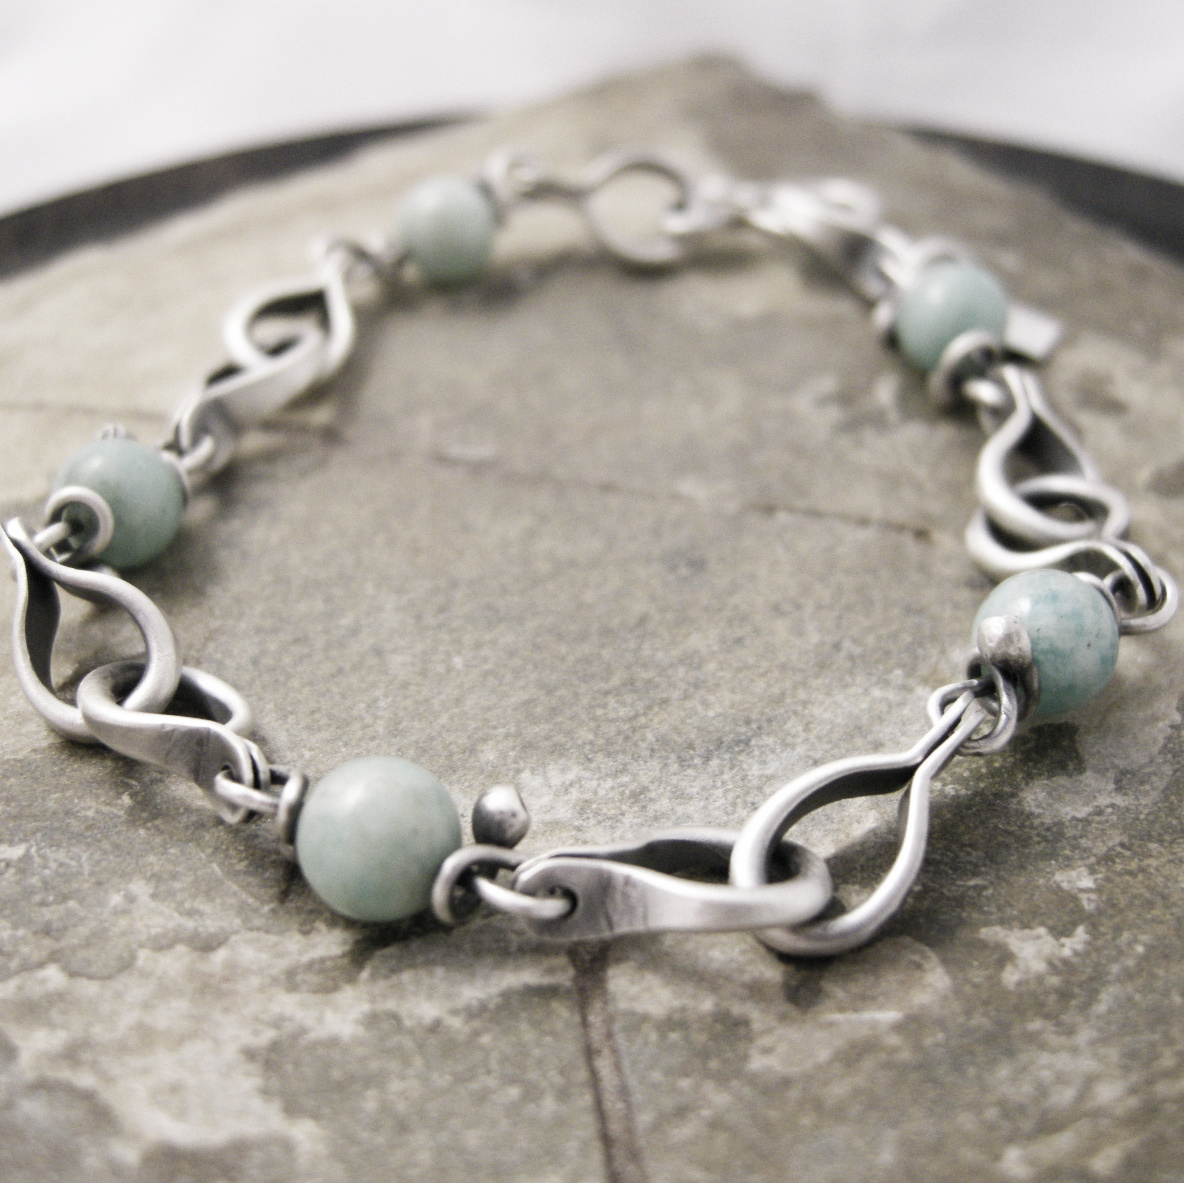
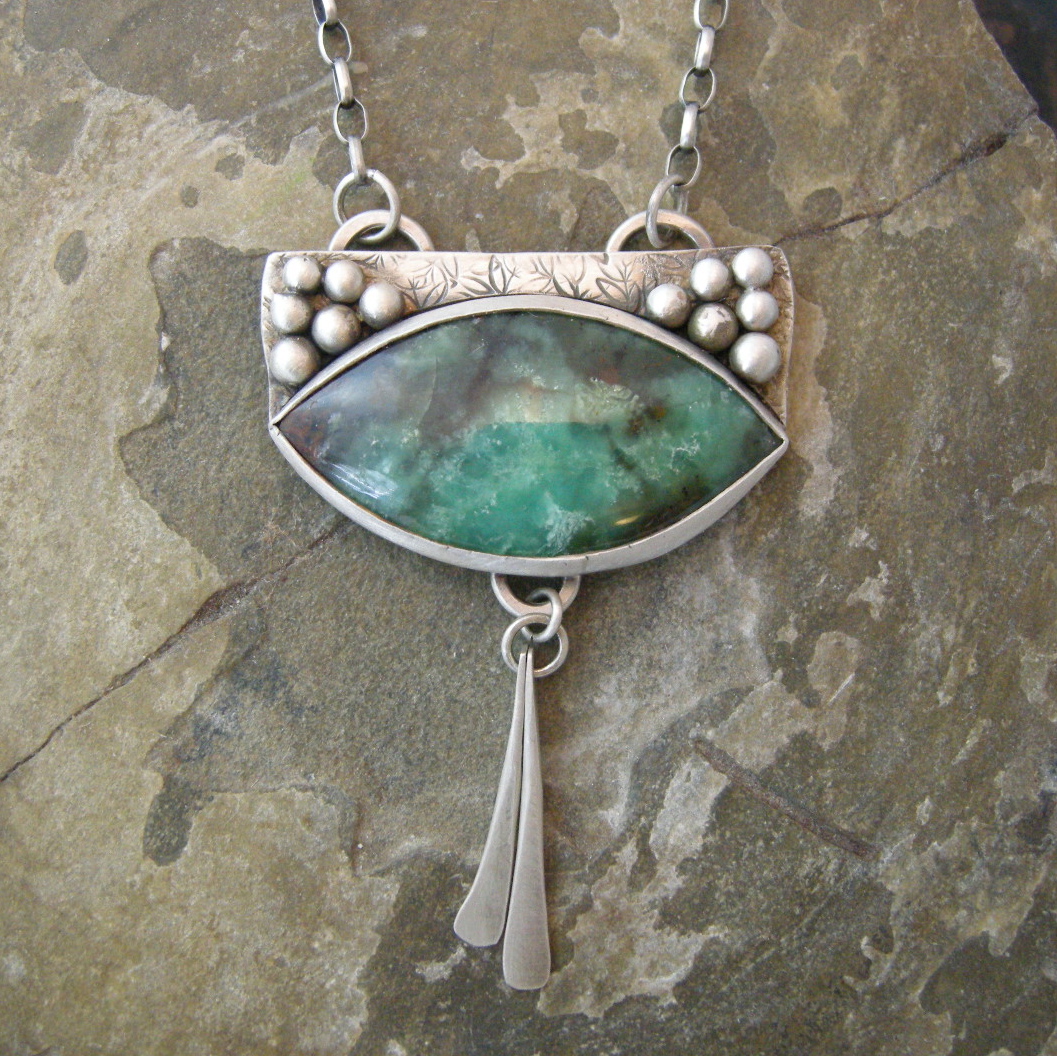
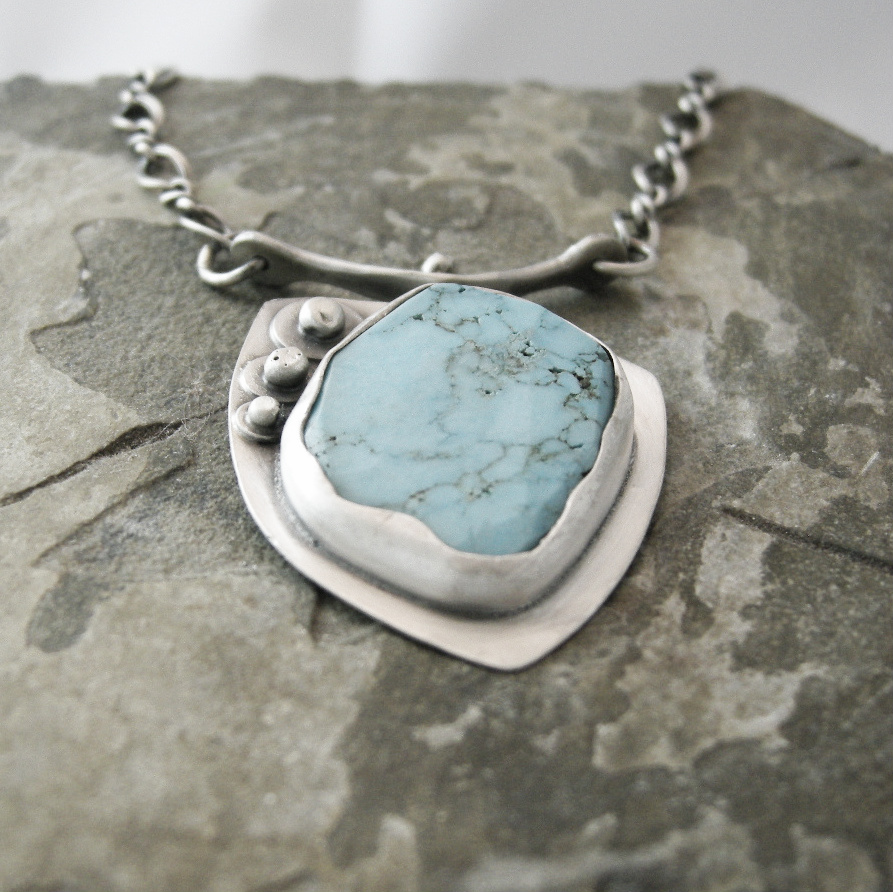
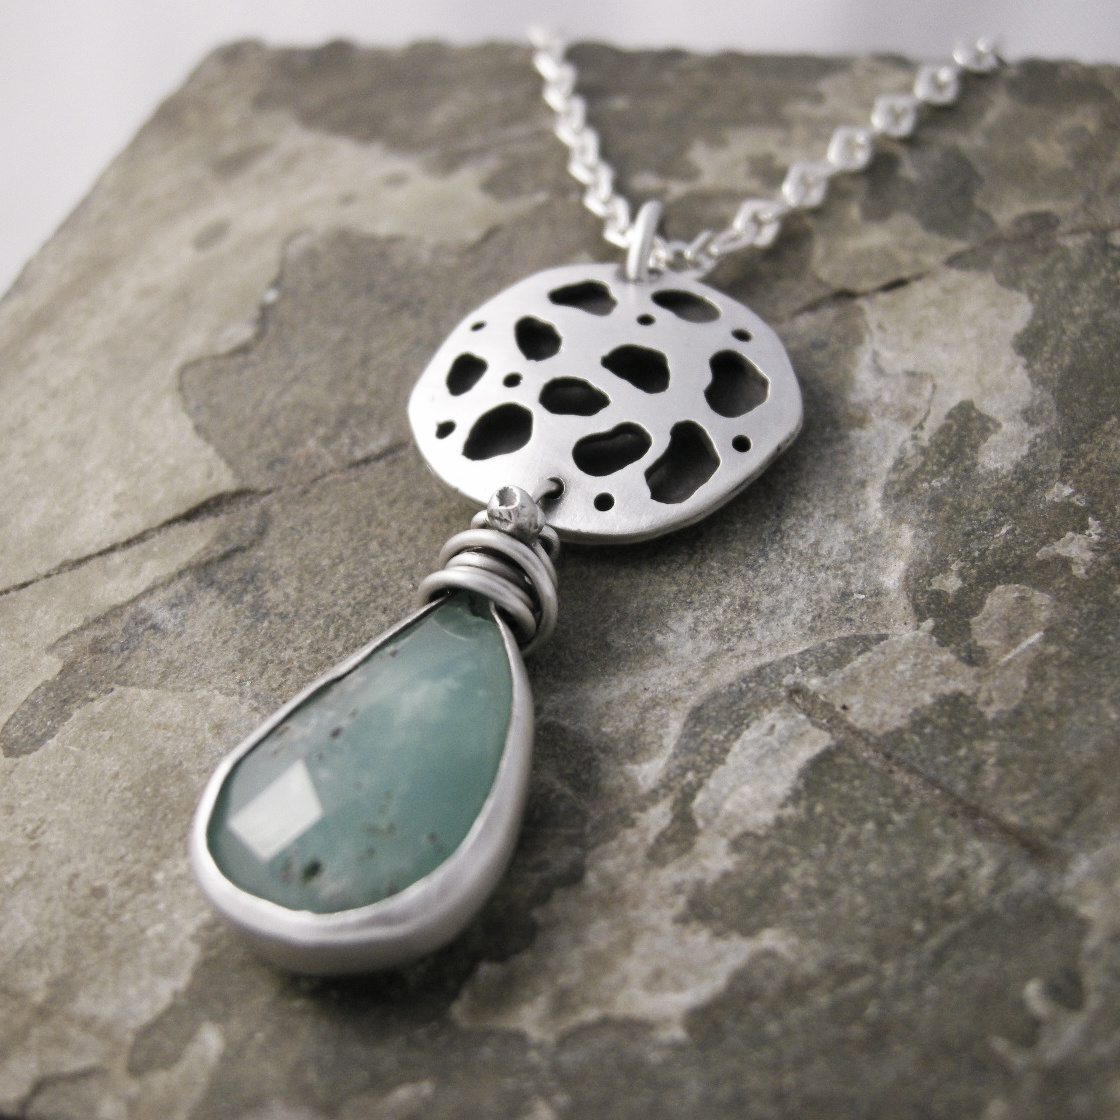
And was able to send $1,000 to Care.

That makes my total to date
$13,500
Onwards and Upwards people
🙂
–
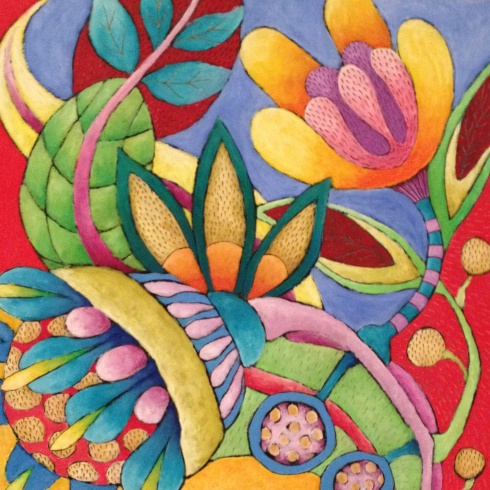
Found on the Higher Island of the Bora Kowlandis.
And the Grinch, with his Grinch-feet ice cold in the snow, stood puzzling and puzzling, how could it be so? It came without ribbons. It came without tags. It came without packages, boxes or bags. And he puzzled and puzzled ’till his puzzler was sore. Then the Grinch thought of something he hadn’t before. What if Christmas, he thought, doesn’t come from a store. What if Christmas, perhaps, means a little bit more.” ~Theodor Seuss Geisel
–
Merry Christmas
🙂
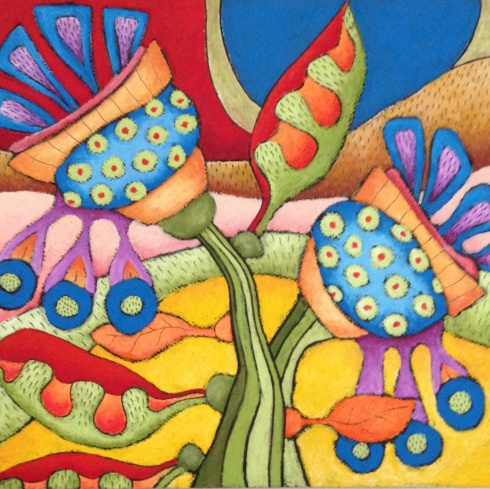
This particular variety of Tendrillus Boutonius is found on the rolling plains of the Copstan Region of Middle Kowlandis, and, as unfortunately discovered by Audenberry’s field hand, Dudley Hargrove, is poisonous to the touch.
Dudley, now fully recovered from his agonizing experience, has vowed to, ‘never be within three feet of this godawful specimen again.’
–
Christmas has now taken over. I spent yesterday decorating the house and doing some shopping chores, all the while fighting not being able to get into the studio. I’ve finally come to the conclusion that it’s not worth the struggle.
It’s a bit like trying to read the newspaper when the kids are little. You might as well just give up on the idea completely and settle into not fighting it.
–
So named because of its elephant trunk and dimple leaves is a rare beauty typically found at the foot of the volatile Banetonga volcanic range located on the middle island of The Knowlandis.
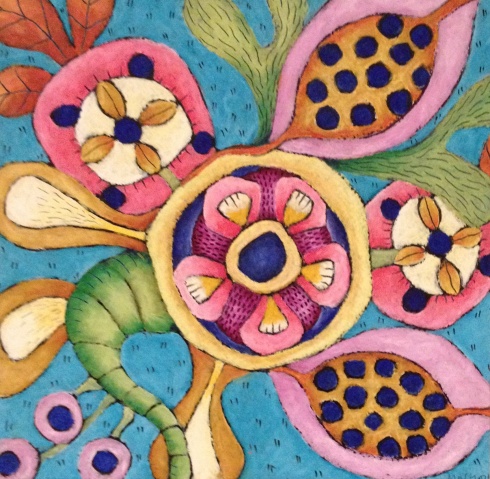
As one textile artists observed when she first saw Trevor de Manous’ oil representation of Audenberry’s botanical sample, “The Elephant Trunk Dimple Leaf is a quilt block just waiting to happen”.
–
I had such good intentions for today.
I was going to pretend I was a grown up and take my jewelry seriously.
(Again)
I was going to quit painting and make beautiful cabochony necklaces and silvery bracelets instead.
But then the power went out at 11 pm last night, which was great as it was so quiet with no a/c, fridge, pumps etc., going. And it was night time, so no need for electricity. Right?
At 4 am the house alarm went off. The electricity hadn’t come back on so I bravely had P go check everything while I had some juice.
It was quite bright as the Christmas lights on the house opposite, where the electricity had chosen not to go out, were shining like a hallelujah moment.
Everything seemed fine.
Just as we settled back to sleep, the electricity man came and parked outside our house. P said it was a slightly early school bus, so I made him get up and look for being so ridiculous.
That will teach him not to recognize the sound of two utility vans with flashing lights and motors running sitting on your doorstep.
I mean what school bus has flashing lights?
I forgave the utility vans as they were saving the world, one transformer at a time.
We settled back to sleep.
Five minutes later our alarm went off again.
And again. And again. And again.
First at five minute intervals then at three until our brains exploded and began to seep out of our ears.
Turns out the alarm had been on the back up battery all night and was now running low and screaming out for a service, which was all well and good but no matter how much we told it to stay calm and that we’d get it help first thing in the morning, it just went on and on with its temper tantrum until we couldn’t go on any more.
We pressed all its buttons, calmly at first in that, we’re the boss of you, way, but couldn’t turn the darn thing off and eventually had to call the nice alarm lady who helped us find its reactor core so that we could pull all the cords out and shut it down.
It was touch and go let me tell you.
So now, I am really, really, tired. Like my face is falling off tired. And all my good intentions have gone out the window.
Maybe tomorrow I’ll be a fearless jewelry maker, but for now I’m going to work up enough energy to get out of bed before I have to take Spencer the One Eye Wonder to the vets.
He’s very, very old and needs lots of love and attention.
So I will leave you with a doodle.

And a pic of Wally Walnut.
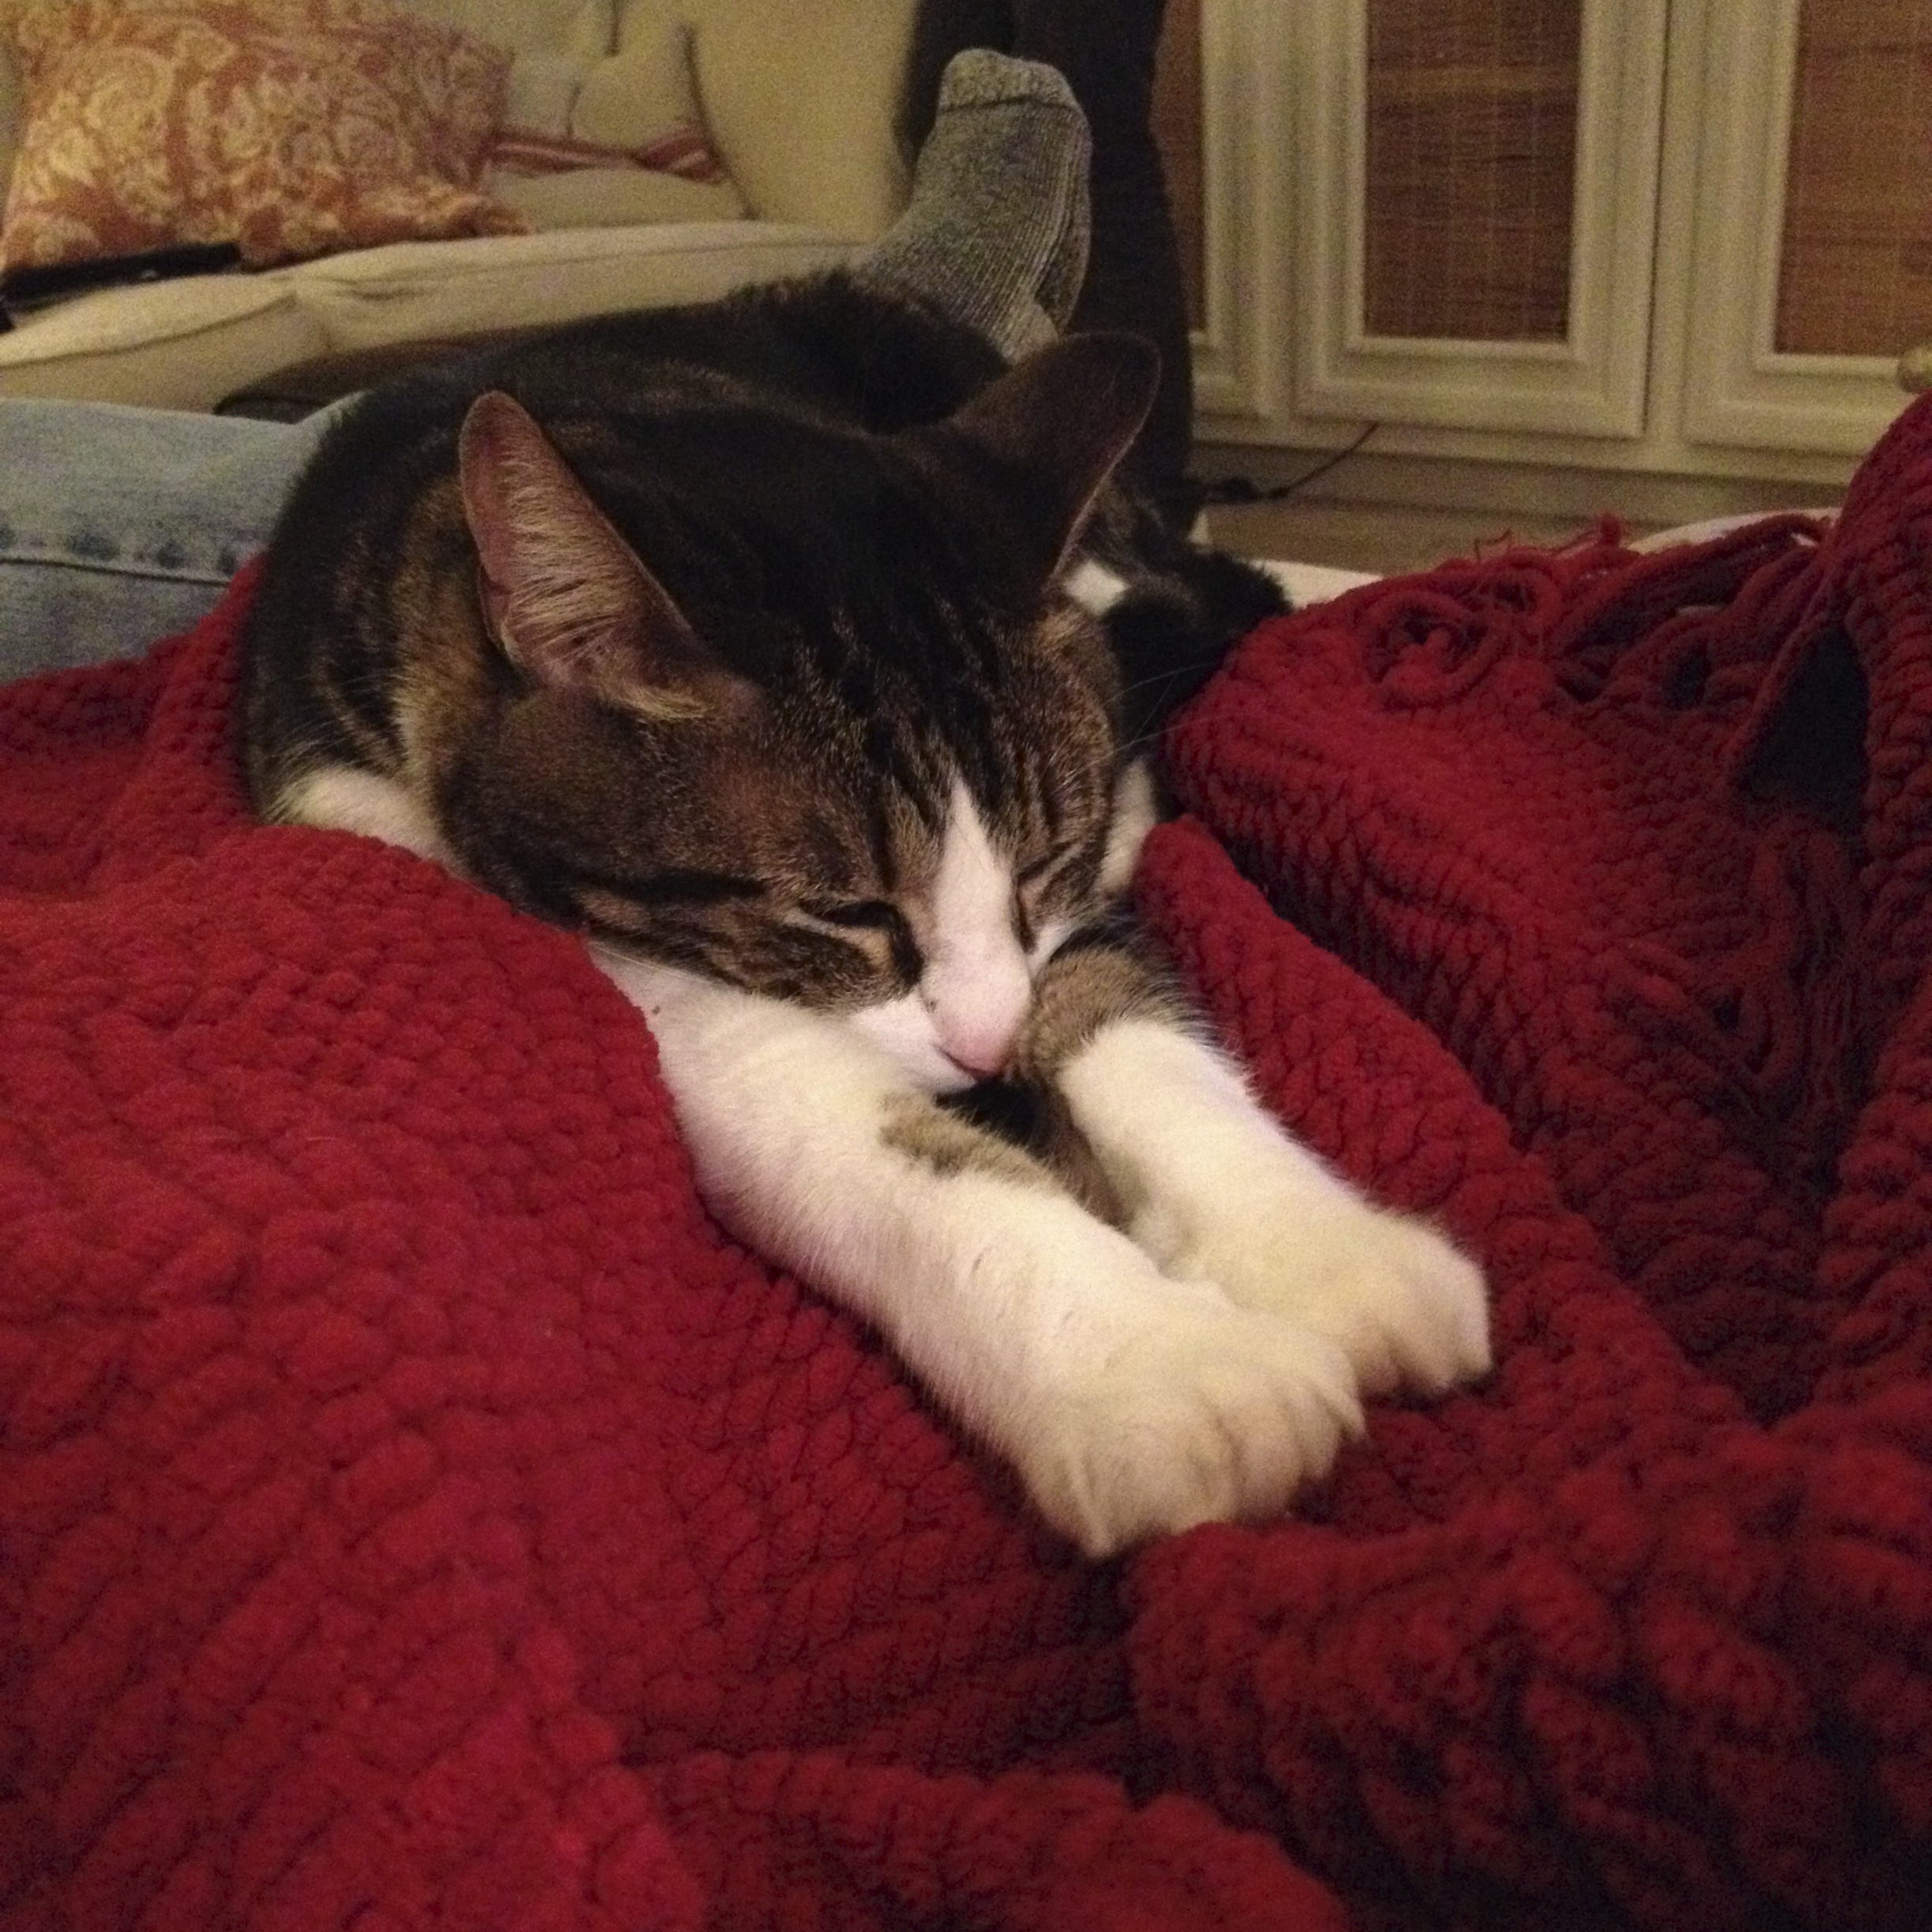
I keep telling him that he doesn’t have to bow down to me, that I consider him an equal, but who can stop adoration at its highest.
I do feed him after all.
–
The quilt is finished!
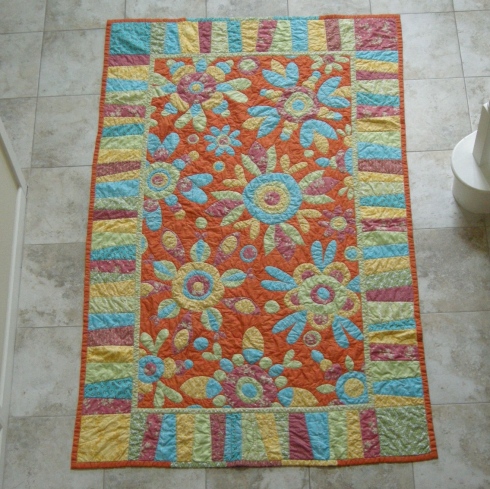
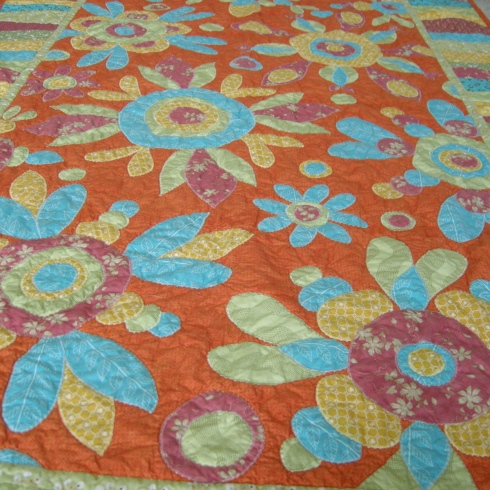
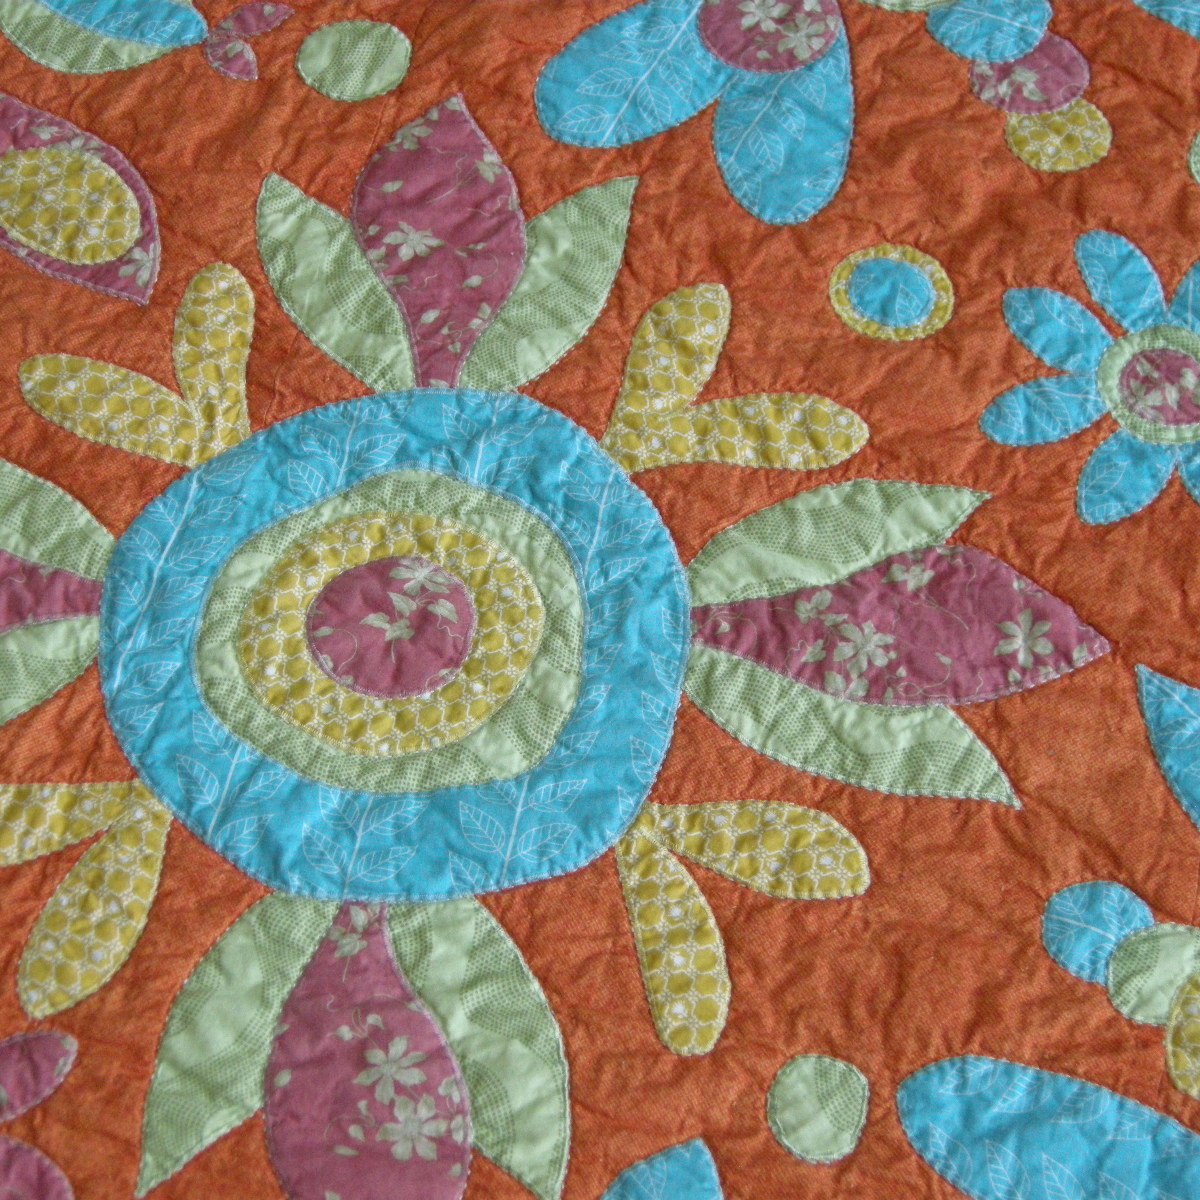
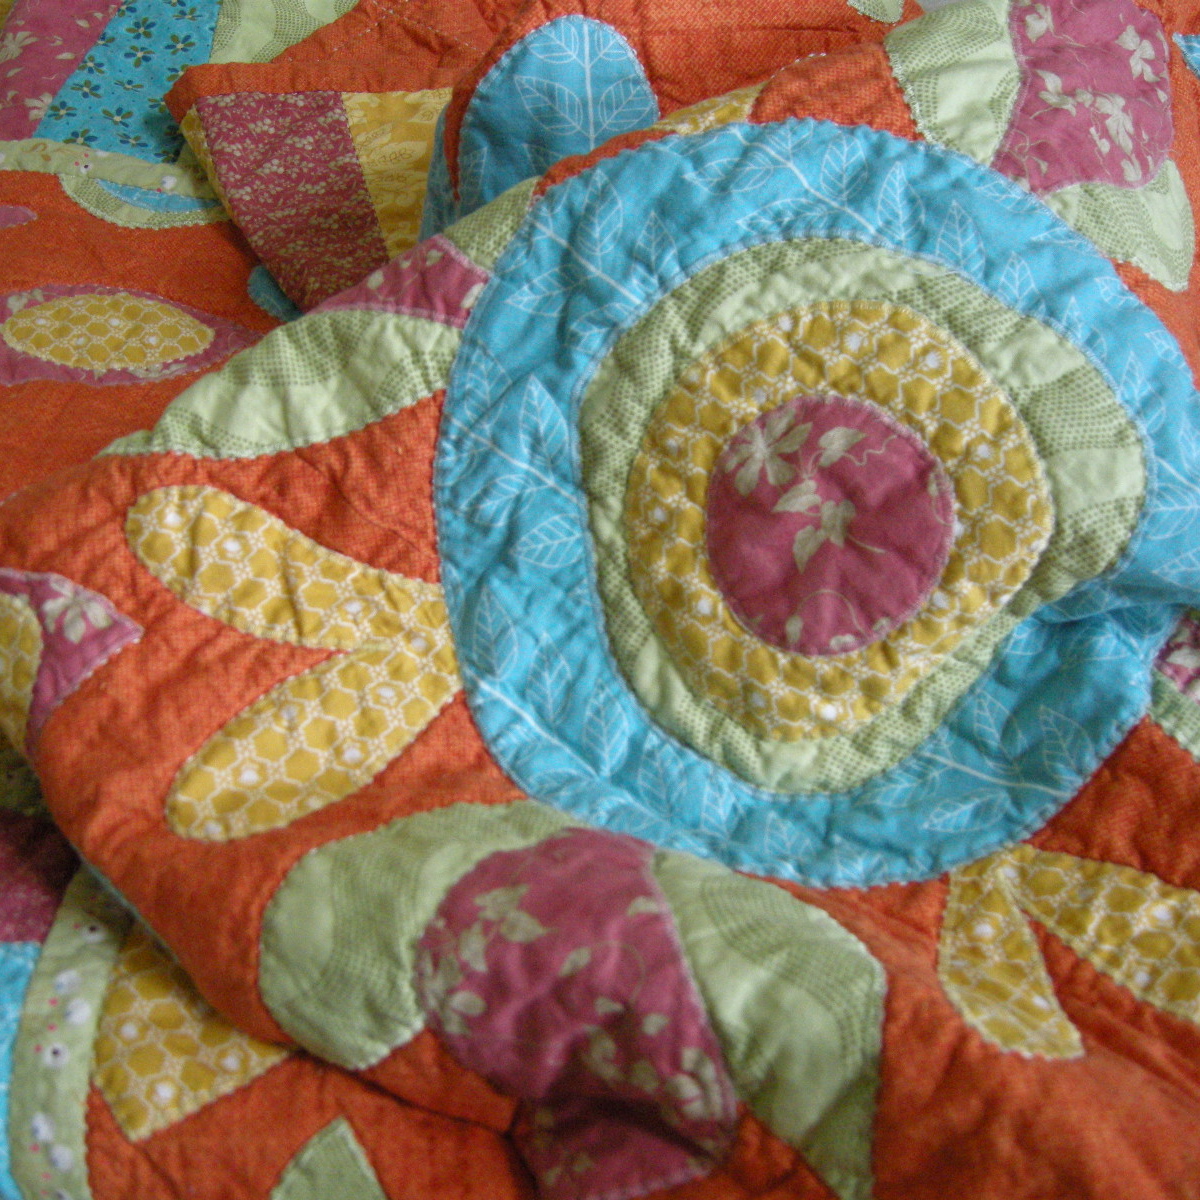
And the back.

I’ve enjoyed it.
Taken my time quilting it.
Decided I didn’t like the orange half way through.
Thought it would take forever about two thirds through.
Got fed up quilting it.
Felt sad when it was all over as now I have nothing to quilt.
Decided perhaps the orange was o.k. after all.
Thought it was a silly quilt and who the hell would want it in their house.
Realized it was for a five year old, and that perhaps she would like it.
Got told (several times) by that man who lives in the house with me that it would cost a fortune to post and that he’d take it back with him when he goes back to England in January for a business trip.
Got defensive about getting my Christmas gift there on time.
Got told again.
Decided that perhaps he was right.
And finally …
Bought this for Hope’s gift instead.

(Come on. How cute is that!)
She’ll still get her quilt, but as a, because gift, instead of a, Christmas gift.
We all have to pick our battles.
–
In the meantime, I’ve still been drawing my ‘why’ drawings.
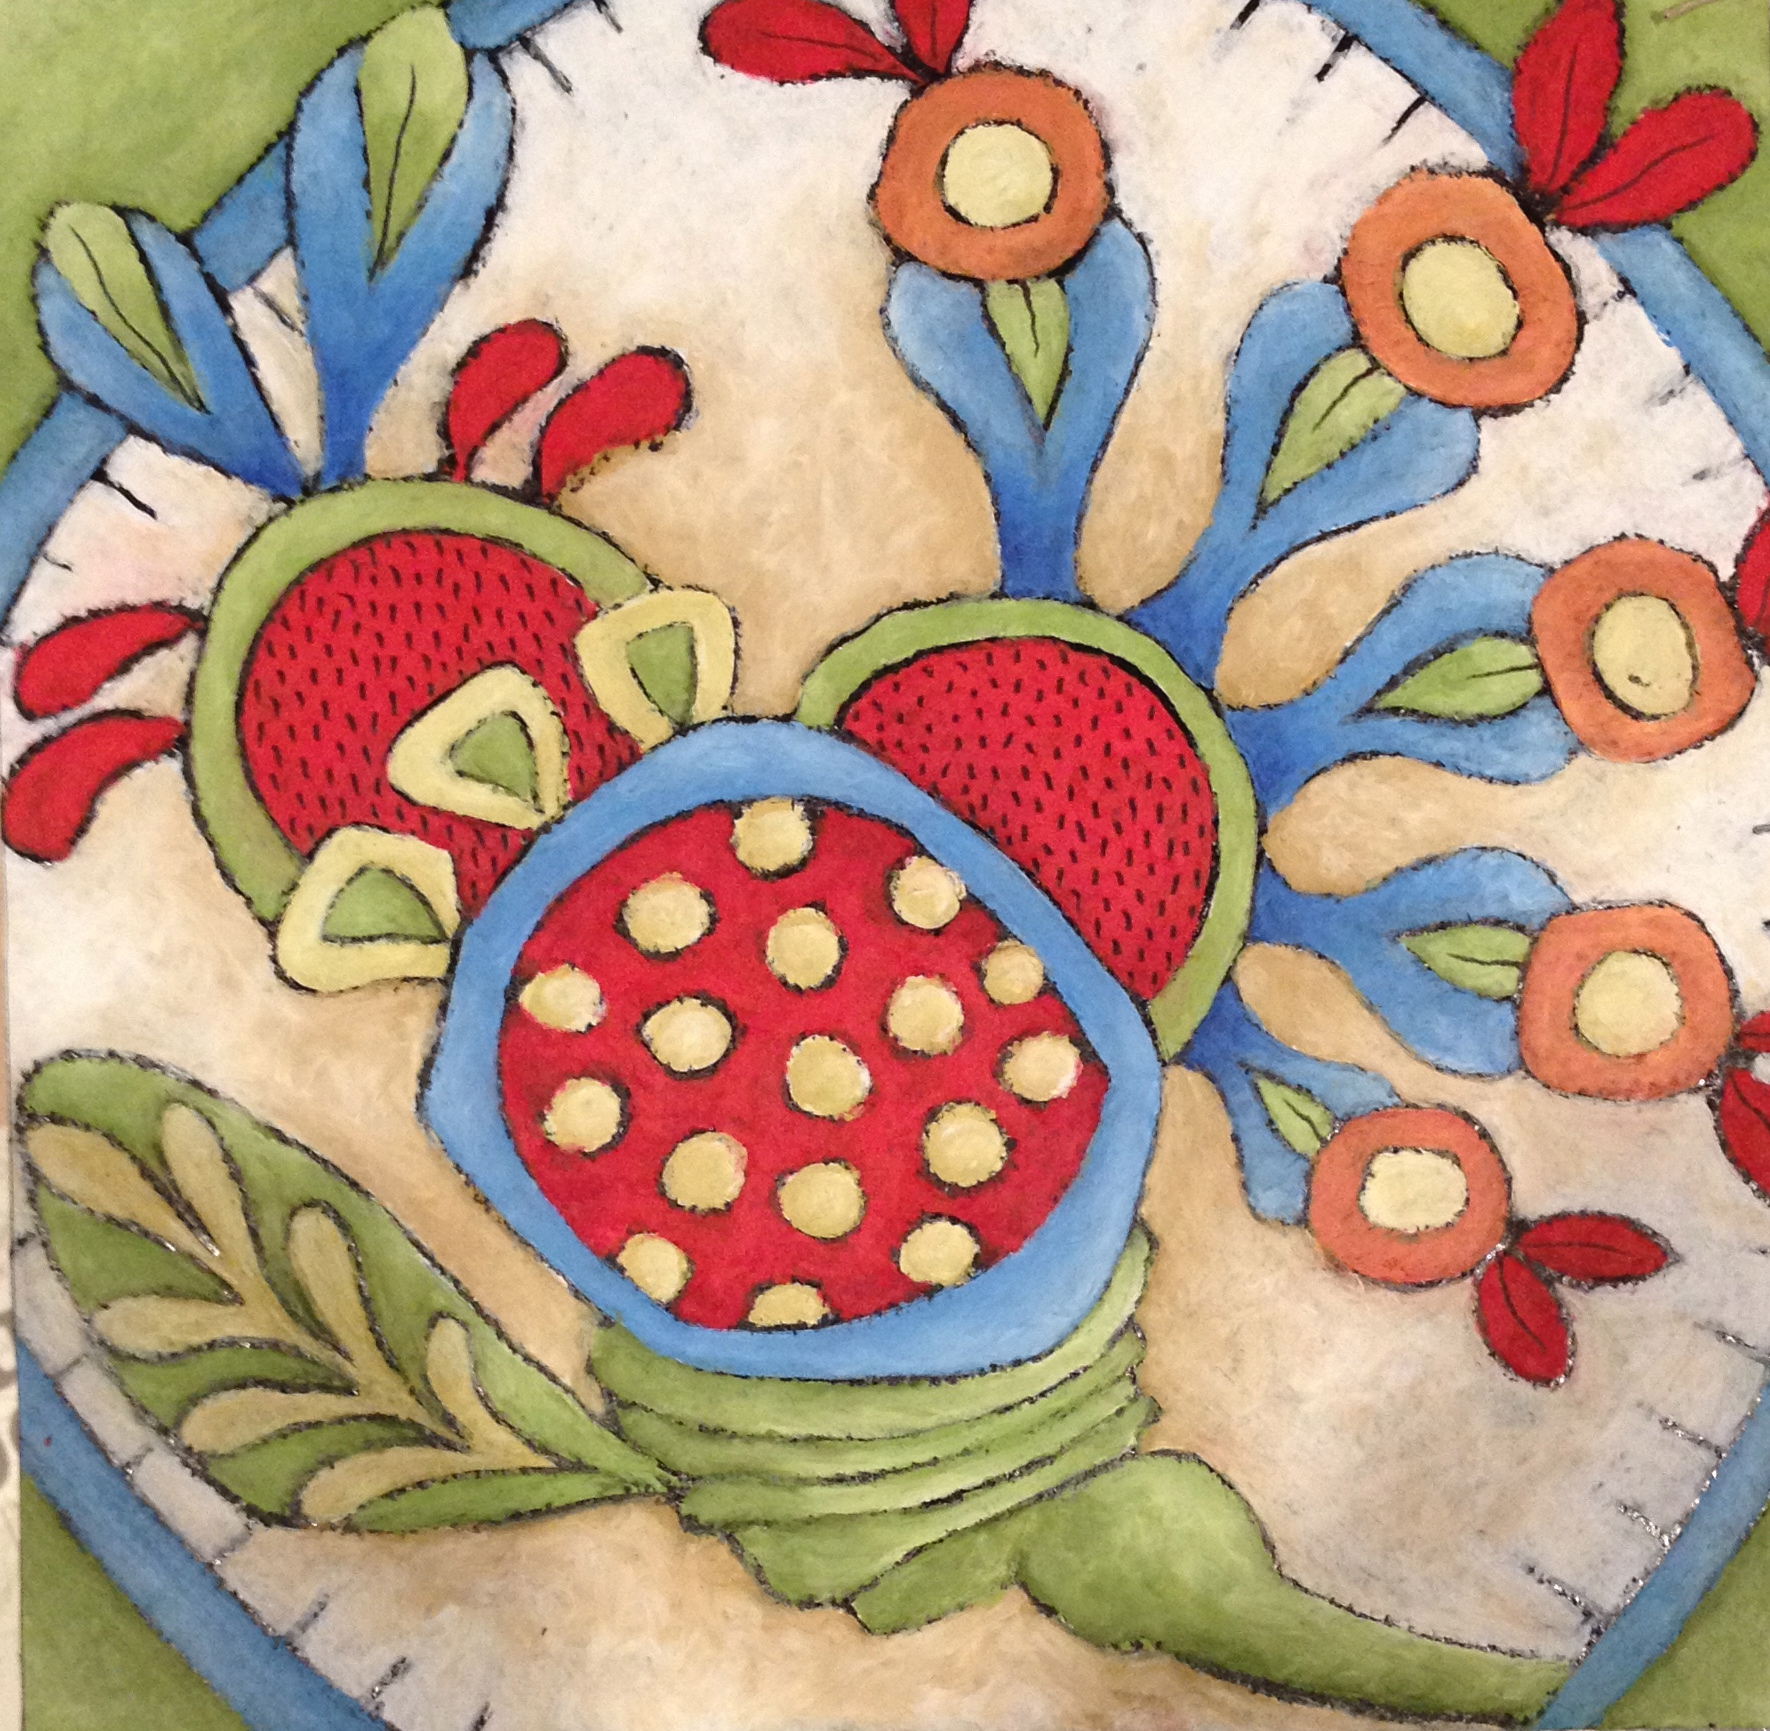
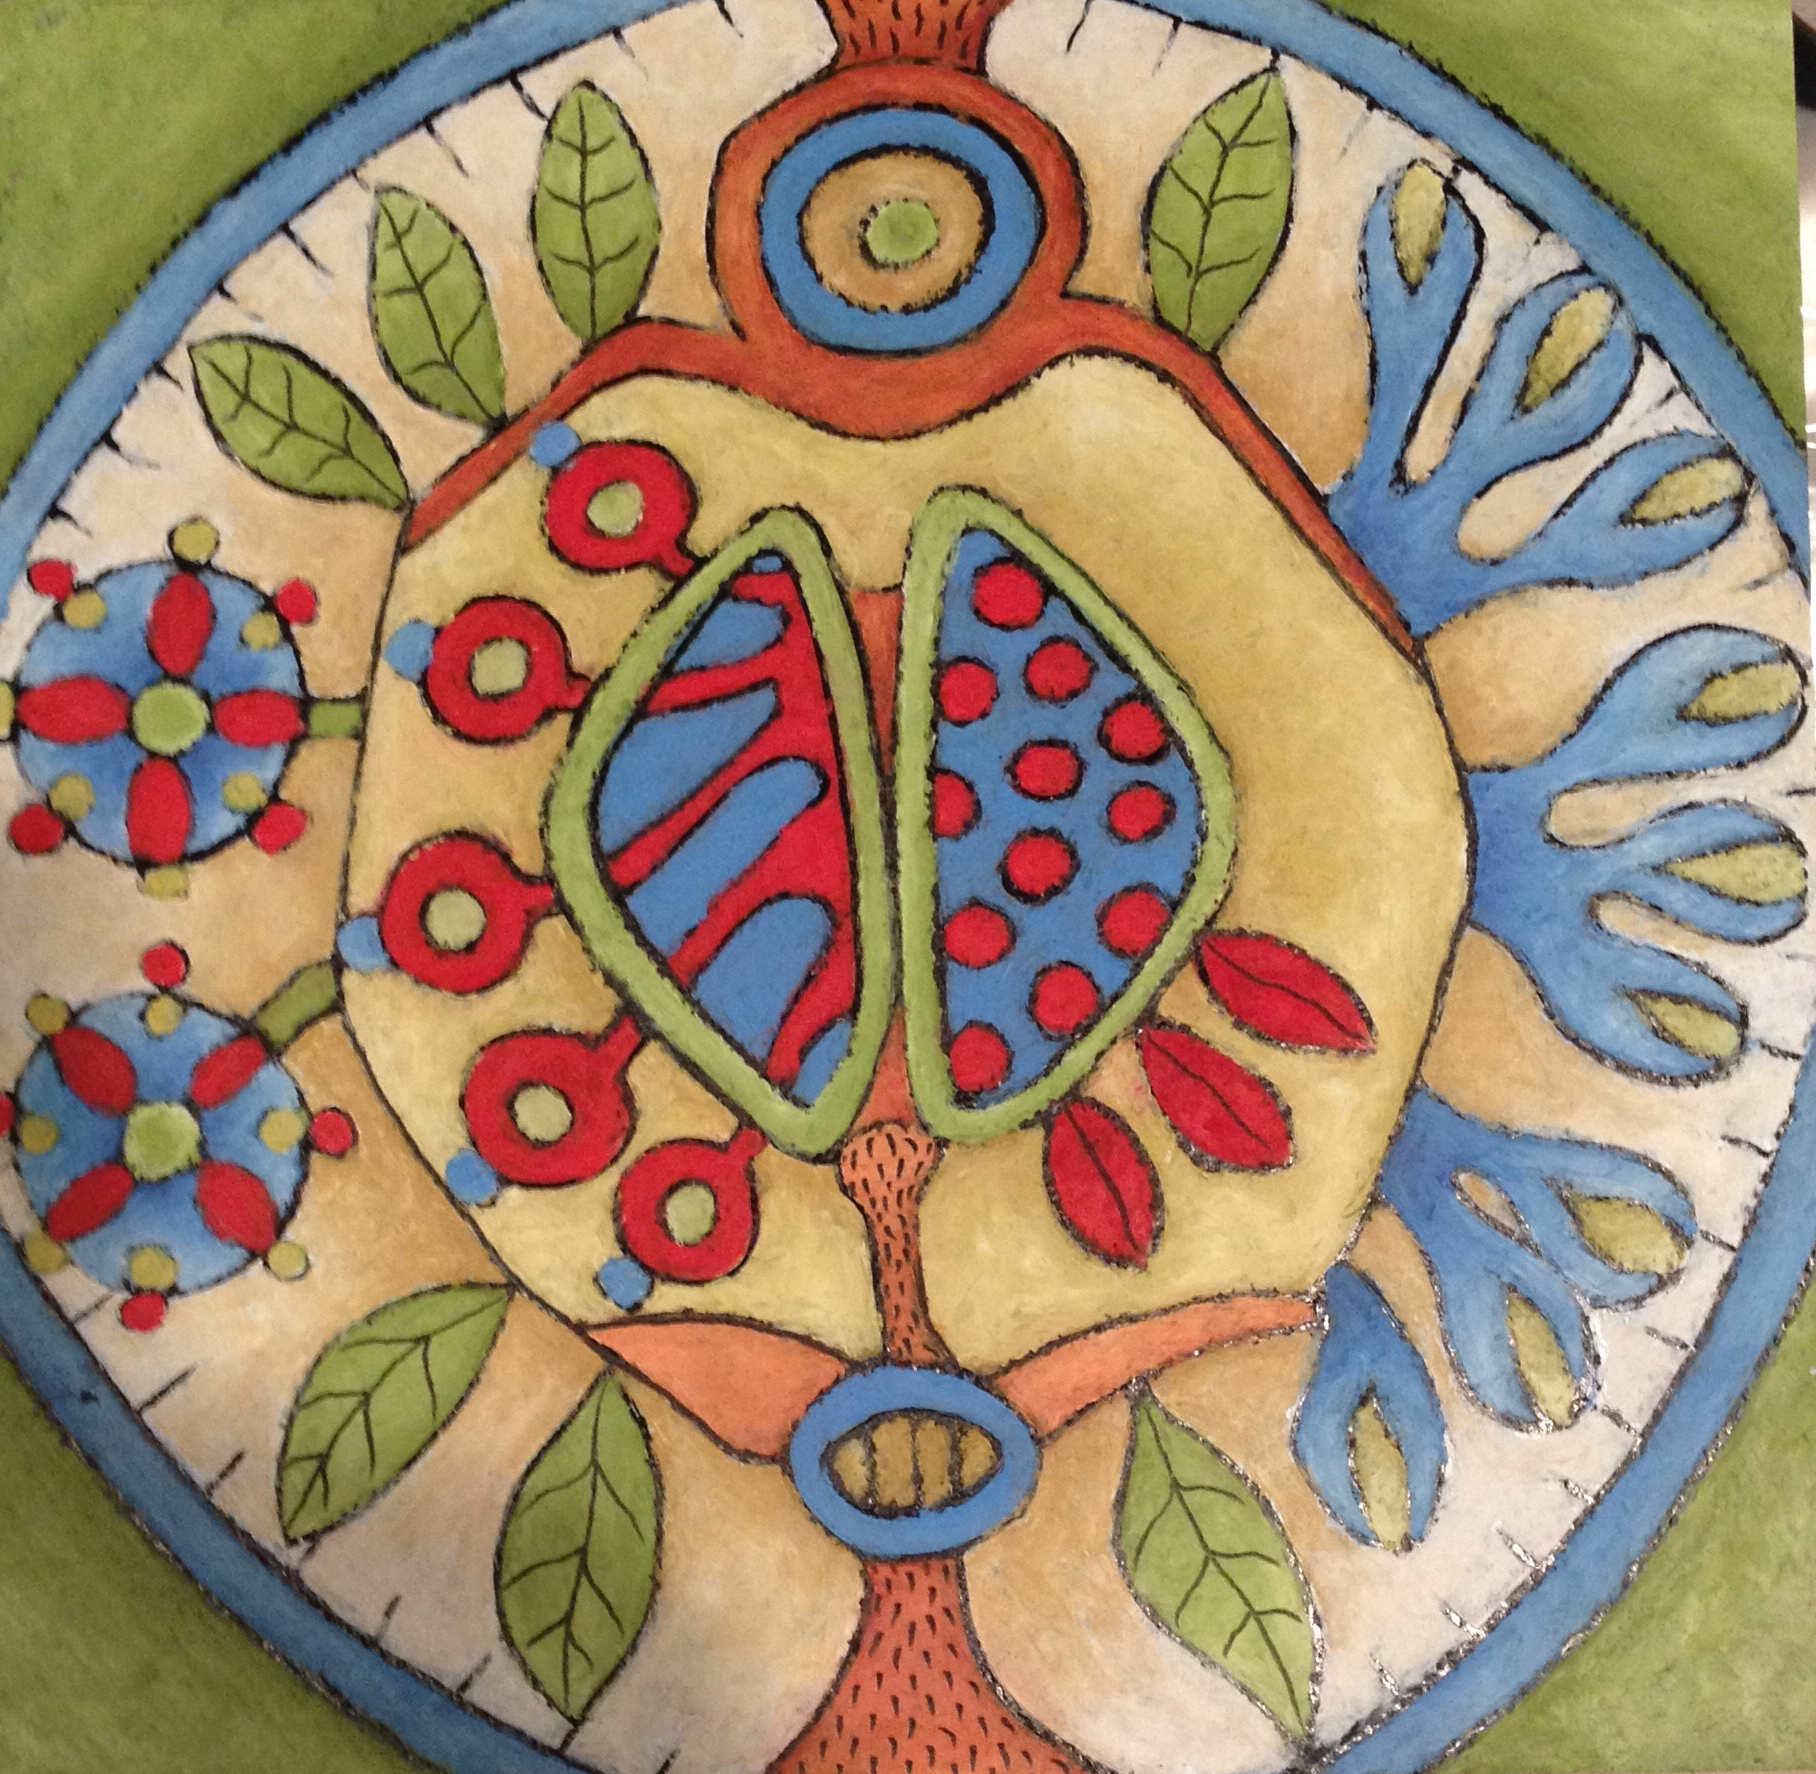
But I don’t know why.
Perhaps they need to be quilts.
Perhaps not.
–
And lastly.
I’m still worried about the Philippines 🙁
I go to bed every night loving how comfortable my bed is.
I wake up, amazed that I can shower every day in hot water.
The power went out the other day due to a storm, and I appreciated how lucky I am to have electricity.
Now. Believe me when I tell you that I’m not a sappy, let’s all hold hands together and sing Kumbaya in voices just off tune enough to make you want to throw up a little, sort of person. (Although that’s o.k. if you are) (Except for the throwing up bit) (And the fact that I might just have to leave you to it and run away from you quickly bit). I’m English for heaven’s sake. A true cynic if ever there was one. But perhaps I’m just getting a little soggy in my old age.
(not really)
But I
Can’t do the suffering any more.
Can’t do the, what the hell is happening here, any more.
And.
I’m just going to have to stop listening to stuff like this.
Because, no matter how much it has always been one of my favourite songs, it’s just not good for my mental health any more.
Oh well, that’s me bummed out for the day.
So what are you up to?
–
–
I’ve been adding new pieces of jewelry to my Tictail shop.
I’m quite pleased with Tictail. It’s easy to use and I think it looks nice. So far not many sales so I guess I’d better get my act together and take my chicken boots off and start handing out business cards. I was going to ask to leave some at the hairdressers this morning, but accidentally, on purpose, left them at home.
No hope for me yet.
But, I did send out postcards 🙂

I think they came out pretty good.
If you need some you can get them from vistaprint
I’ve haven’t seen one in person yet, but you can put the addresses on the card along with the postage which saves a lot of fussing and post officing later.
I’ve always worried about my photographs, but think they’re definitely getting better.
Oh the burdens of being a perfectionist …
I’ve also been working on some rack cards which are longer. I’ve been thinking of leaving them in shops for wholesale, but I haven’t quite got my head around the wholesale thing yet so I keep procrastinating.

They’re pretty much the same, but I thought I could get more information on the back.
I don’t know, I might just stick with the postcards.
So that’s what I’ve been up to.
That and finishing the quilt.
I think I’ve got about 36 stitches to go then I’m done. I’ve only been quilting in the evenings, but I’ve been dragging my feet over it a little. It’s still in time for Christmas though so I consider that a success 🙂
I also was just able to send $2,000 to Care for the Philippines. So I’m pleased about that.

Oh, and I’ve also been working on my mailing list.
Like a big girl.
It’s all happening at my house 🙂
What have you been doing?
–
–
–
I wanted to show you this one’s progress so I started by looking at my doodles.
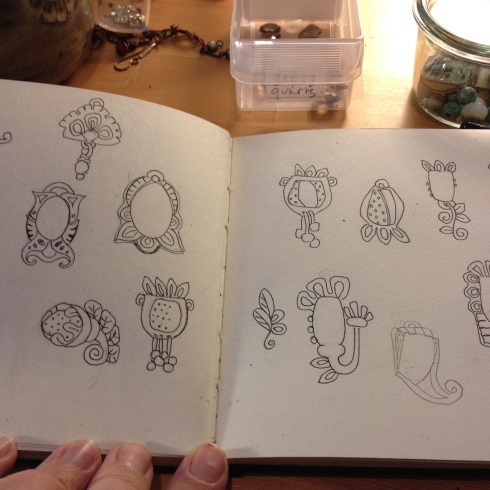
To get in the mood.
Then I found a stone and designed around it.

And included a little bit of the left over filigree experiment.
I traced the finished shape on some sticky back clear film (which I forgot to photograph) but here’s the general shape
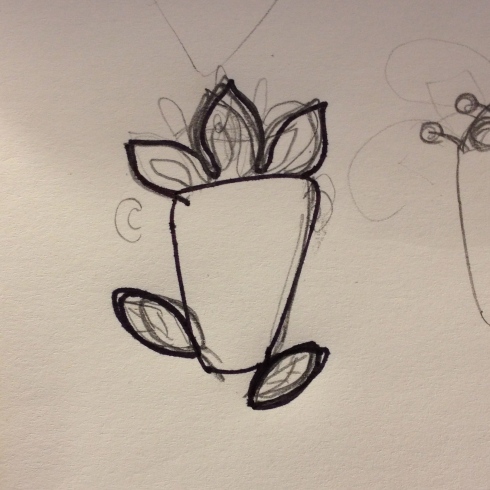
Next I wrapped the stone in bezel wire.
Like so.
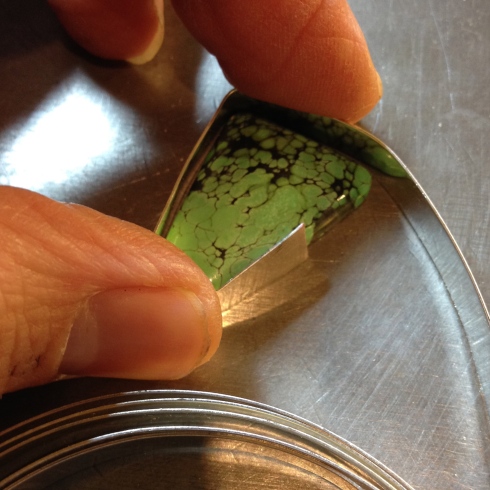
And then everything went to pot and I forgot my good intentions of showing you my process and delved into the world of turquoise jewelry design ponderings until –
lo and behold
The End.
So now all I have left is to present you with this.
And its story.
–
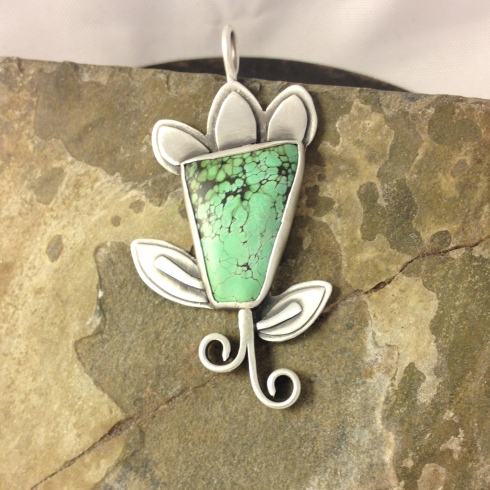
Today Marcos Haverbrook, Royal Jeweler to HRH Significanta Regina of the Kingdom of Spry, made this outstanding piece to commemorate the upcoming Festival of Awkward Flowers which is to be held in honour of Cornelius Audenberry III, intrepid botanist to the Queen. Audenberry arrived safely back from his latest expedition to the small islands known as The Bora Kowlandis last month and has since been documenting his discoveries with the aid of Haverbrook, and Trevor de Manous, Royal Painter. The Bora Knowlandis, which are located in the Black Fur Waters of the Jinta Ocean, is home to hundreds of extraordinarily rare botanical species, including the Green Bellied Corfunculus which has been so beautifully captured in Haverbrook’s exquisite work as seen above.
Also to be shown at the festival will be a selection of de Manous’ vivid representations of Audenberry’s field sketches. Including this one of the Startled Bee Trap which Cornelius found growing near the north shores of the third island known as Lower Knowlandis.
The Festival of Awkward Flowers is to be held next month in the Royal Gardens.
–
–
–
Or rather, oil pastel-ing.
I think this is my favourite medium. The colours are so rich and meaty.
I find it hard to get back into jewelry after an art show. It’s like I’m all jeweled out.
I did fairly well at the festival. I made a thousand dollars, which, with what I already have, brings me to fifteen hundred.
I think this time the money is going to the Water for India thing, and Syria again.


Although I’m going to check out the Indian charity a little more first. I don’t usually give to the smaller charities as they aren’t so well known.
I don’t know, sometimes I get disheartened. It all seems so little for so much, but I can’t worry about it too much otherwise my brain will explode.
And that might hurt a bit.
So, I will leave you with a picture of my son in his halloween costume.
If you see him, please take him directly to the nearest psych ward.
He needs all the help he can get.
–
–
And I’m not sure I like it.

Granted, I did it my way.
Thick wire, not thin.
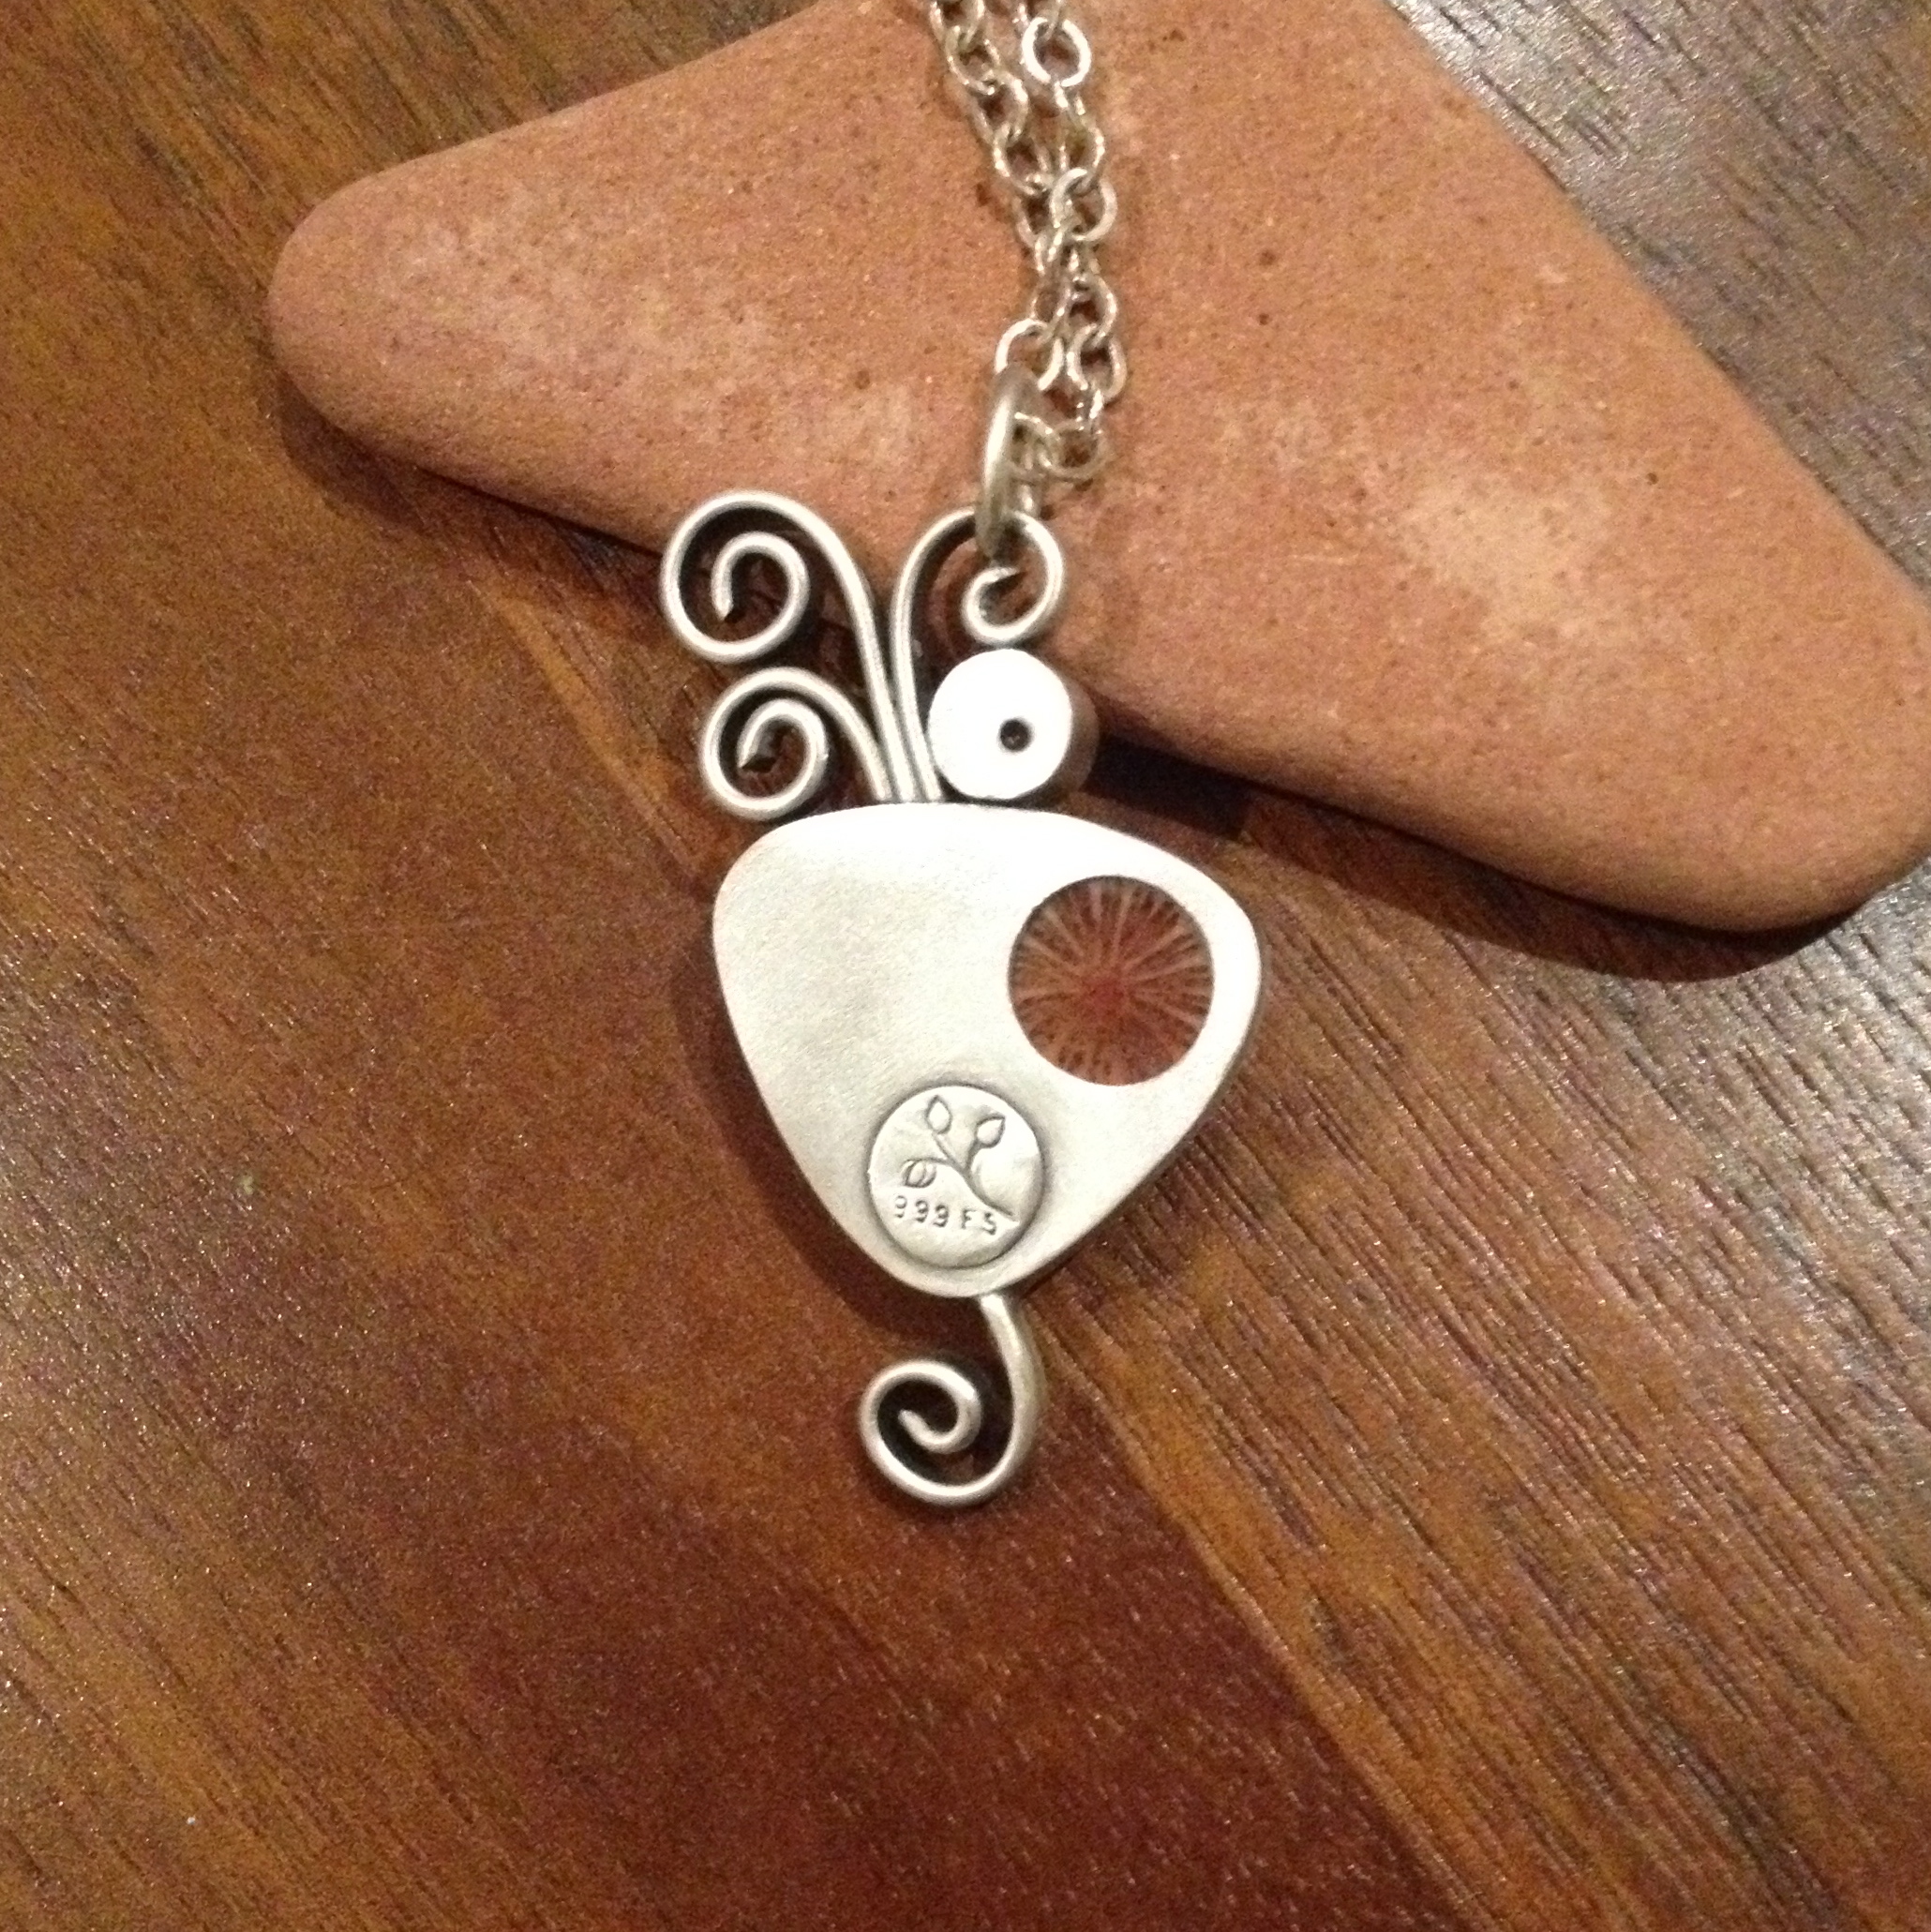
But, it’s just not my thing.
I might make another or
I might not.
It needs a little more cleaning by the silver ball, and I did enjoy making it,
but …
–
Just when I thought I was safe.
Just when I was going to buckle down and finish Hope’s quilt.
I had to go and watch this.
Man!
Well fortunately I’m just an evening quilter so once I get the back done and sandwiched I’ll be able to get back out to the jewelry studio.
Too much to do and not enough time.
Better get started …
–
The top is done eth …


And I included her (secret) name.

Because it’s always fun to find something hidden.
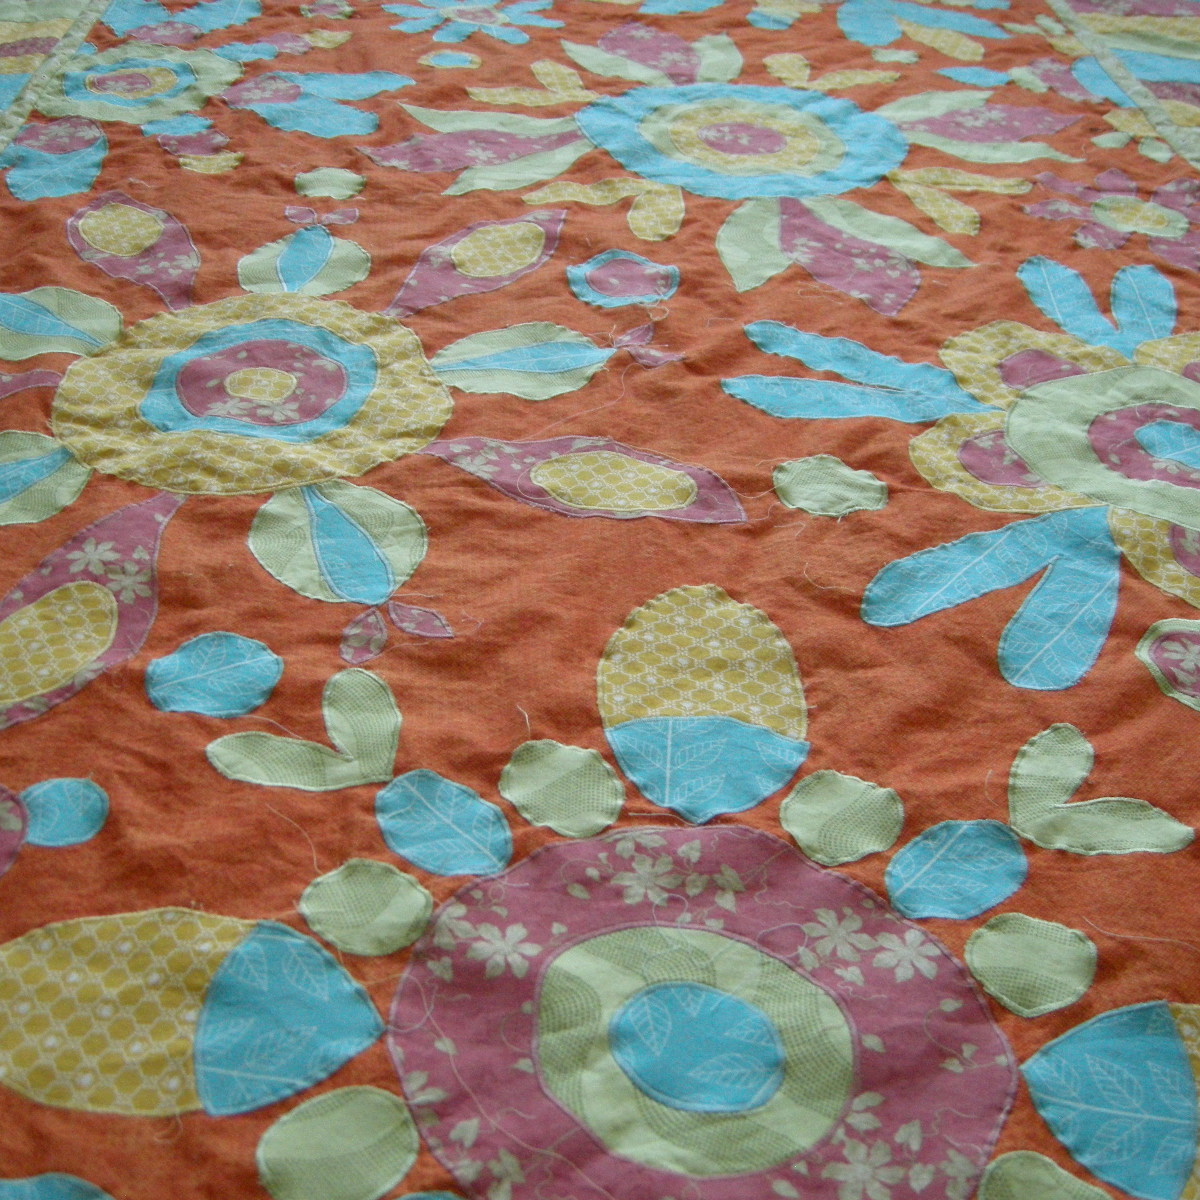
Especially if you’re five years old 🙂
And so today.
Make the back.
Sandwich the batting.
Find some thick orange thread.
And quilt away.
–
I finished sewing the flowers on the quilt last week, but then I just had to have a jewelry moment.
Also, a housecleaning moment!
Who knew that would happen. Have to take advantage of that when I can.
I changed my studio rooms around a couple of weeks ago, and am really enjoying not being so cramped.
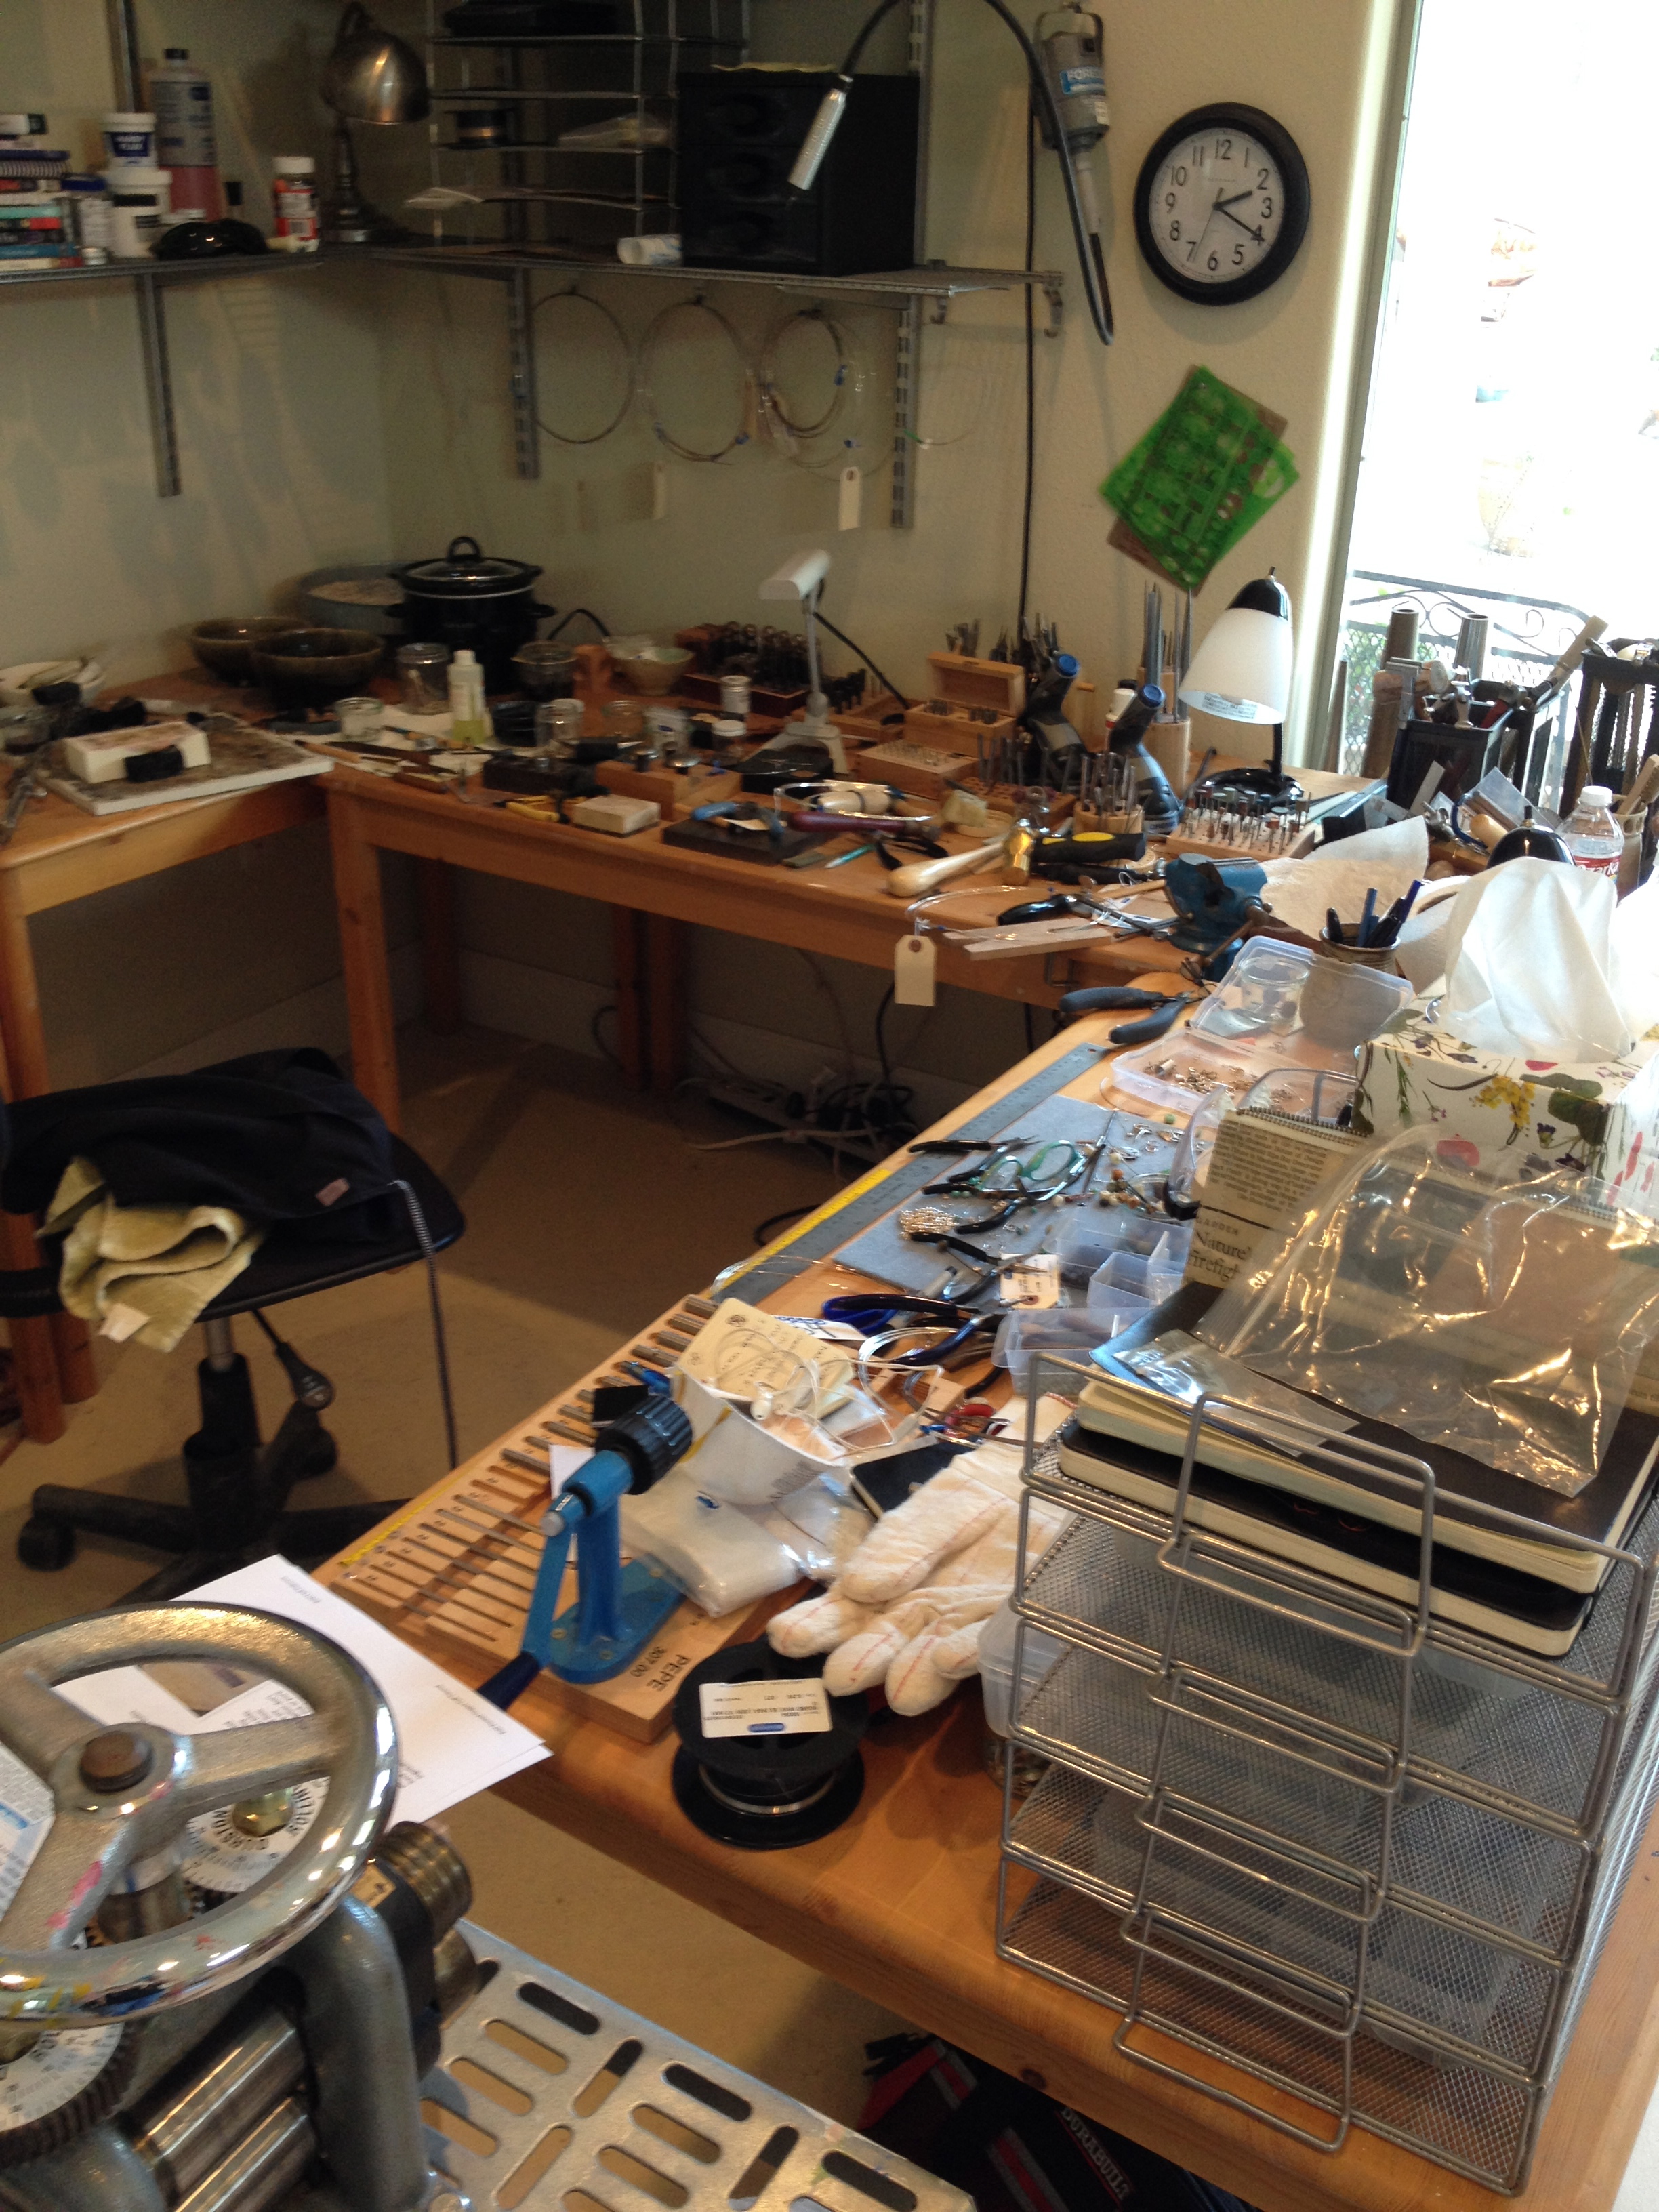
Of course, I’ve still managed to fill every square inch of space.
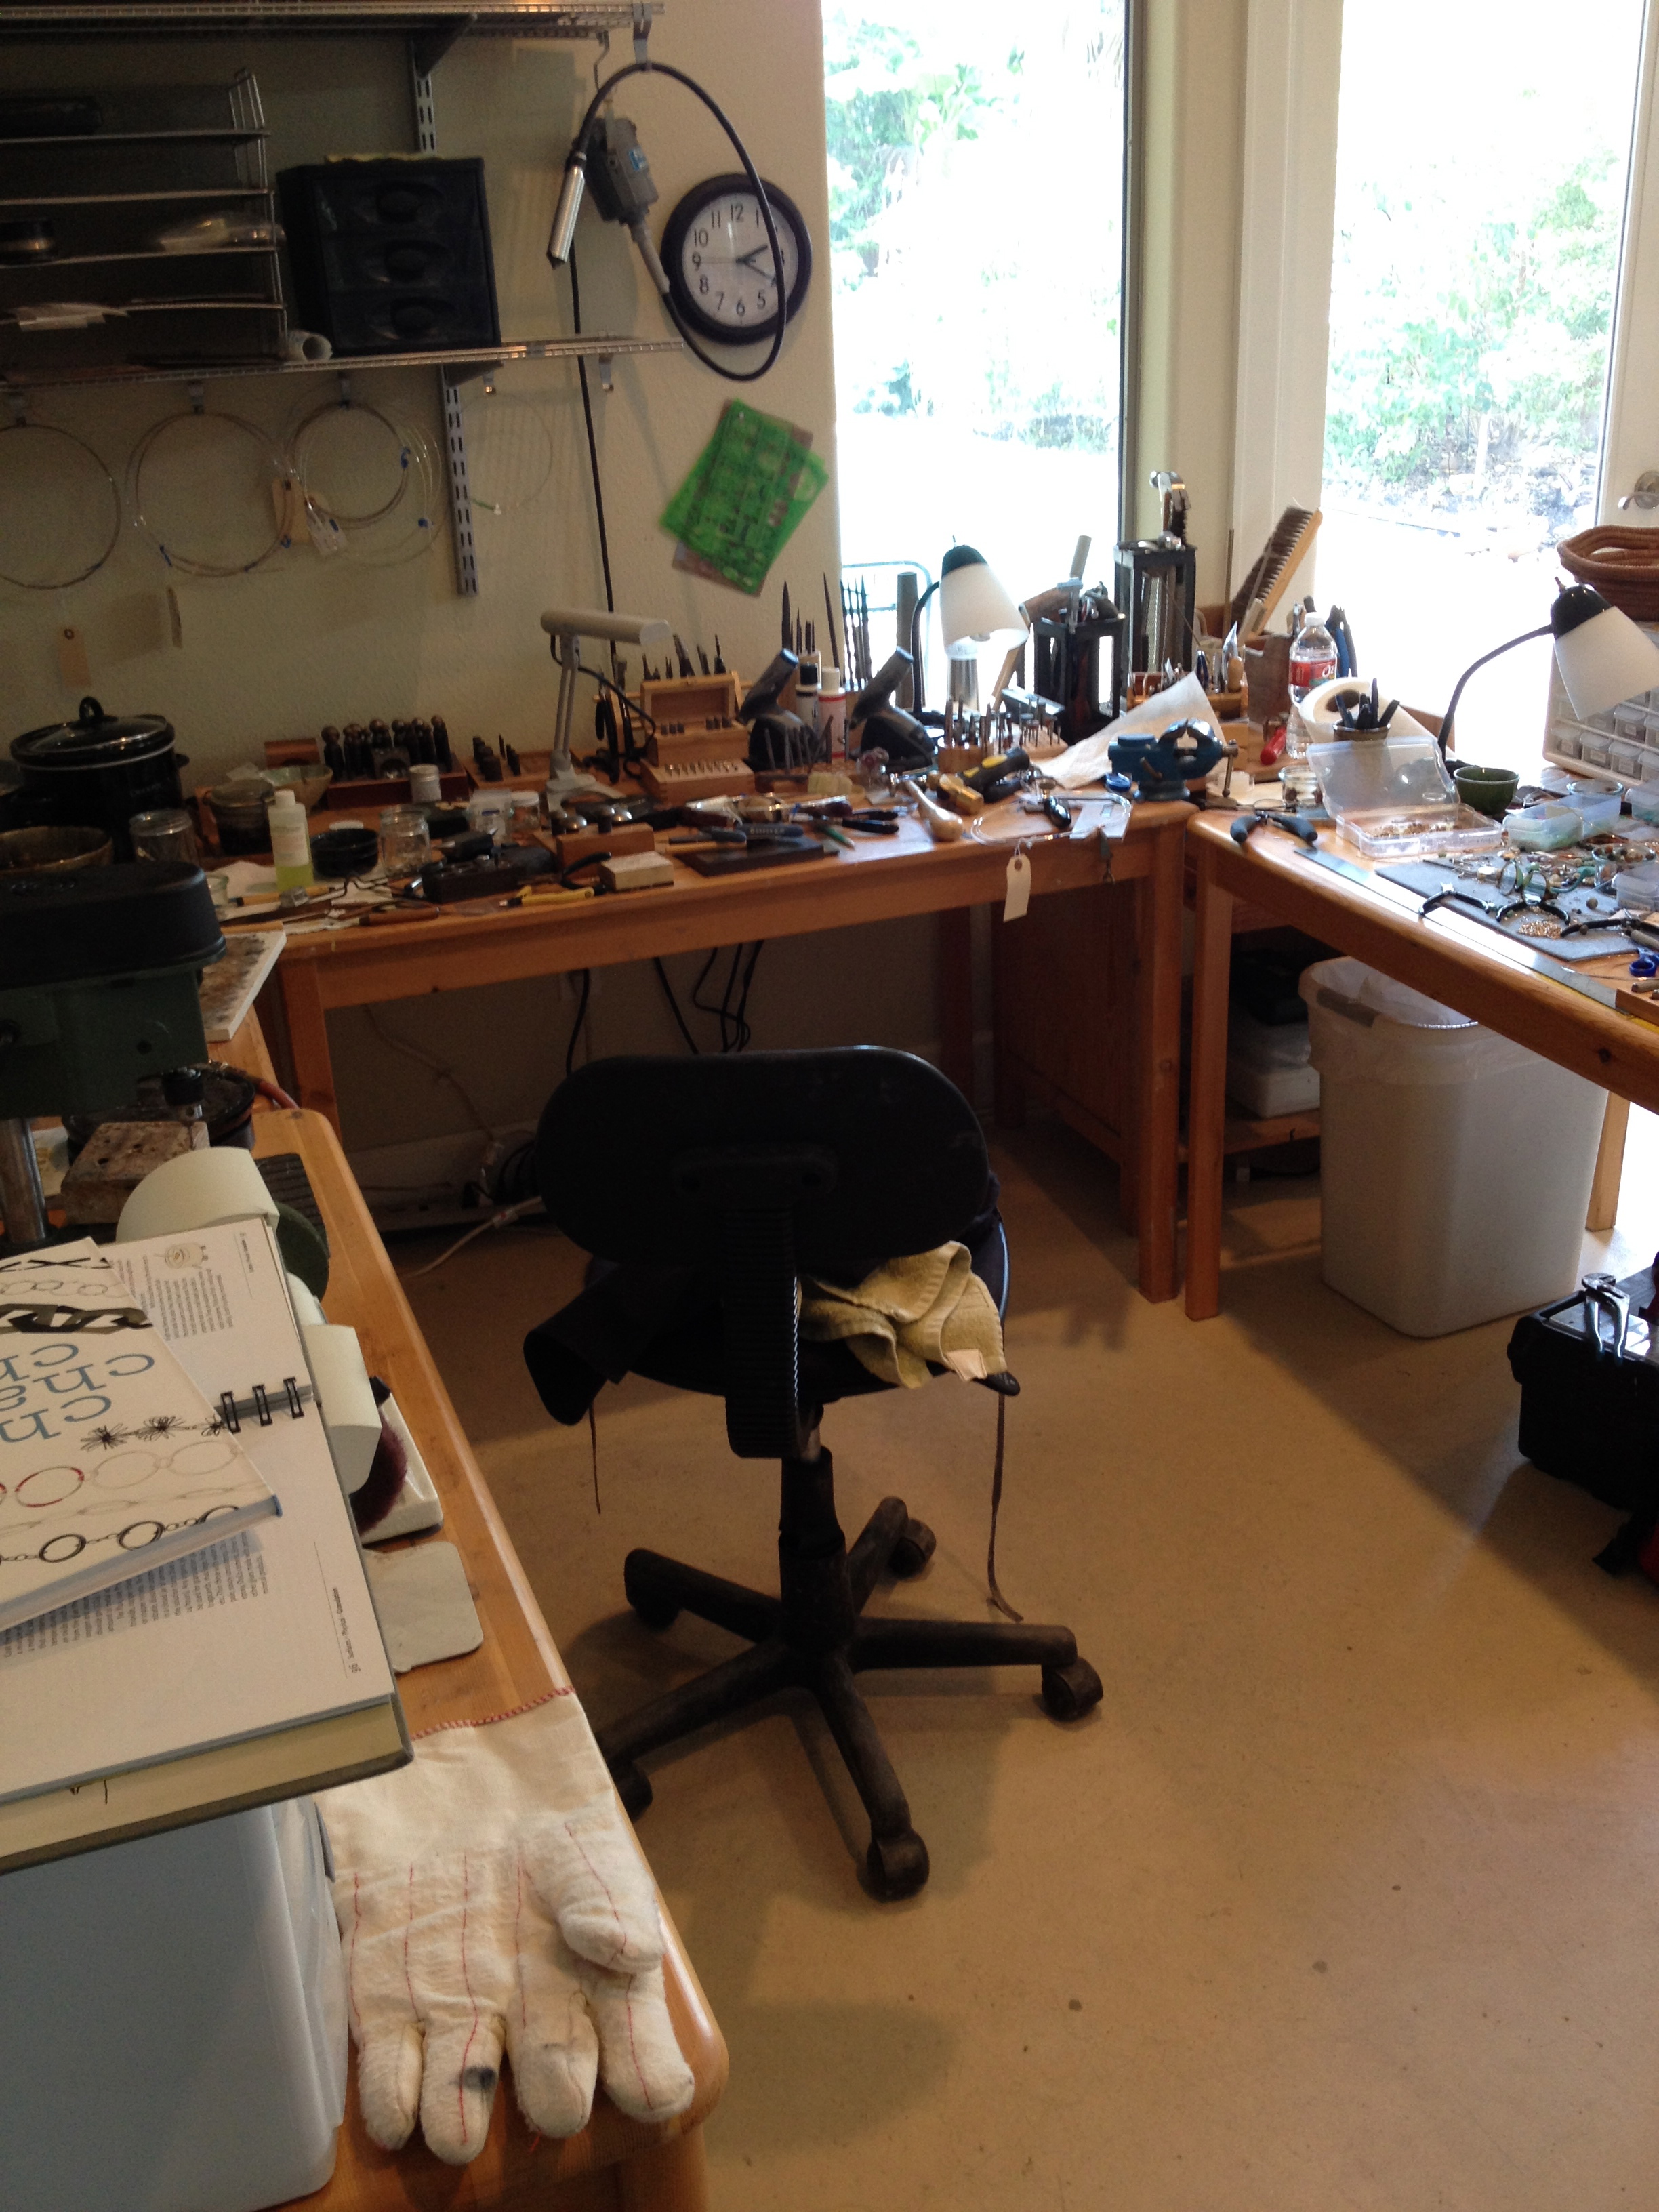
I do try, every so often, to clean up a bit though.
See.
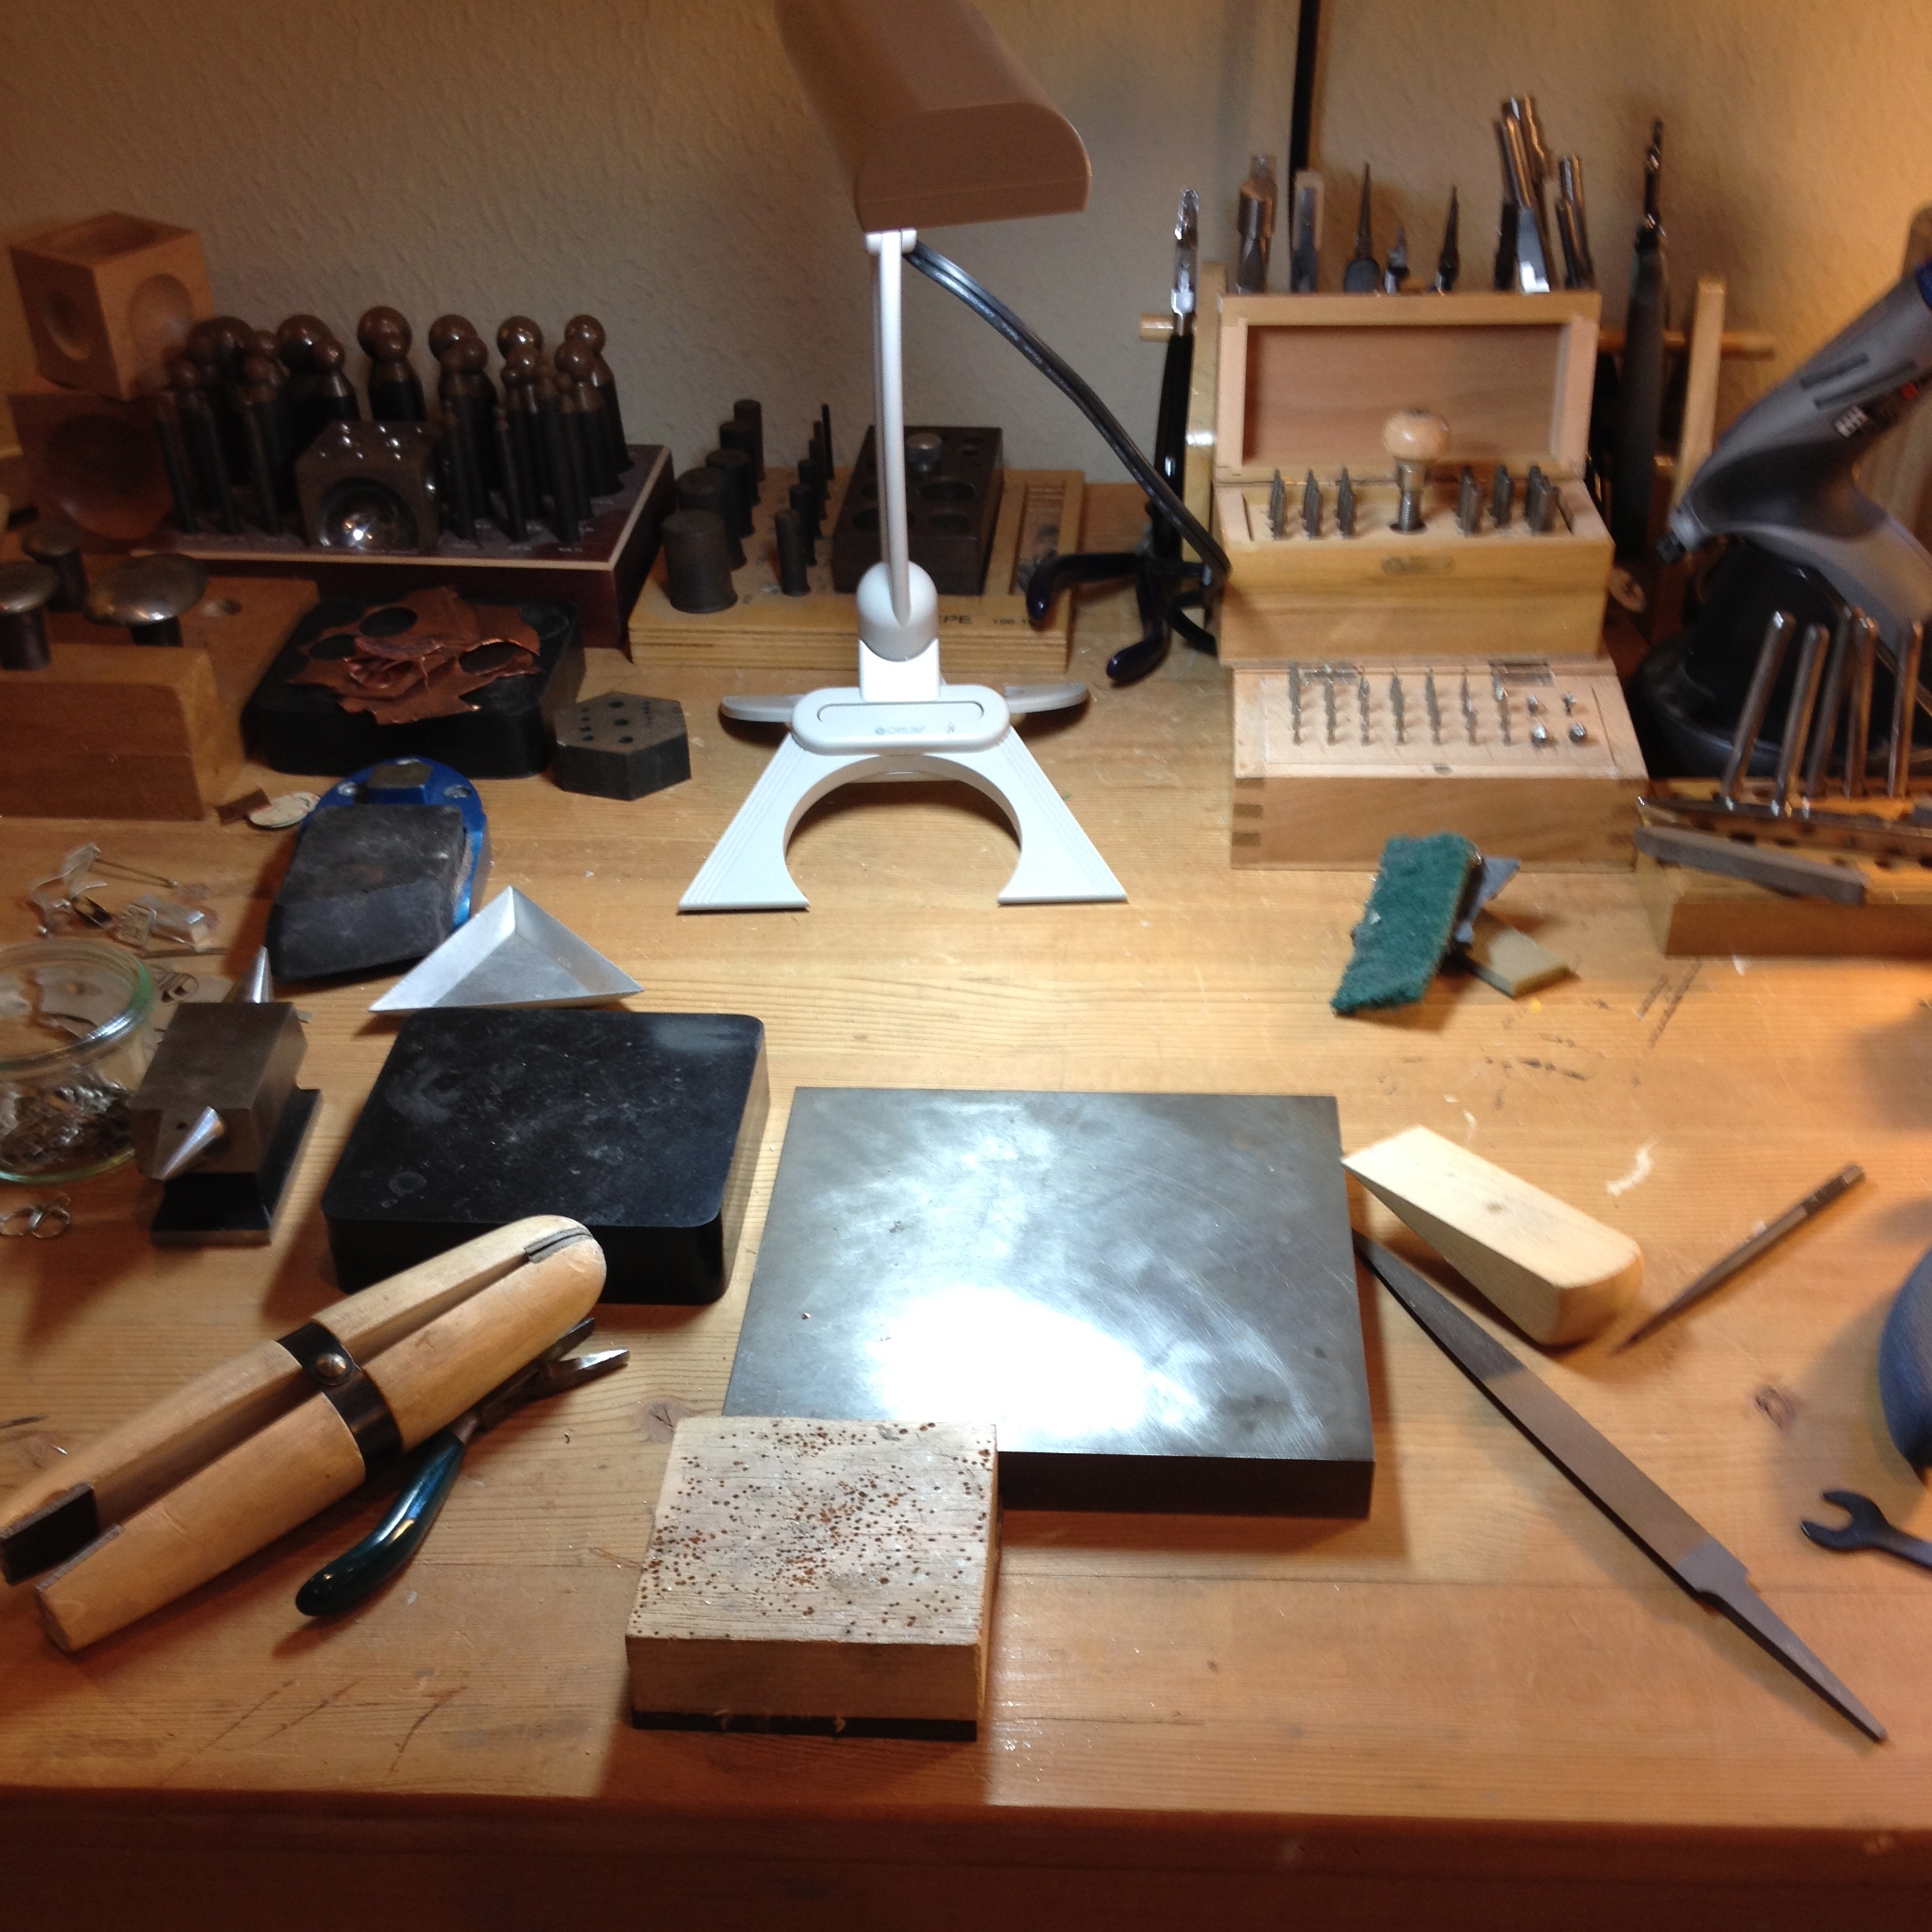
I found some old clay pieces.
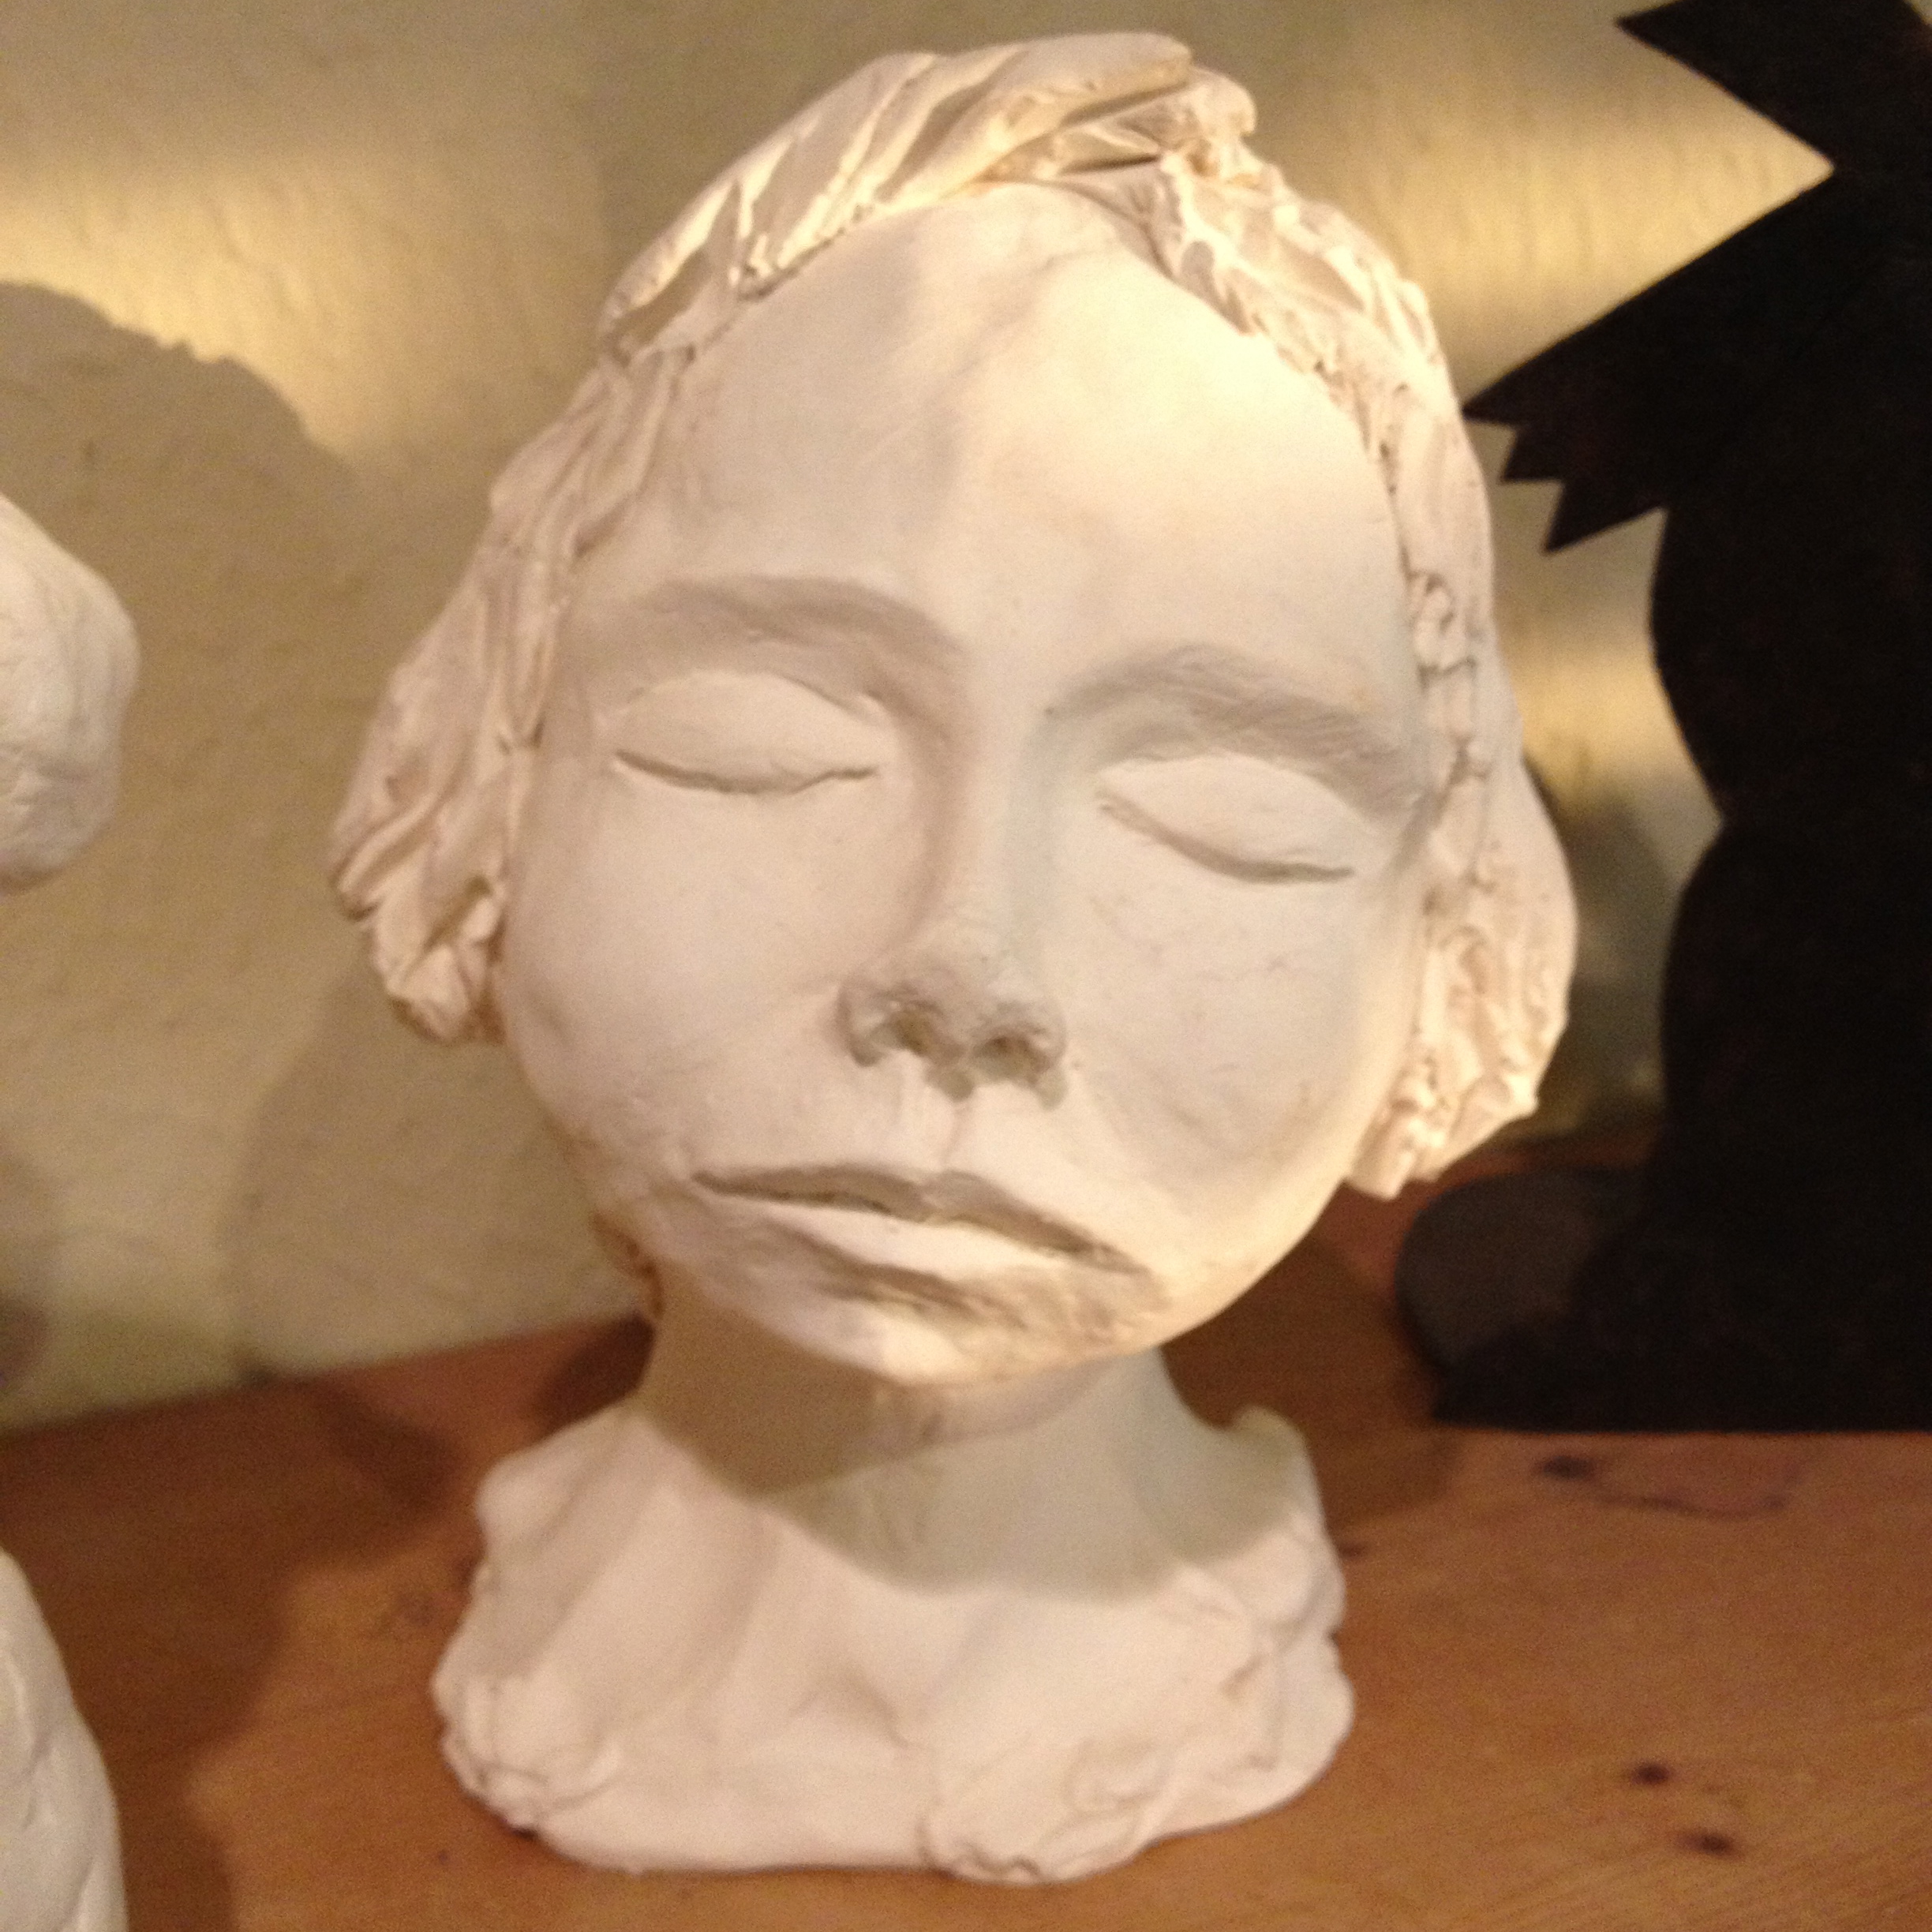
I particularly like this out of shape, cellulite-y, lumpy woman.
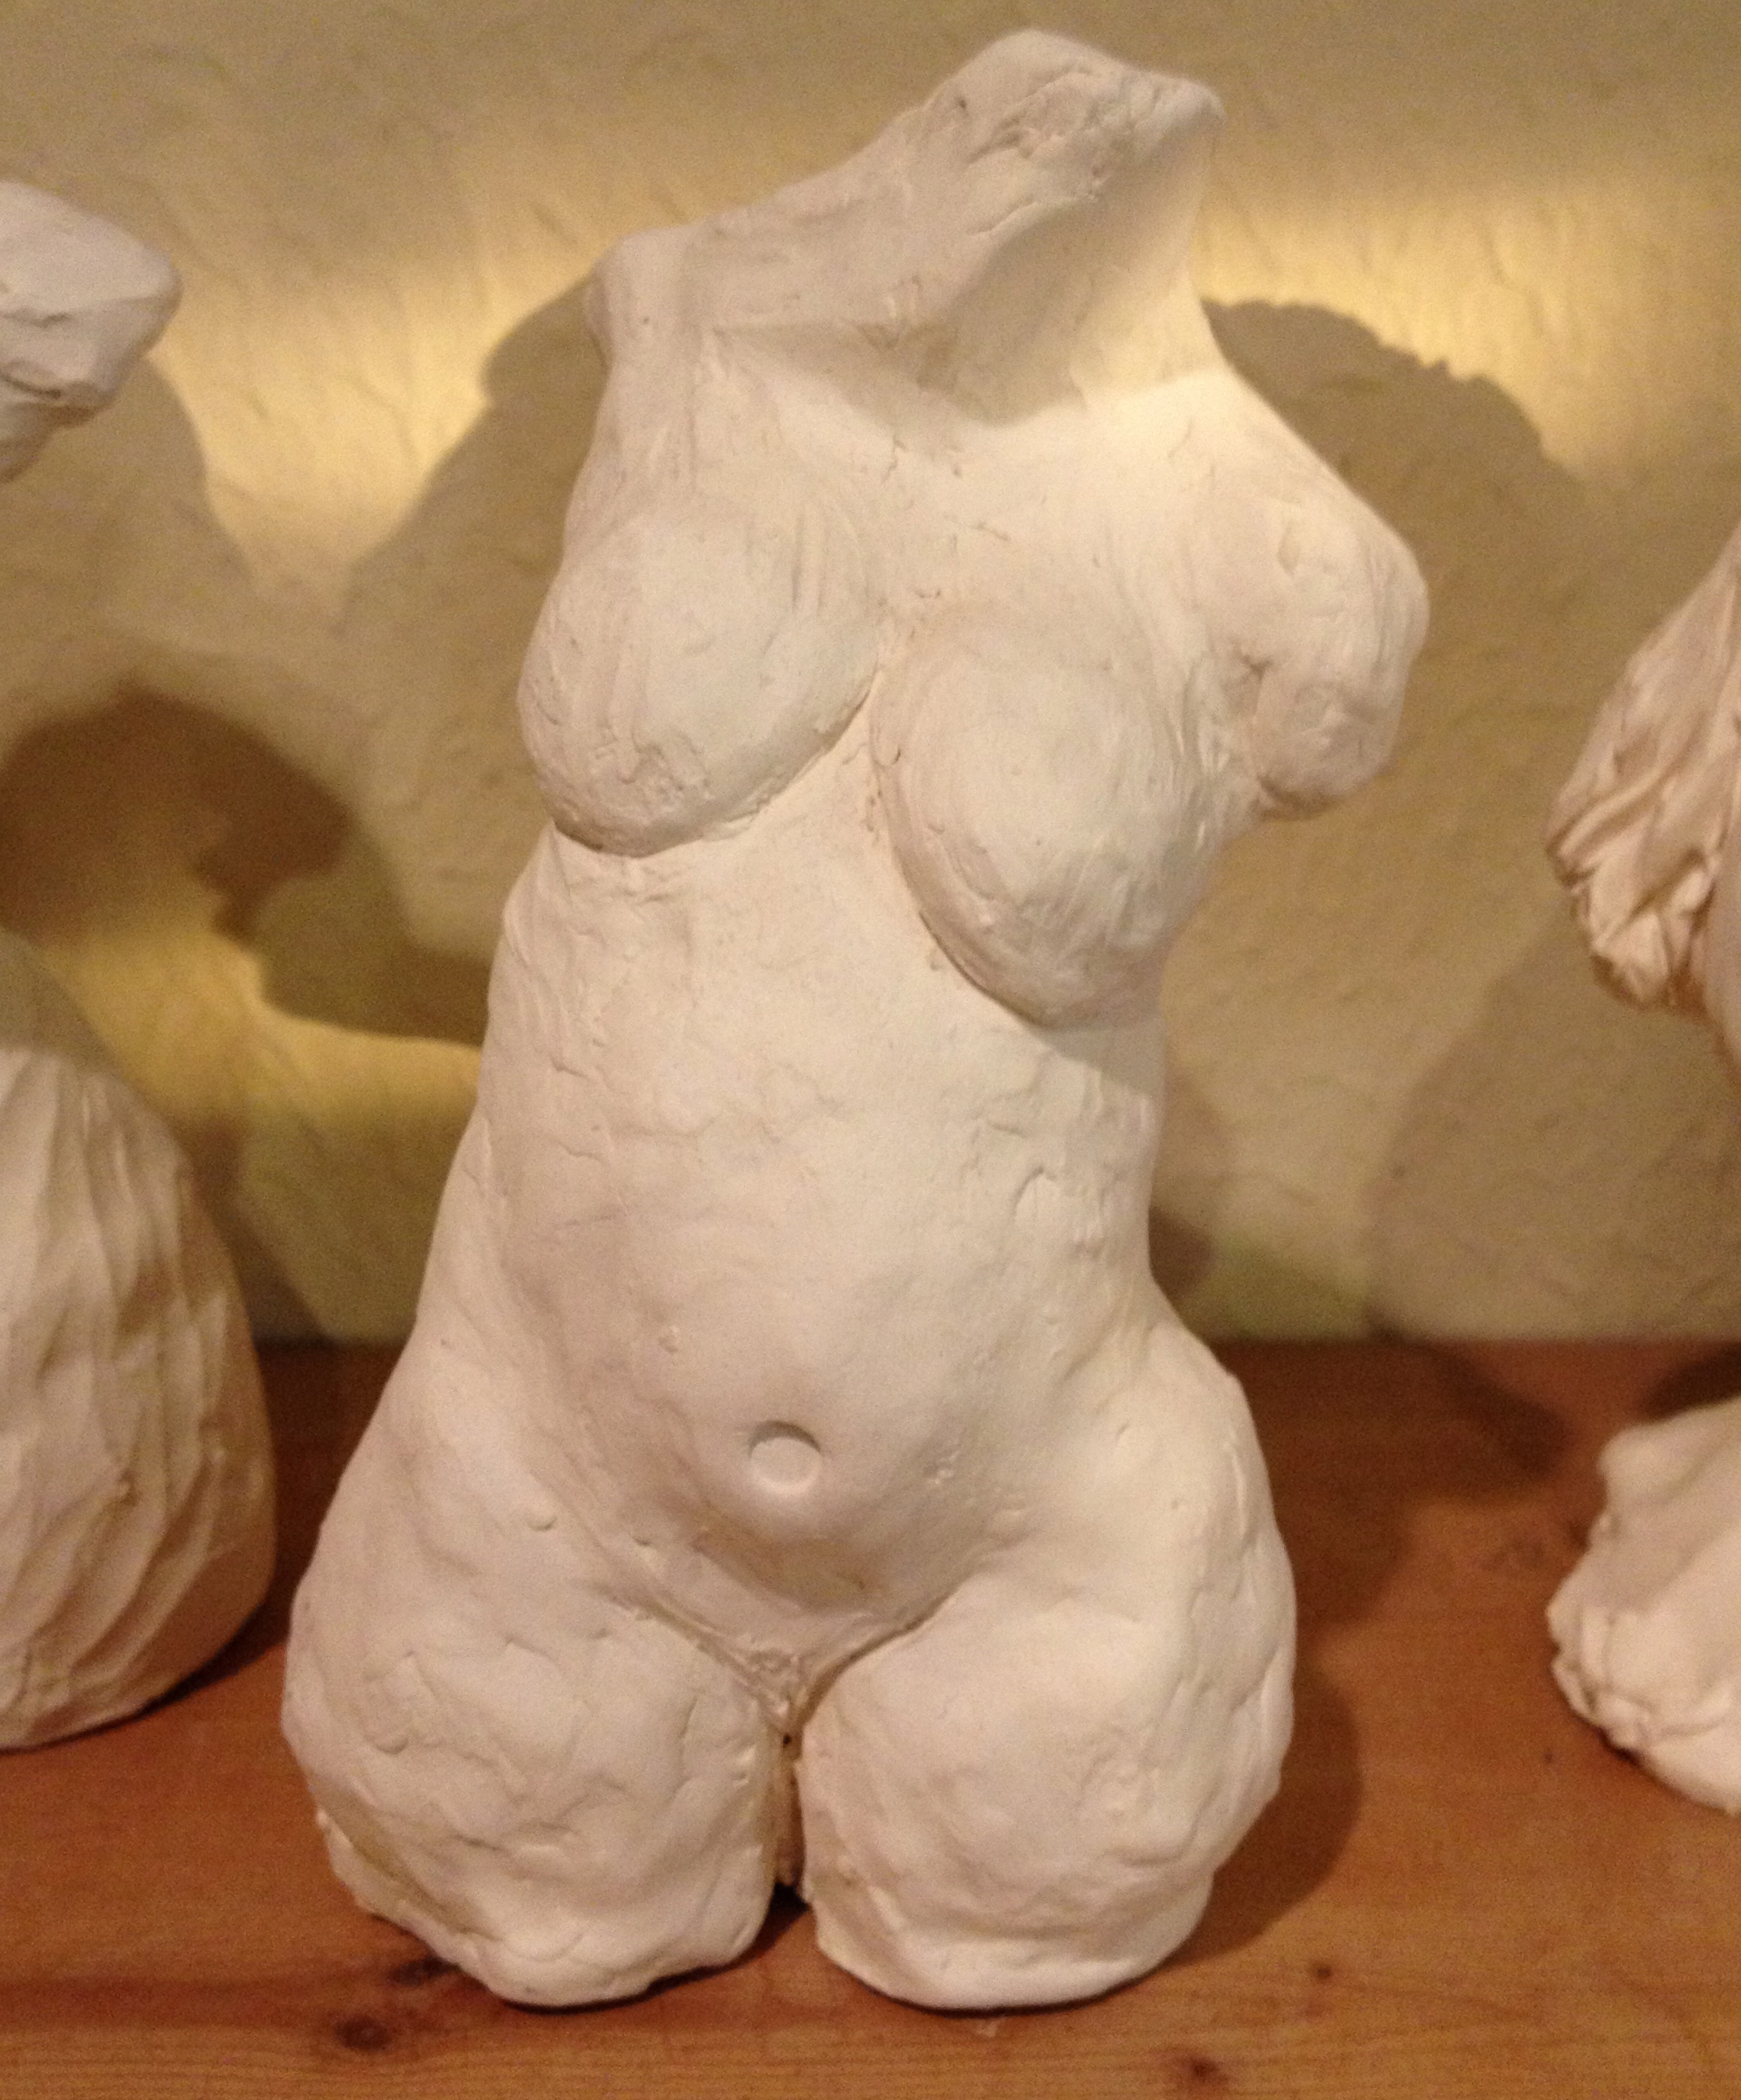
Makes me feel normal.
And I leave you today with
True Love.
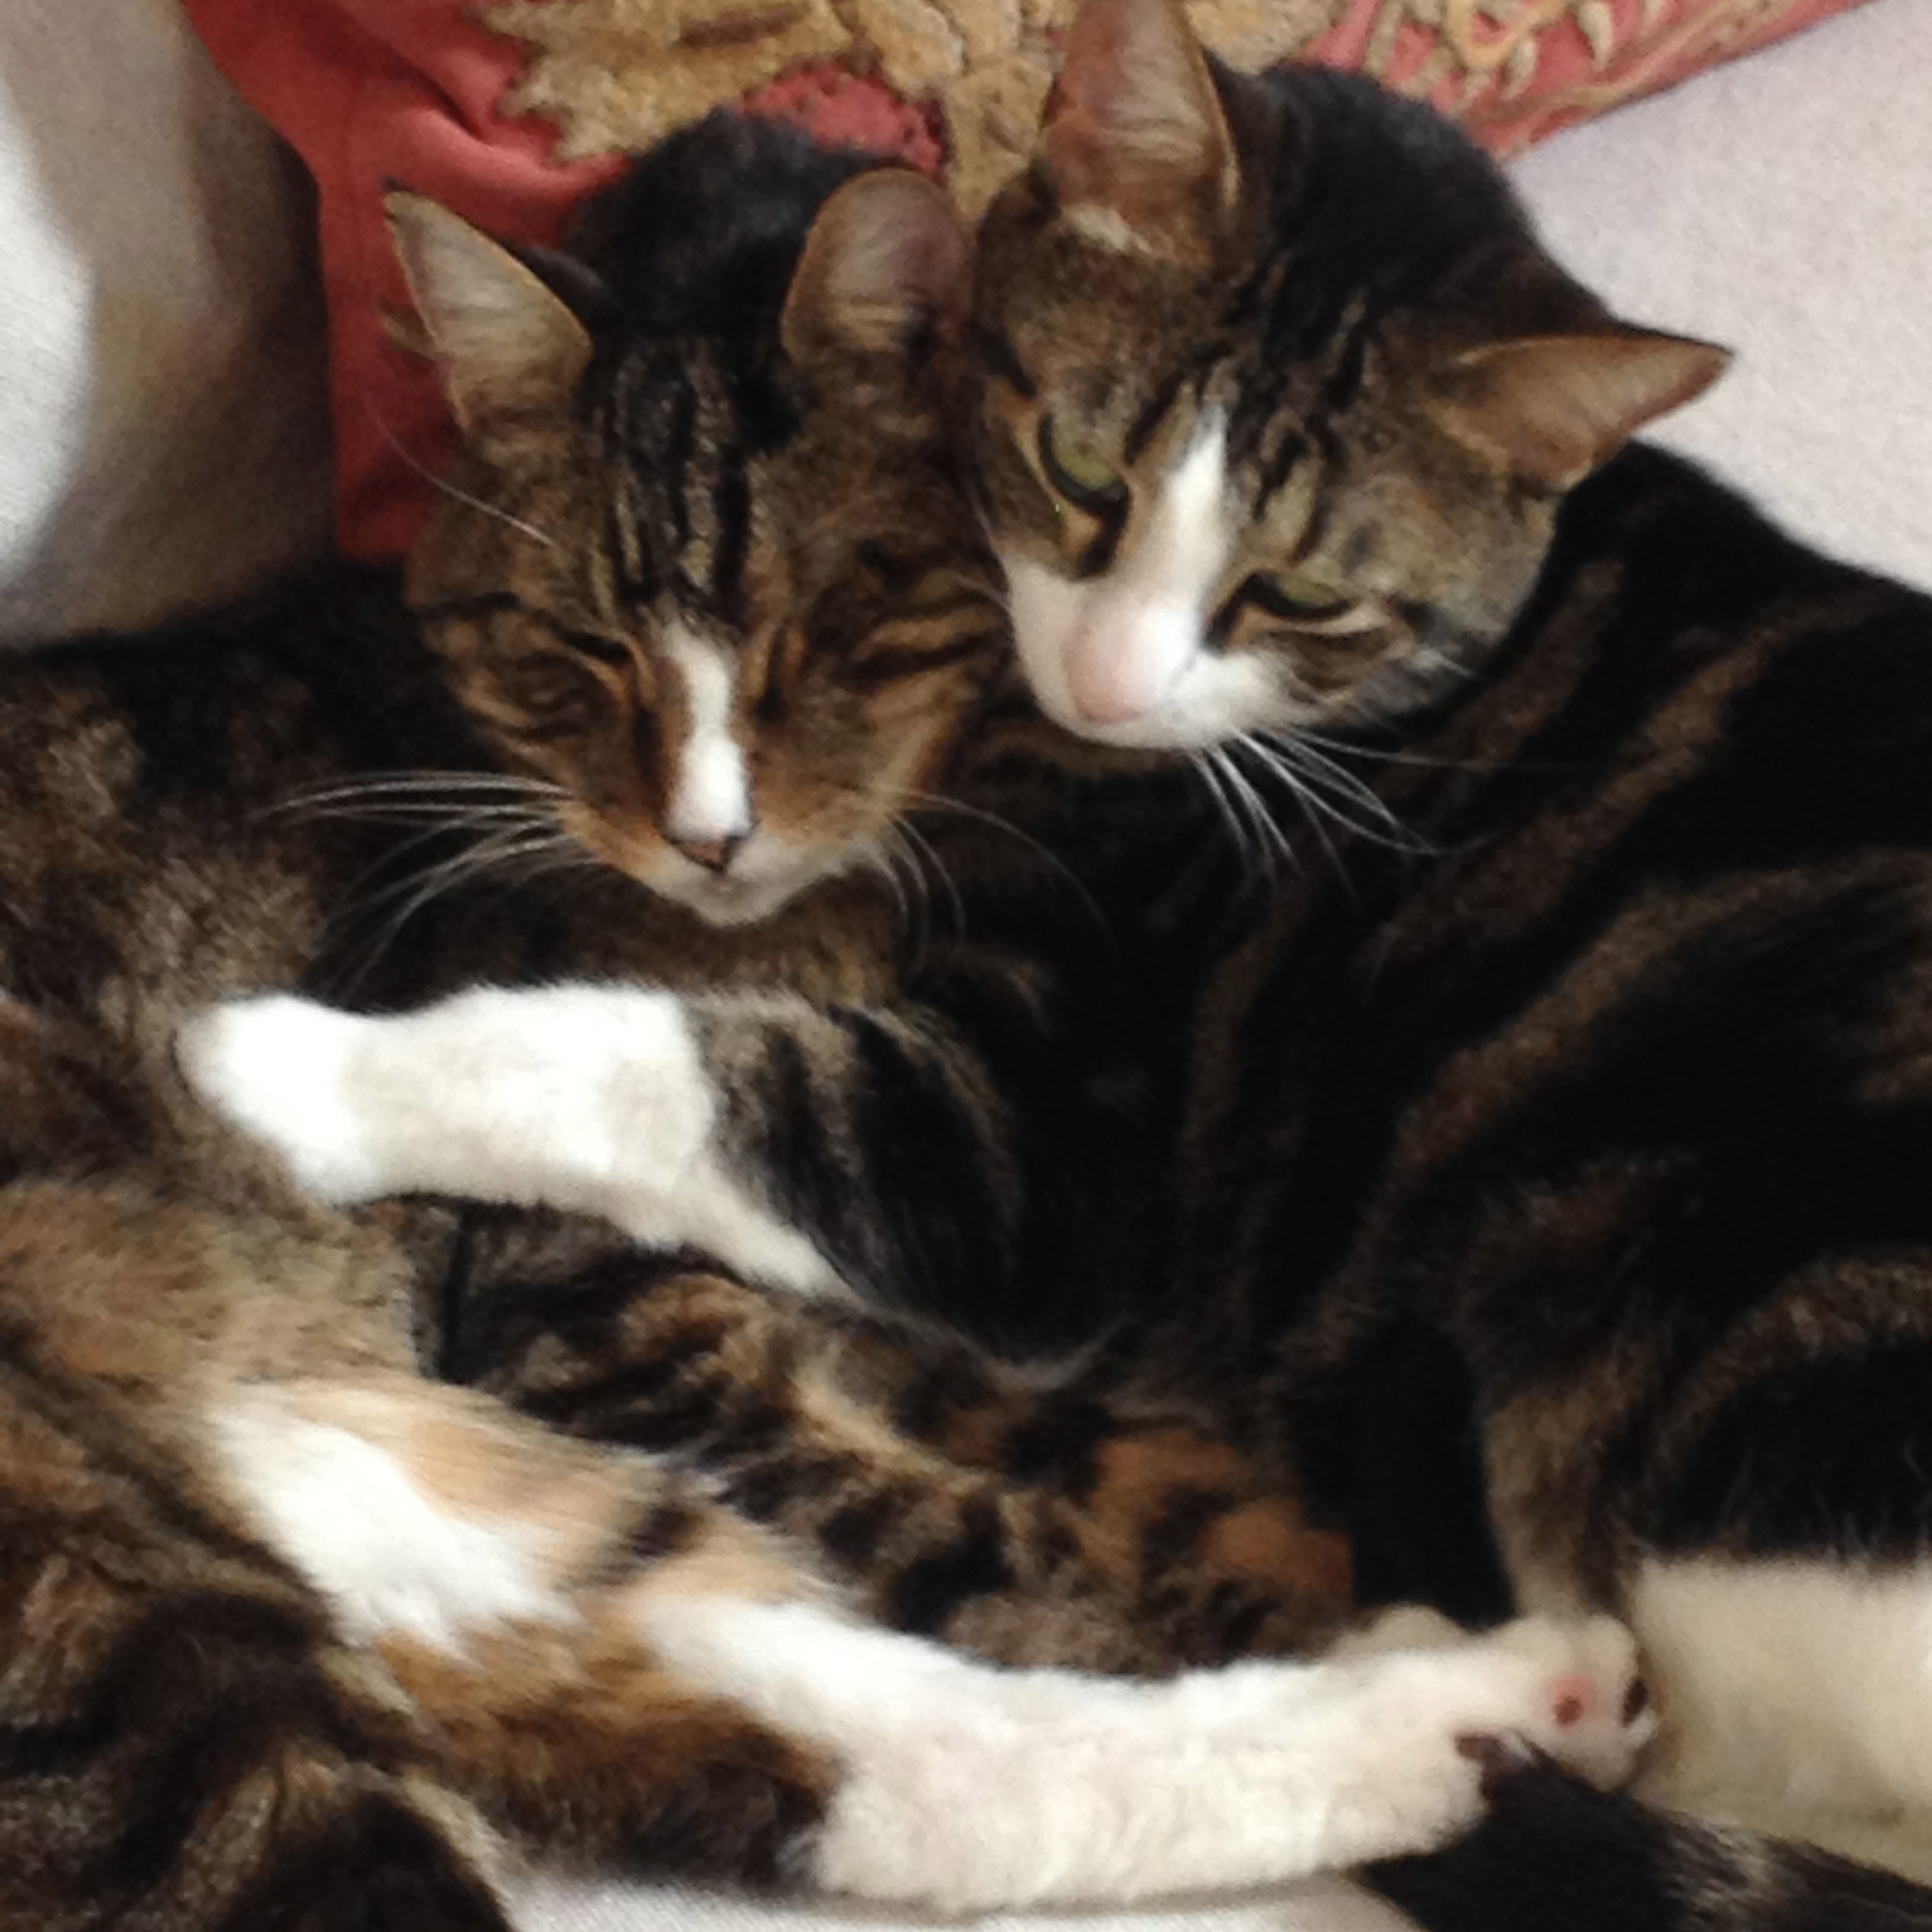
🙂
P.S. Off to tackle the quilt border this afternoon.
Happy Wednesday.
–
A trip to Joannes to buy thread.
Yes, I have a billion spools of thread, but of course, none the right colour.
And then, a date with the sewing machine.
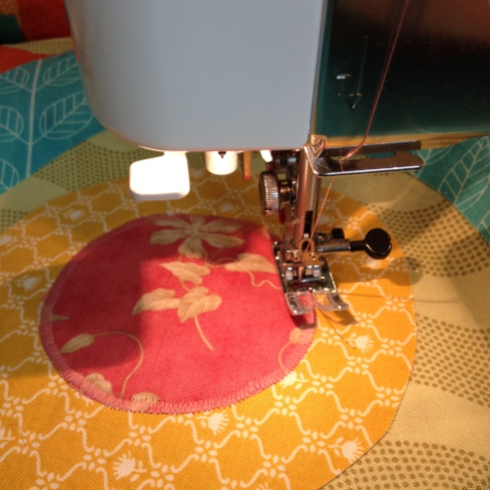
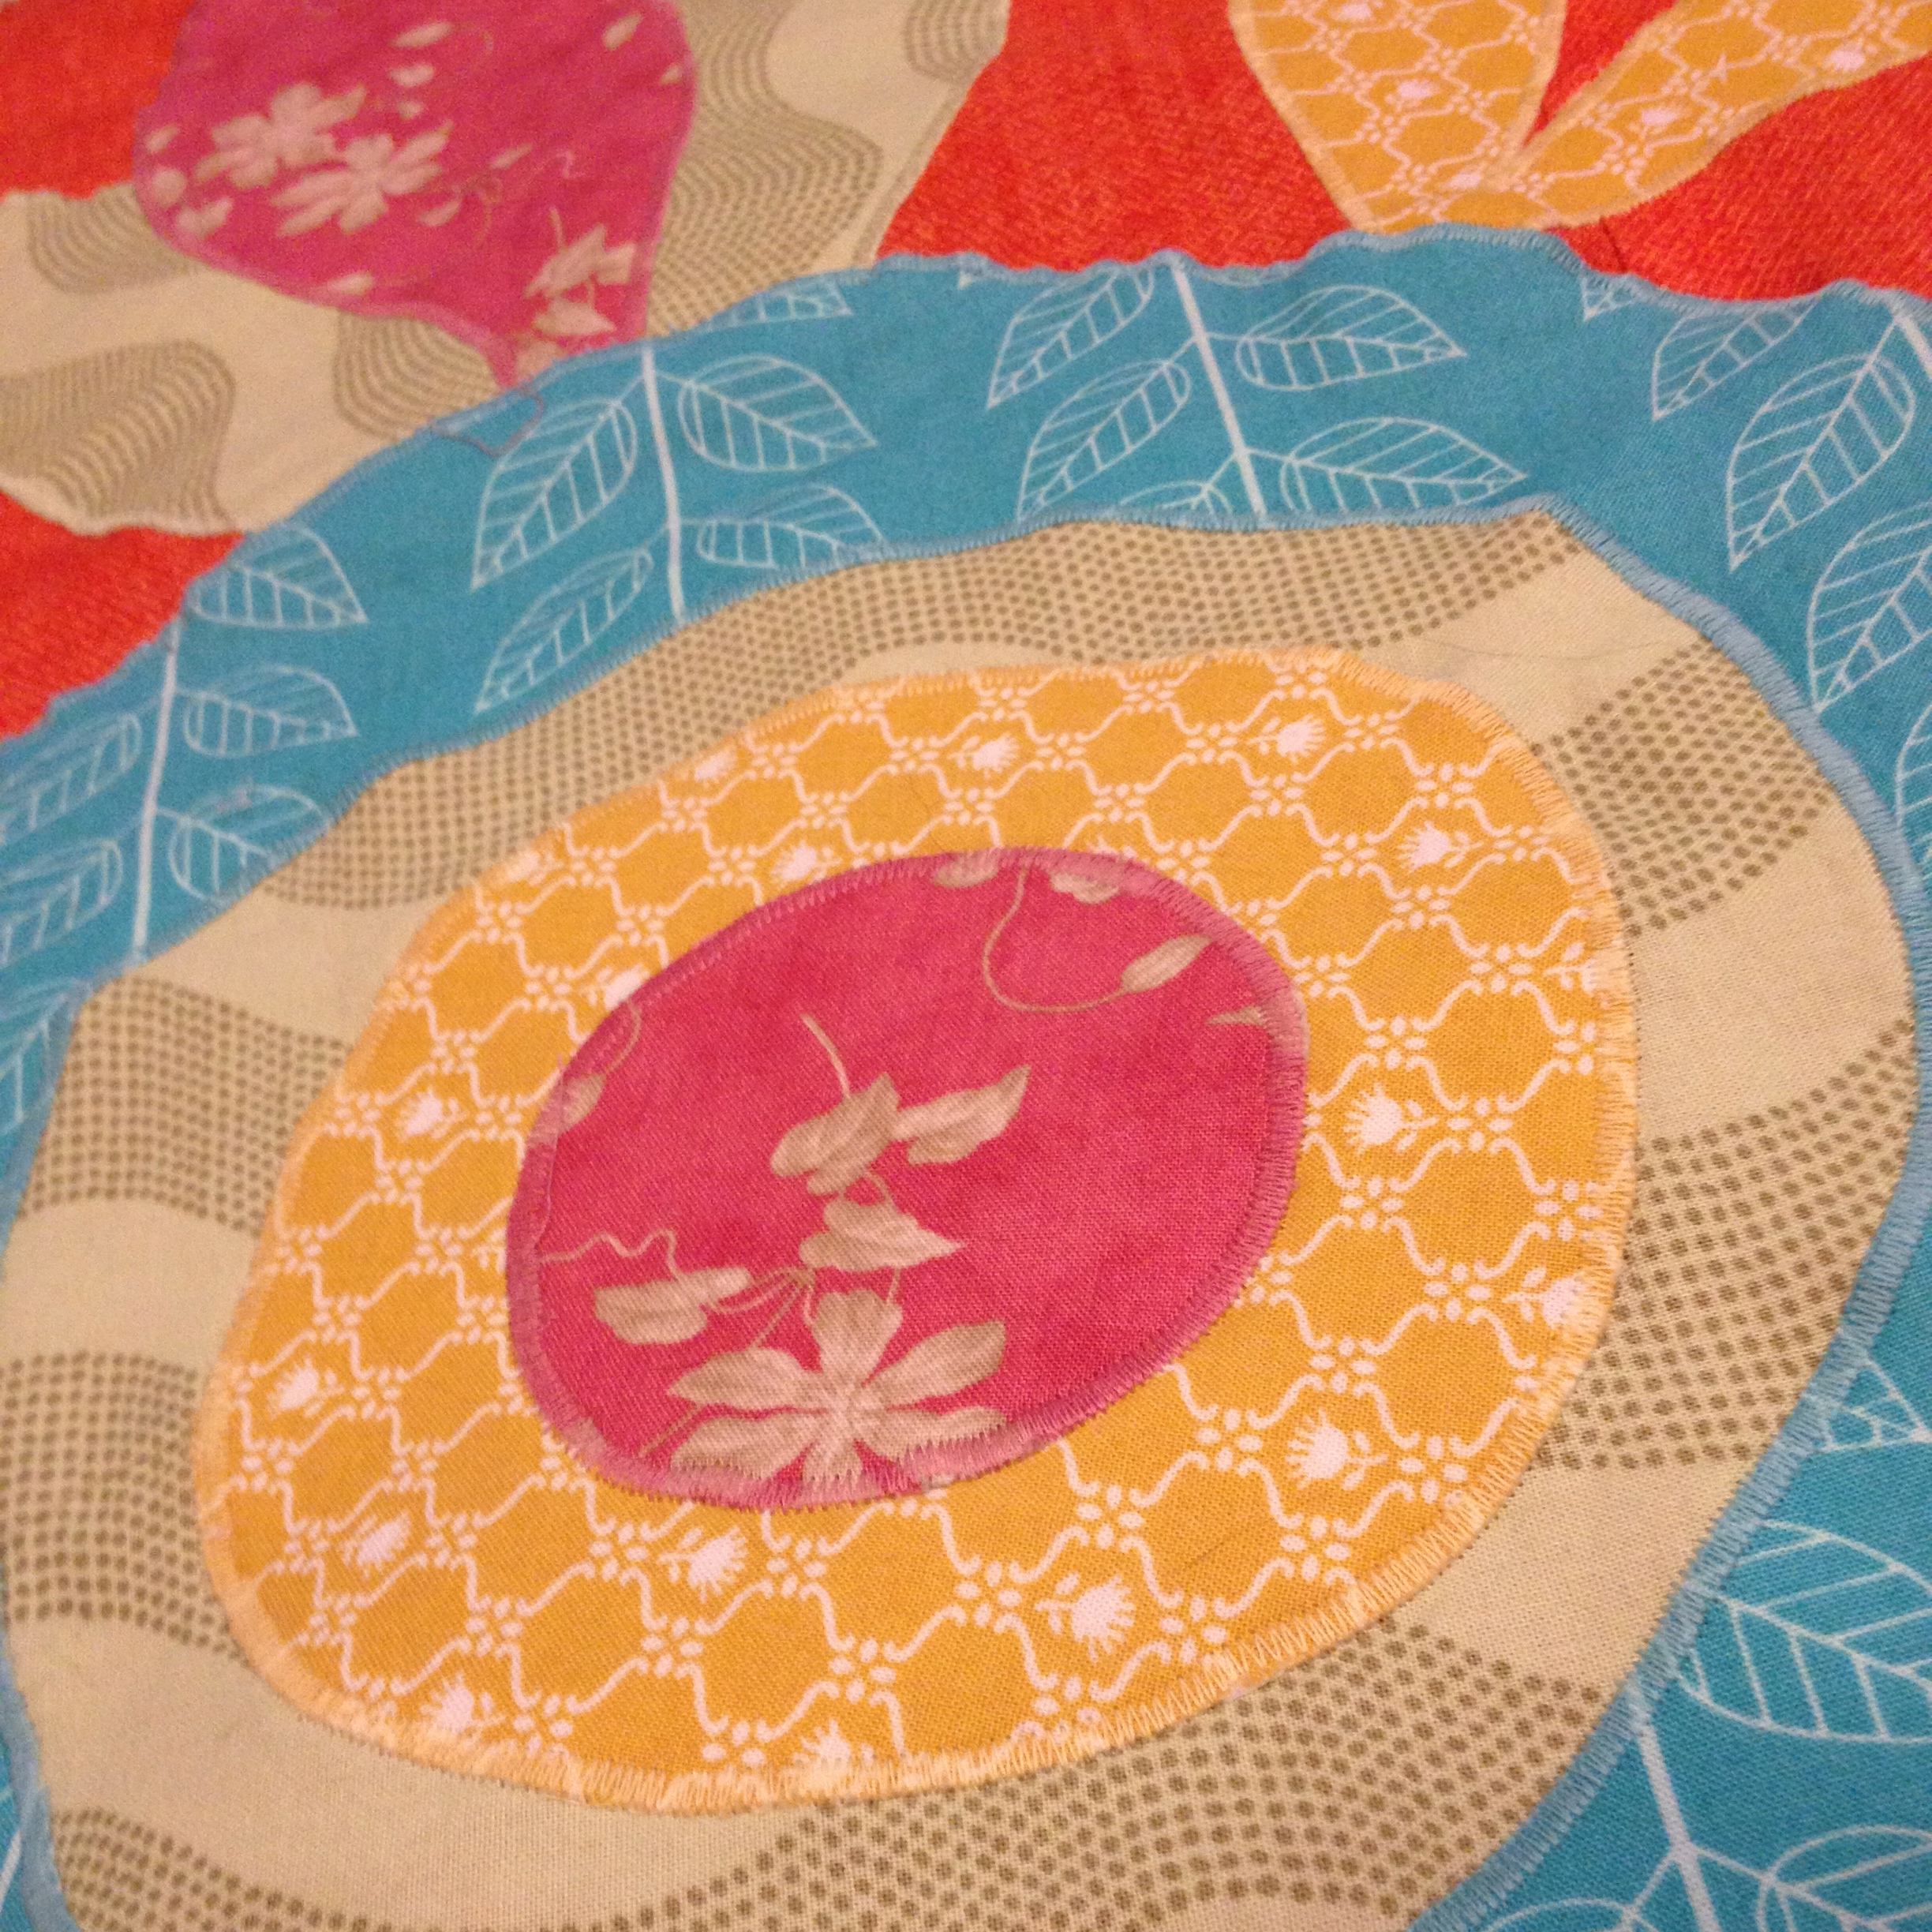
Two flowers down.


Five to go.
See you on the other side.
–
Well it’s all in place except for one or two final touches which I will do later.
Also it’s without its border, but, apart from that, the top is definitely, almost, just has to be sewn together, done eth.
Be sure to shield your eyes.
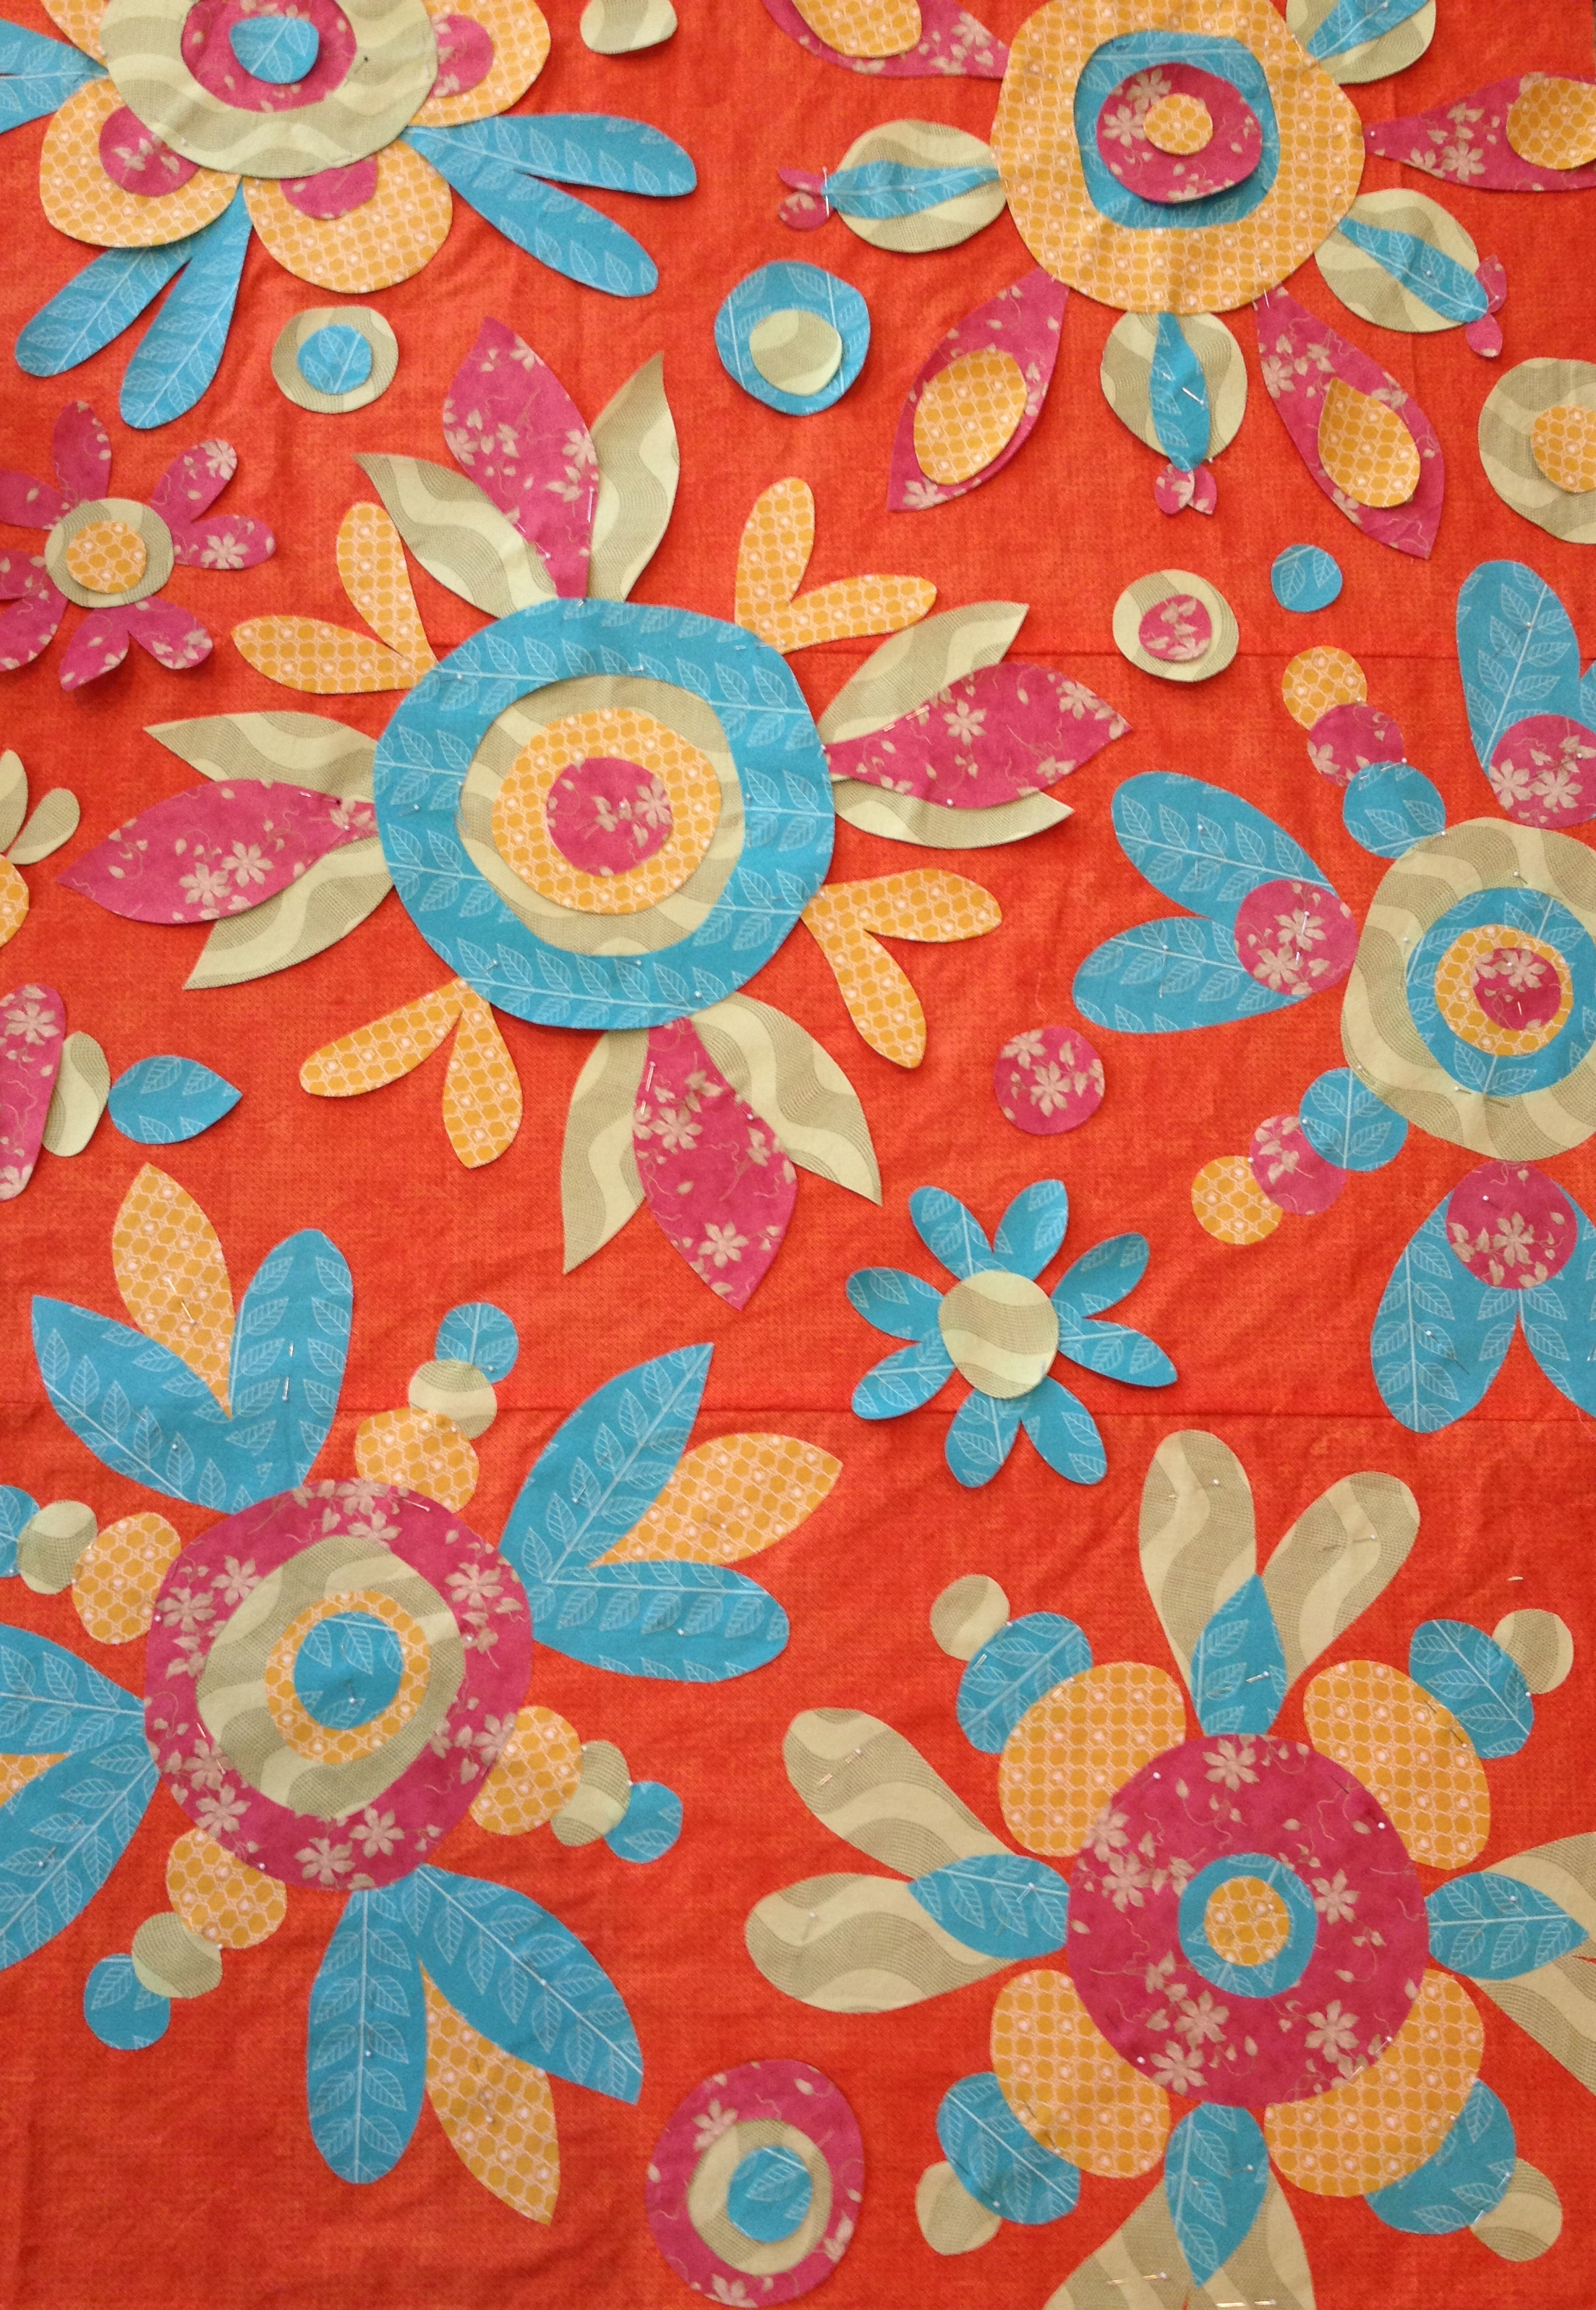
It’s blinding!
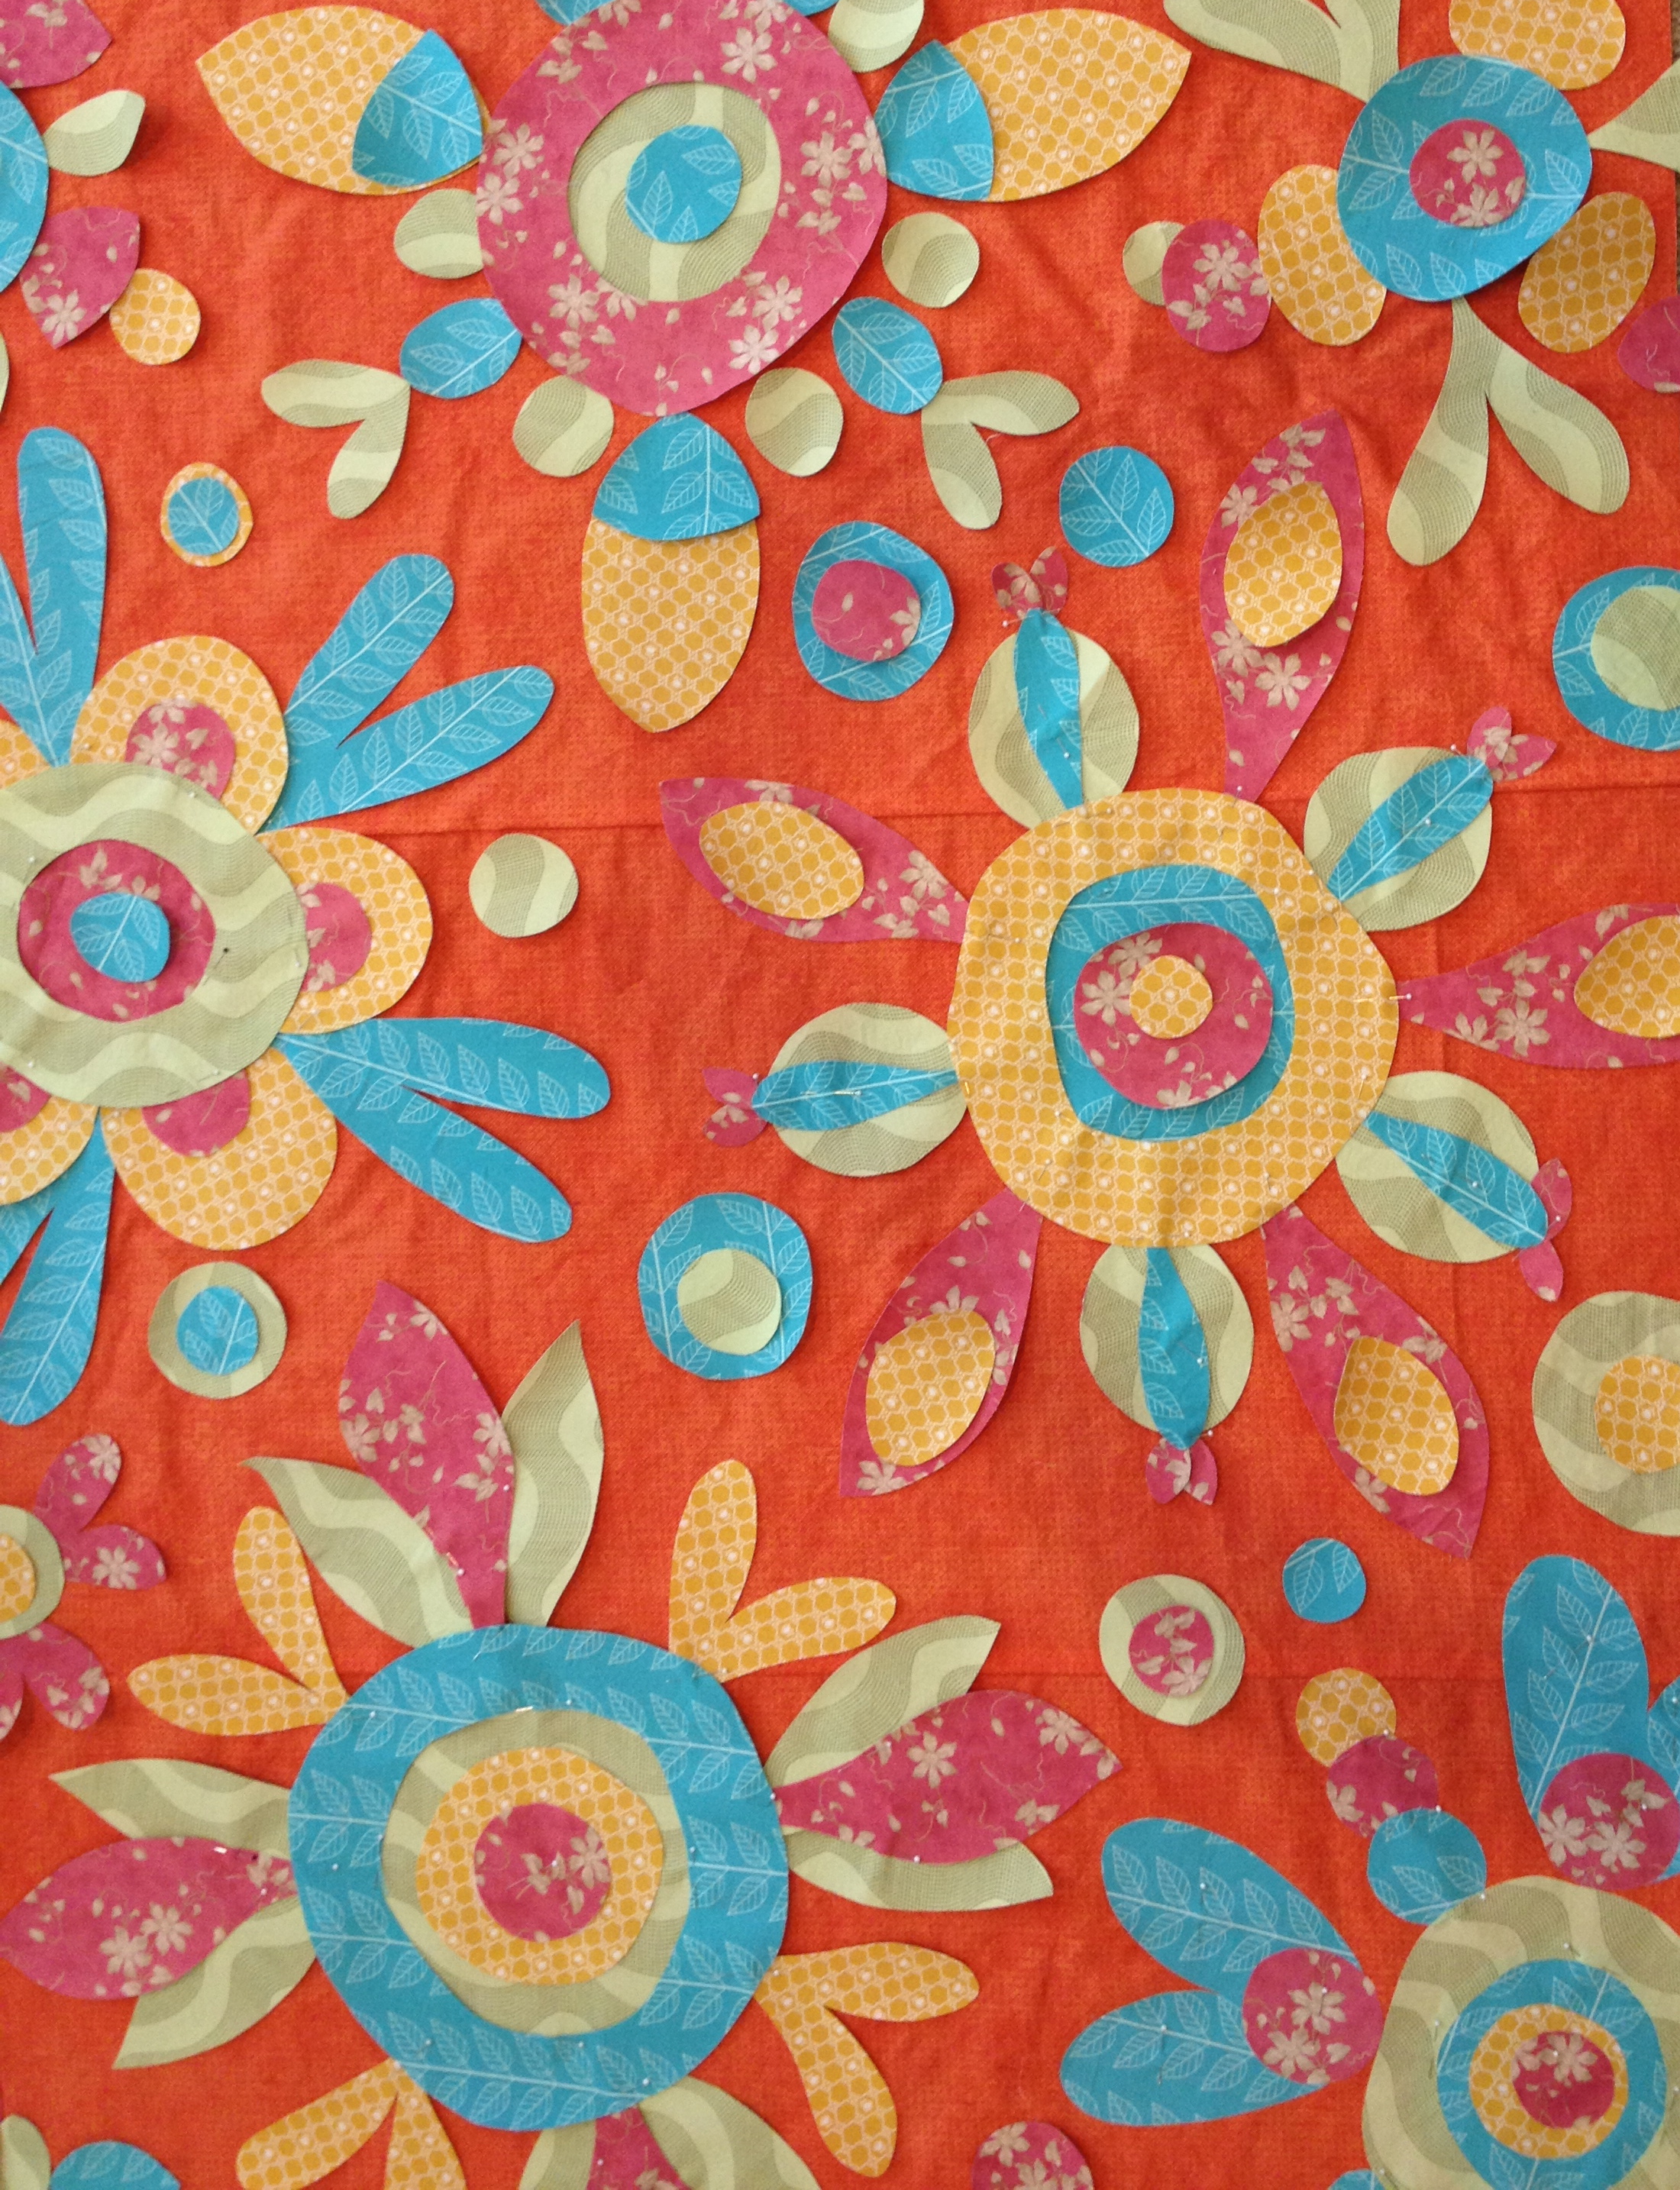
So, with sunglasses on, I peeled all the paper from the back of the Wonder Under and ironed the pieces in place. I then also pinned the ironed pieces to the backing fabric as I’ve found from previous experience that the Wonder Under isn’t that stickable under heavy use.
Usually I’m making blocks, one at a time, and the Wonder Under is fine, but I know that this quilt is all over the place with no particular rhyme nor reason, so I decided to pin the pieces also as a double back up plan. As and when I get around to sew each flower, I’ll take the pins out and re iron . Once that particular flower is completed I’ll move on to the next one.
Or so the plan goes.
I quickly remembered (once I began to sew) that I’d forgotten how painful those tiny white headed pins can be when you try to maneuver the fabric through the sewing machine, so, amidst pain and blood, I had to have a quick rethink.
I decided to baste the flowers to the backing fabric and remove all those pesky pins.
Now I’m ready to begin to sew.
Tomorrow …
–
You went into the quilt shop for white background fabric, and?

So you’re trying to tell me that tangerine is the new white?
O.K.
I’ll buy that.
–
Amazingly tidy quilt table.

Look at it now, because it won’t last long.
–
First cup of tea.
(Actually my third. I’d already had two before I even made it to the quilt room).
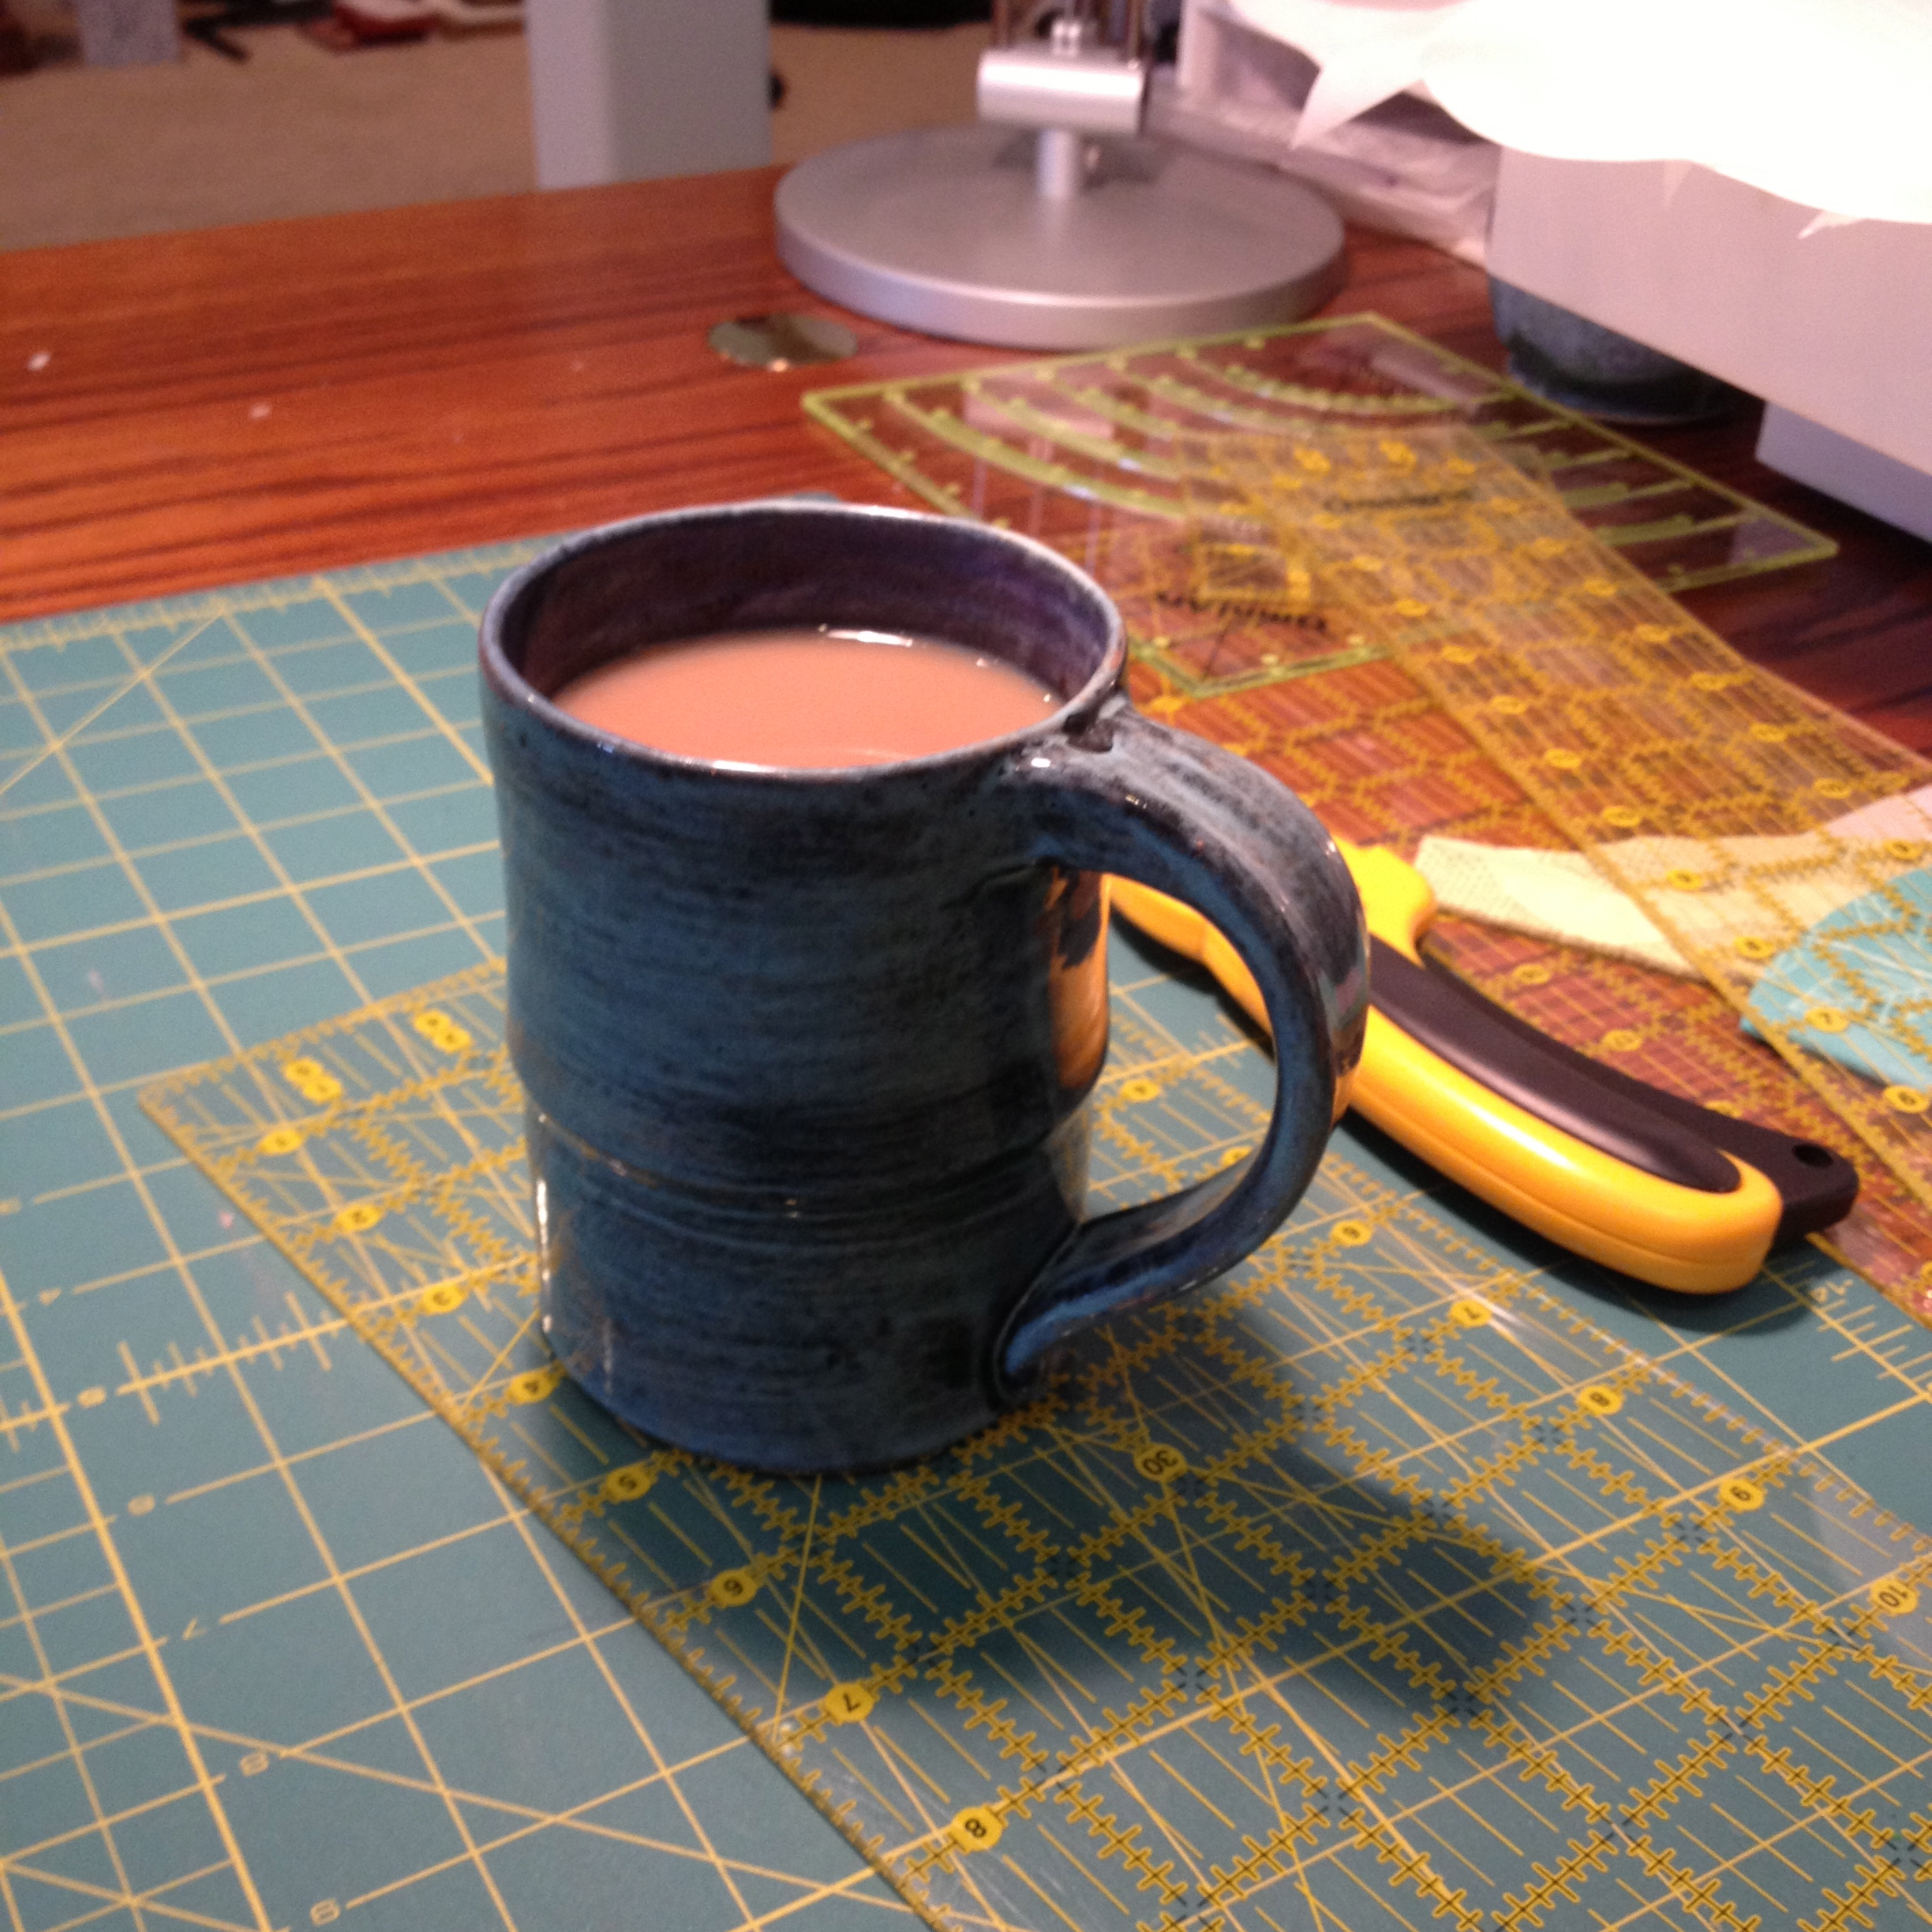
Then I continued to make flowers and arrange them on the new white background.
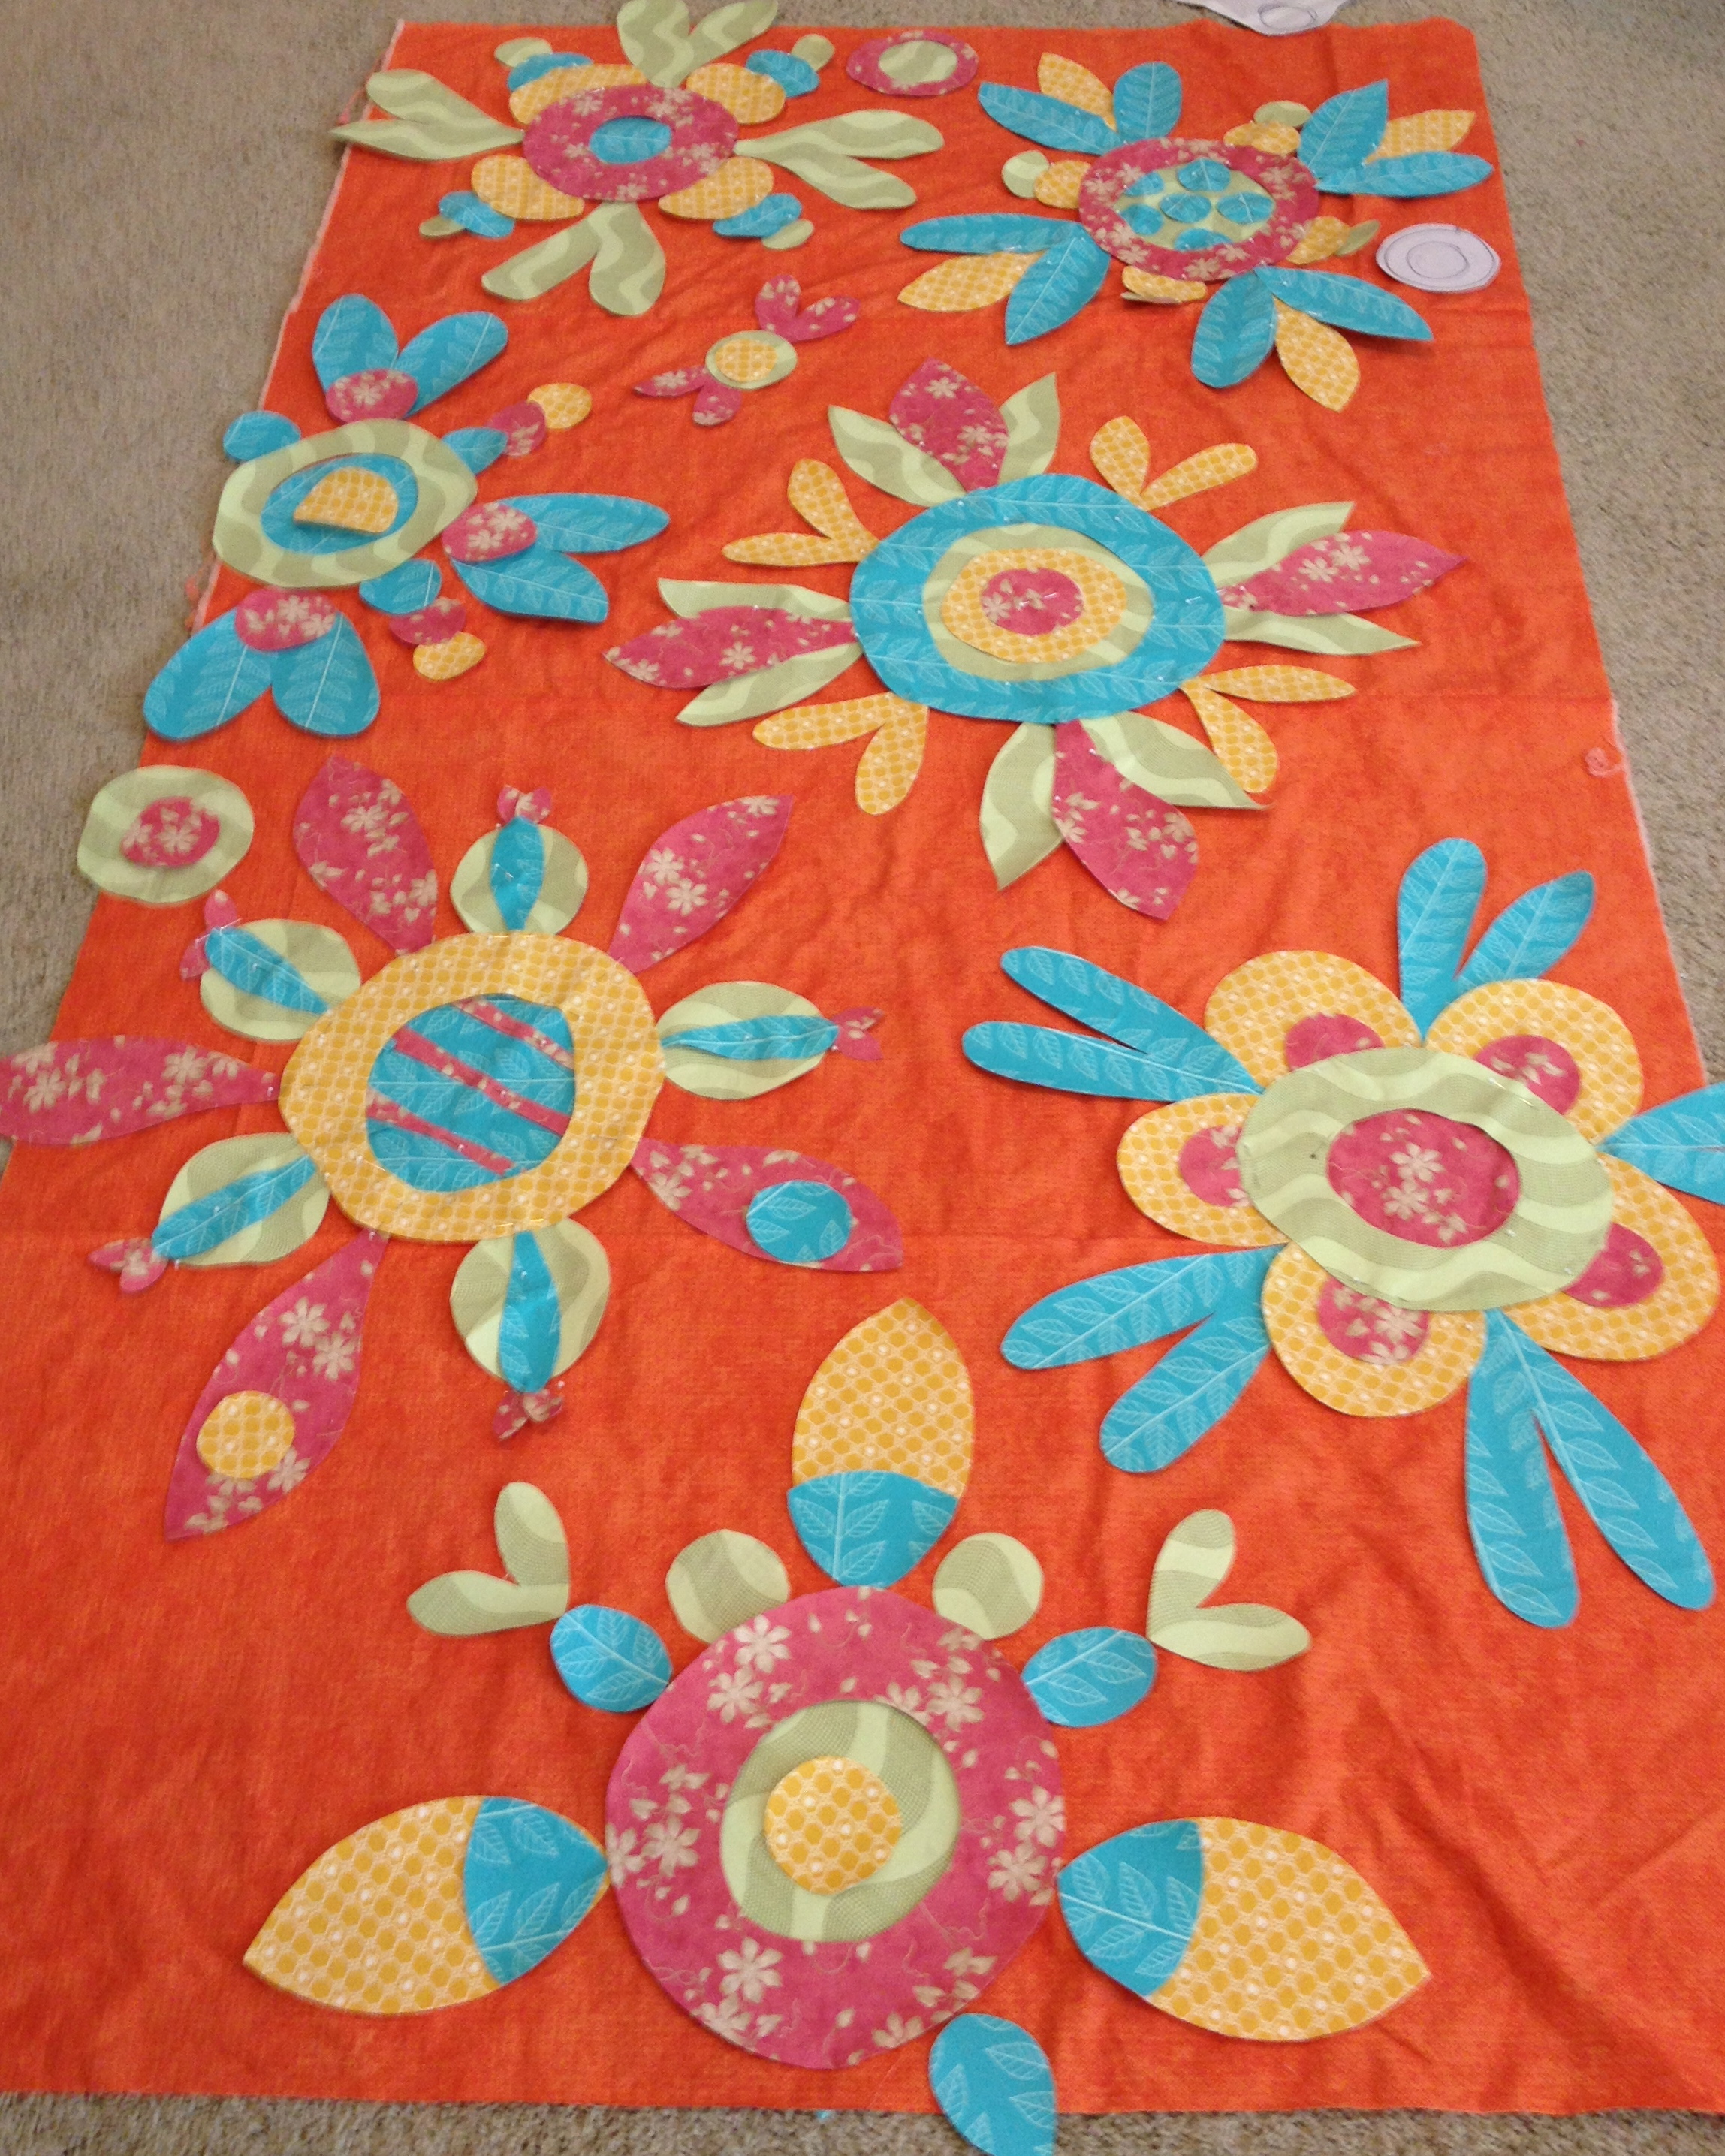
I think it’s getting there, but the orange certainly surprised me.
So I had to have another cup of tea.

And I’m still not sure.

So I walked away for the day and went into the studio instead.
And made a bracelet.
I also found a (very) old photograph of me when I was at art school.

Could I look more grubby?
That jacket cost me 50p at the Help the Aged shop in Winchester. It was an old dustman’s jacket. My sister wouldn’t walk next to me when I wore it.
I have no idea why.
–
But who cares when you can have these instead.
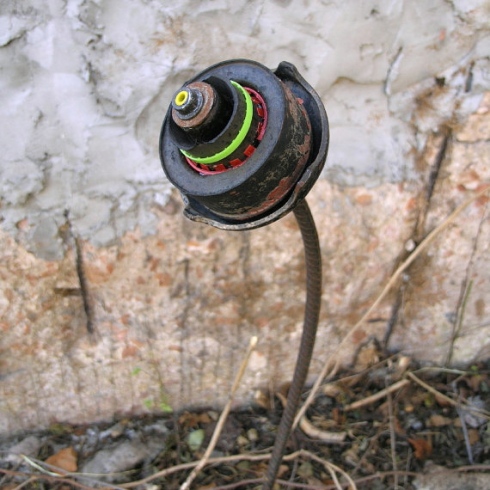
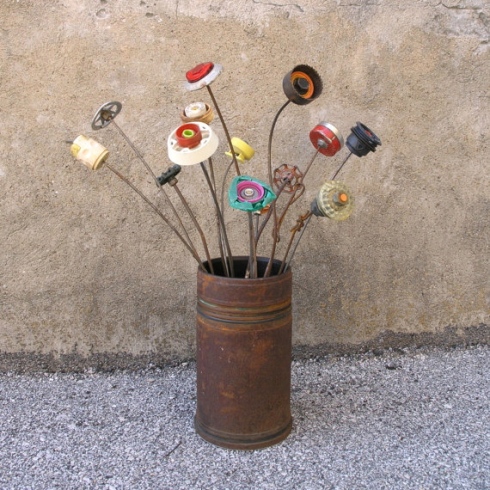
Although you could probably get lockjaw from both.
I wonder. Would it smell as sweet?
–
–
You remember Willow who was simply shattered after a hard day of doing absolutely nothing to help with cleaning out the studio.

Well it looks as though Wally has caught the all tuckered out bug now.
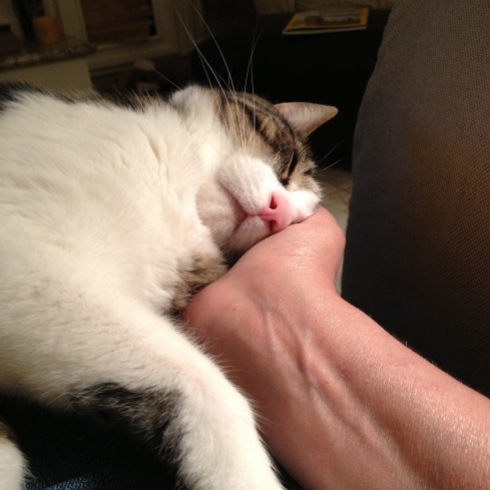
And don’t even get me started on Sophie!
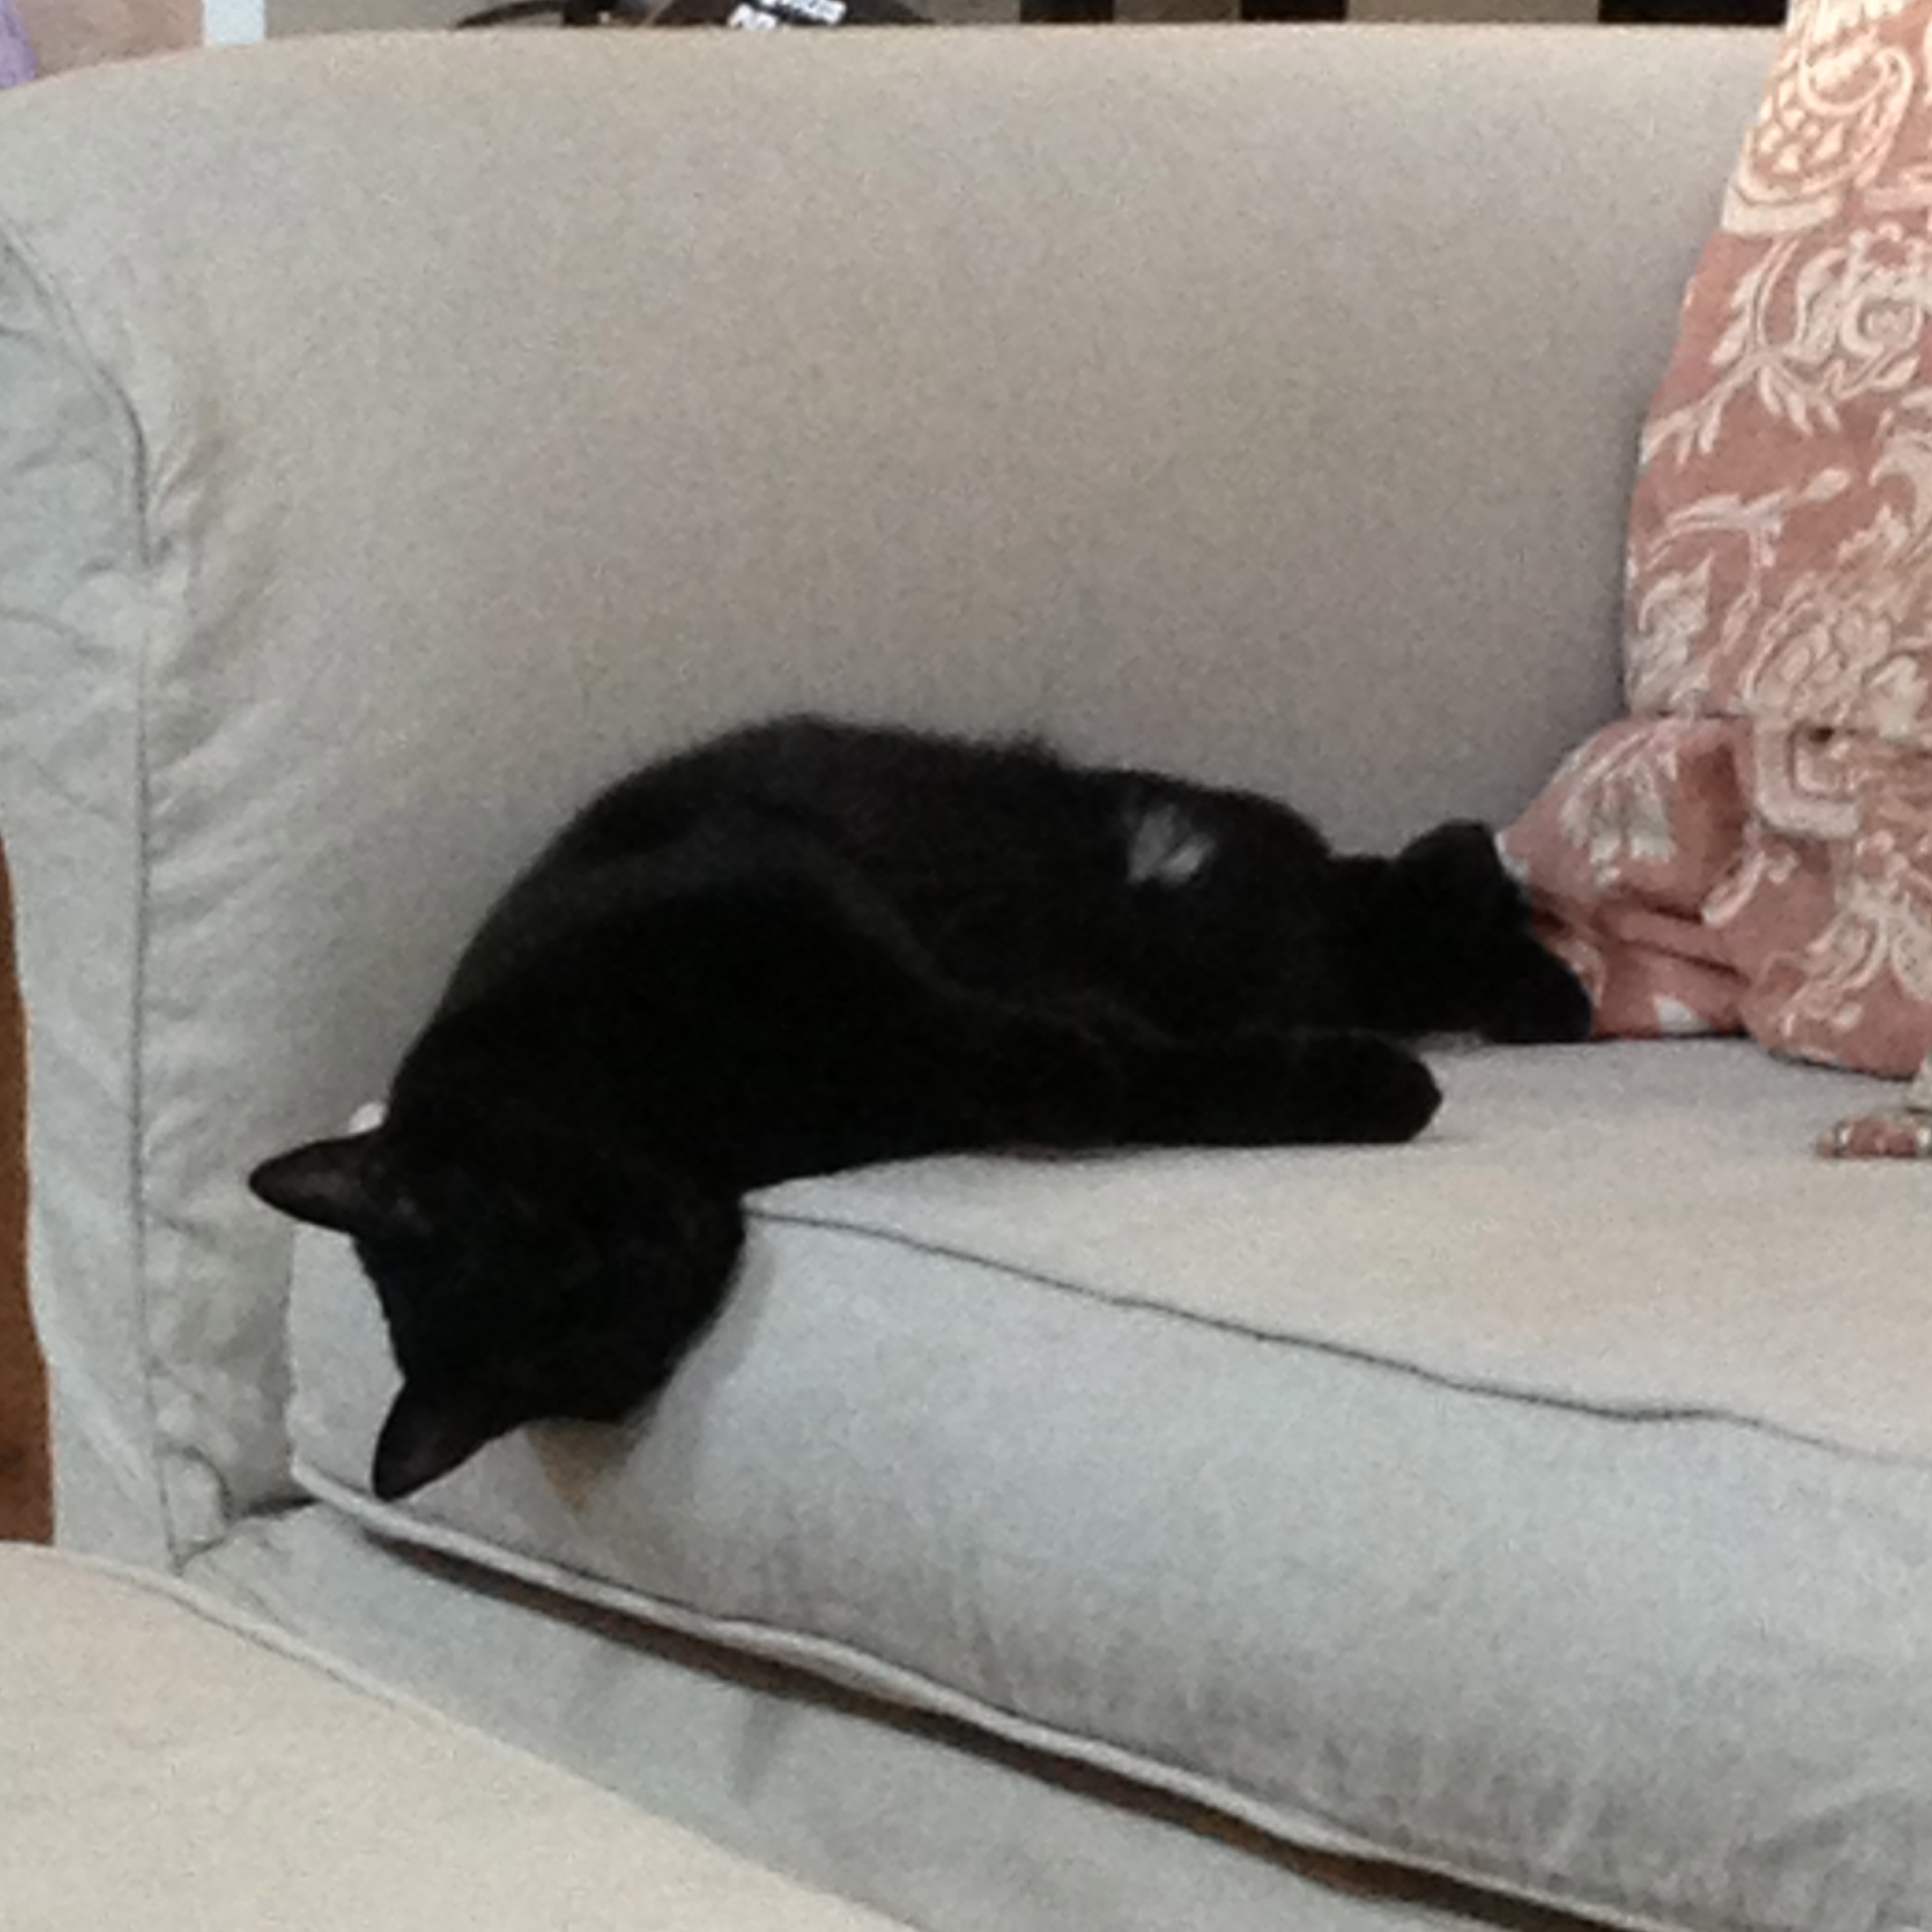
I’m sure Spencer and Pickles are off somewhere being more discreet about their laziness.
Man, it’s a hard life.
–
But first.
Today’s cup of tea.

Well, one of them. I’m usually a four cup a day girl.
So,
Here are the five great, Hope’s Quilt, bonanza flowers that have made the final cut.


Except maybe this green one.

Which might need a little something more.

See, compared to the others, it’s a little too green.
Then I got a little distressed with the state of the fabric stash. Because it was everywhere. So I took a break to clean up a bit.
I know, shocking.
Then I had to hide away in the studio because the a/c man was coming, and so I made a few pairs of earrings instead while P dealt with the man.


But not to fear.
Tomorrow I will be back on task.
–
I cheat when it comes to making my quilts.
BUT,
Really, what’s cheating anyway? It’s not like I’m taking an exam or anything.
My problem is, I’ve too many quilt designs inside of me, and not enough years in my life to get them all out.
I’ve made loads the conventional way, and now I just need to move on.
So, saying that, here’s day two of the great,
Hope’s Quilt Bonanza.
Tricks an’ all.
If you want to have a go, you’re welcome to take my drawings, or draw your own. You can either do it the cheat way, or the conventional way. Whatever’s good for you.
(E you should make one for Zara. You know you want to … )
–
First, get your cup of tea.
This cup would be perfect, but I don’t have one 🙁

So I’ll just have to resort to using old faithful.
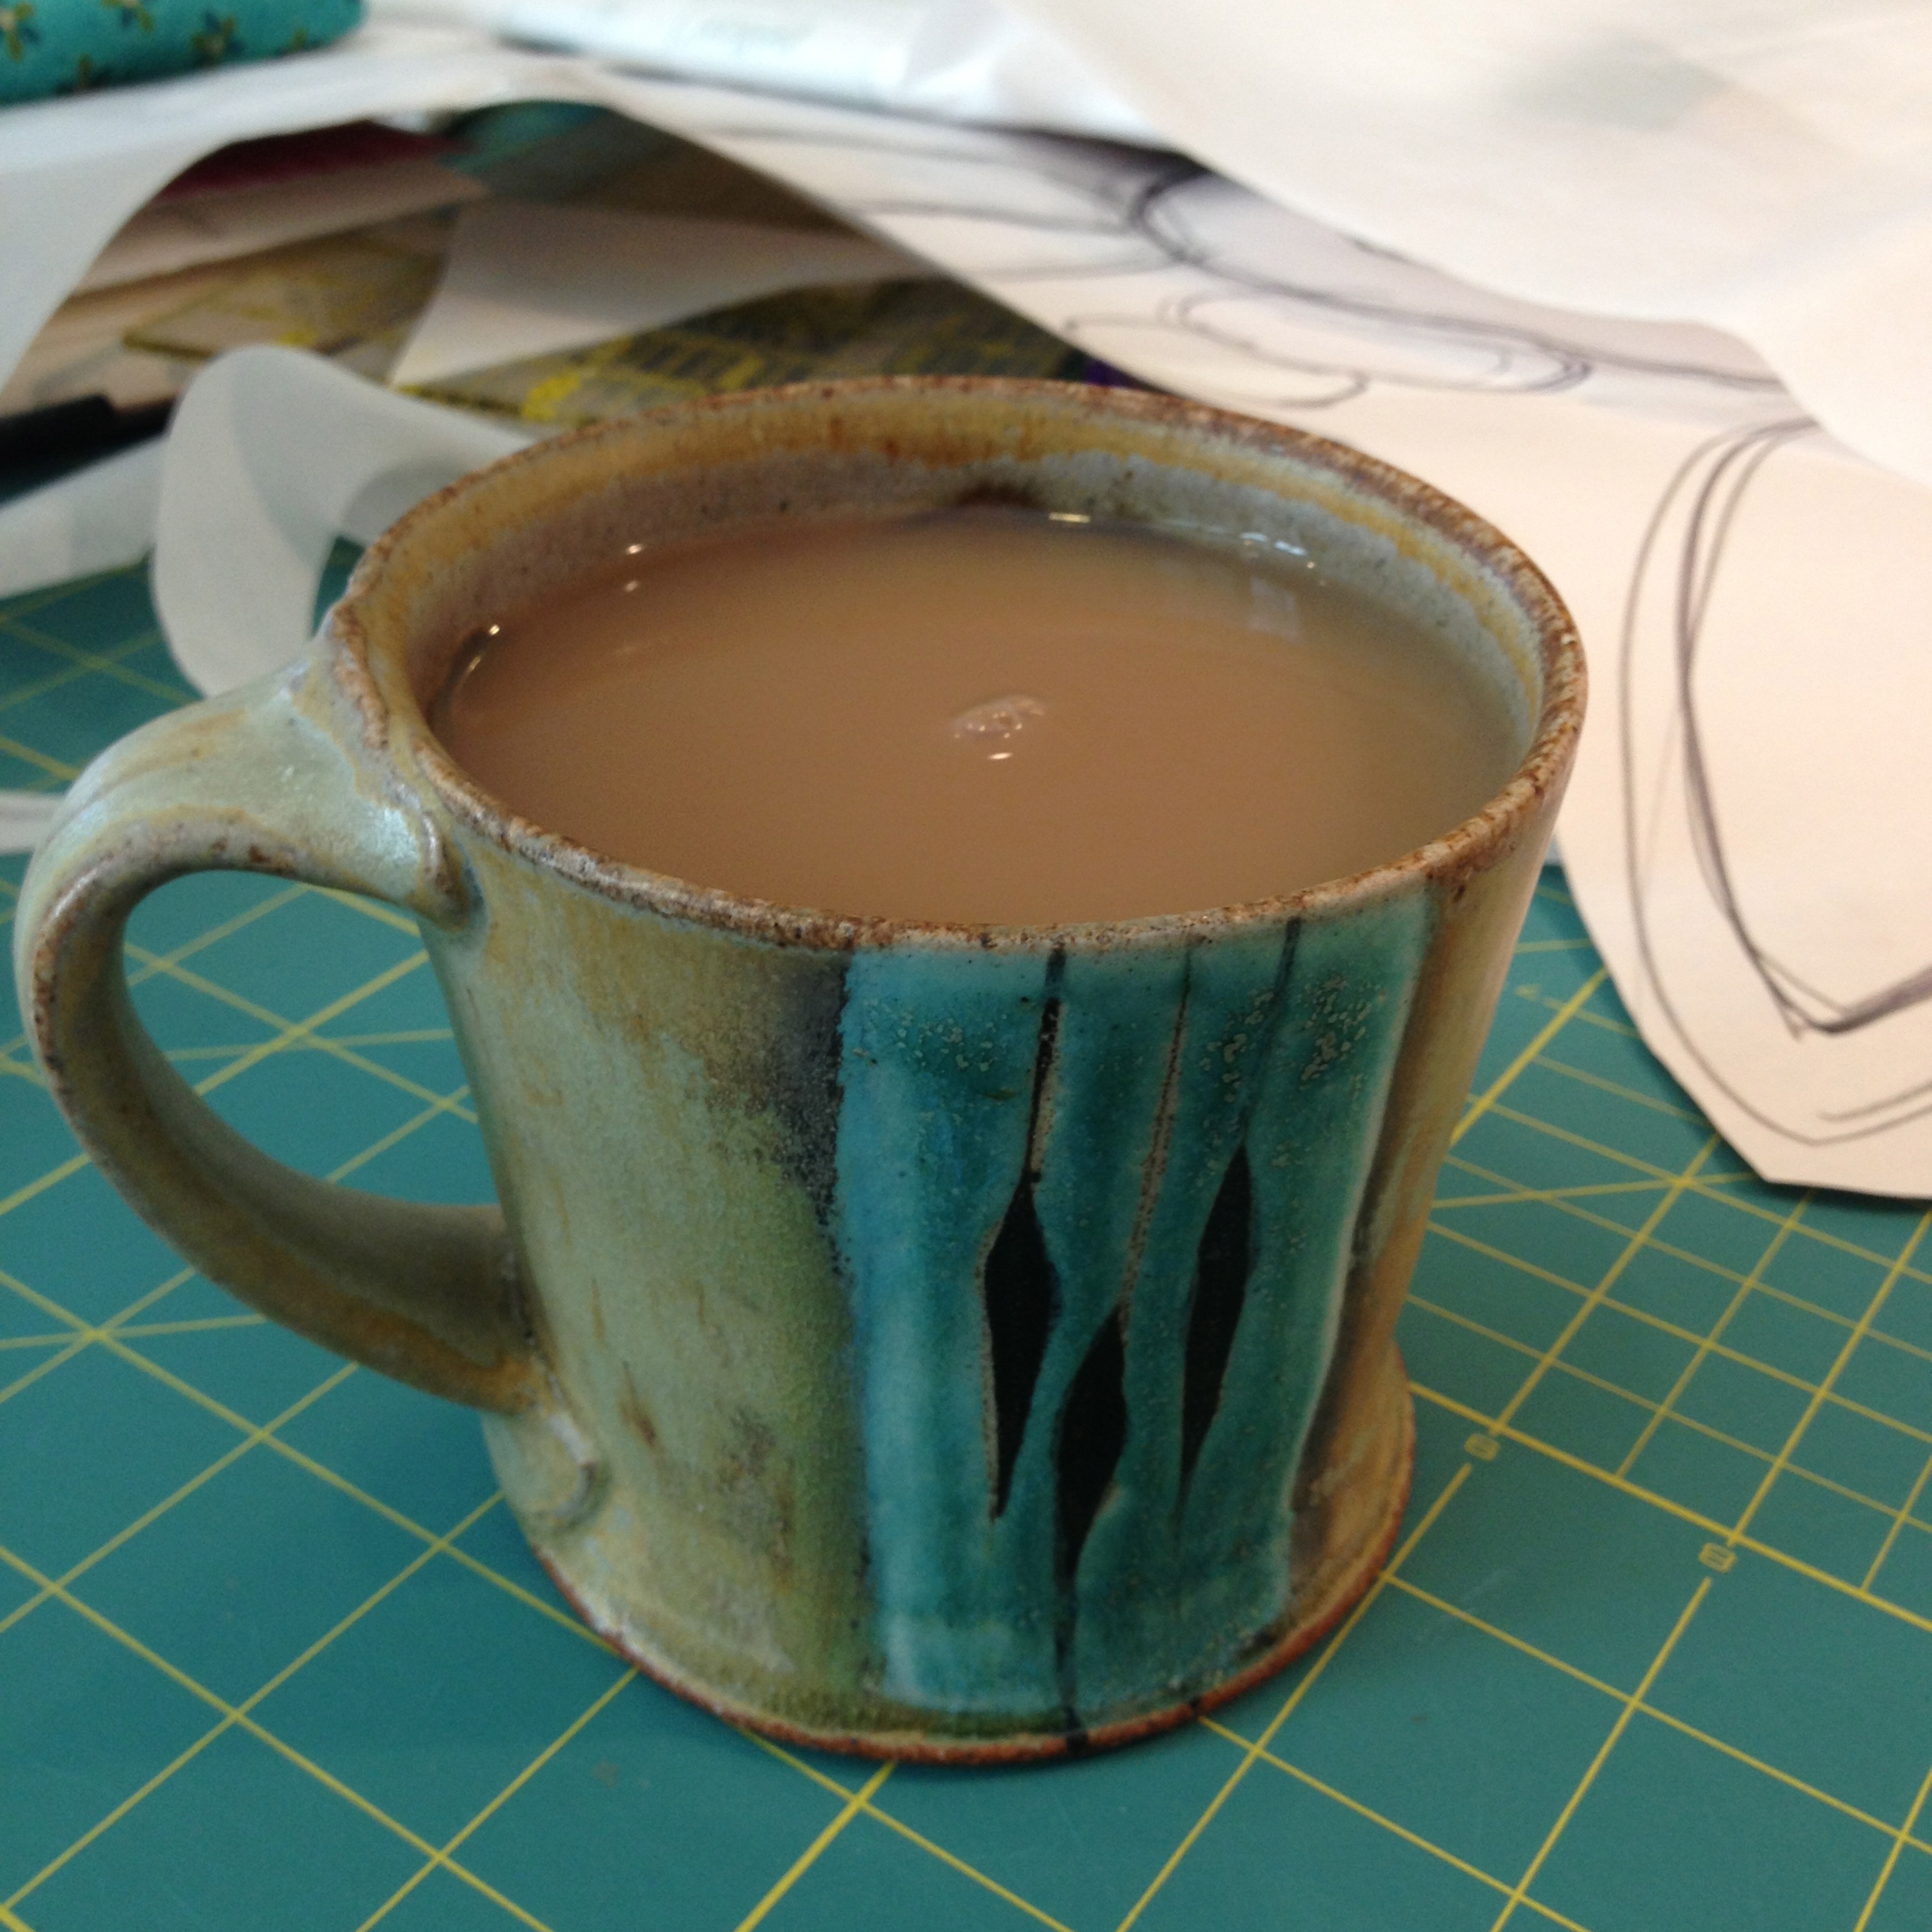
Don’t leave your cup on your cutting board for too long, if at all, as the heat from the tea will warp it.
–
Here are some of the fabrics that I’ve chosen.
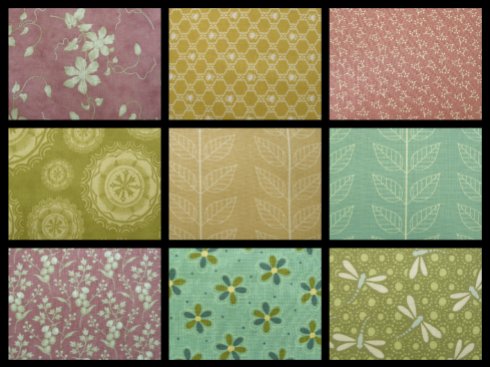
Washed and ironed.
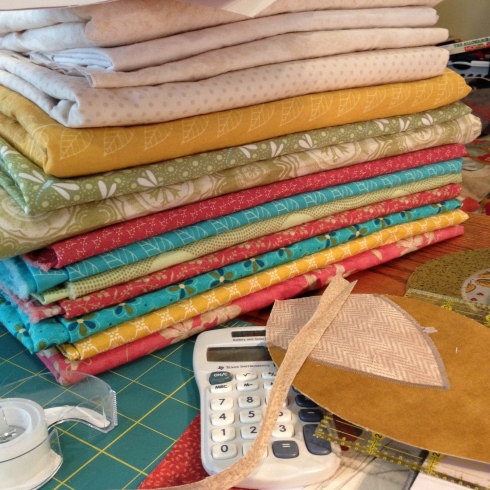
And, this is where the cheating begins …
Get out some Wonder Under, or something similar, just so long as the fusible web stuff is thin and has paper on one side.
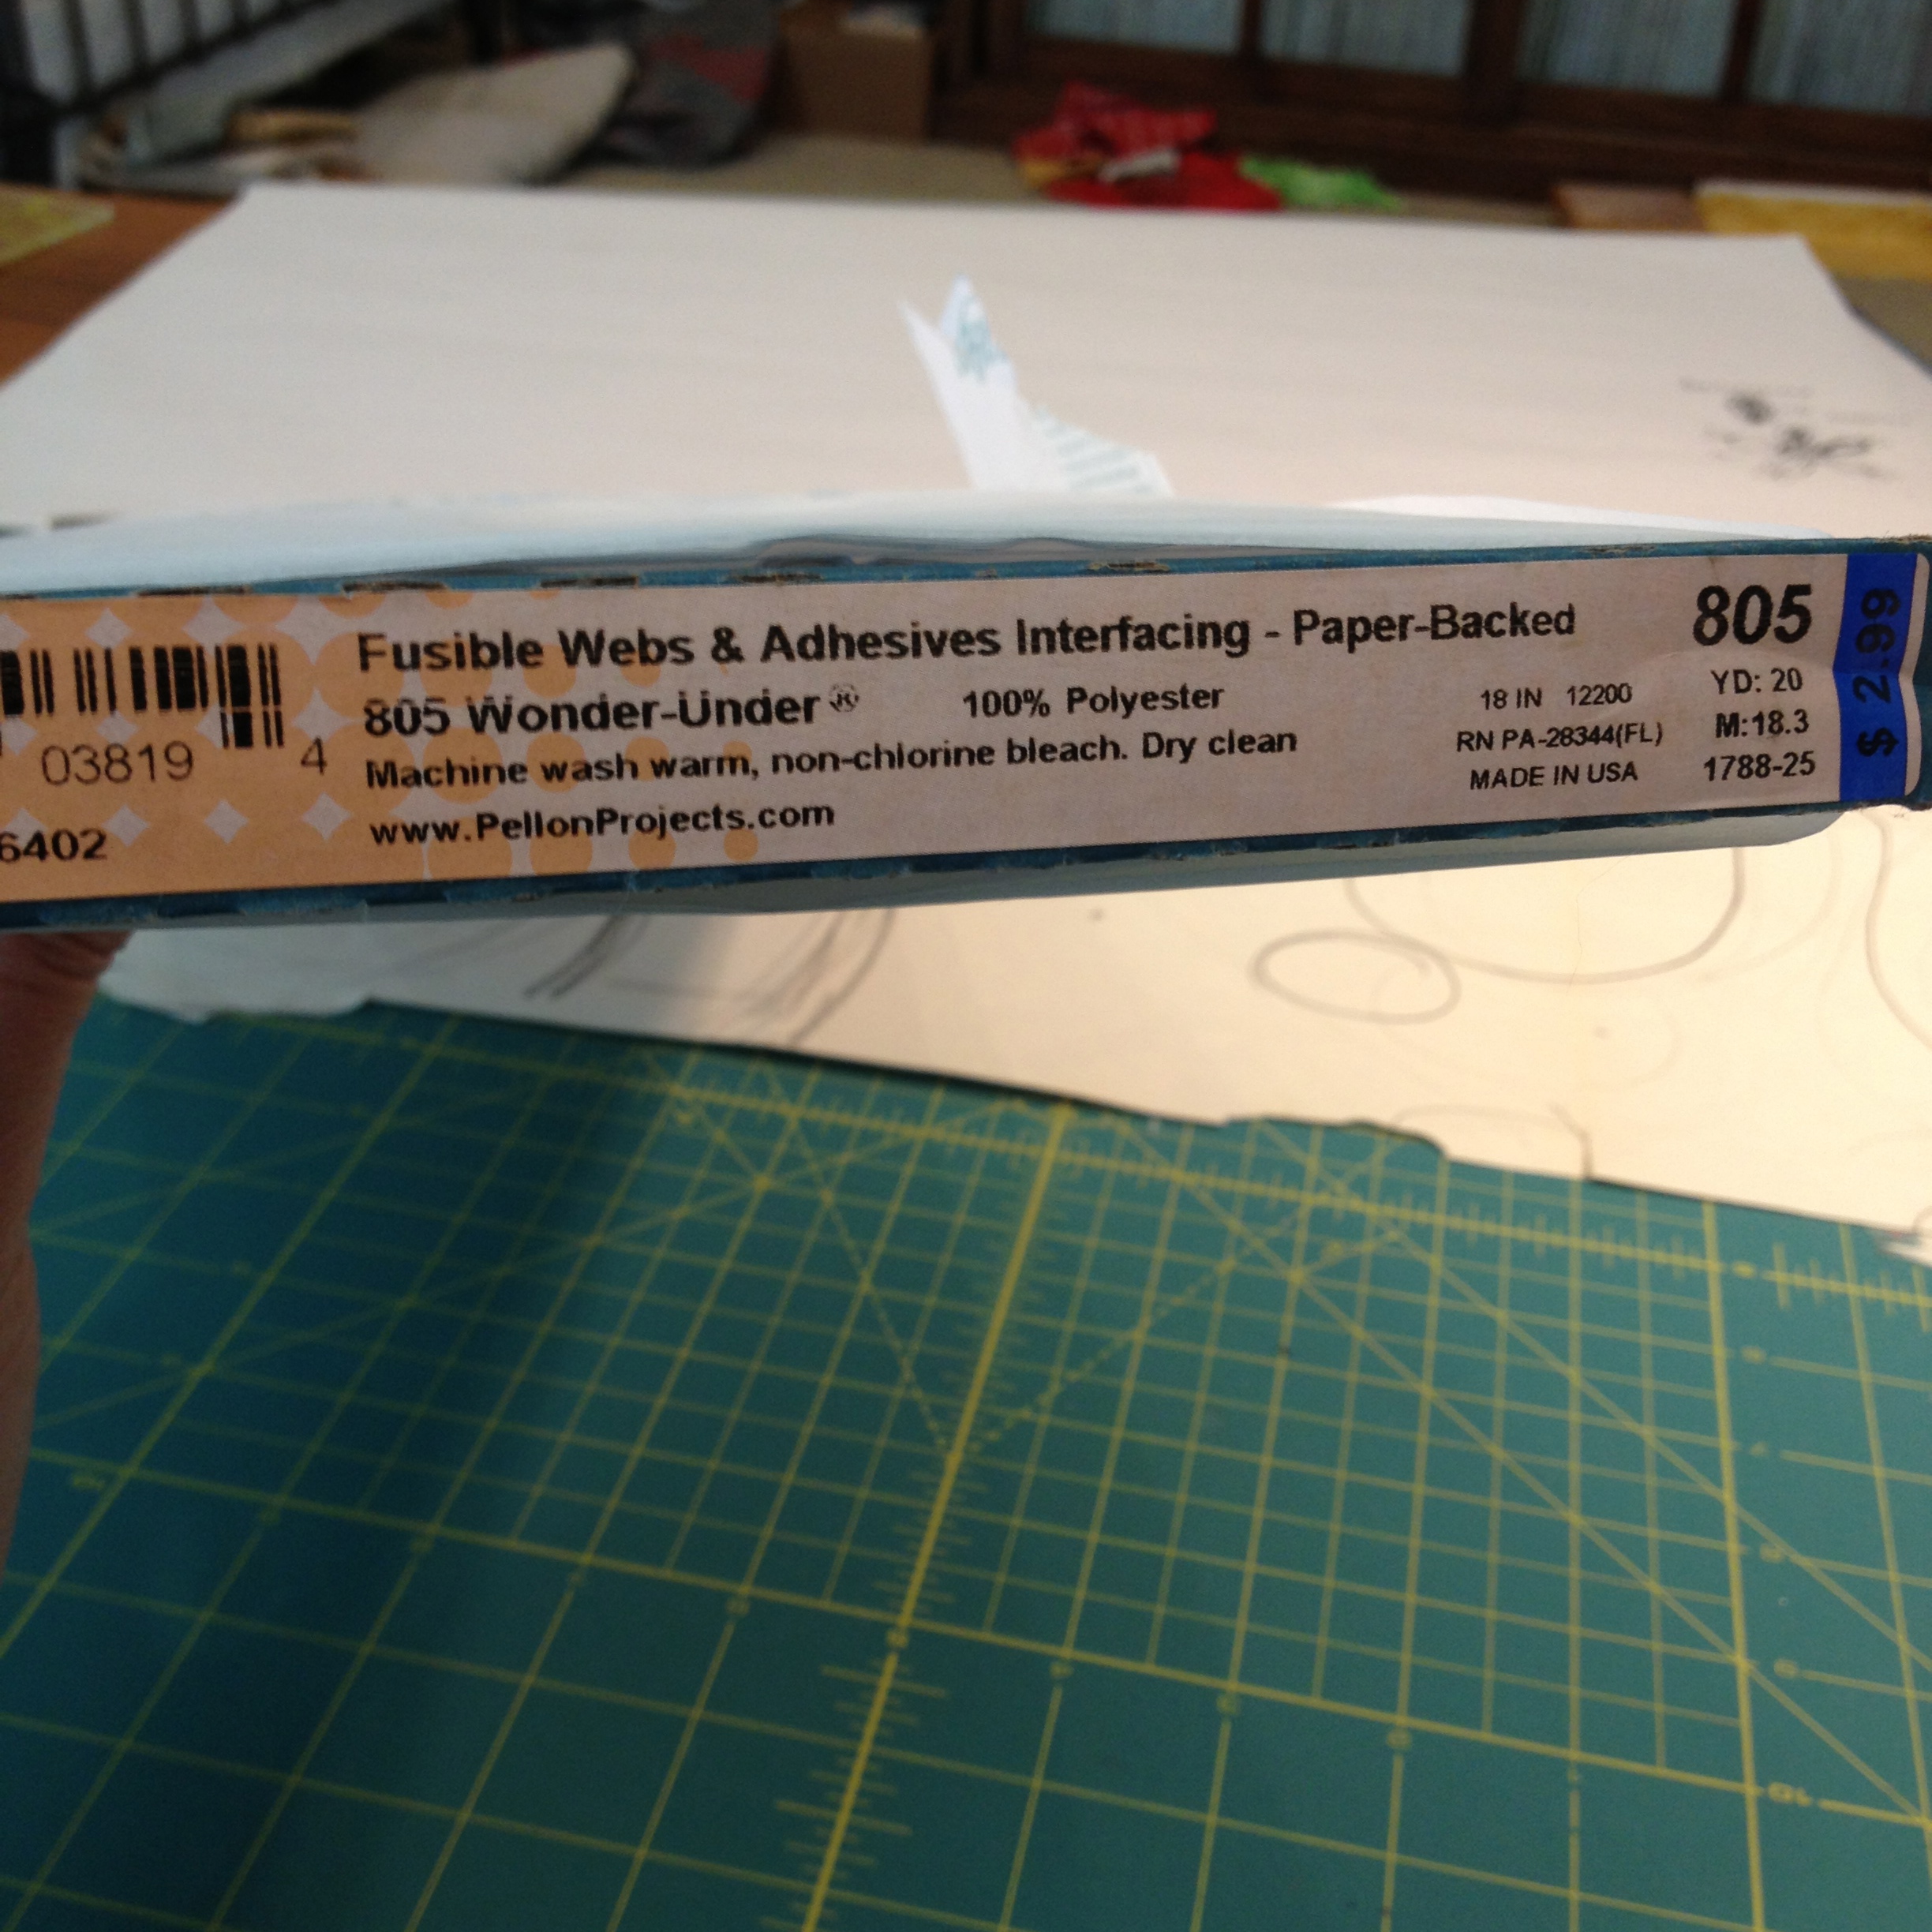
Draw out each shape of your design onto the paper side of the wonder under. This will make a reverse of your original design, so you’ll have to compensate for that if you don’t want this.
Make sure you leave the shapes longer for those parts of the design that fit under other parts.
And,
Iron the shapes onto their chosen fabric.
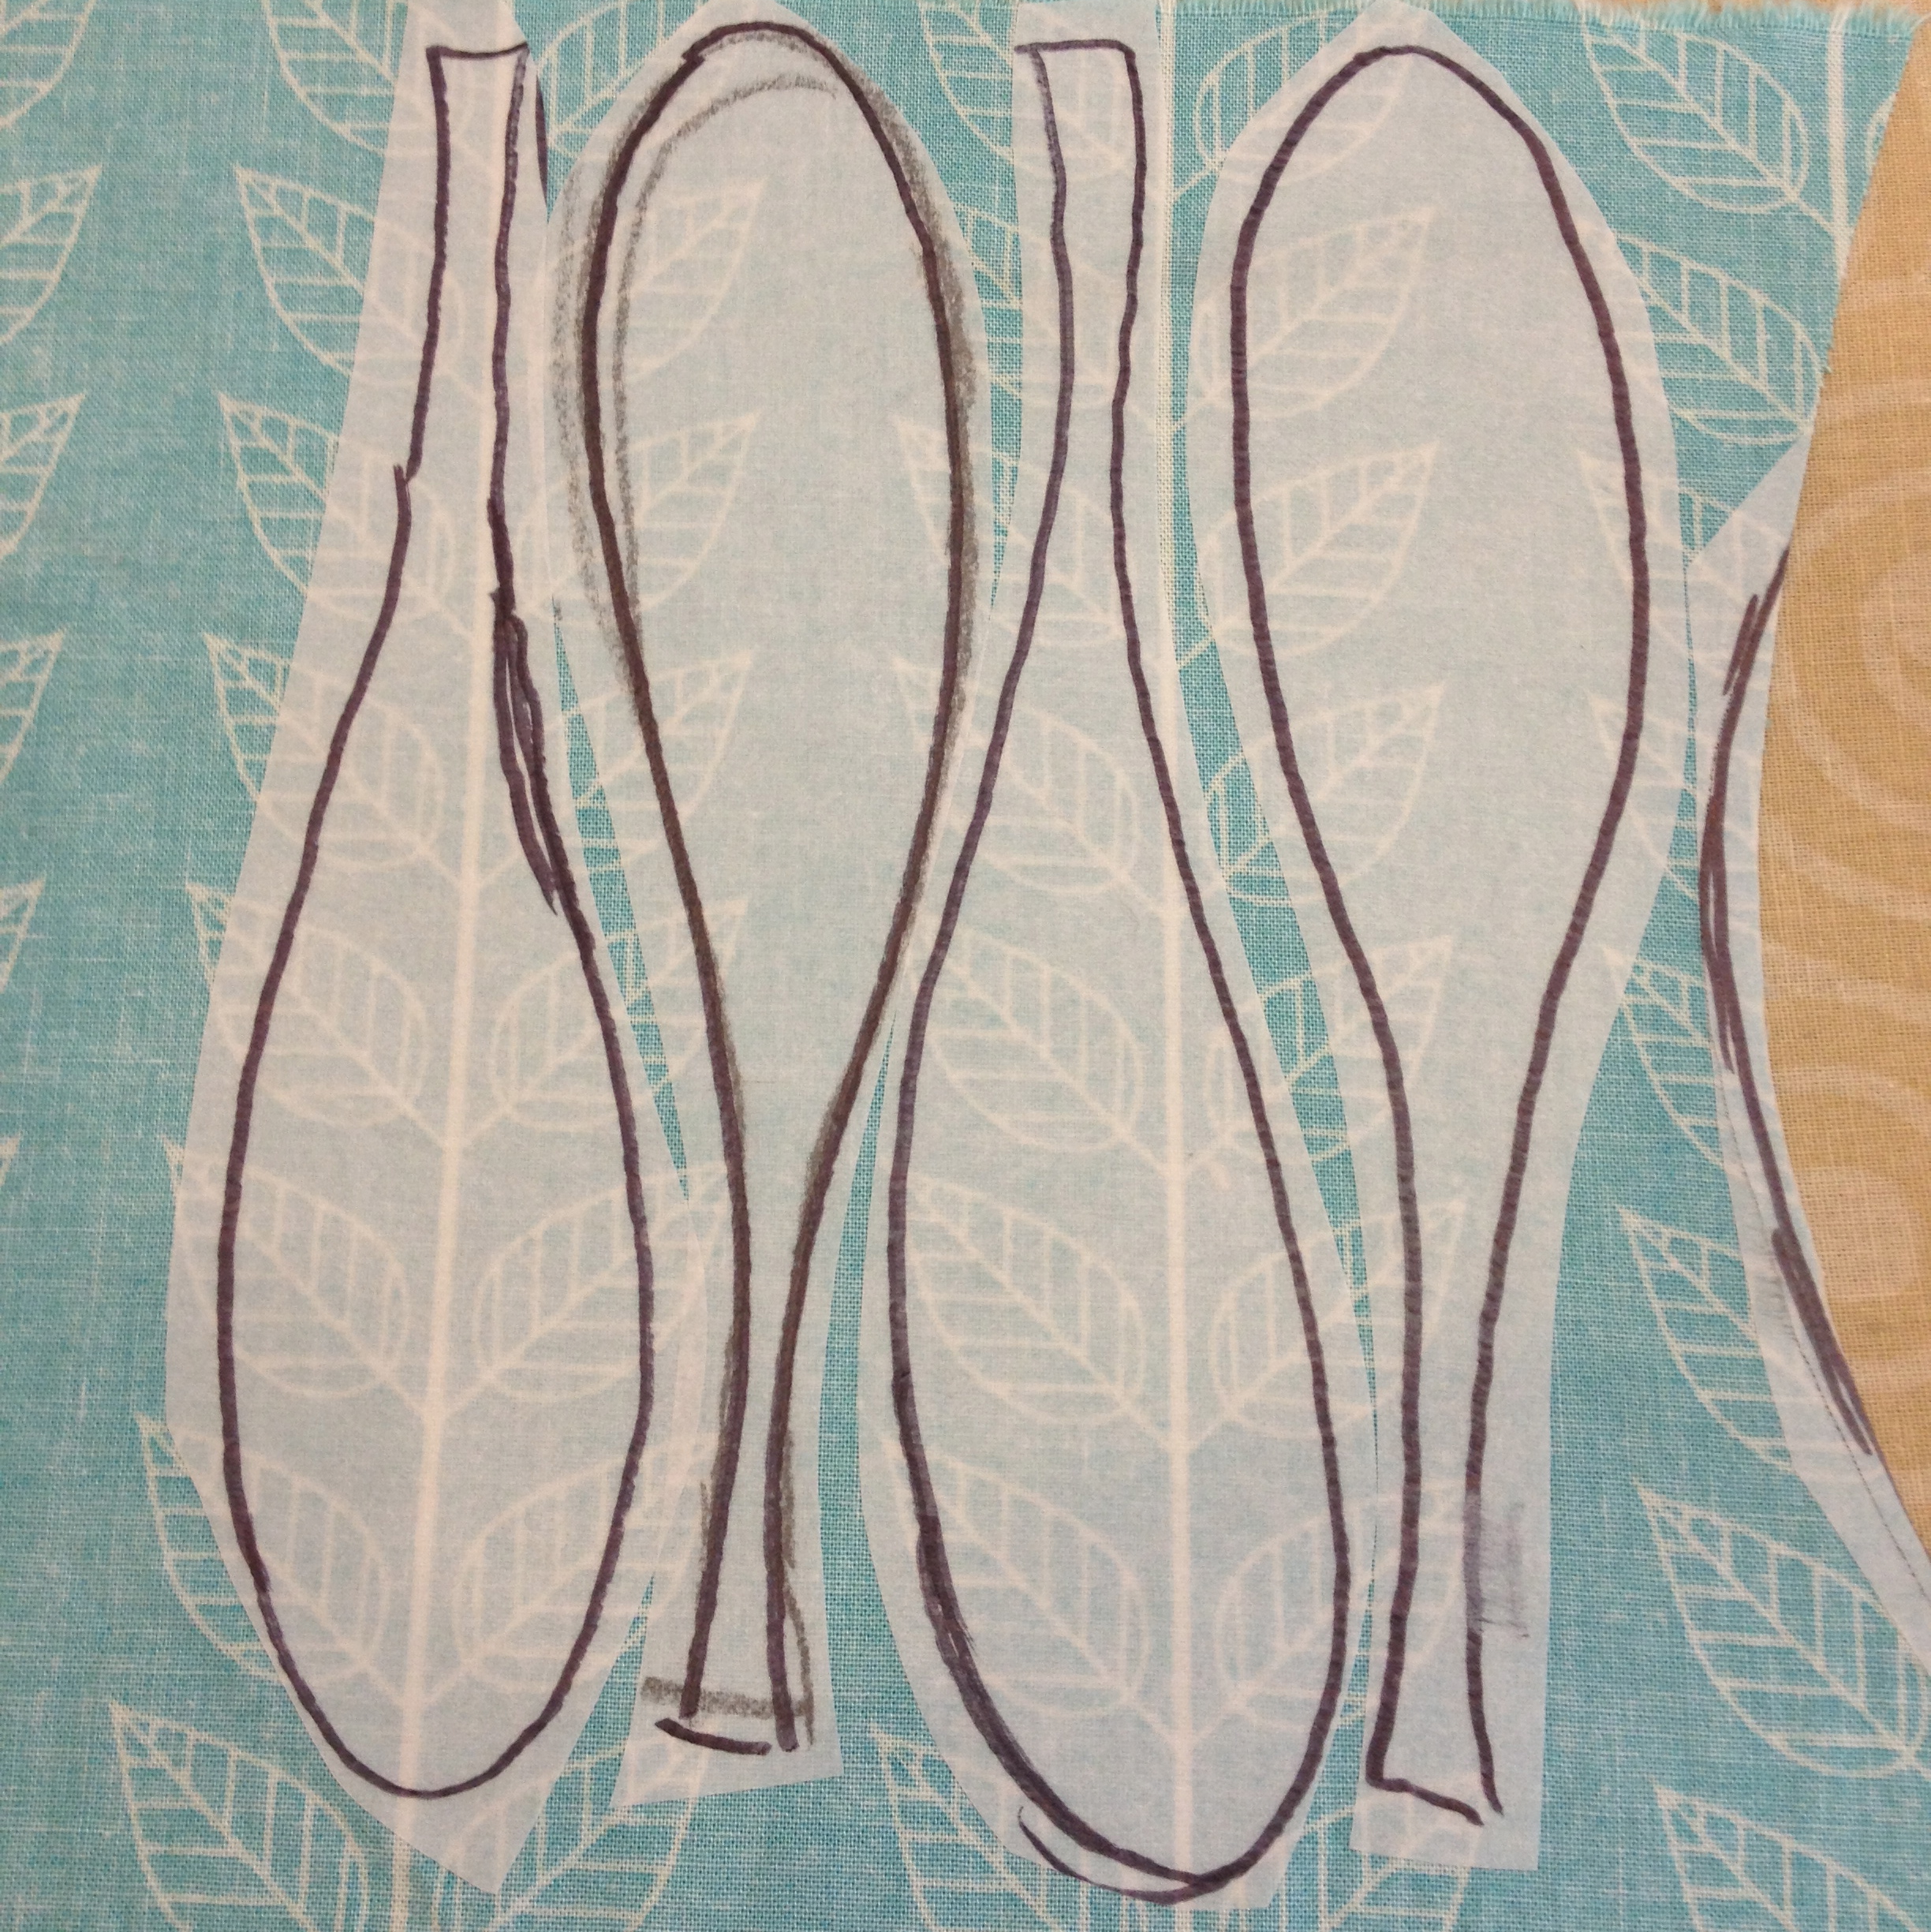

And cut them out.

Then reassemble the pieces of your design to check out if you like it.
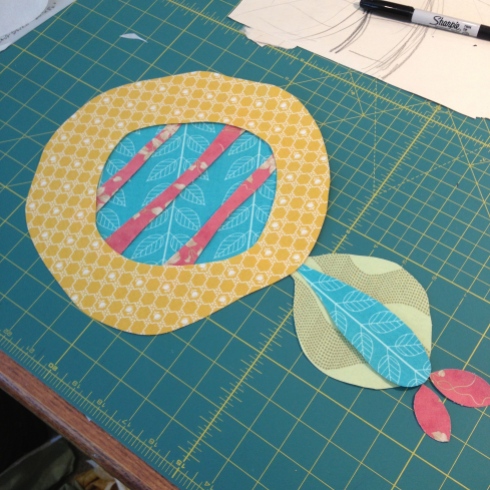
No peeling away of the paper backing today 🙁
I did buy one brand of paper back adhesive web stuff once that you could peel the paper from almost immediately, but the brand I have now has to cool completely.
I usually get too impatient and try to pull it off anyway, but the fusible web bit doesn’t want to stick to the fabric and keeps coming away and bunching up. This time I’m just giving in and waiting a whole night for it to do its magic.
It’s the only sensible thing to do.
So in the meantime, I continue to cut and pin together shapes to see how they’re working for me.

I keep thinking to myself that for this quilt I’ll just cut everything out first, but I know I won’t be able to stop myself from stitching them as I go along.
It’s all way too exciting.

Although I’m not sure how I want to handle attaching the shapes to the background fabric yet.
That will have to wait for now.

What can’t wait, however, is the fact that these flowers need more red friends as the blue and yellow ones are getting a little carried away with themselves.

I’m not a hundred percent on the background fabric yet. I did buy some off whites, but they’re not quite doing it for me. You can just see that little bit in the corner.
I’m thinking I might just need to break down and get white.
But that’s it for today.
Only three done. Five hundred and sixty-three to go …
–
(Or, Don’t worry E, I’ve started it now).
–
Since May I had decided to make Hope, my 5-year-old niece, a quilt, and, although I had started doodling ideas I never really got any further with it.
Well, as E pointed out, it needs to seriously get started if it’s going to get to Hope by Christmas.
How is it that all of a sudden it’s September already?
Man! Surely it was just April?
So, here we are now. A little on from doodling.
But not that much …


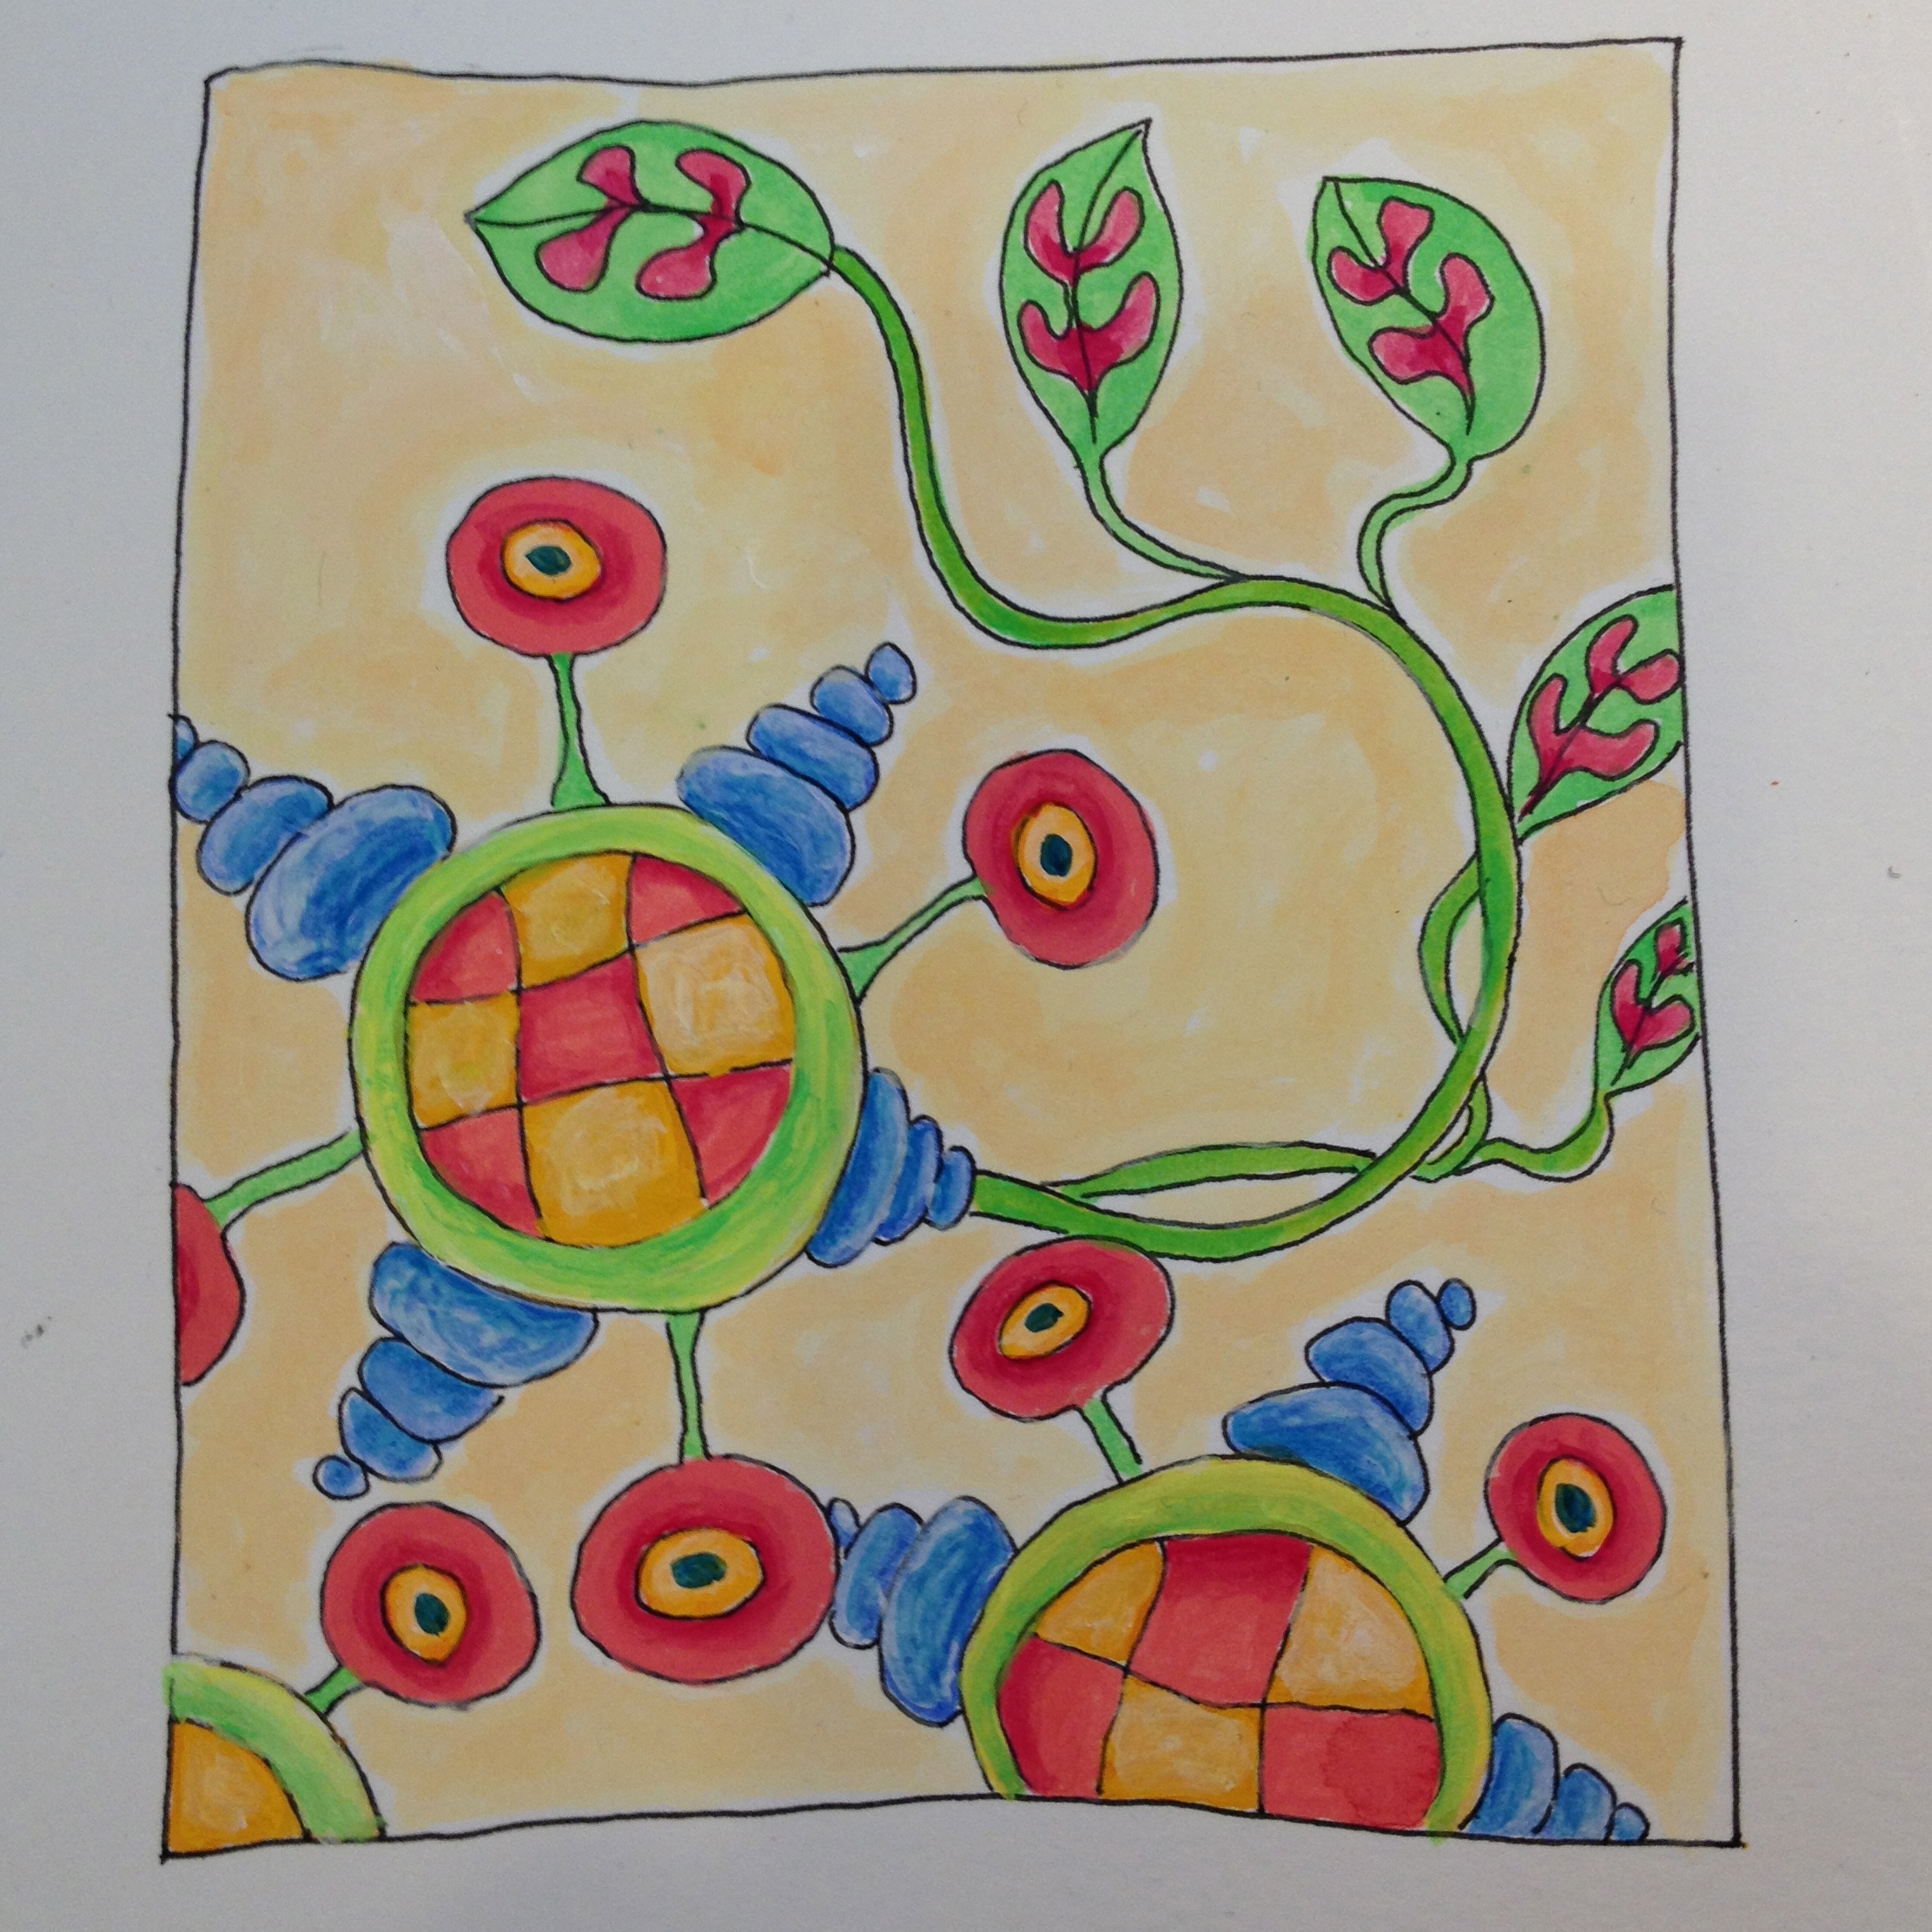


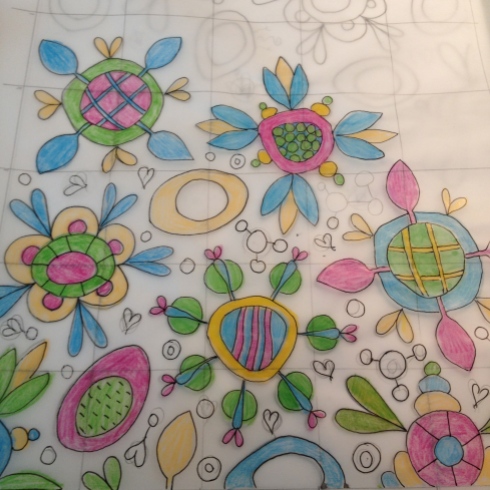

So, this is how my mind works. You’ve only seen the half of it, but it’s like a doodle showdown until I get all doodled out and simply can’t doodle any more.
O.K. so I can always doodle more, but you get my drift.
Then, everything else gets put on hold.
It doesn’t matter what was on the table before, now it’s swept to the floor to make room for the new project. It’s all very exciting, but in the back of my mind I’m a tad annoyed that the floor is a mess – again.
Oh well,
Best to ignore it really.
So,
forget the mess and carry on is all I can say.
This is how you should proceed if you ever encounter the same dilemma.
I taped together 12″ x 12″ newspaper print squares to replicate the grid in my latest quilt doodle.

Because I really am a hands on visual doer kind of person.
And then I re-sketched my pattern to the larger scale.

I prefer to use my thicker graphite pencils here.

Of course it’s vital to have a cup of tea before, during, and after you embark on this kind of creative venture.
And so the drawing grows.

As I recount the happenings of the day, and the amount of work that lays before me, I wonder.
Will Hope ever receive a quilt at all?
For Christmas, or, at any time?
We will have to see.
–
1.5″ lengths of 18 gauge fine silver wire.
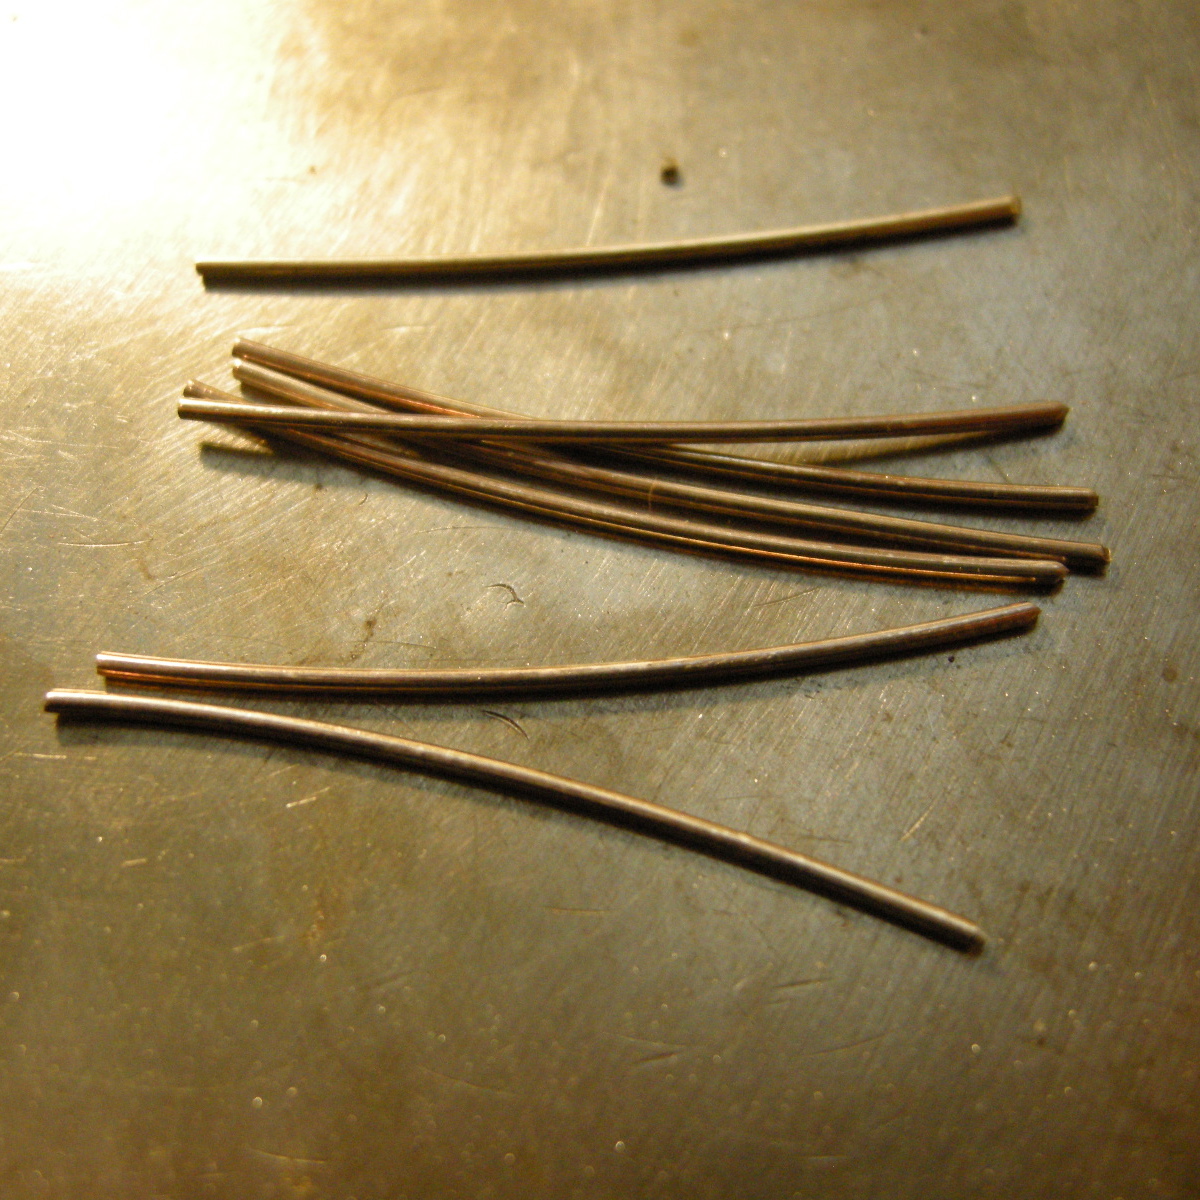
Wrap around a mandrel as below.
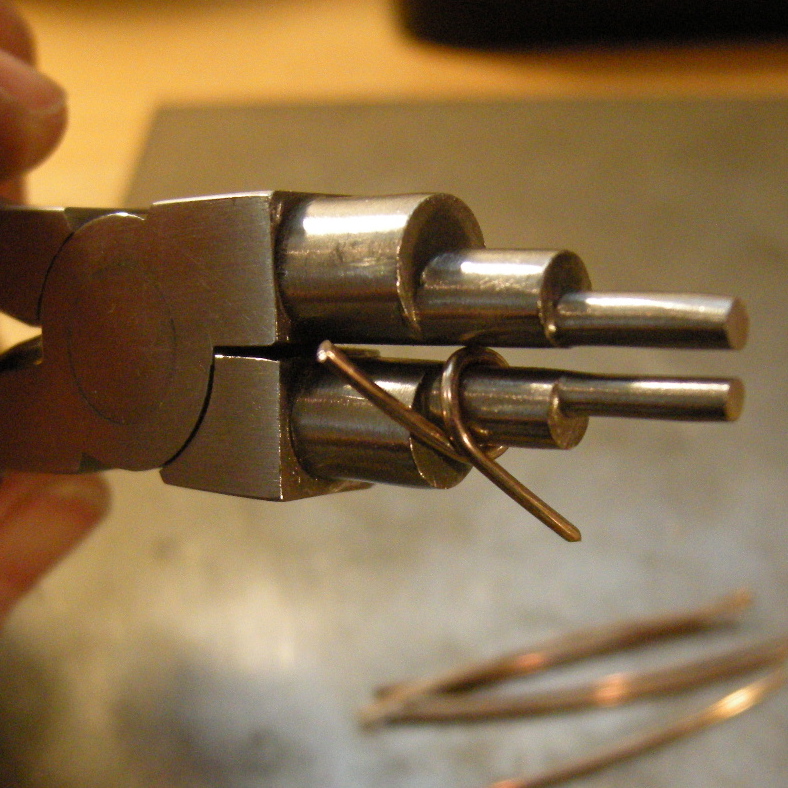
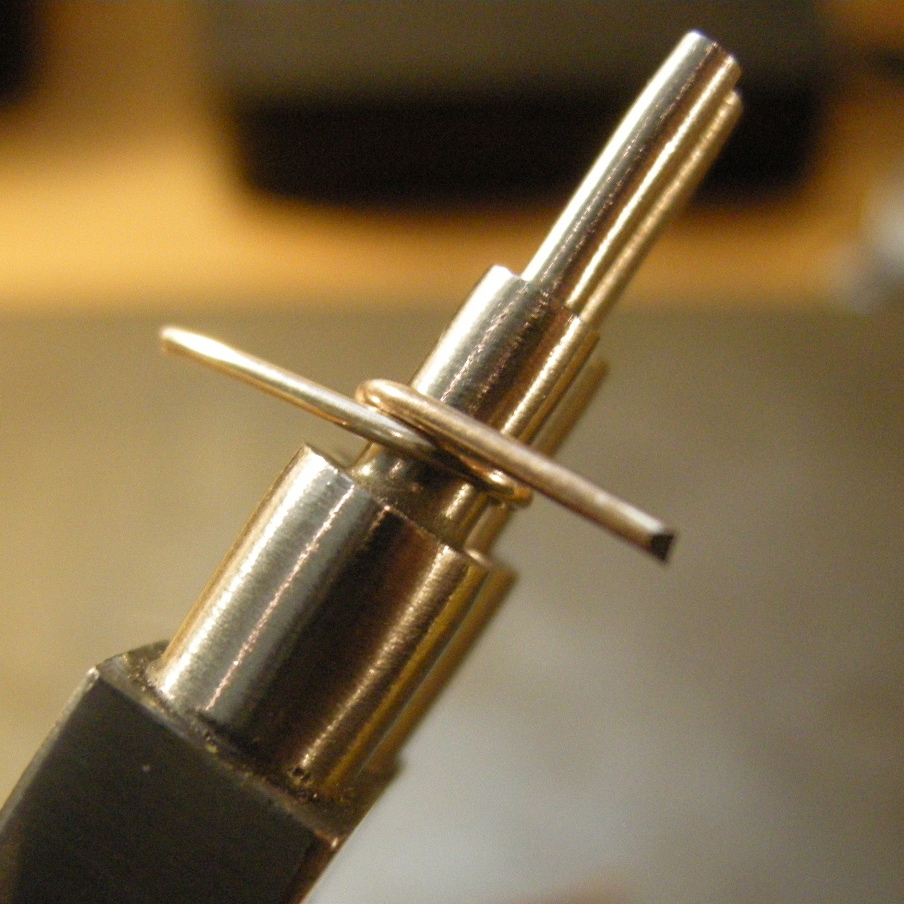
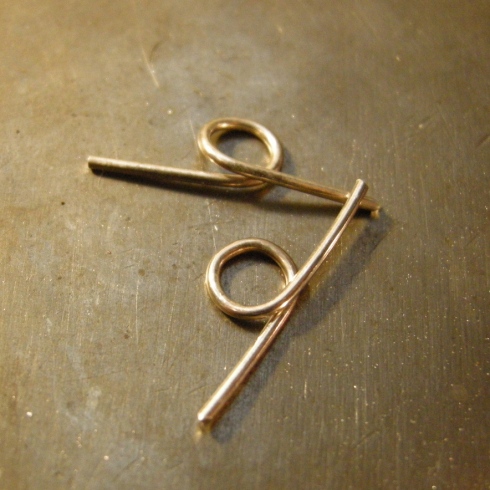
Join together
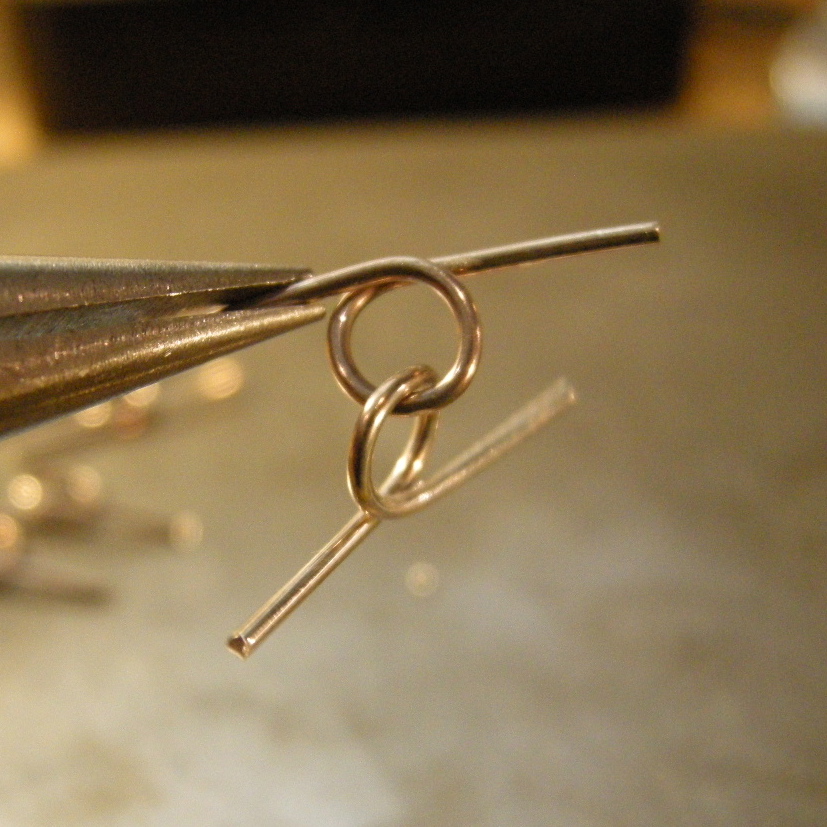
Ball up the ends with your torch.
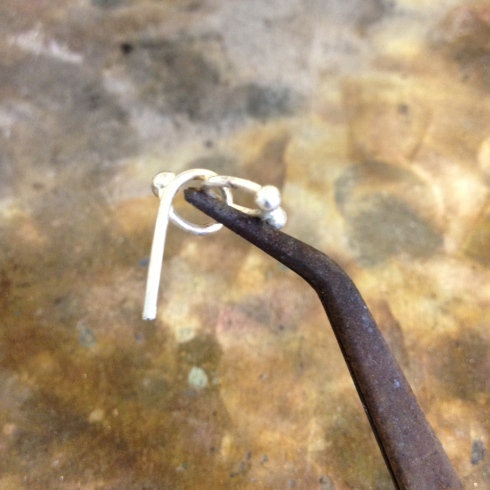
Fuzzy photographs. Sorry.
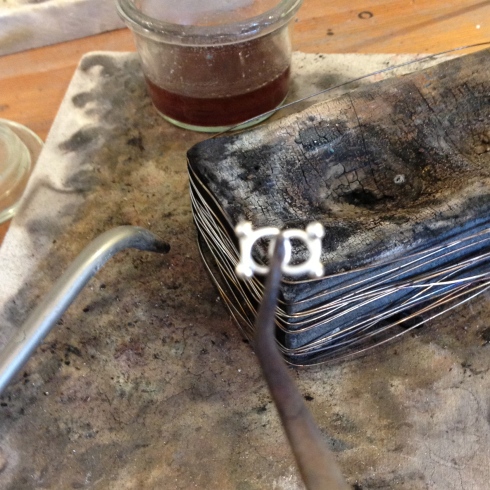
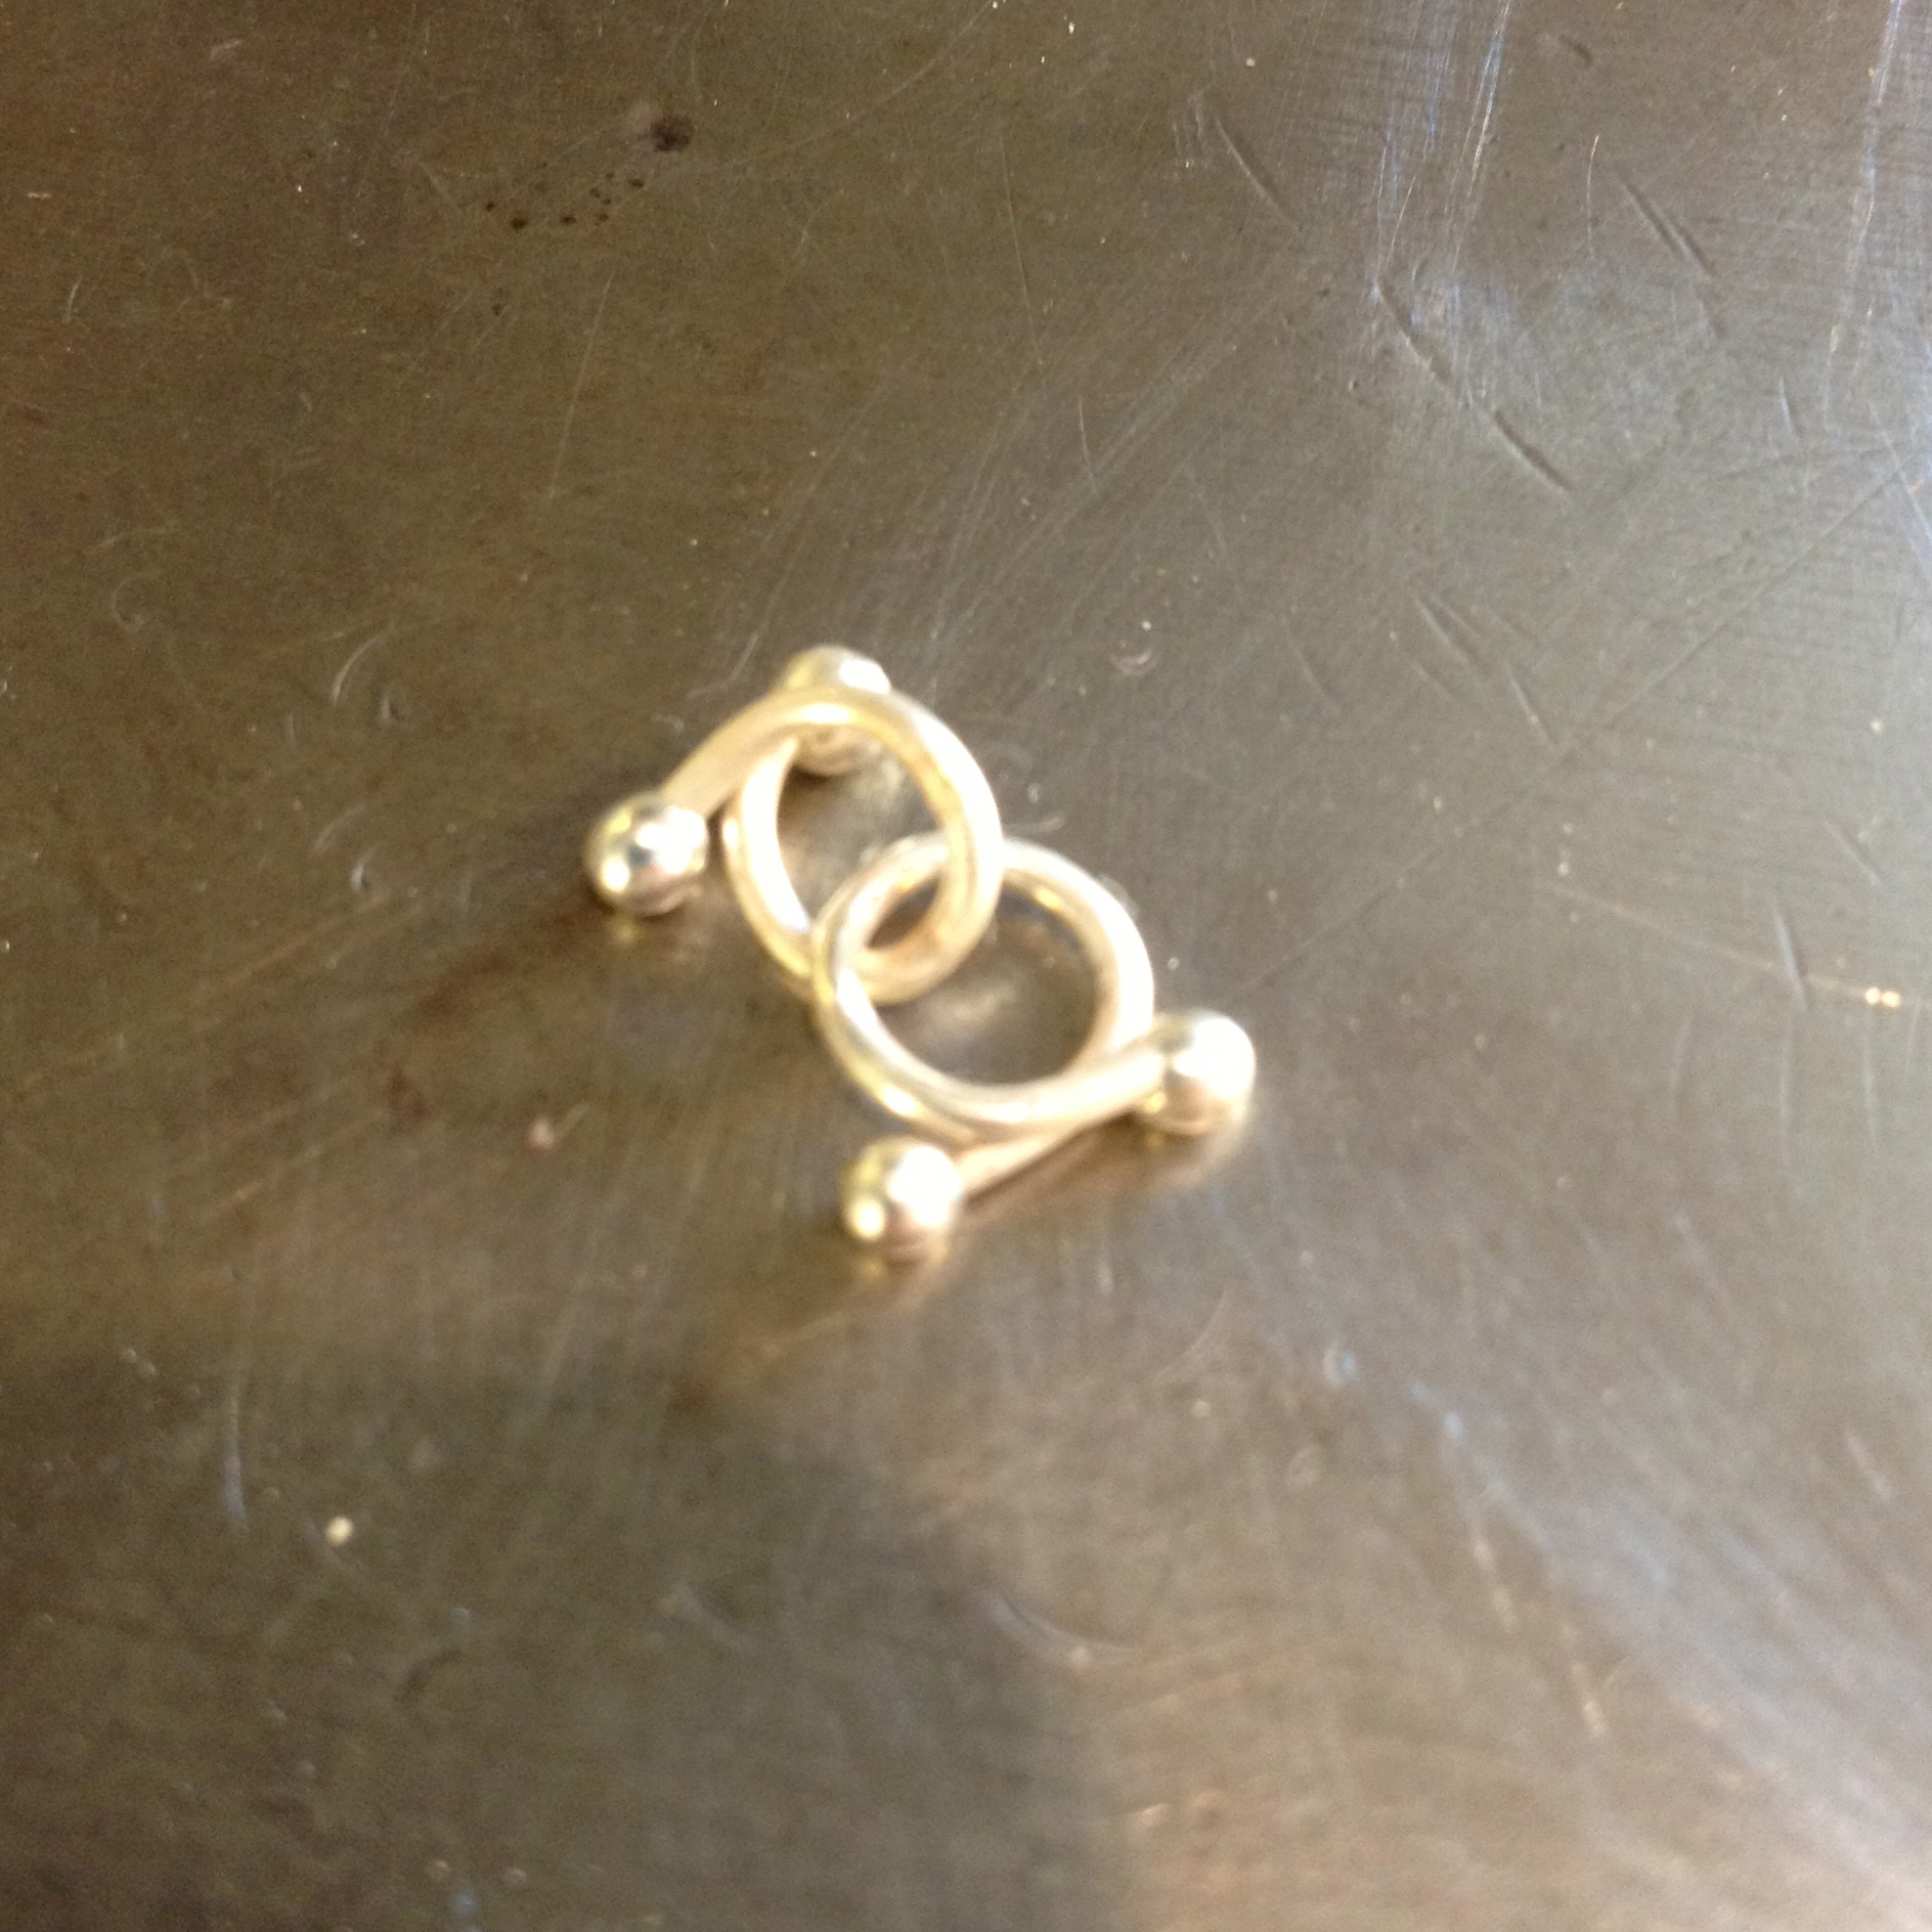
Give it a friend.
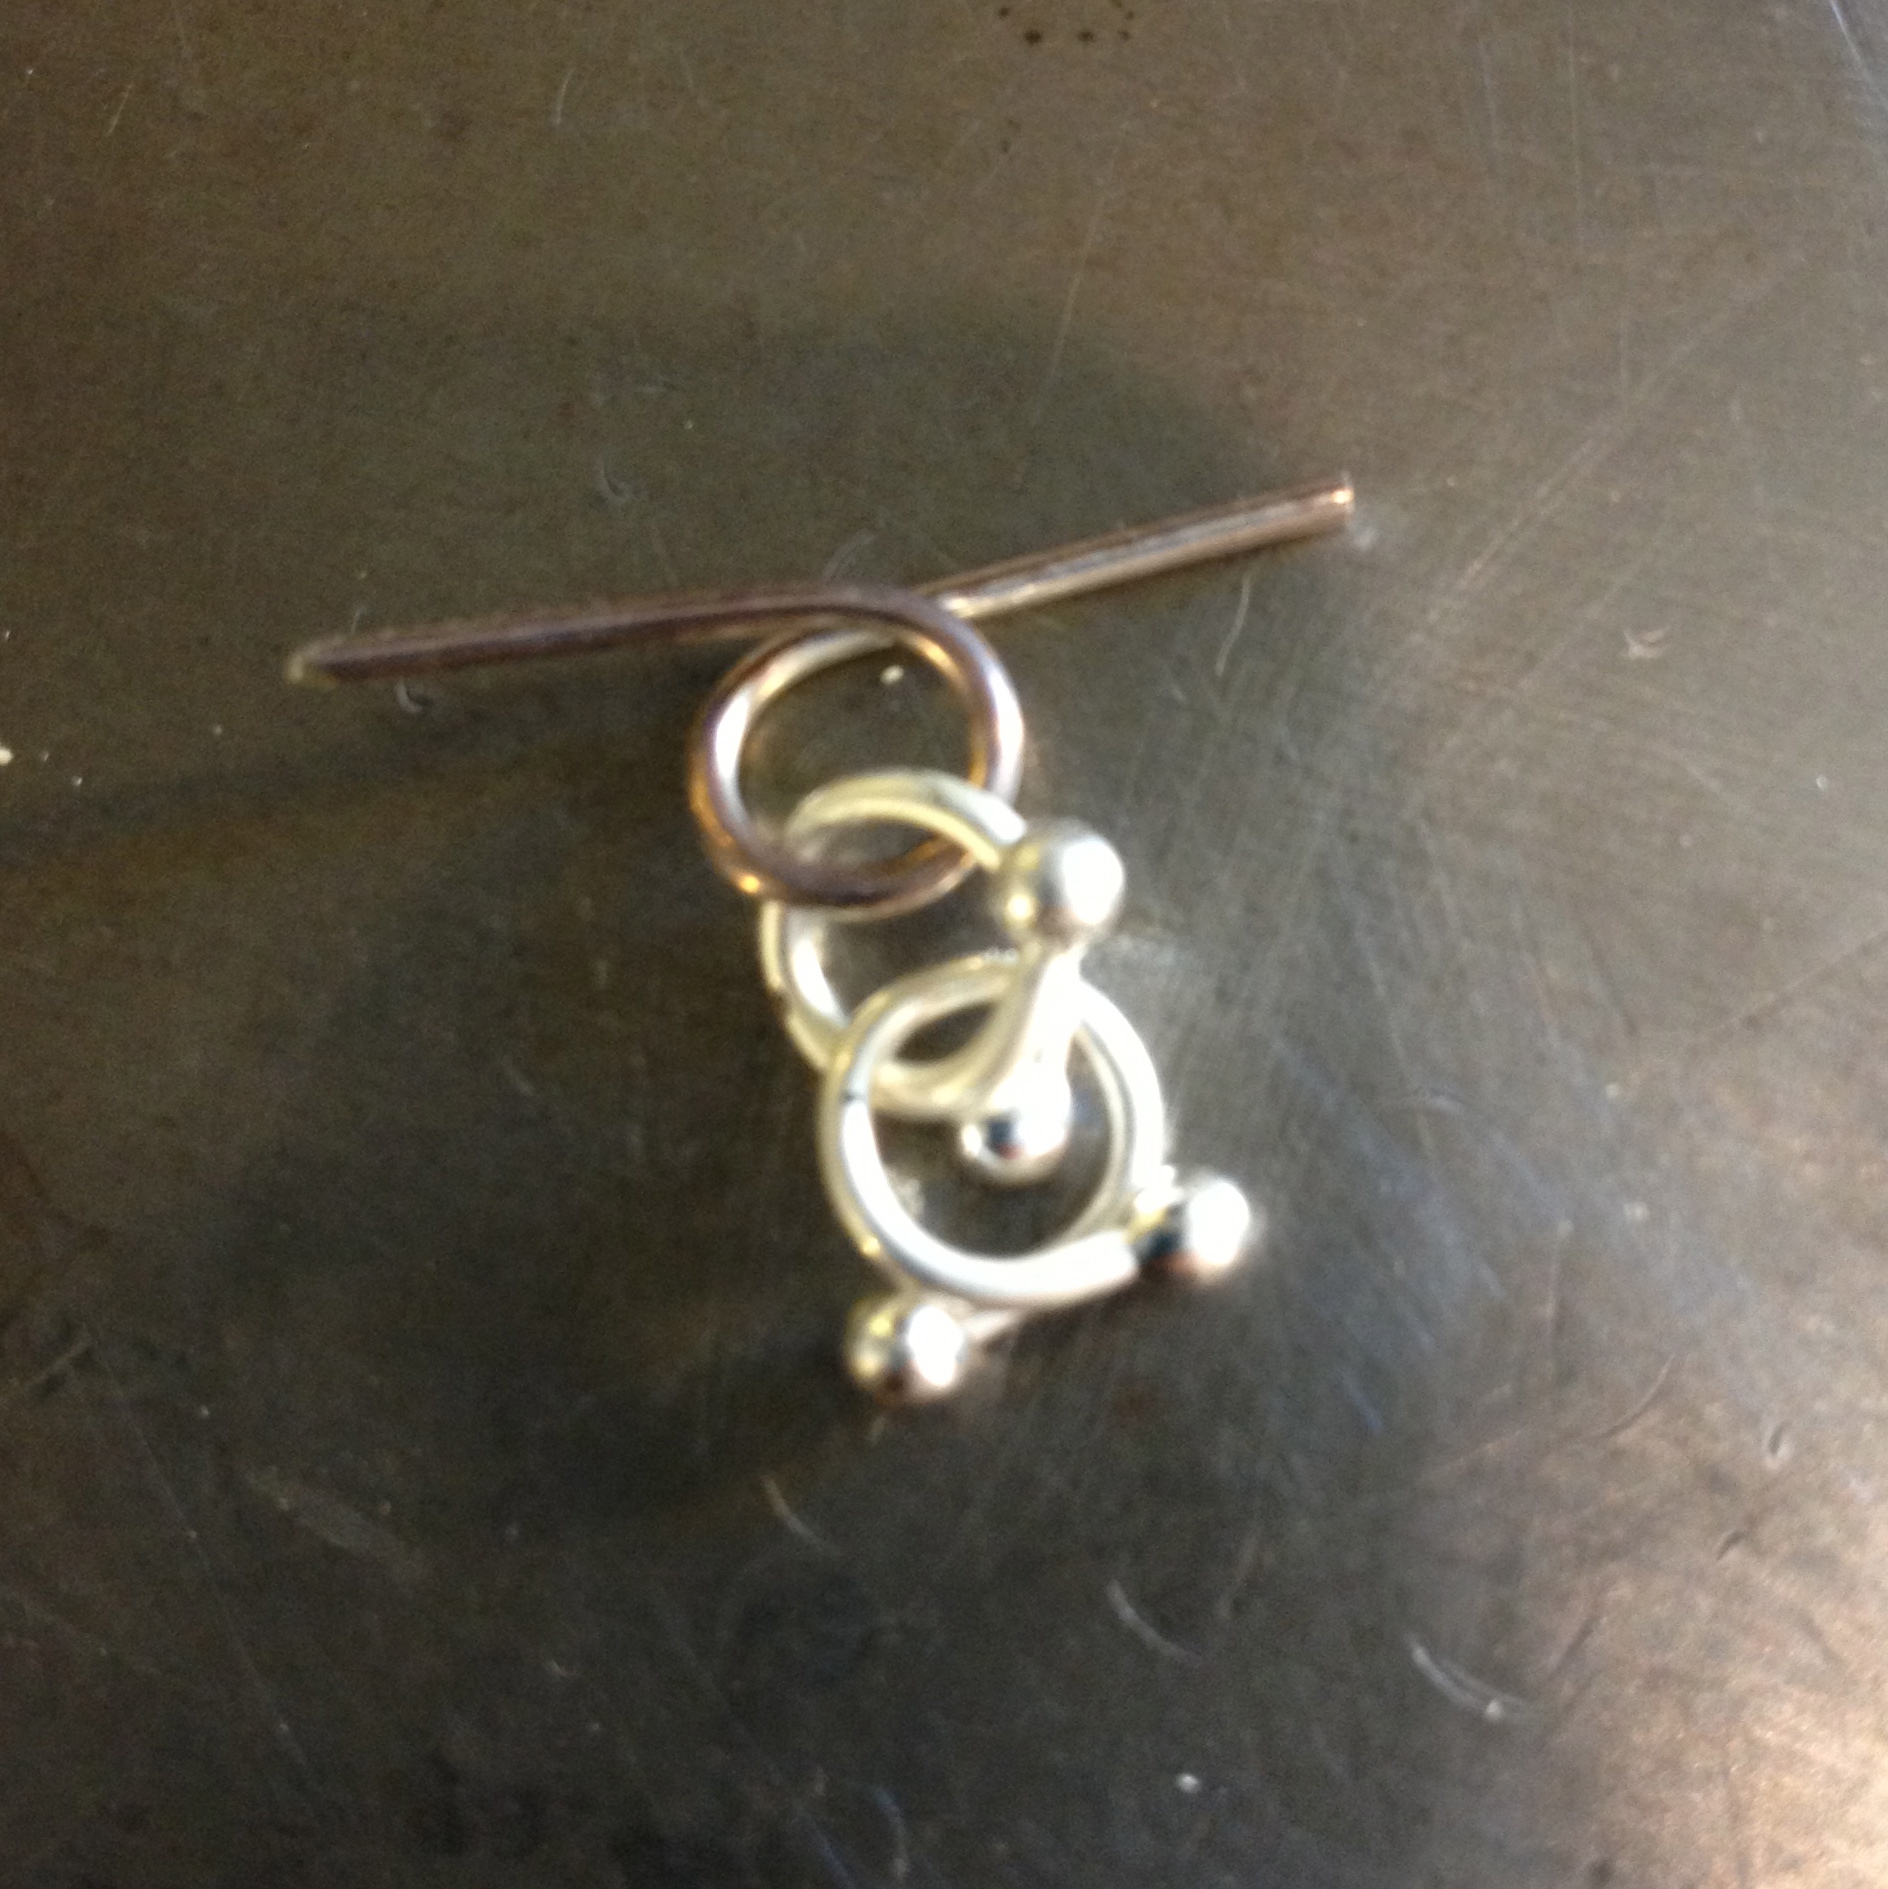
Repeat
Repeat again.
Until desired length.
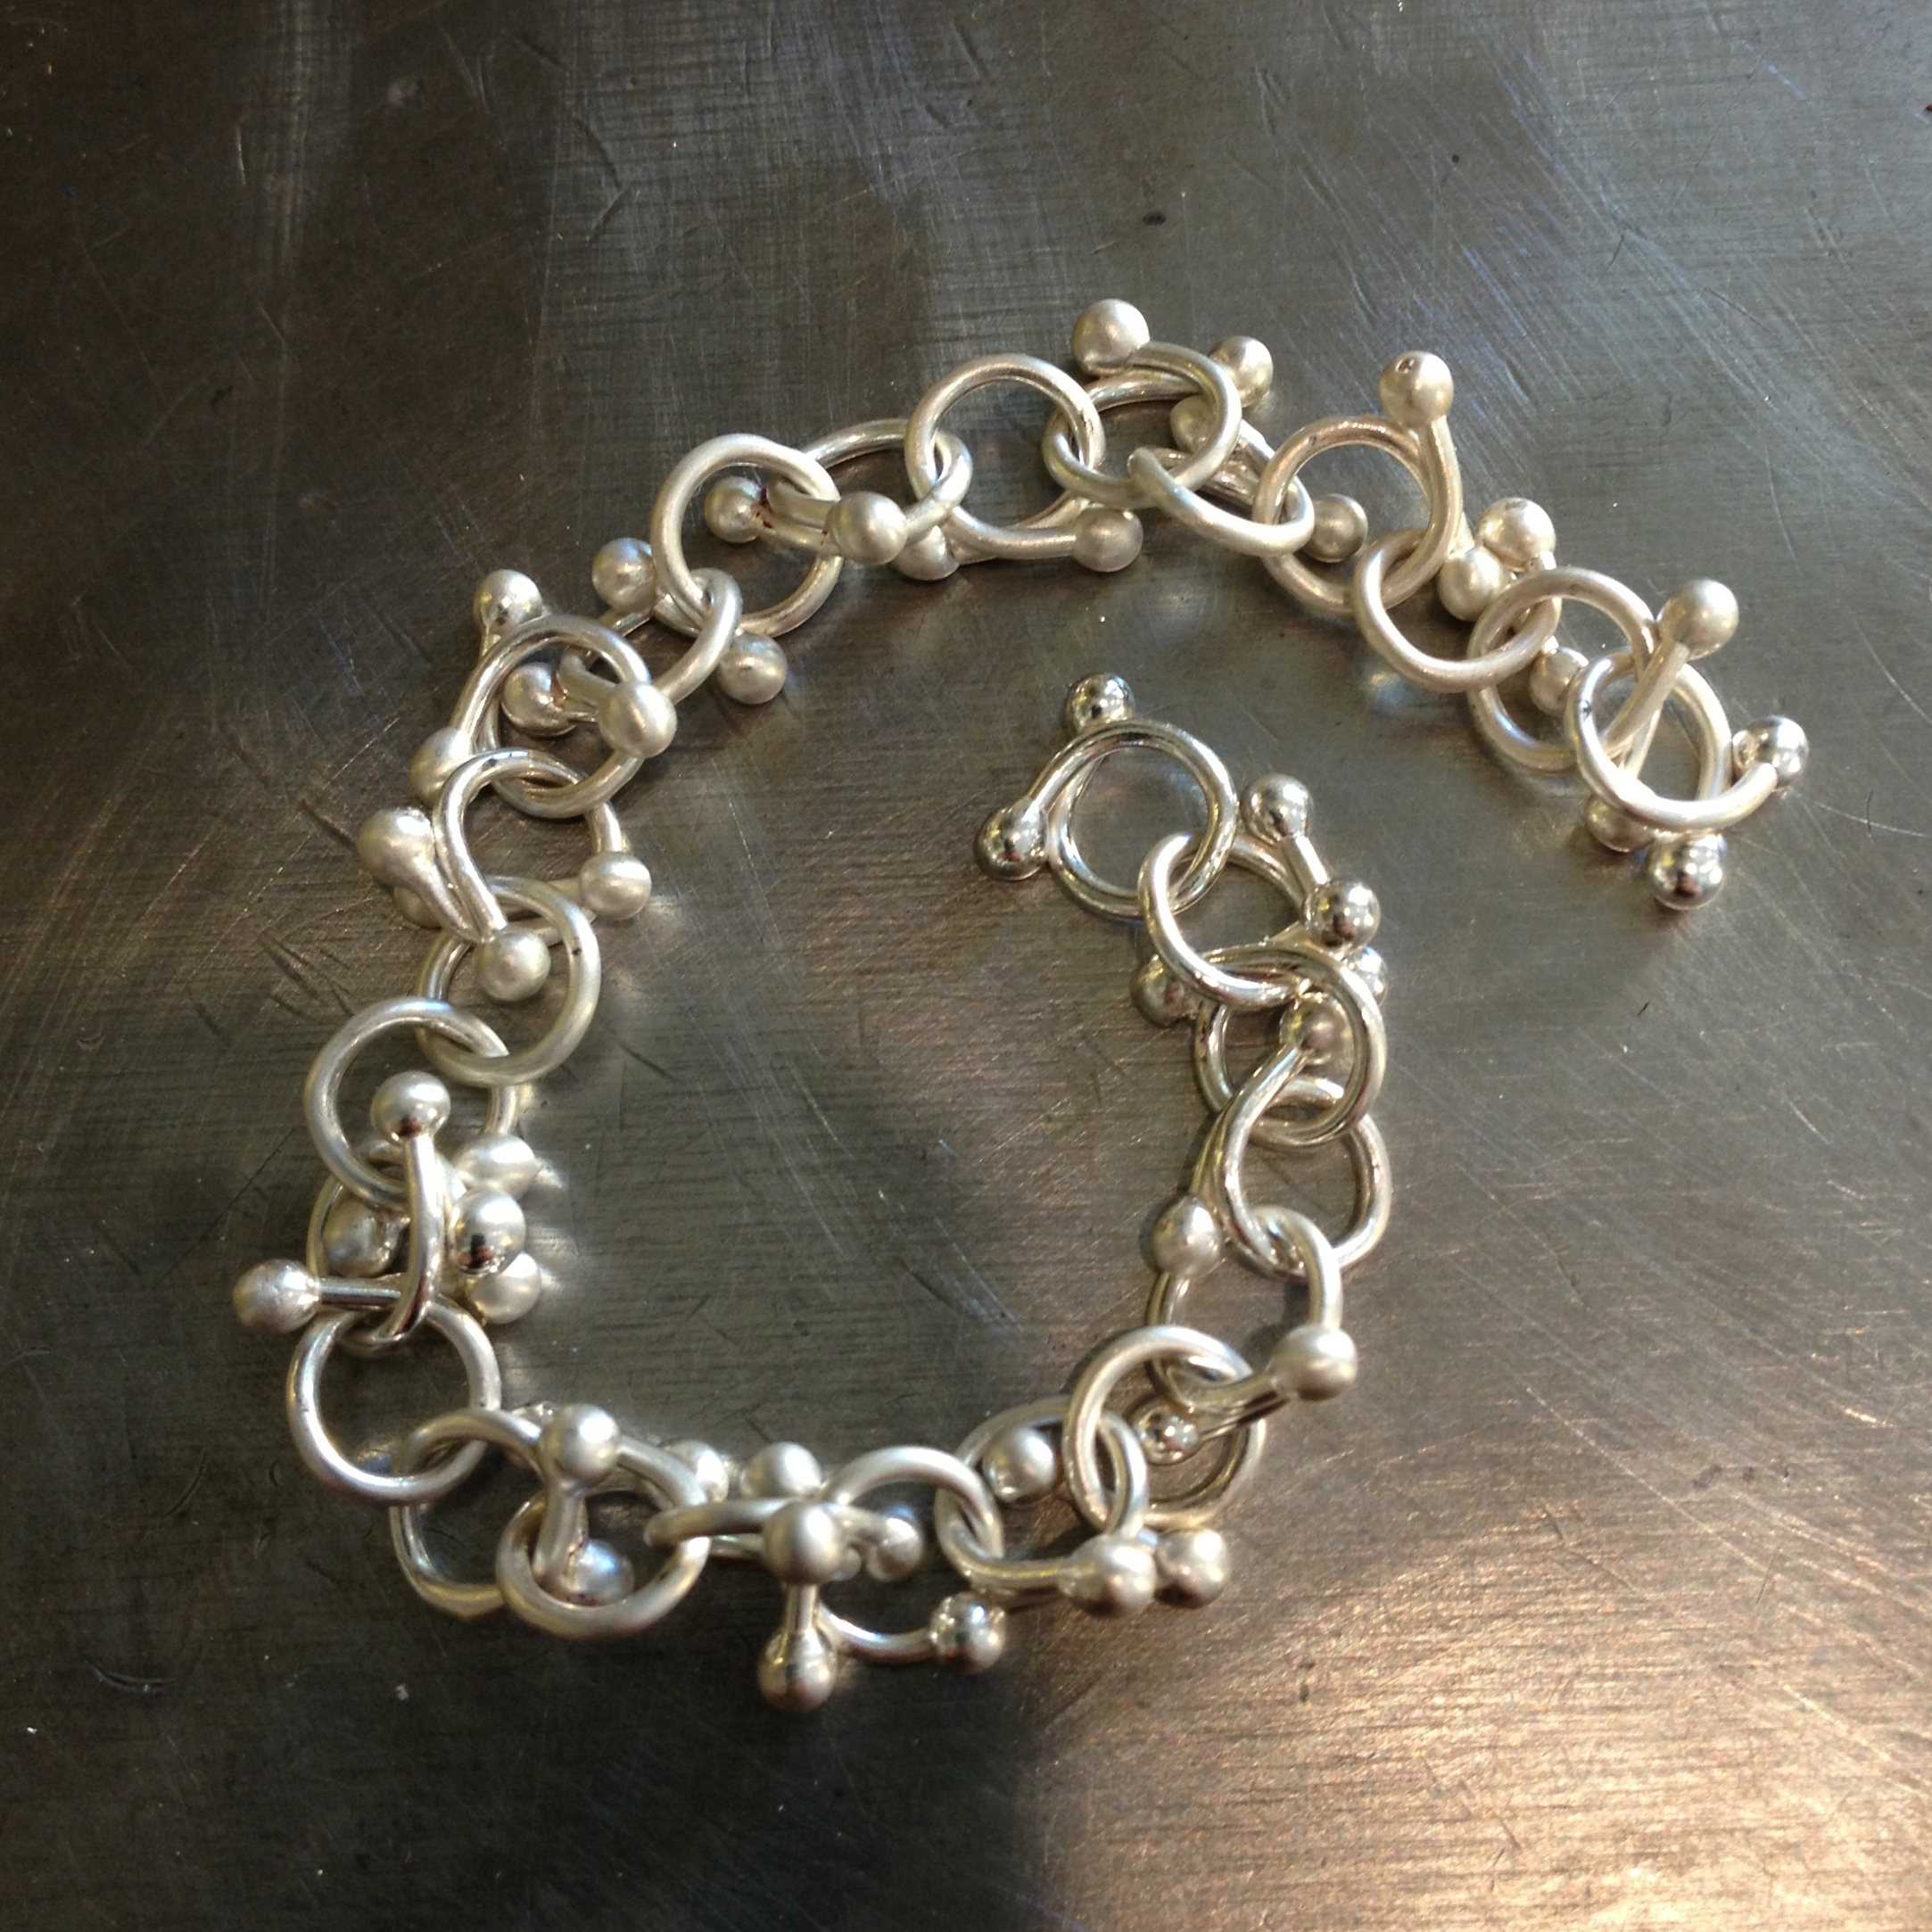
As this is fine silver the ends ball up perfectly, but the links are very soft.
So, tumble to harden.
By the way.
This is what I did with the other half of the amethyst.
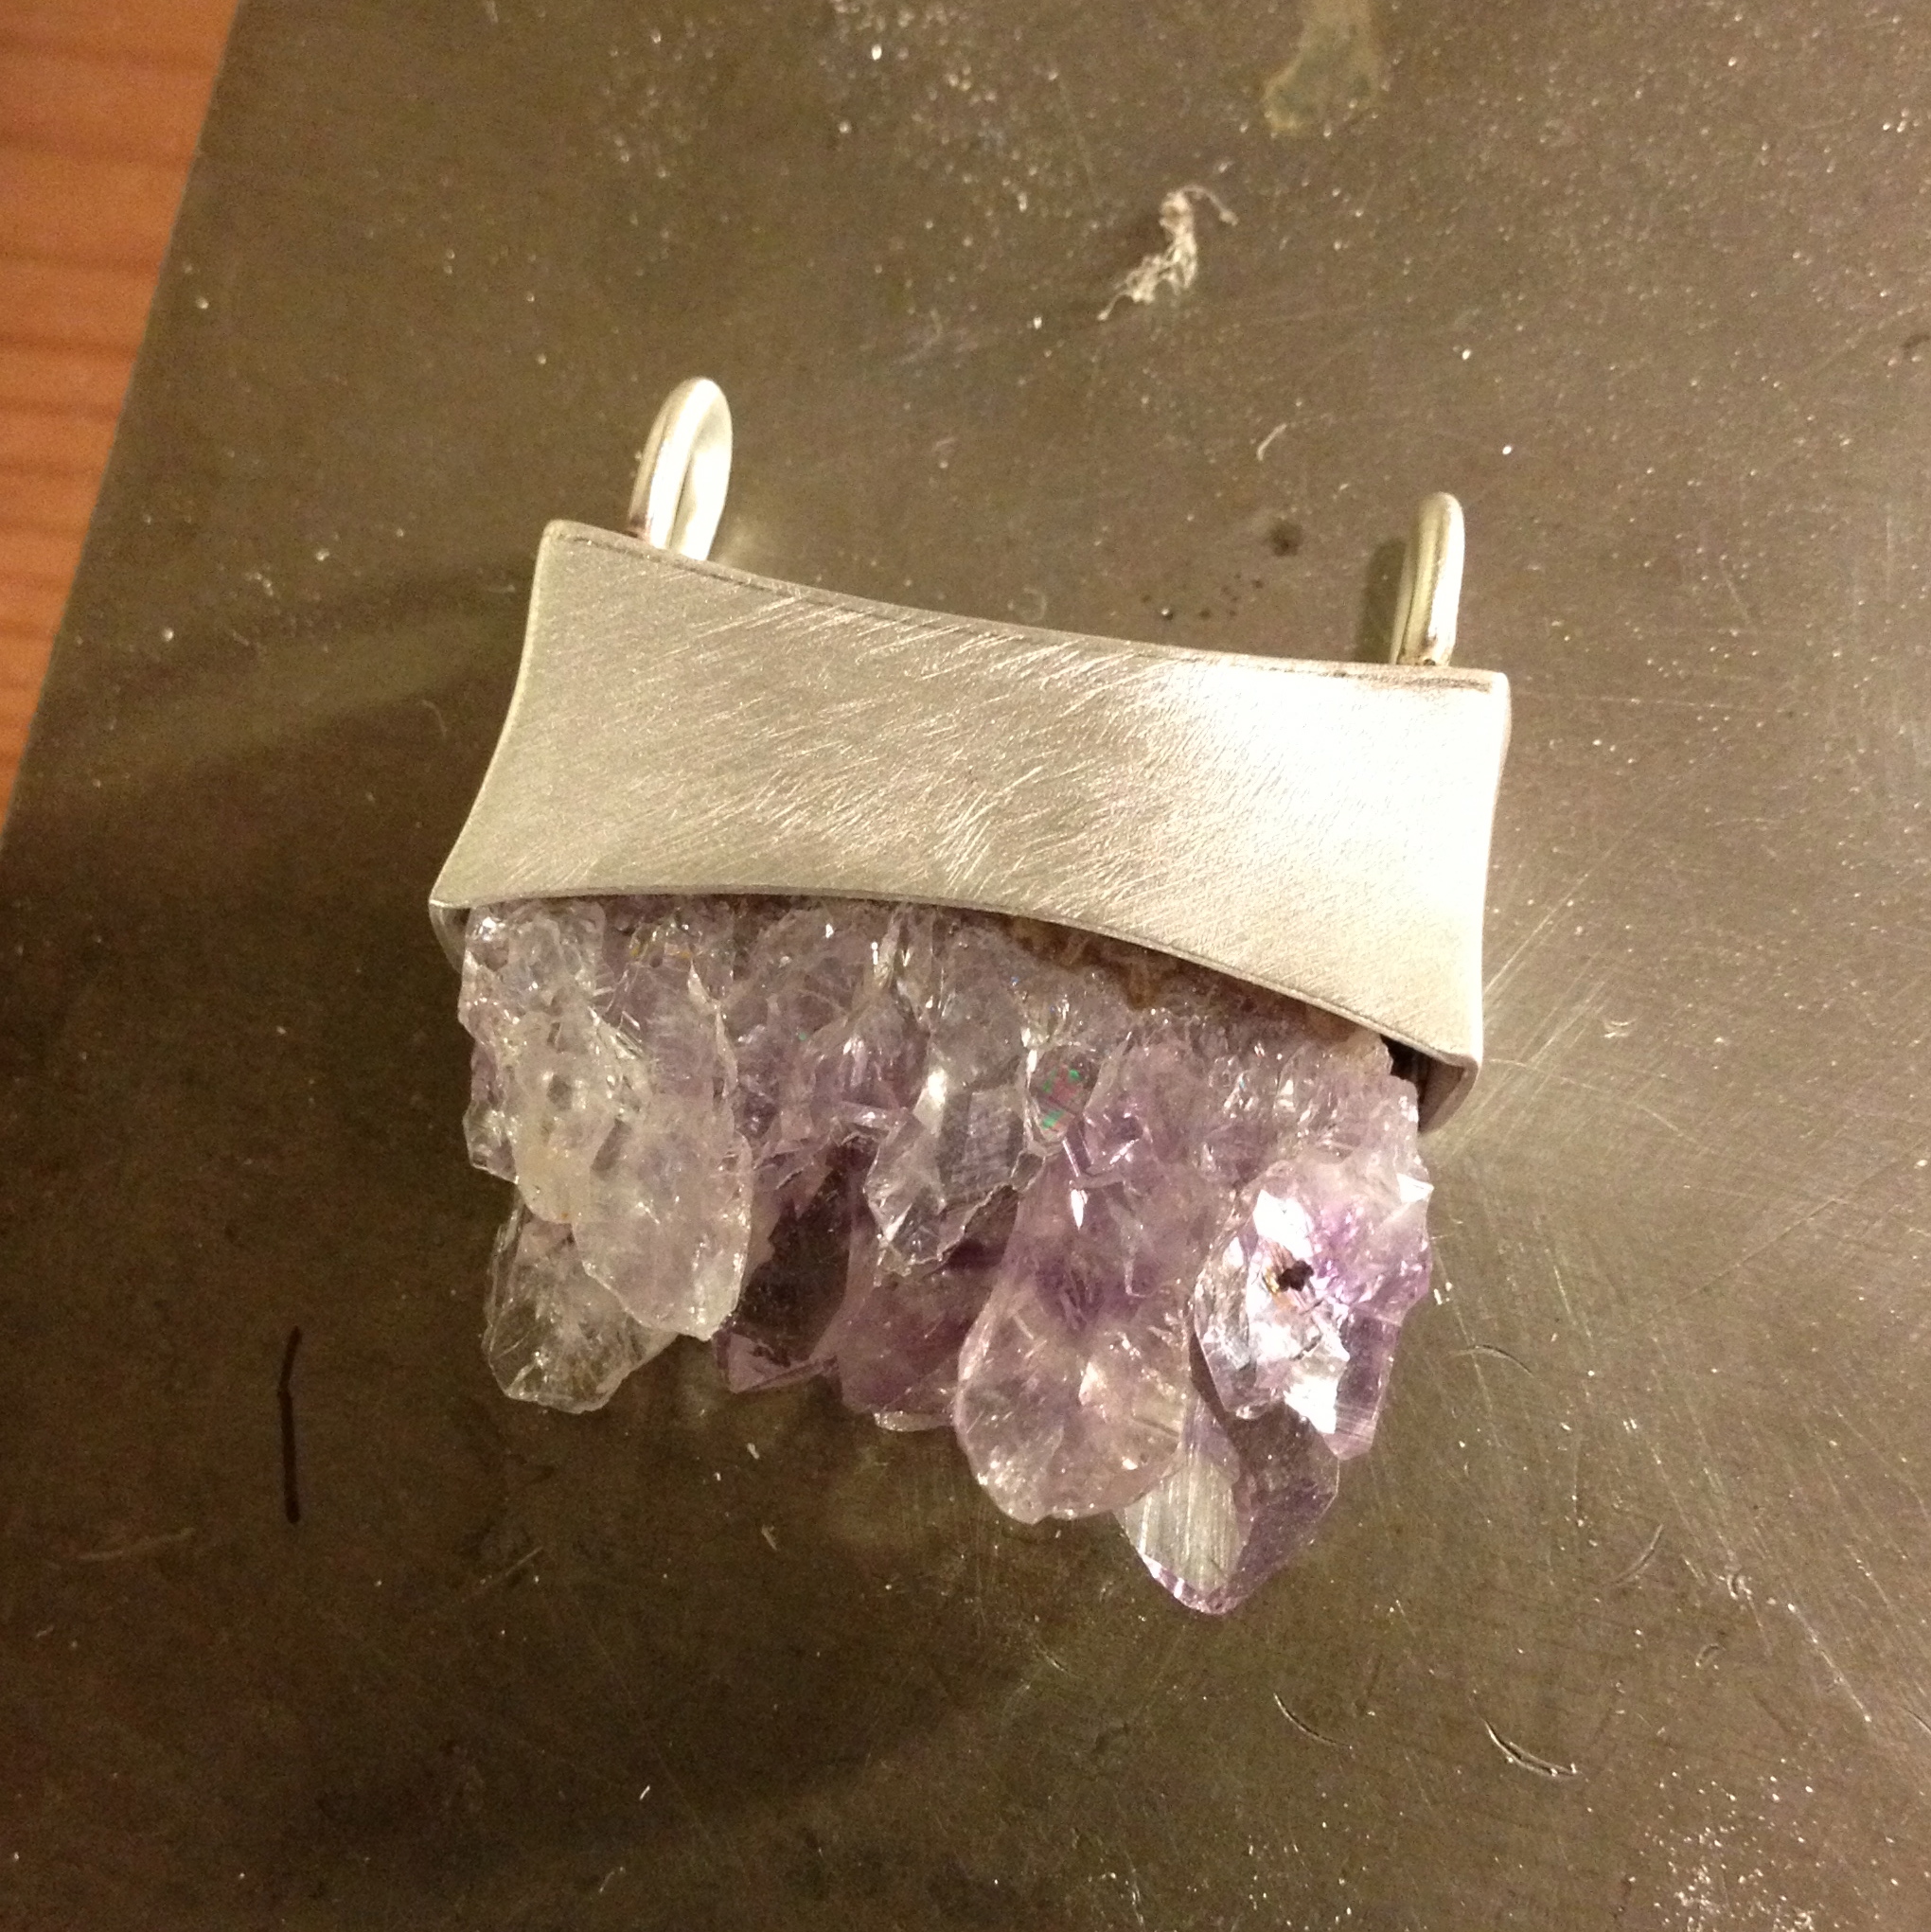
Happy Monday 🙂
–

O.K. Perhaps not that different.
Click on the image if you really need to know what’s going on here. Remember, you can never undo what you’ve seen once you’ve seen it. Otherwise scroll down to see what magic is going on in the studio this time.
–
O.K.
So you bought this piece of amethyst a long while back
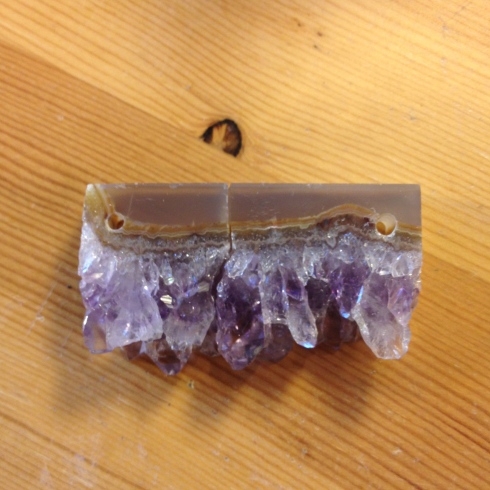
because you made this (below) about six (or, you can’t really remember) months ago and thought you’d have another go.
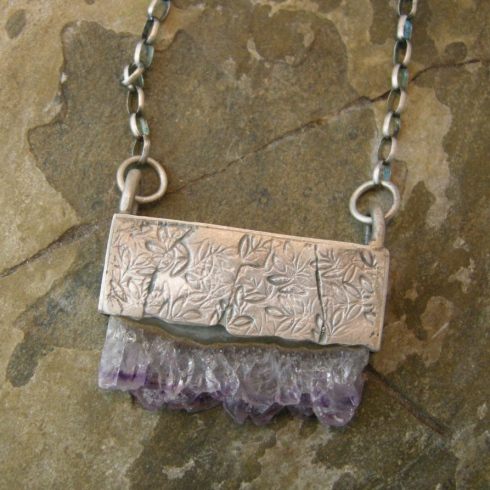
But the new piece of amethyst broke before you really had a chance to see what you could do with it.

You wasn’t too upset about it, however, as it was much thicker than you thought it would be, and kind of ugly – ish.
And then you remembered that time when you decided to banish amethyst from your studio completely.
But, when you were cleaning out and moving your studio around you found the piece again, and, as stubborn as you are, you decided that surely you could do something with it.
So not to be defeated you take the smaller half, because you don’t really want to waste that much silver on it if it’s not going to turn out well in the end.
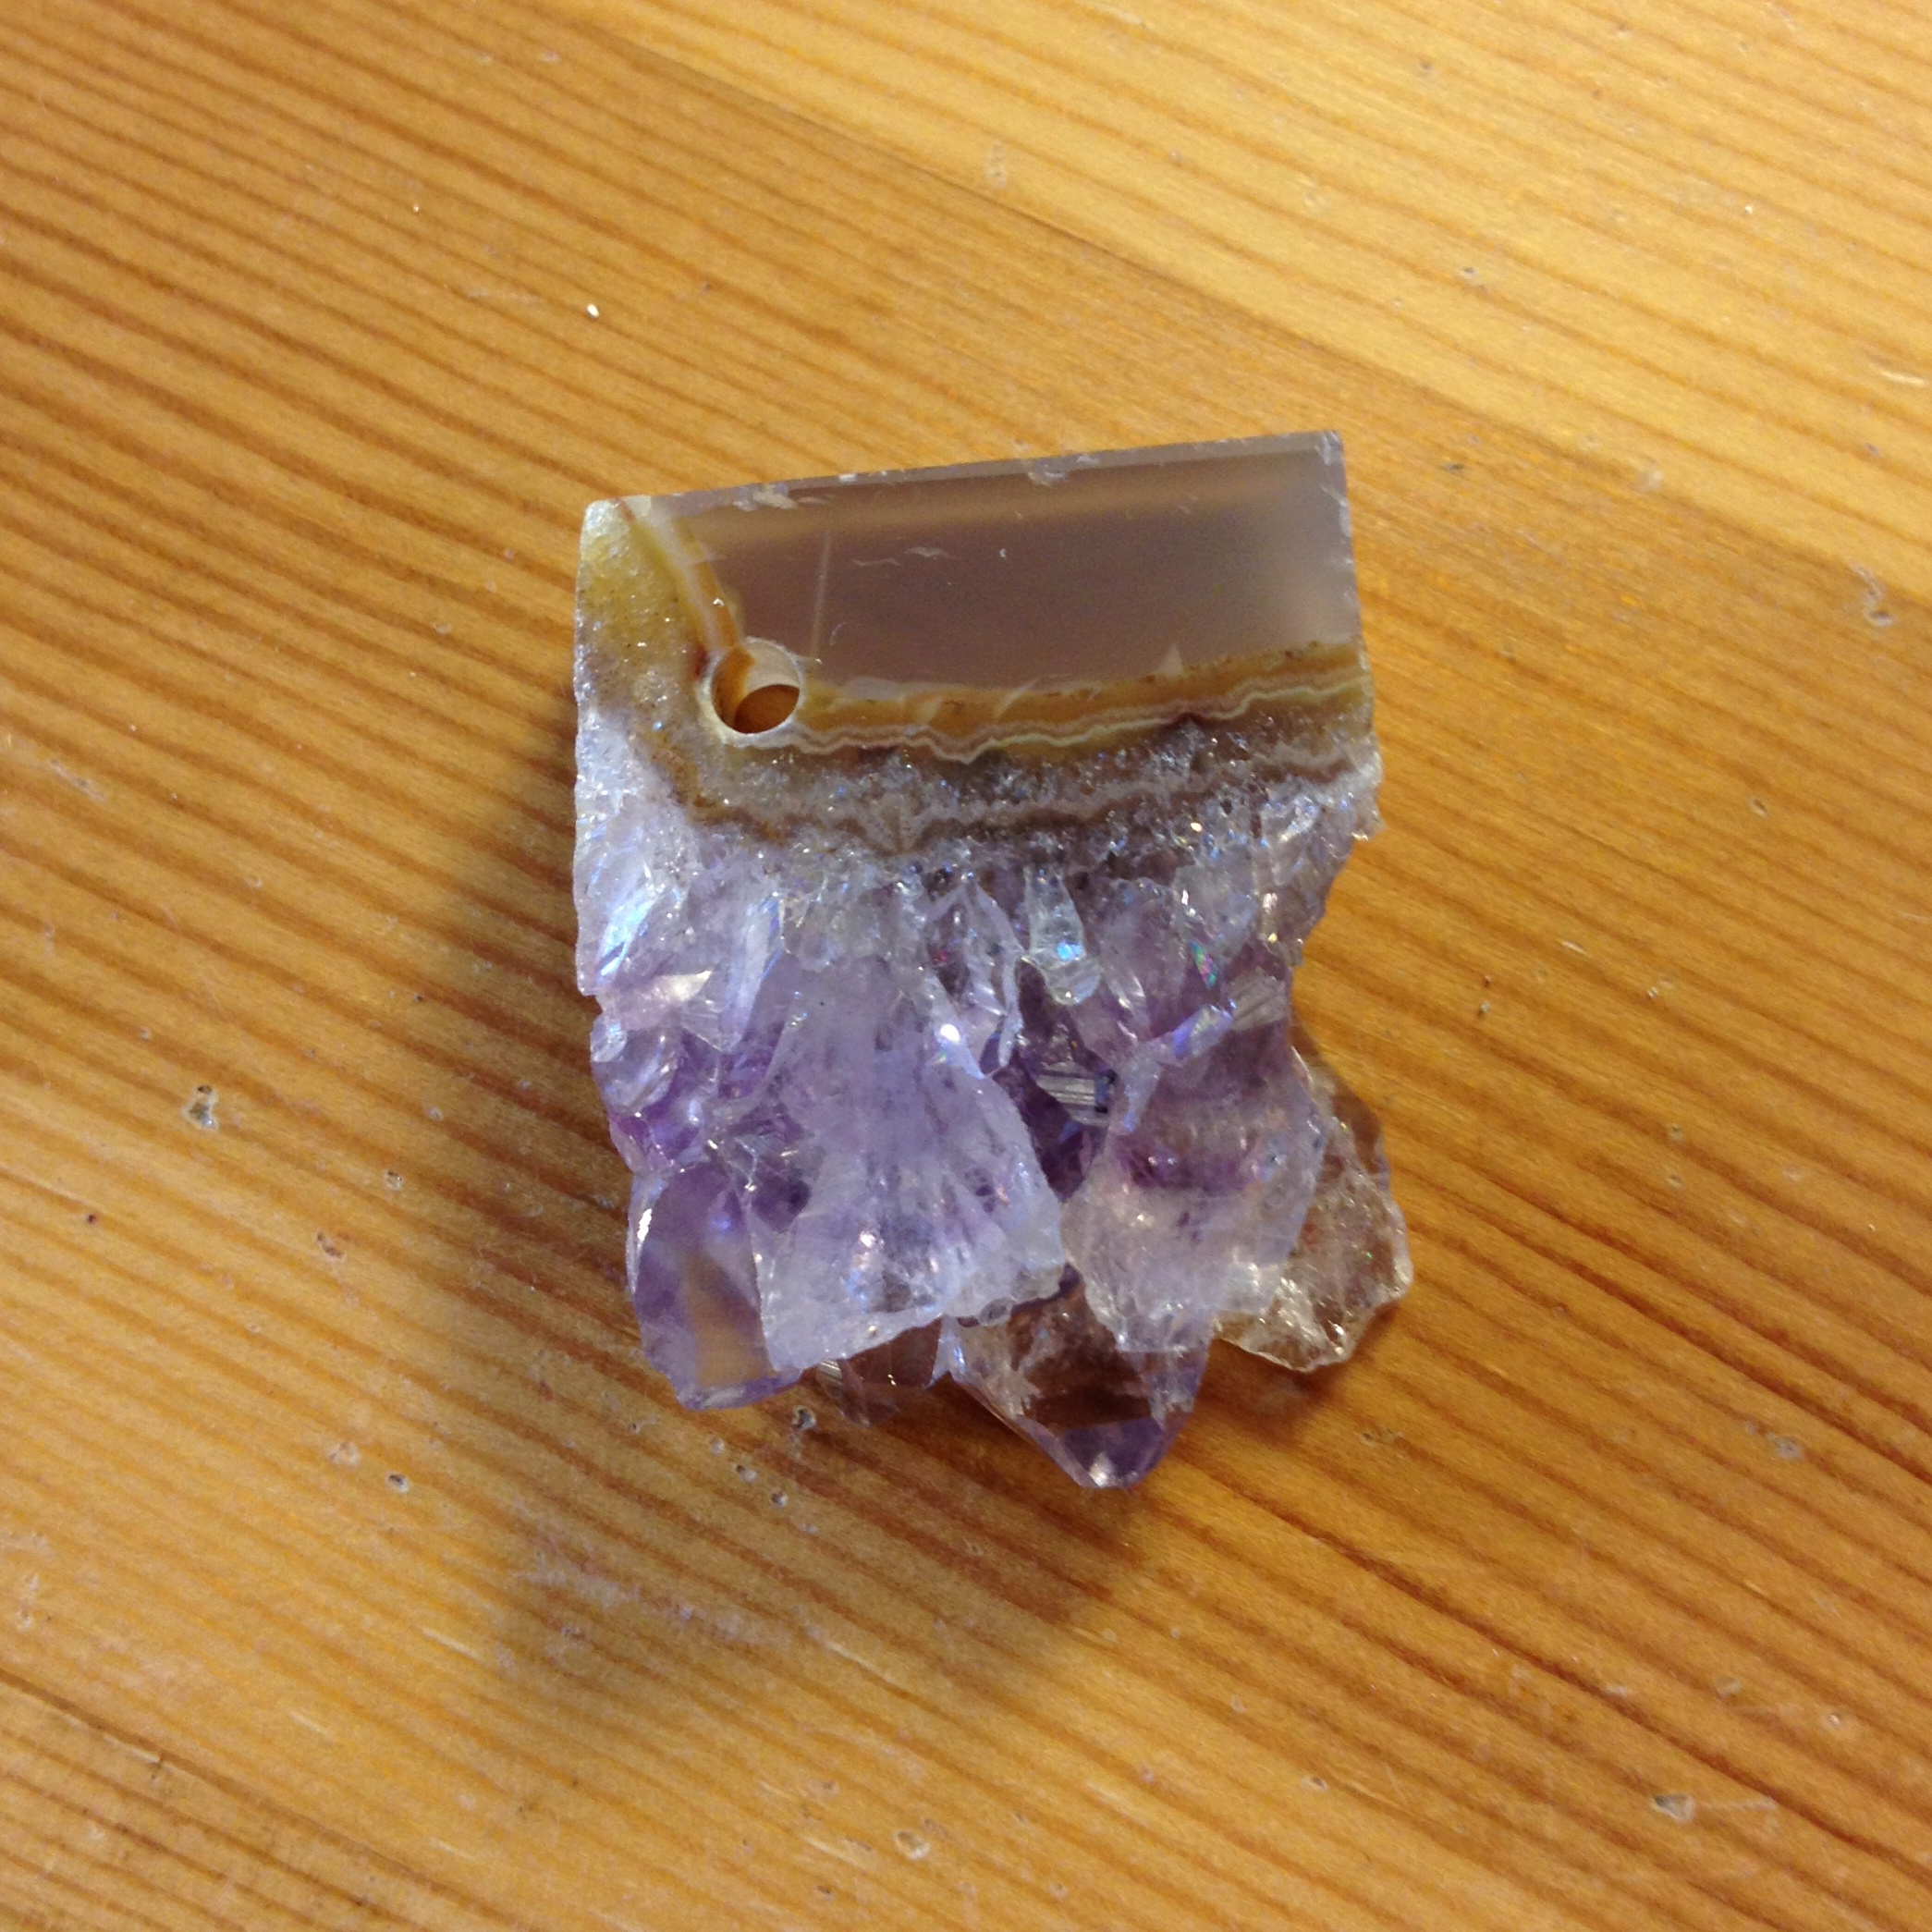
You decide that it is kind of nice after all, in that broken, lonely way that only a broken, lonely piece of amethyst can look. and you decide to make it a collar out of bezel wire.
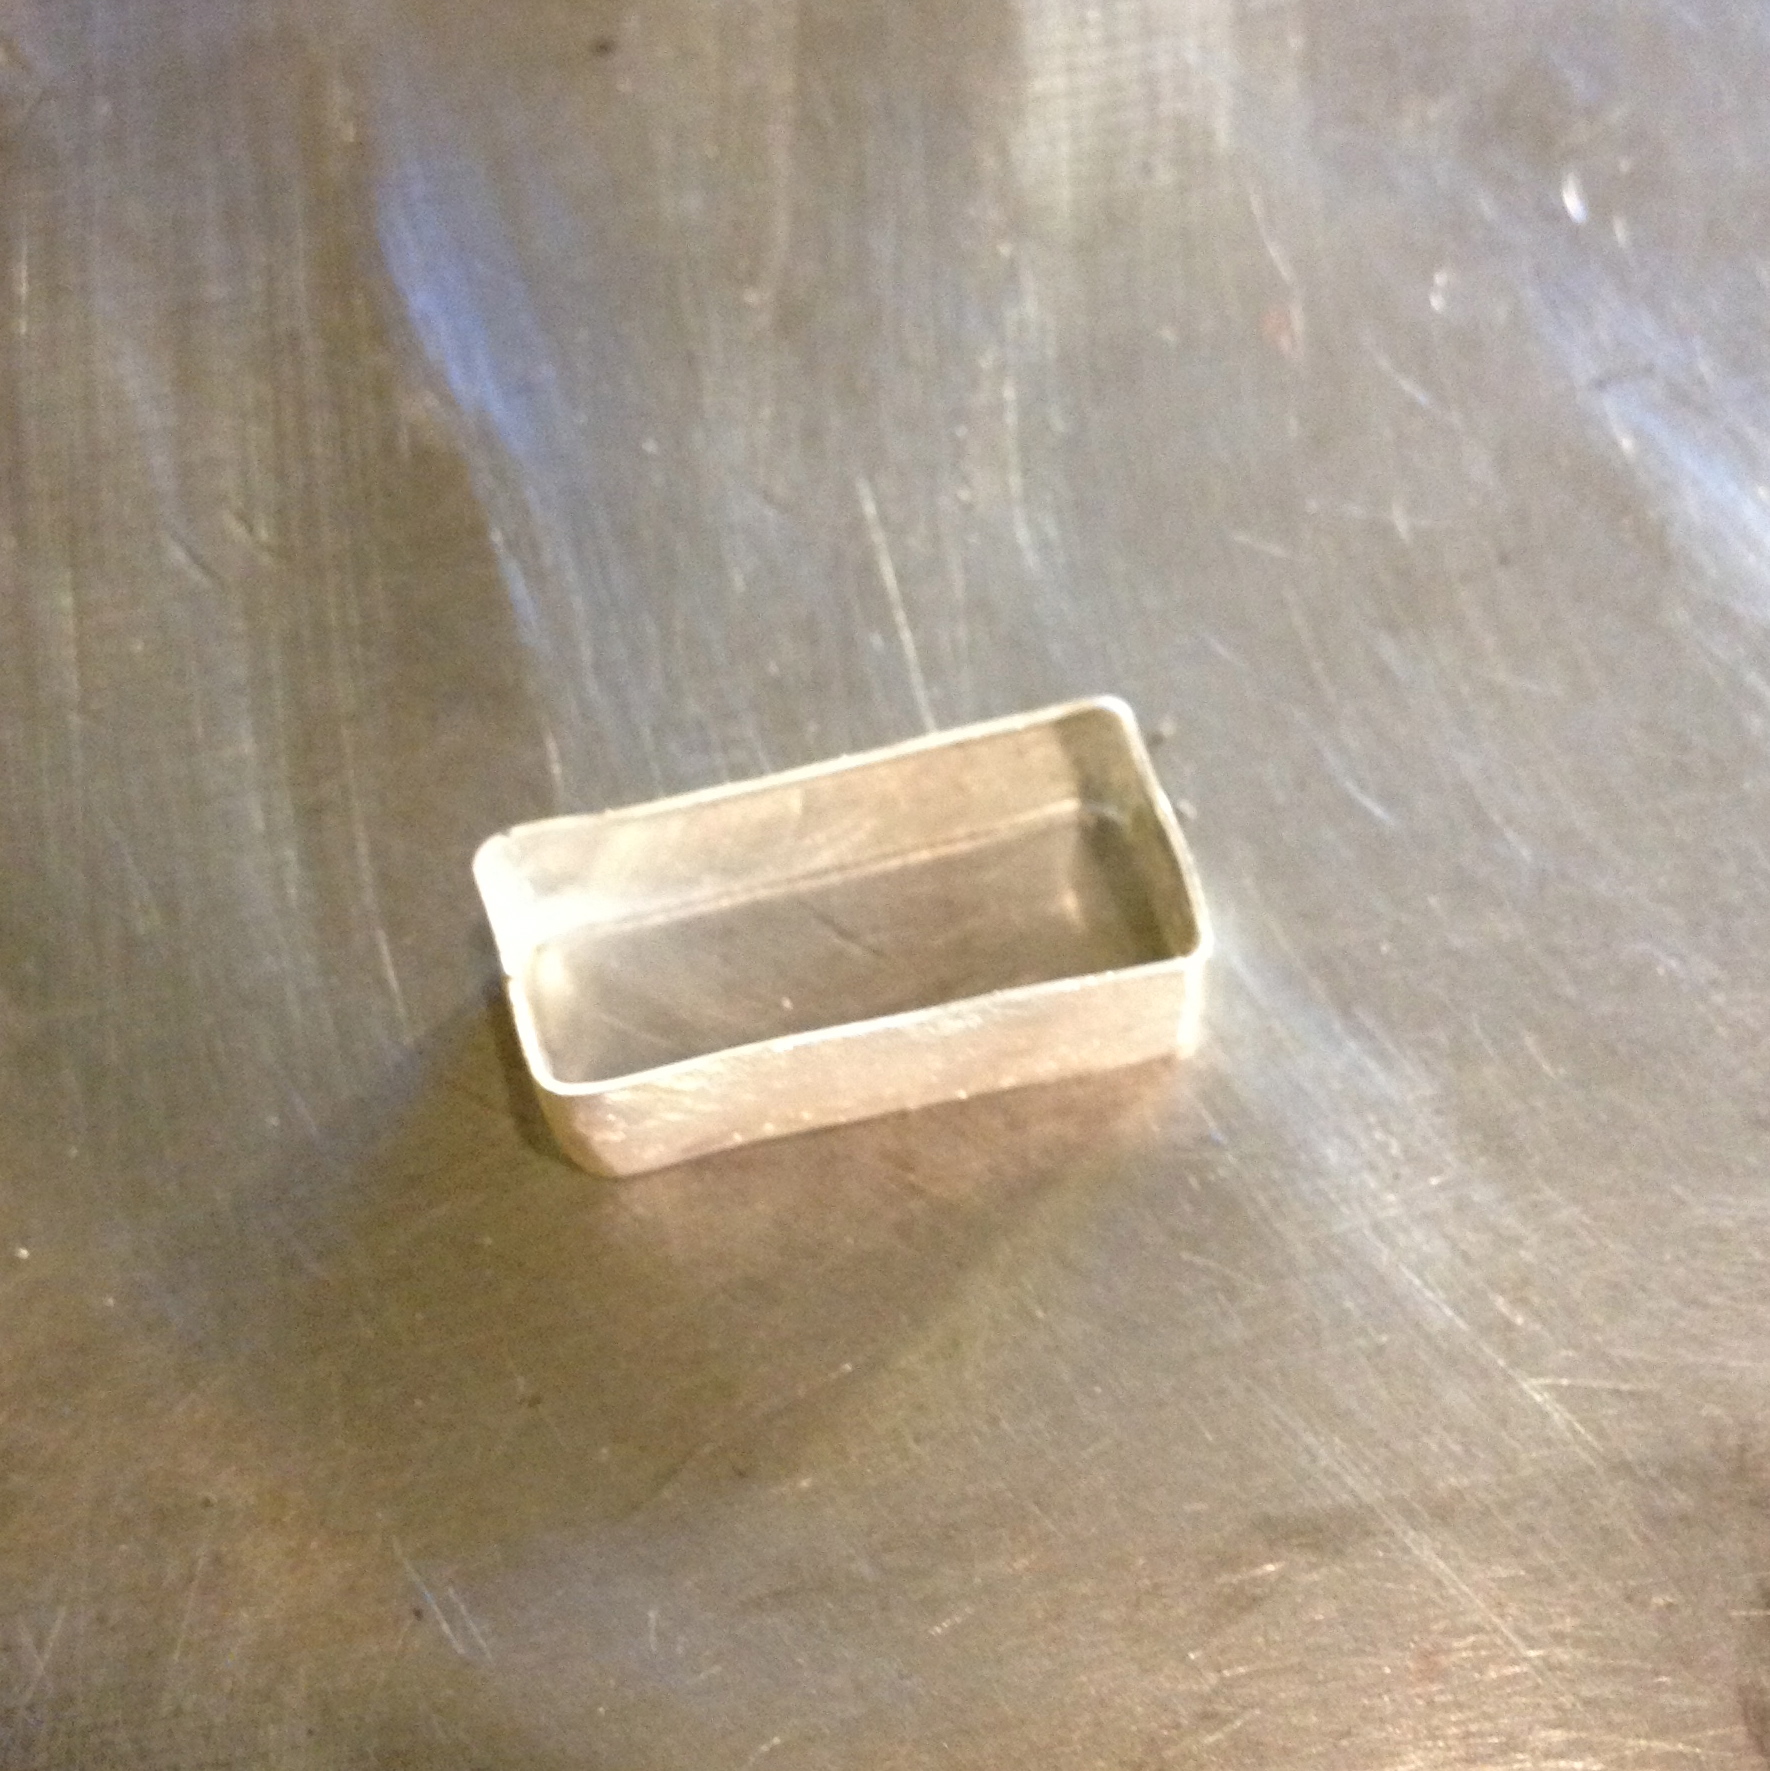
Just to cheer it up.
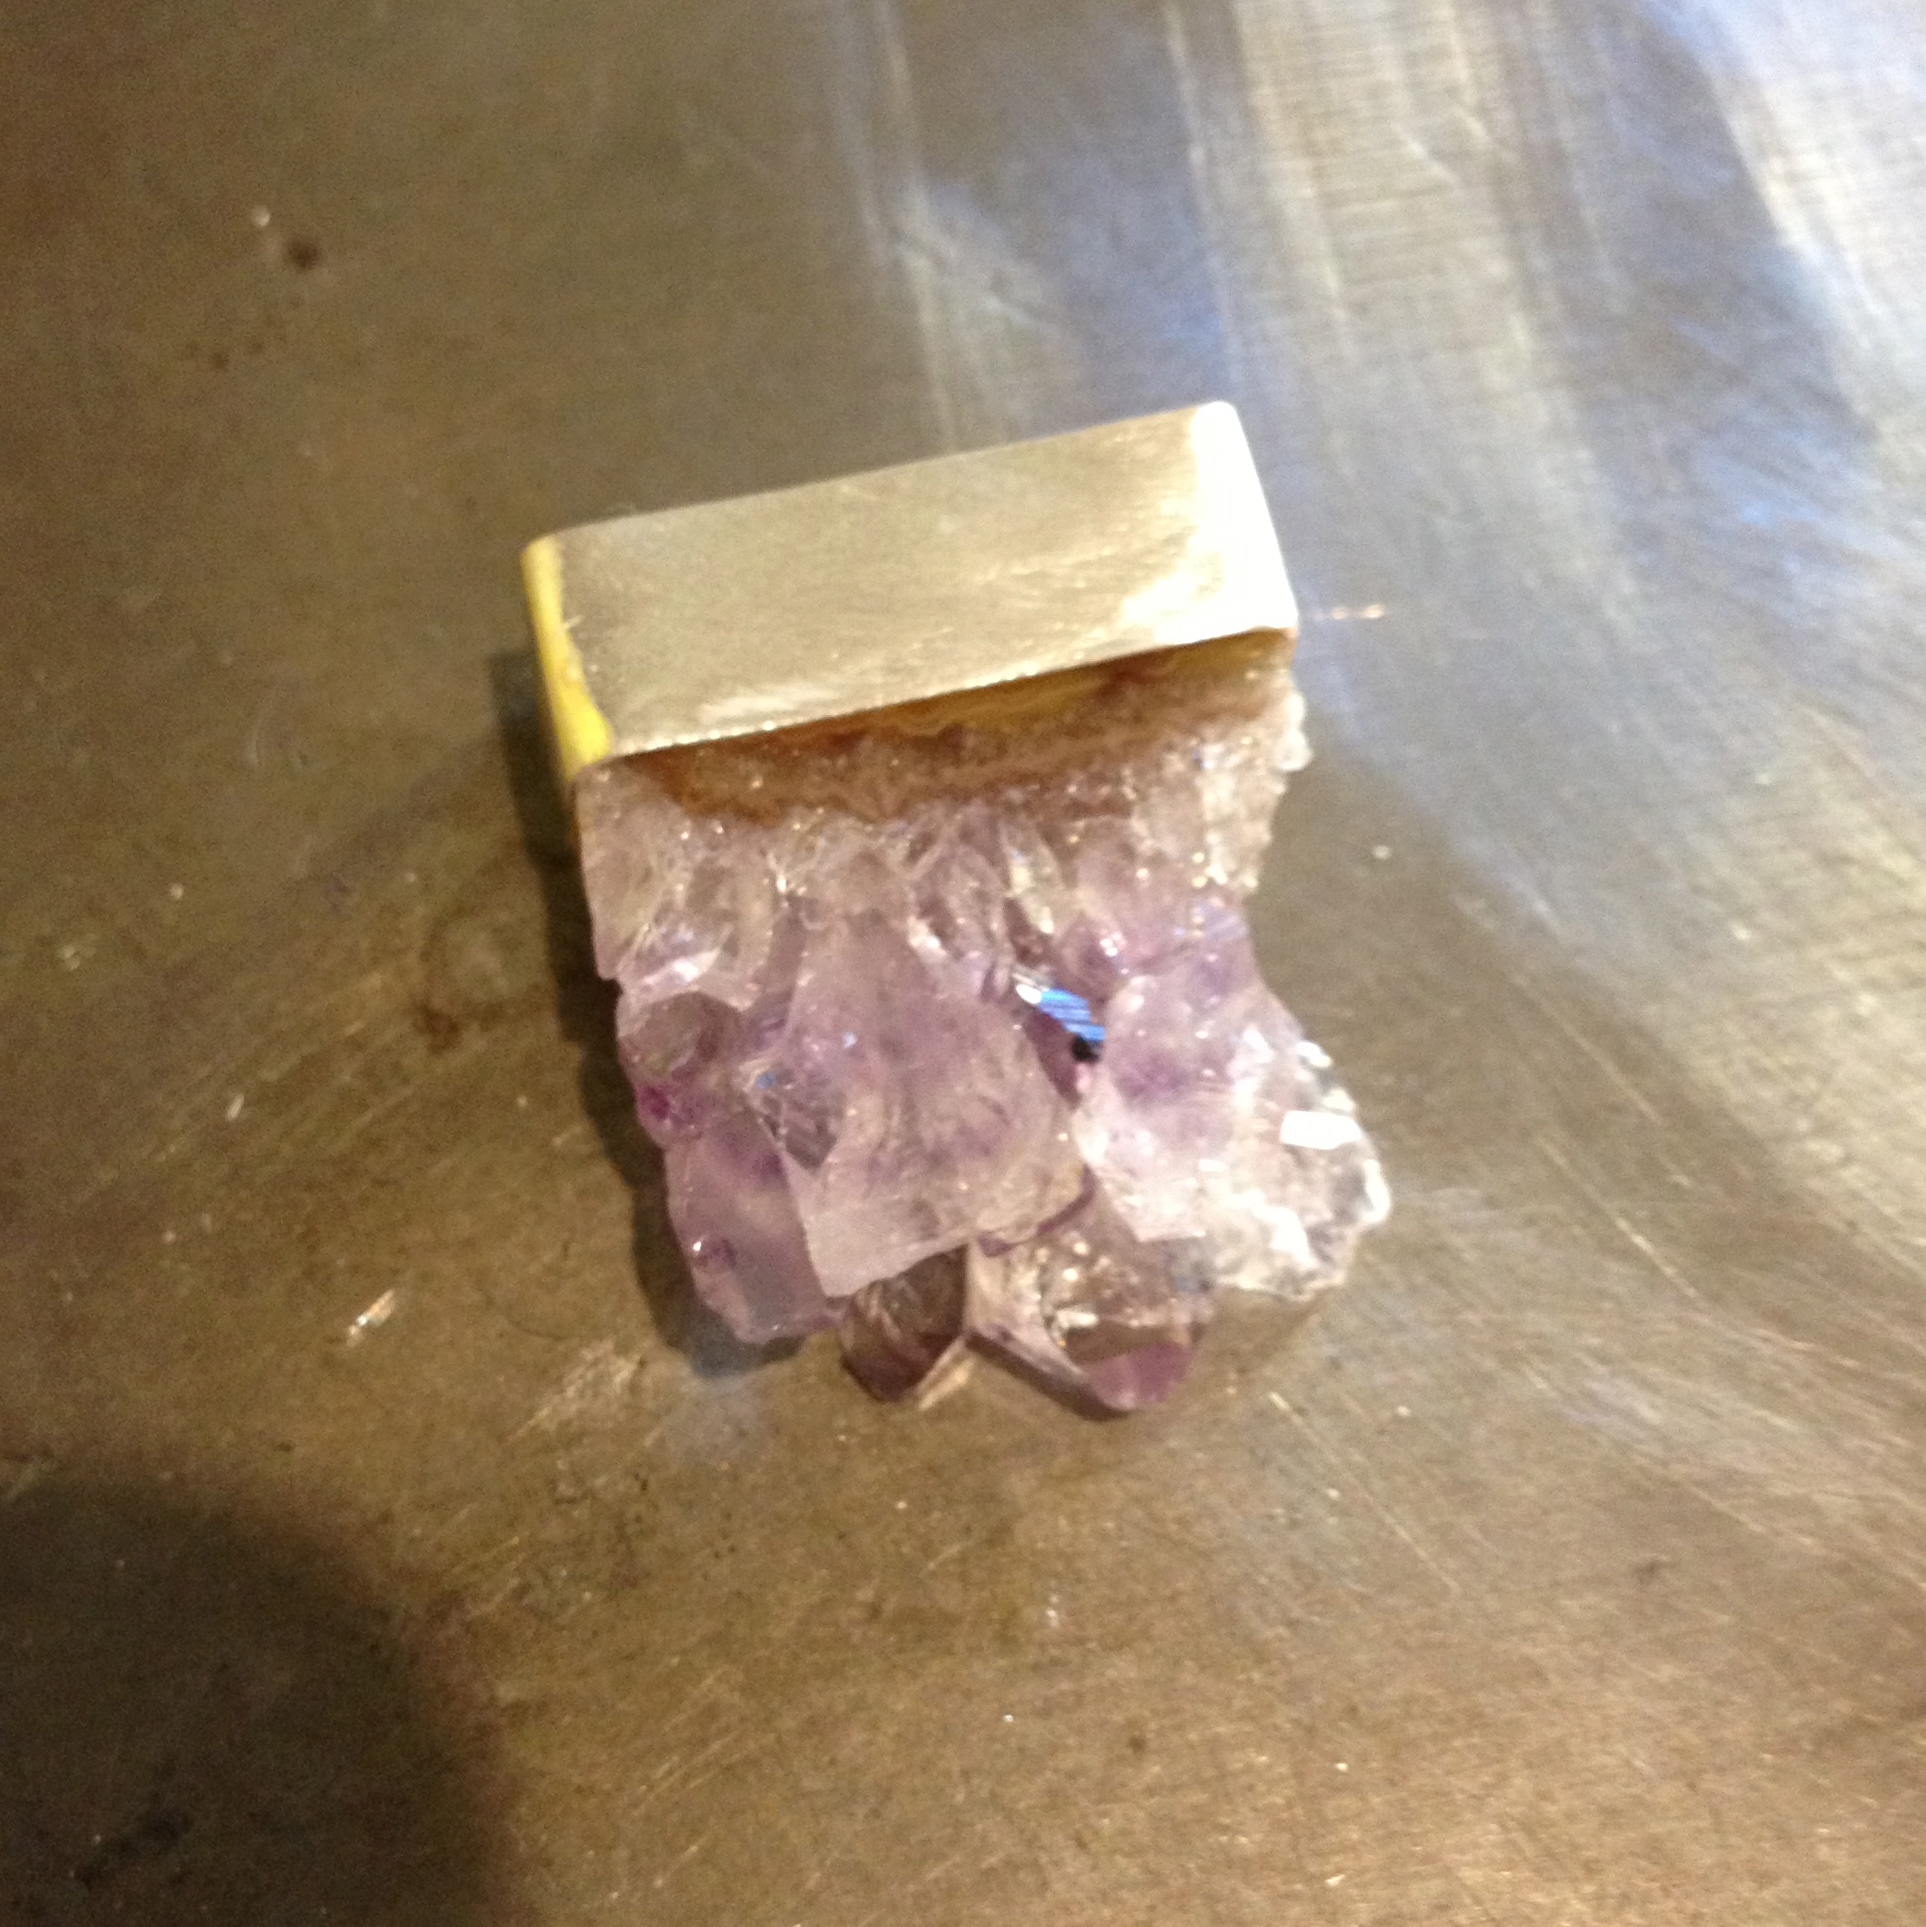
Then, you stamp a strip of silver with the new stamp you bought from Larry.
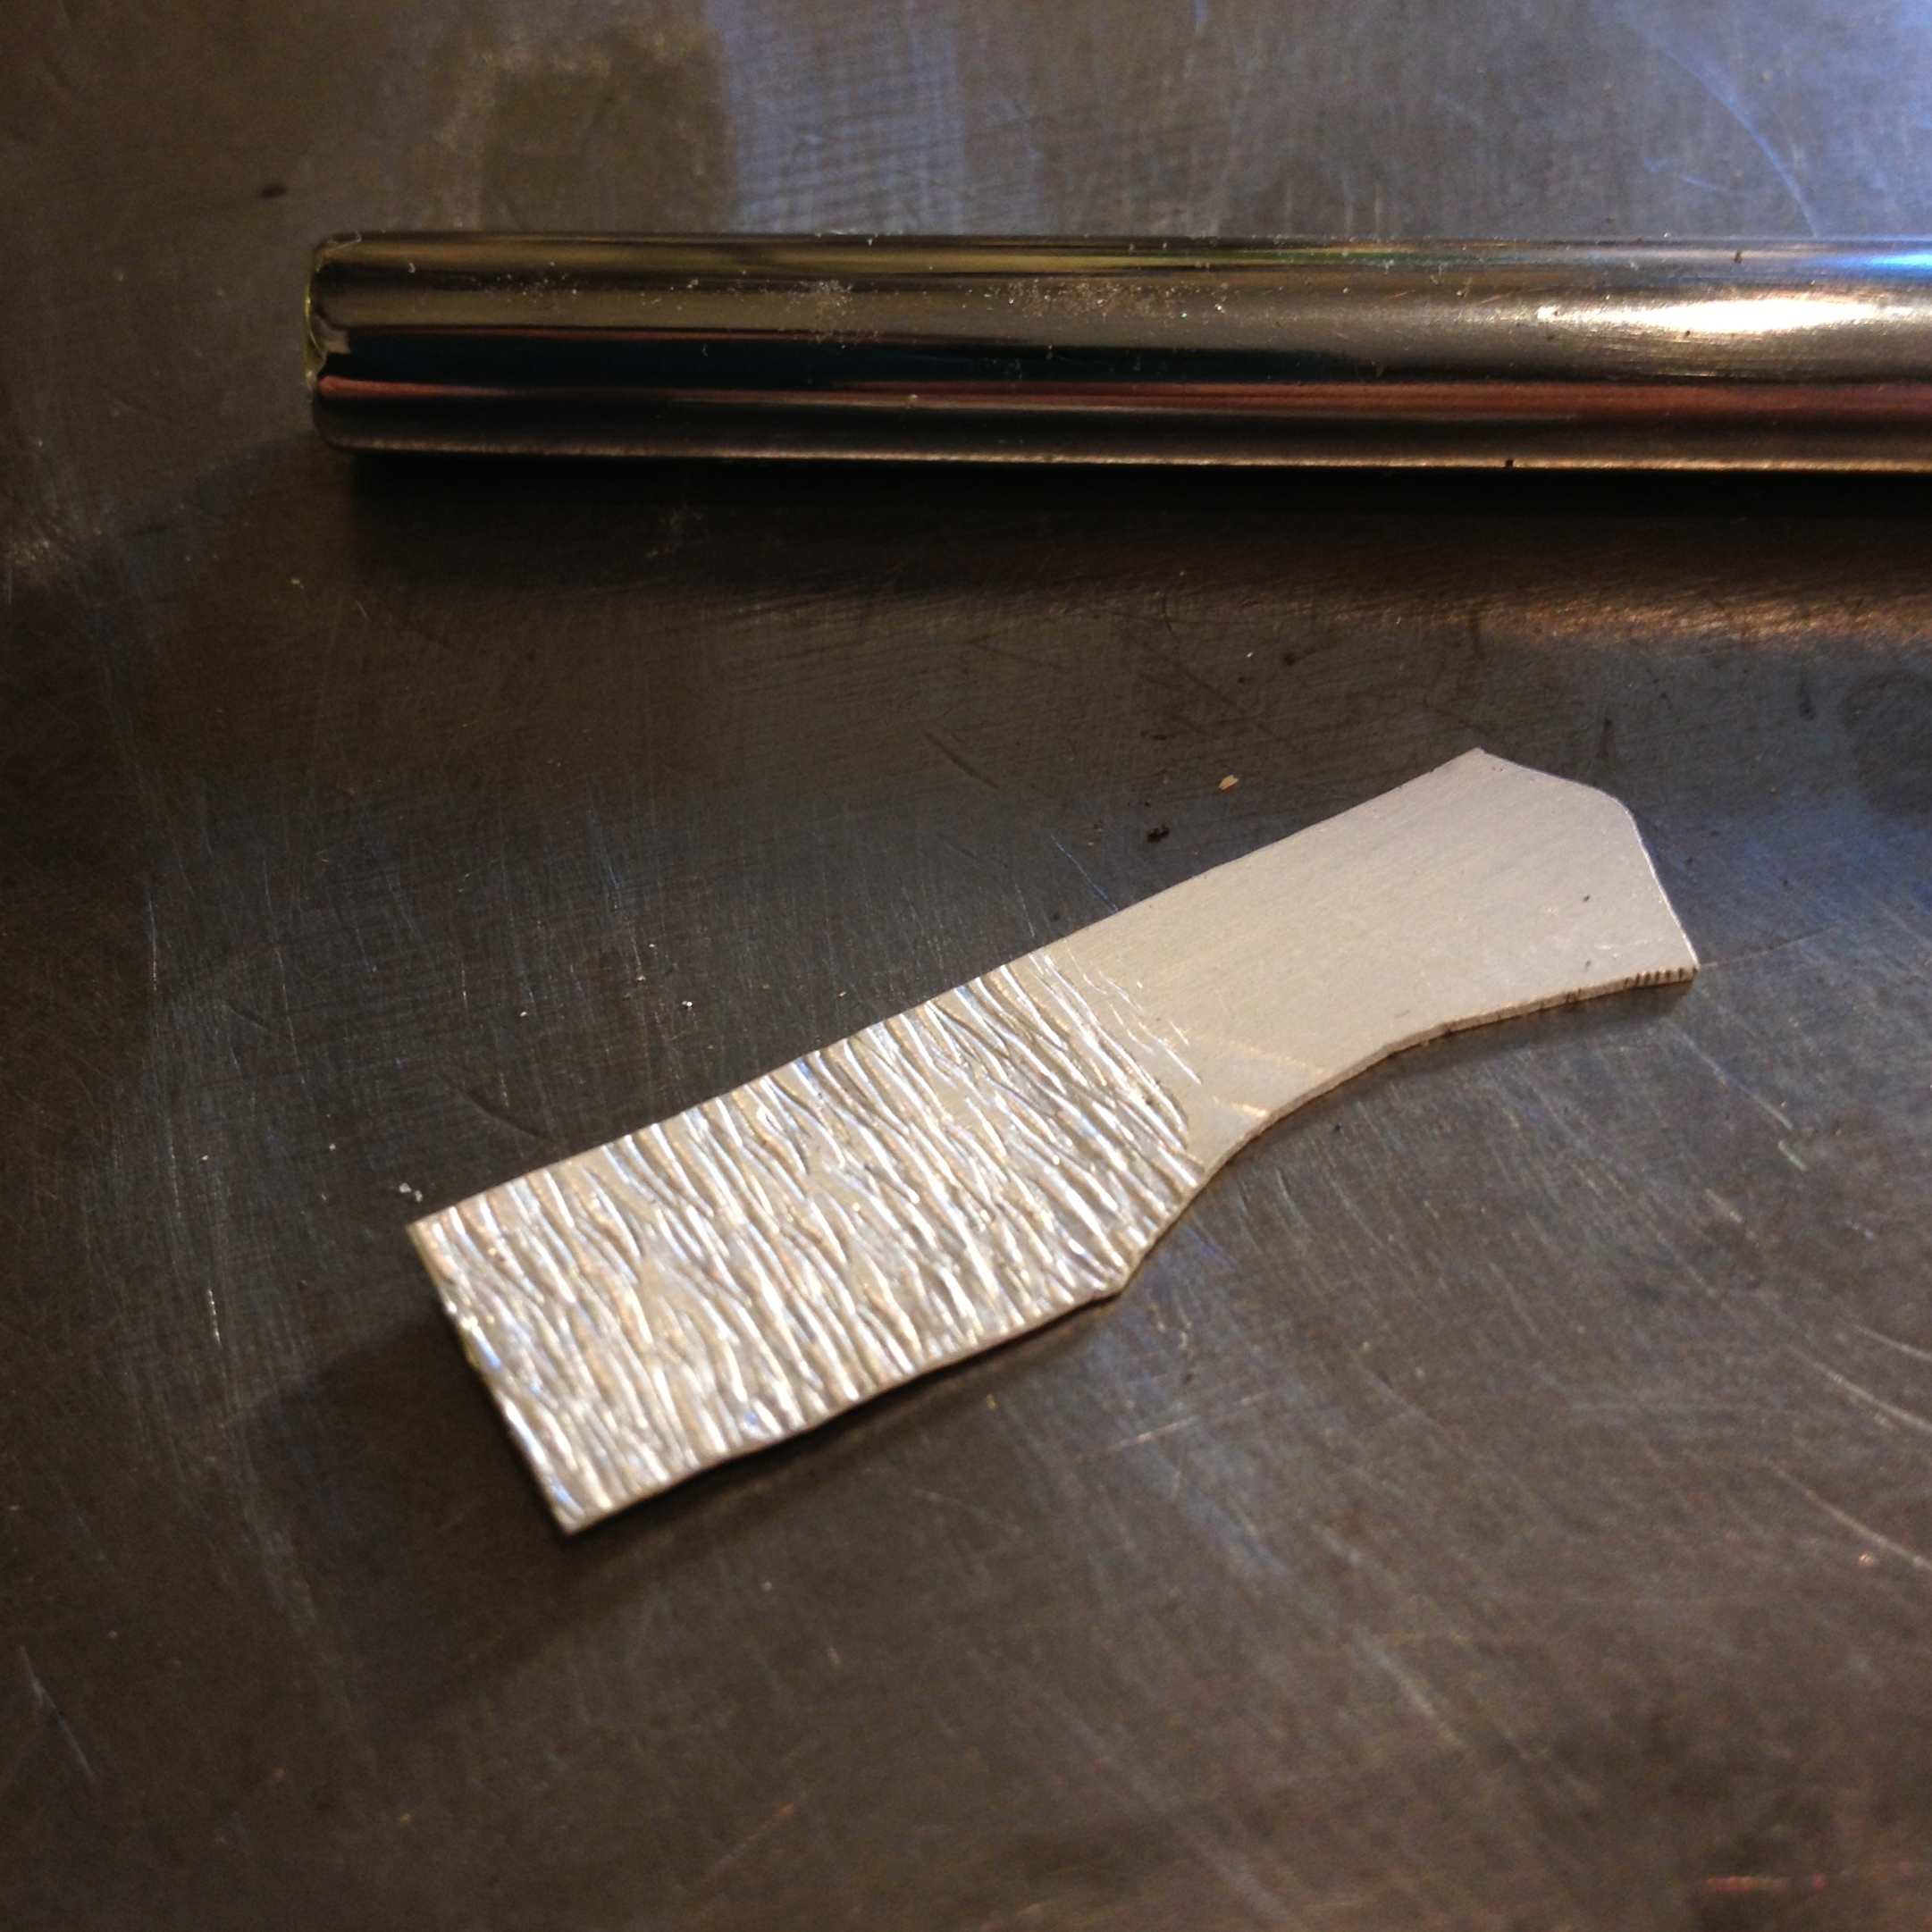
And solder it on to one end of the collar.
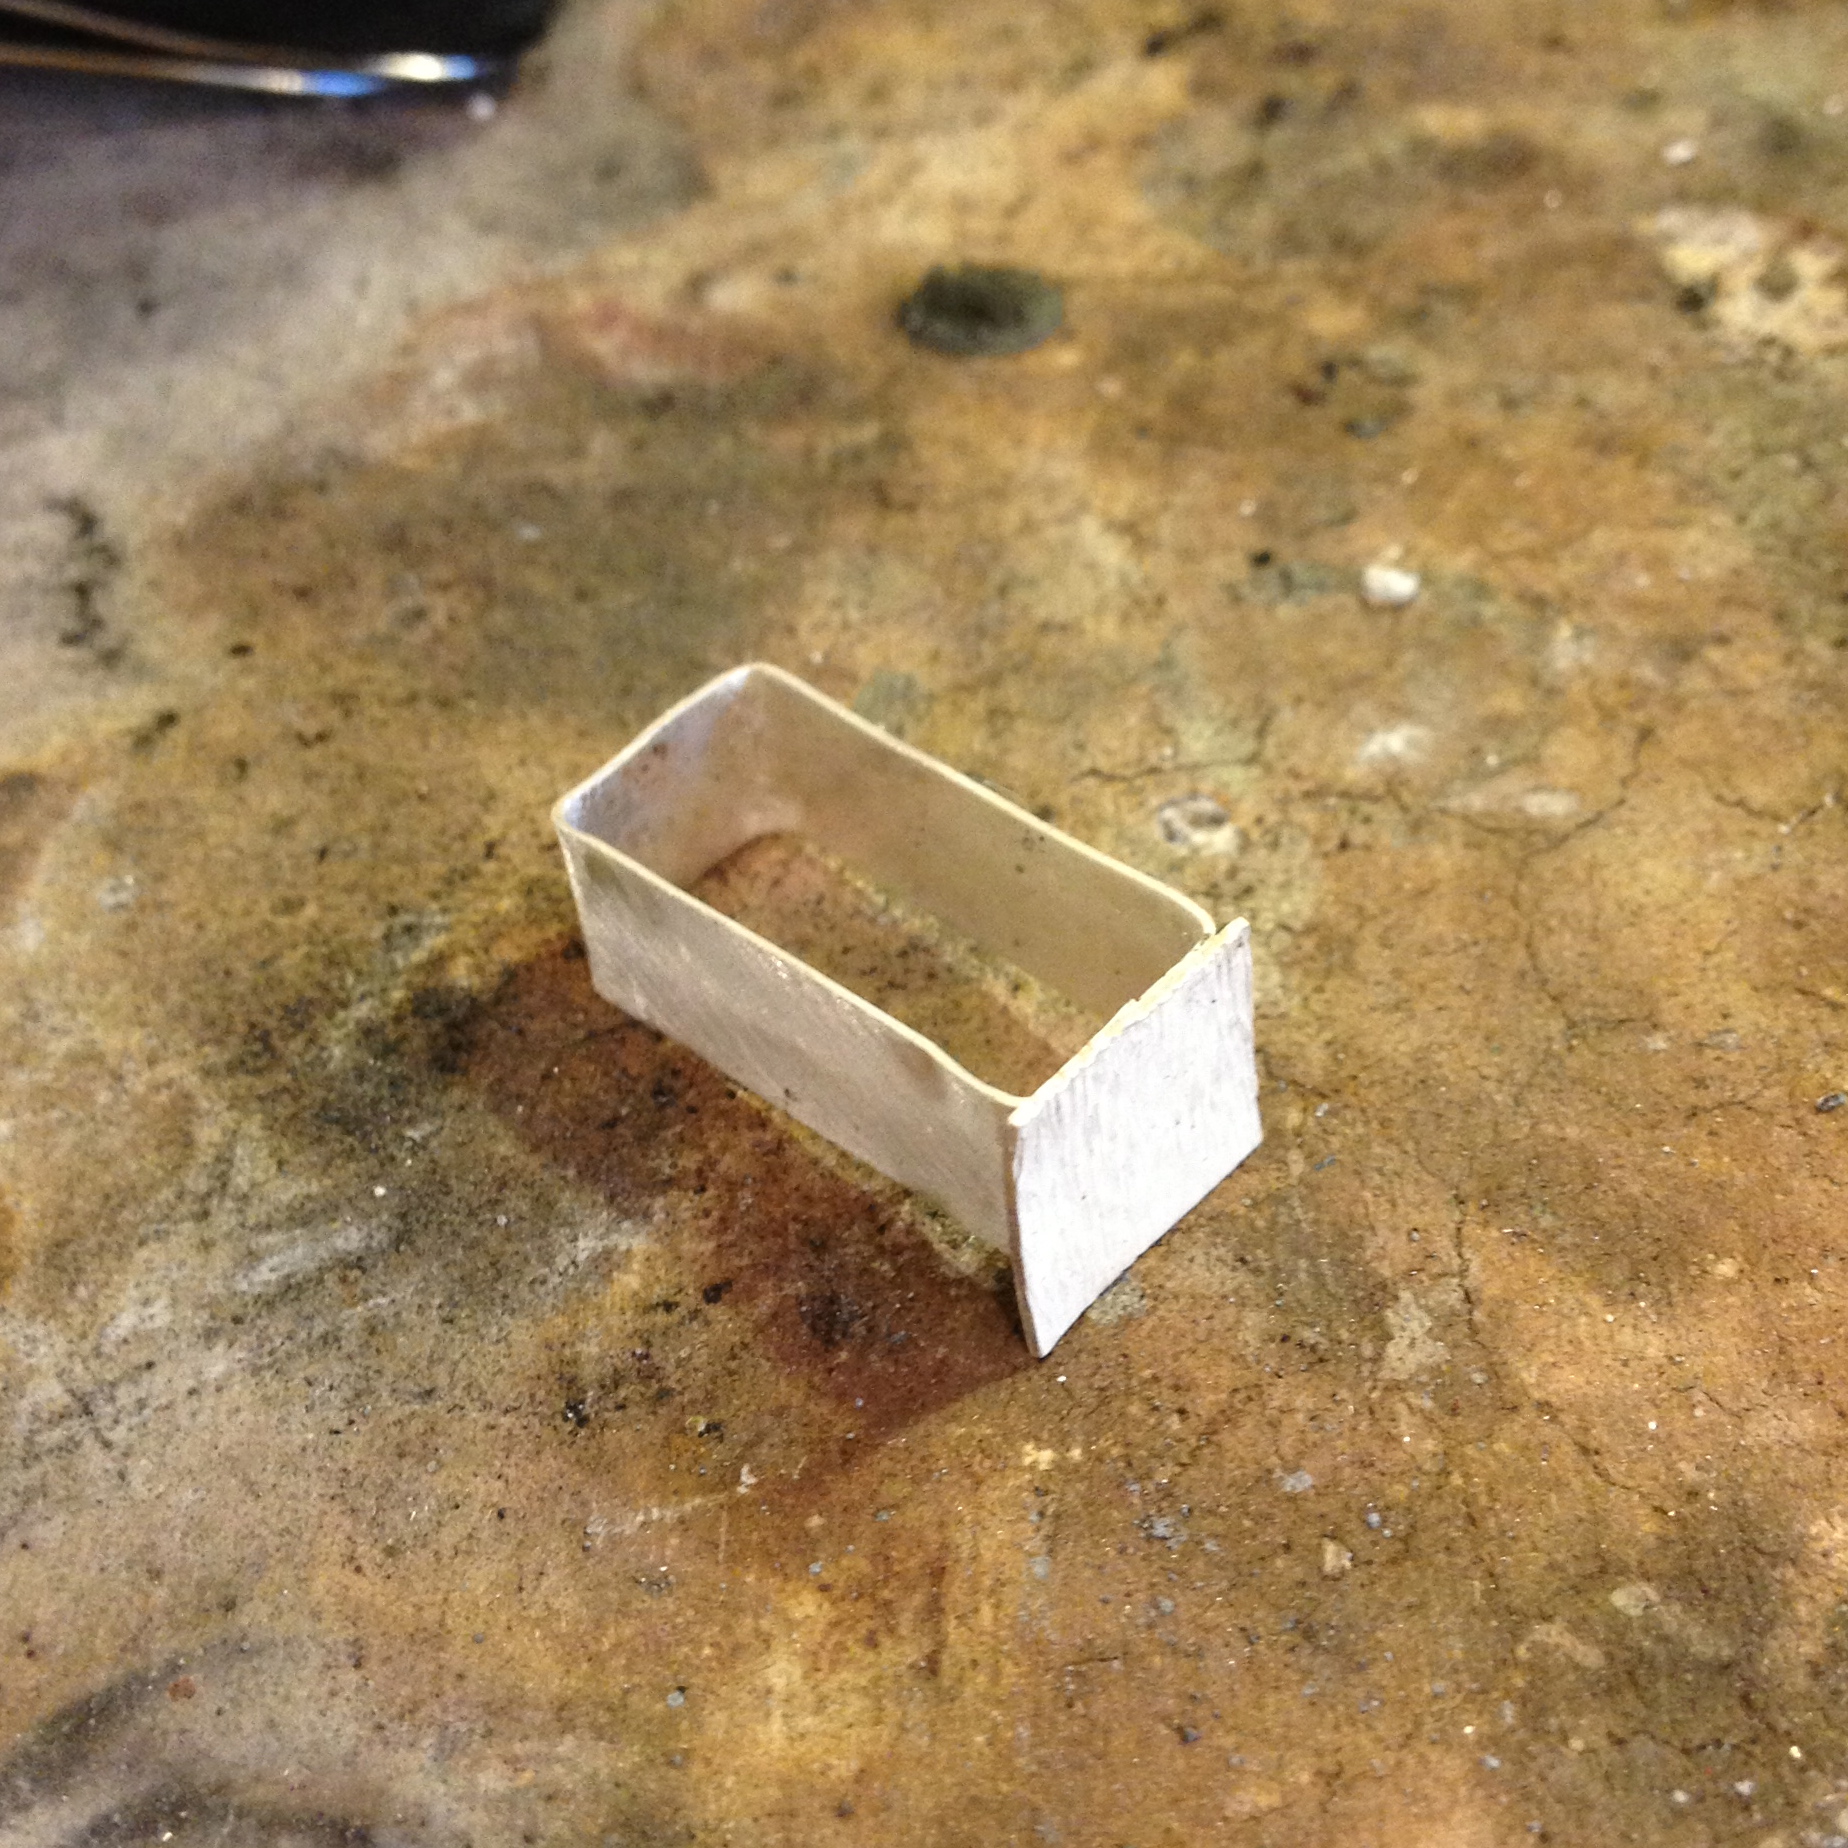
Then you do the same to the other end.
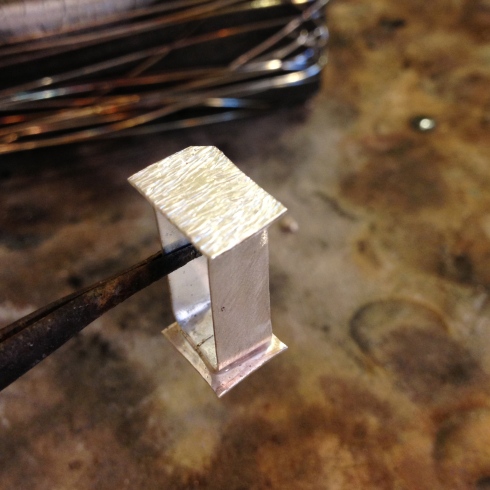
You file the ends flush with the longer sides of the collar.
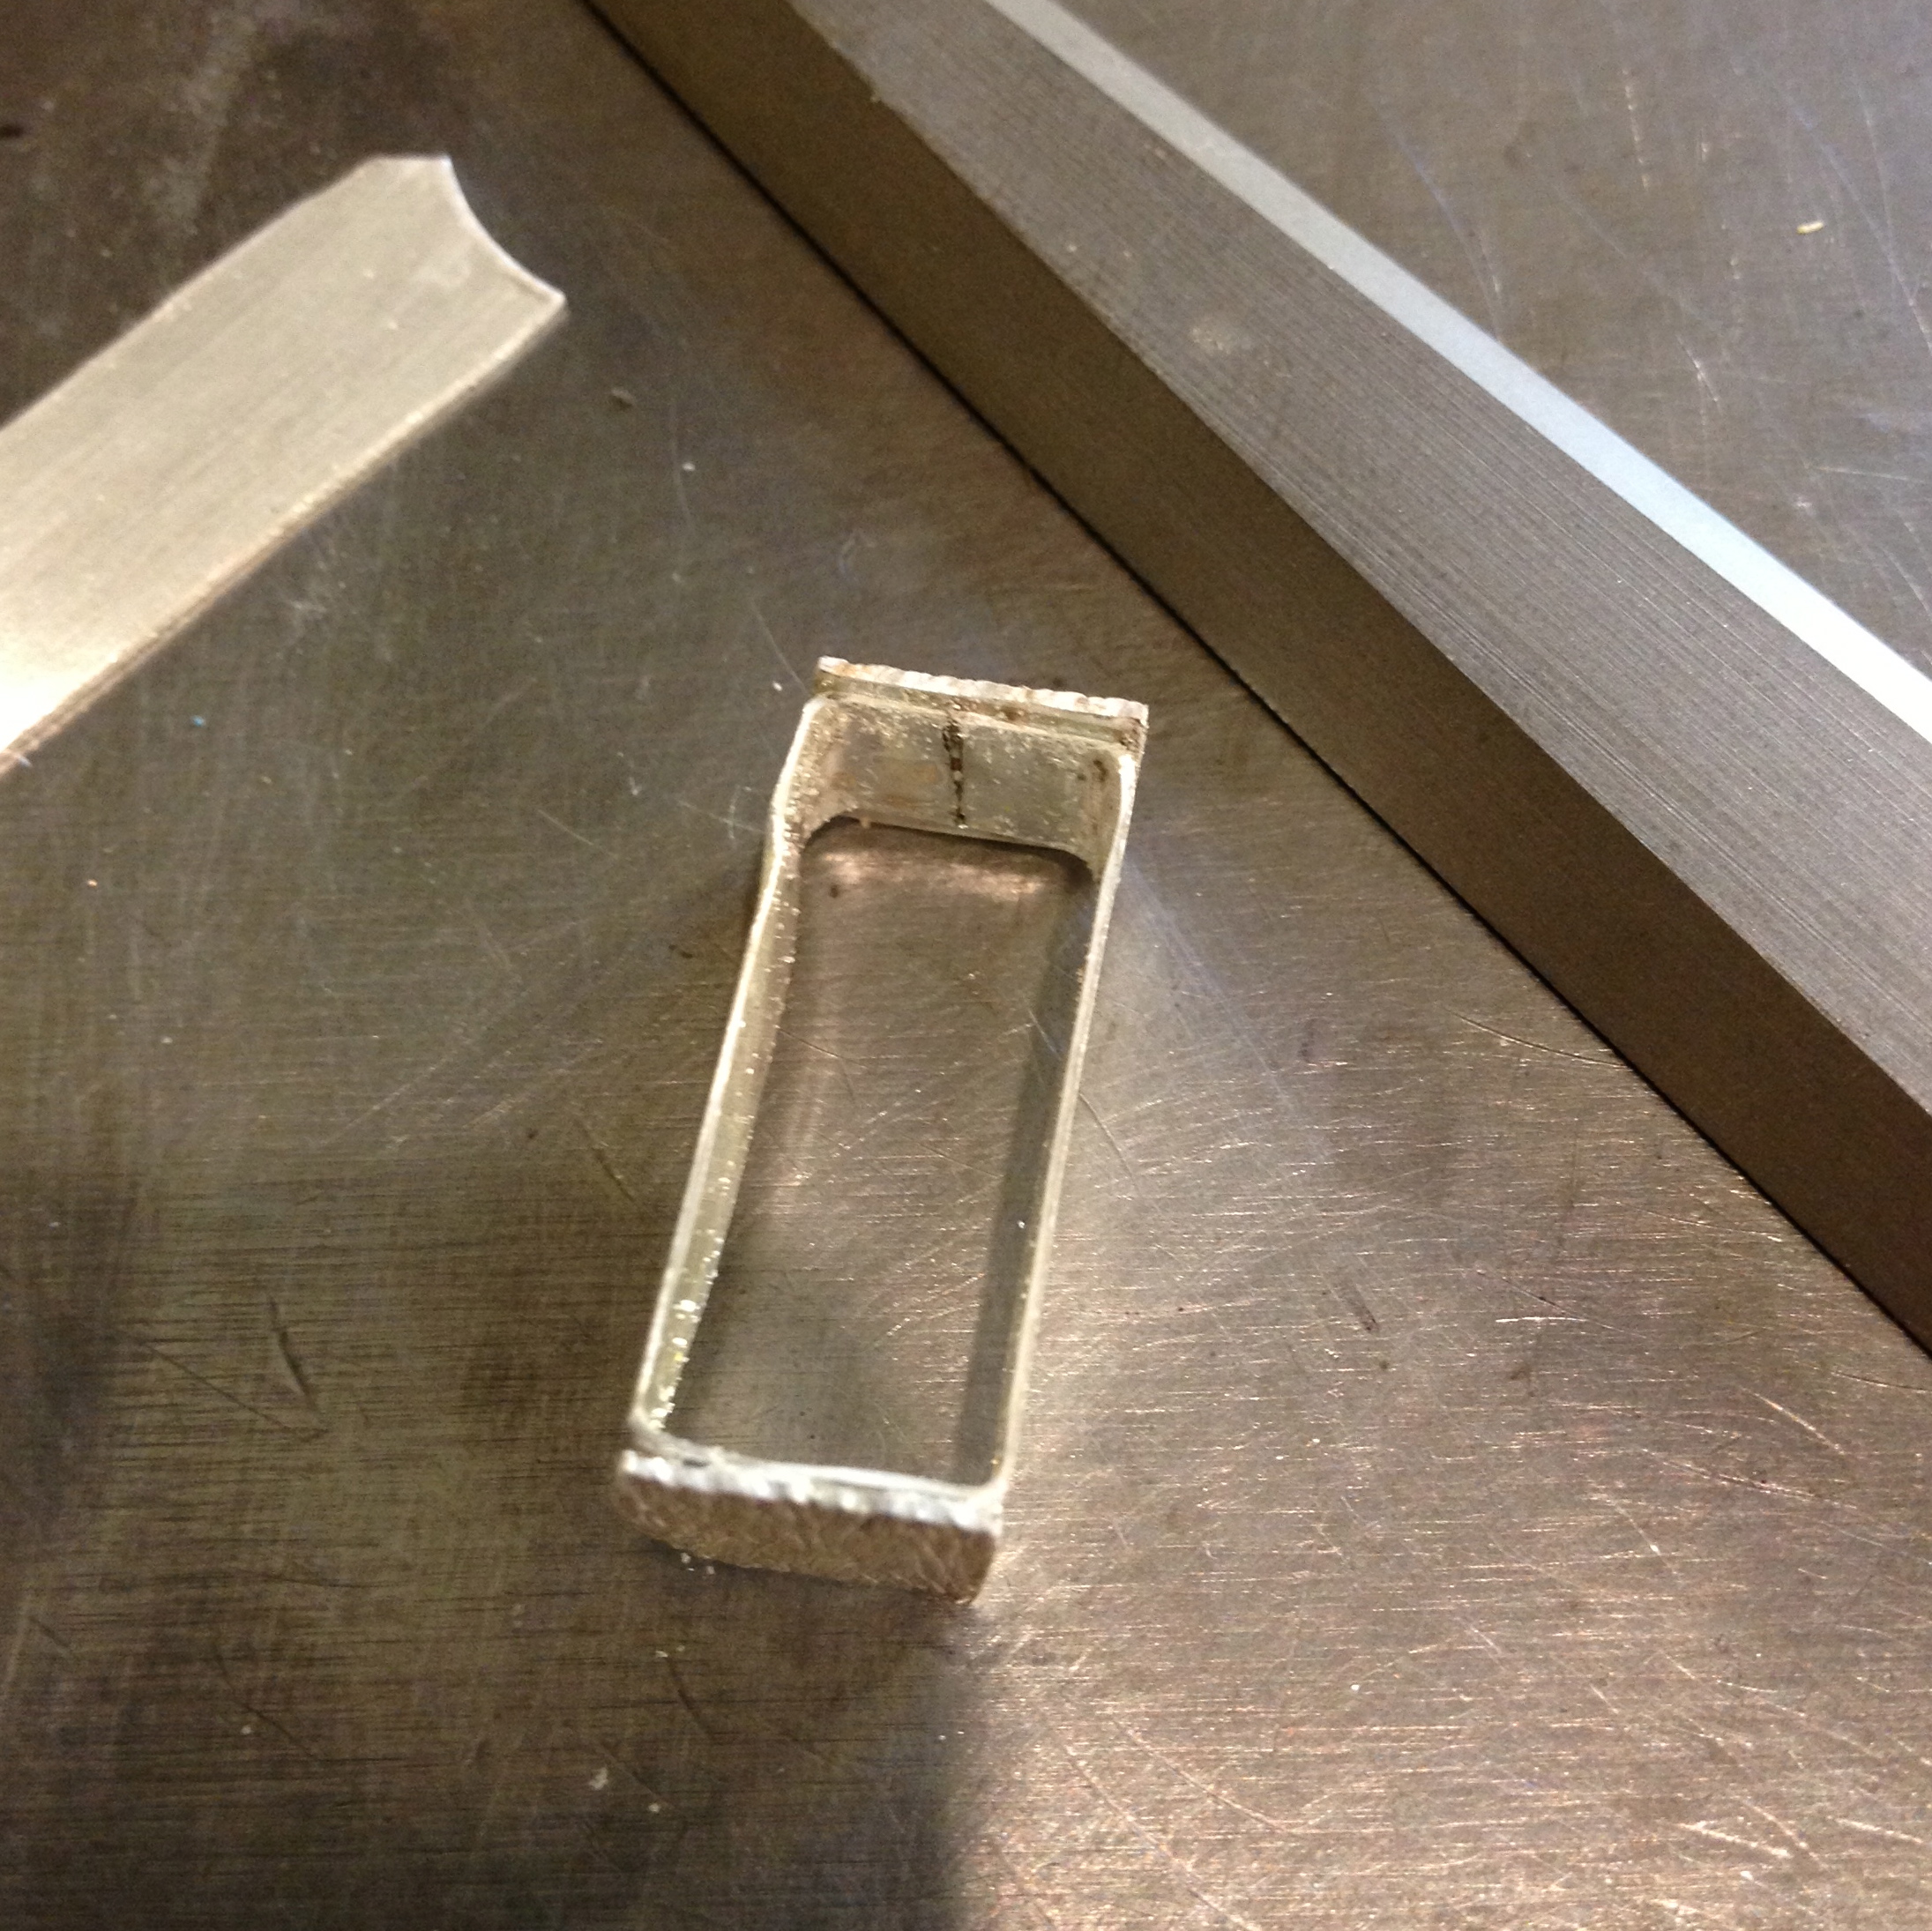
And repeat the soldering process on both the longer ends.
Note: You had to cut the outer layers of silver longer than the bezel wire because the inner collar wasn’t long enough to cover up the ugly stub end of the amethyst which, for some unfortunate reason, also has a large grubby hole drilled into it.
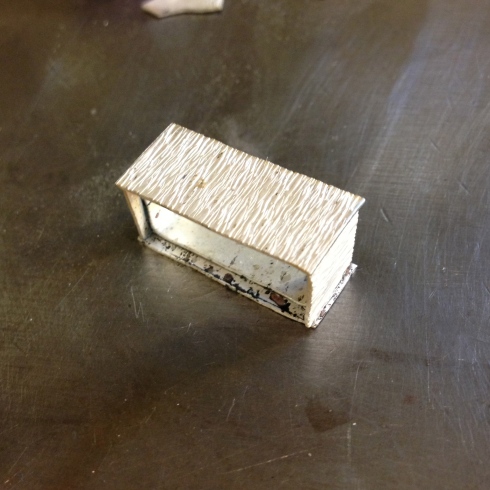
You file everything flush once more, and then solder a fifth strip to the top.
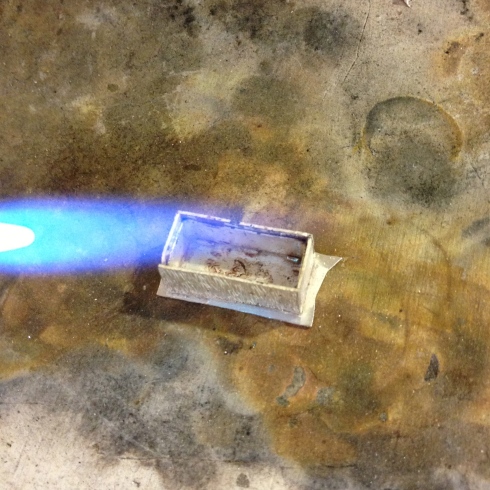
And sigh quietly to yourself when the thing fits back on top of the stone.
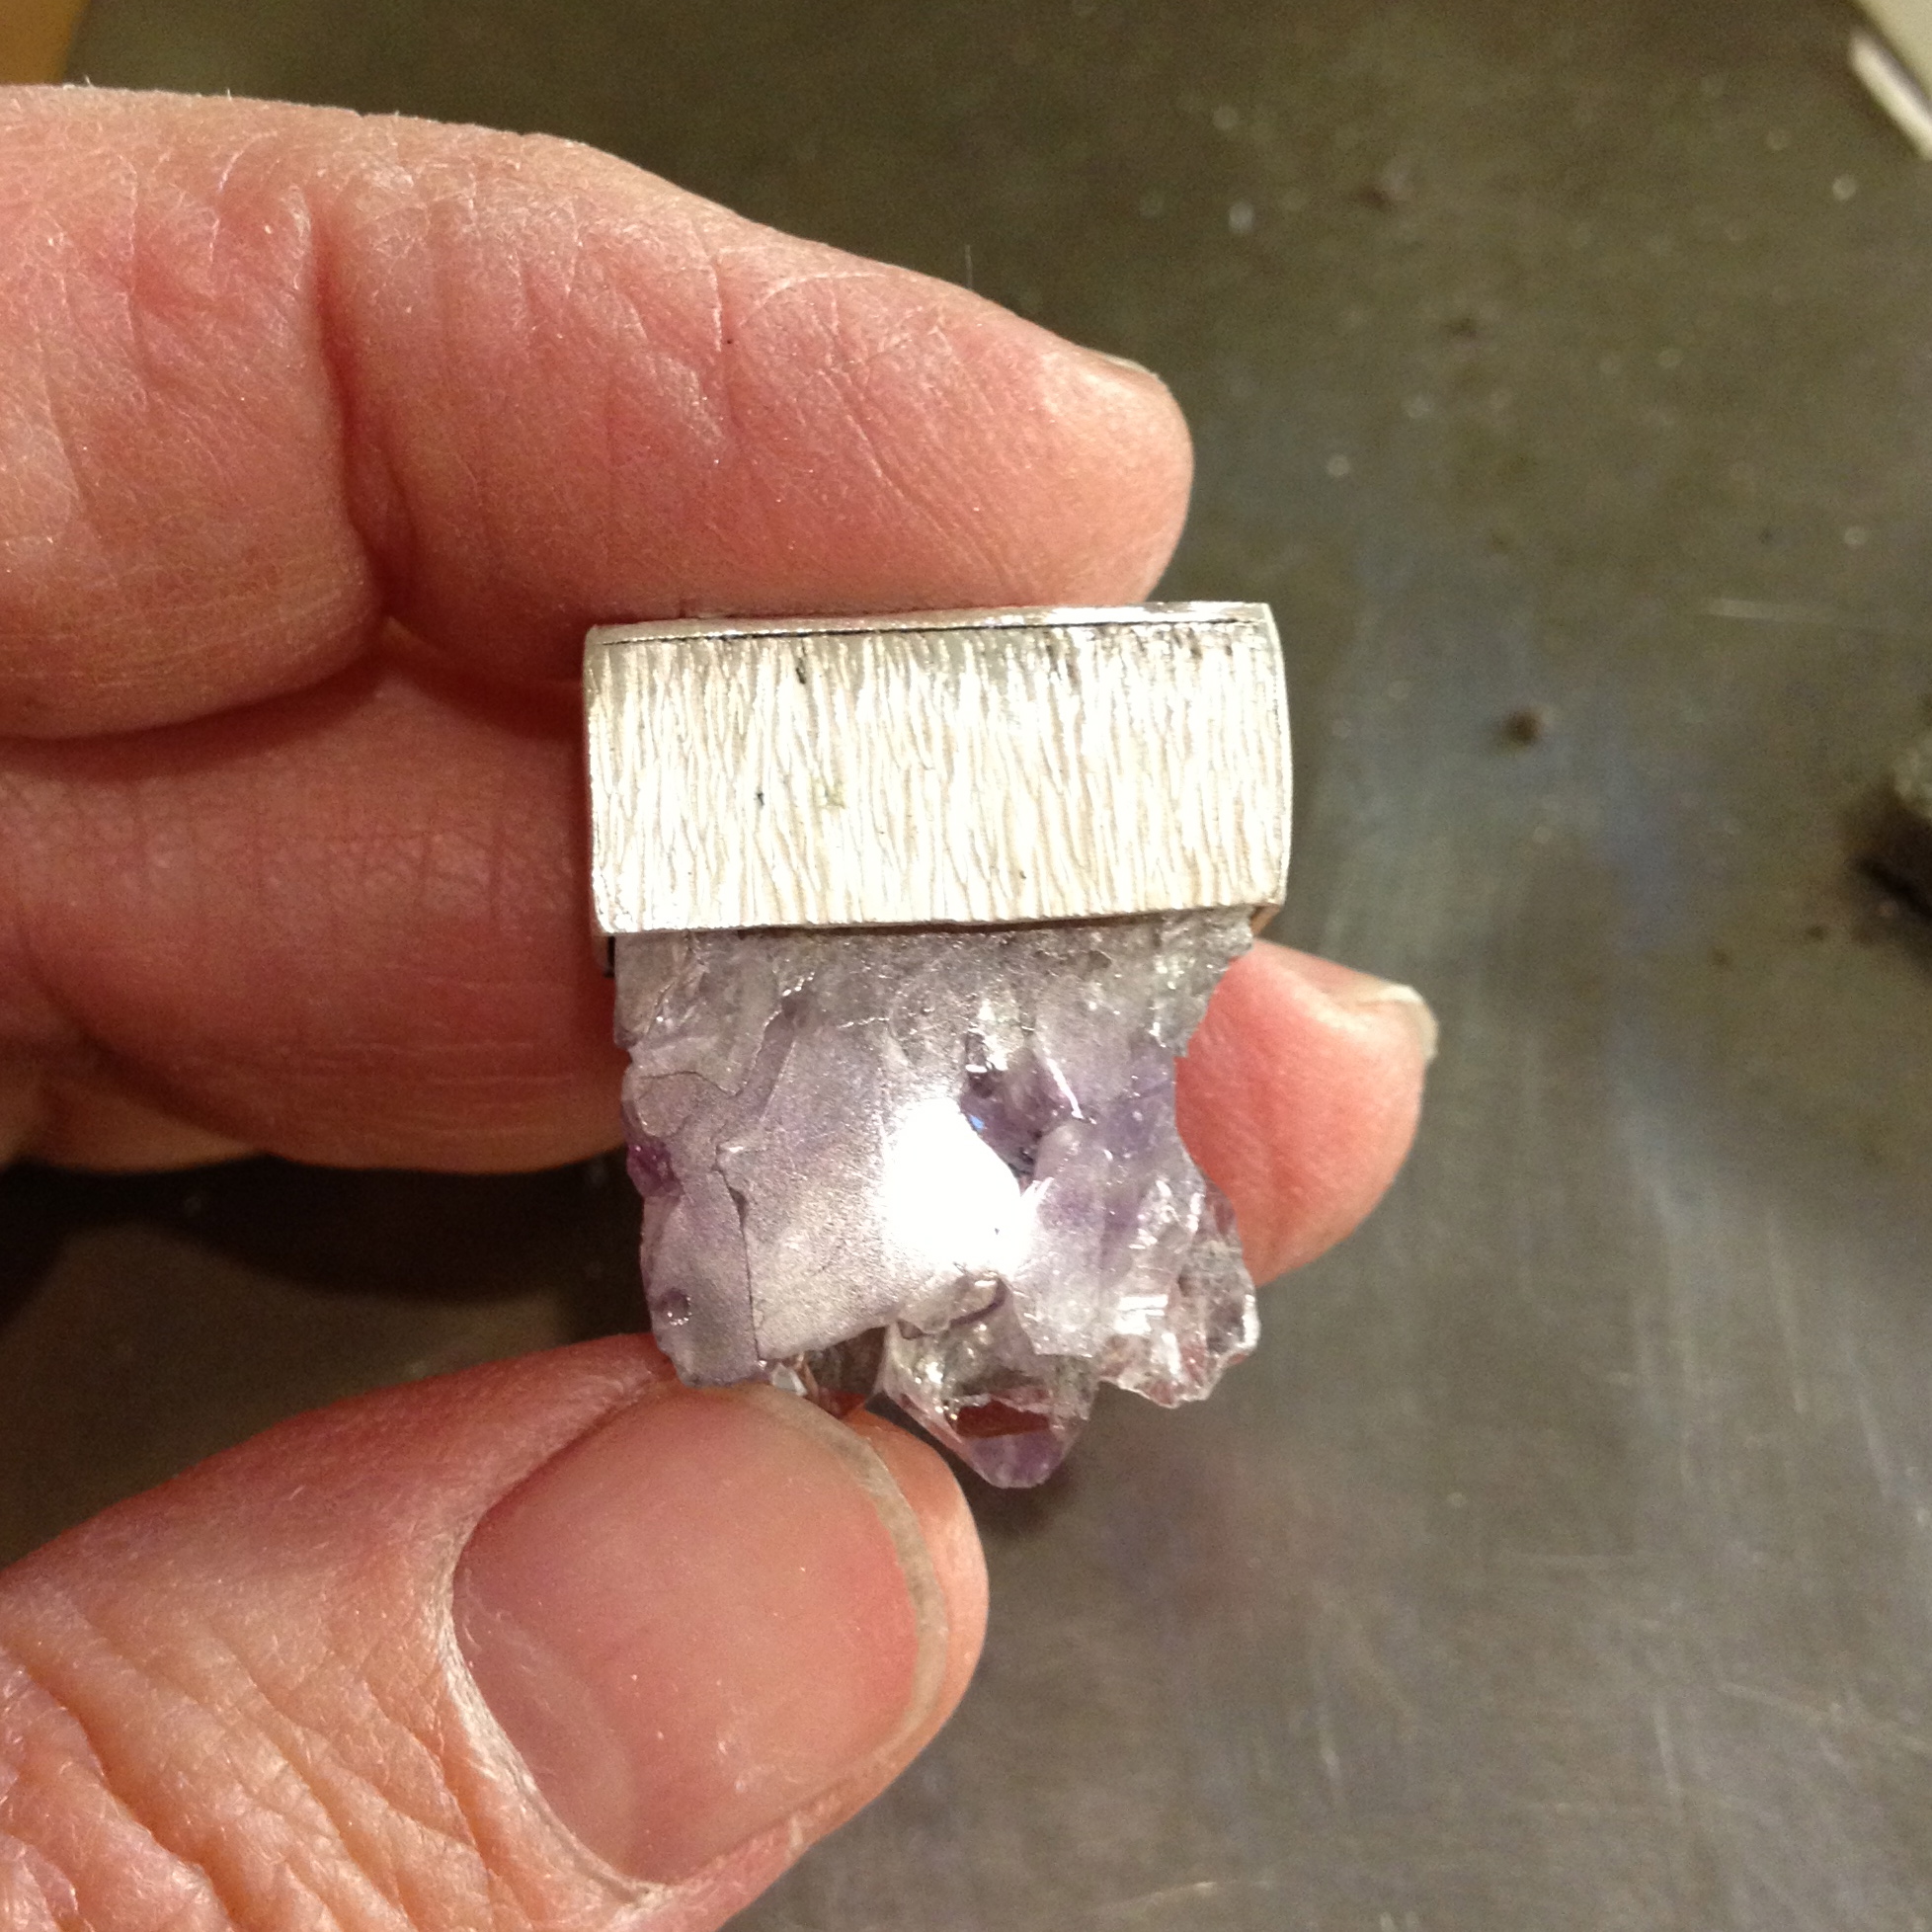
Because you really were wondering if it would.
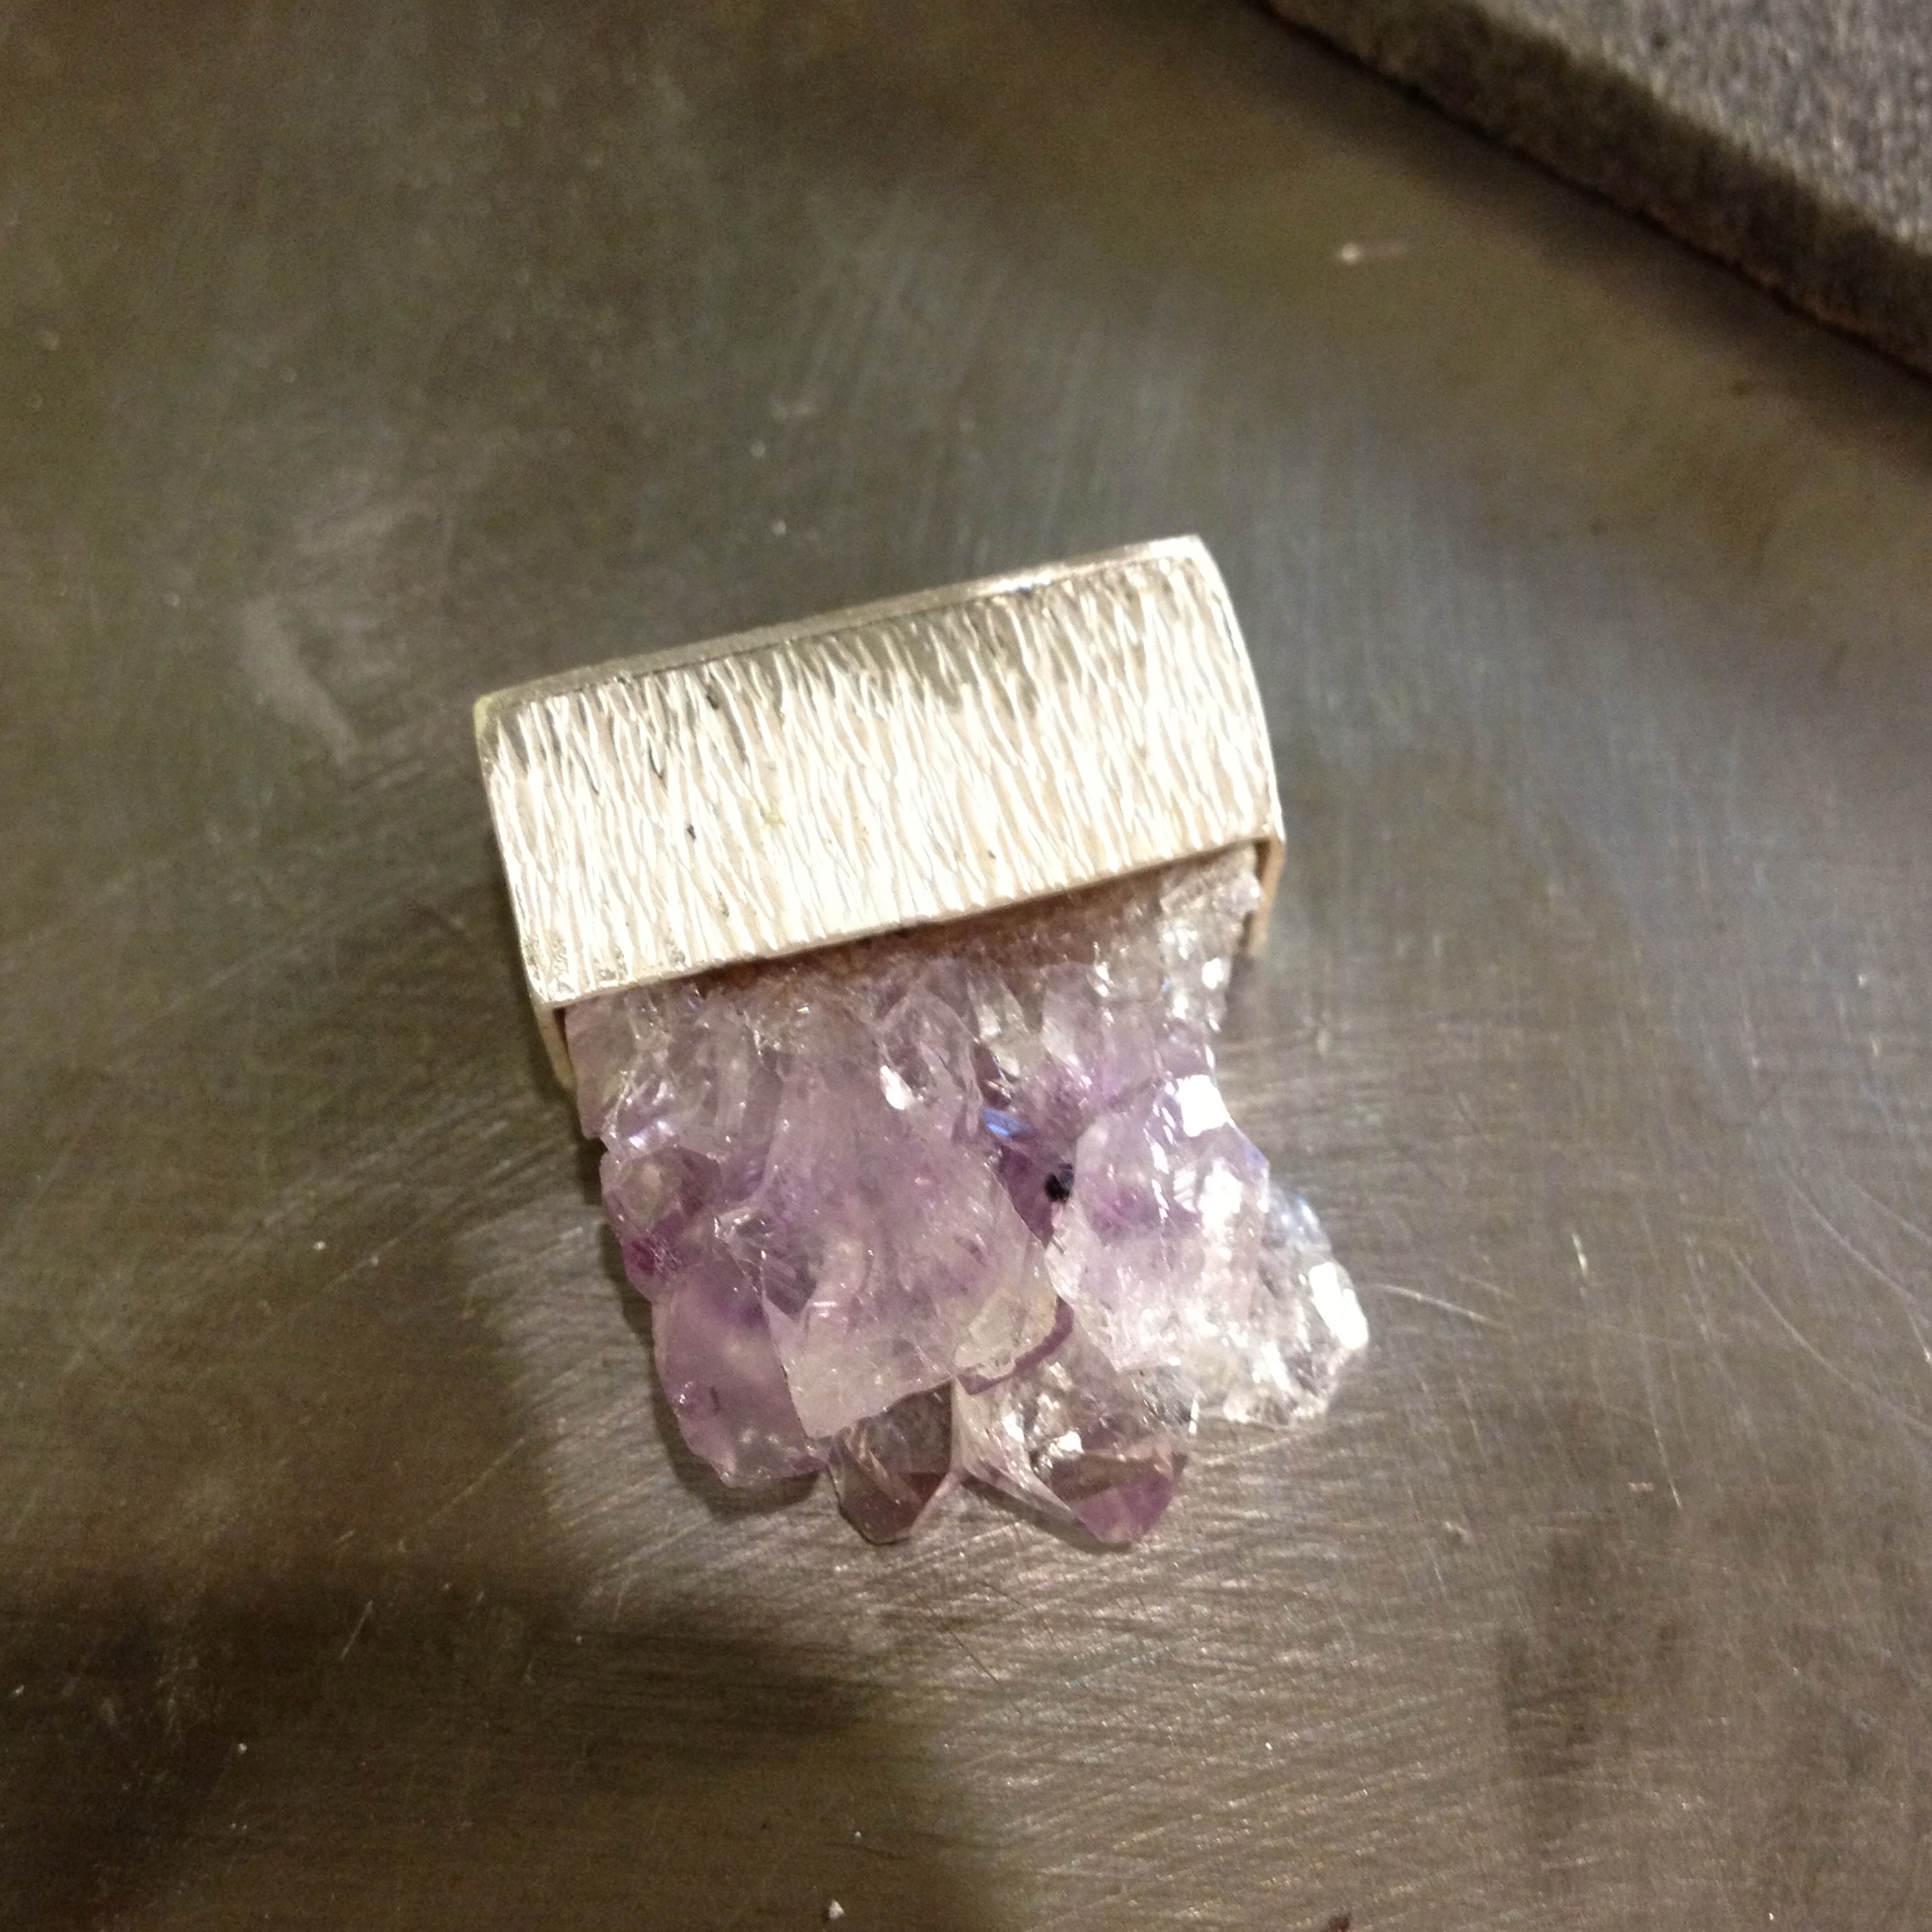
You’re not completely happy with the top edge being visible and wished you’d inserted the top sheet of silver inside the cap so you wouldn’t see it, but, on the whole, you decide it’s not too bad.
You start mulling around ideas of how to make a bale for it when,
Drats!
Those people that live in the house with you have come home from work, again, and now you have to go inside to cook for them 🙁
My life. I’m telling you!
So ….
It’s now tomorrow and you’re kind of thrown off your groove a bit and don’t really know what to do next with your small piece of dressed up amethyst.
So you play around with all sorts of beads and such.
You kind of like the funky look of this yellow lamp work bead that Kim made, but because you’re not absolutely sure you decide to move on from that somewhat strange idea.
You’re going to save that little beauty for another day.
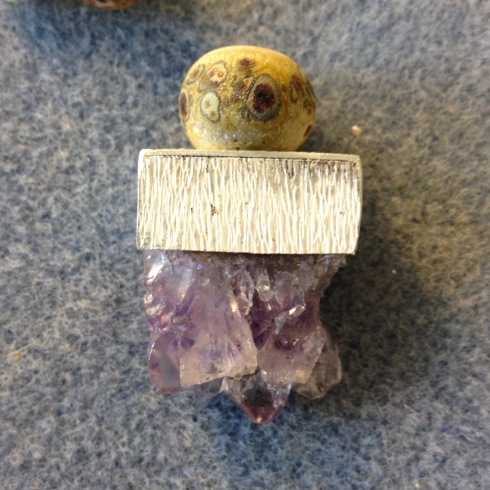
And then, you have an idea.
So you take a lump of silver that just happens to be hanging around on the table.
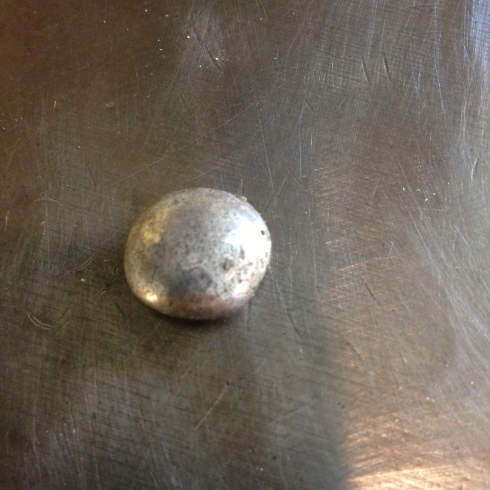
And hammer it into a disc.
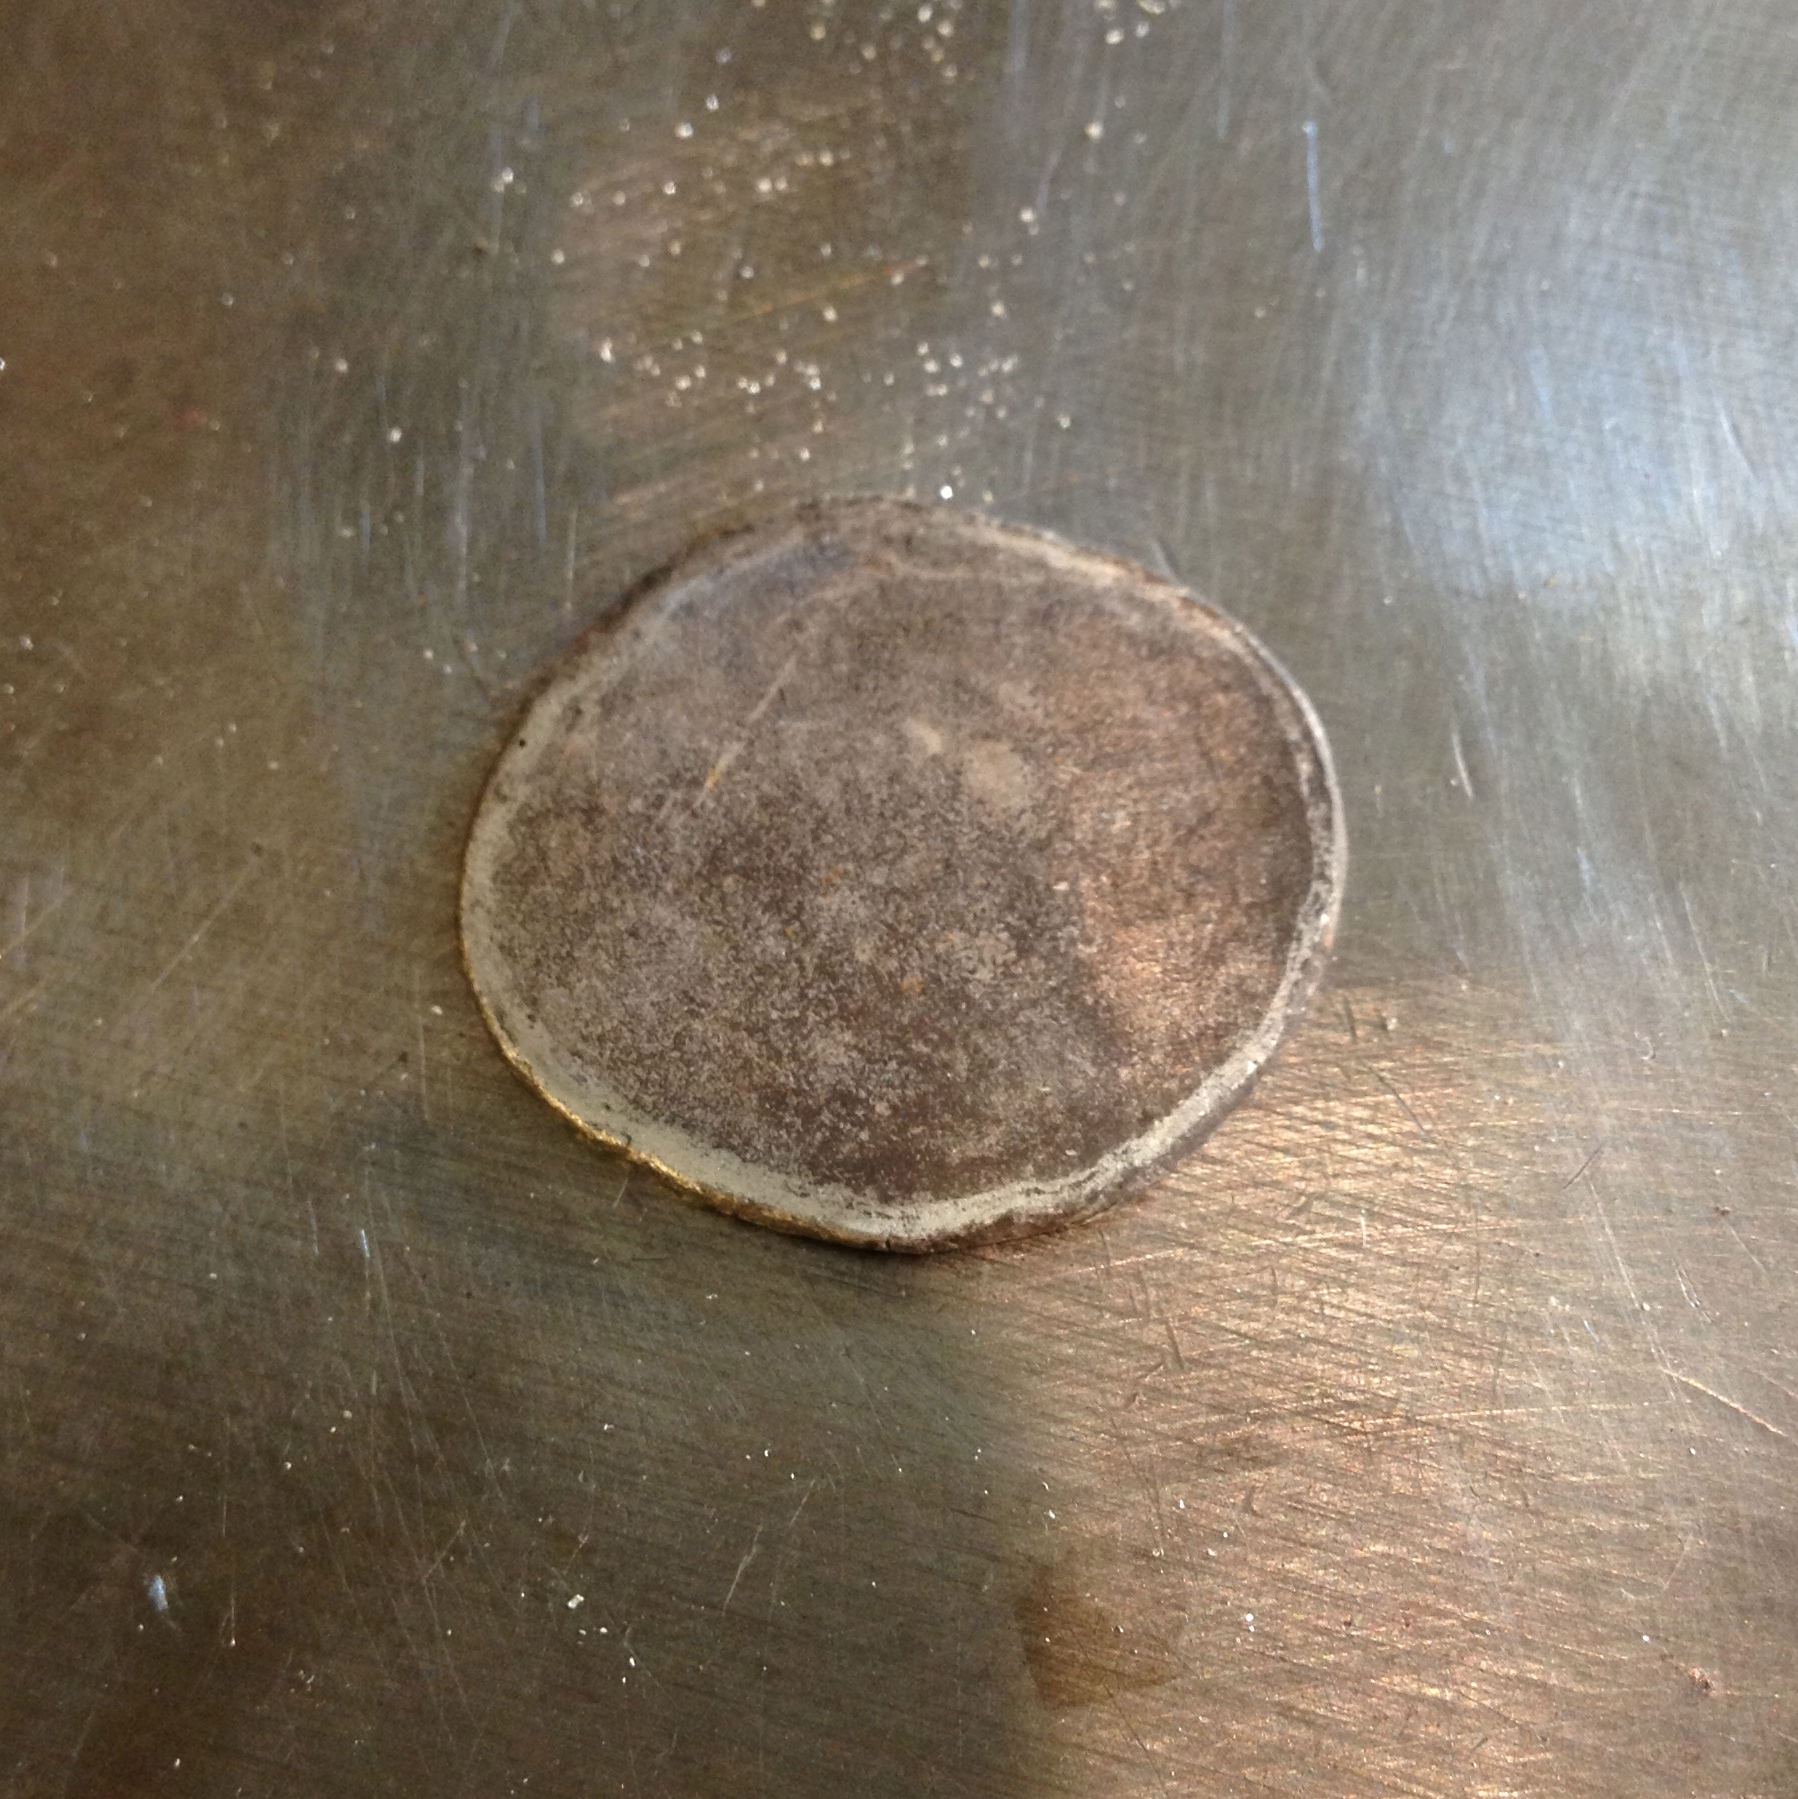
You draw some leaves on it
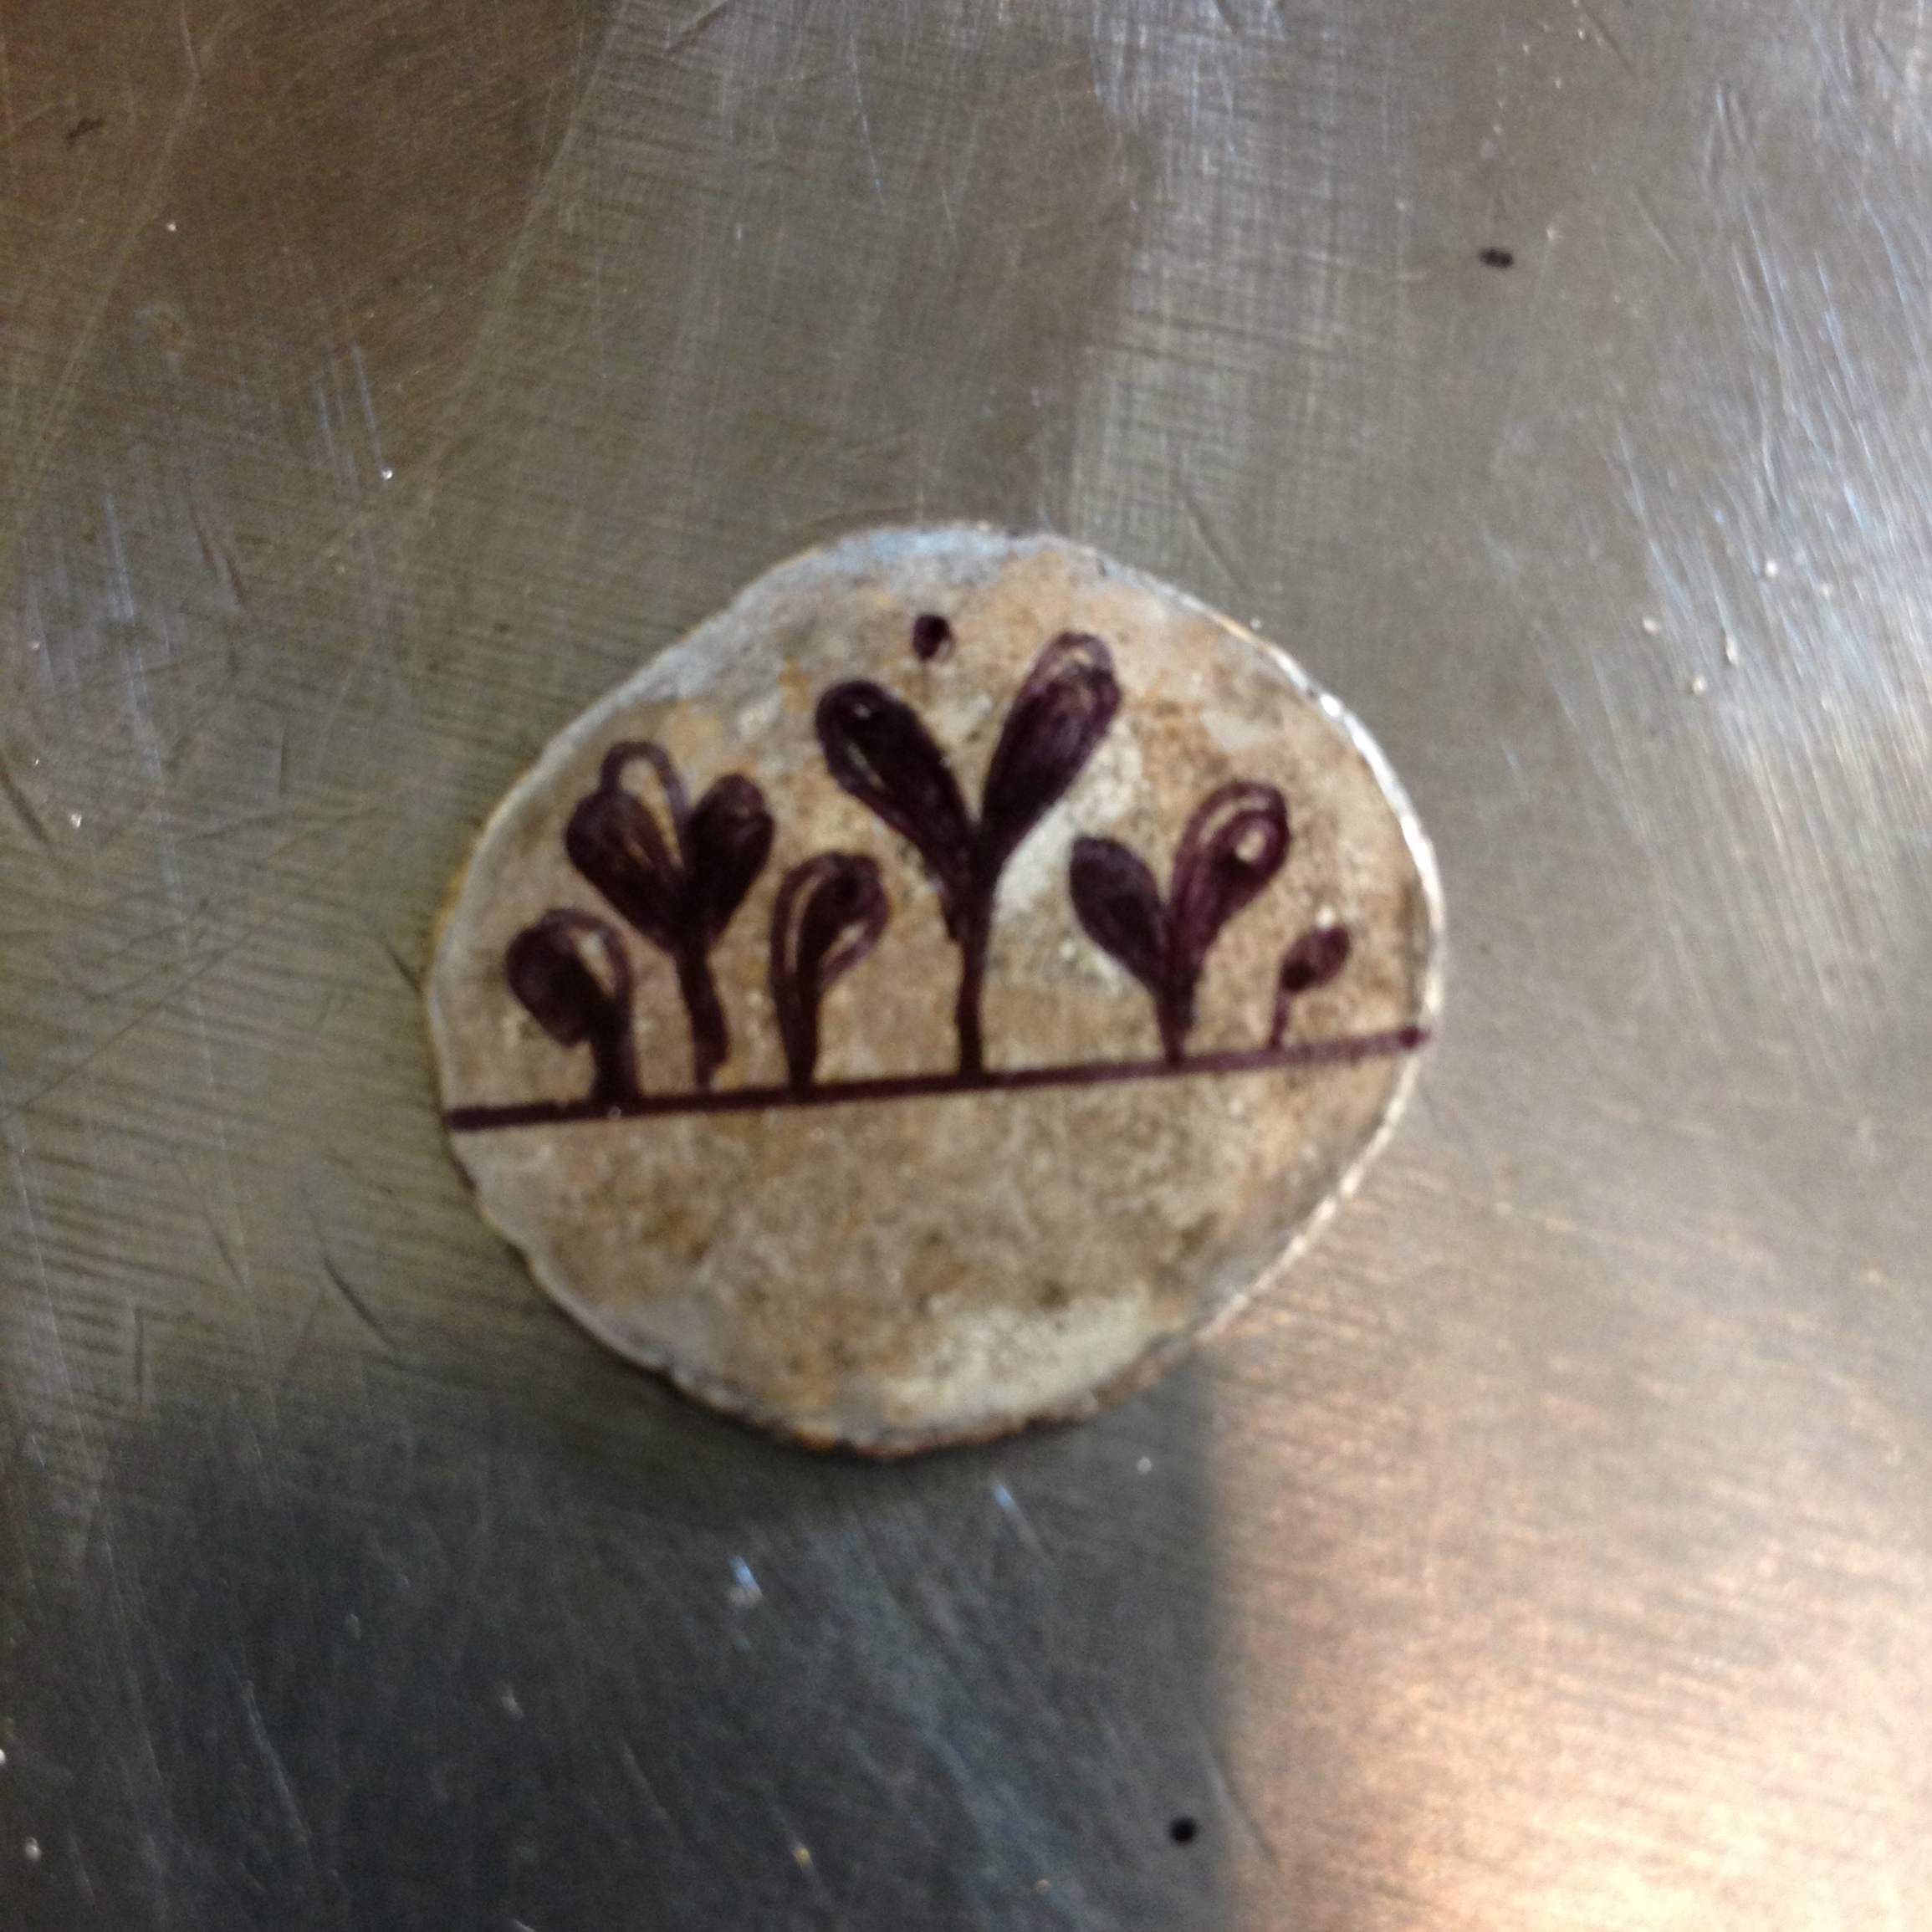
and place it next to the amethyst to see what you think.
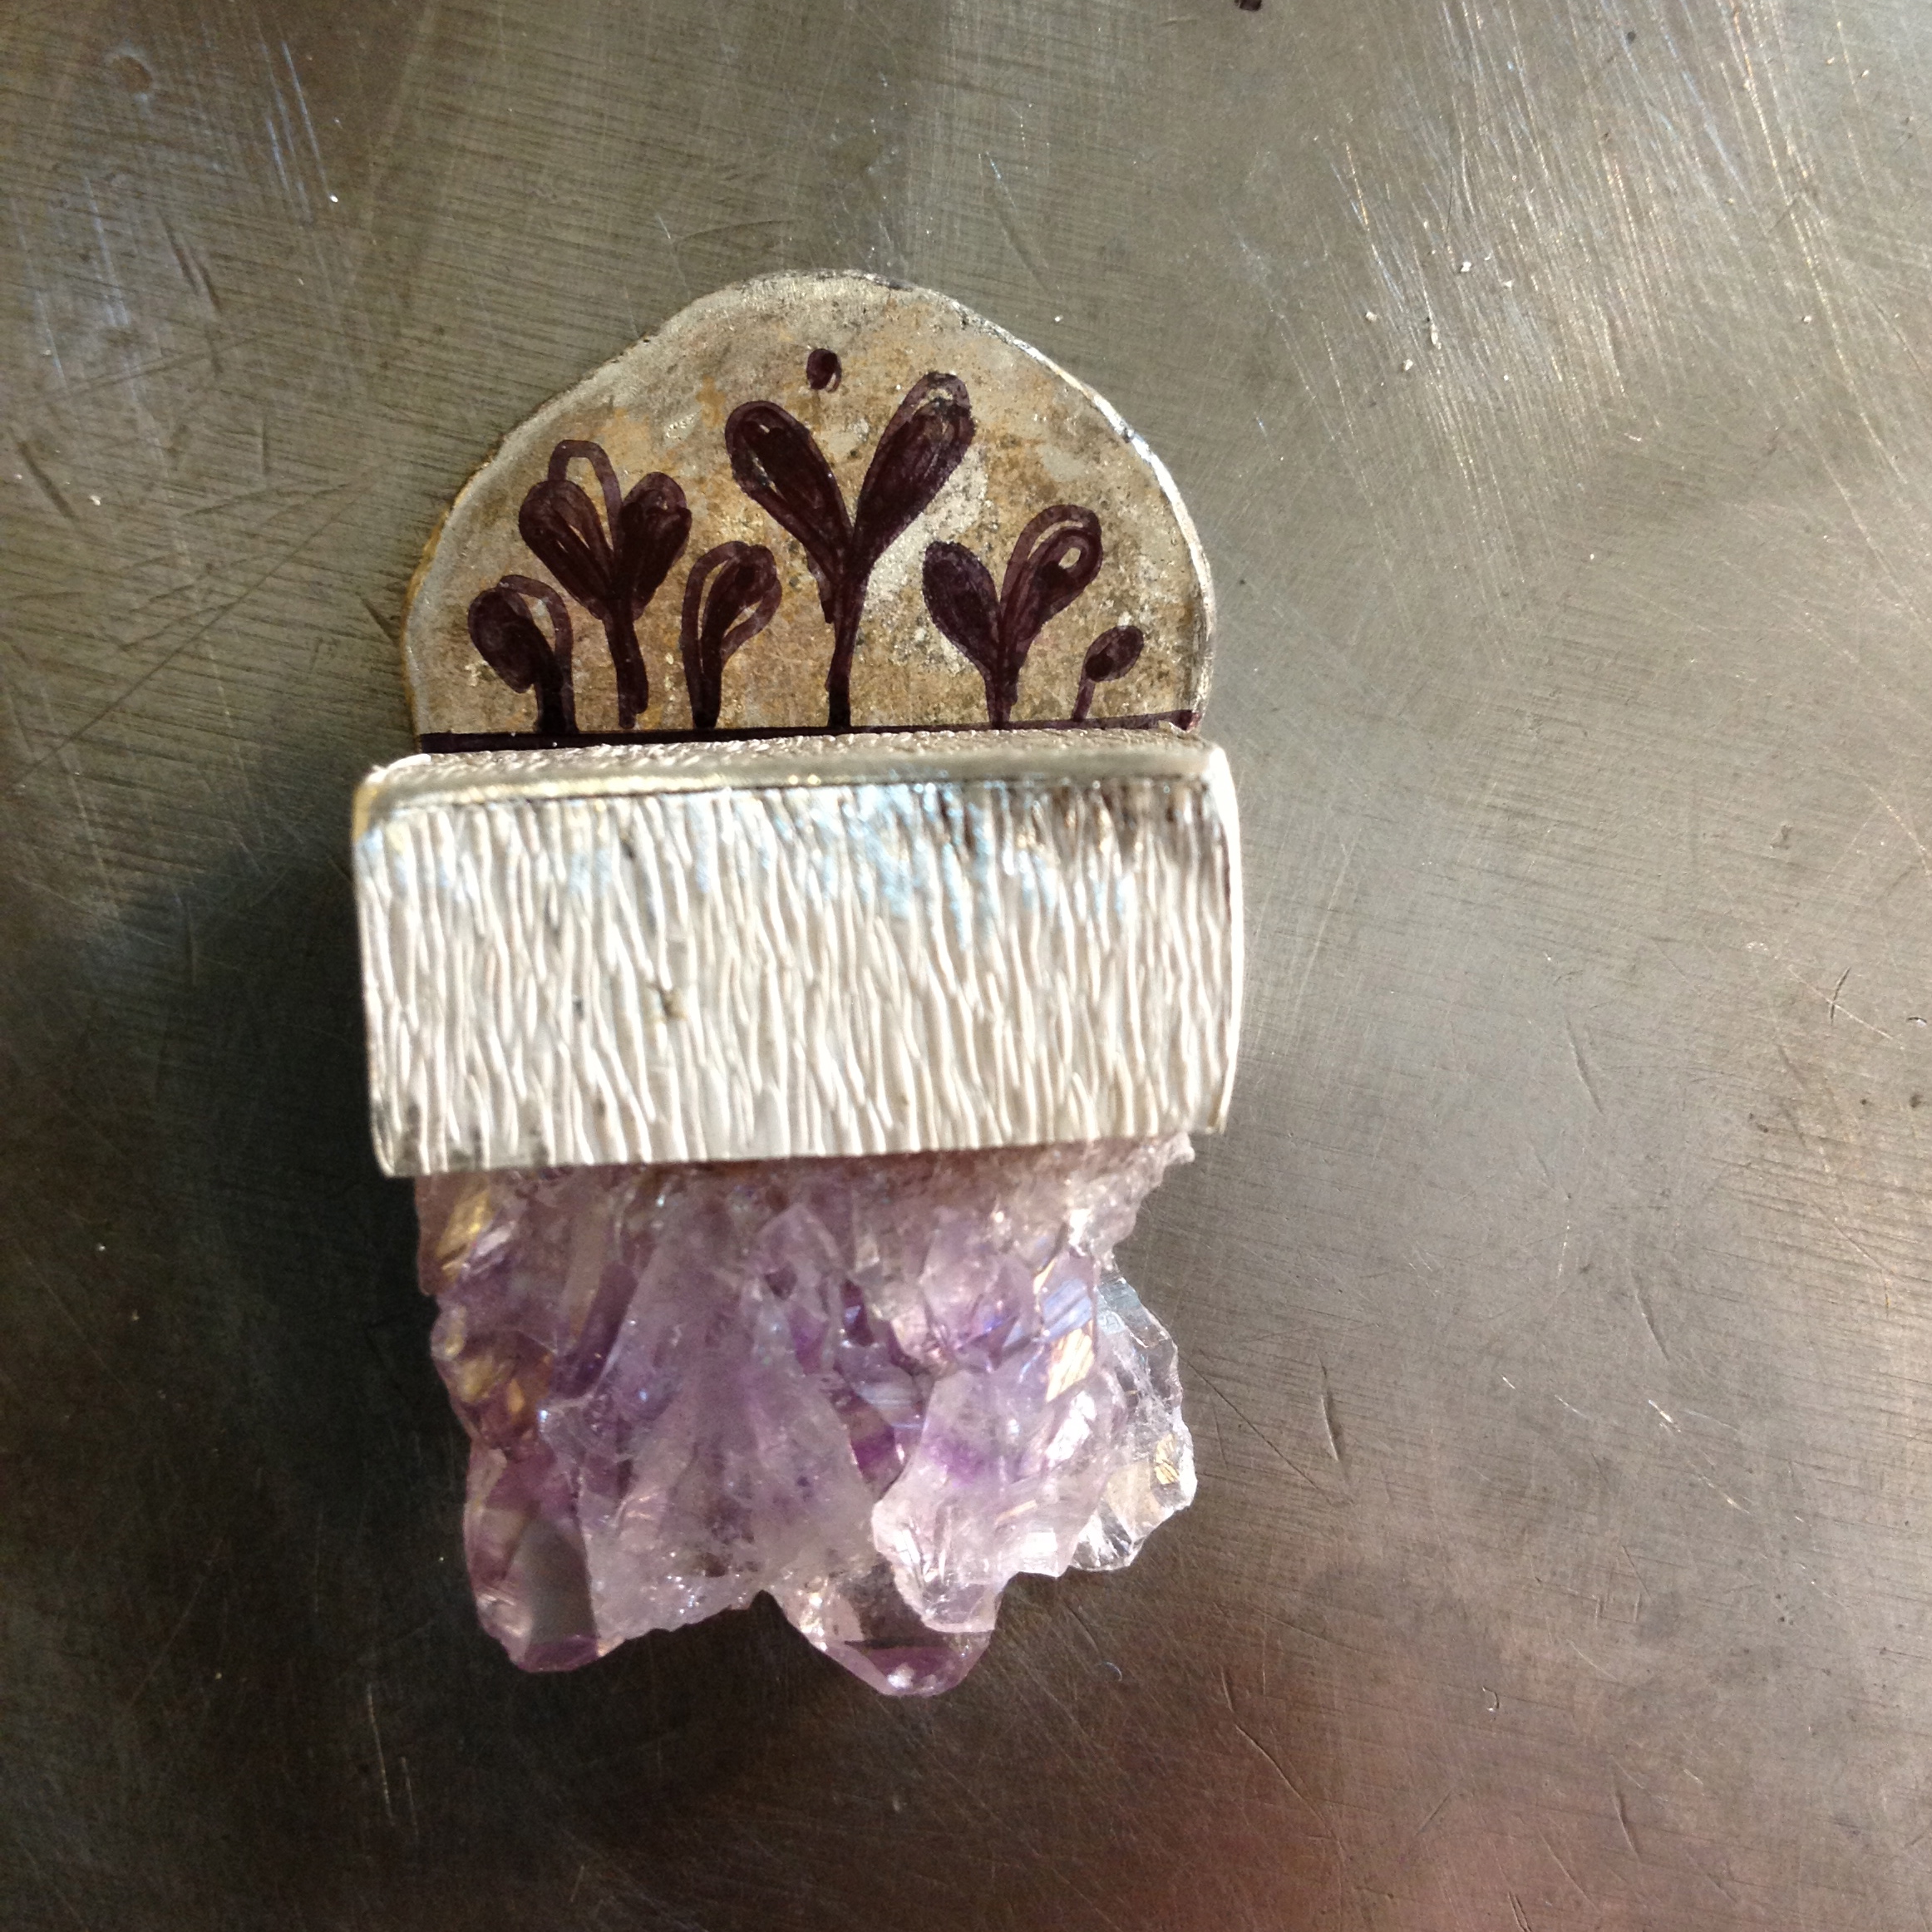
You’re actually not convinced about it, but now you’re a bit fed up with all the indecision that’s been going on and decide to proceed anyway.
So you cut the leaves out.
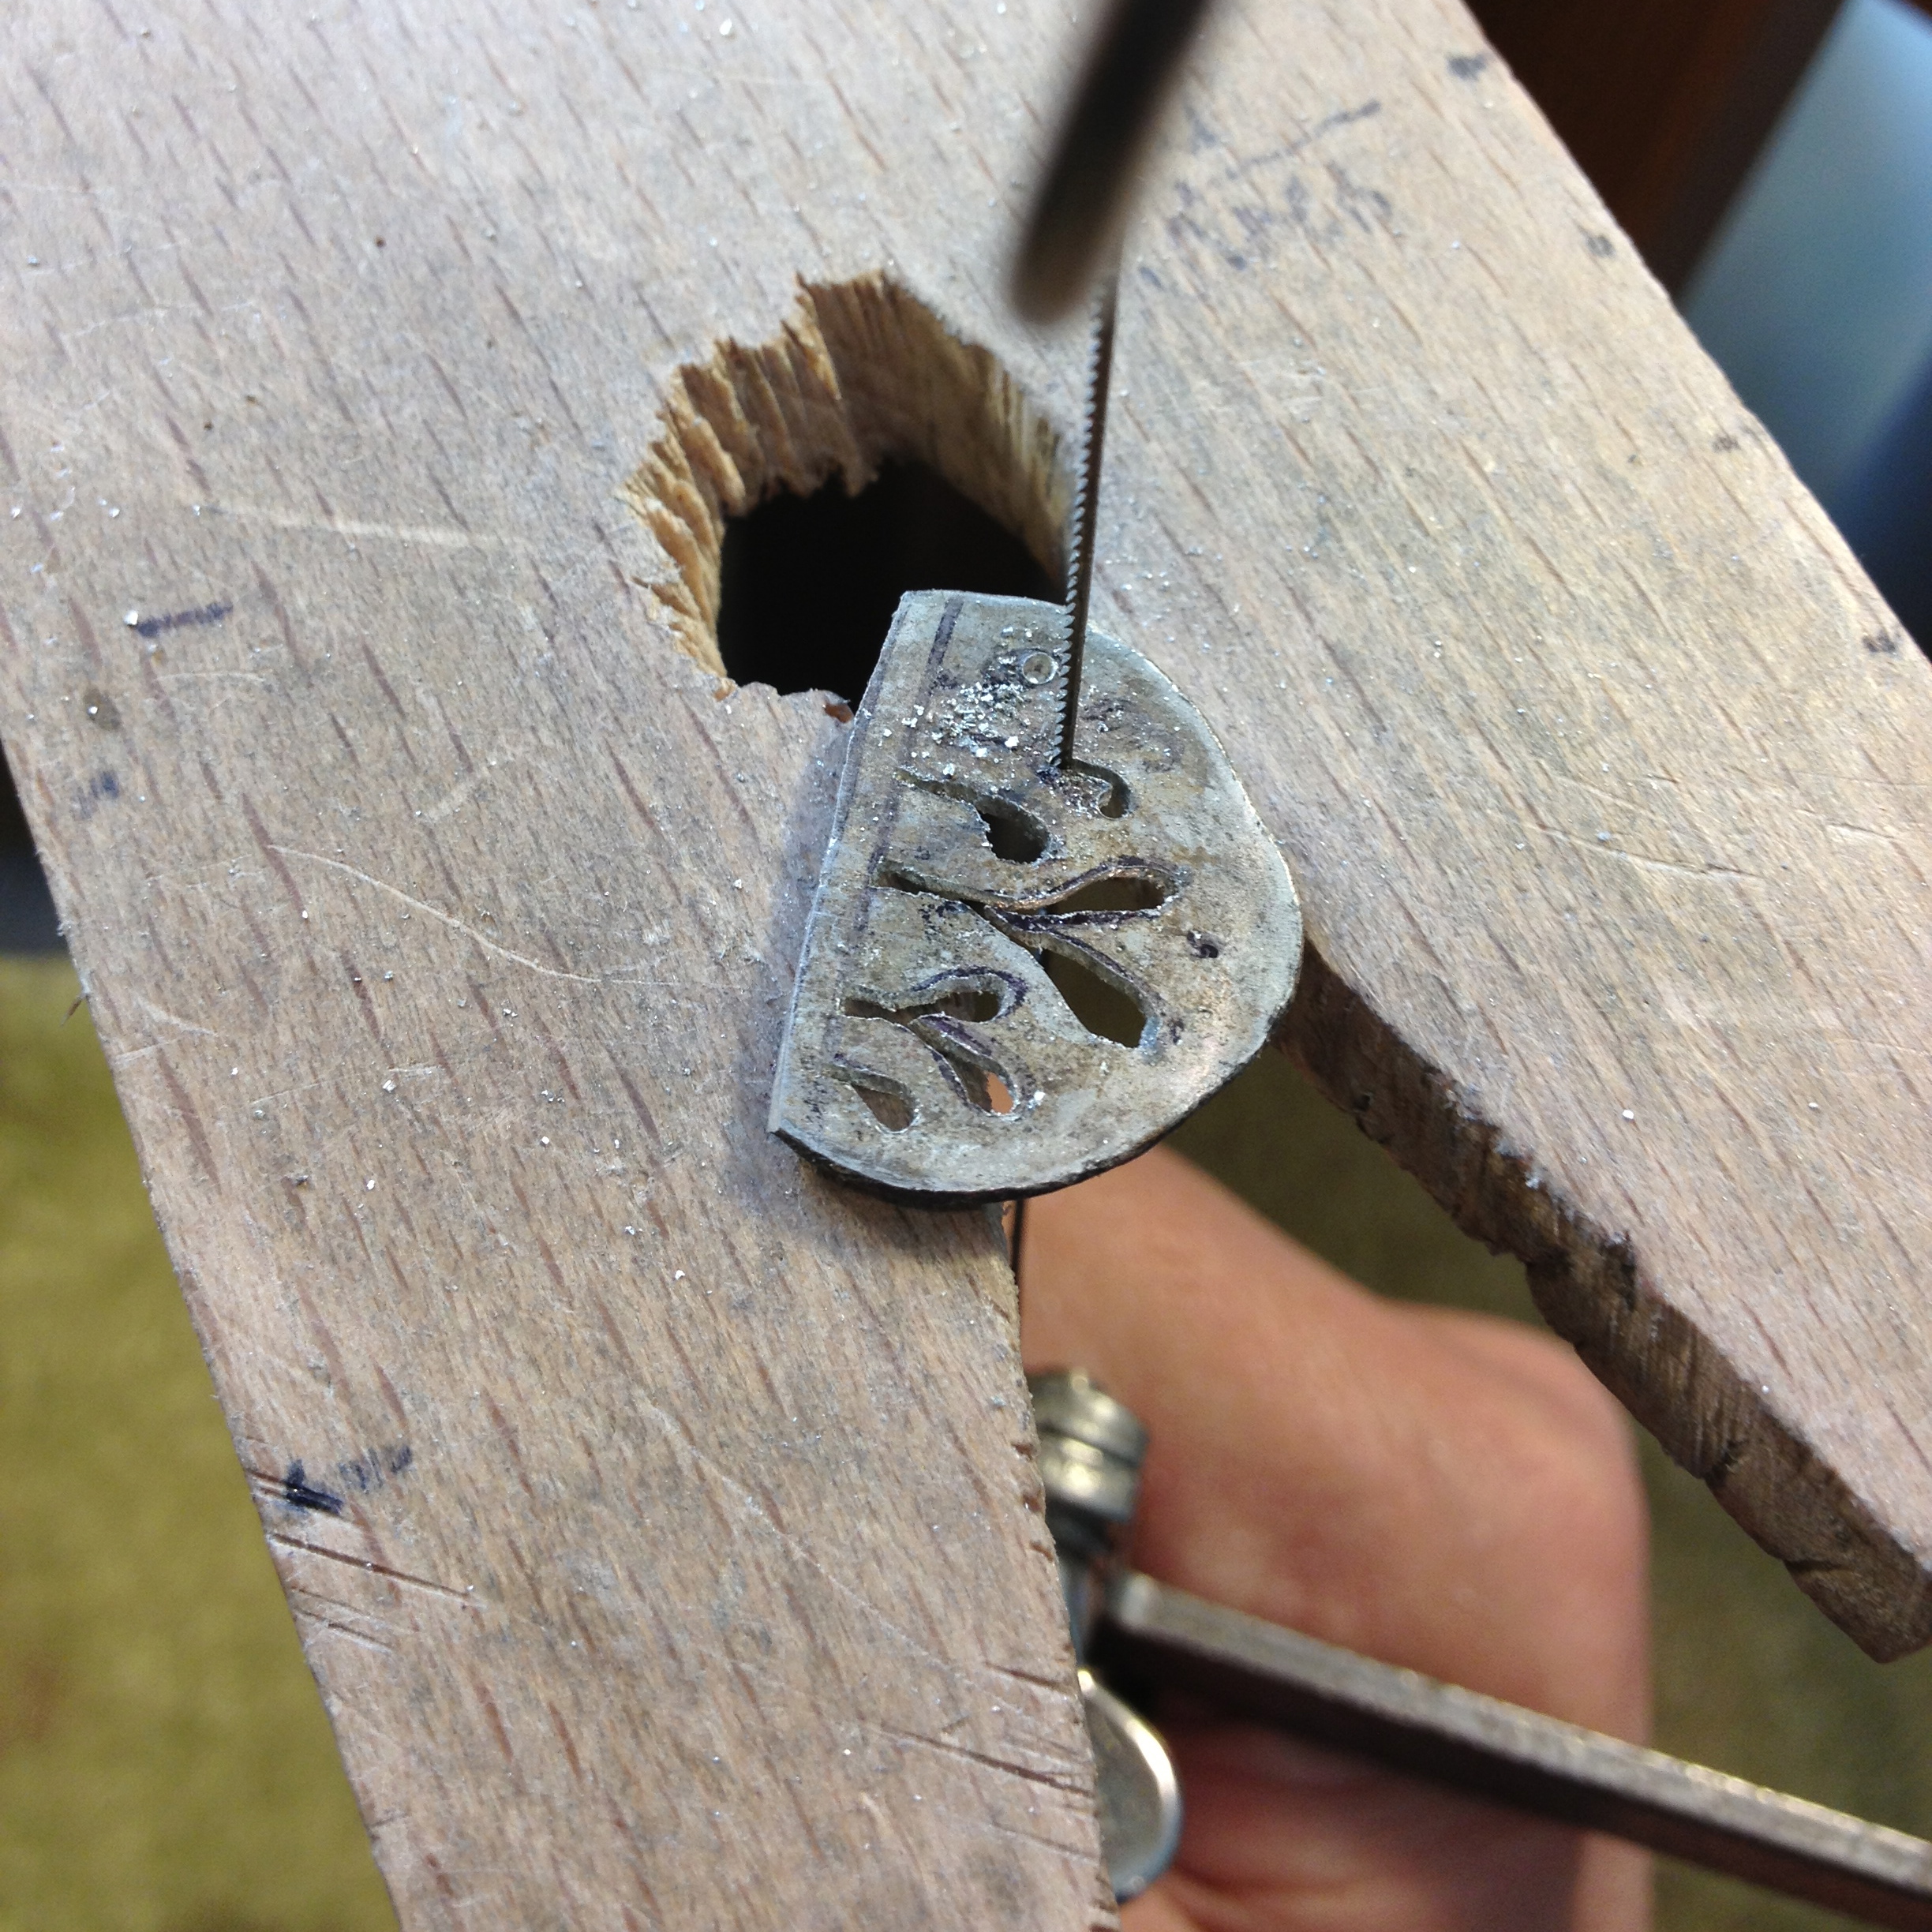
And because you never know what your going to do before you do it, you now have to cut a slot out of the top of the box you’ve made for the amethyst.
This would have been easier had you planned out everything before hand, but then, that wouldn’t be as exciting.
Far better to live on the edge.
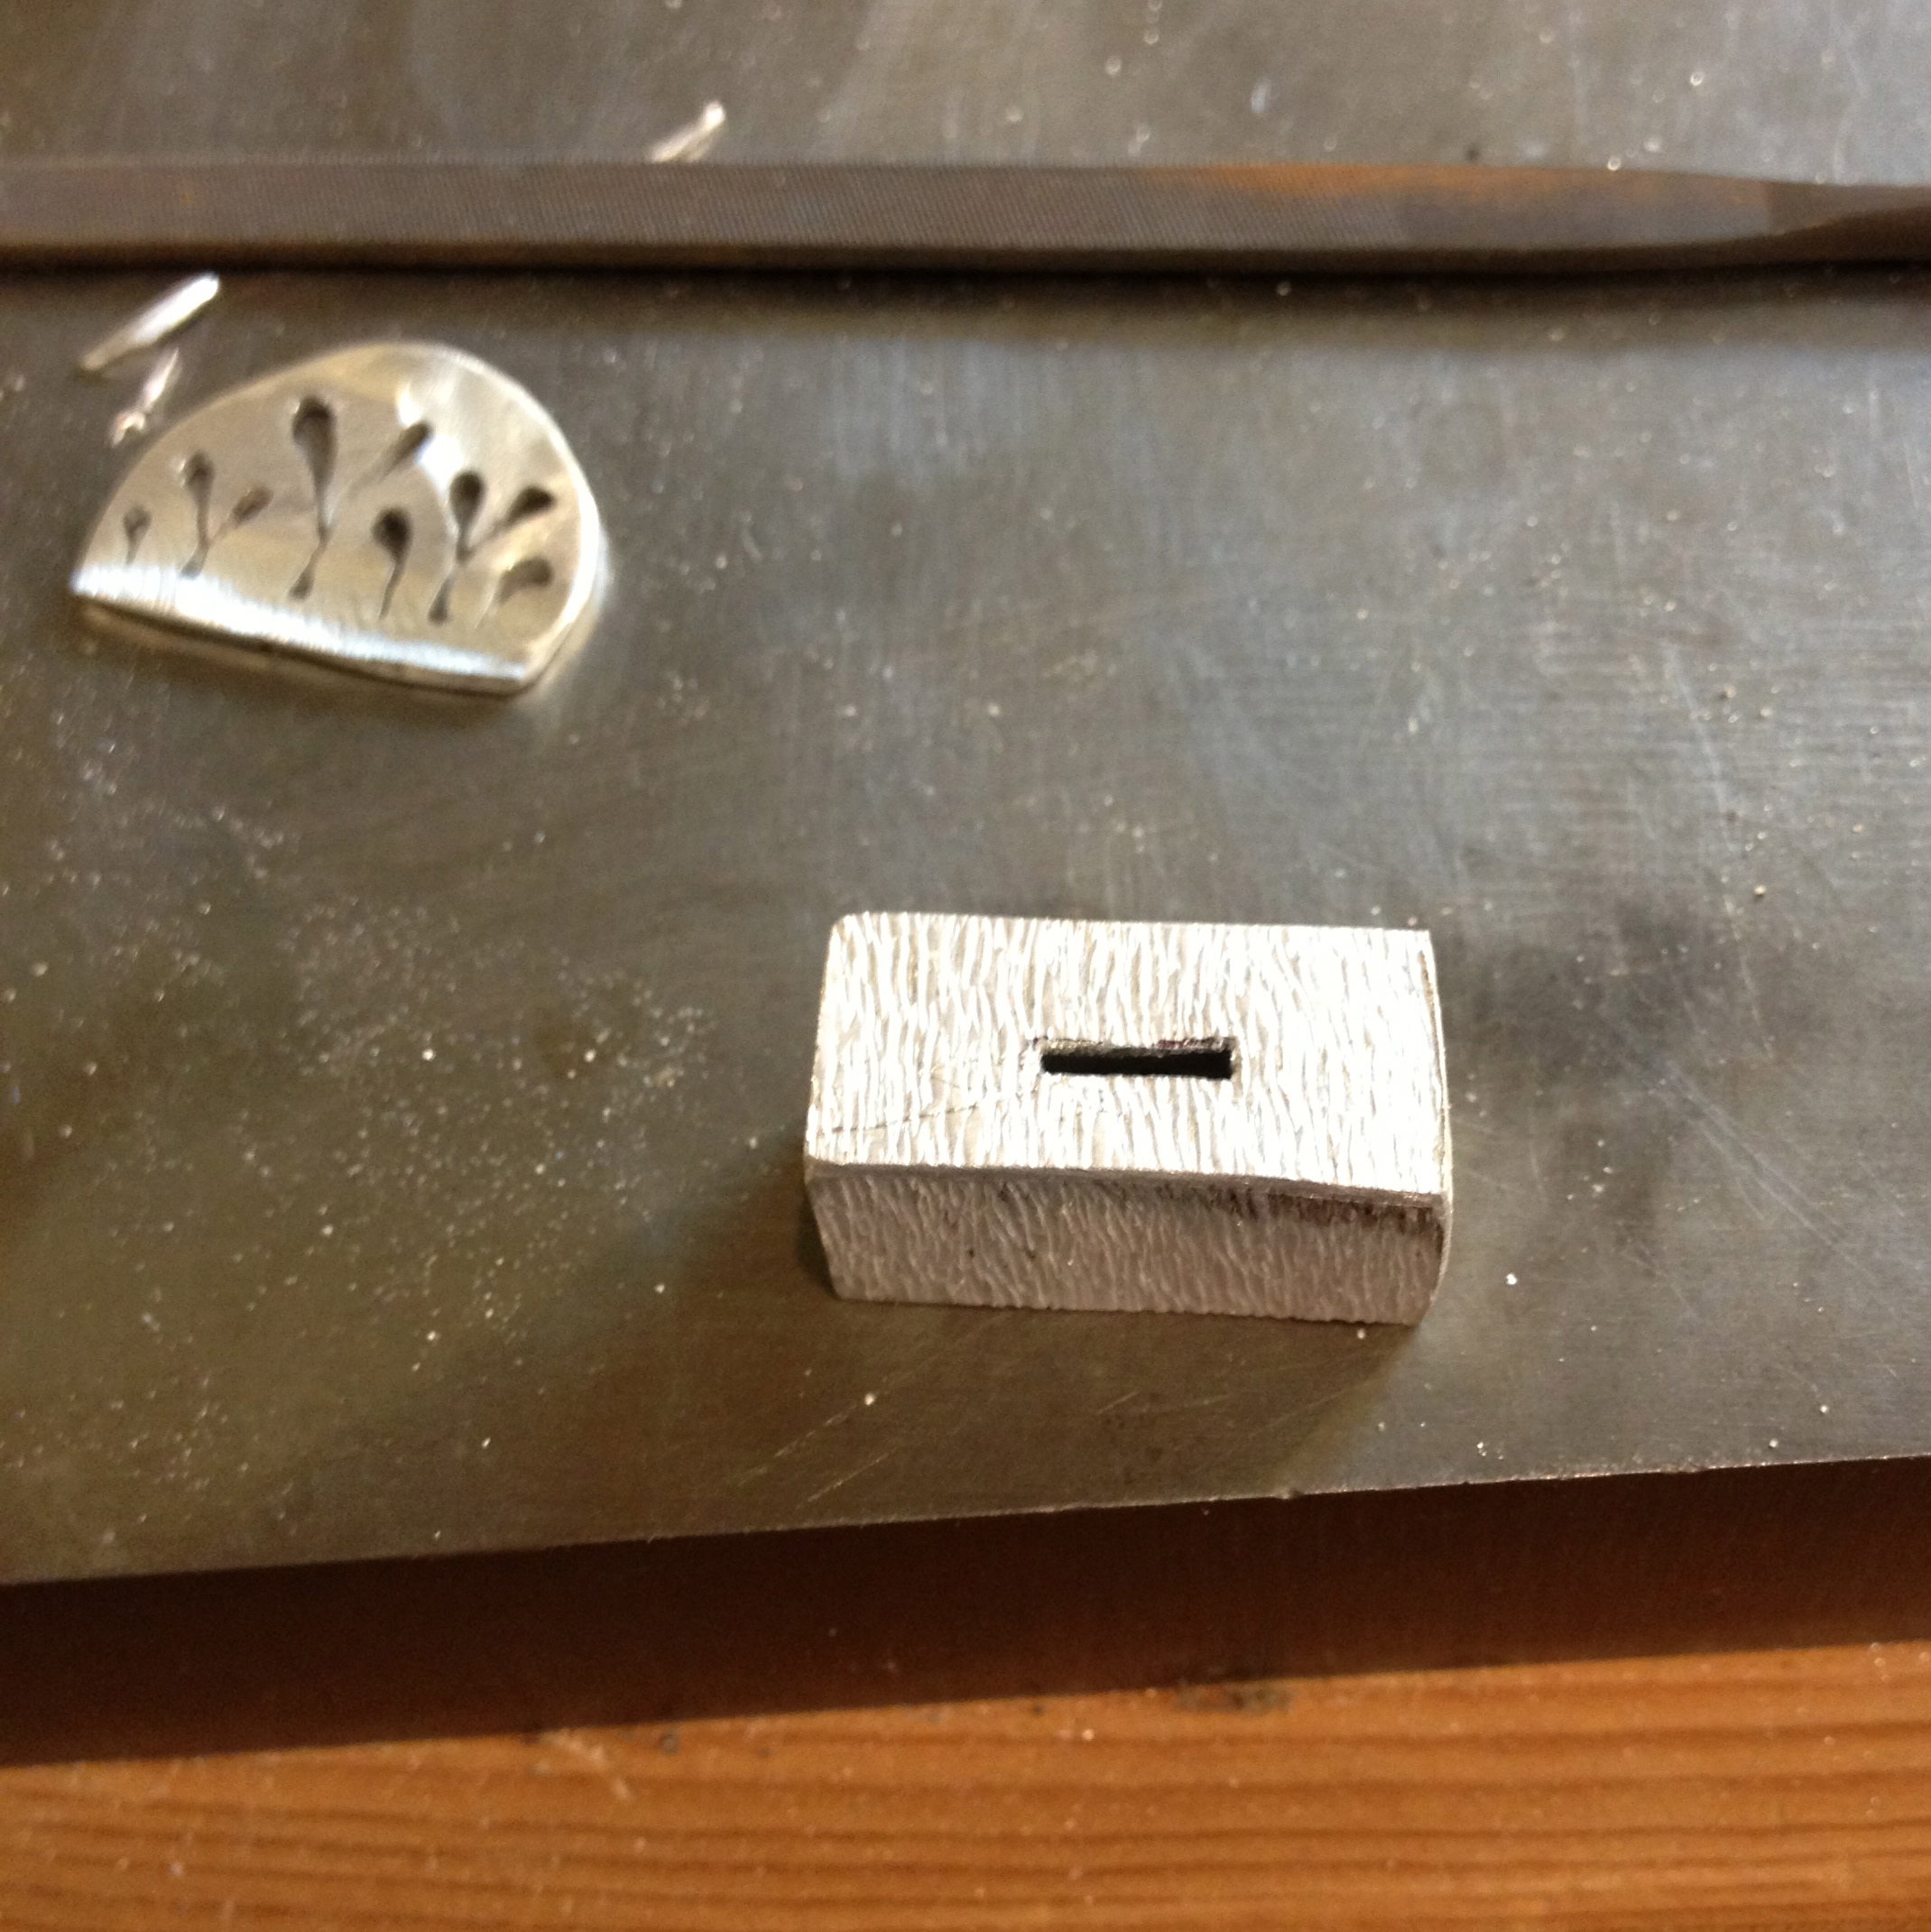
You cut a rough prong out of the disc and now have something to slot into the box.

And, remarkably, it seems to fit!
So you square up and file down the prong to fit flush to the inside and then solder it on to the box.
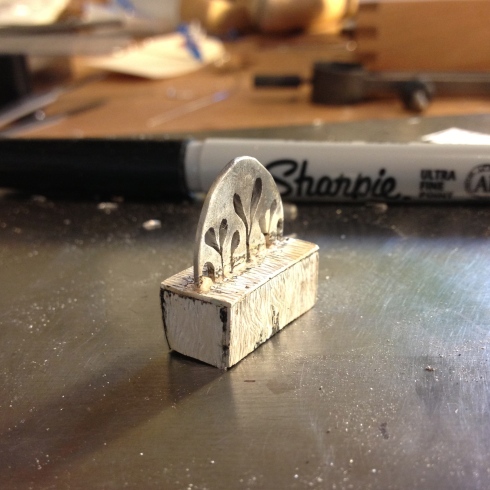
And slide the amethyst back into it.
But you’re still not sure if you like it.
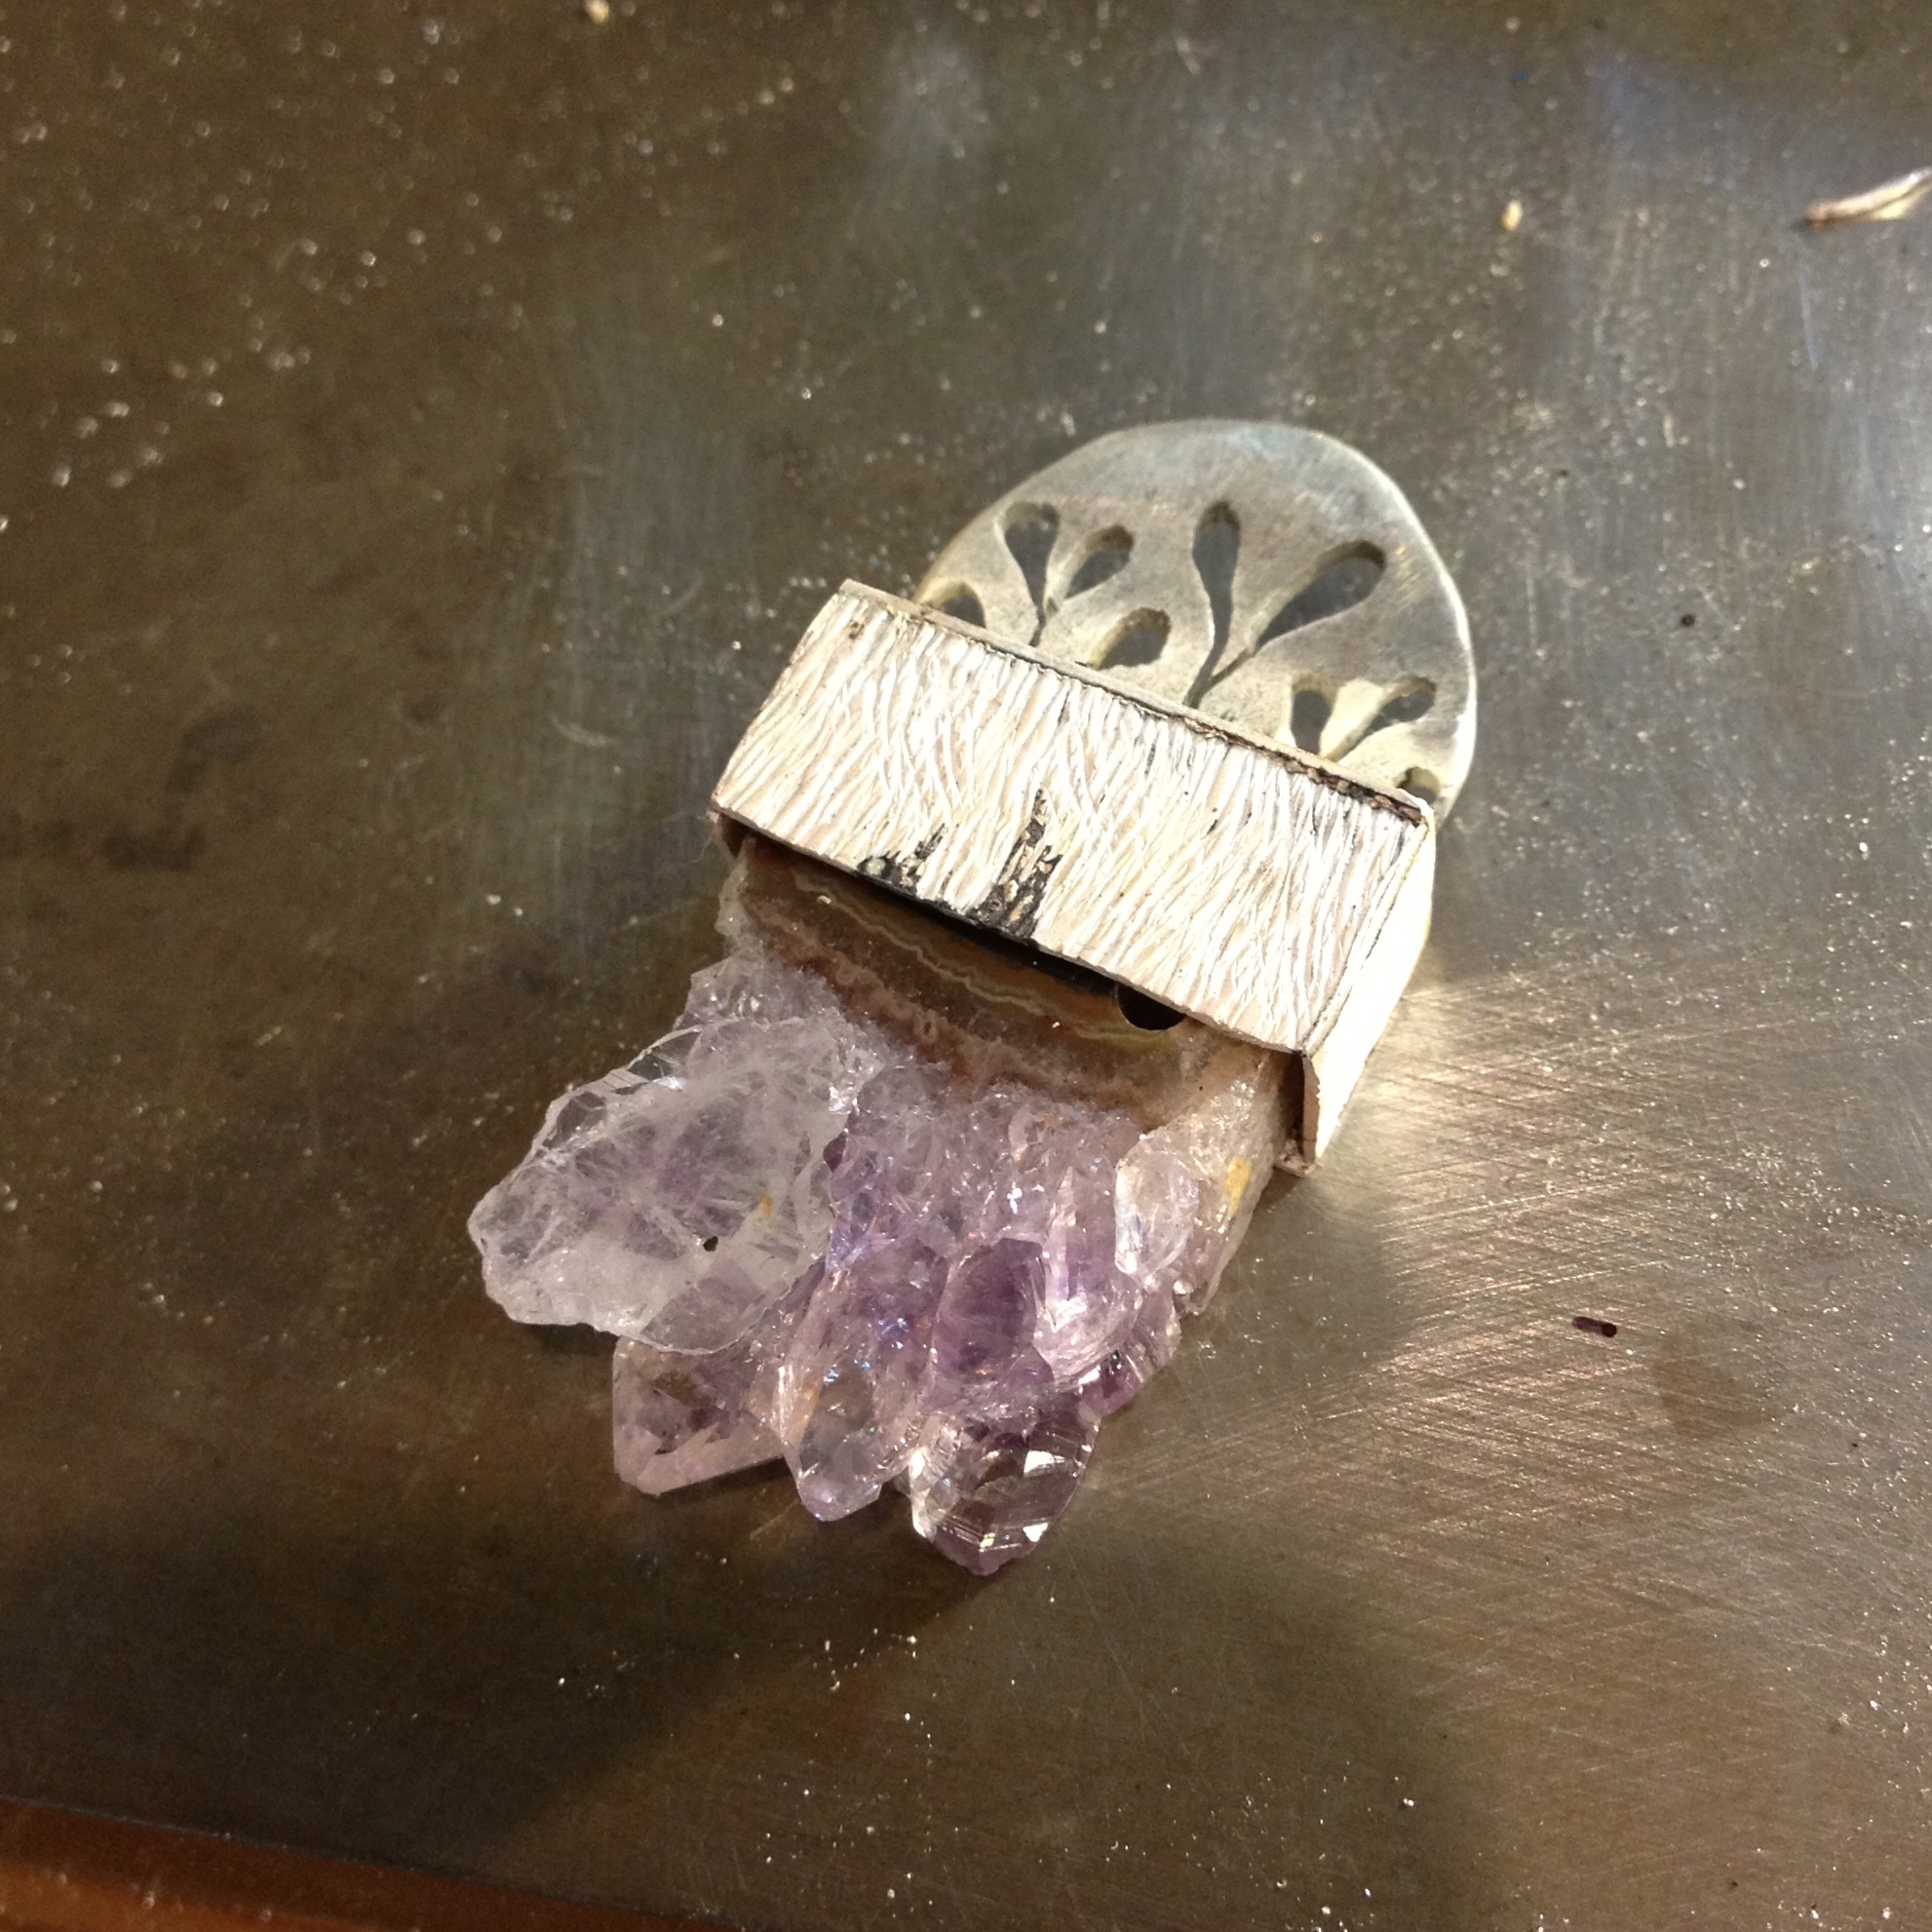
Oh well, it’s too late now.
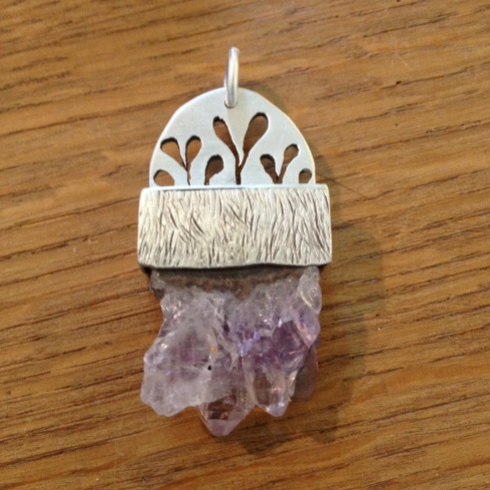
The End.
–
Thanks for showing me yours.
Now I’m going to make one 😉
–
I’m gradually putting some new things up on Etsy.
I always balk at doing this as it seems to take so long to list everything, but the stuff is beginning to pile up and it’s all getting a bit overwhelming now.
I’m still working on my own website but, again, it’s taking its own sweet time because all this photographing and describing rigmarole simply isn’t as fun as making the stuff.
But look at it.
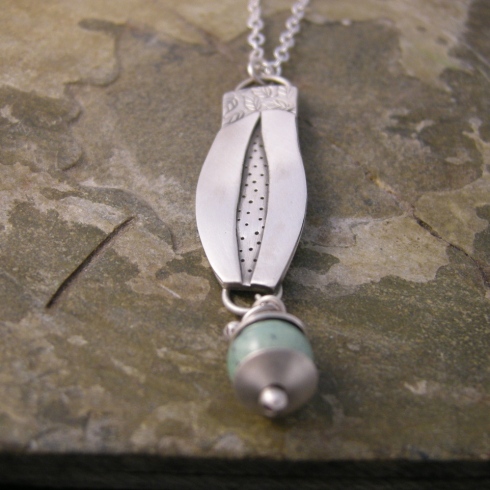
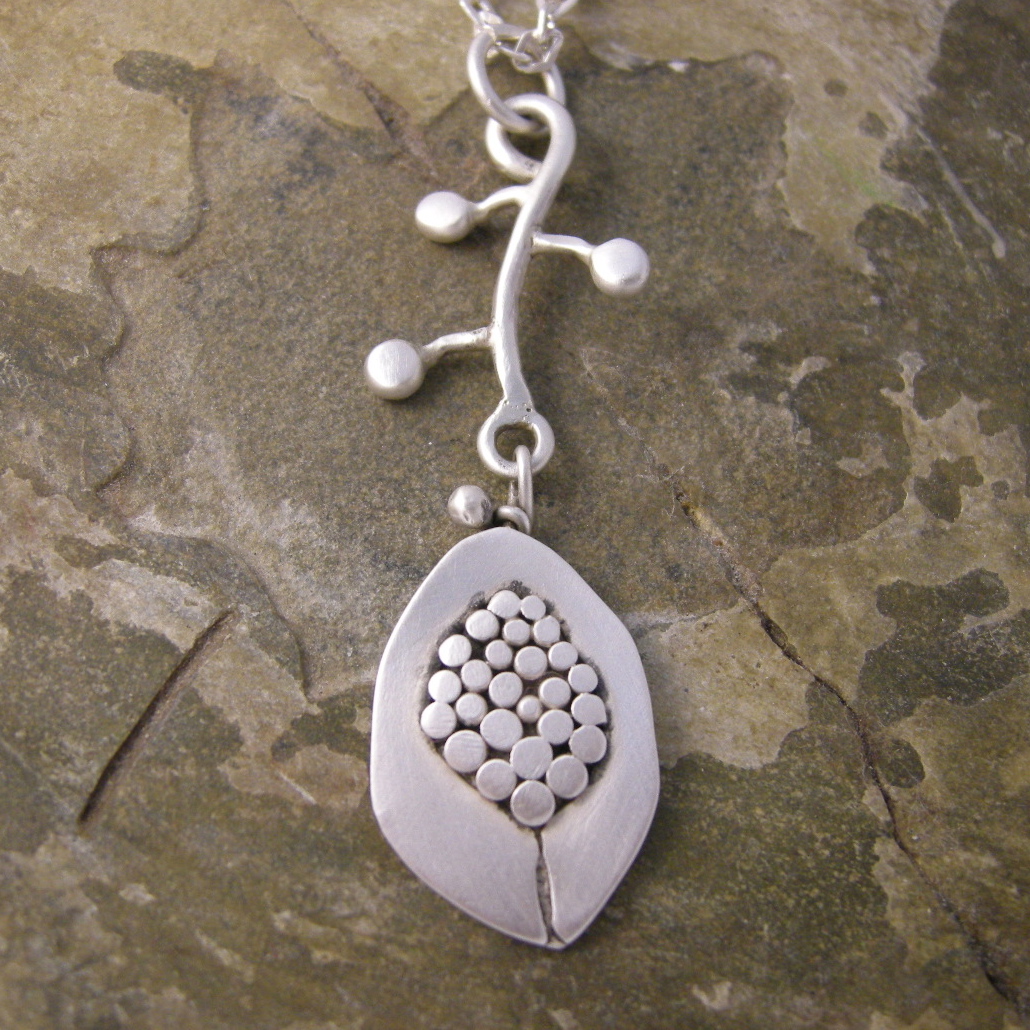
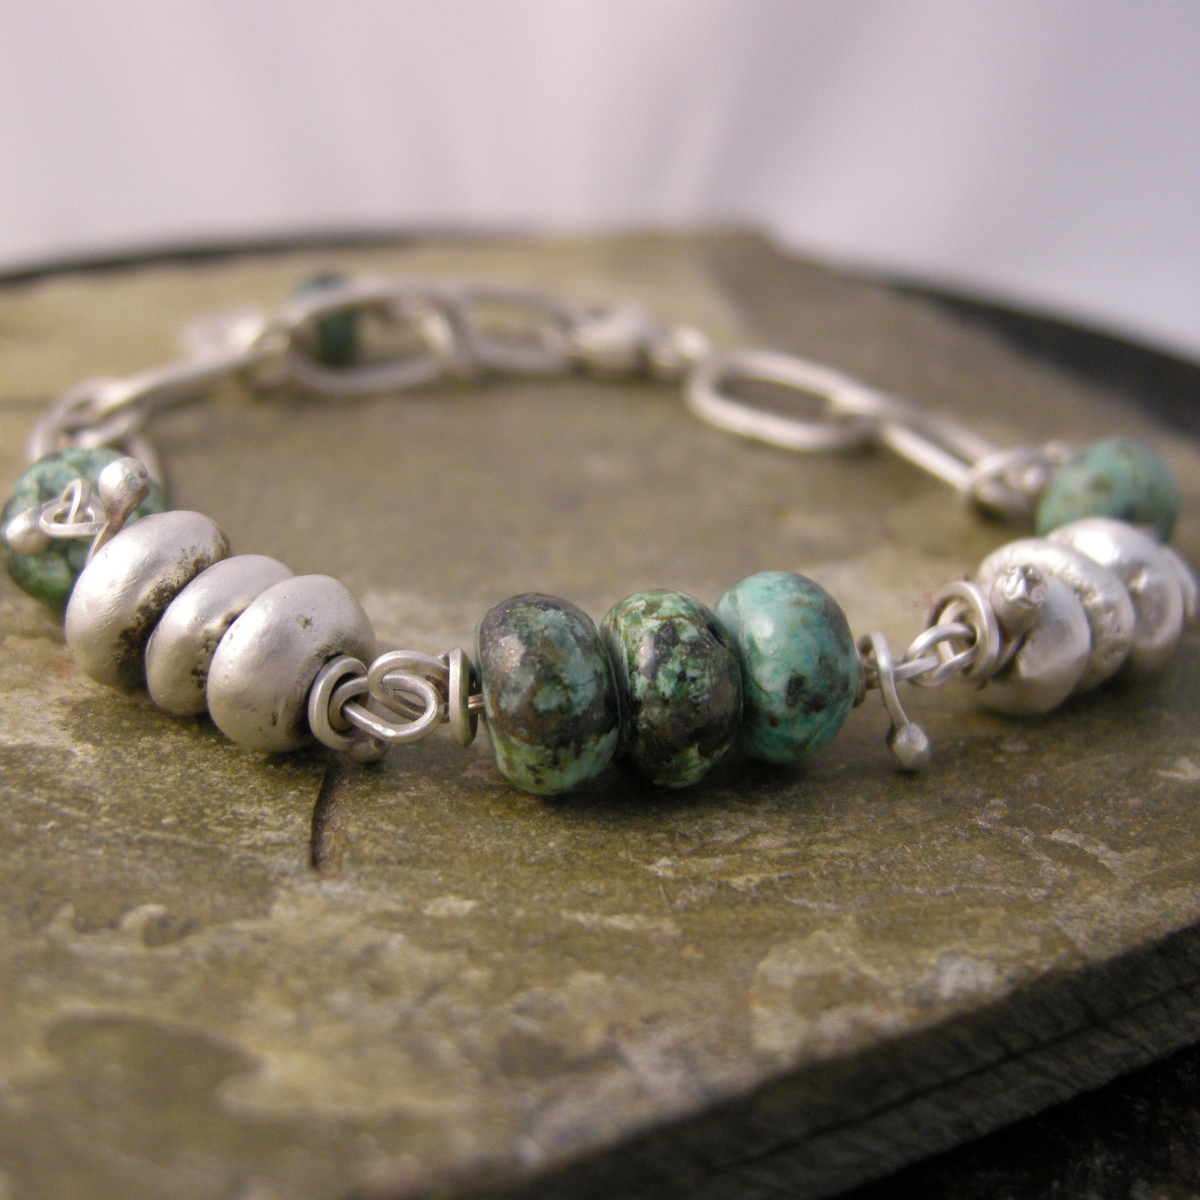
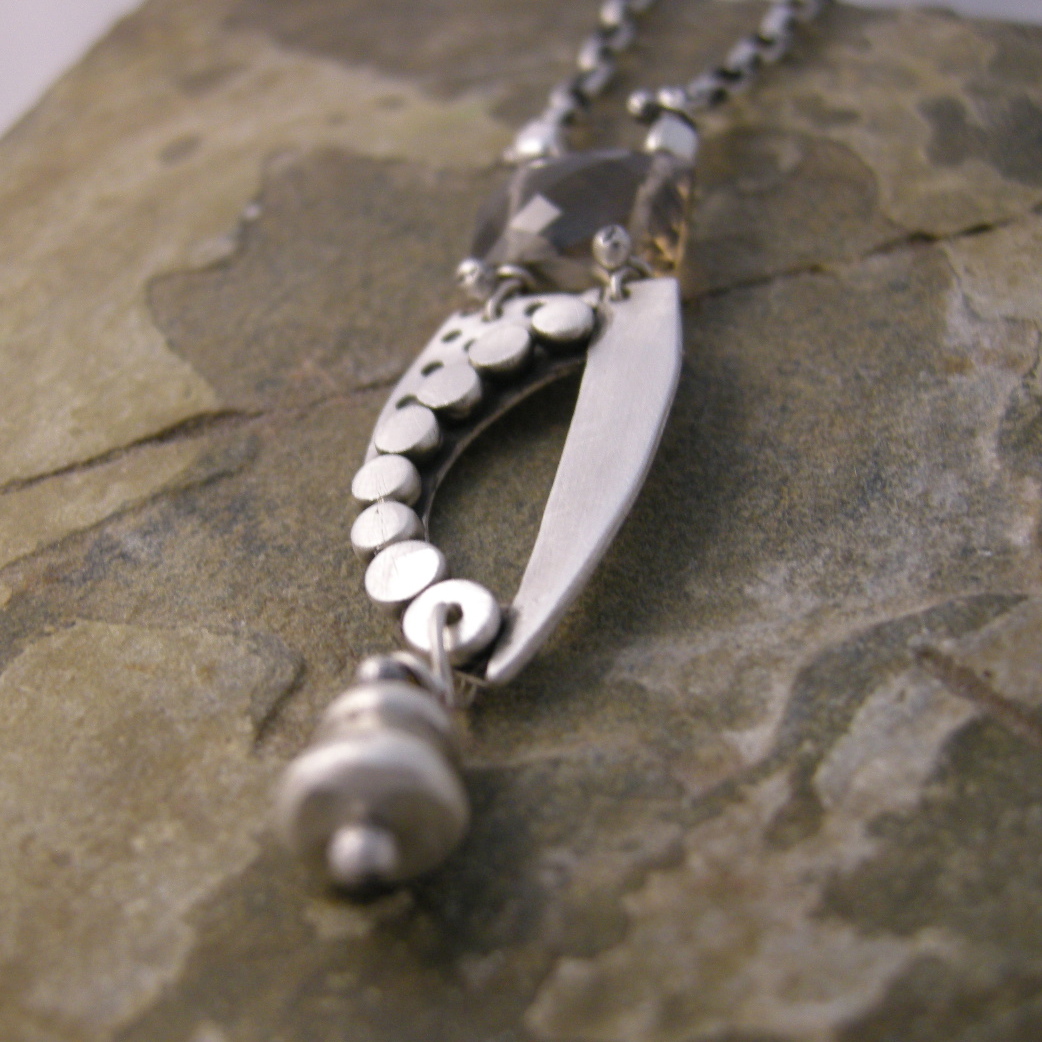
Who wouldn’t want a little piece of these lovelies 🙂
AND
This time I’ve decided to send my money – here
It’s a little off from my usual choice, but a girl can change her mind, no?
Watch the videos – here, and – here.
So the next $1000 I make is going to India. I’ve already made $400 of it so not much further to go.
Hell, I might even send it now and just wait for the money to catch up 🙂
–
P.S. Studio still in a mess. Please send help!
–
Happy Tuesday everyone!
–
I’m in the process of changing around my studio. The jewelry and painting have been nagging me for a bigger space as they’ve decided to sprawl and now take up every available inch of the back room. I love the ceramics and it’s always there waiting for me, but I think it can manage the smaller space.
It would probably enjoy the quiet more.
So I’m in the middle of the great switcheroo. Something that sounds as if it should happen overnight while you’re sleeping, but apparently my little pixie helpers are on strike, so I’m now into my fifth day!
O.K. so I’ve not put in full days as I get put off too easily, but if this whole thing is going to last more than a week, which it looks as though it might, I may well have to start drinking – again!
Either that or sack all of the pixies and get me some more. Forget the picket lines, I’m getting desperate here …
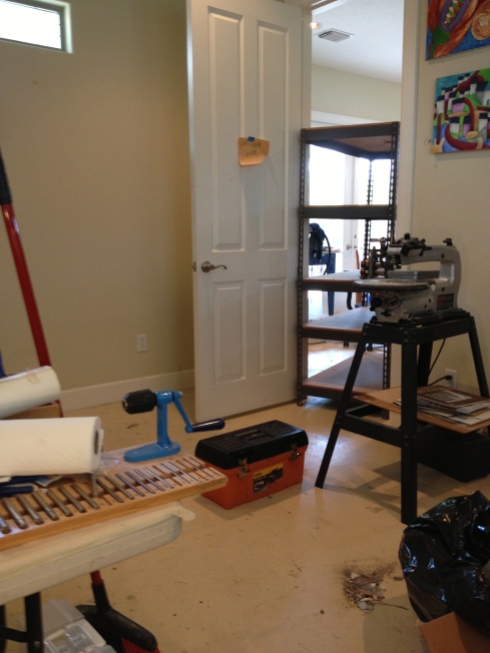
Yes I had to move that big hulking shelf that’s hovering in the doorway all by myself.
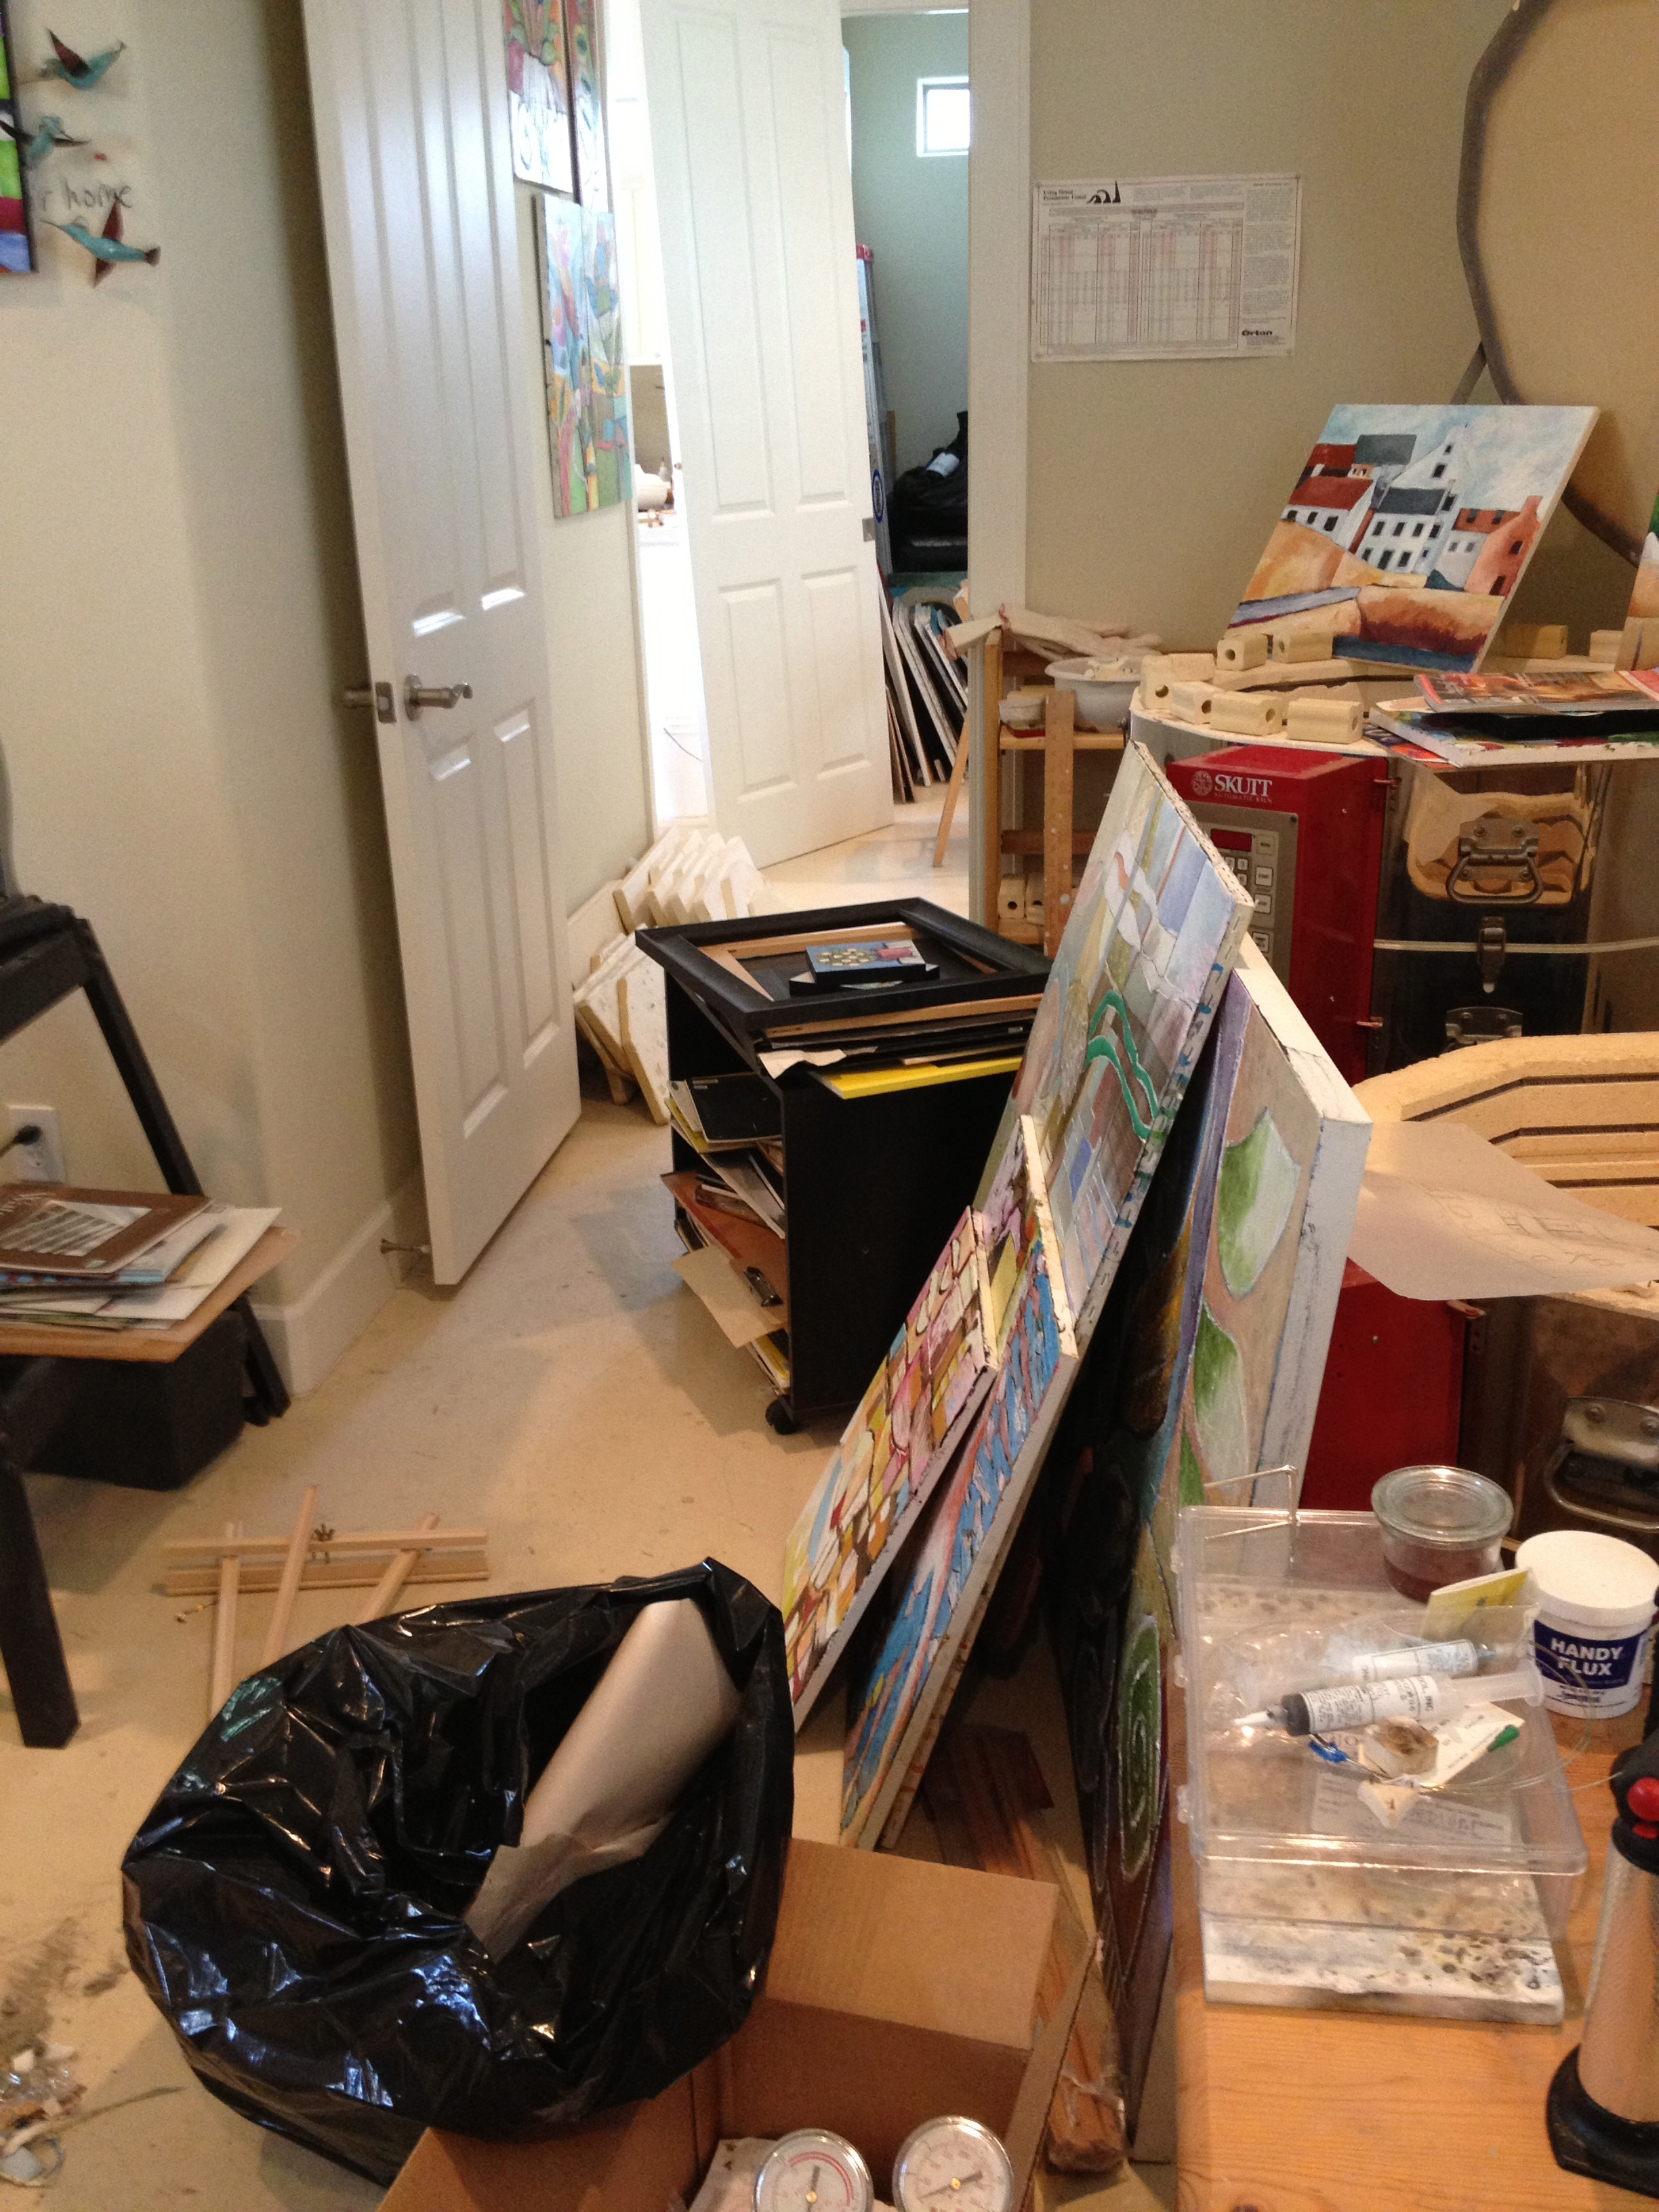
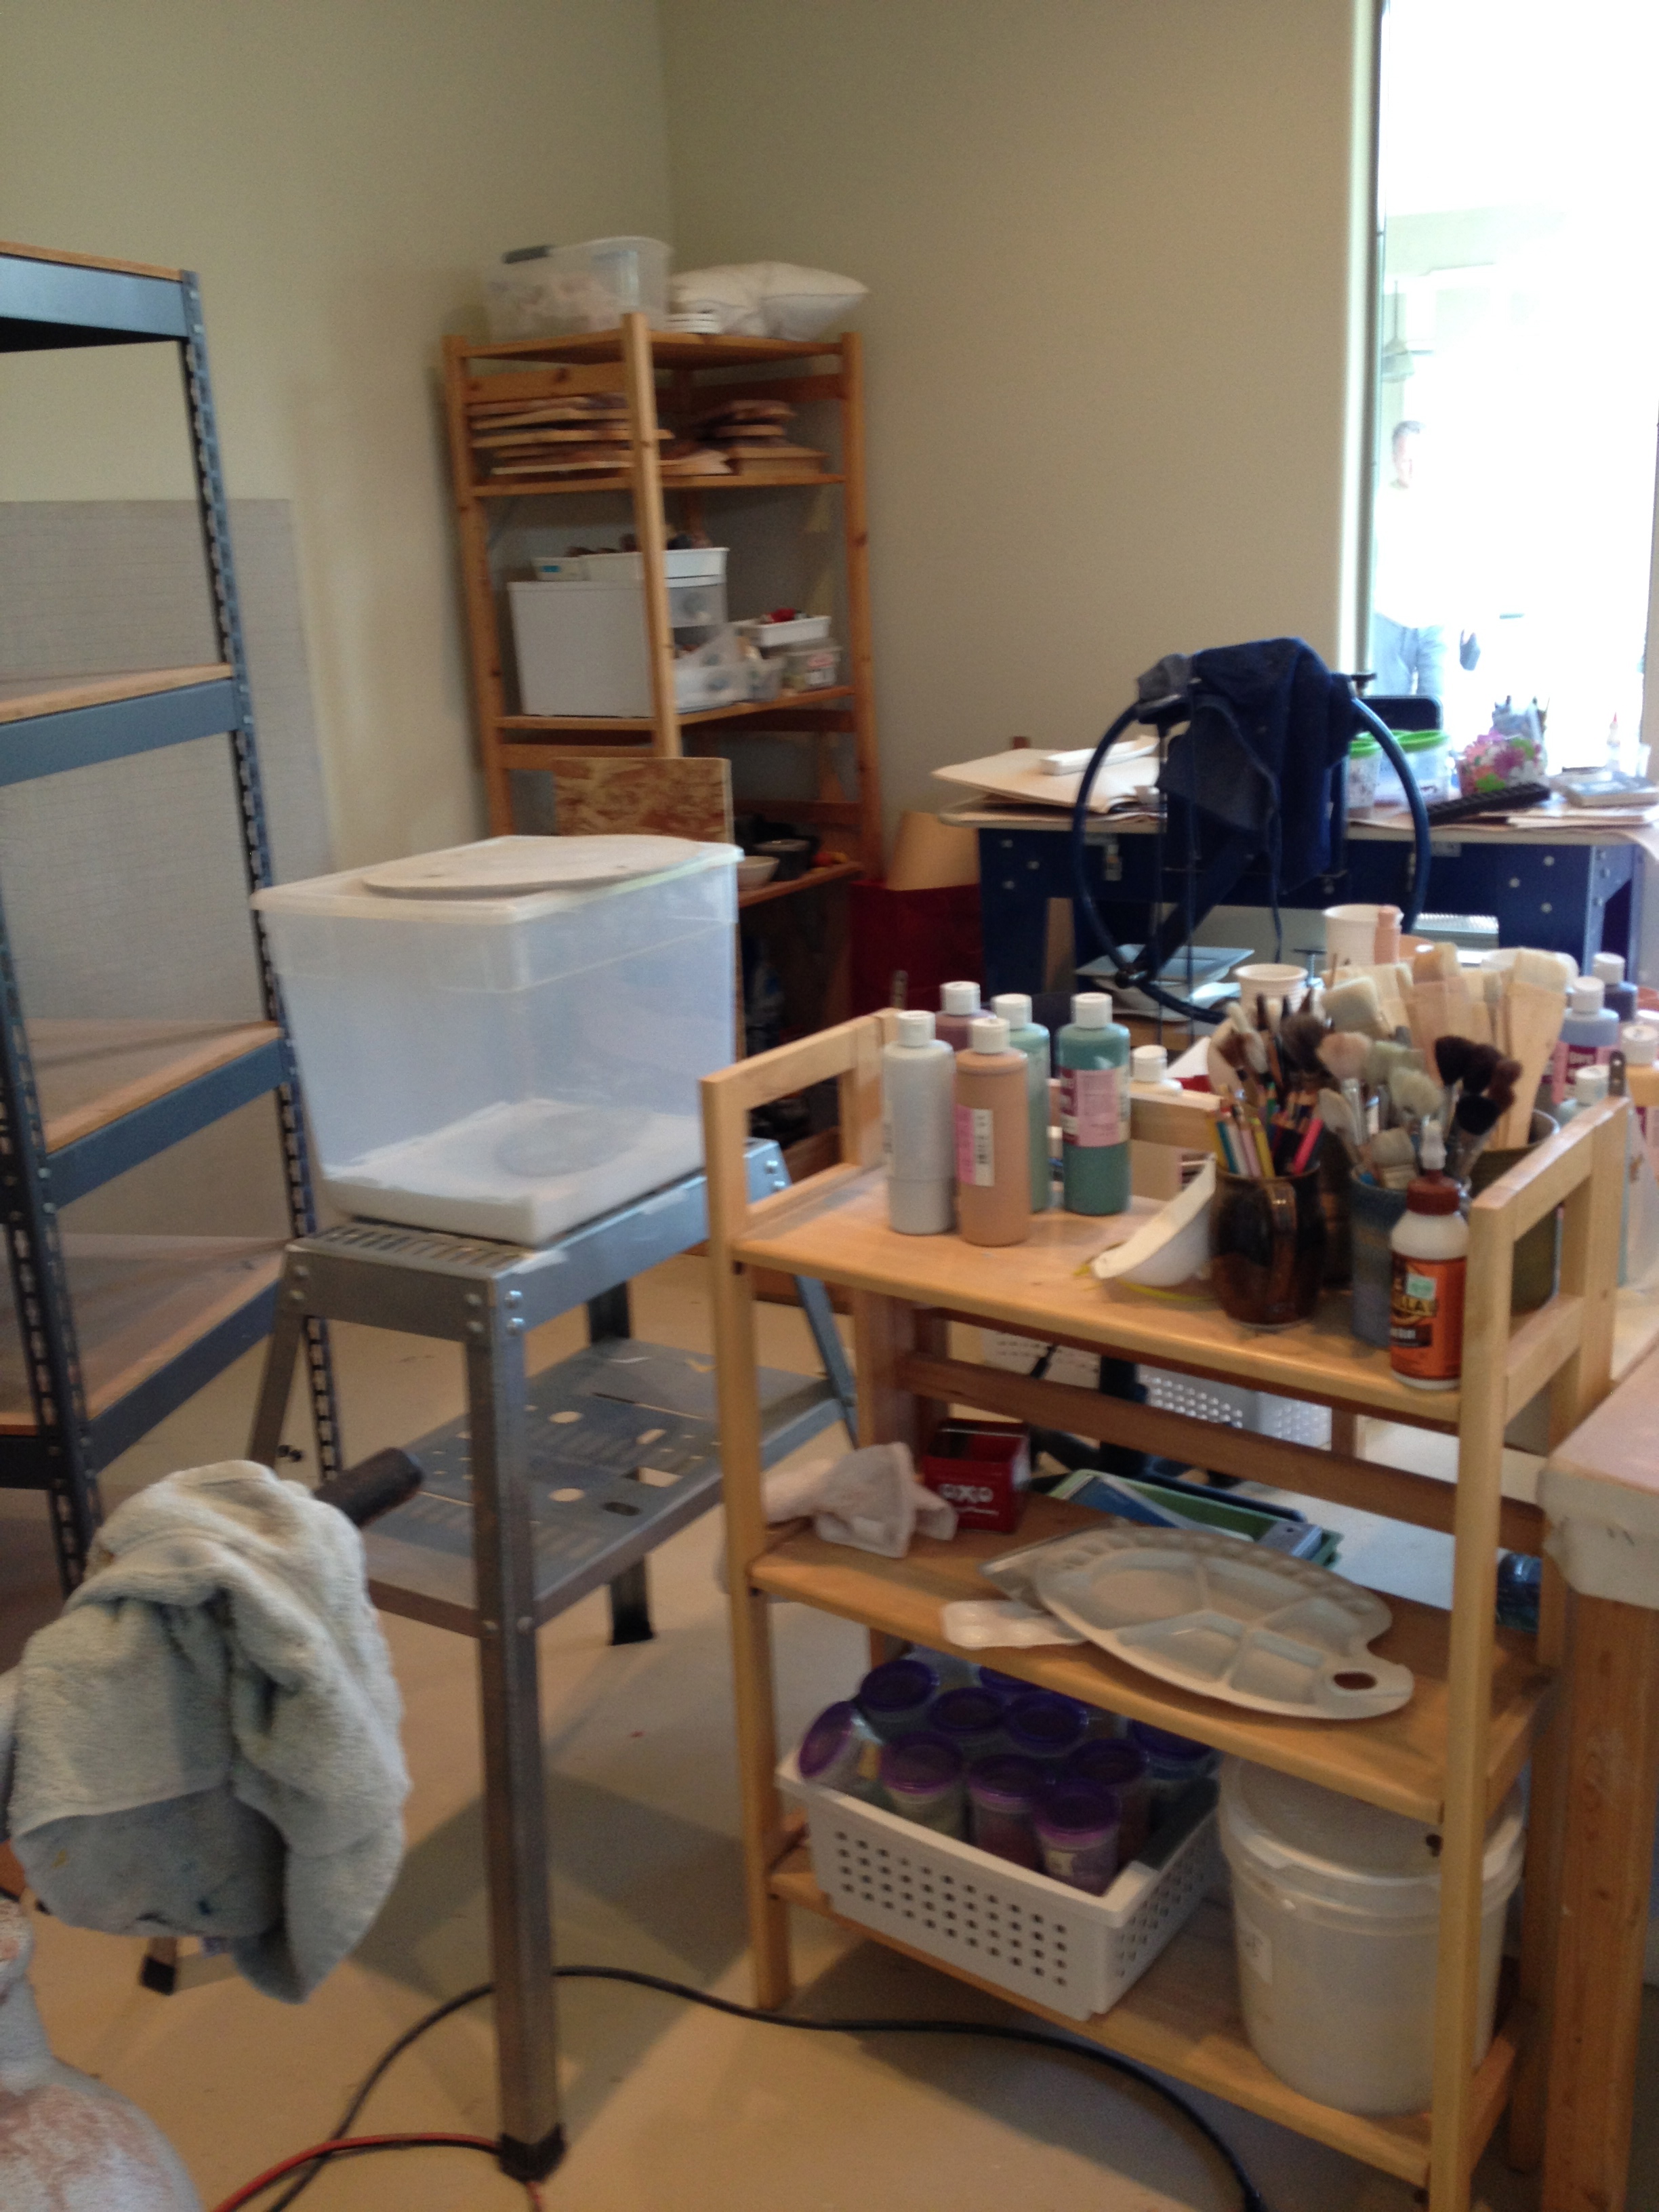
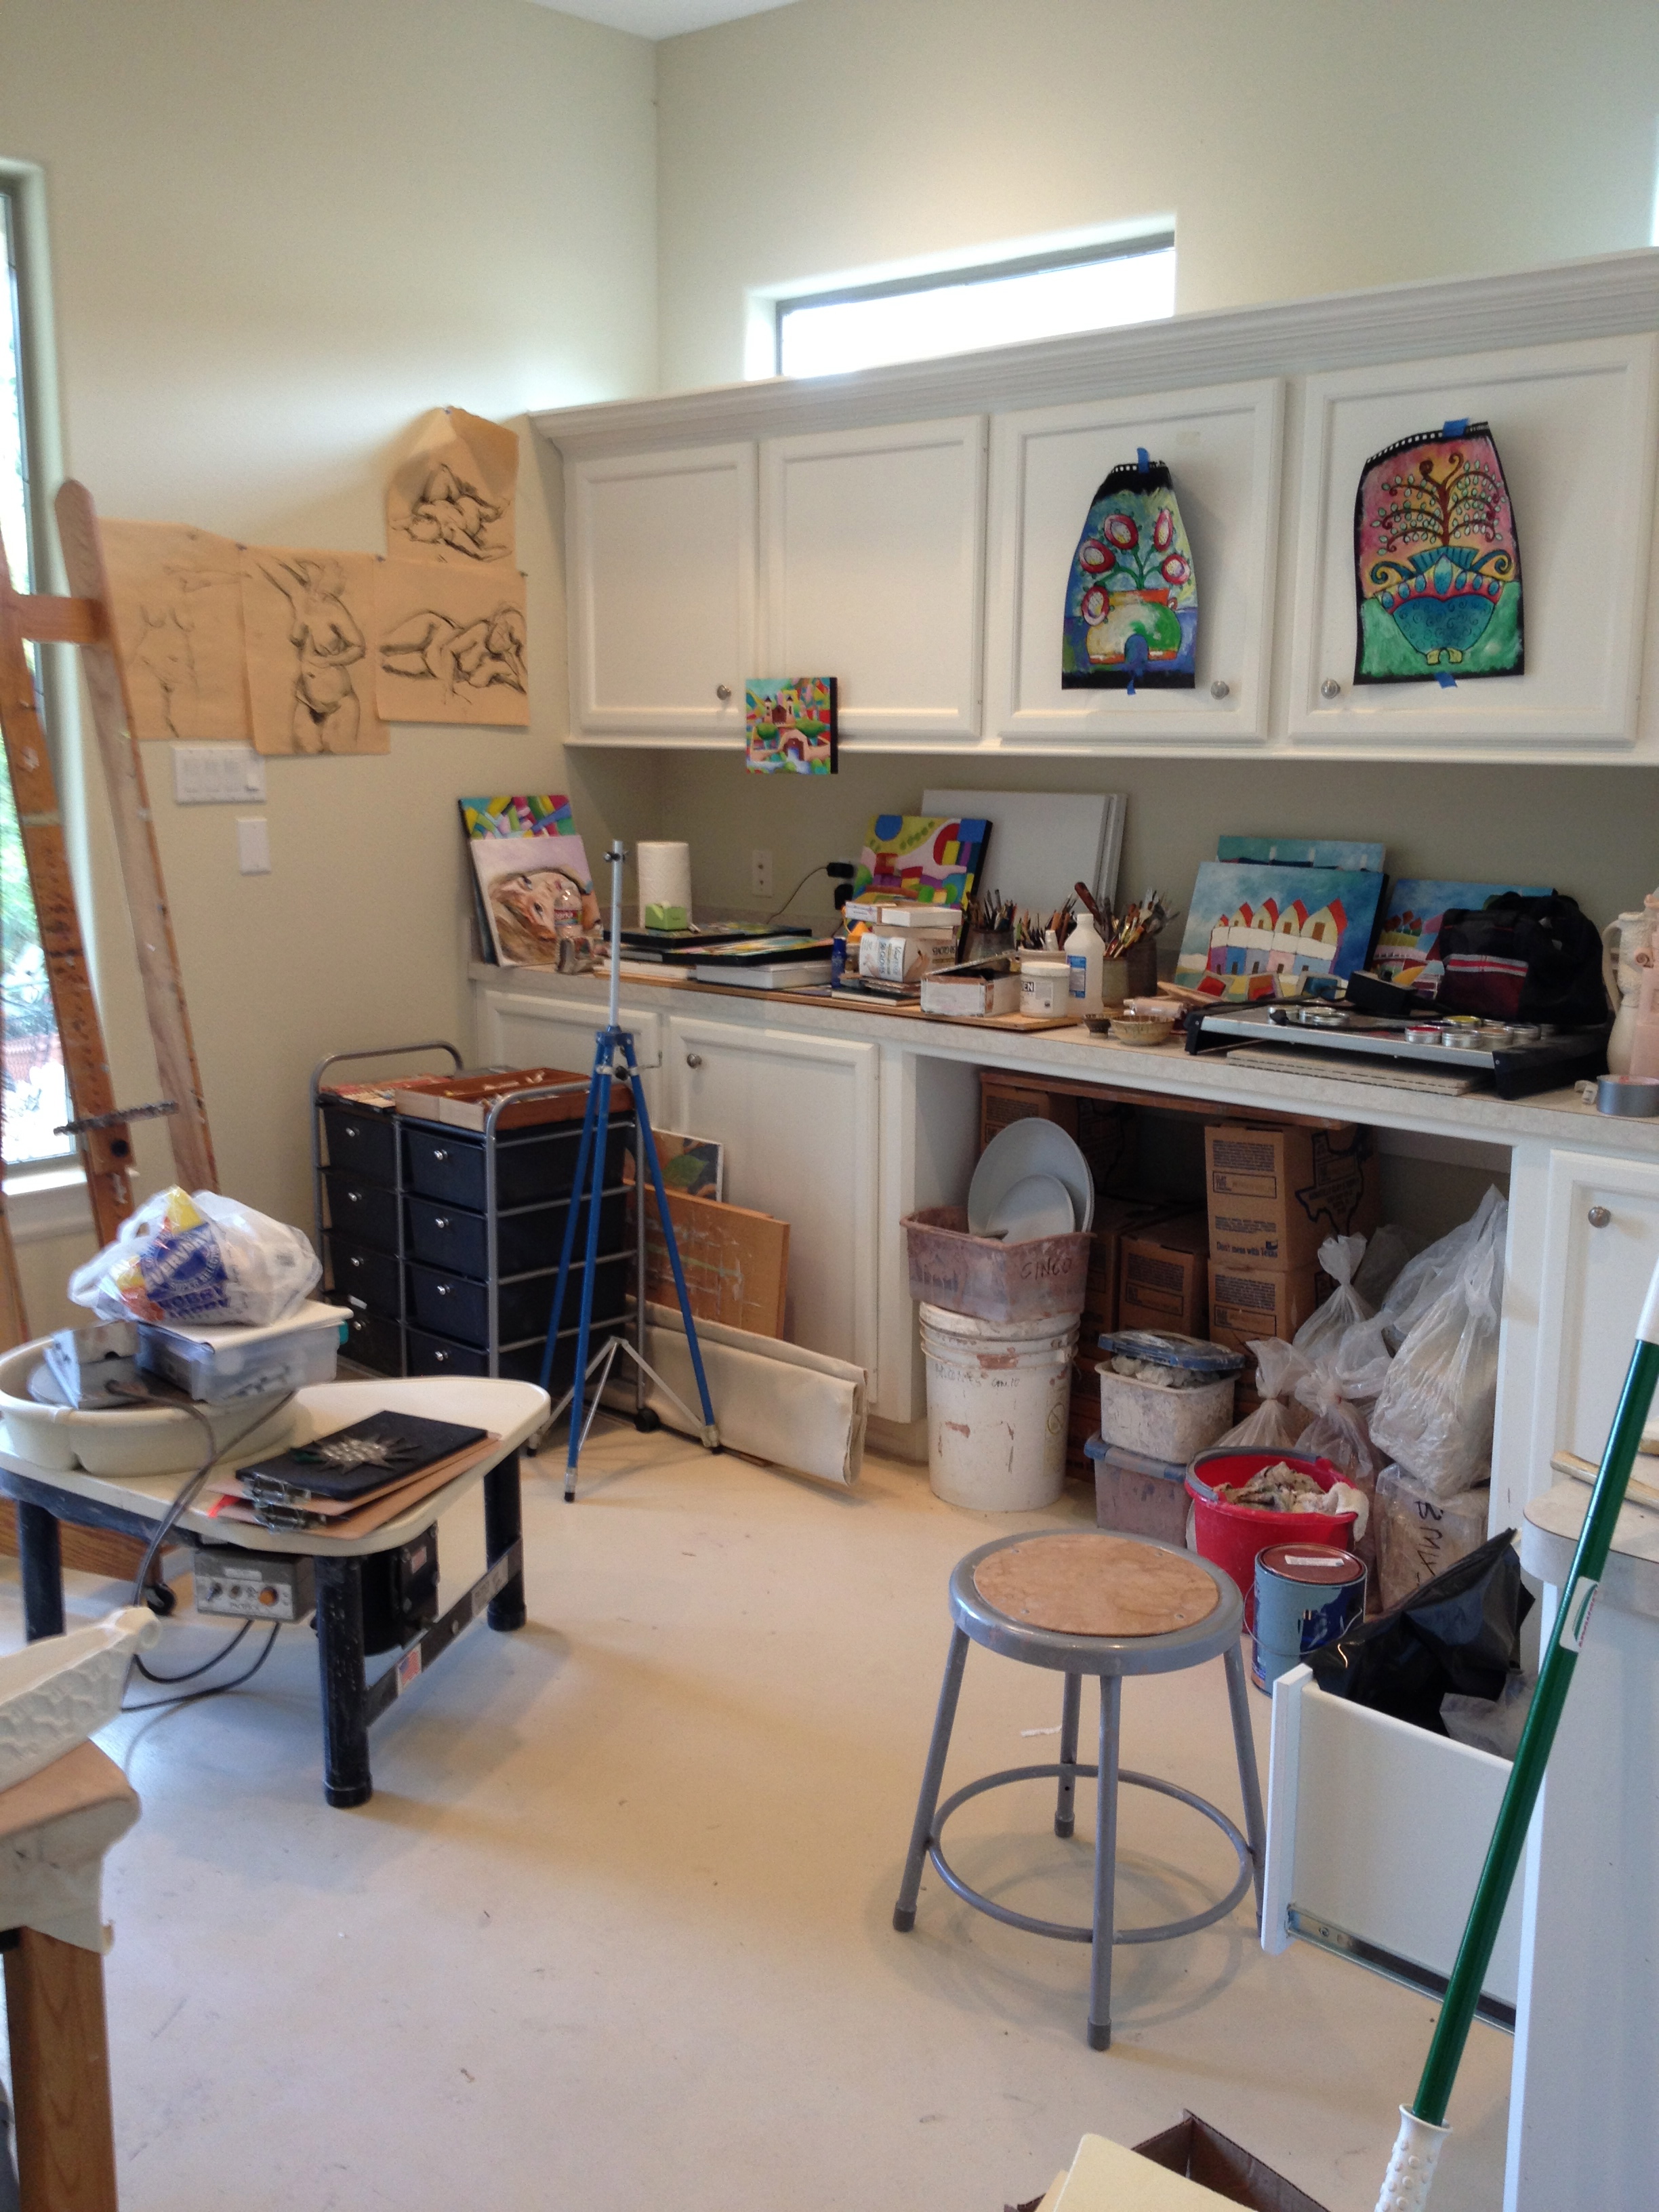

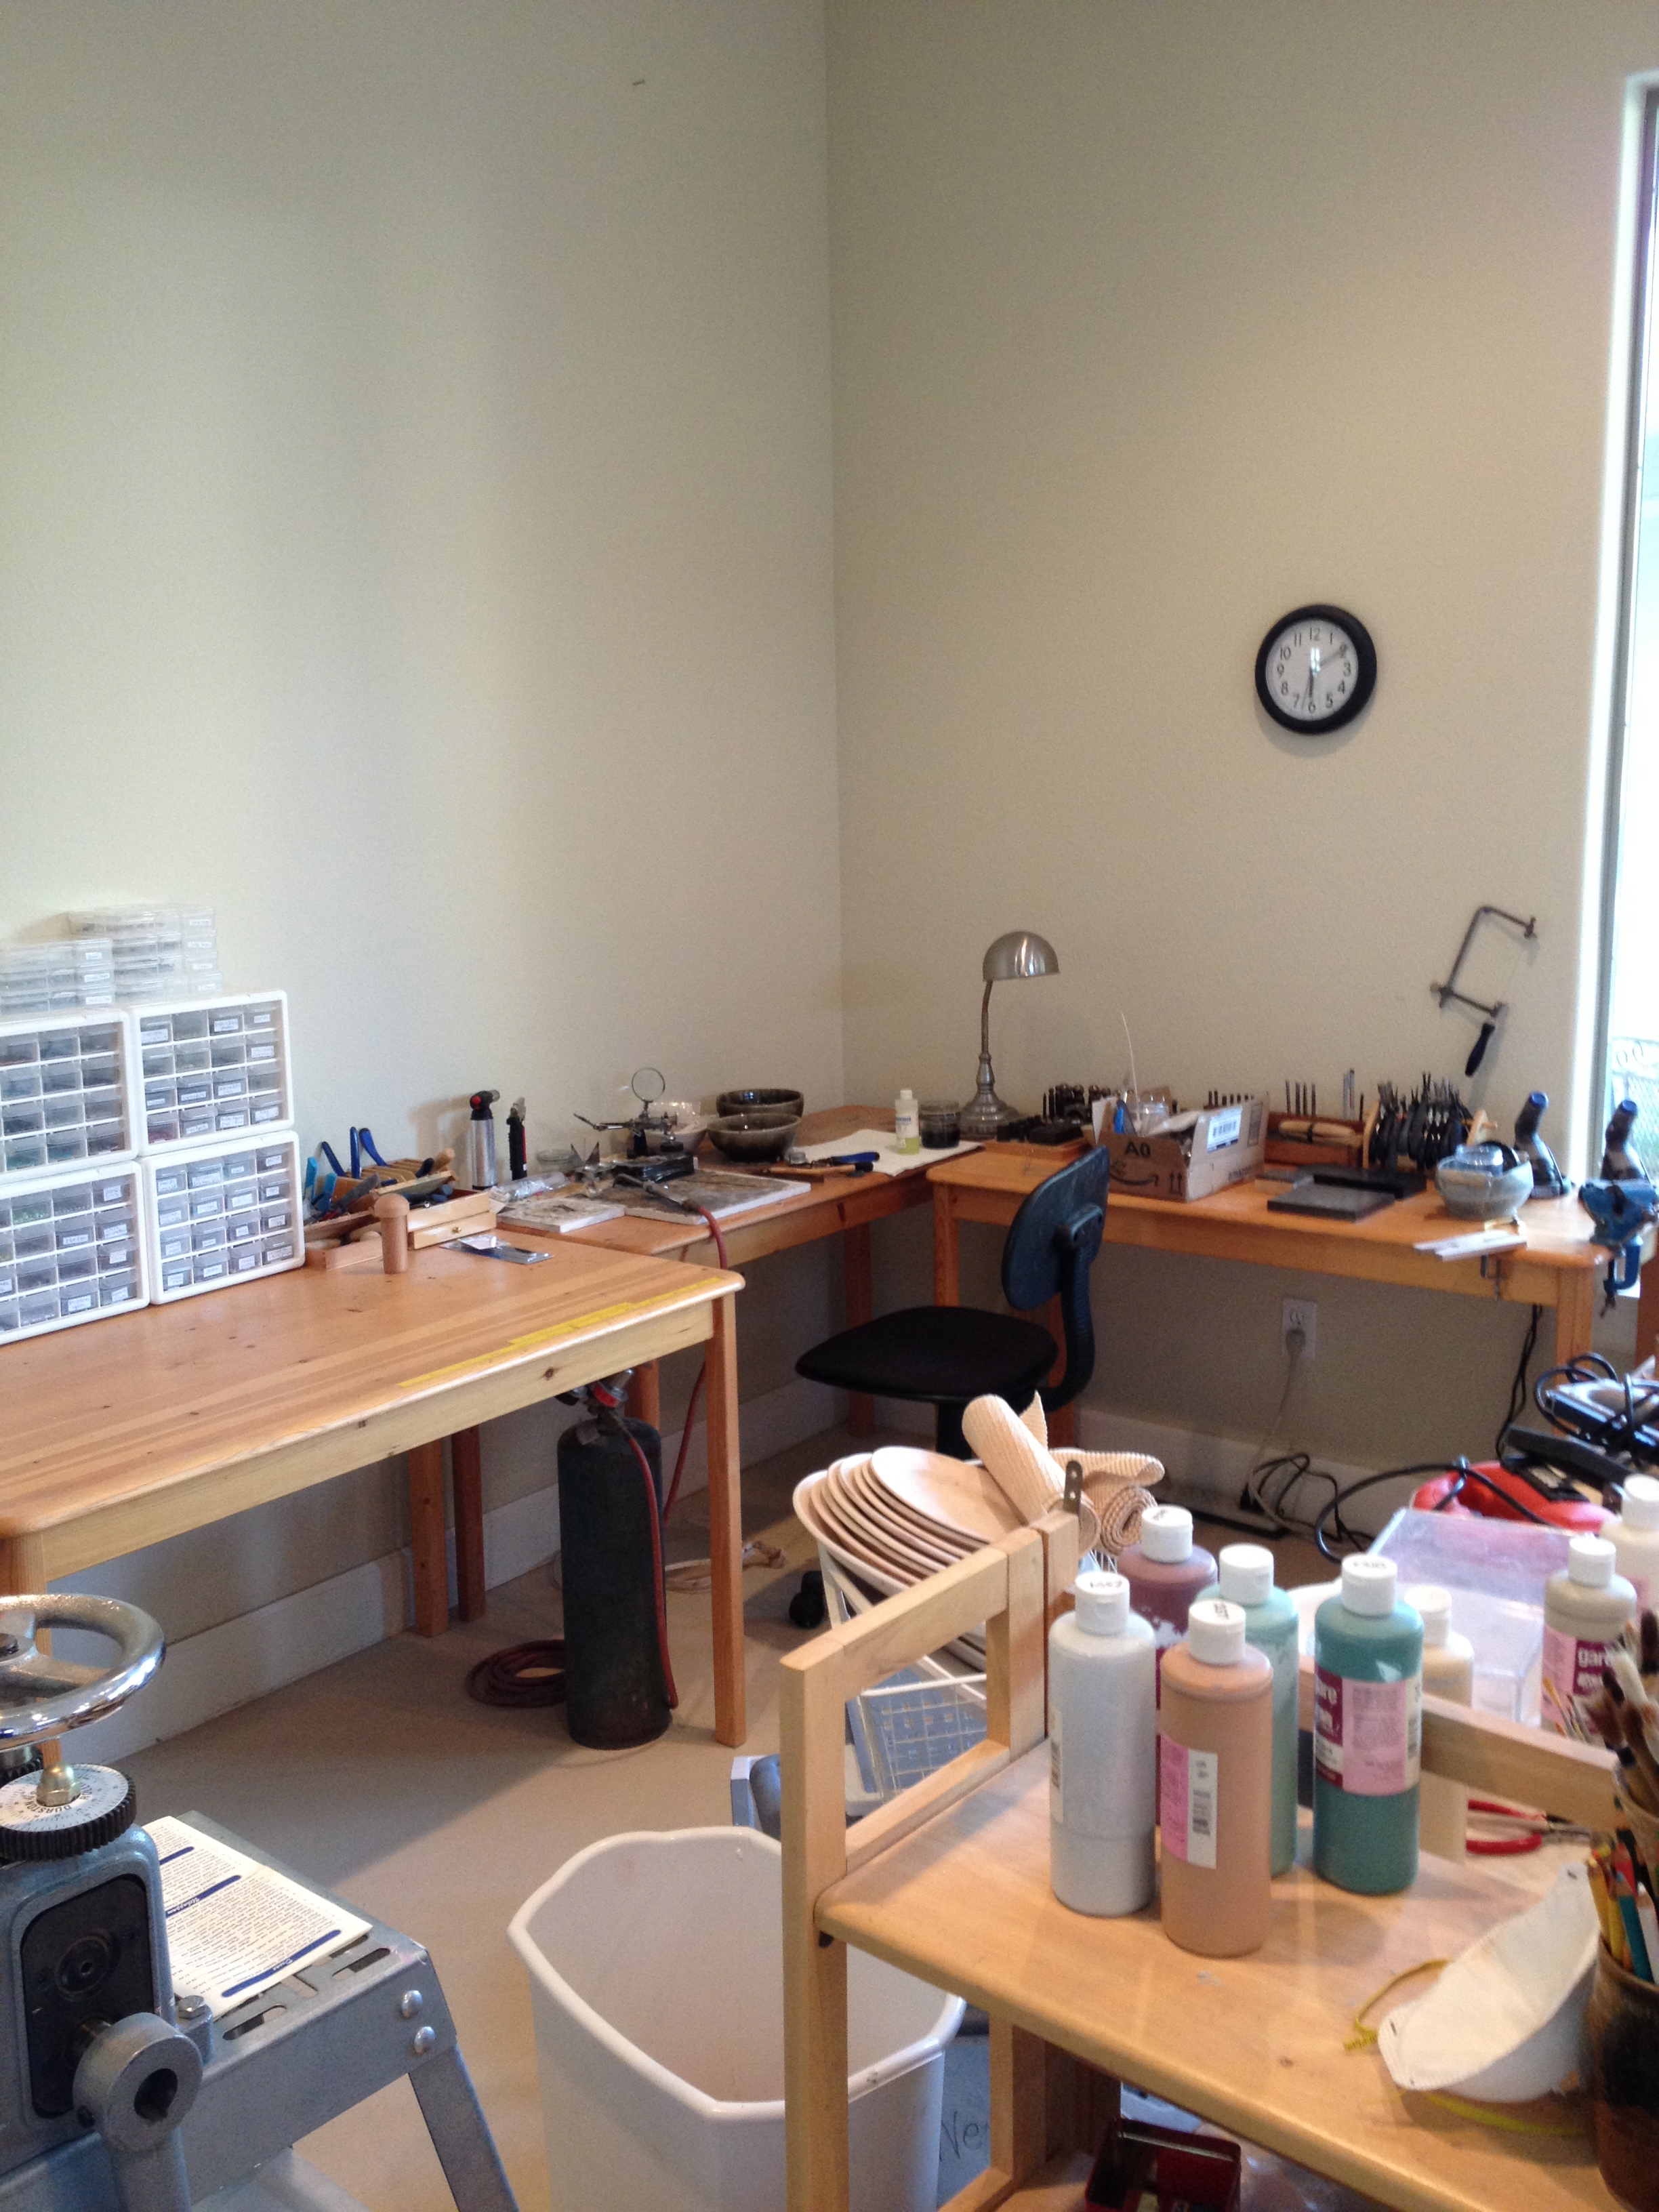
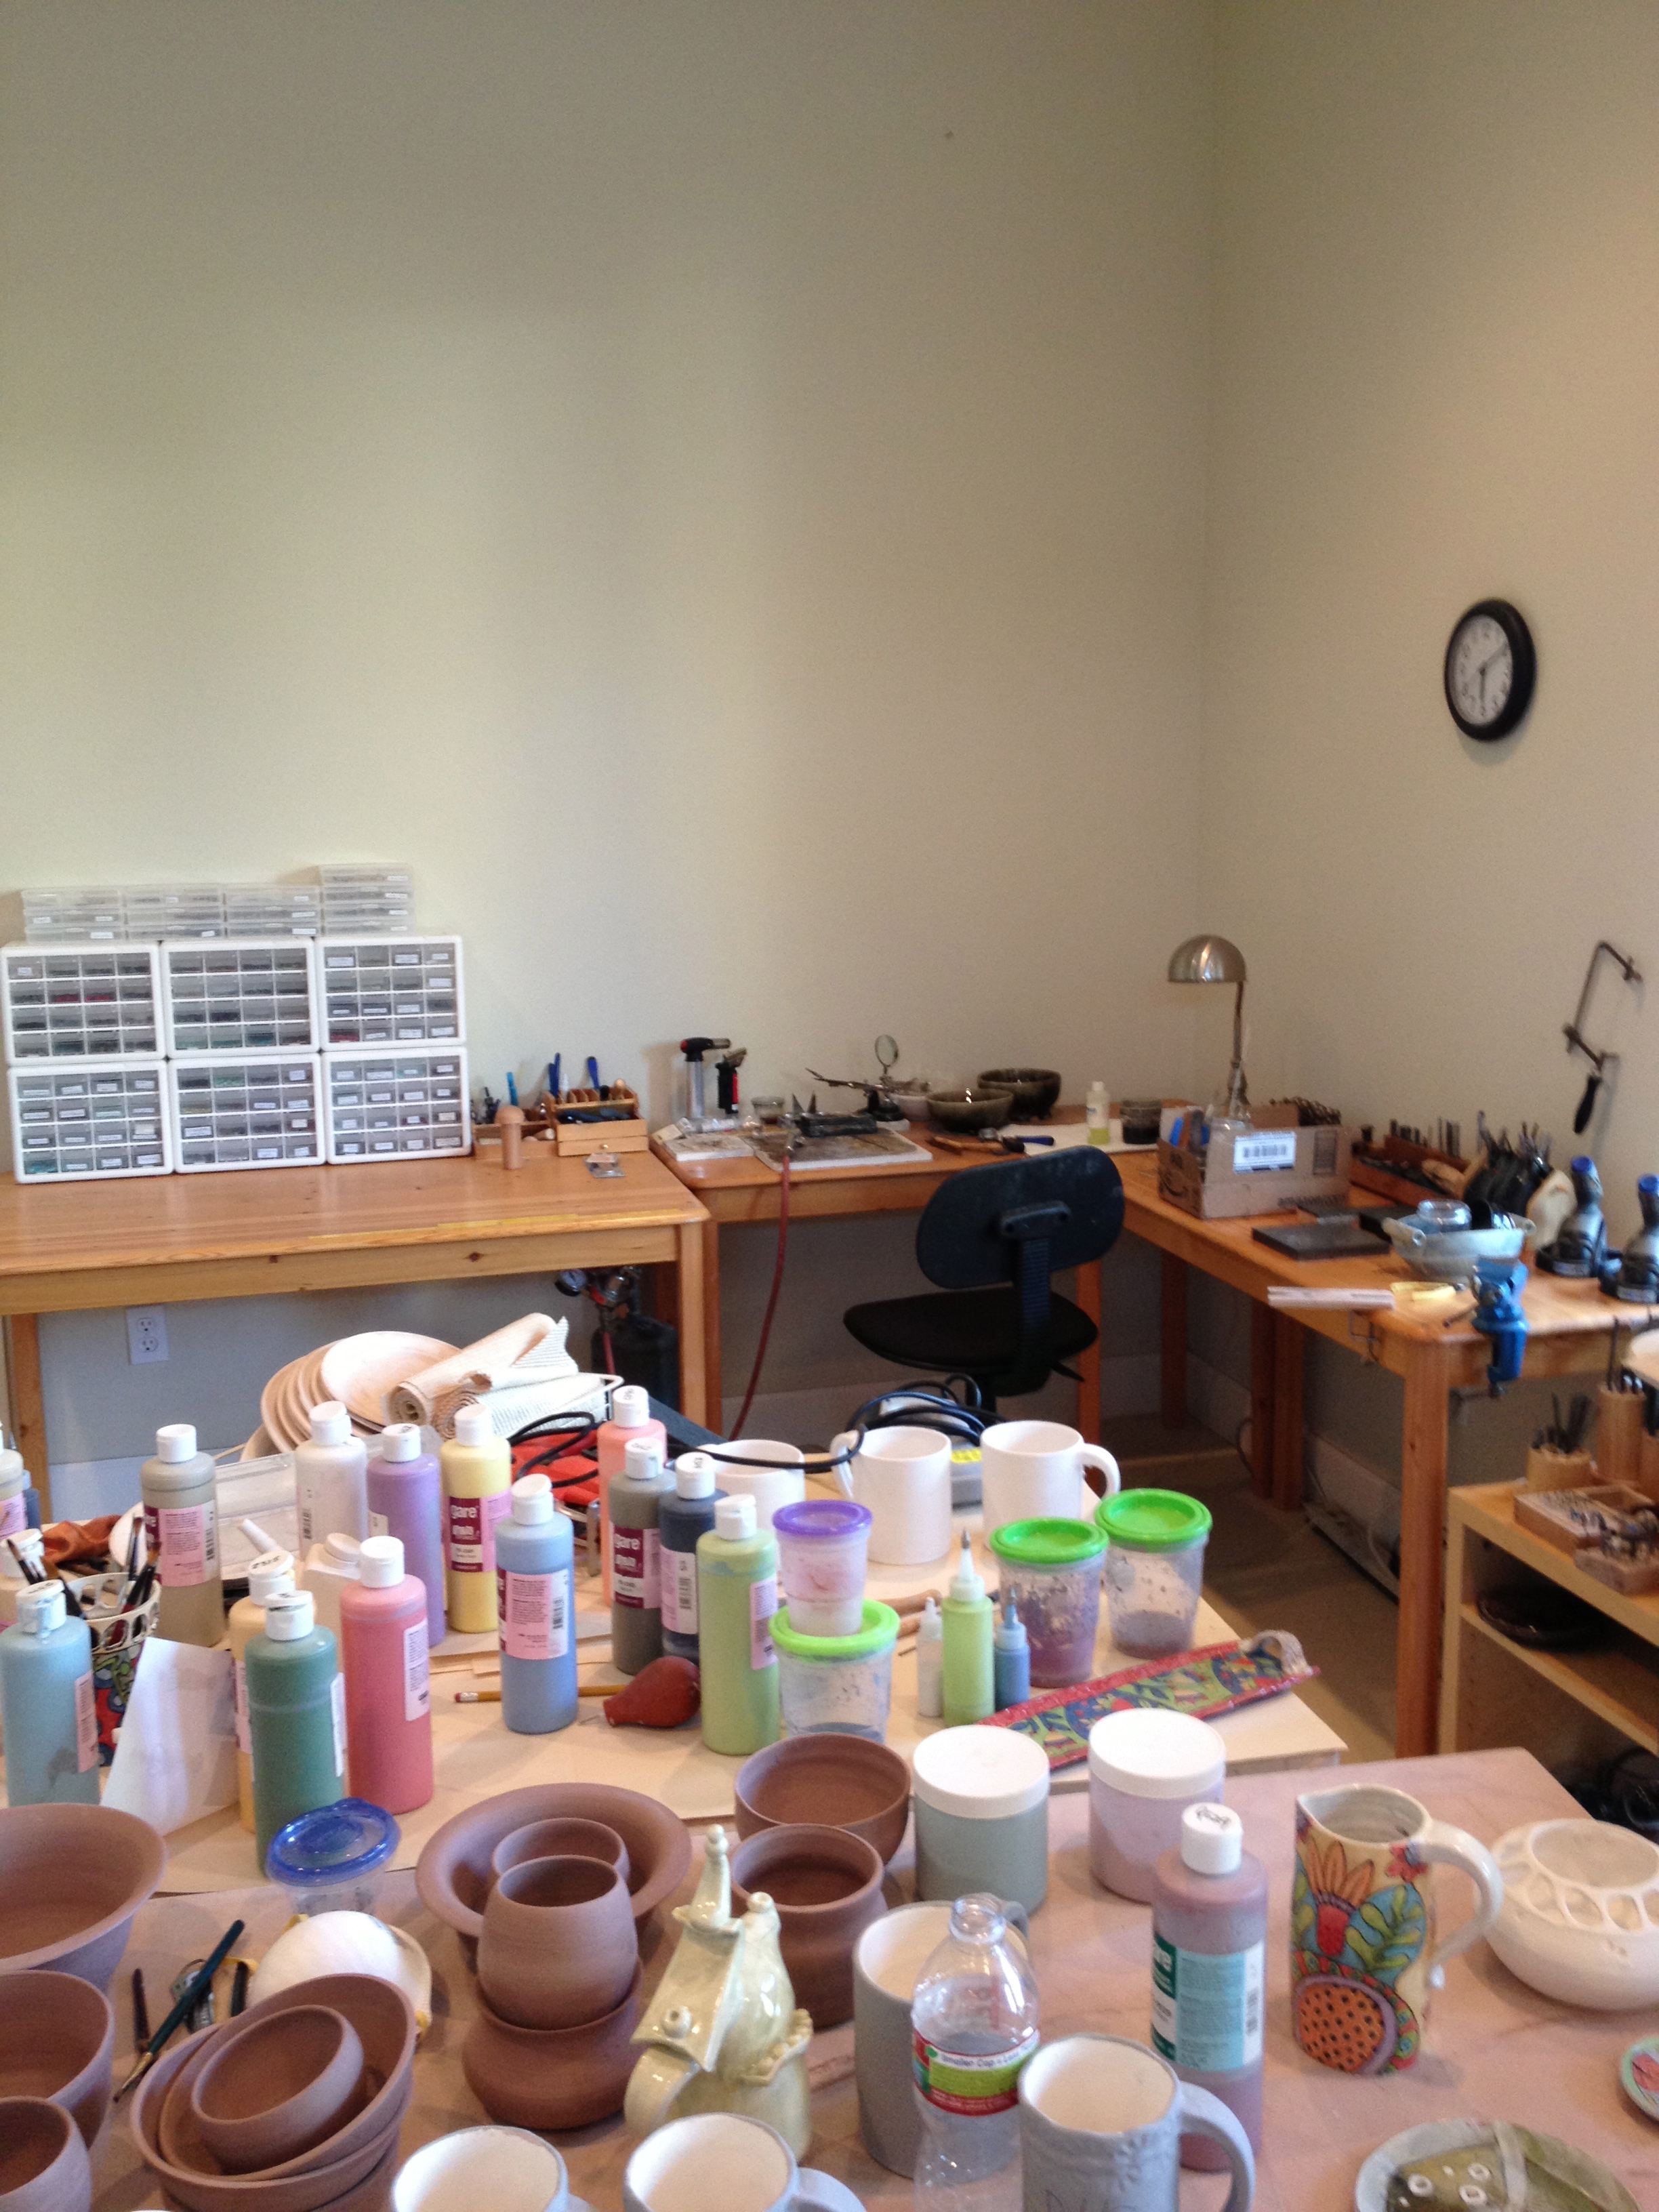
Practically, almost there.
(Well, this little corner anyway).
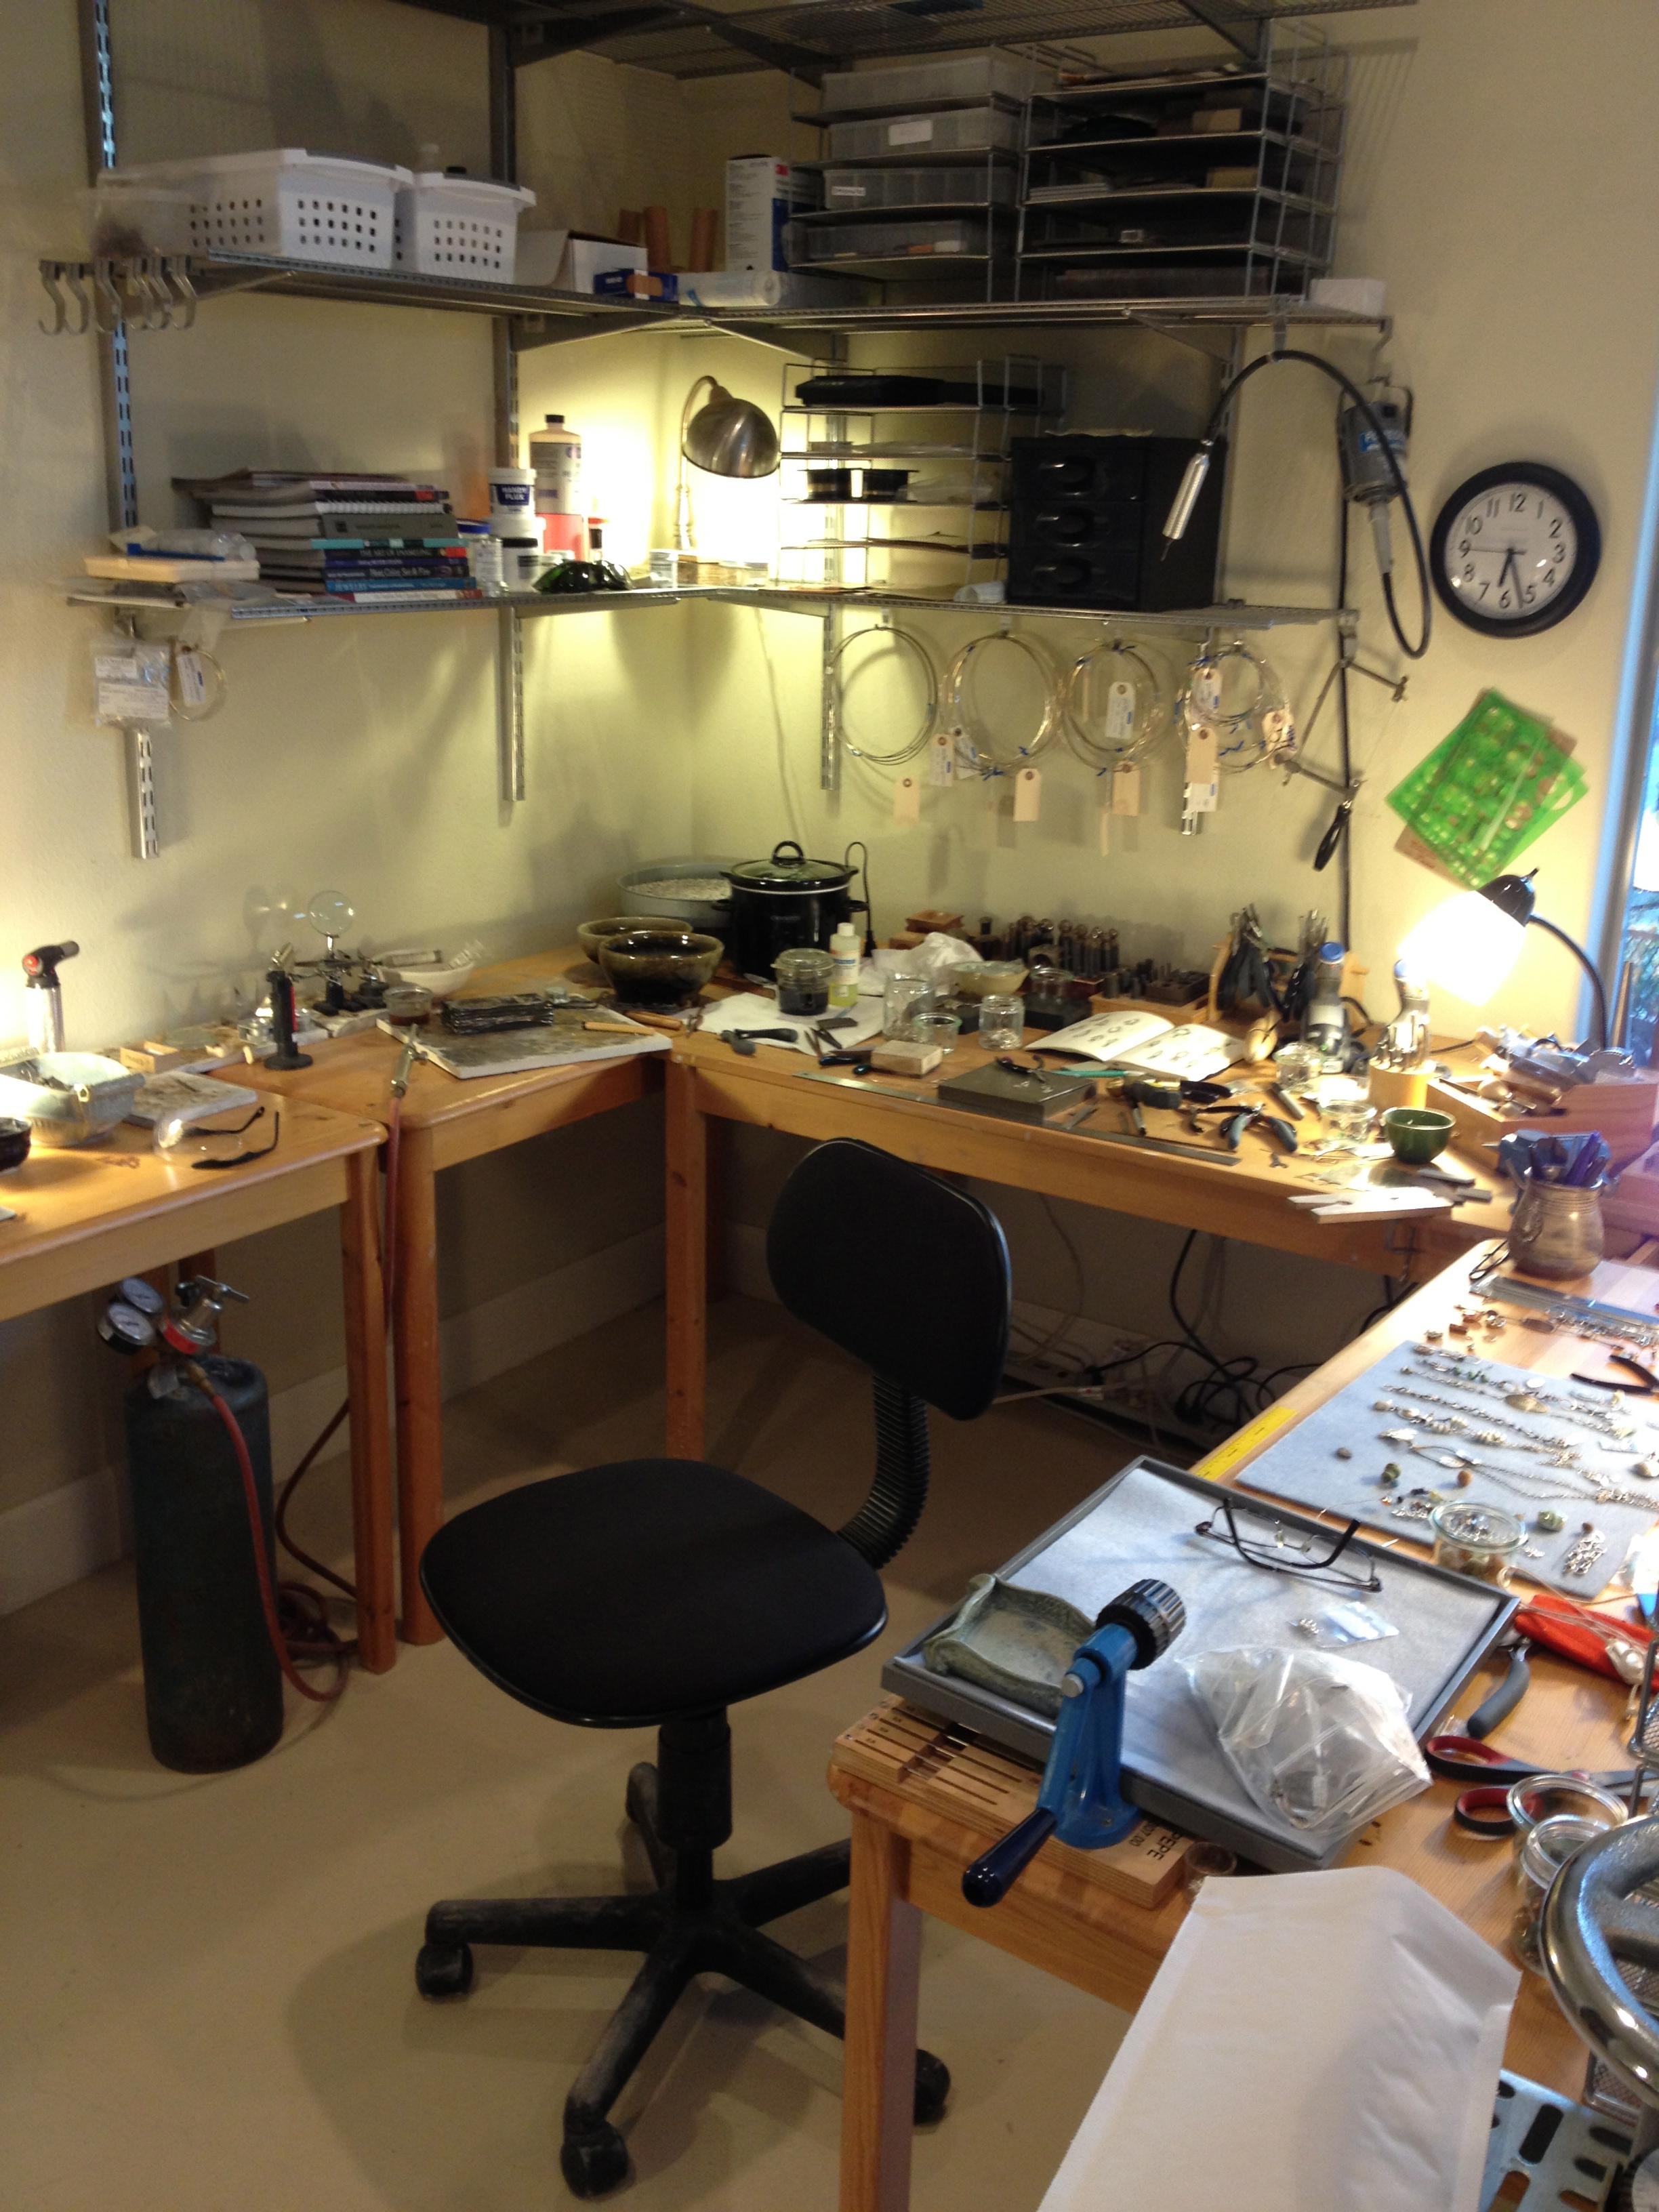
The soldering area is a little annoying as the table legs get in the way, and I’ve enough bruises as it is, so that might end up swapping spots with the buffing machine except the buffing machine is still in big trouble after my latest injury.
No, I won’t take any responsibility. It was all his fault.
I don’t know why Willow’s so exhausted.
She didn’t lift a paw.
Man! You just can’t get the help nowadays …
–
For my first attempt
I went with a simple shape.

I’m not really a heart person so I don’t really know what went on here, but it is a simple shape – I guess.
And I worked it until I got to this.
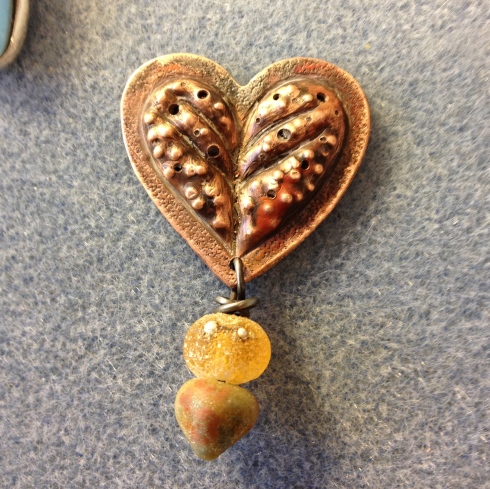
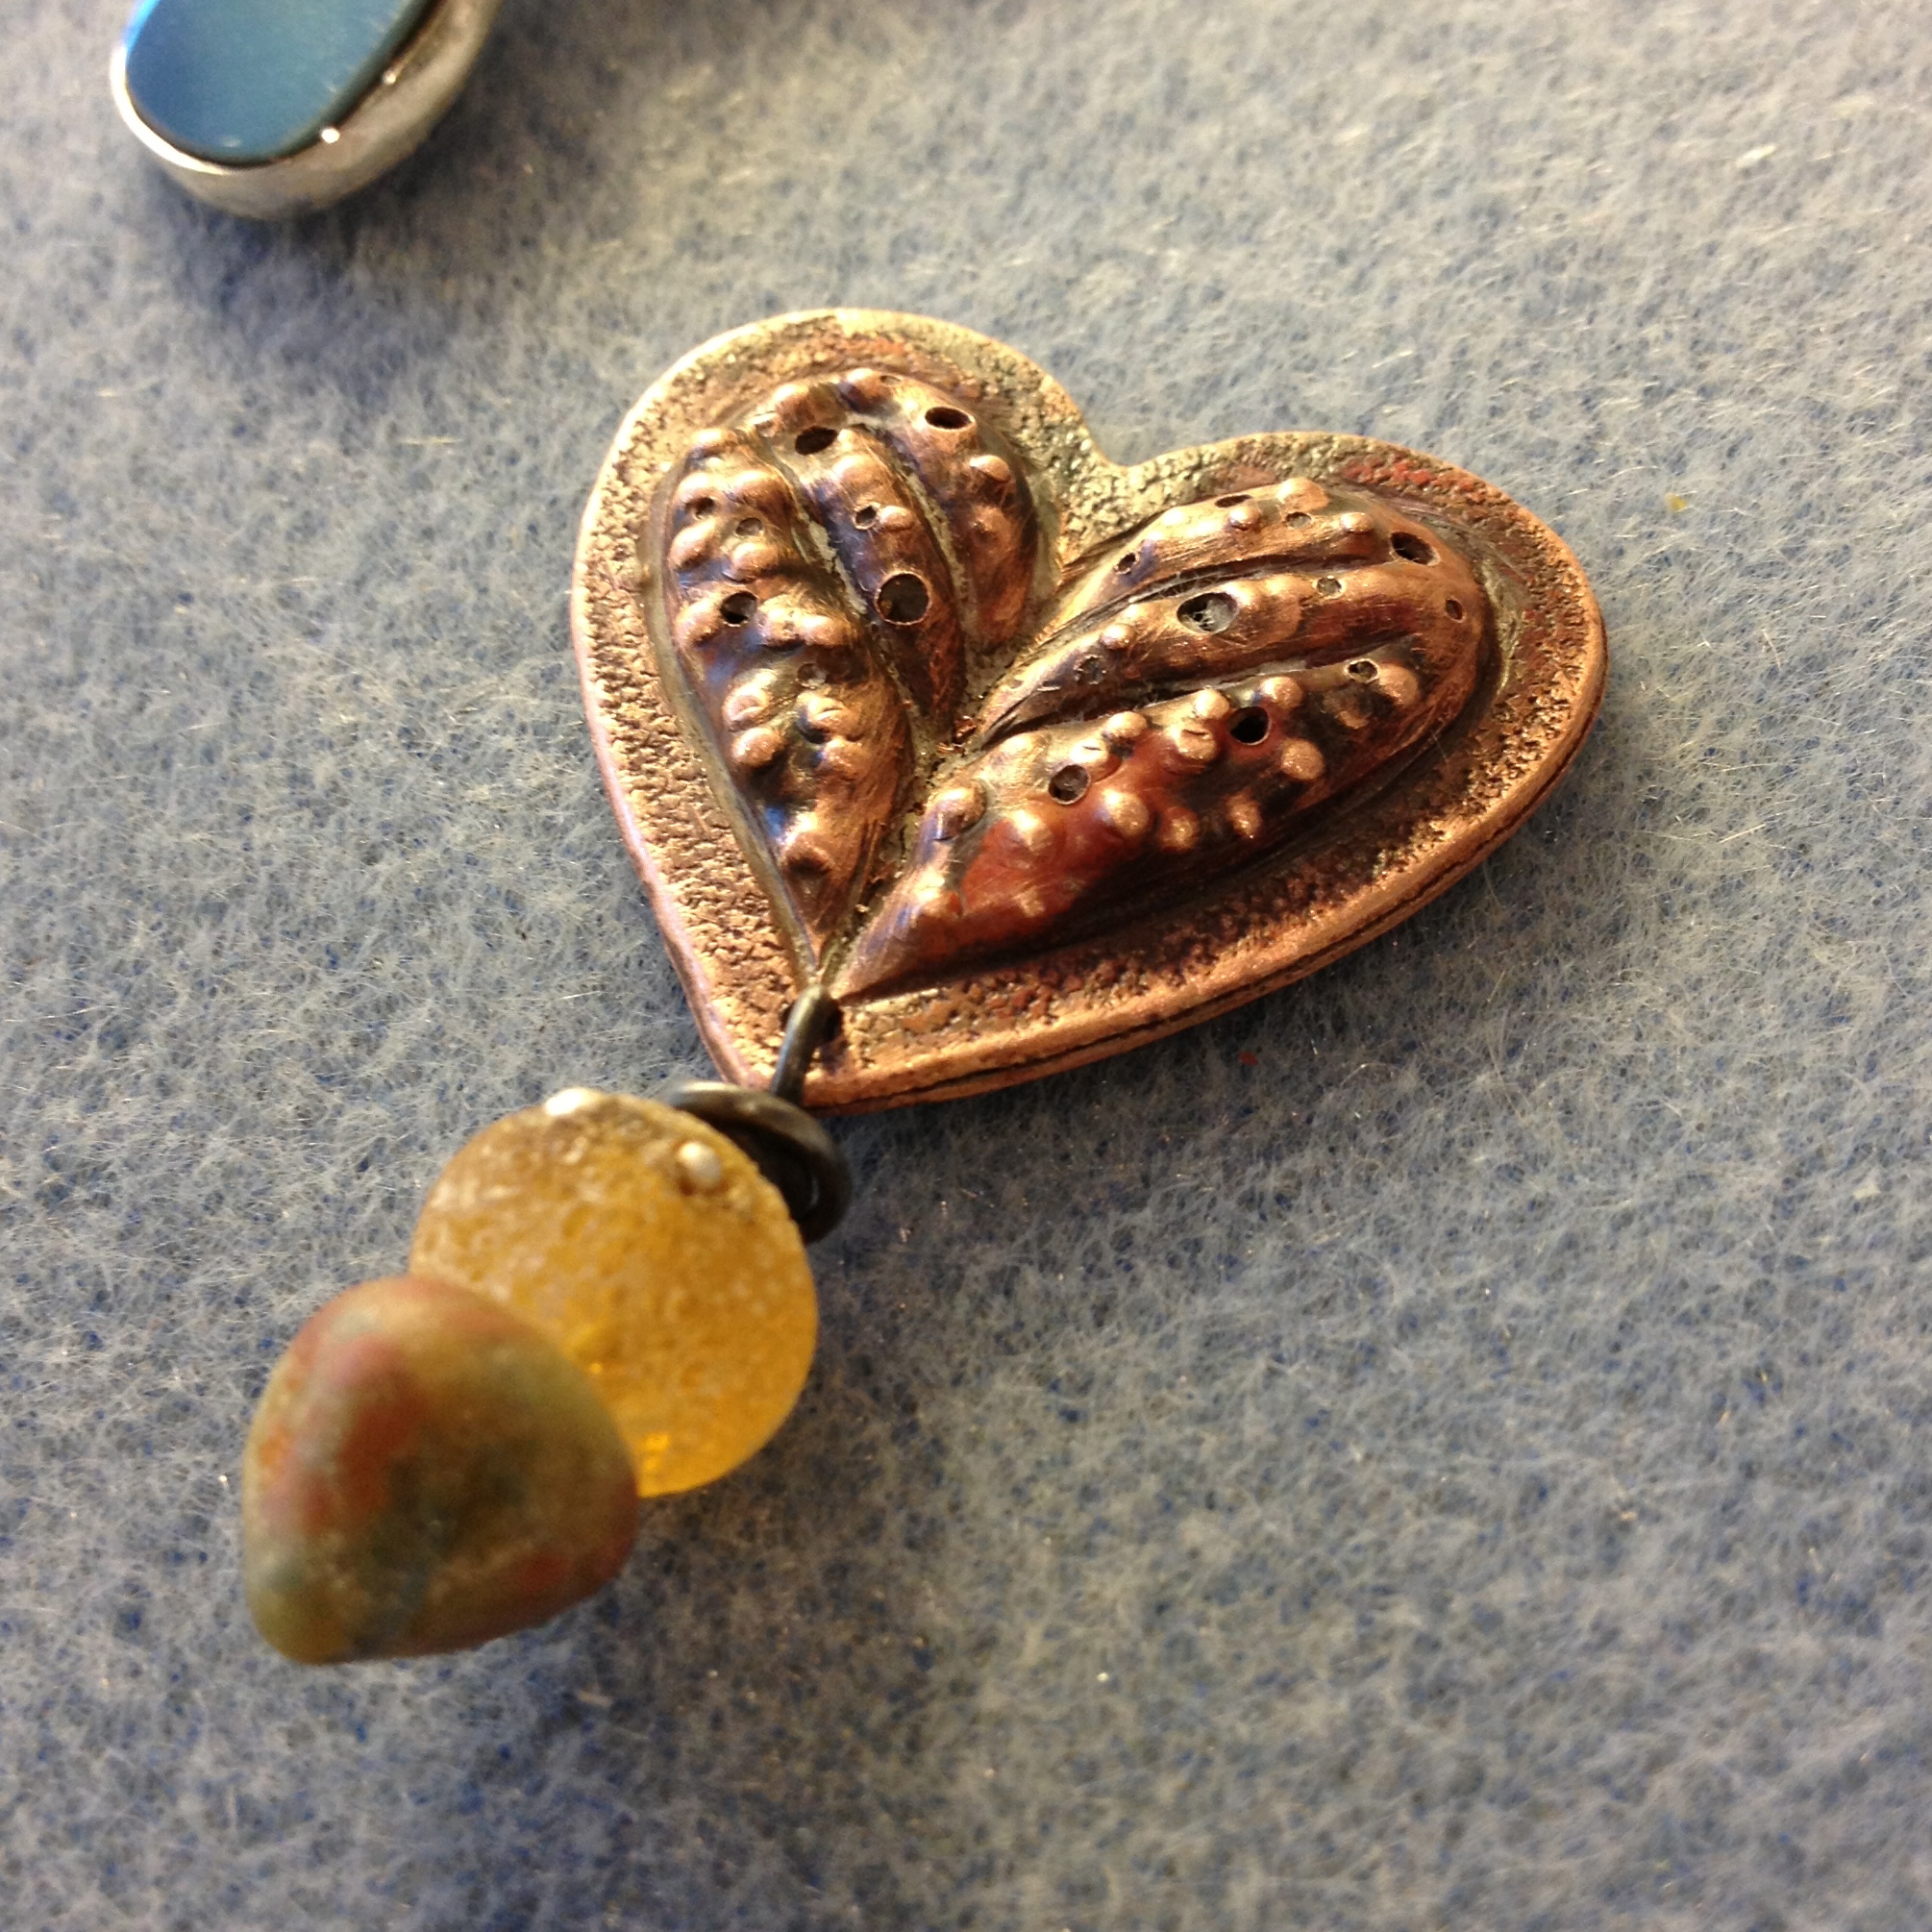
Very, very simple, but it was good to get the feel of the pitch, and tools, etc.
Looking forward to tomorrow when I get to try again.
P.S.
No injuries so far, but I’m not holding my breath …
–
This is what happens when your mind wanders for just one nano second while you’re using the buffing wheel.
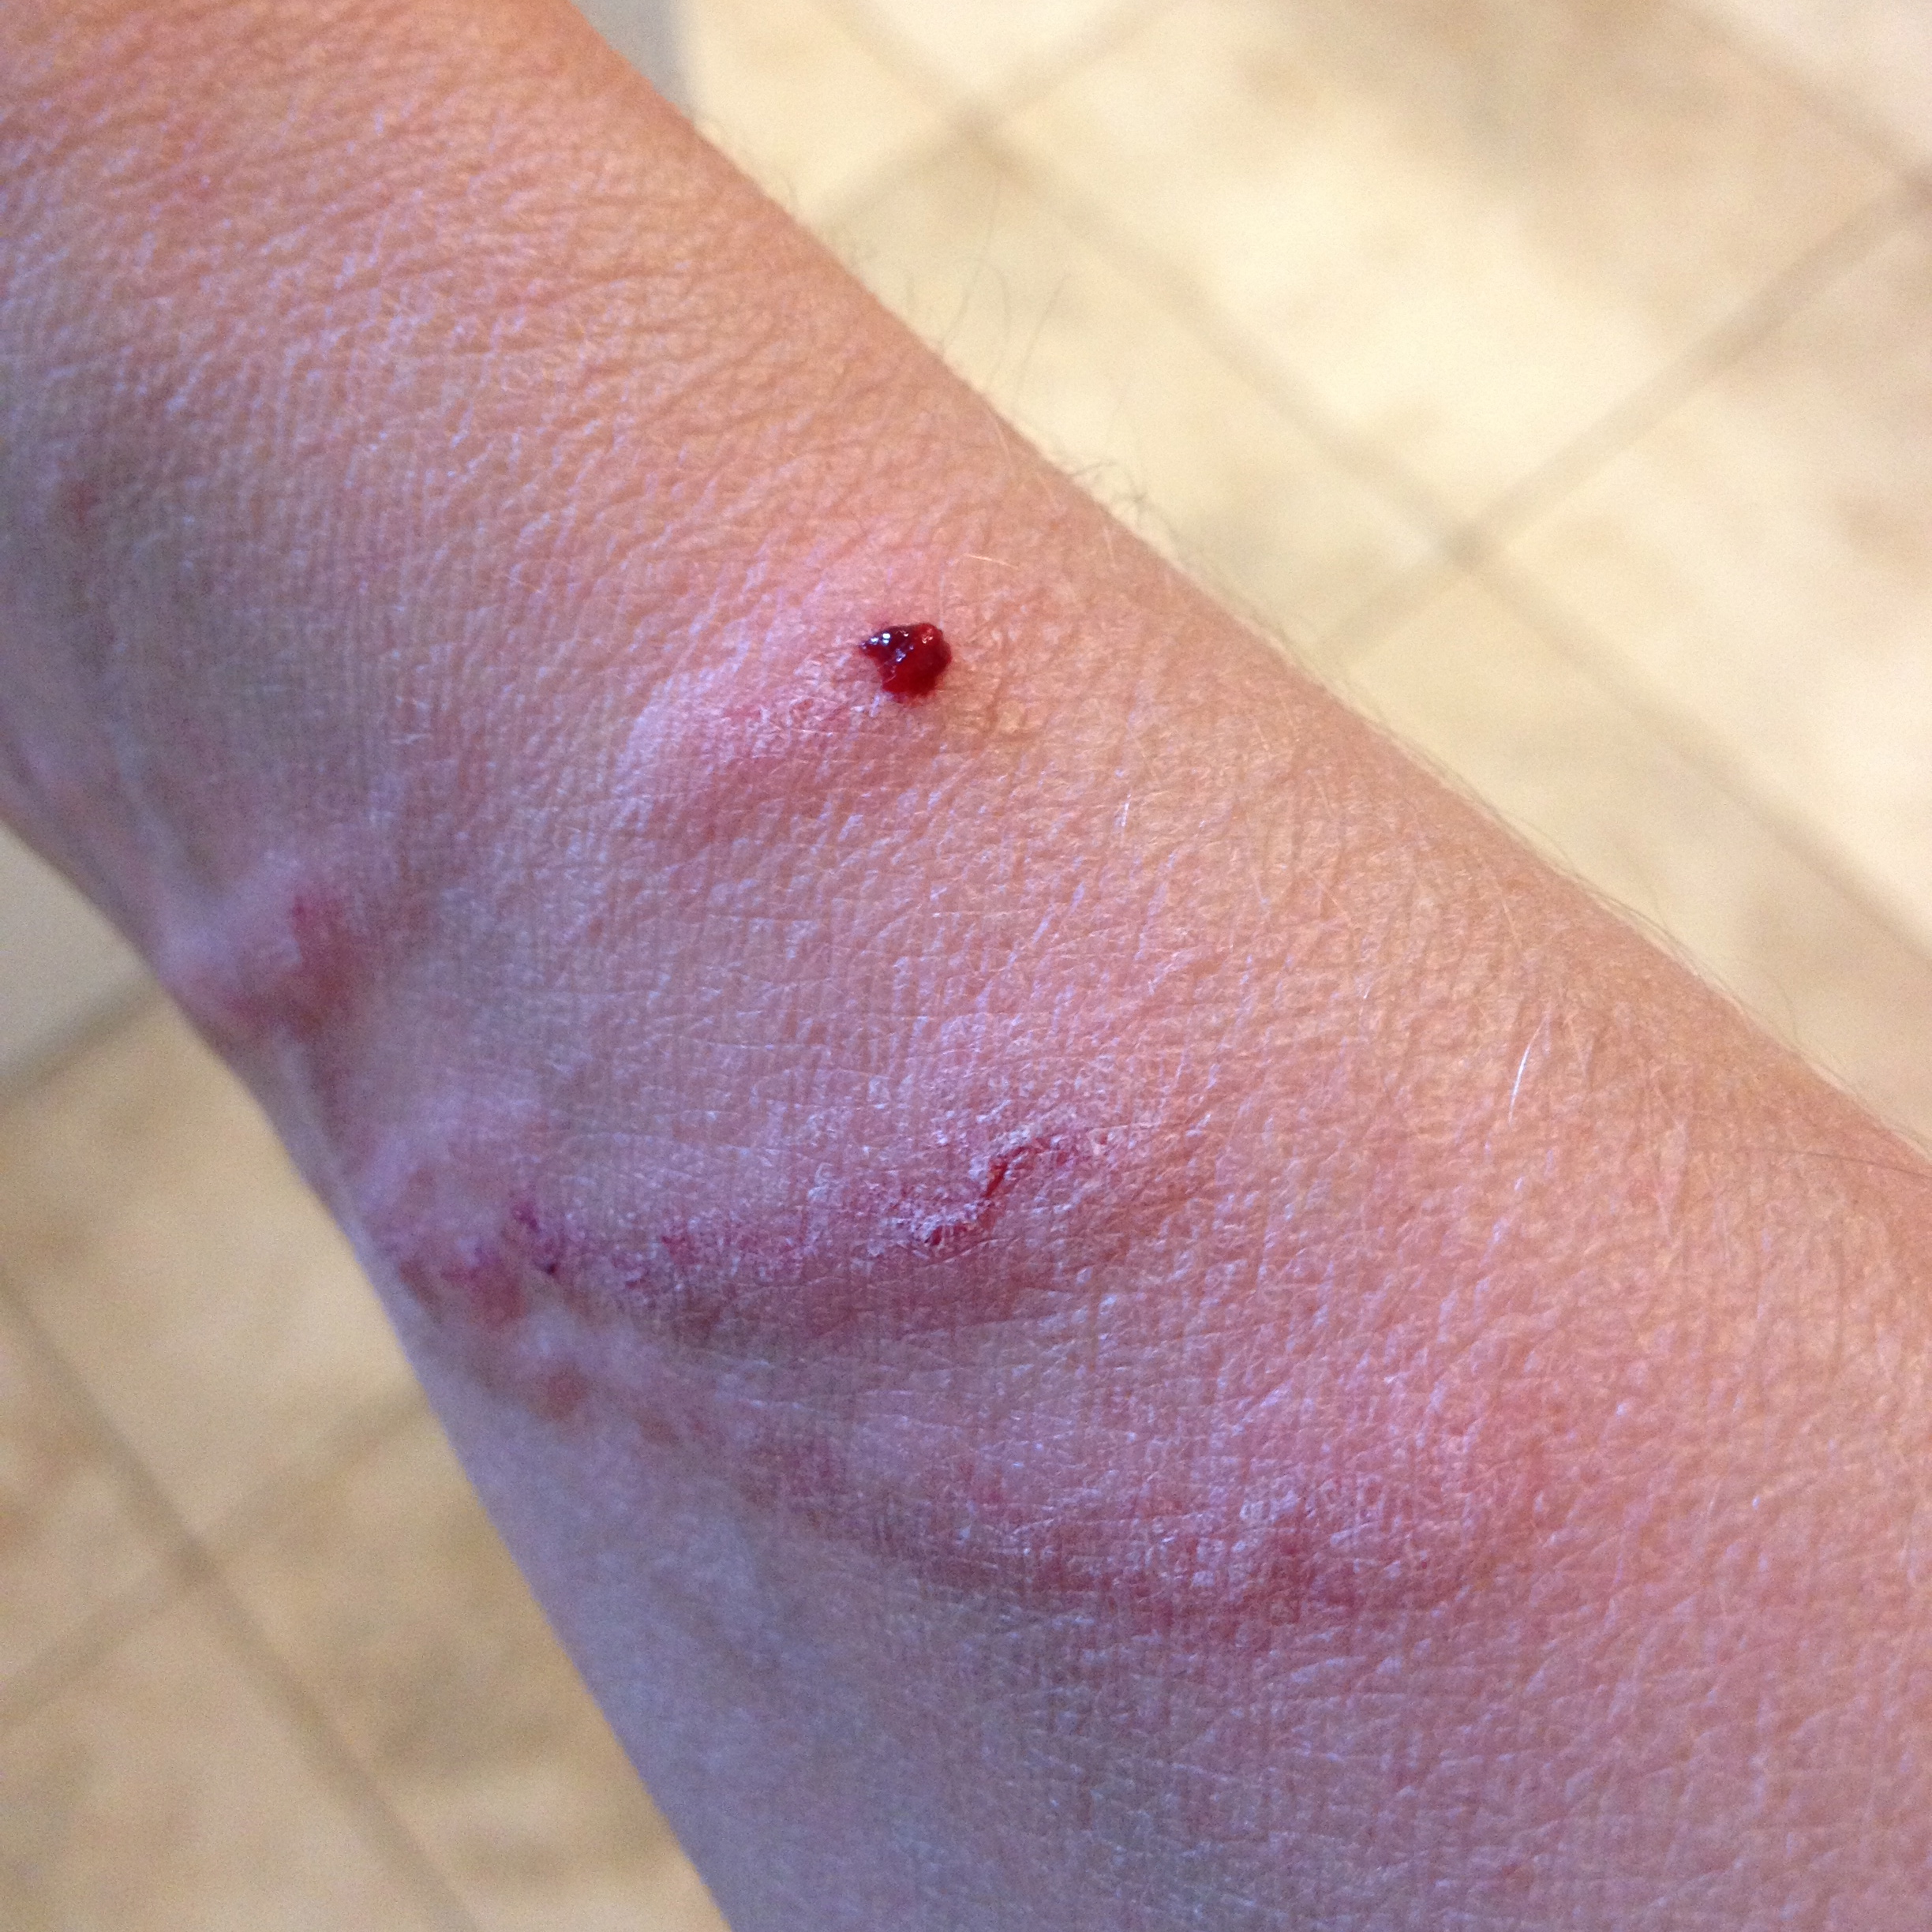
So take heed new jewelry making people.
This little beauty.
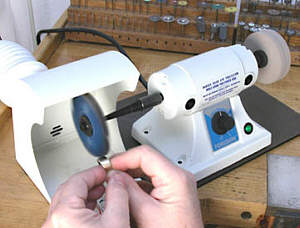
Can do this.

Soon I will make a booklet of all my jewelry injuries so that you can avoid them.
It should sell for millions.
I can’t give up though. I’ve just bought my first bowl of pitch.
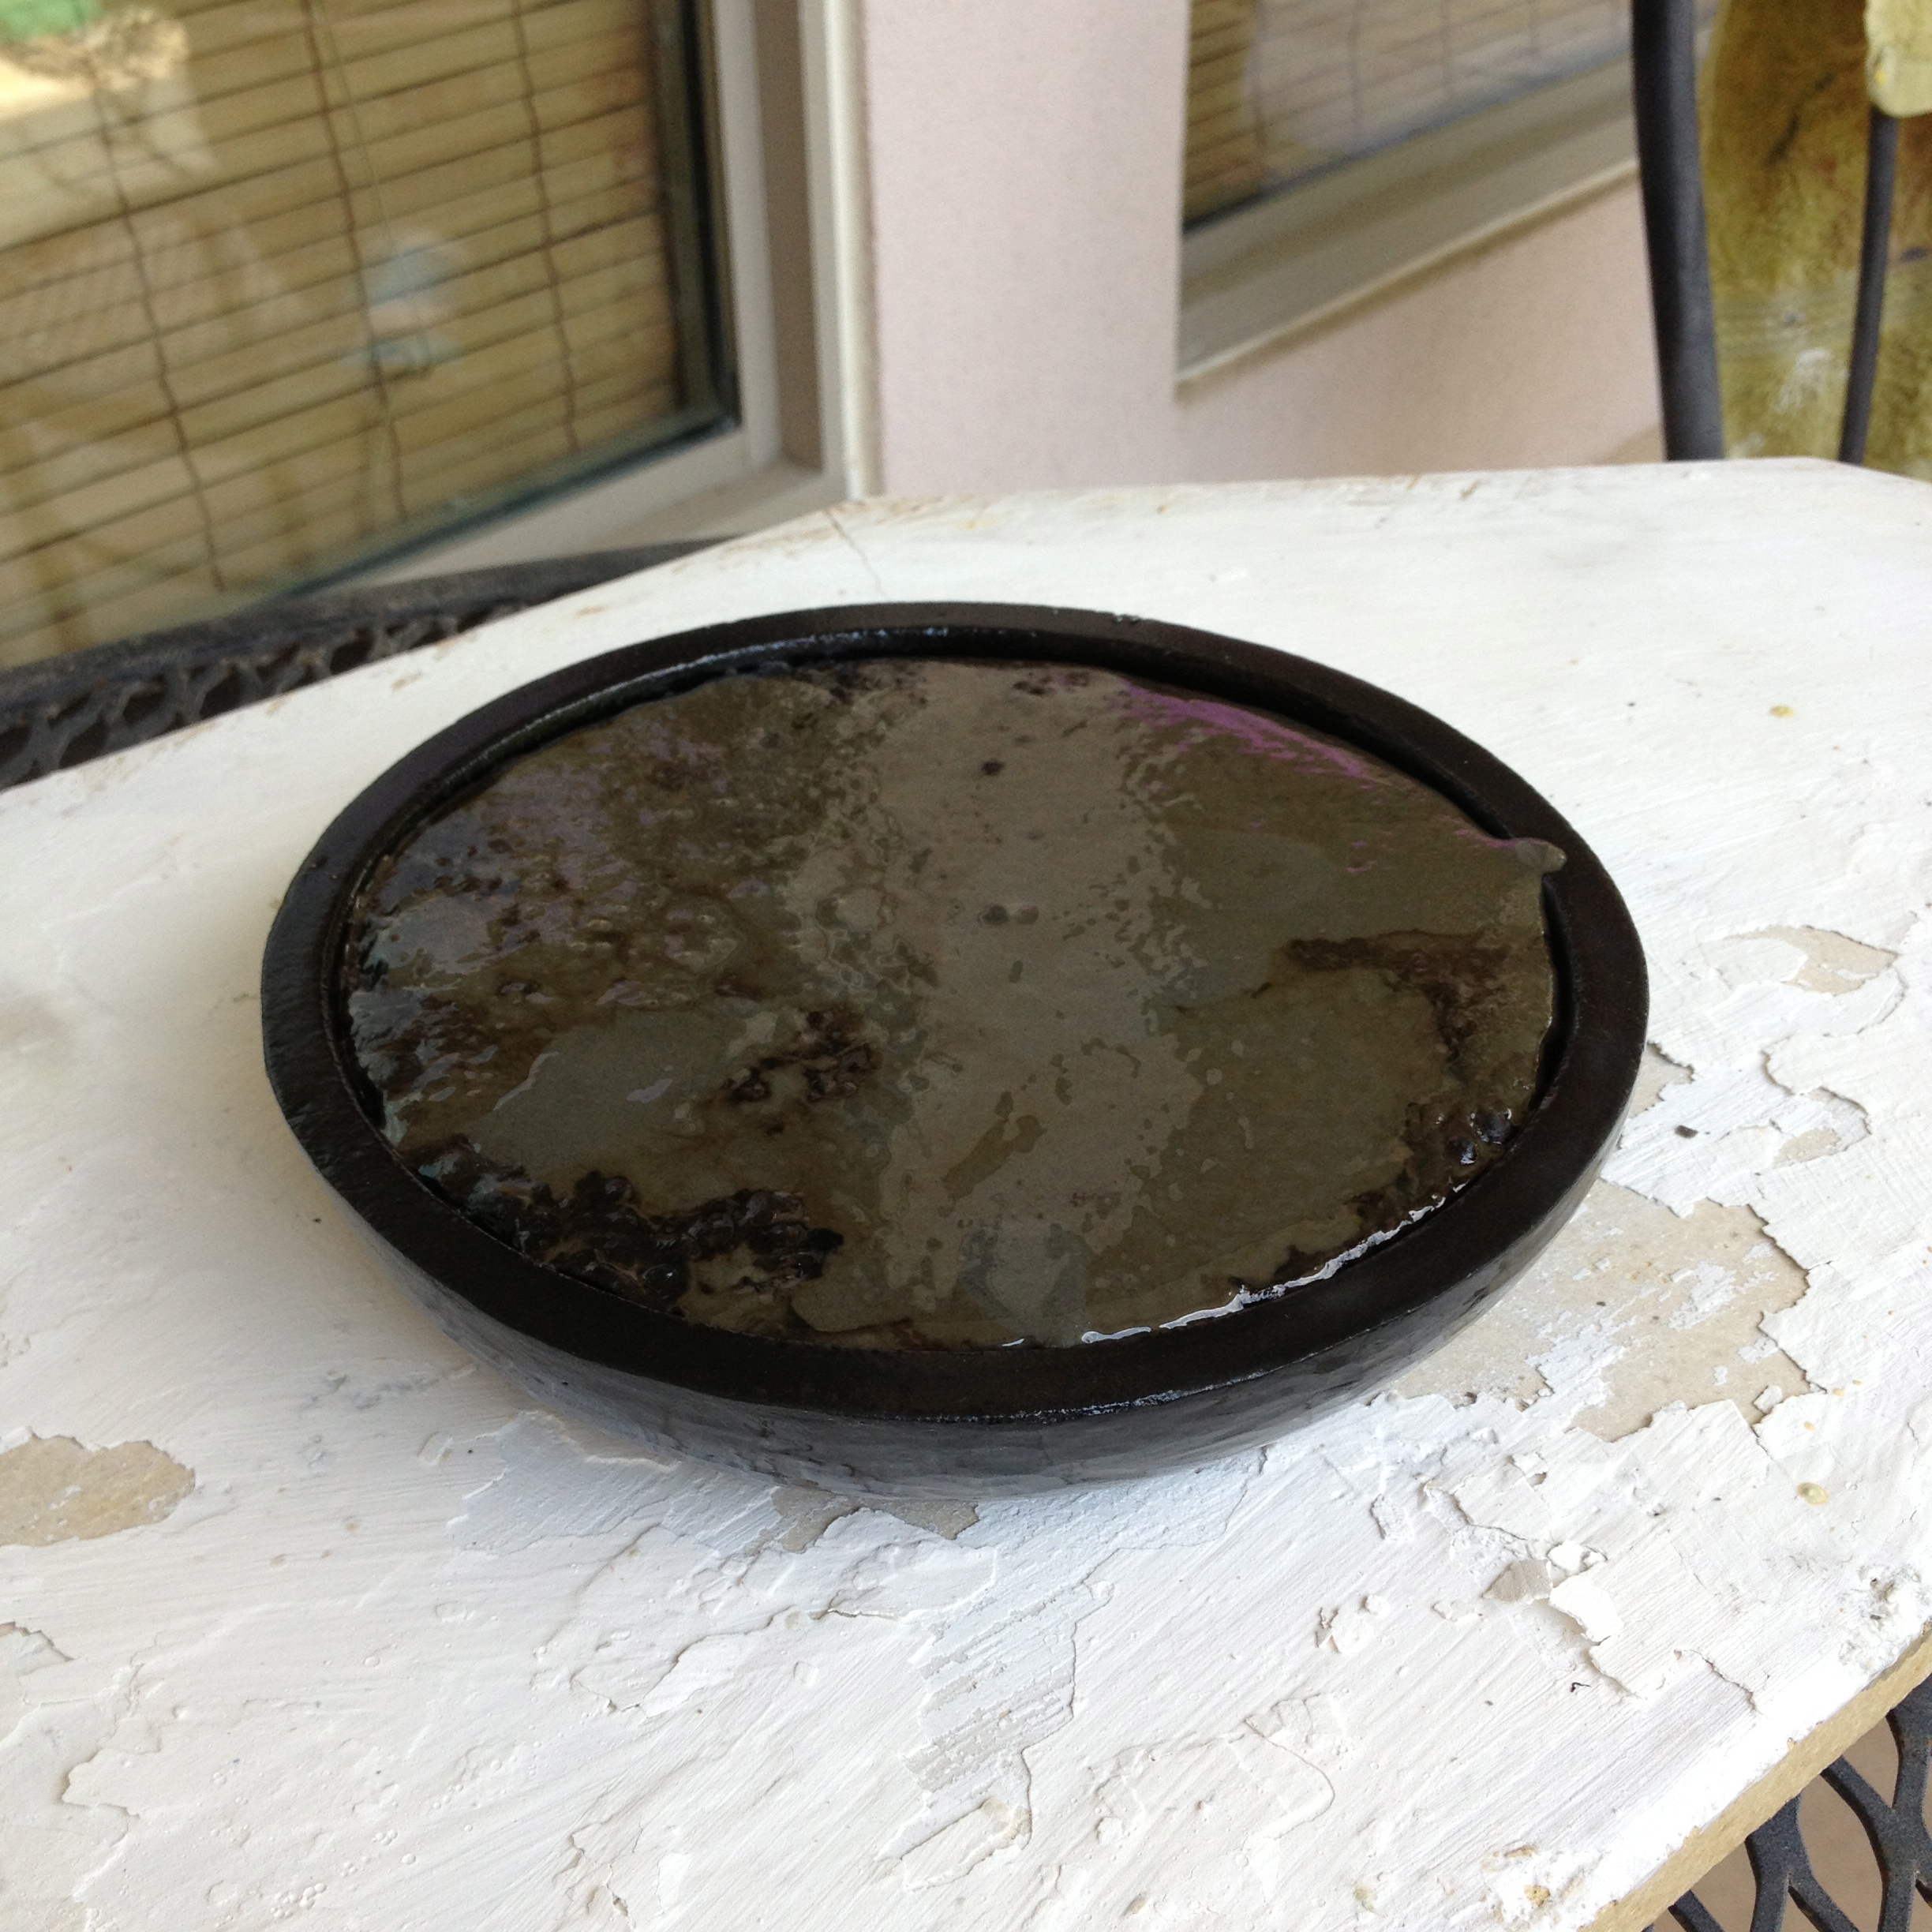
No injuries so far although there were flames and smoke when I melted down the pitch lumps.
Mum always said, Why can’t you just get girly things like normal girls?
Well this is why.
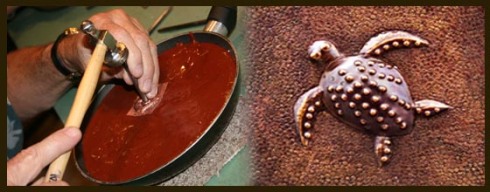
I’m itching to have a go.
Lets just hope I can keep the injuries to a minimum …
–
New quilt design for Hope.
My 5 year old niece.

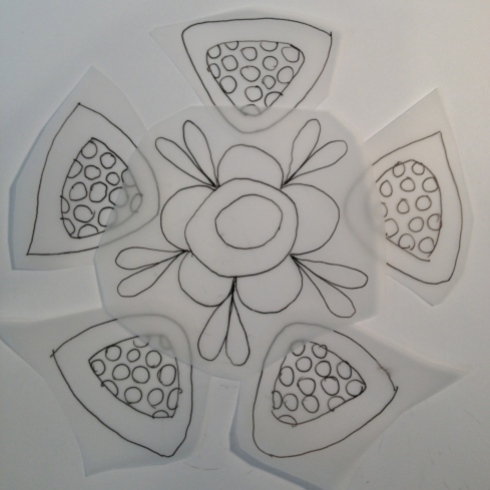
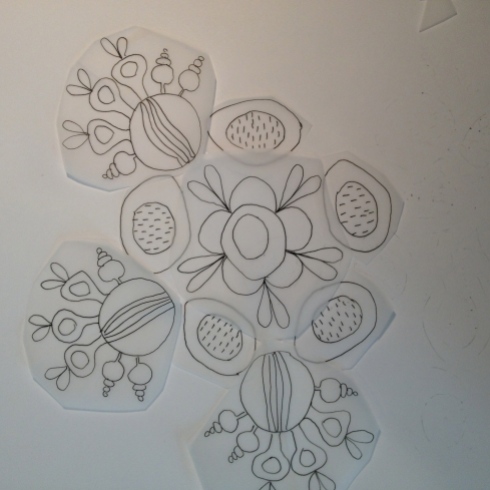
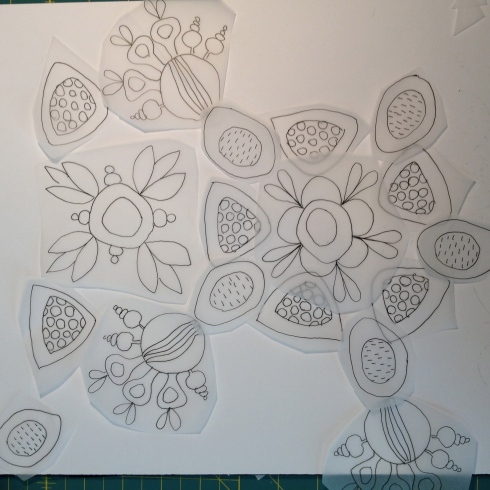
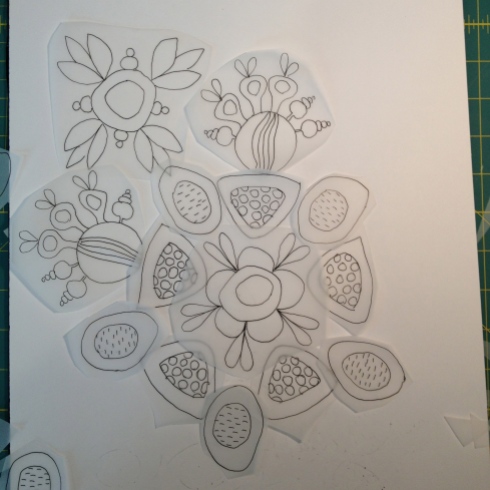
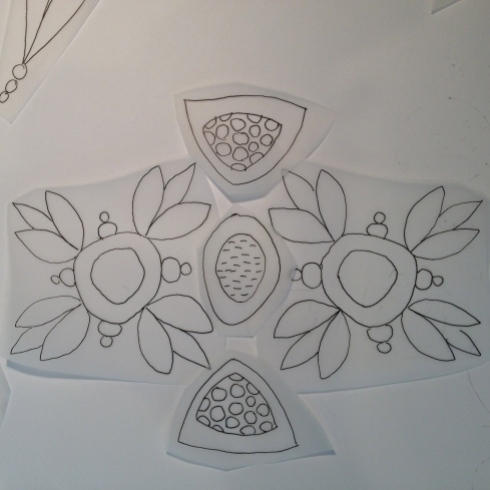
It’s getting there.
–
Paintings.
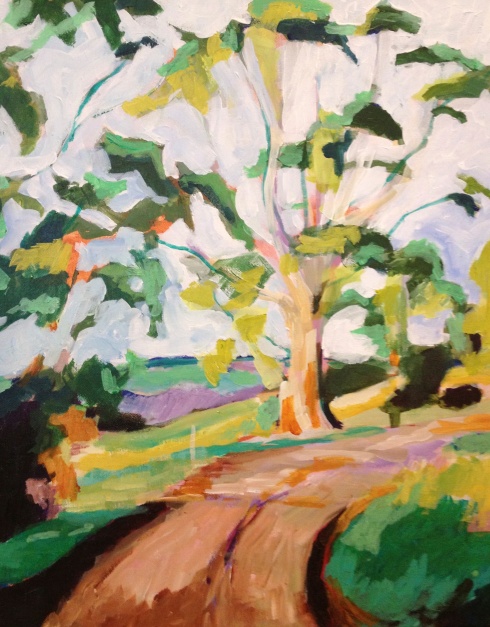
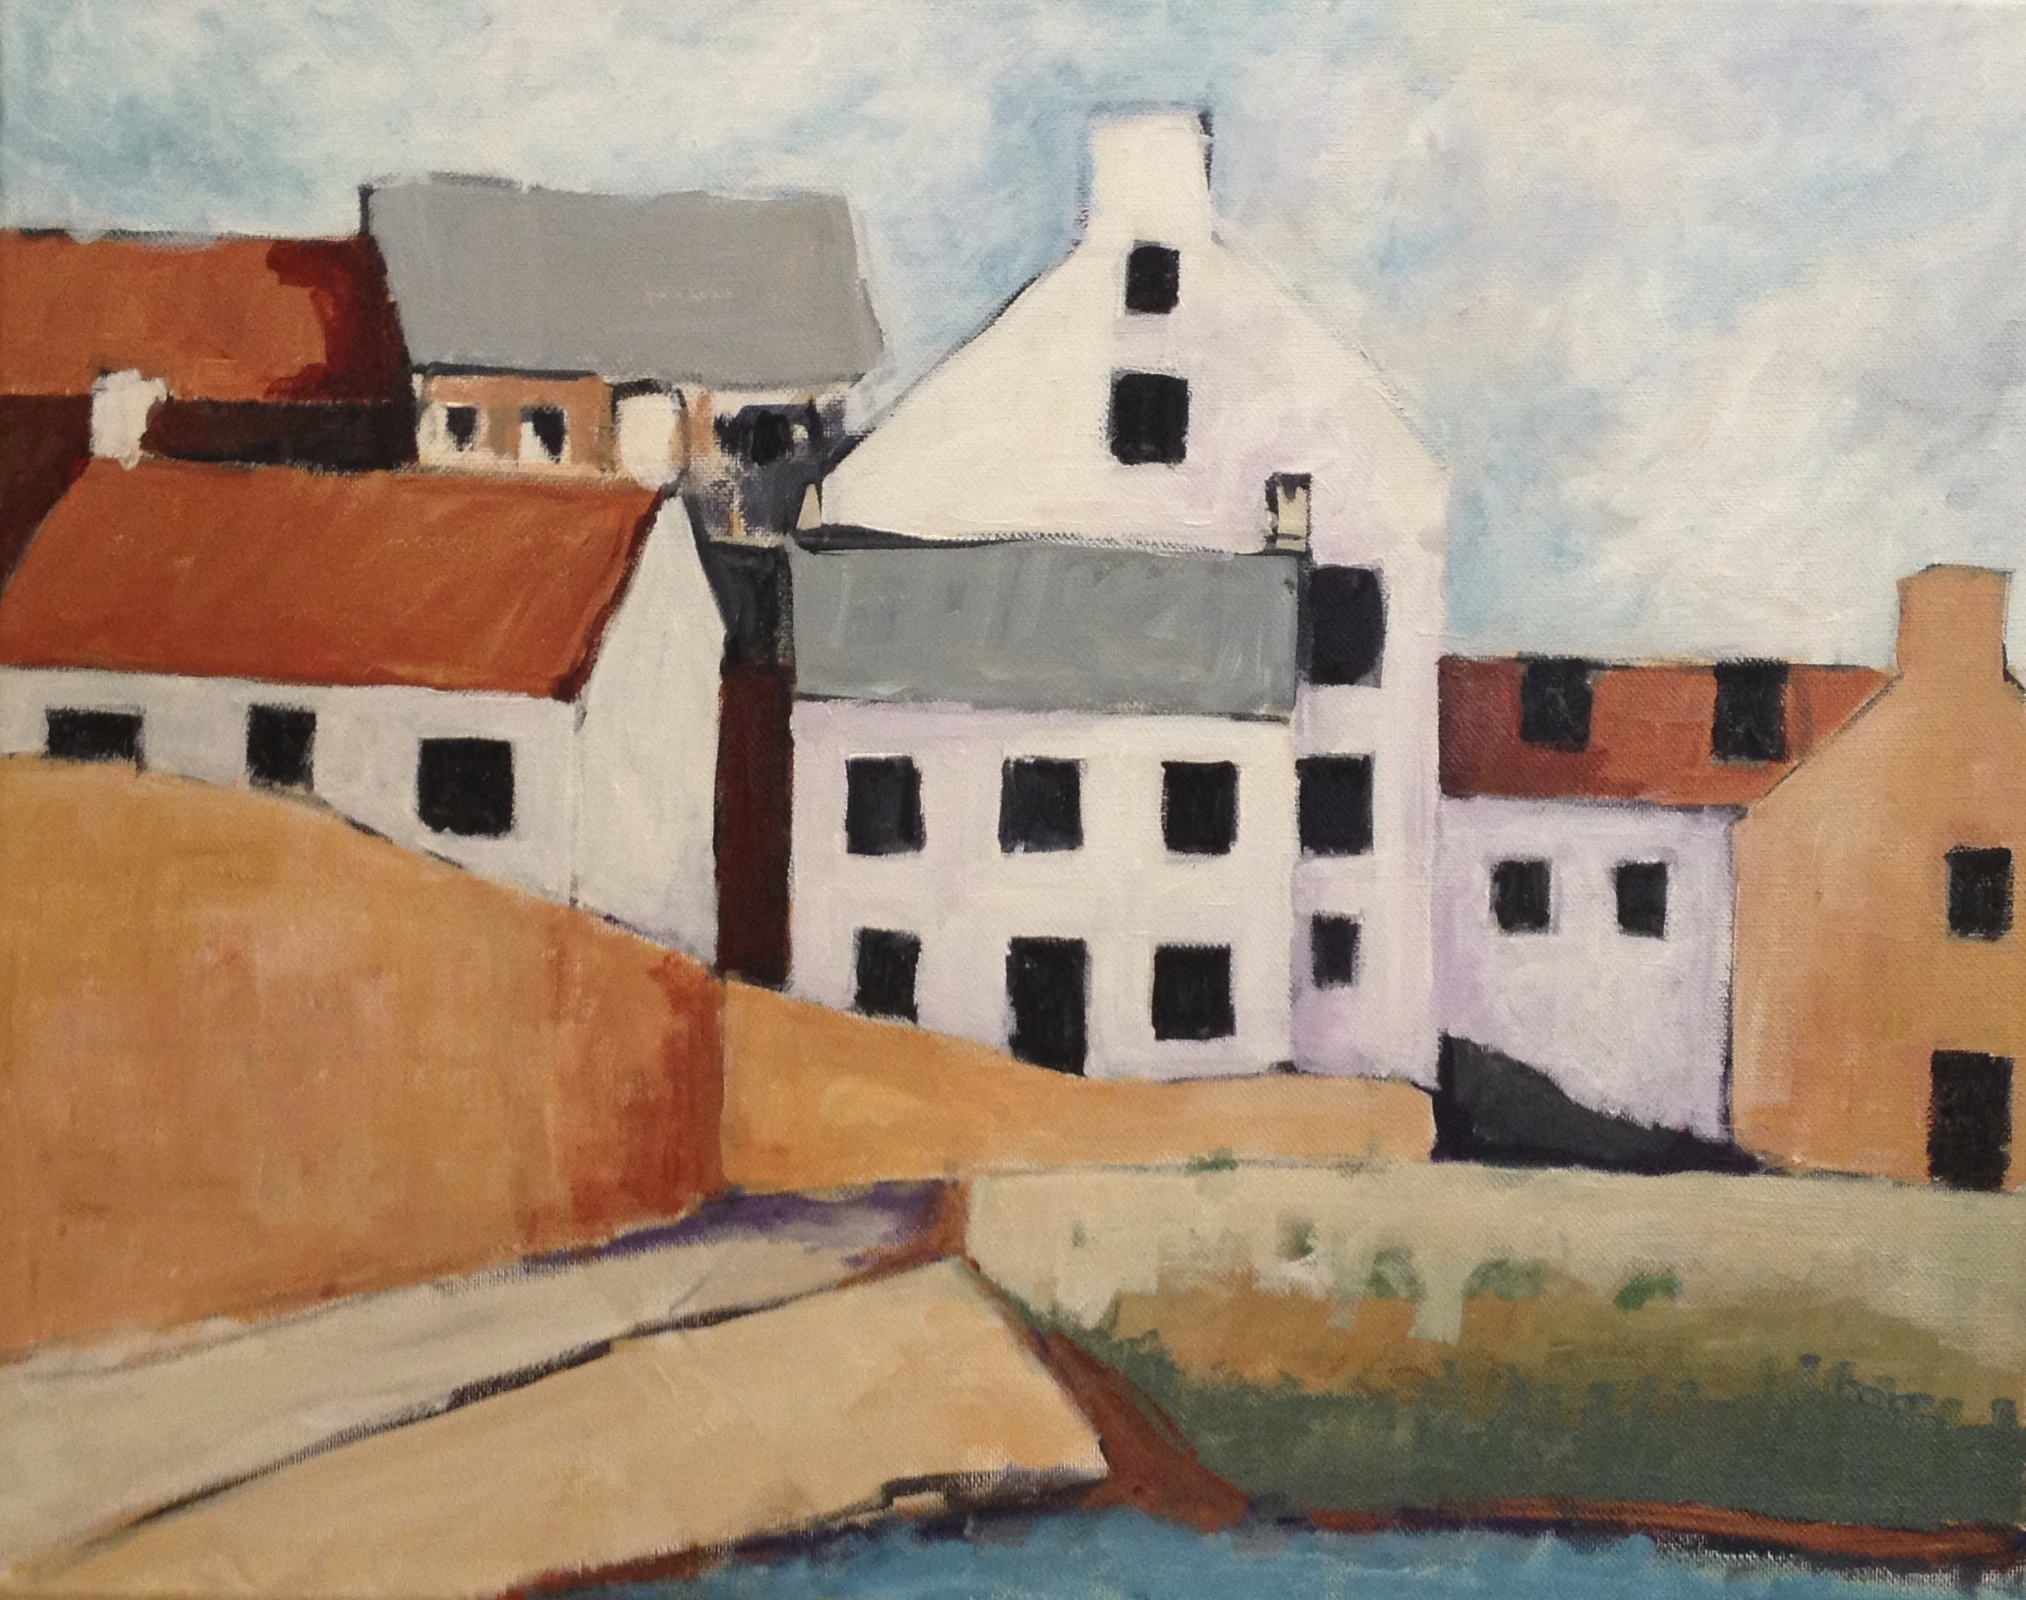
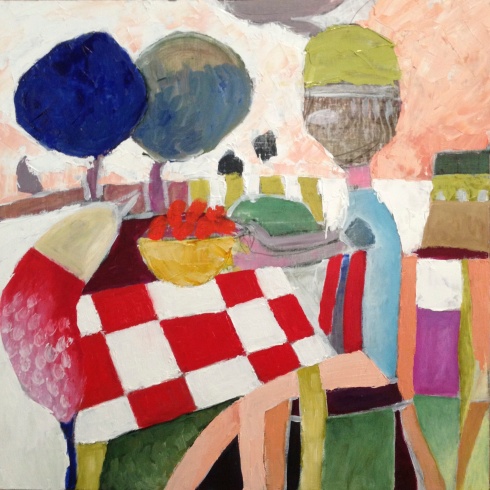
Could they be more different from each other?
–
Jewelry.
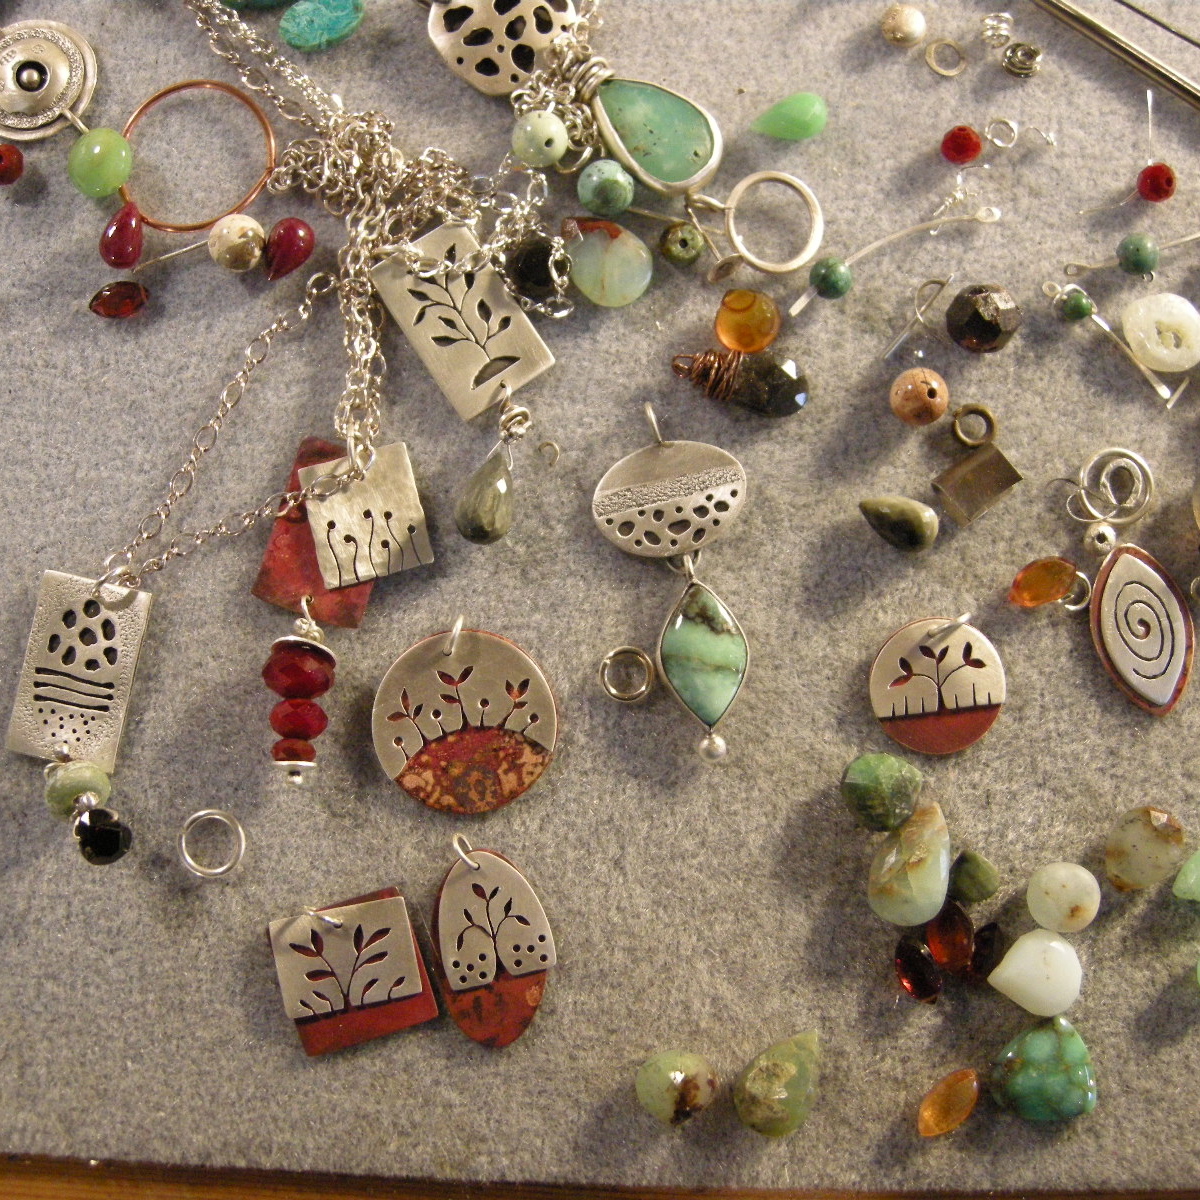
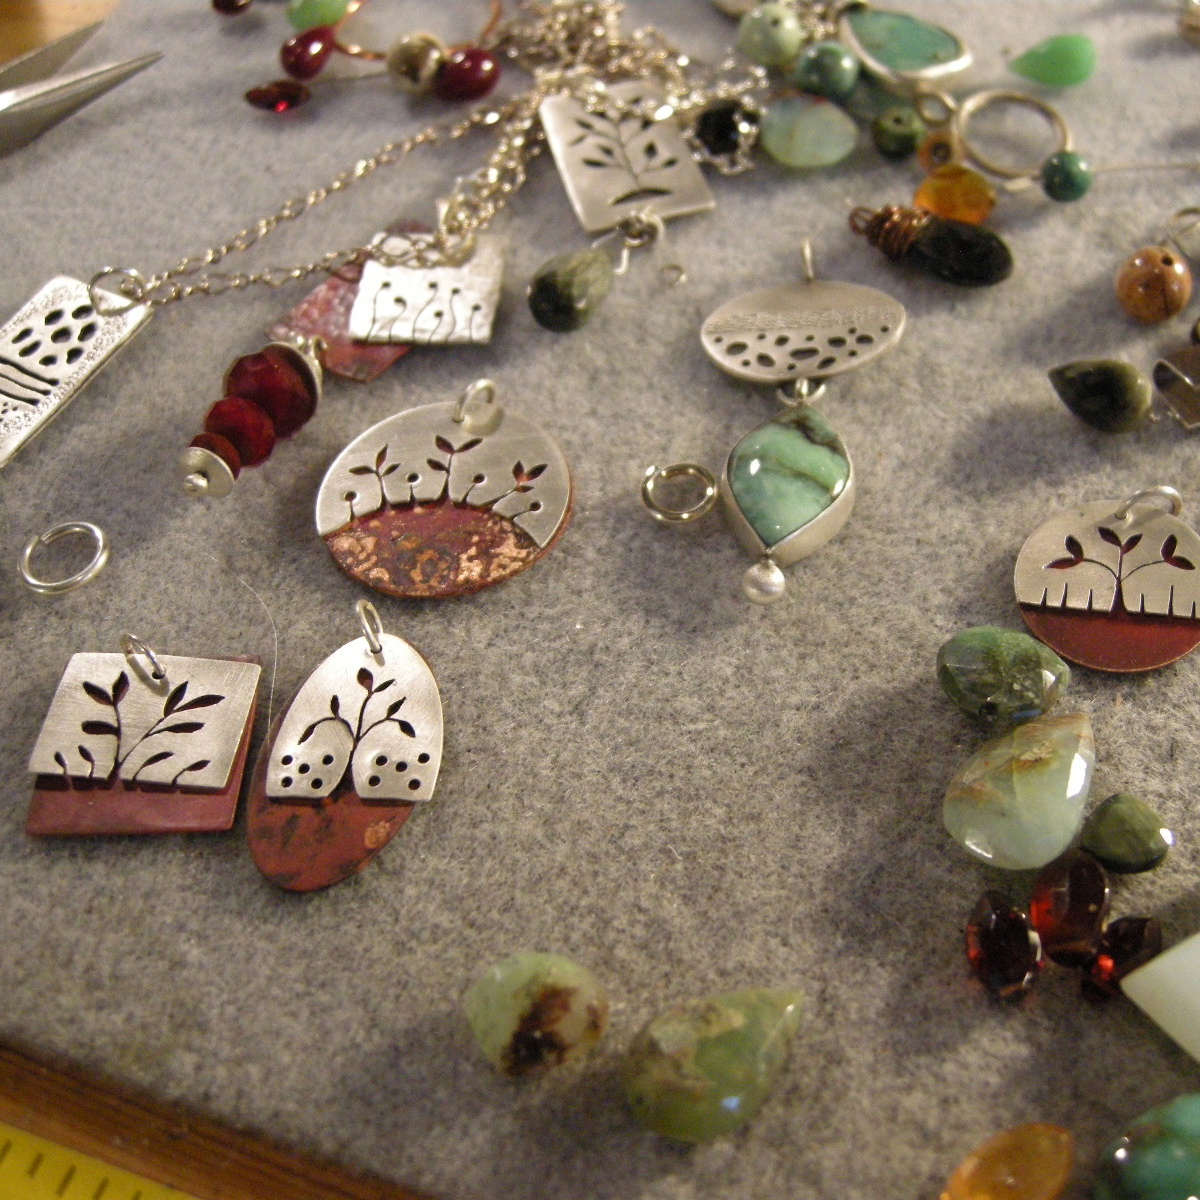
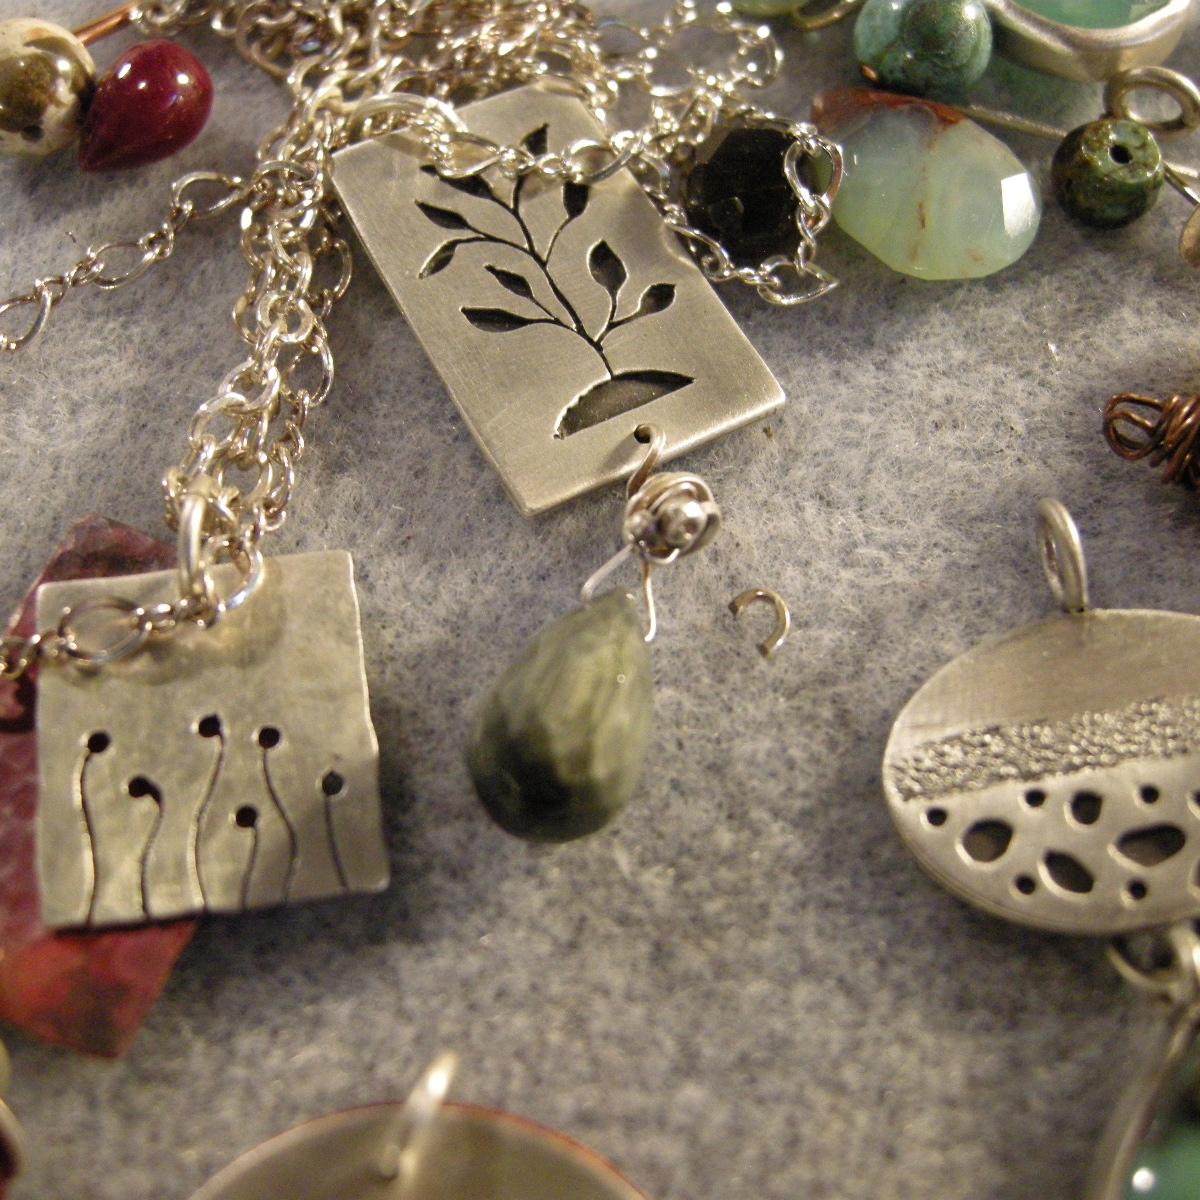

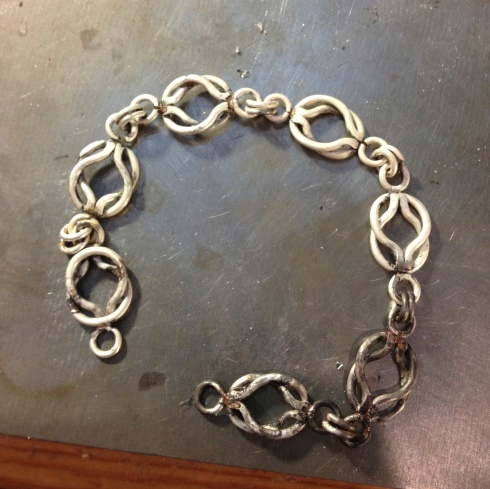

Charms.
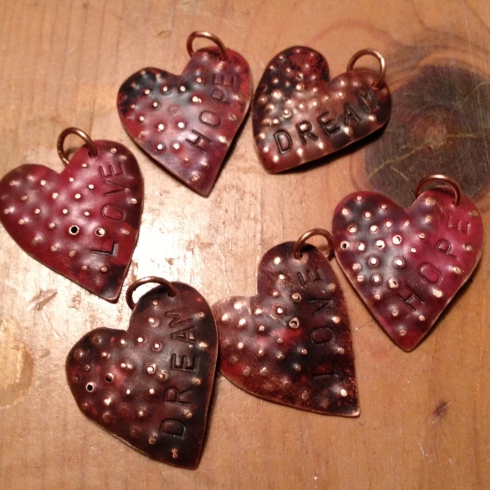
All of which created in a complete mess.
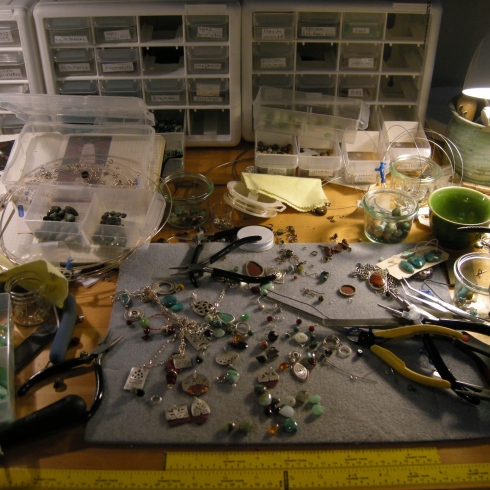
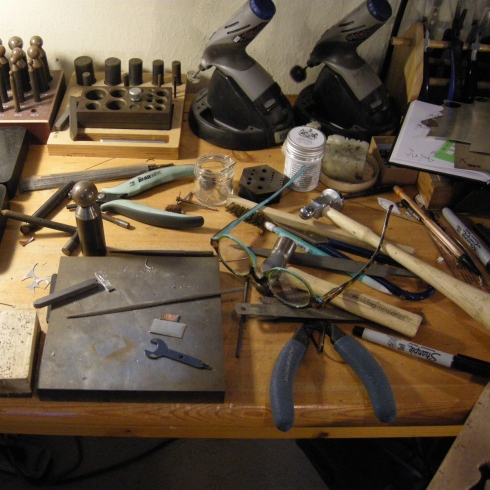
But I fixed it.
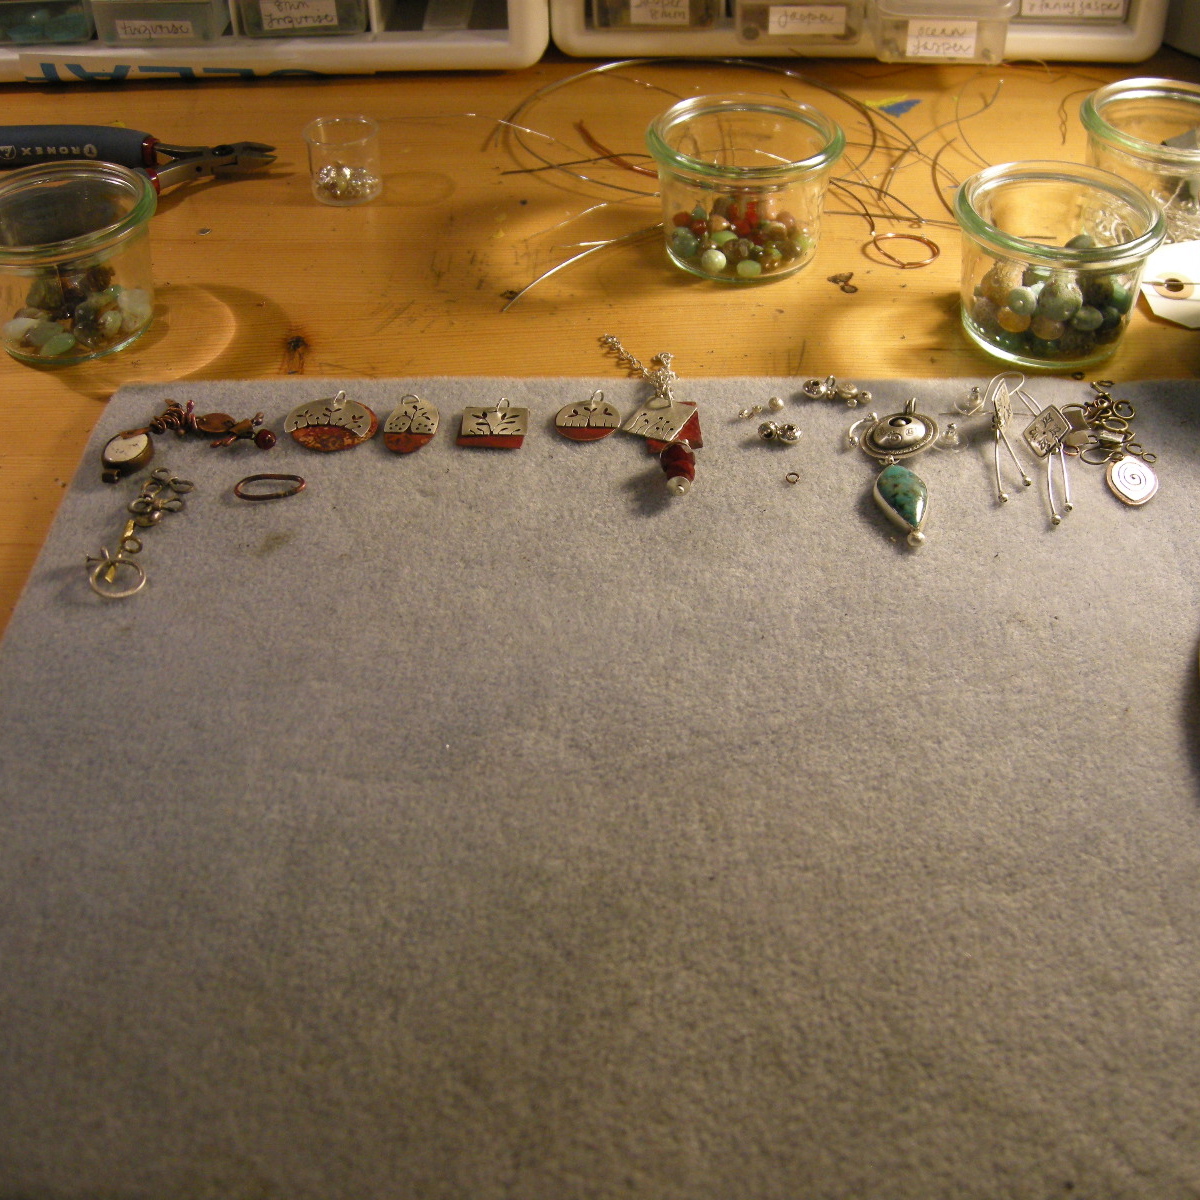
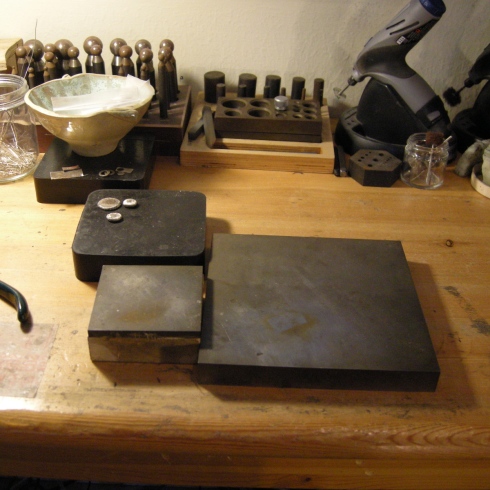
Now it’s boring.
Fortunately it won’t take me a nano second to get it back to normal.
–
Moving Becky into her new, horrible, gruesomely tiny, but she likes it, apartment in Austin.
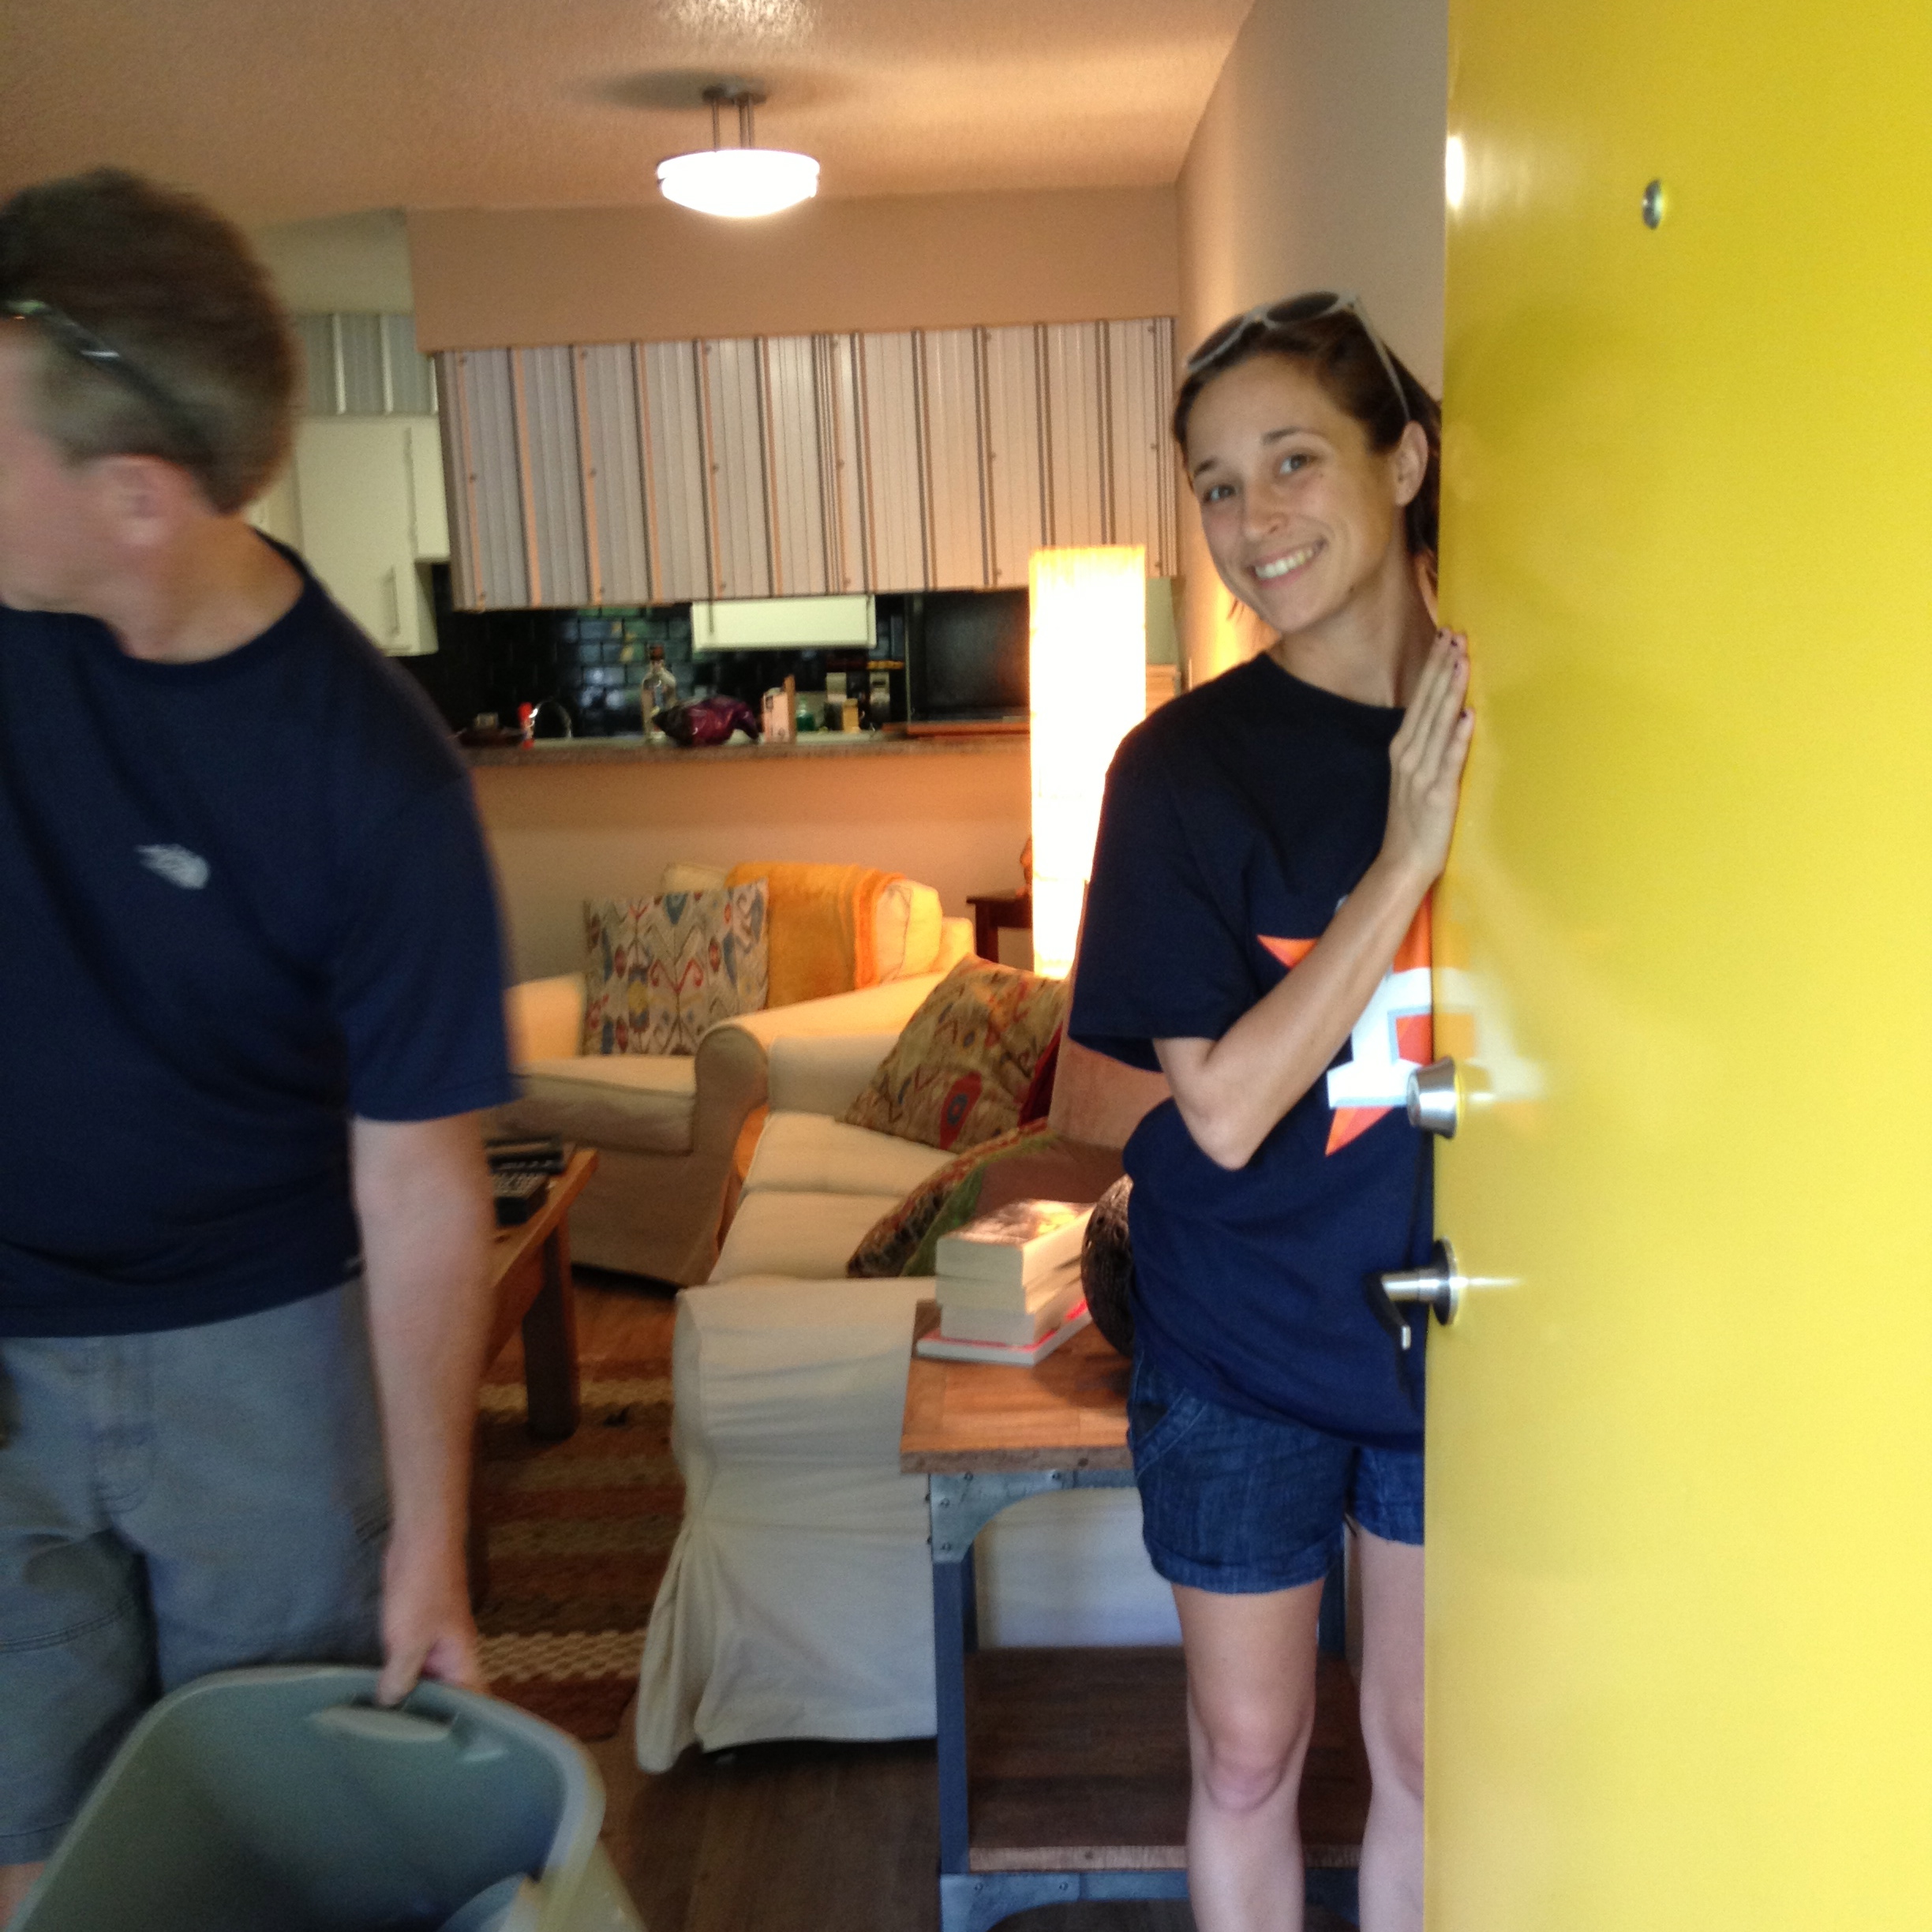
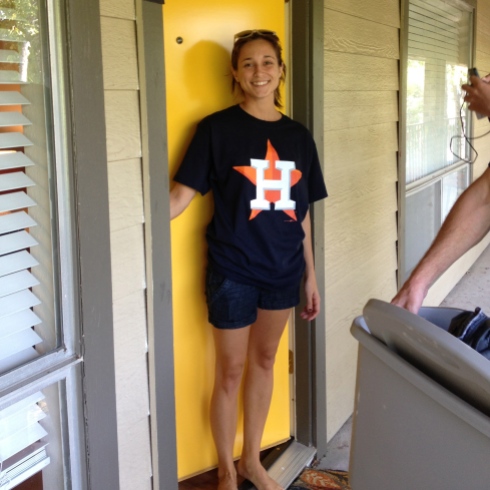
It does have a canary yellow door so how bad can it be?
And,
Working on my website.

Didn’t need this in the end. Too much effort.
It isn’t up yet but I hope to launch it by the end of this century.
On top of that.
I made some art cards.
Did some doodles.
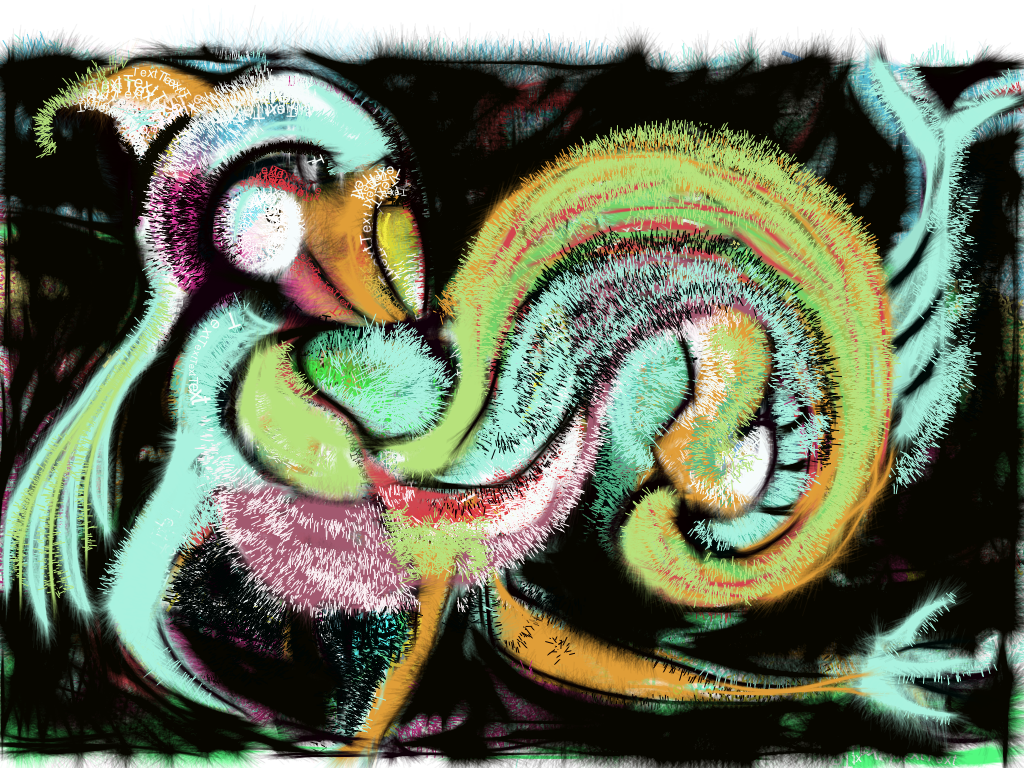

Drank a lot of tea.
AND
Discovered a jewelry injury in the shape of a question mark on my hand.
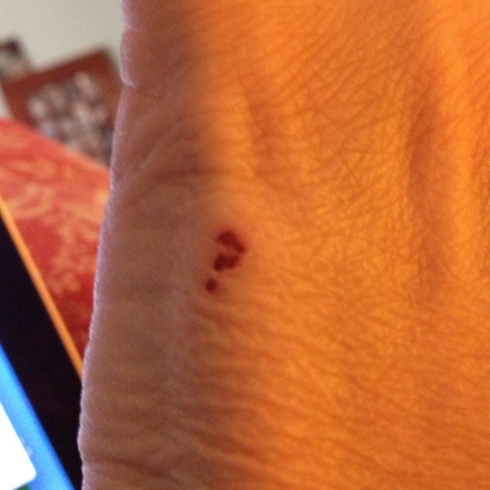
Weird, right?
My passing message to you.

Happy Sunday.
–
I’ve been off my groove, but now i’m back with a new silver link. So, if you’re in the mood for fiddly, have a go at this. Just remember my disclaimer as I’m not available to tend to any injuries incurred …
First up, and this is very important, put your i pod down the inside of your t-shirt and clip it to one of the belt slots on your jeans. This prevents the ear phones from hanging down front where the dremel and torch like to play as that could get tricky and very painful, and you might have to do the drop and roll thing on the studio floor.
Not cool.
Then turn on your murder mystery, but don’t bother with this one (here) as it was a bit long-winded and boring.
Next up.
Make your jump rings.
I use this.

Which is the old version of this
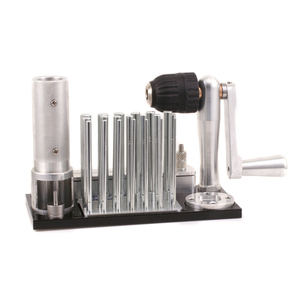
It’s expensive. I don’t know if I would buy it again, but it’s really good at making coils. I’ve never got the hang of using the cutting wheel which might have made the cost more worthwhile, but now the coil cutting holding vise thing has been eaten away by rust so giving it another try is a pretty moot point.
Buy this tool at your own peril …
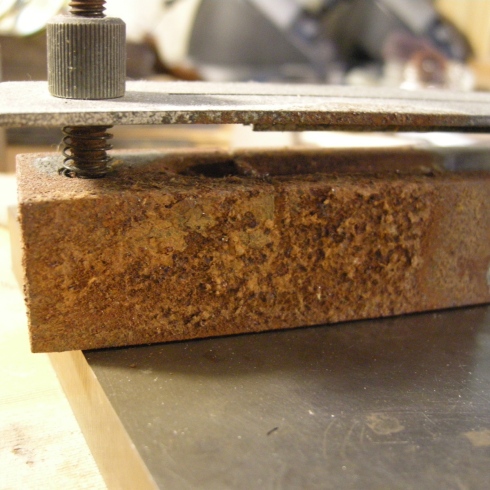
Pretty bad, yes?
Anyway …
I turned 16 gauge sterling silver wire on the 9.5 mm mandrel to make a coil.
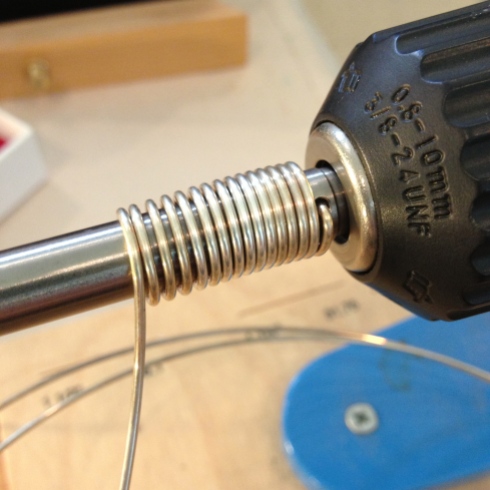
Which I then taped up with scotch tape (to secure the silver from moving), and used my jewelry saw to cut across the top of the coil to make jump rings.
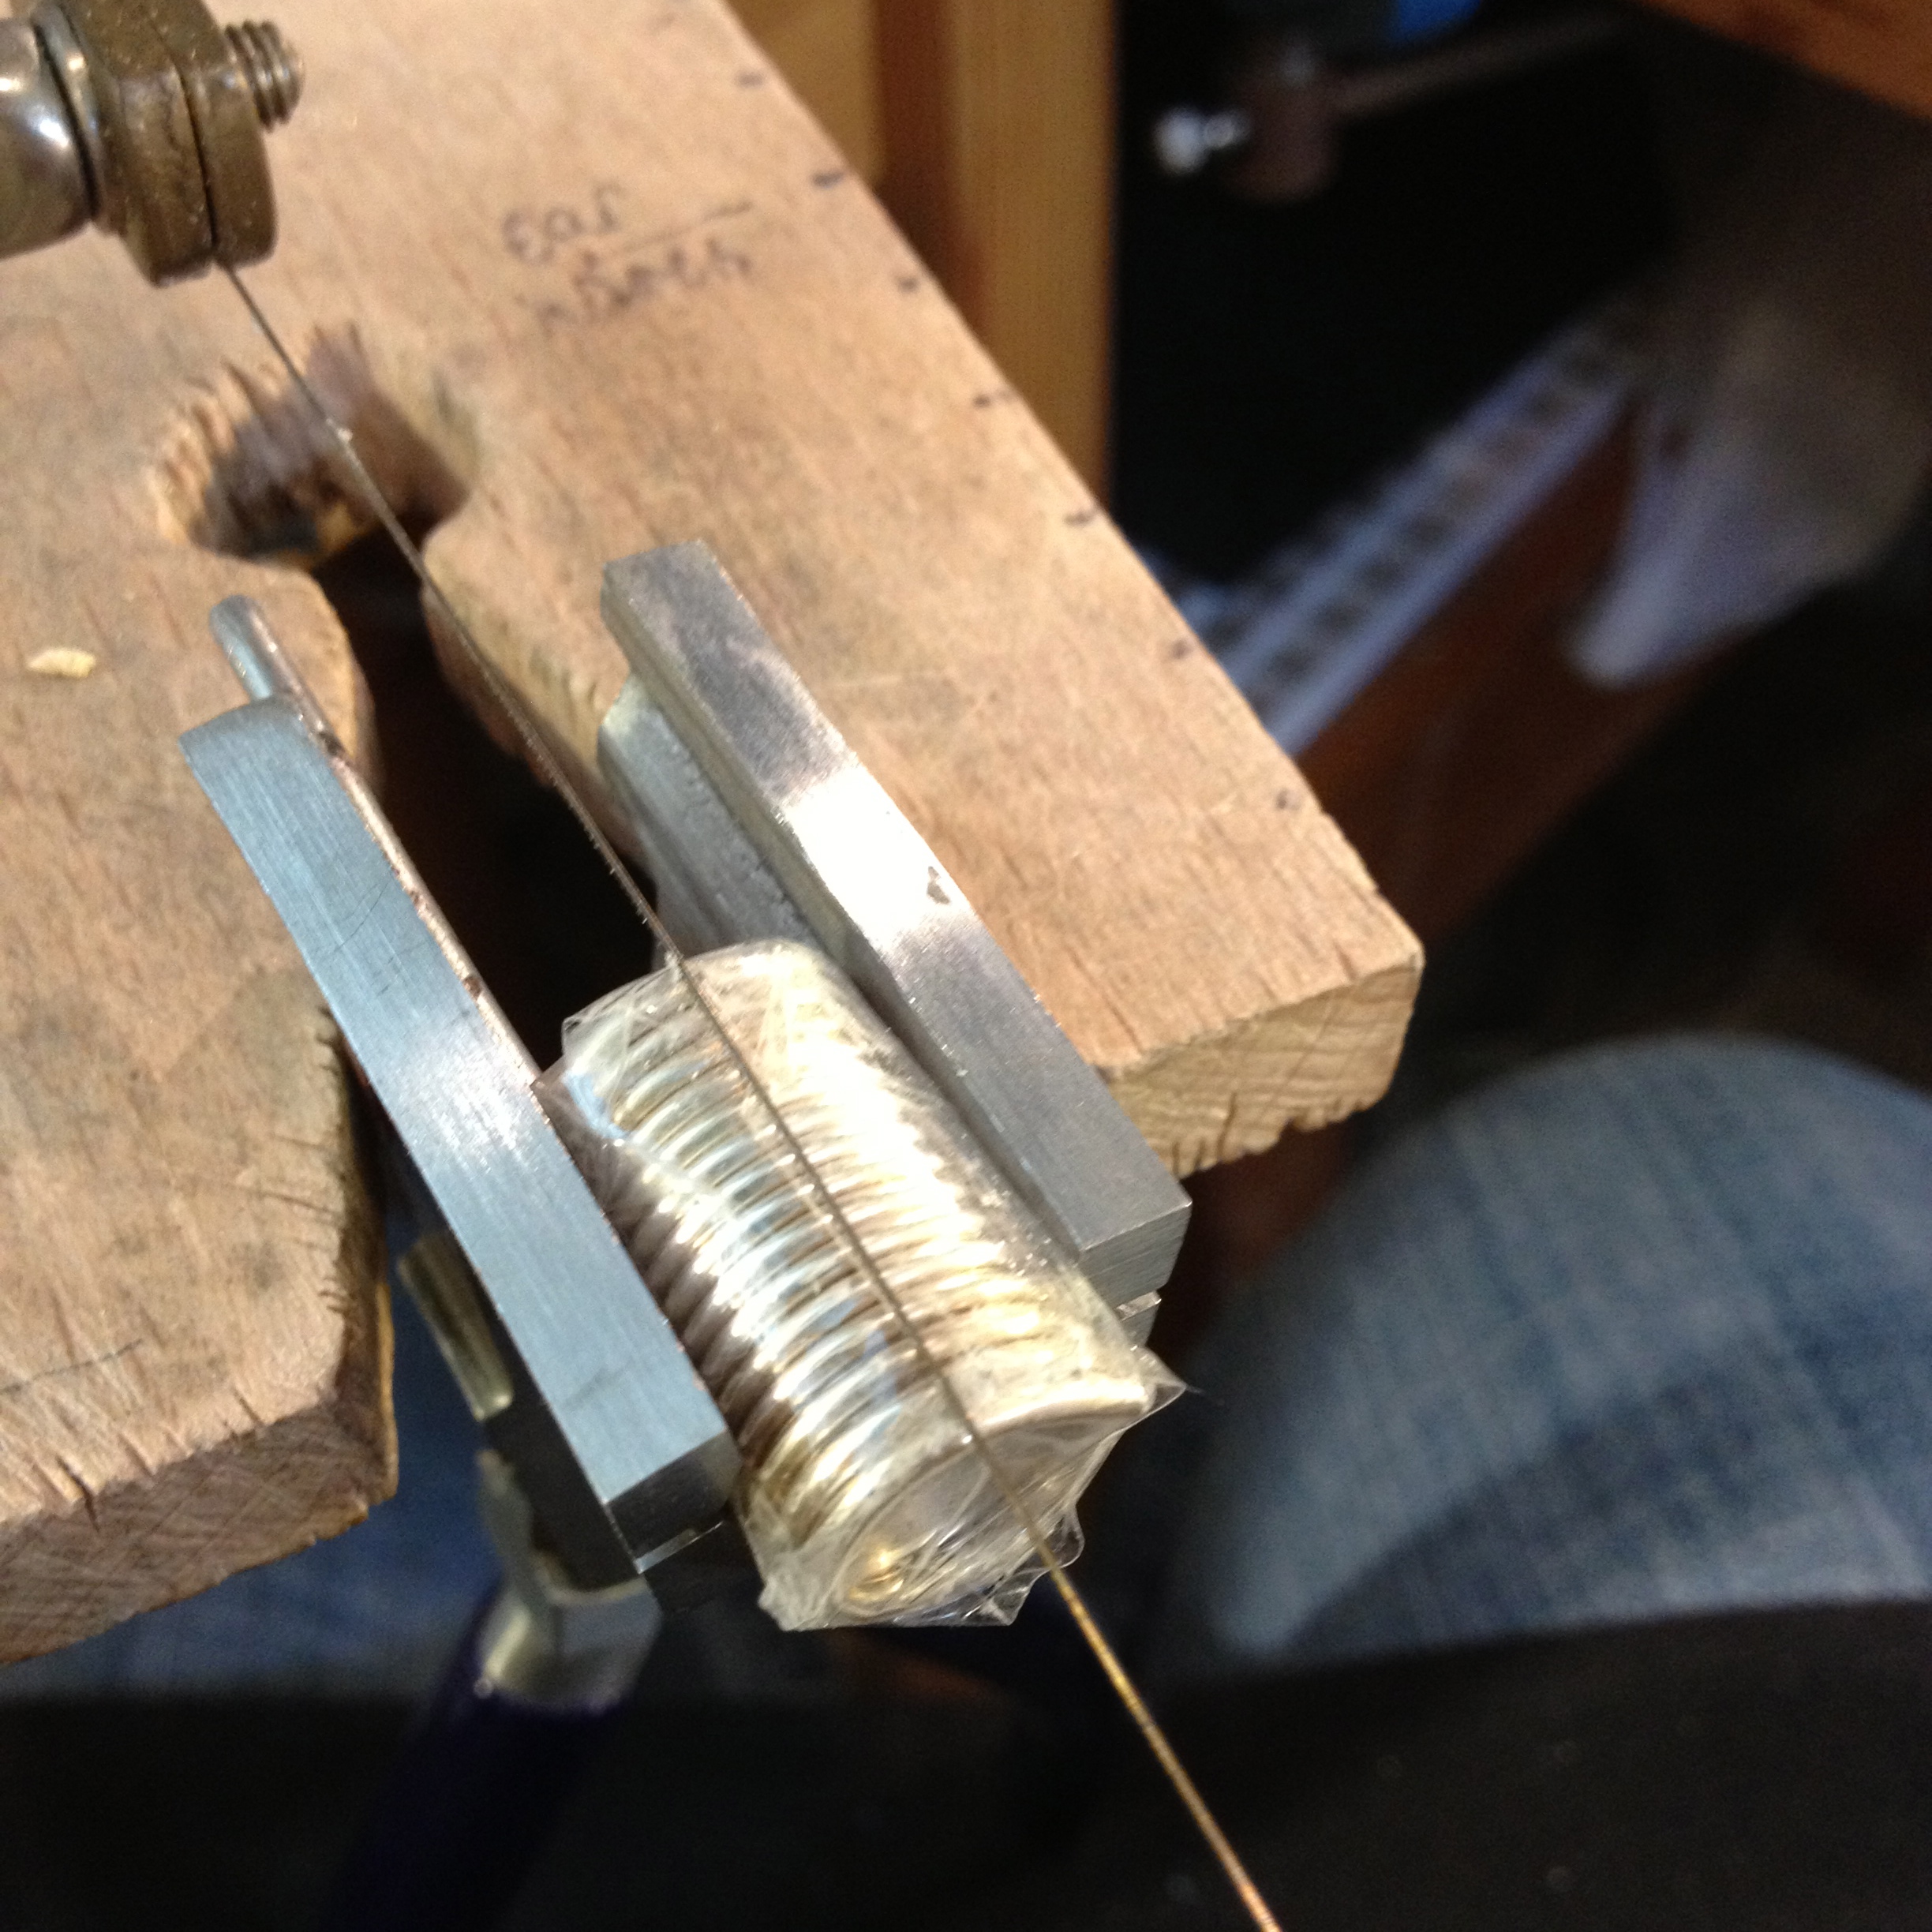
I then straightened the rings so that the ends were flush and soldered them together.
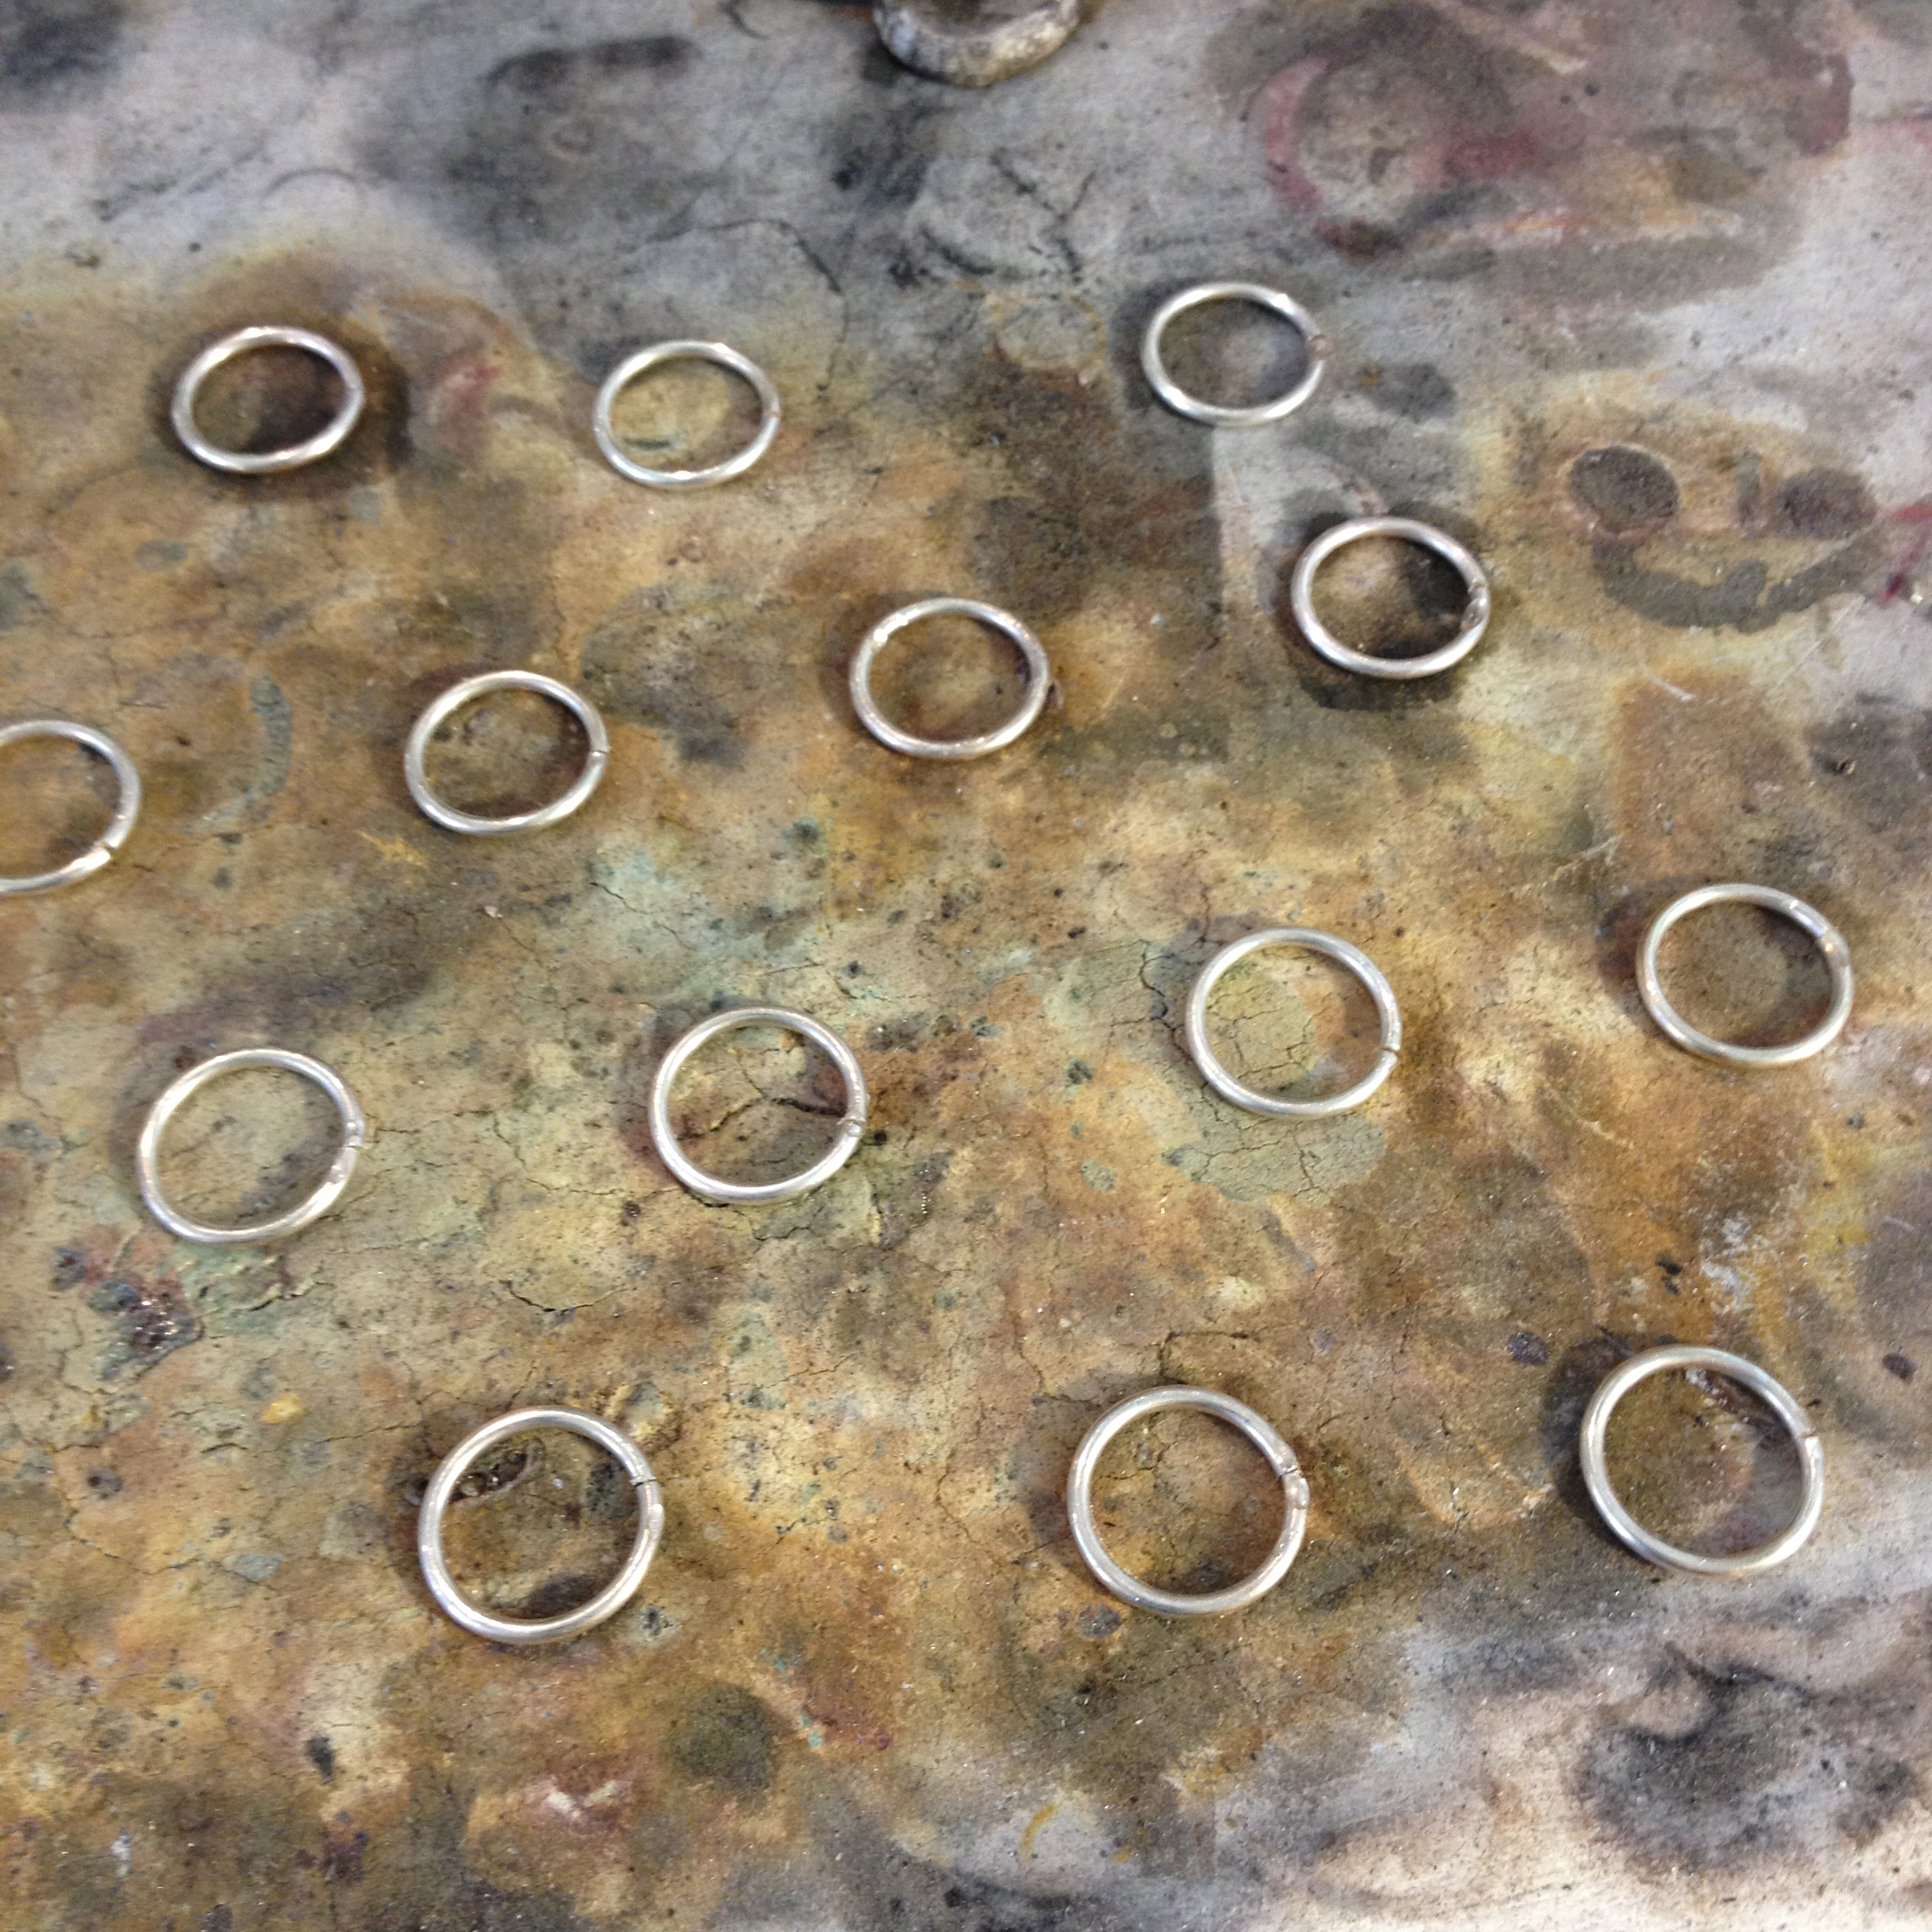
Next time I’m going to just try to fuse the silver together instead of using solder – just to see if I can eliminate the bump.
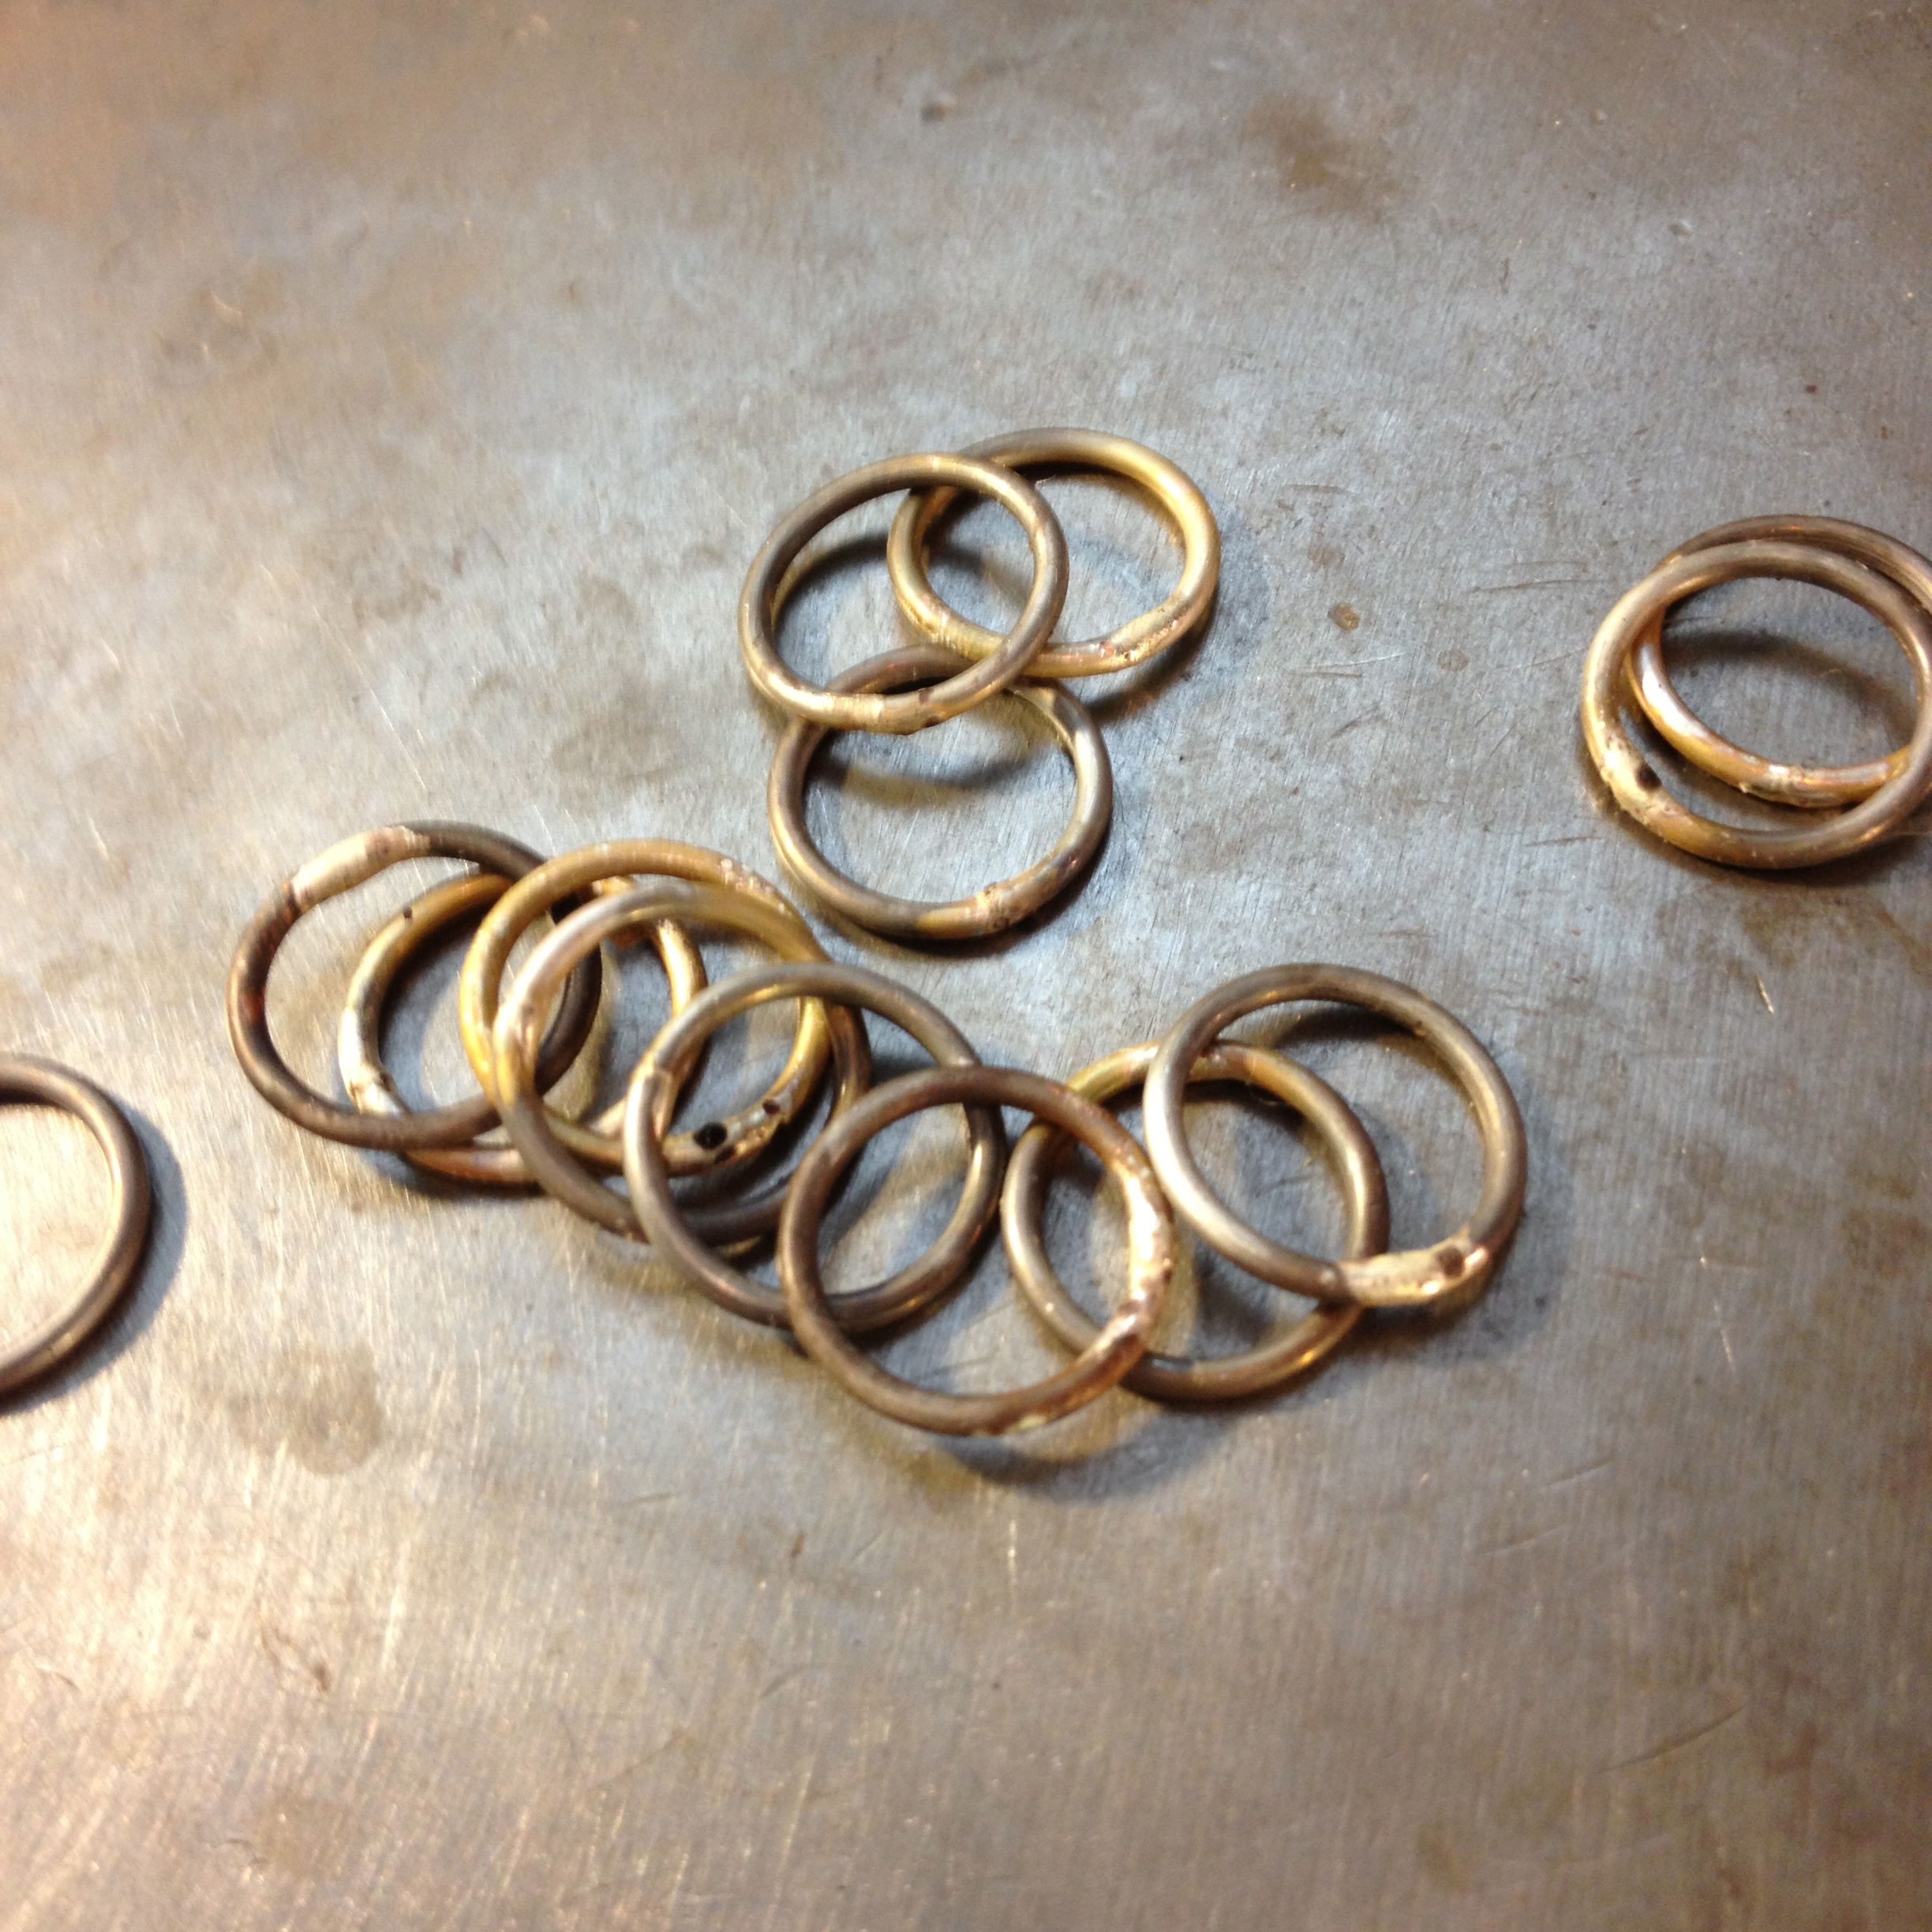
I then used a pair of round nose pliers to pull the links into an oval shape.
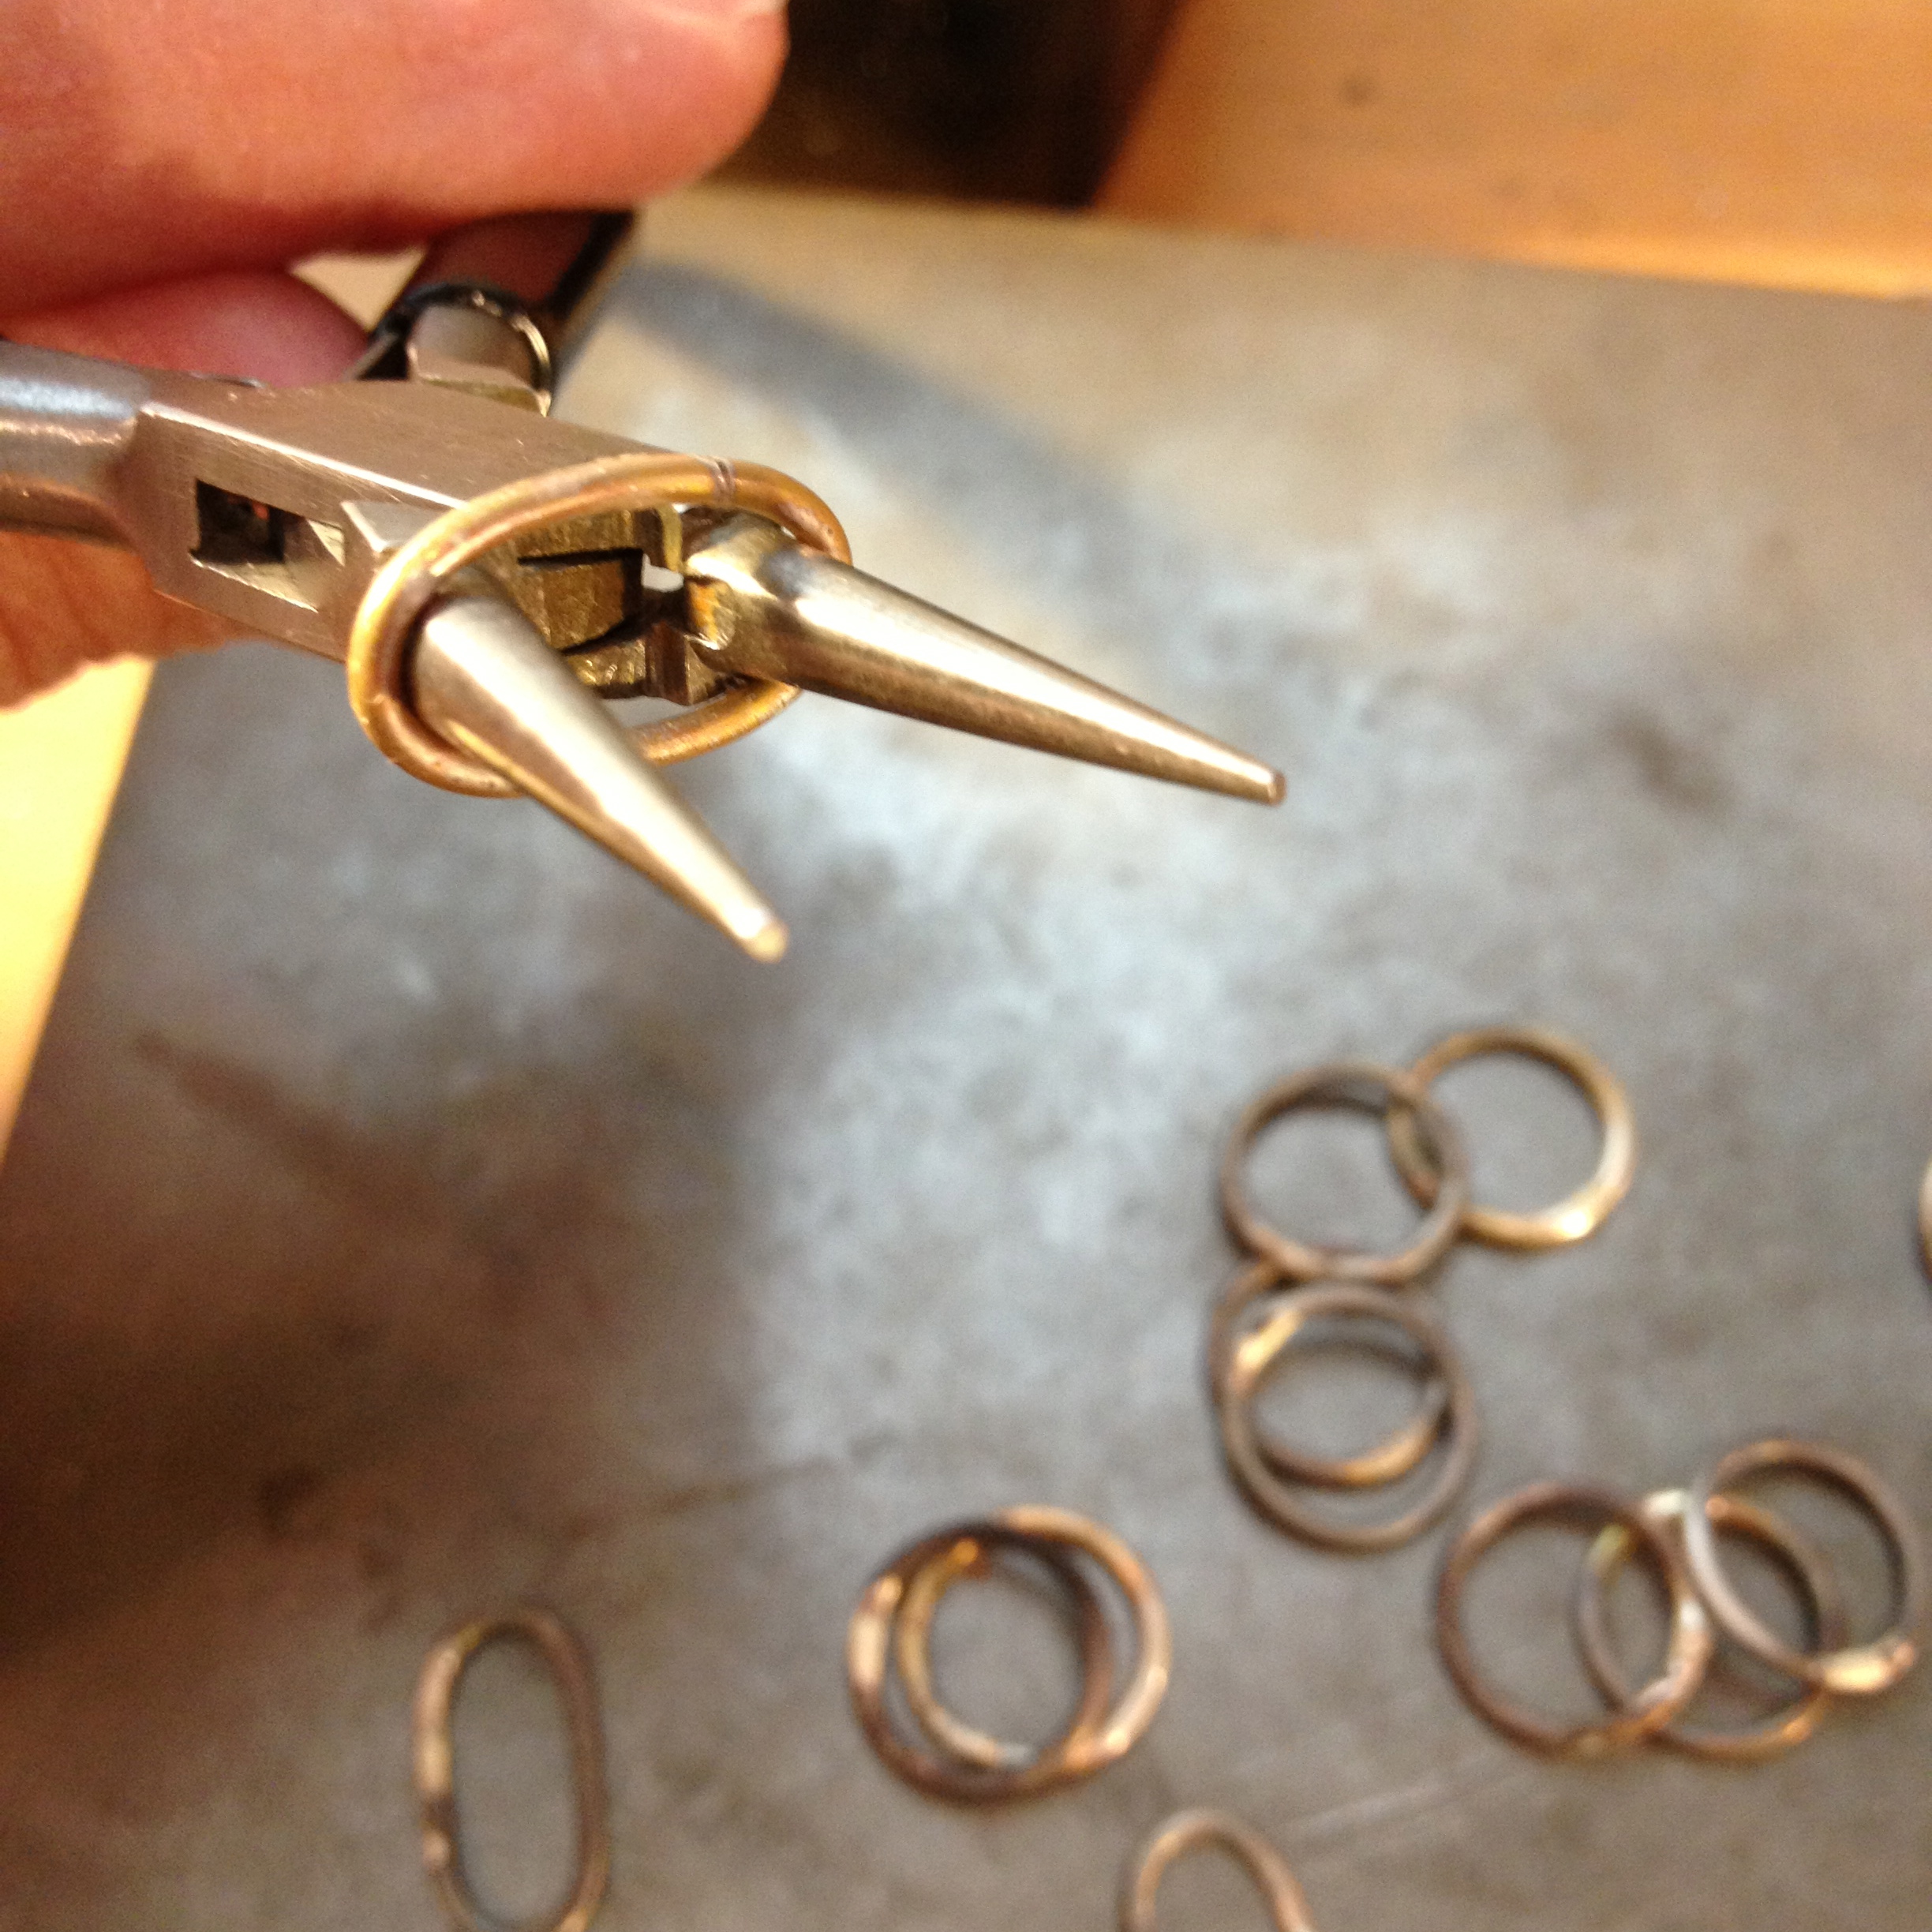
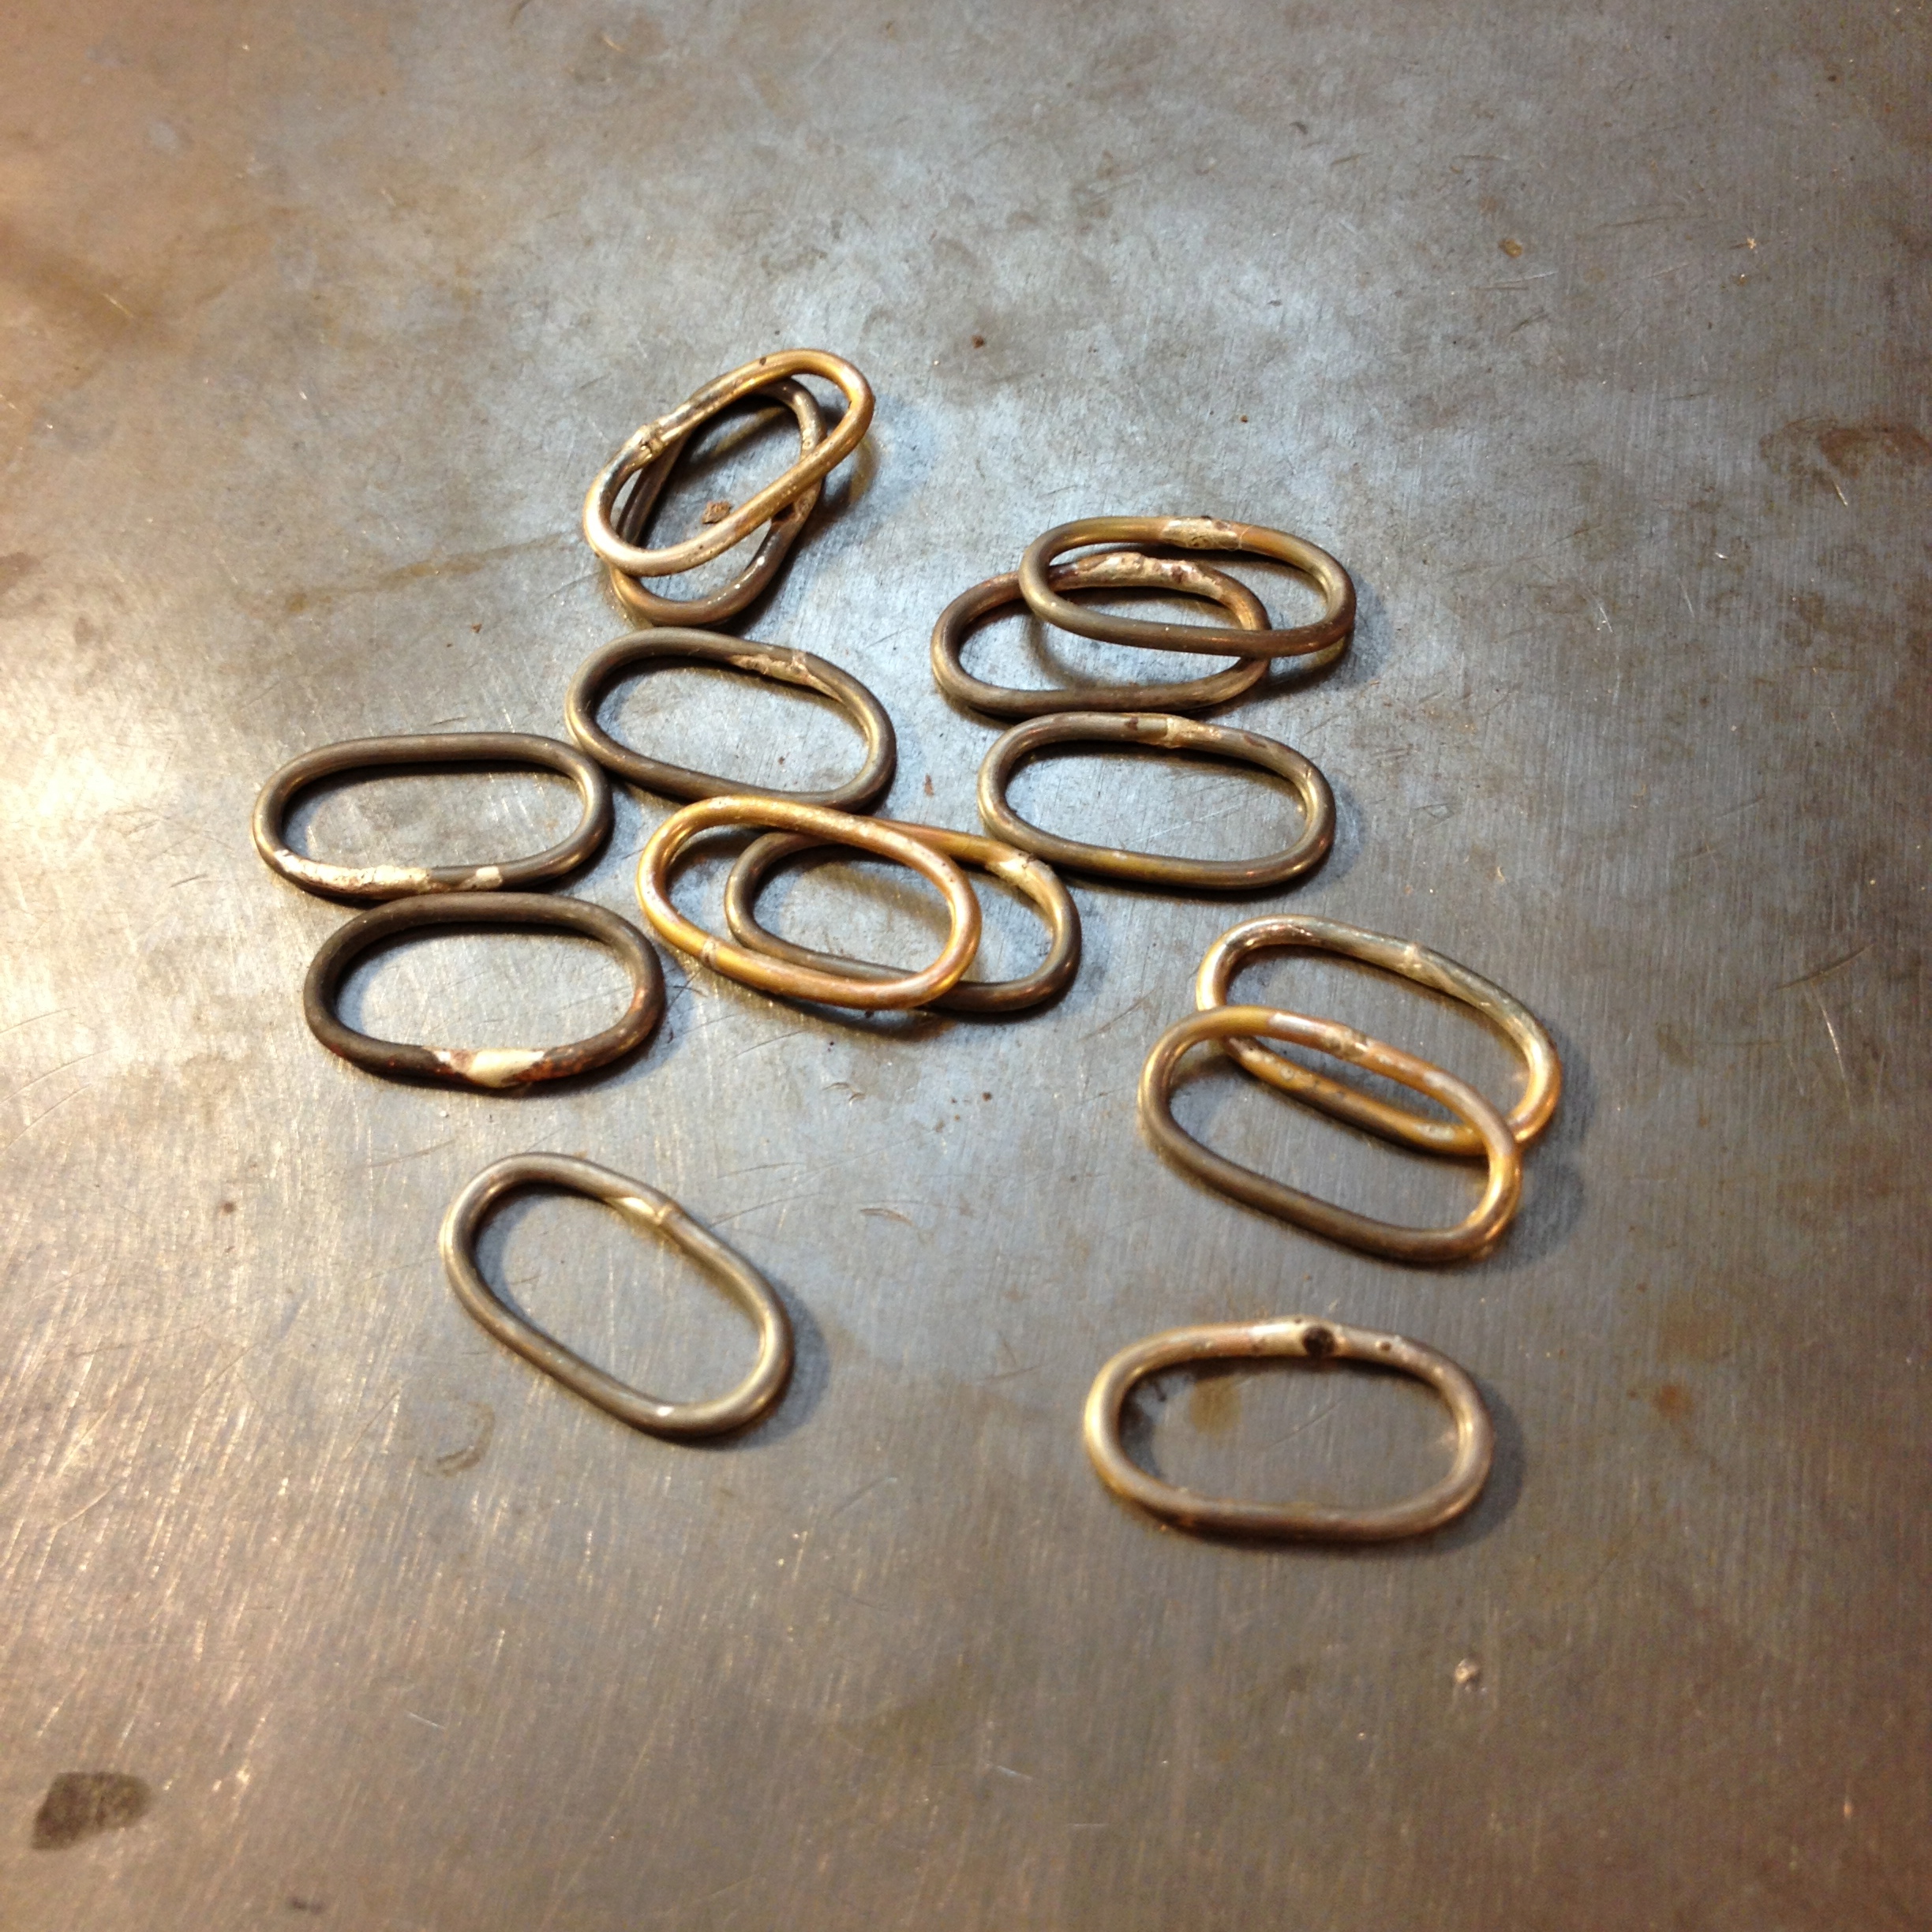
I use these cheap pliers. The expensive pliers are good (obviously), but for me these work just as well and I like how they fit in my hand. I have two each of the flat nosed and the round pliers. One for each hand, because that’s how I like to roll, and at that price, you can knock yourself out with as many as you want …
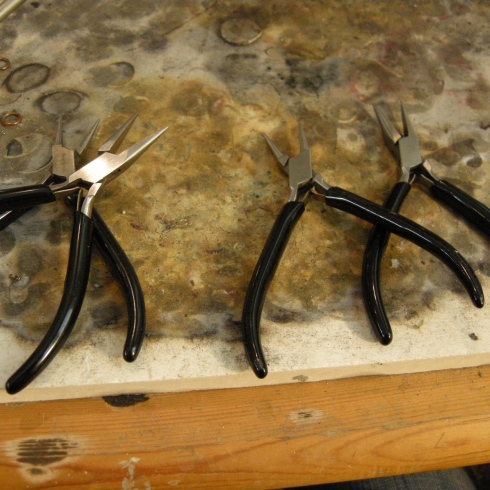
Next, put the link back on the round nose pliers and squeeze the middle together with another pair of pliers.
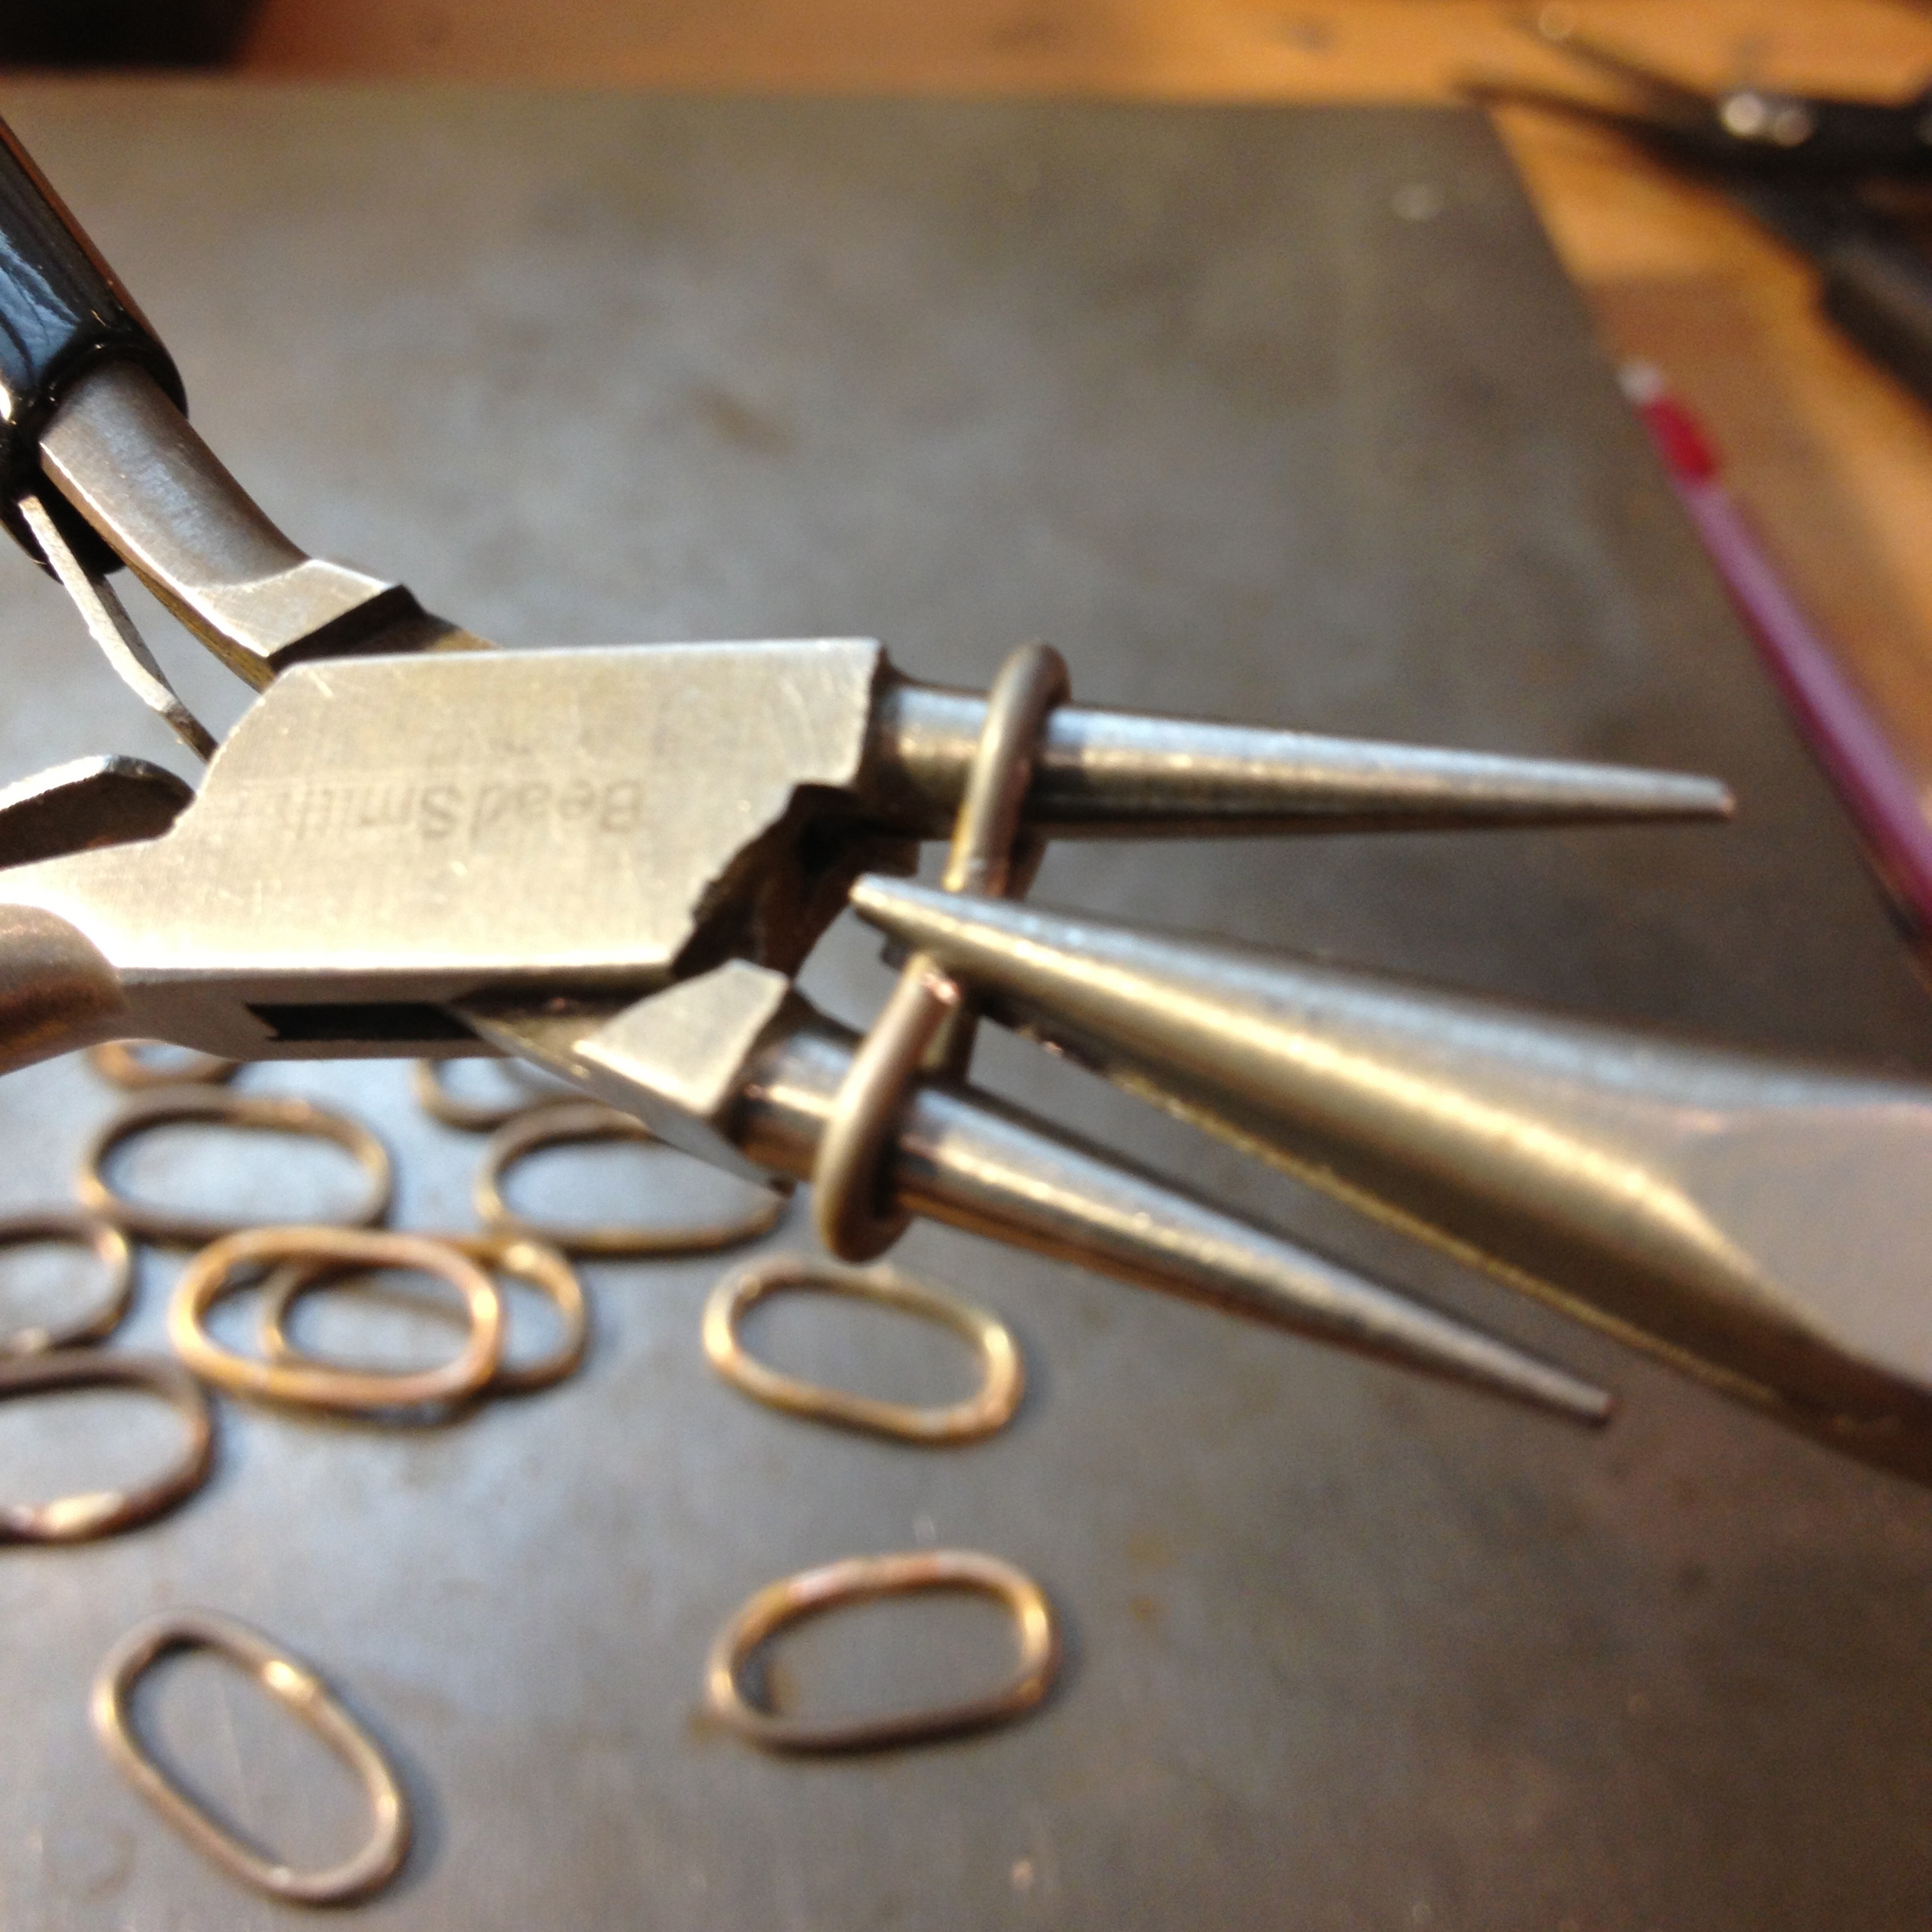
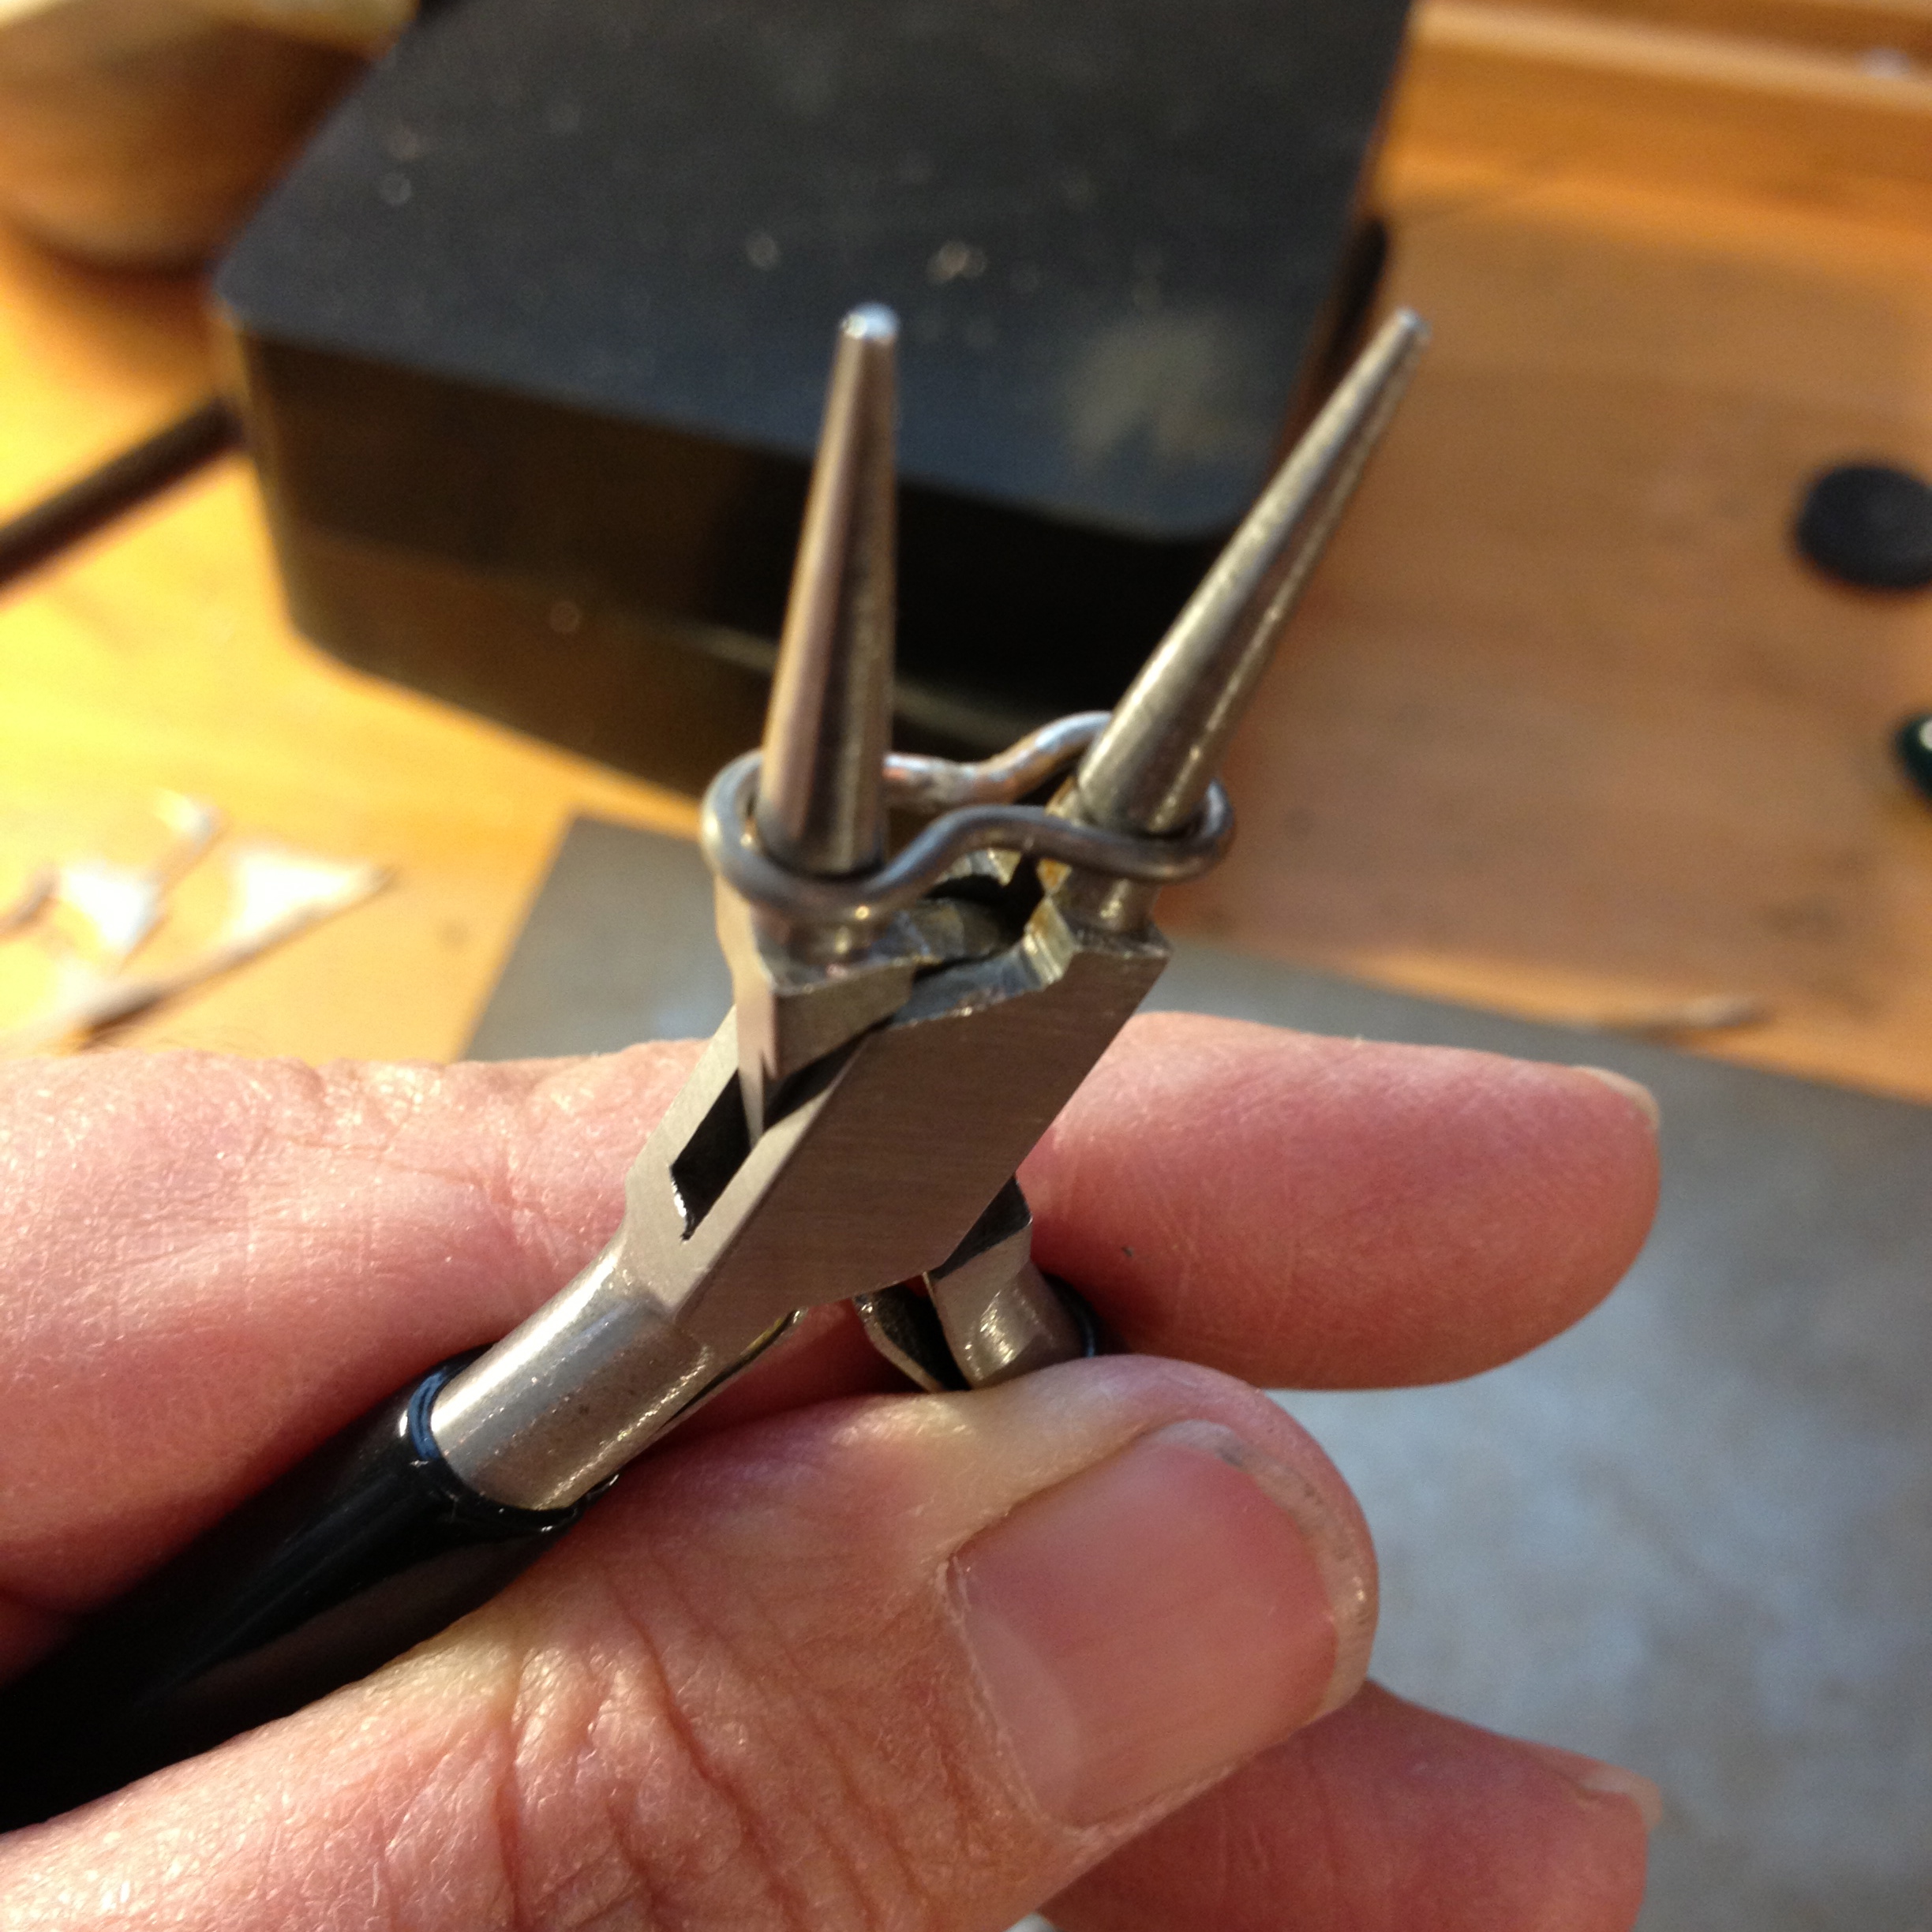
(Excuse my dirty fingernail. Do you think that blows my chance of being a hand model?)
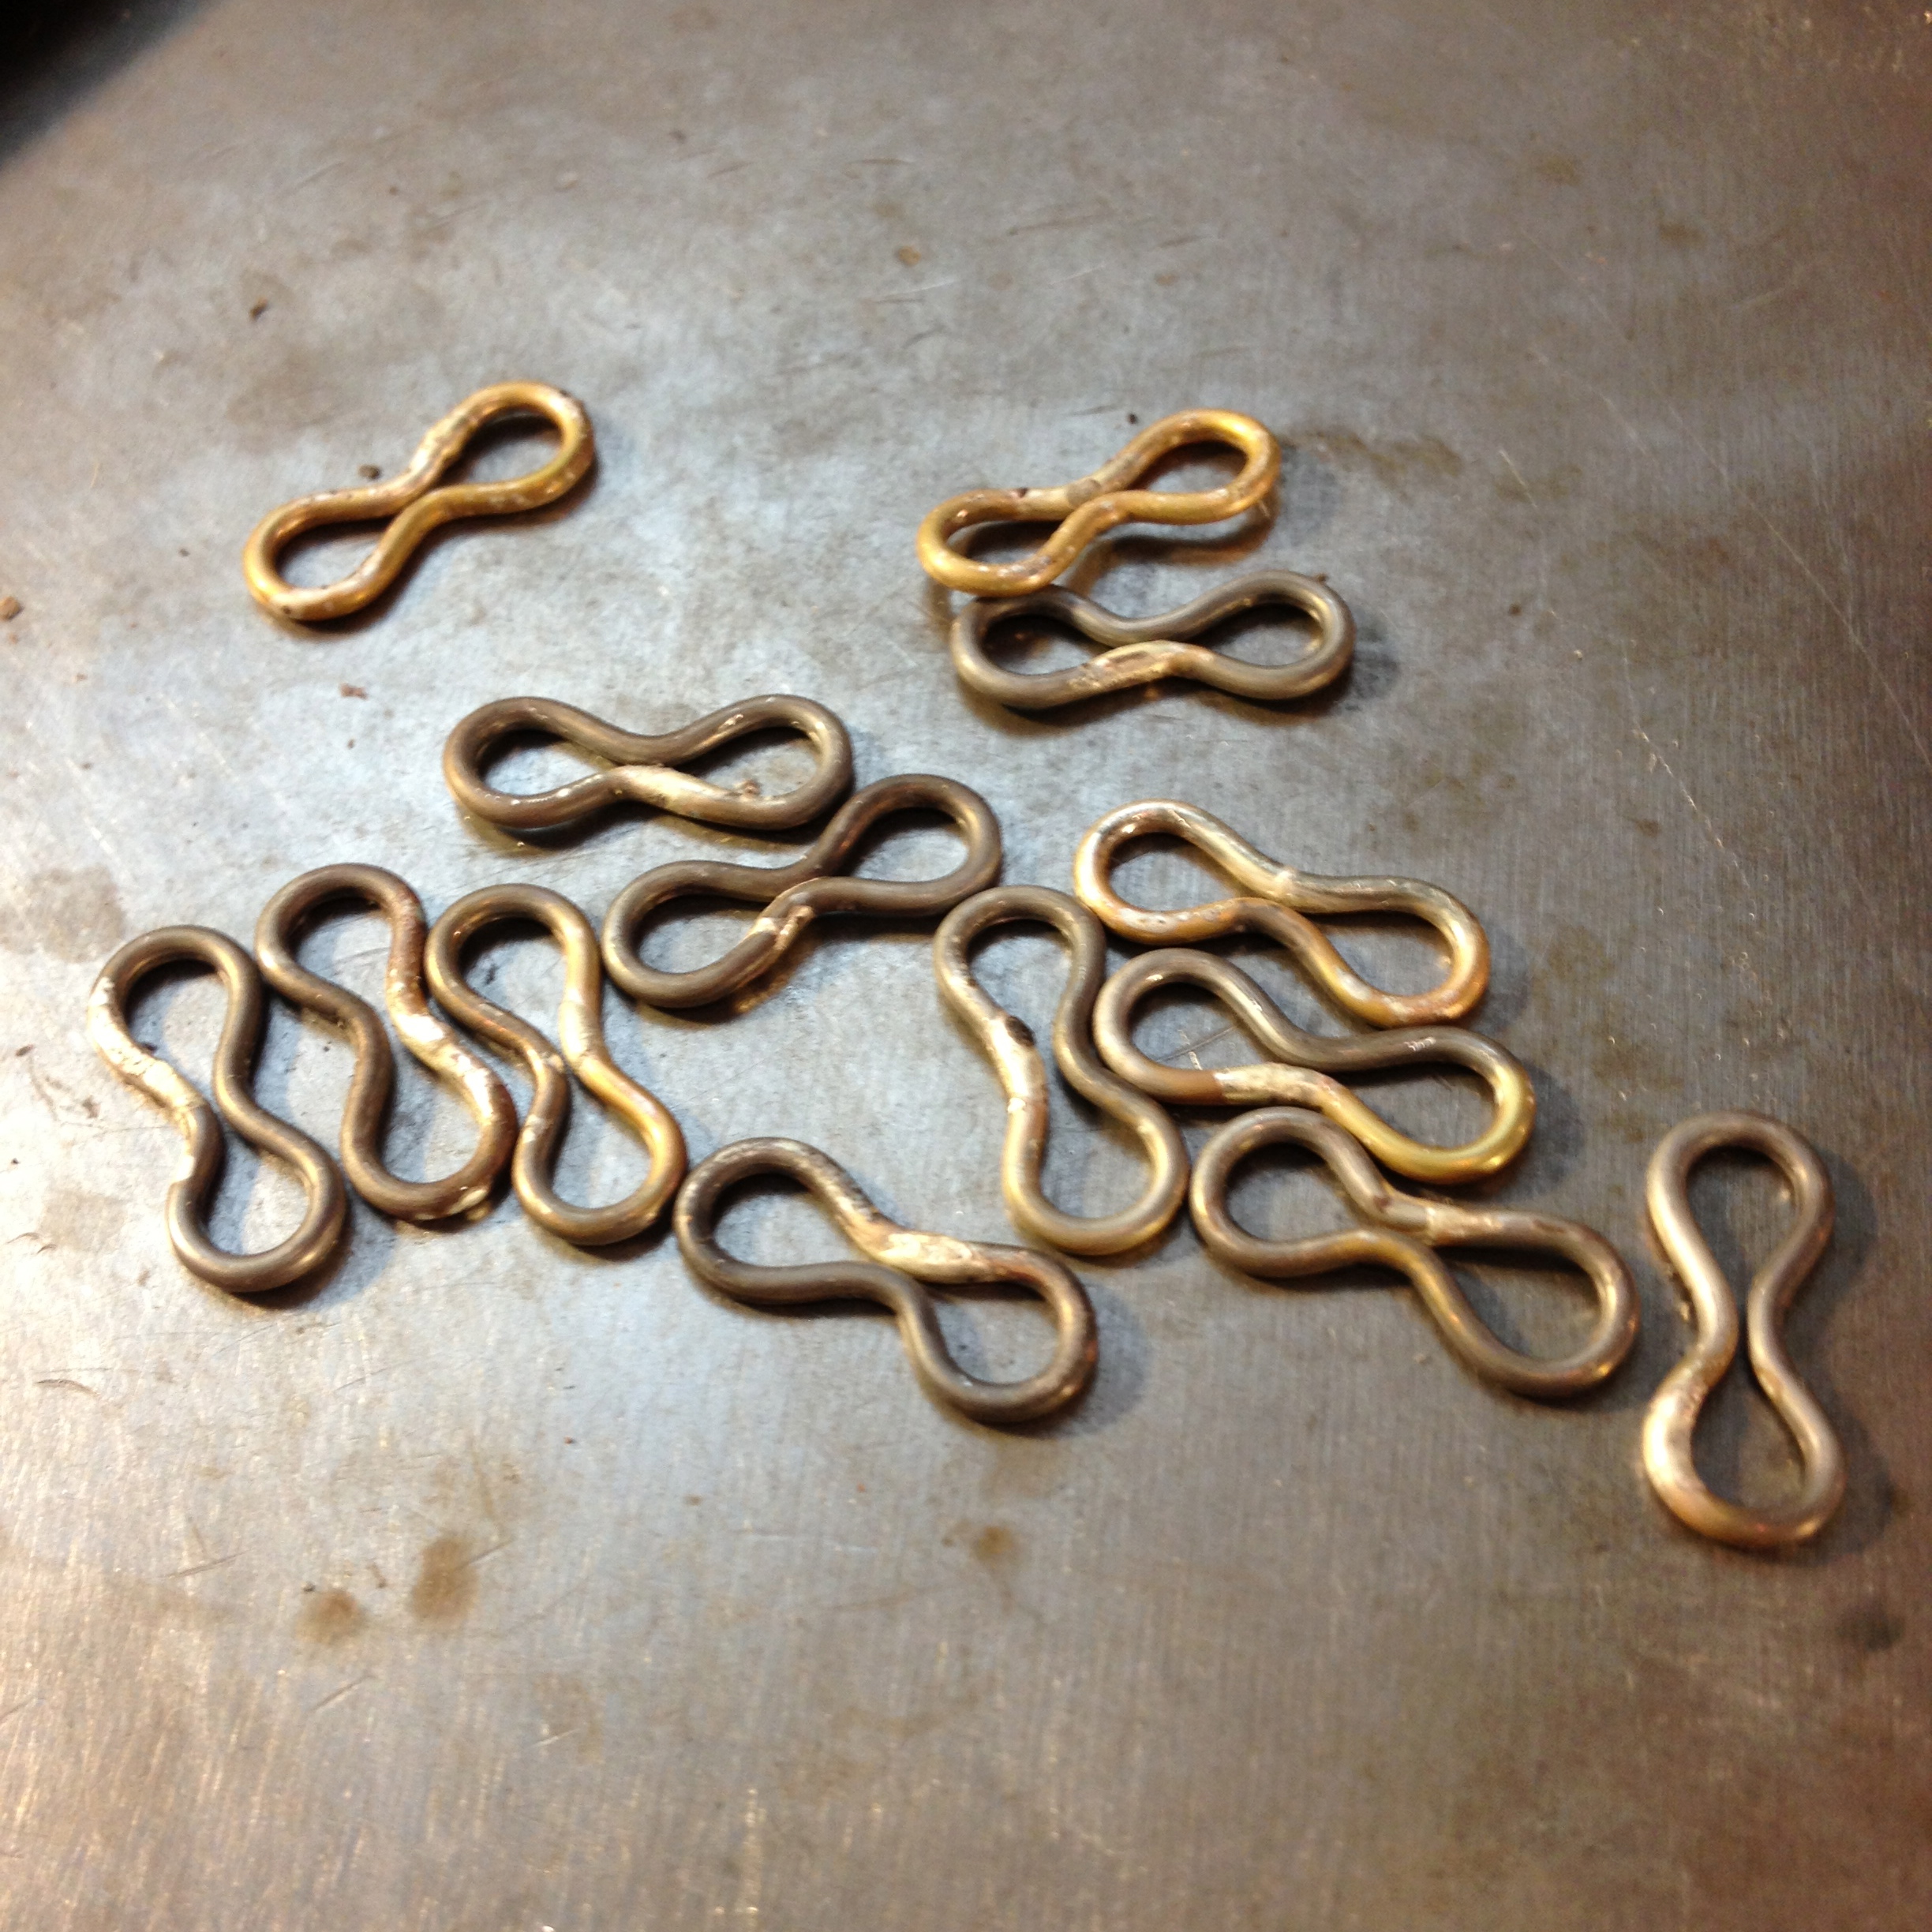
When you have finished them all take your dremel, or buffer of choice, and brush the centers of the links clean as this is where you will do some more soldering.
You could also put them in the pickle, but I can’t be bothered.
I use a coarse buffer.
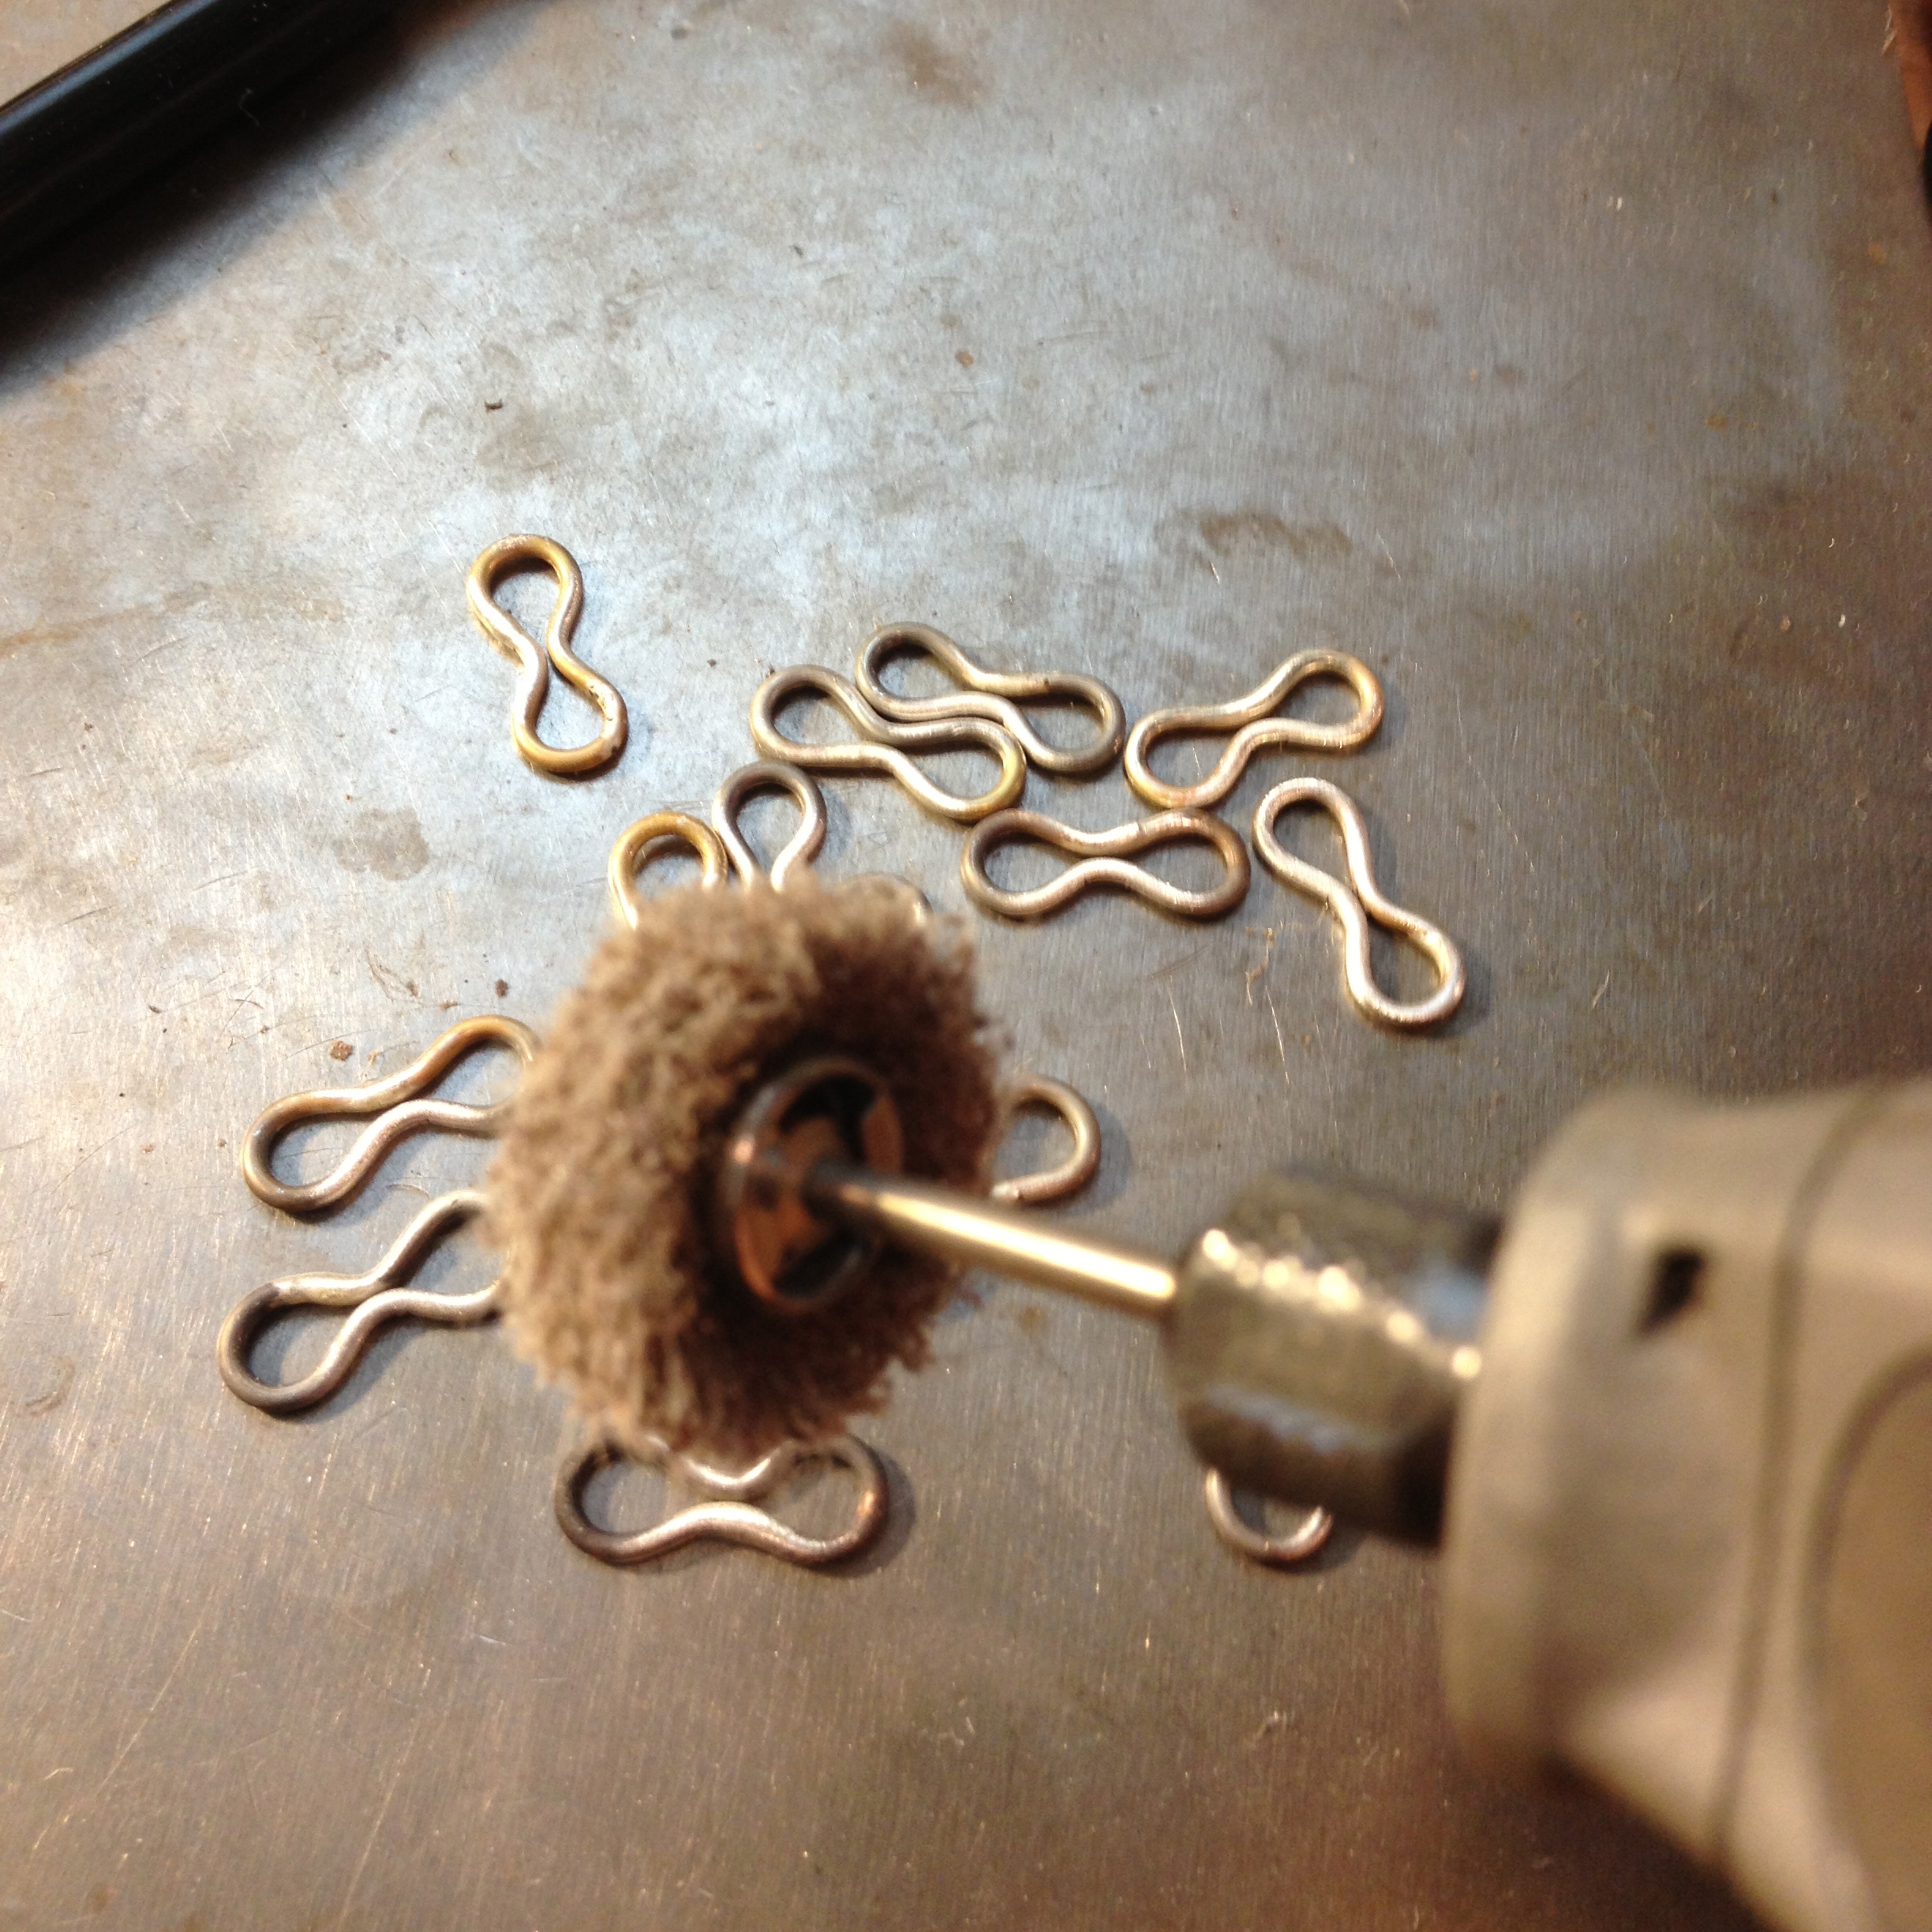
Take some 22 gauge wire and wrap it three times around the middle of the link.

I bend the wire first to give it a head start otherwise it can get a bit fiddly.
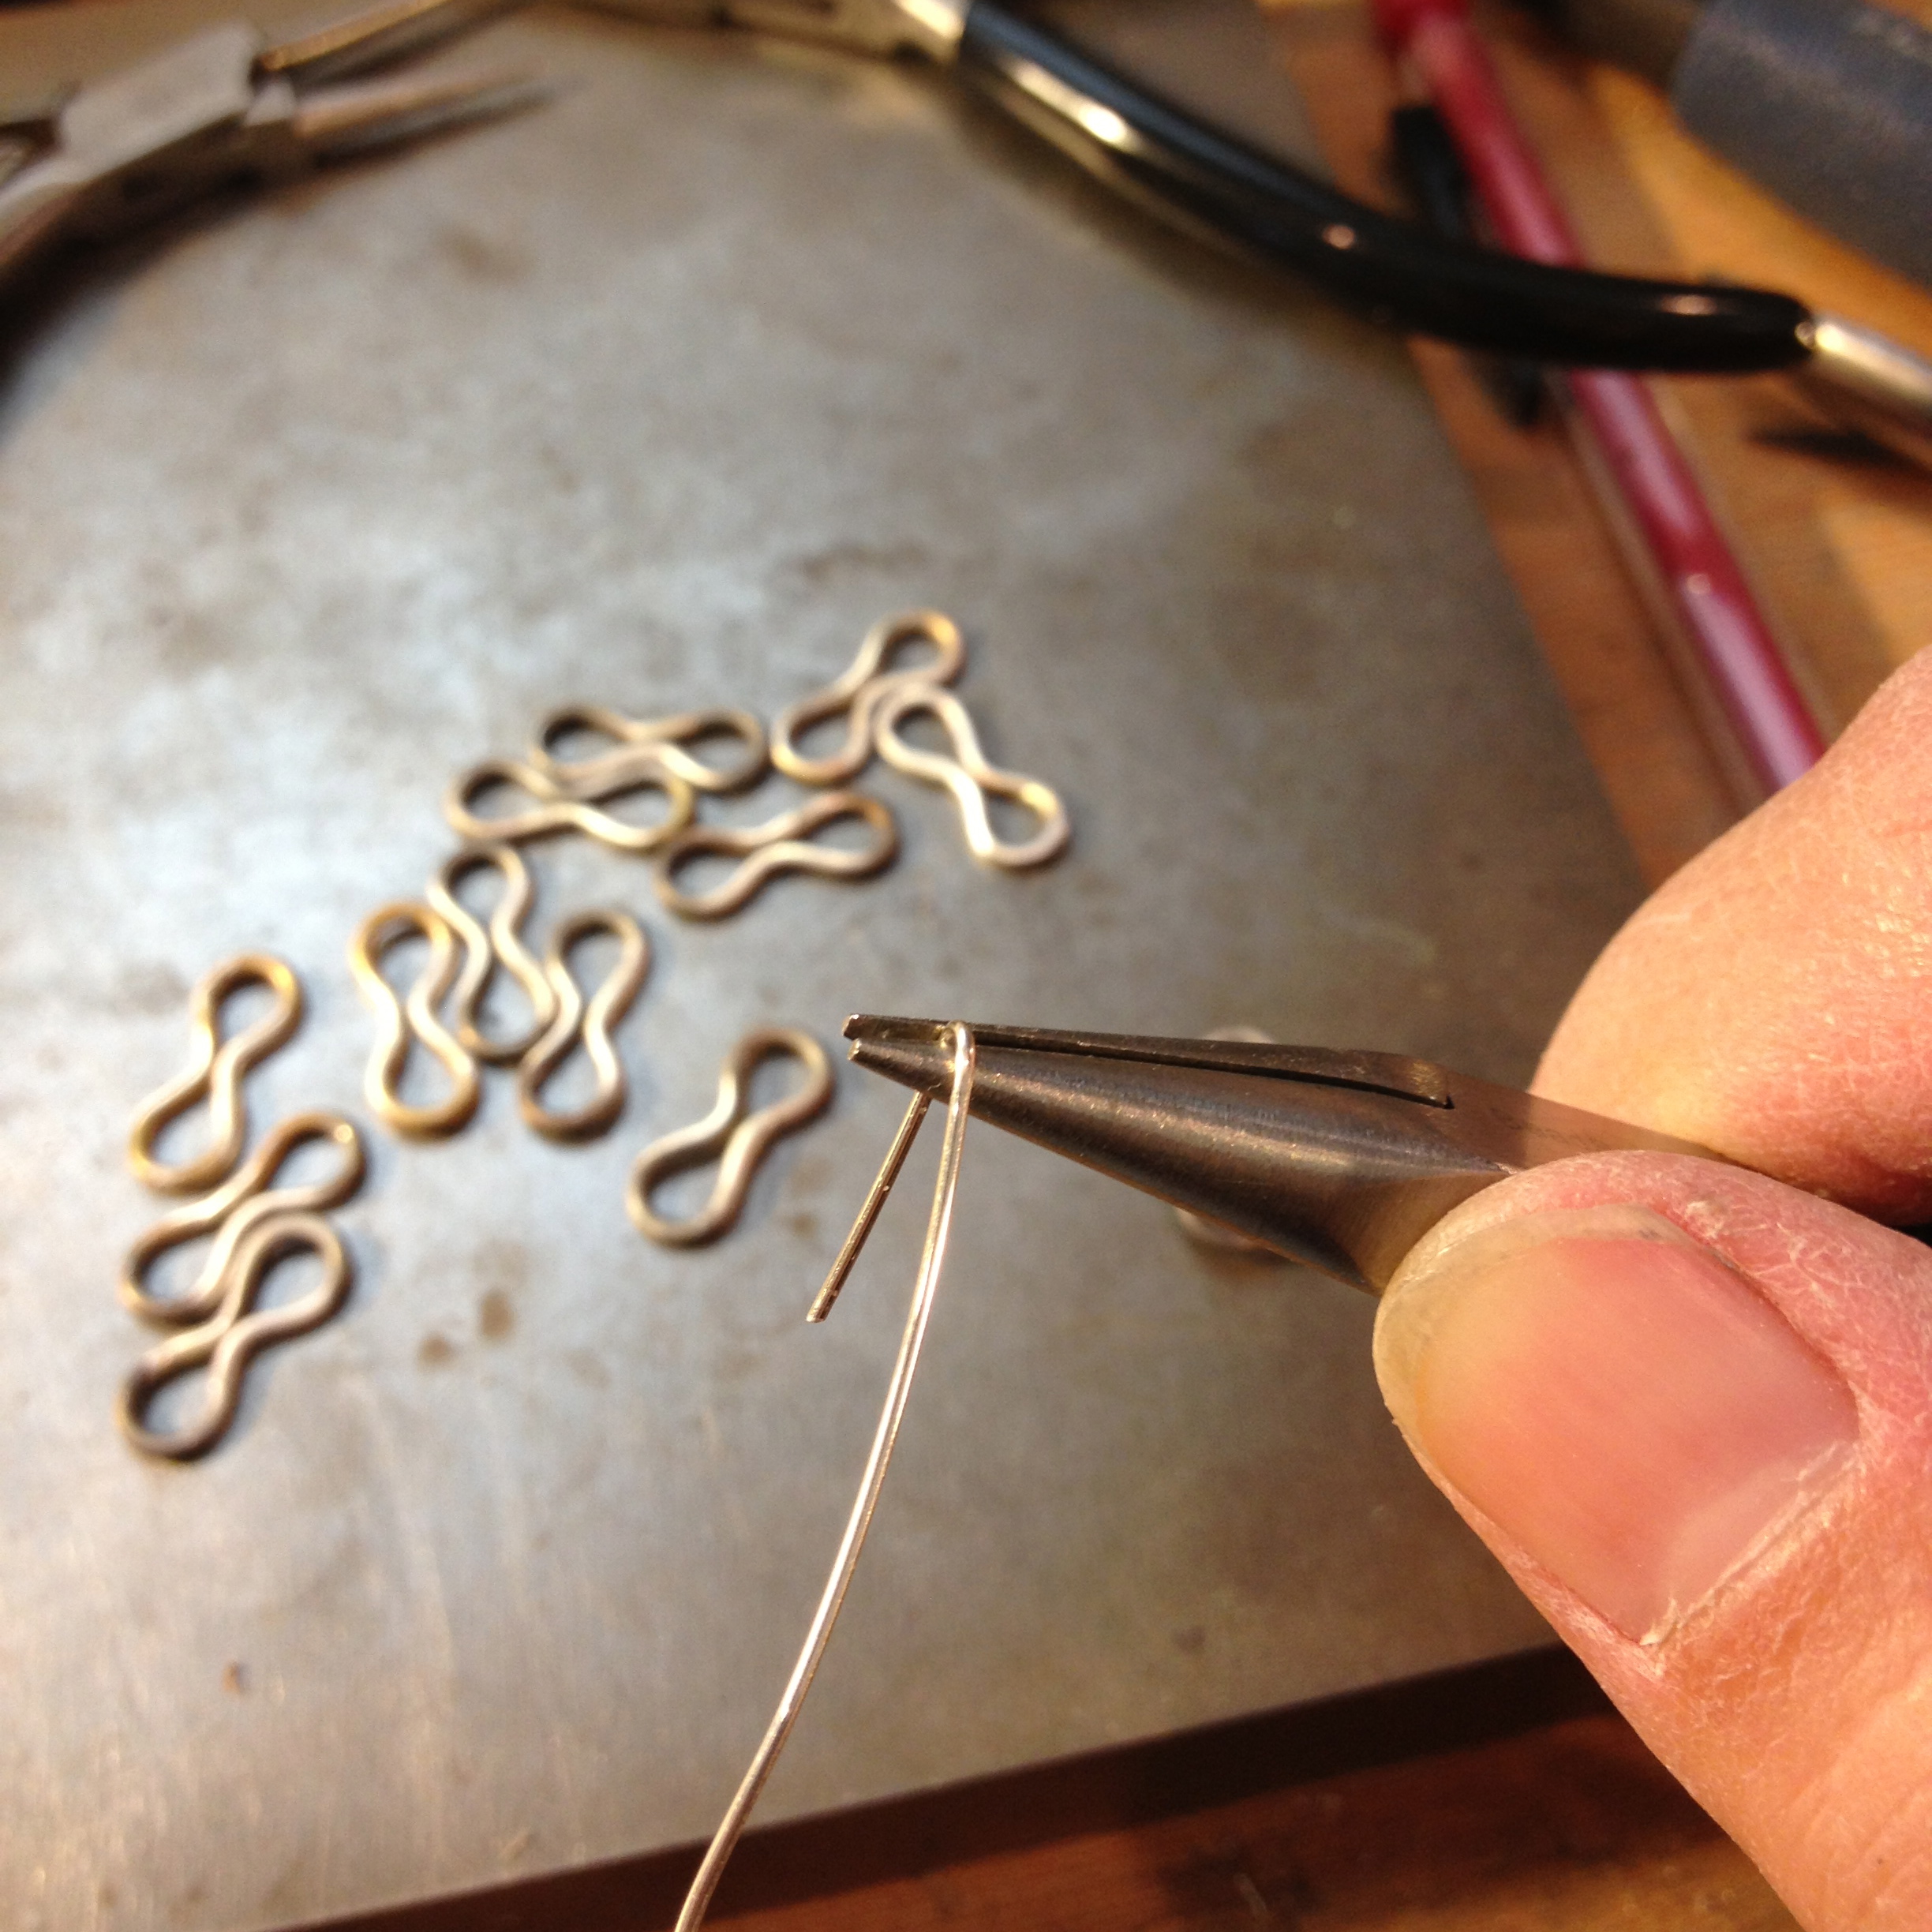
Once you’ve done them all they are ready for soldering again.
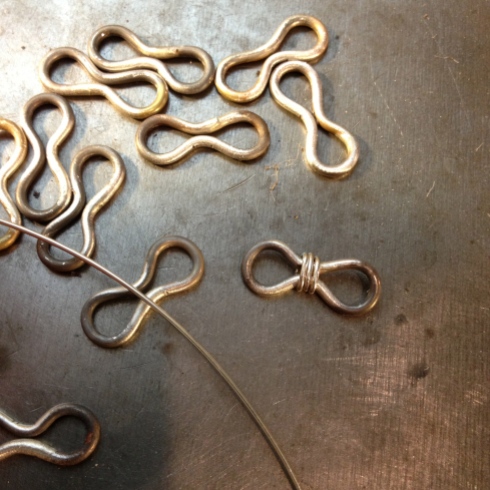
Put a tiny dab of solder on the back of each new coil so that it will fuse to the link.
(Note: I shaped my links so that the middle meets where I soldered the ring together the first time and there was enough solder there to re-melt and attach the thinner wire to the link. That’s probably because I used way too much solder the first time around. (I’ve been working on that). Shaping it this way also stopped the solder bump from being visible at the ends of the link. Remember – always use your mistakes for good – it’s the most useful superhero power you have).
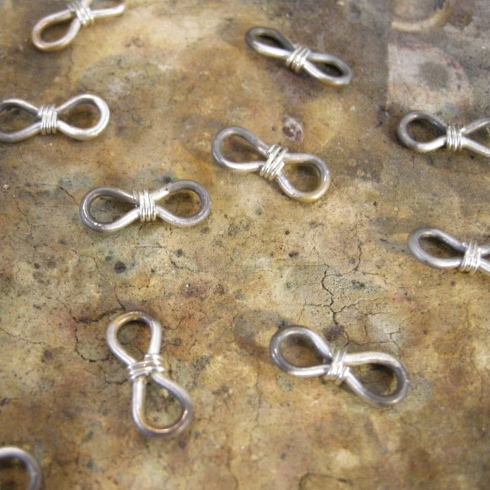
When all of your links are soldered and you have made sure that there are no sharp ends, get the jump ring maker out again and this time use 20 gauge wire on a 4 mm mandrel to make smaller jump rings .
Tape the coil together as before.

Then put it into this handy, weird, plier thing to saw into rings. This makes you remember (again) that the jump ring holding cutting vise thing that came with the jump ring maker is still rusted, but you’re not annoyed about it or anything like that …
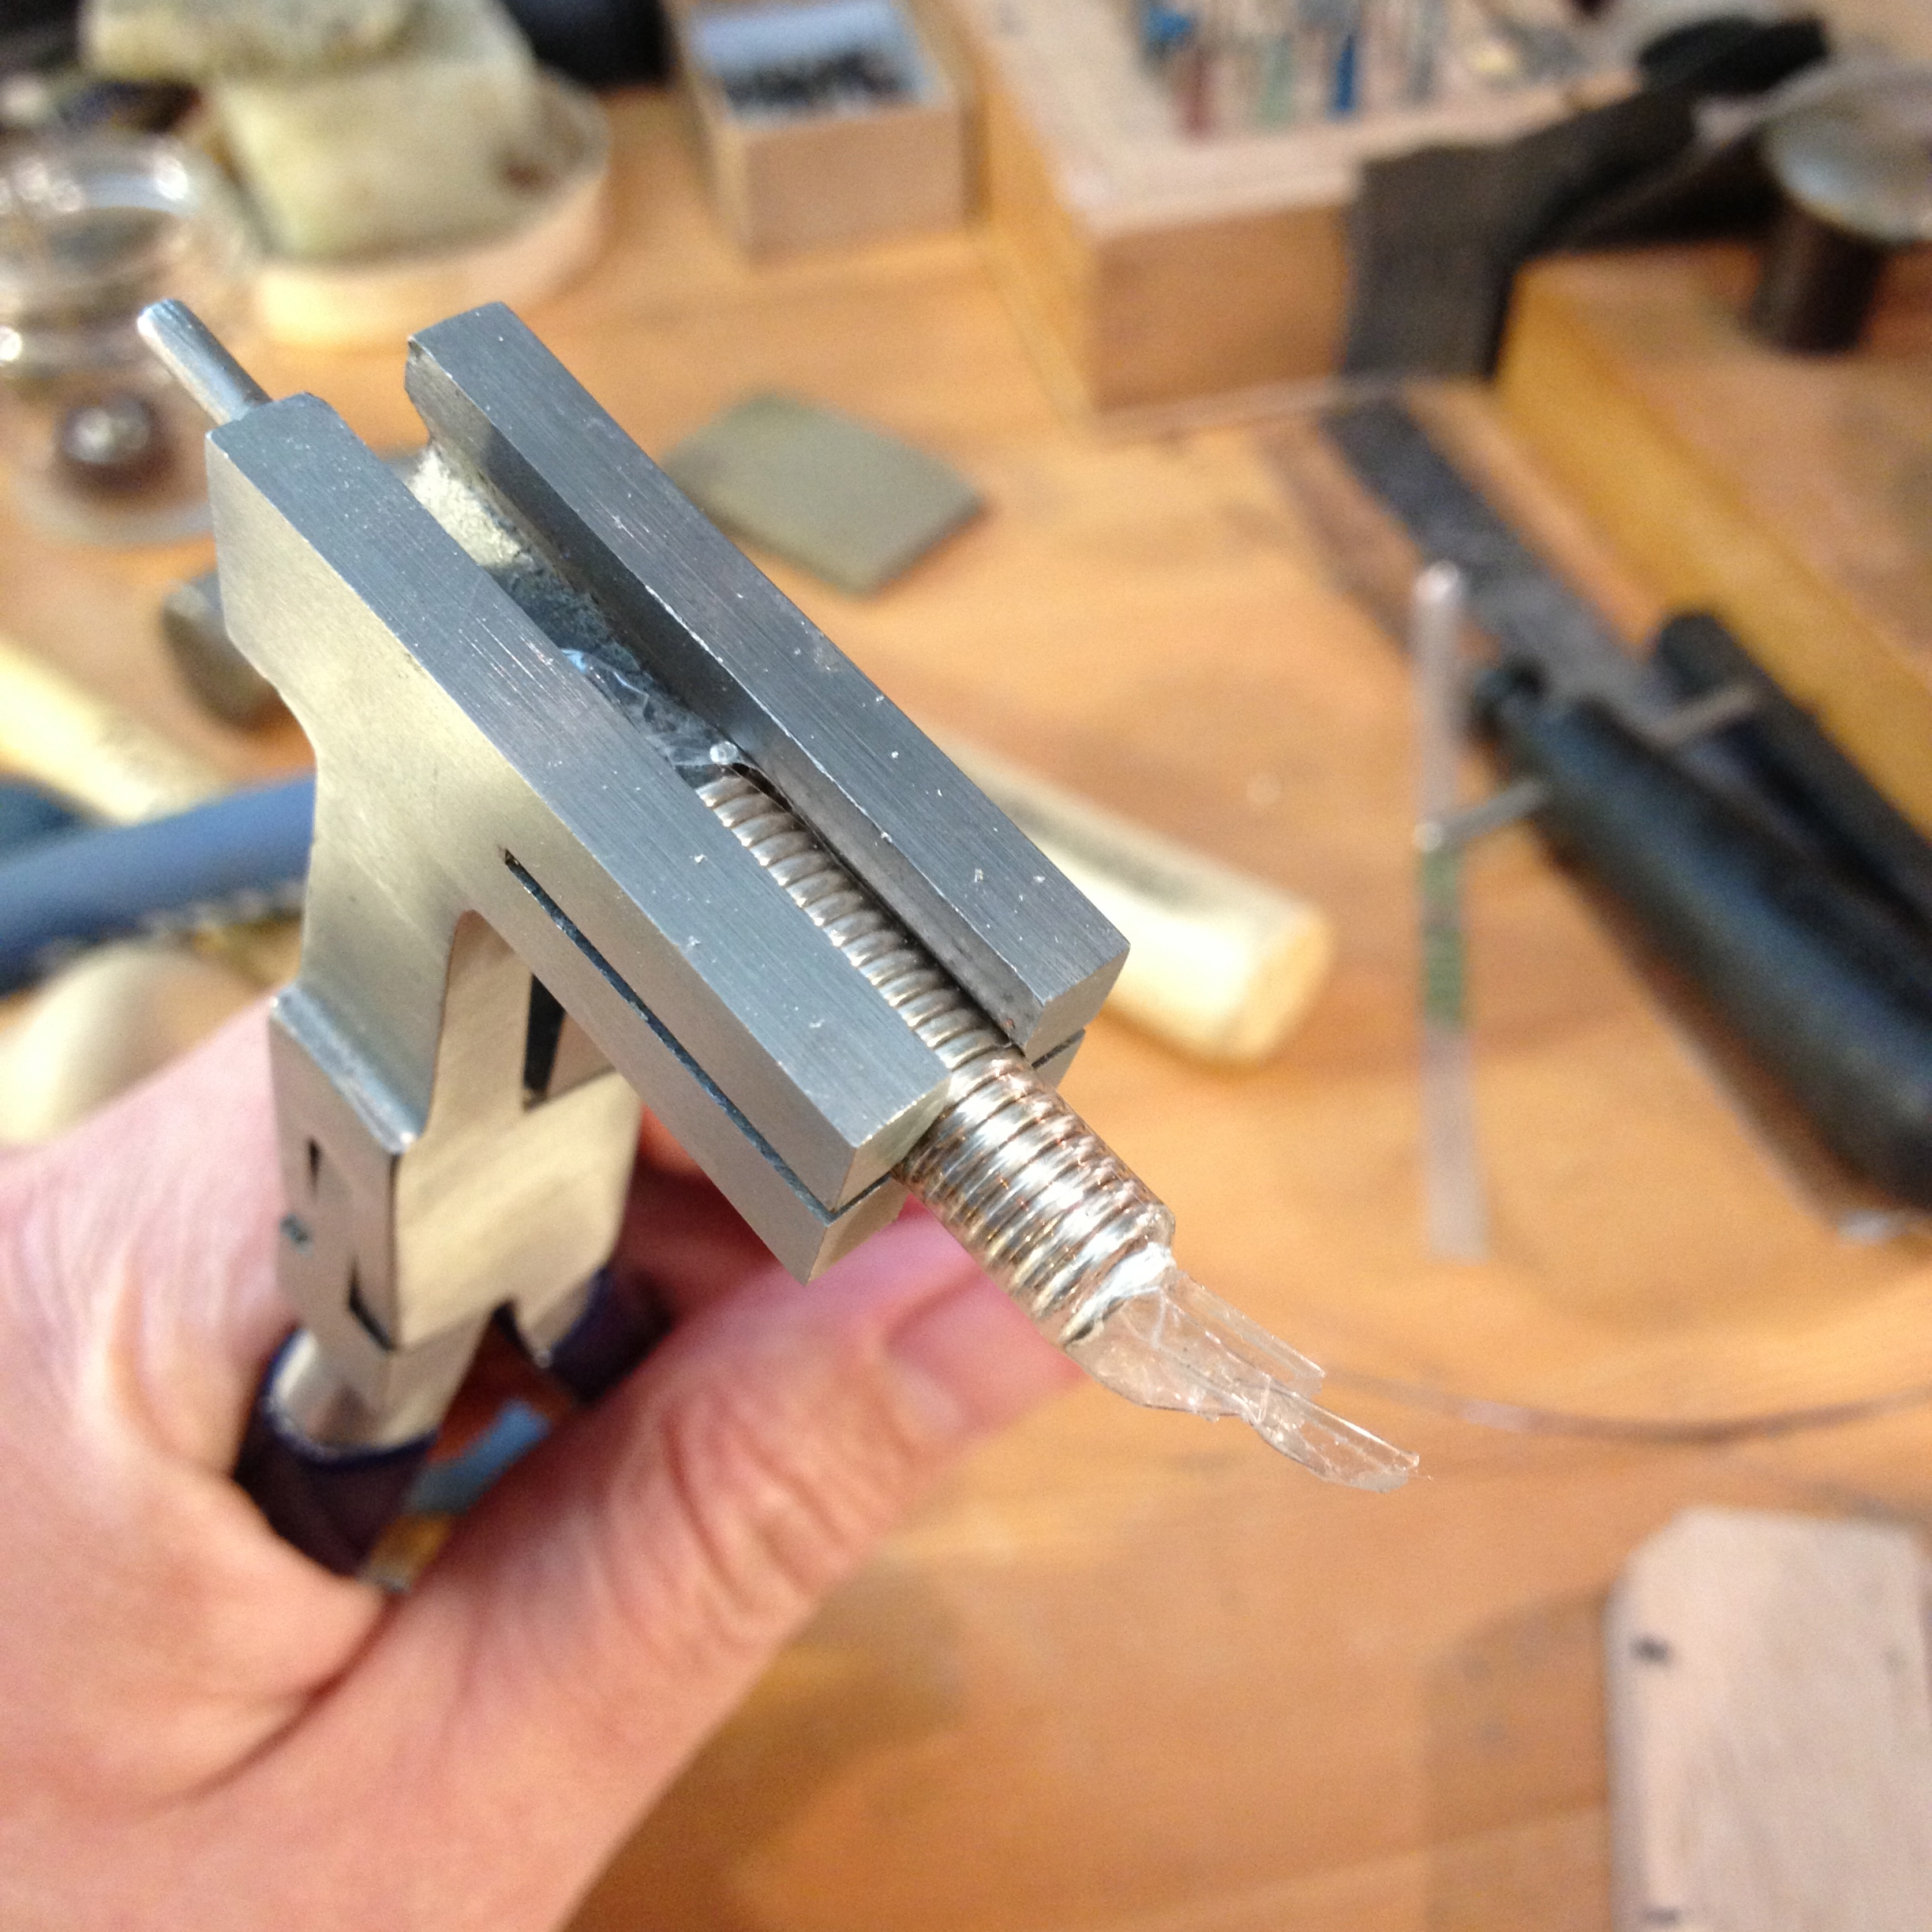
If you don’t have this remarkable contraption, just use a vise or something equally handy.
Next join the links together by soldering two jump rings between them, a little tricky but have some faith, and voilà! you should end up with a complete mess.
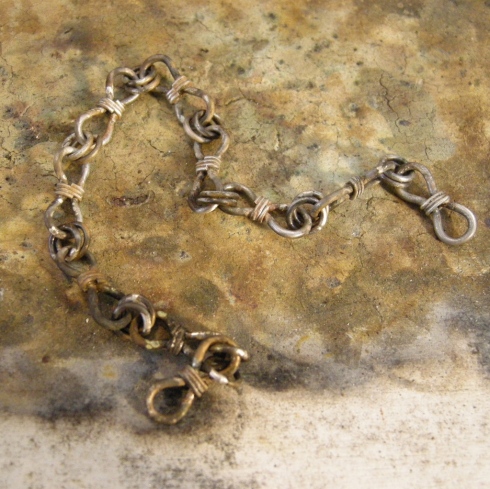
It doesn’t look as bad after pickling, but really? Does everyone’s work look this crusty after they solder?
Here it is pickled.
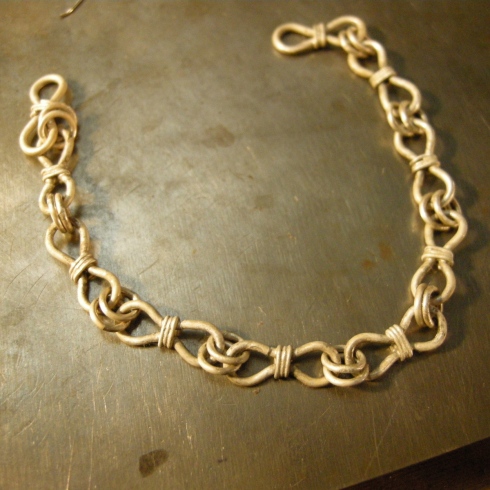
I wanted to show you what I made with it, but I sold it before I got a chance.
Once I’d buffed it up it was clean and not crusty, and it was made into a bracelet with other beads and such.
Now I’m just going to have to make another so that you can see the end result.
Happy chain making and, if you can decipher my brilliant step by step instructions, let me know what you make with it.
Note that you probably don’t have to solder any of this chain to make it, however, I haven’t tried making it that way. I use solder because I want my chains to hold up to wear and tear. I also think they’re easier to form, but I could be wrong.
–
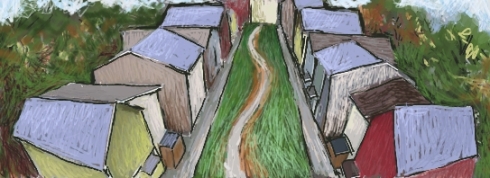
And you can’t go into your studio because that would just be rude,
remember …
STAY AWAY FROM THE INTERNET!
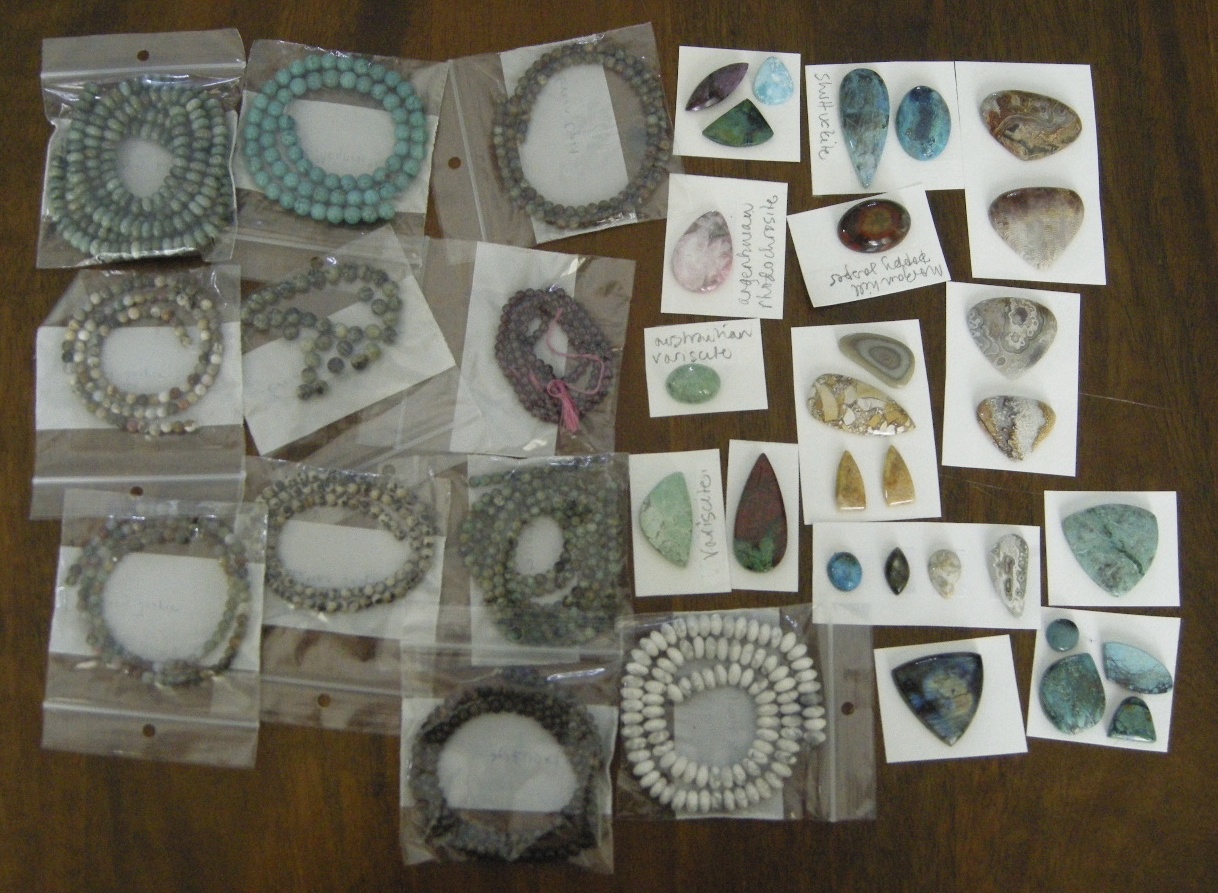
Otherwise things that you accidentally might have bought using that easily abused mouse, come to your door, and keep coming, and you have to put them in a little blue baggy thing,
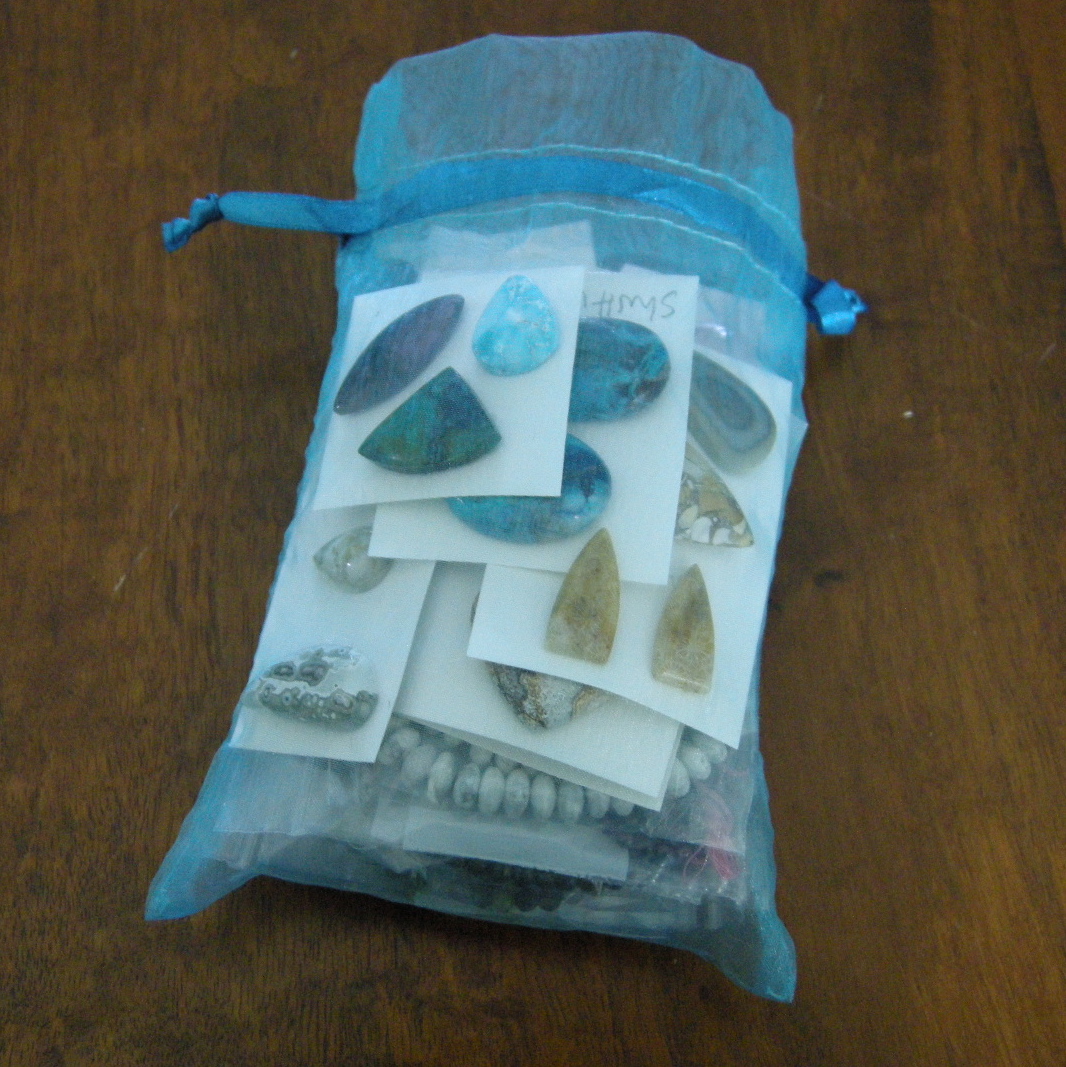
And hide them away before your, longing to get into the studio but can’t just now, spending habit becomes known to the other people who live in the house with you.
I mean, it’s such a small bag, surely I can’t have spent that much!
Disguised in the blue baggy thing I managed, (just you understand), to smuggle the items, (which, by the way, are still coming) into the studio, but it’s not good. ( I wasn’t in the blue baggy you understand, although perhaps that might have helped) …
The madness has to stop.
Why can’t I just spend the money on new clothes, or something.
Food for the kids perhaps?
We may never know …
–

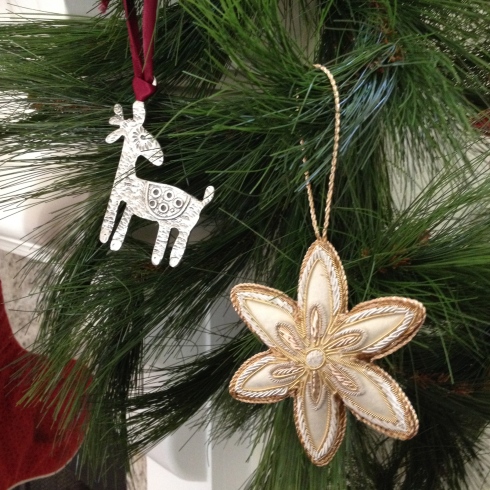


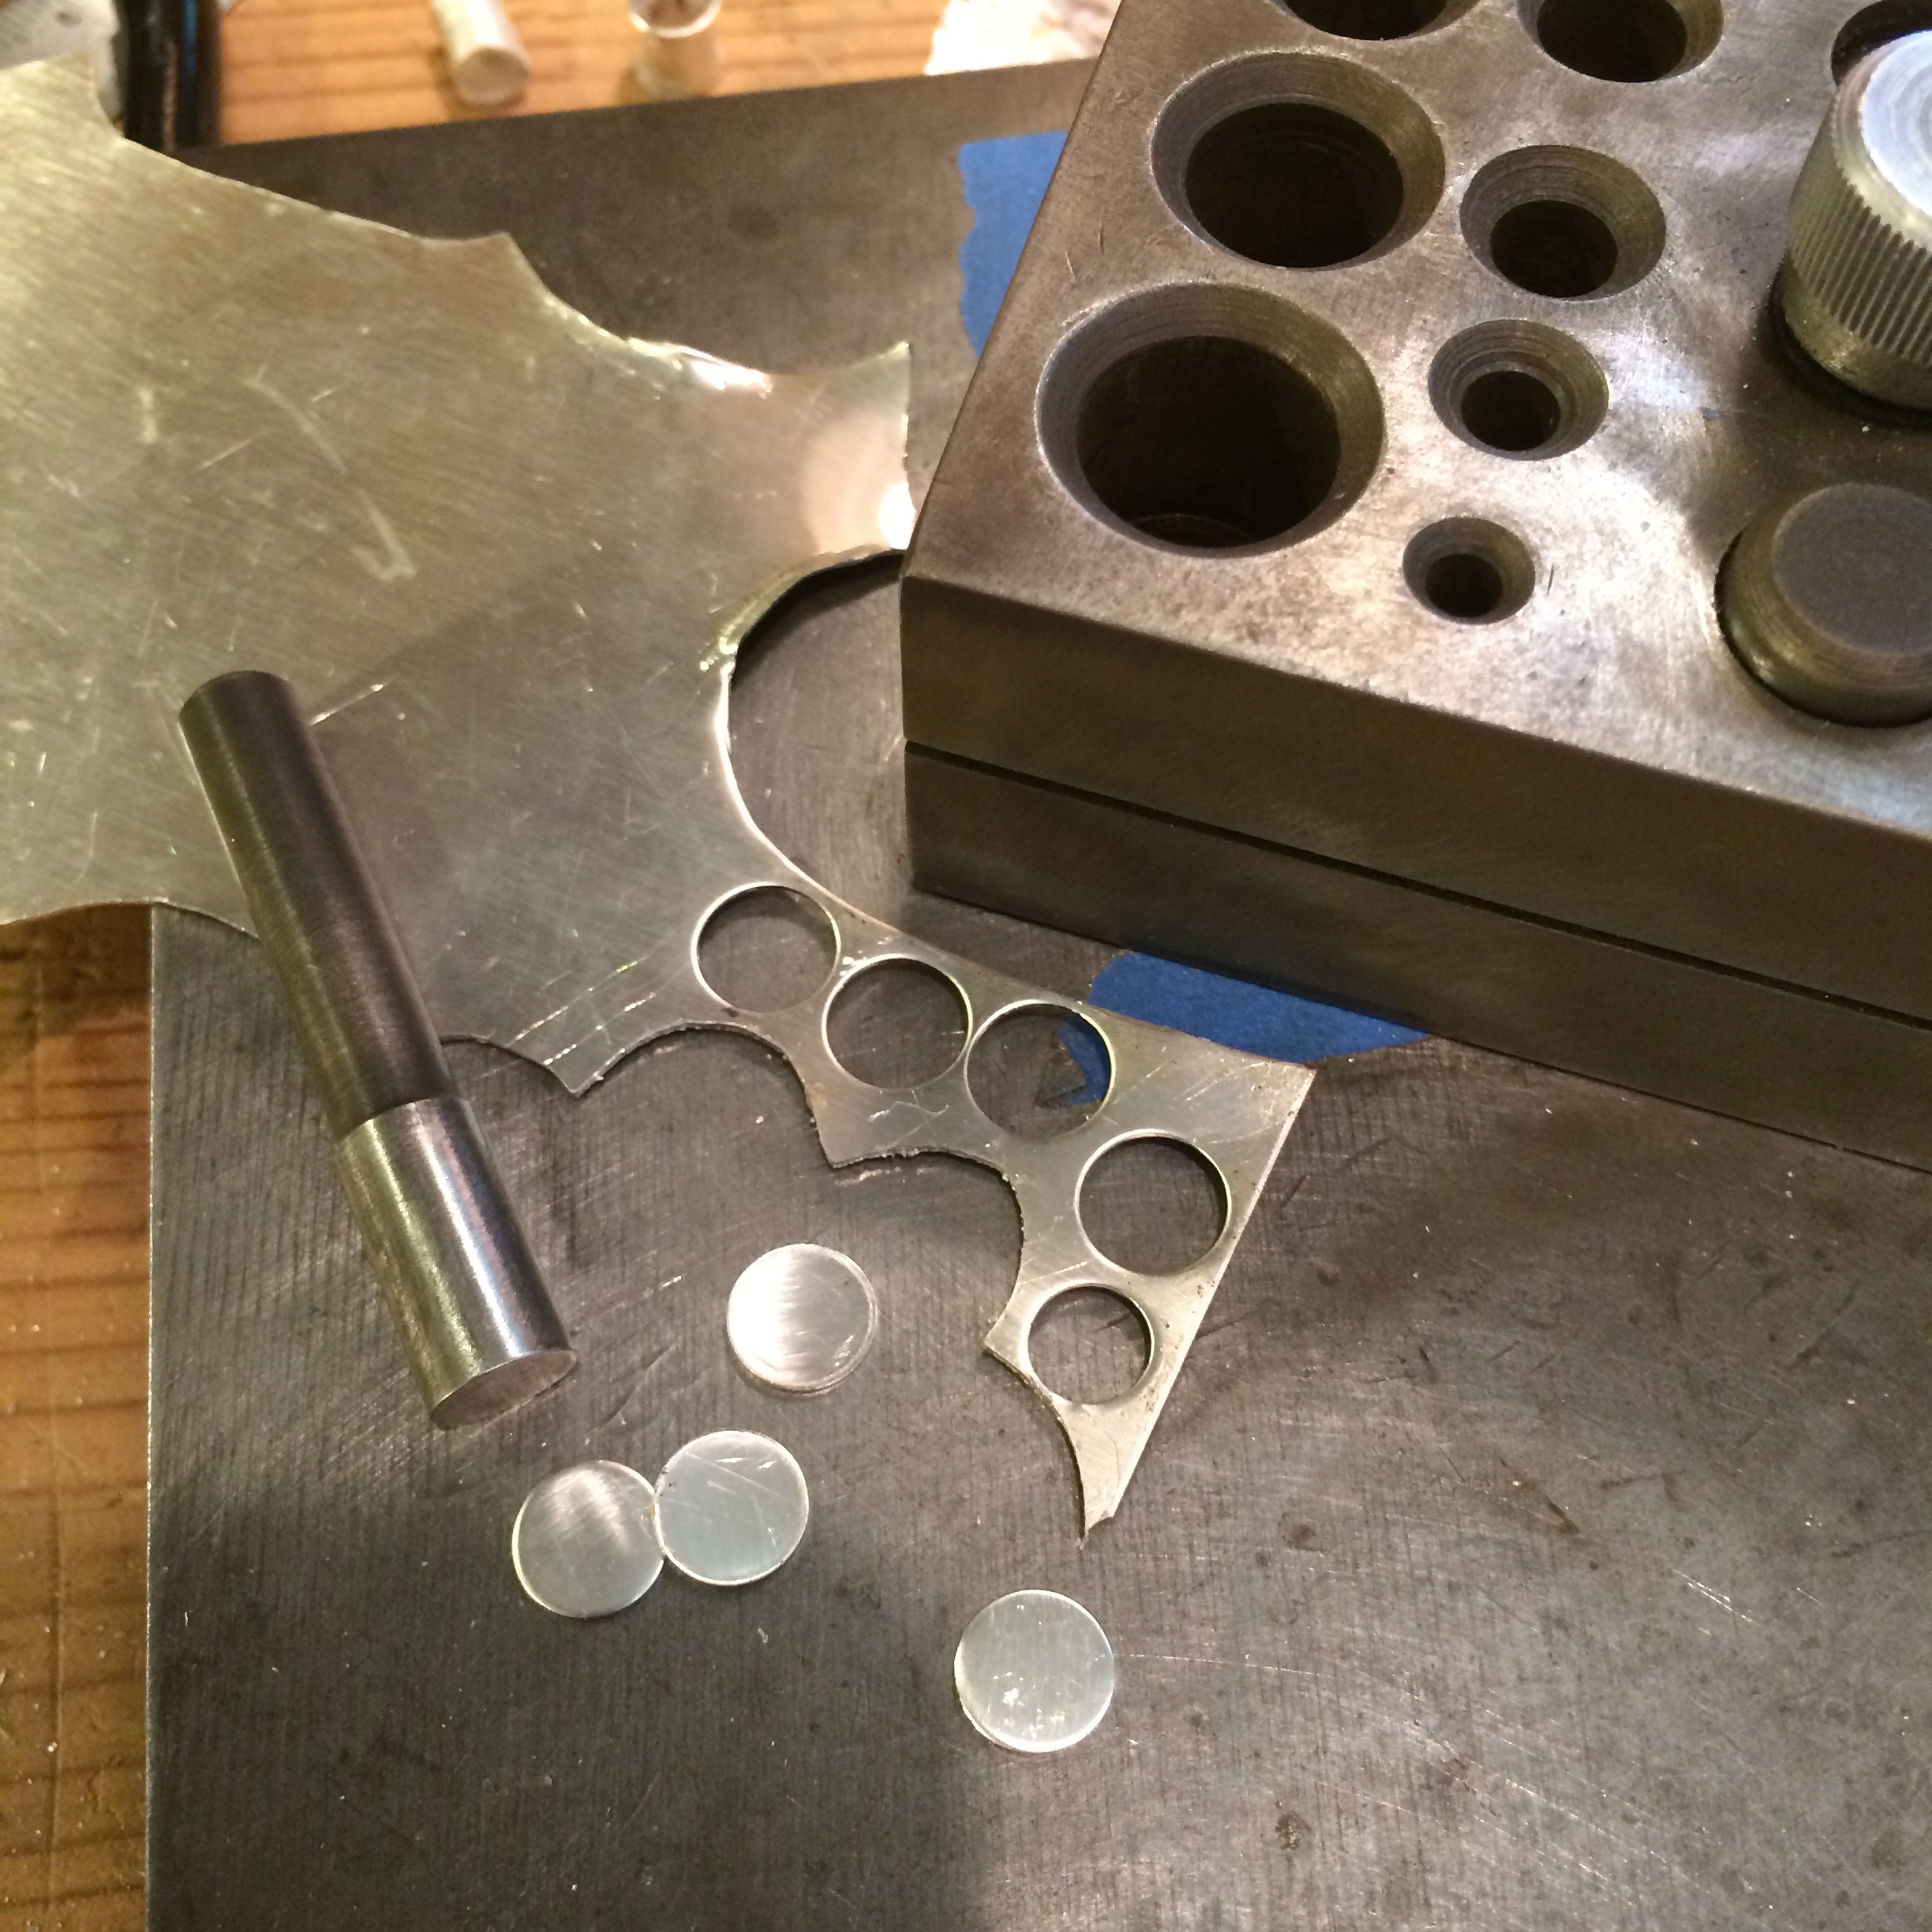
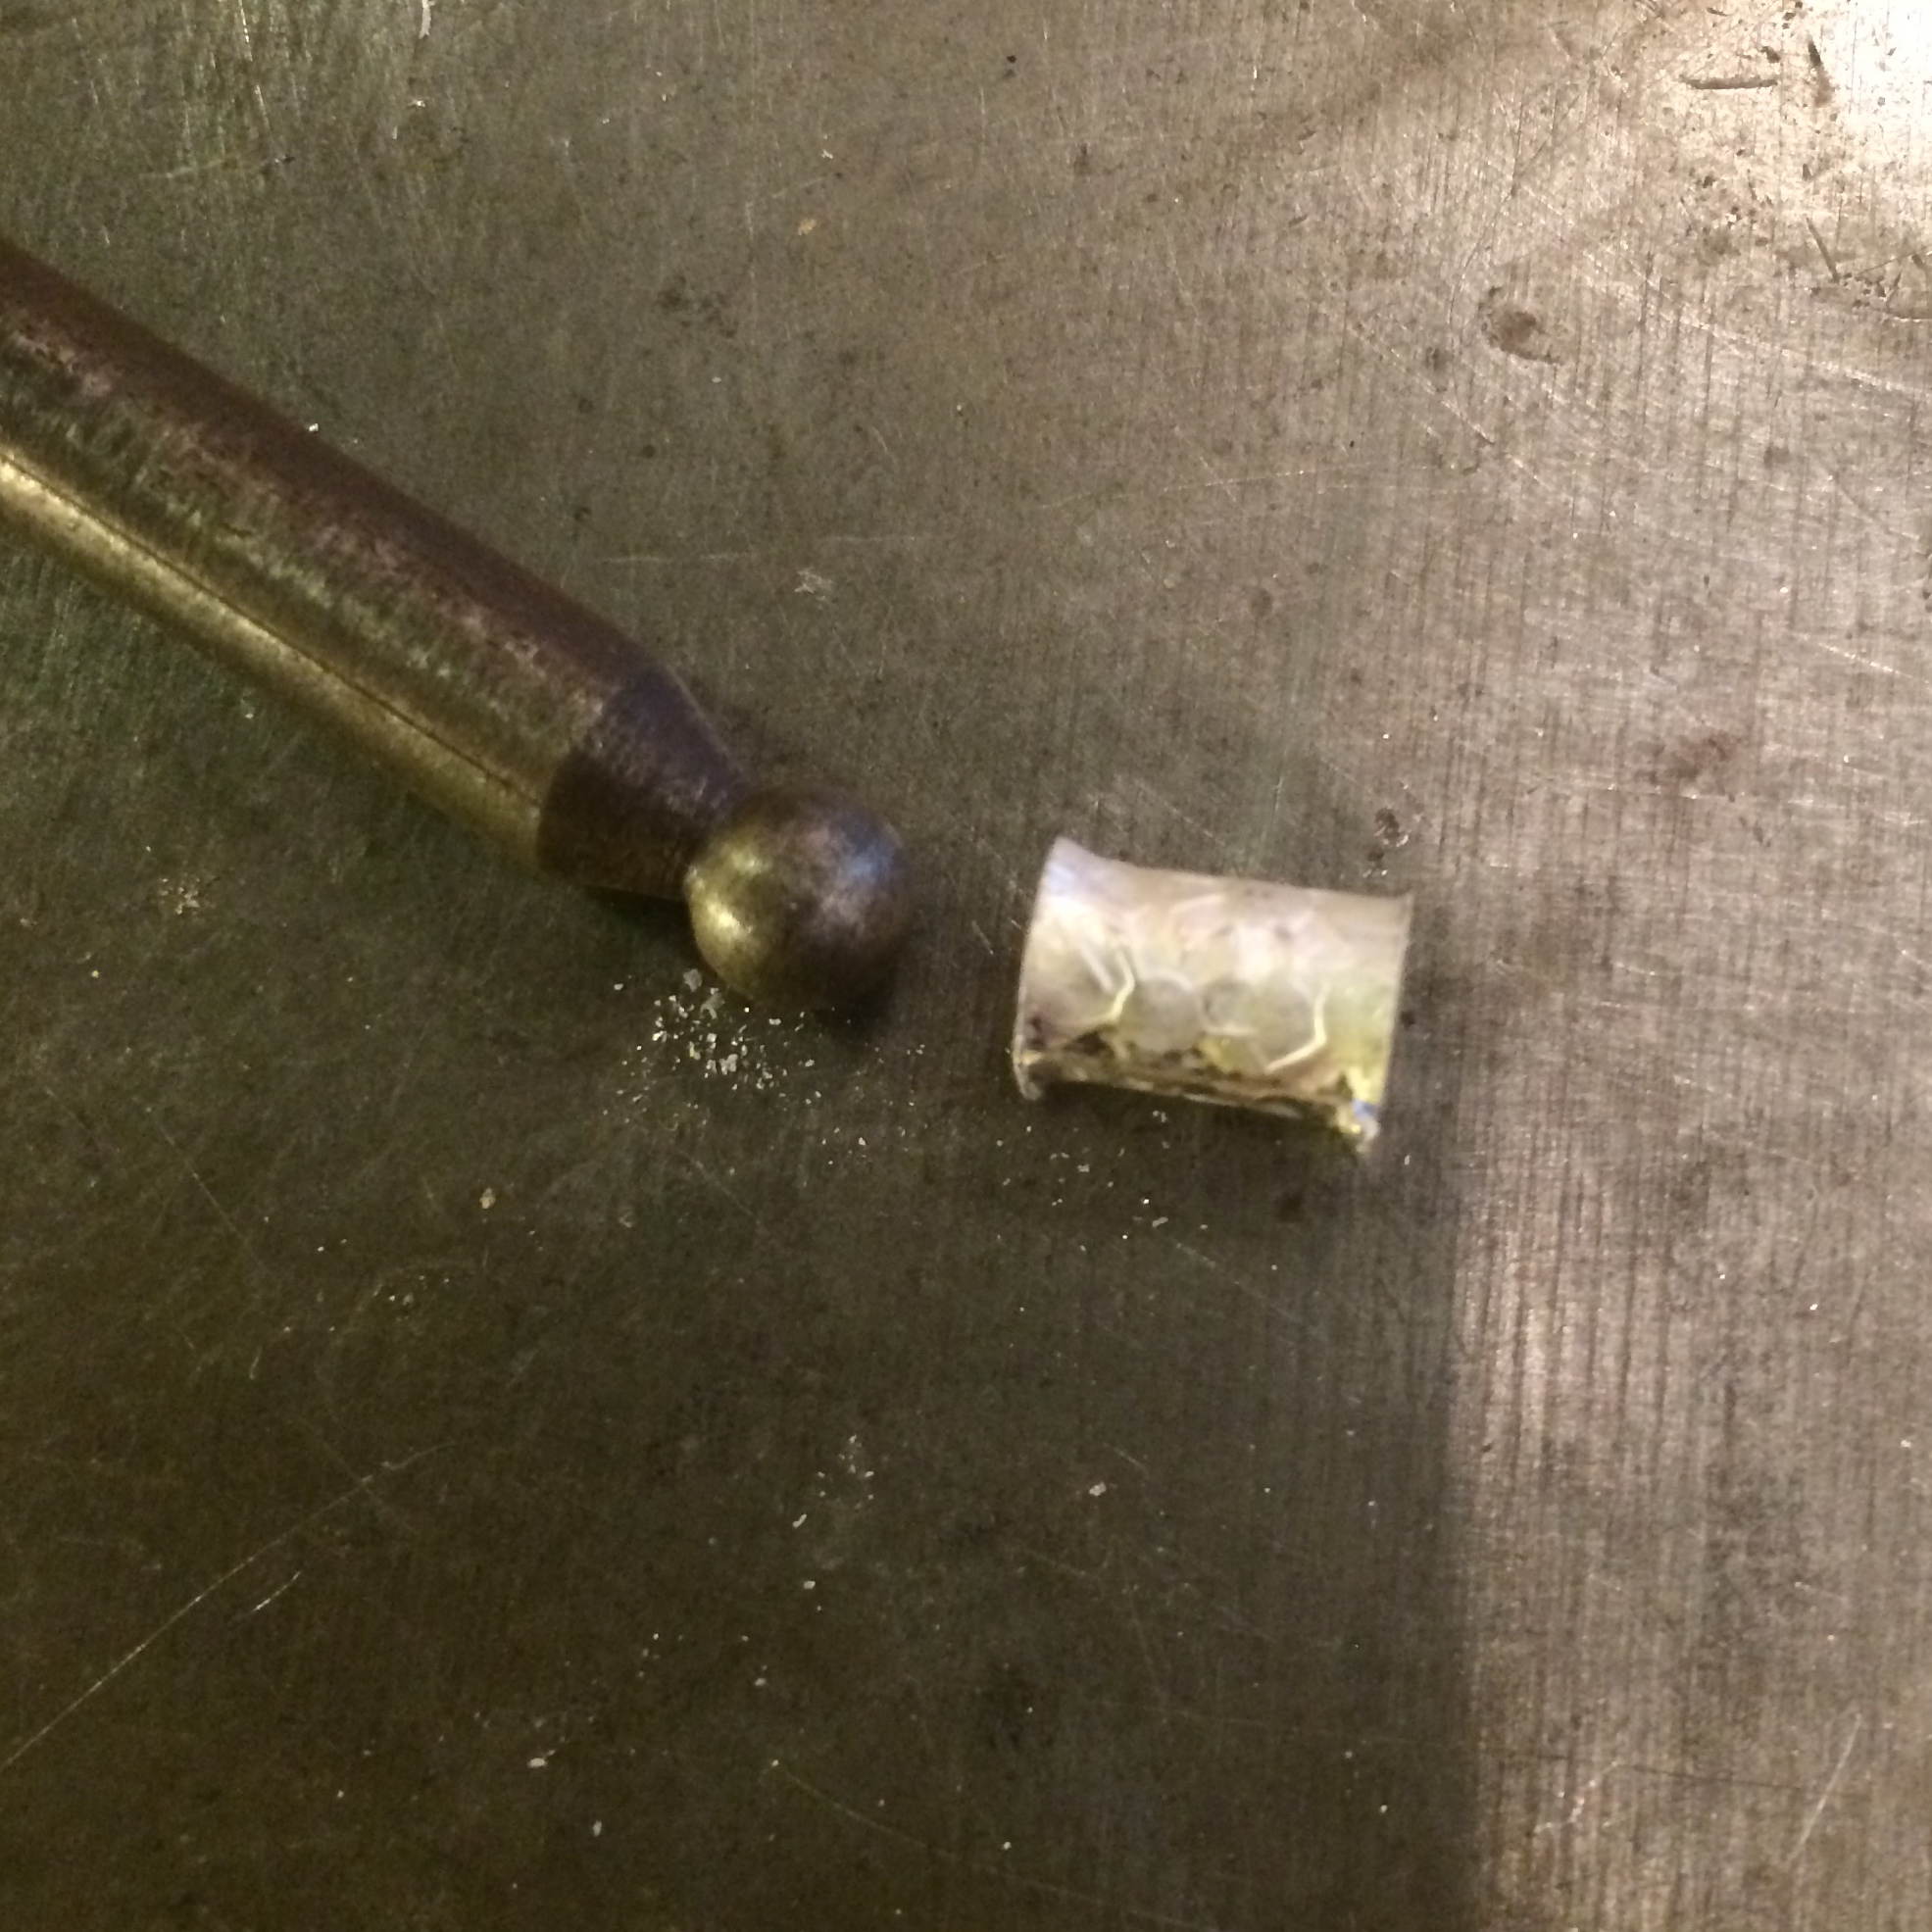
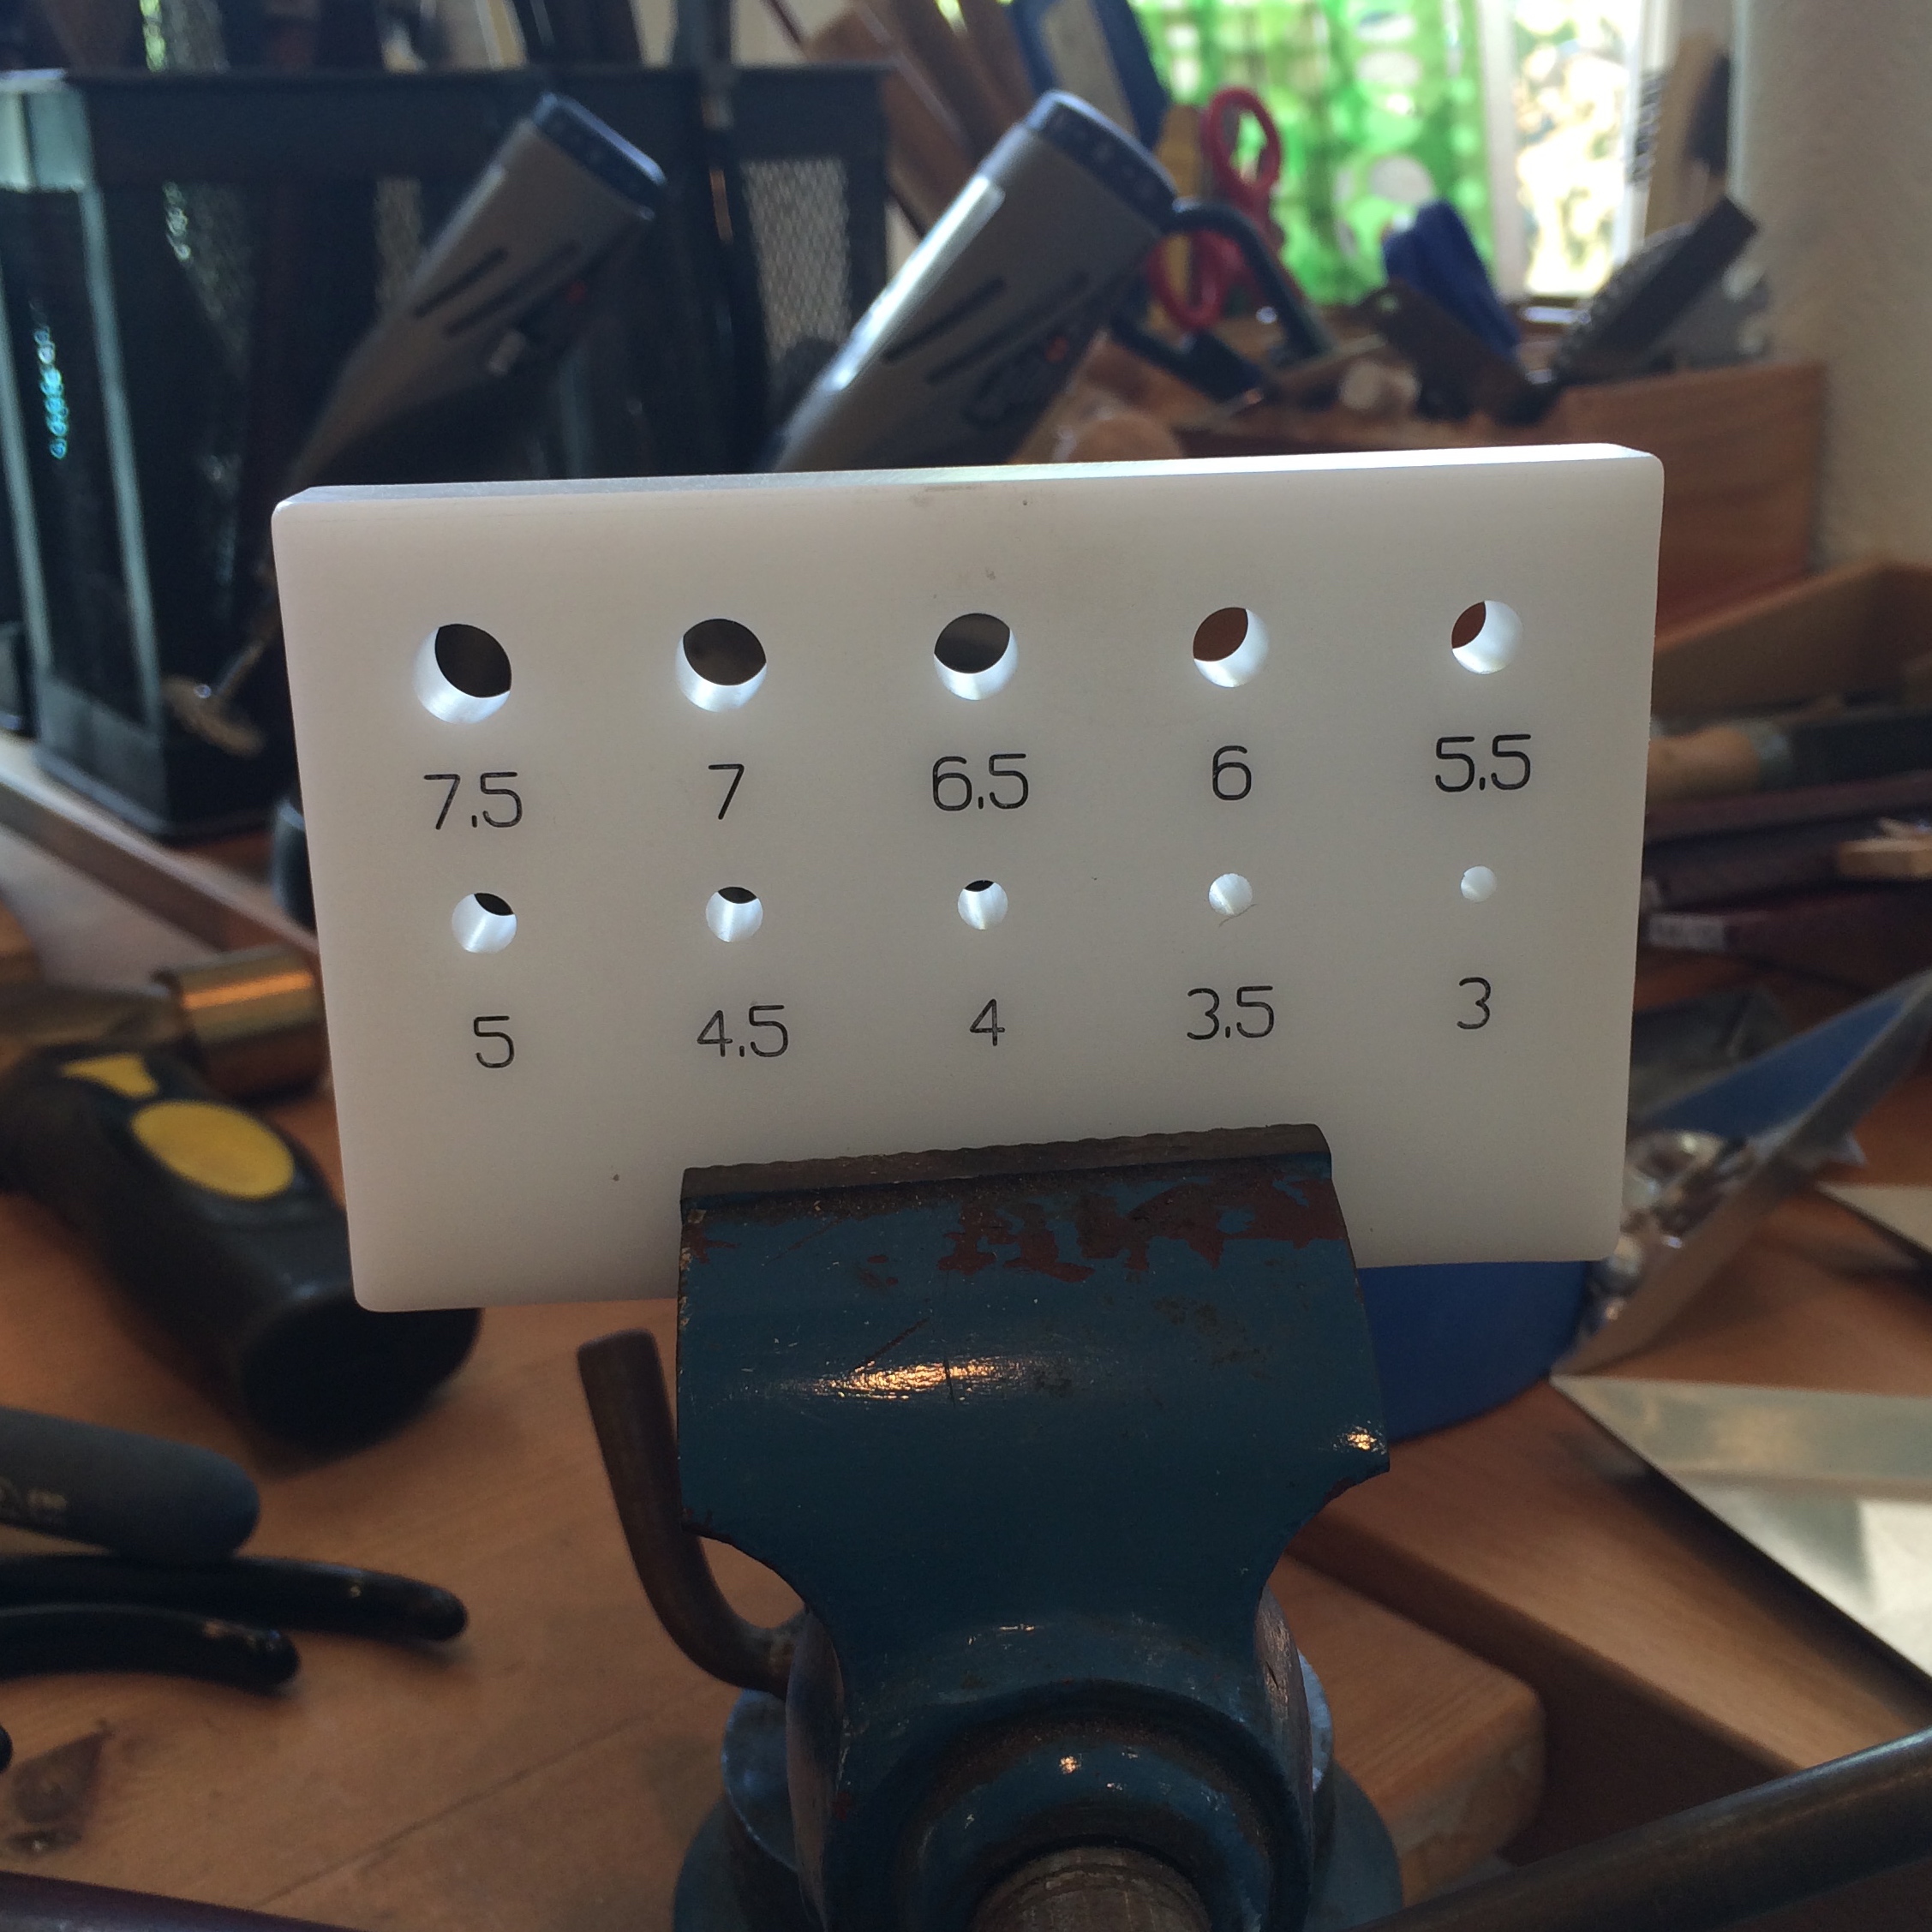